Materiales utilizados:
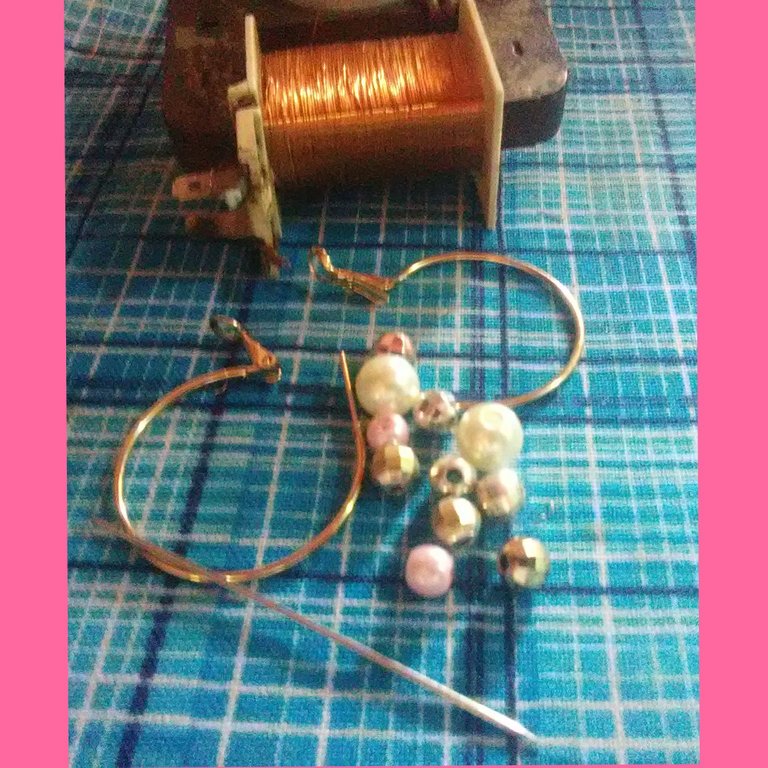
Argollas lisas.
6 Perlas grises pequeñas, 2 perlas rosadas pequeñas y dos grandes.
Alambre de cobre fino
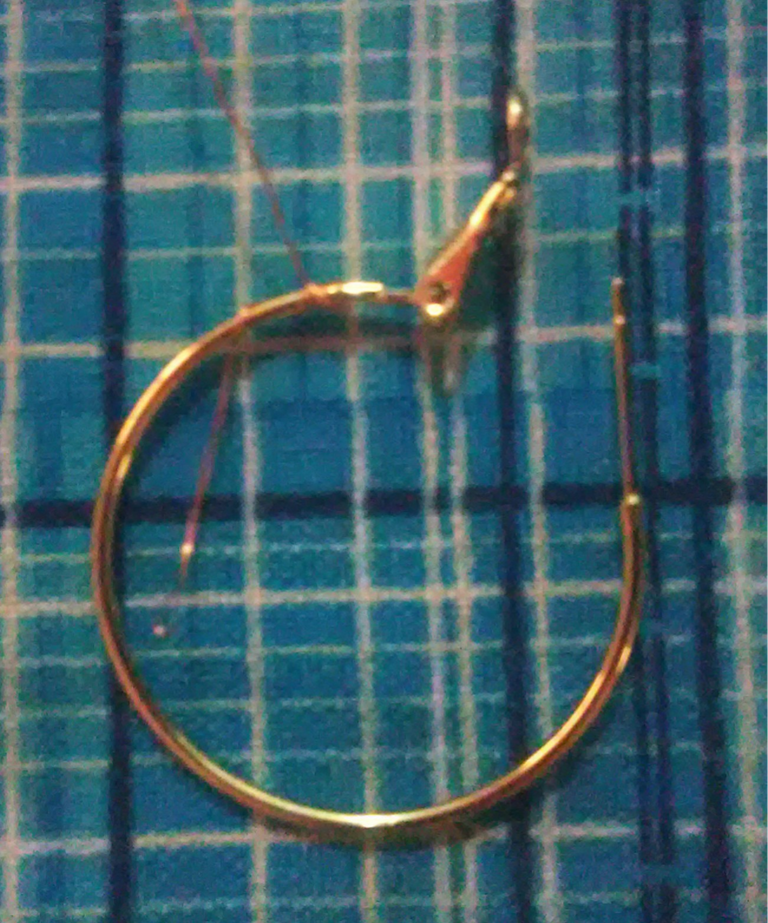
Primer Paso:
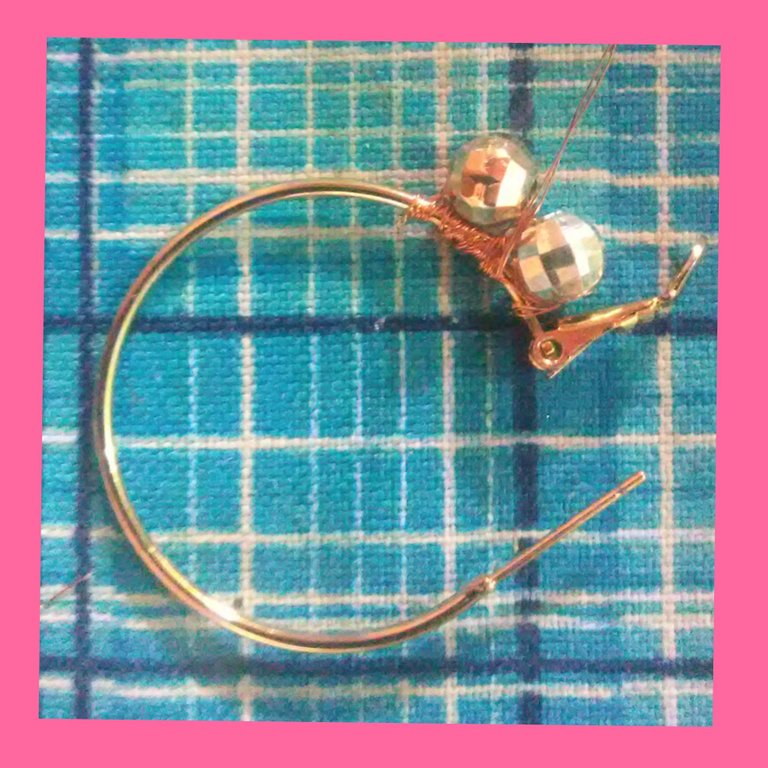
Se toma 60 cm de alambre de cobre fino y se dobla justo a la mitad para enrollarlo en las argollas se dan solo 2 vueltas y se procede a meter una de las perlas grises pequeñas.
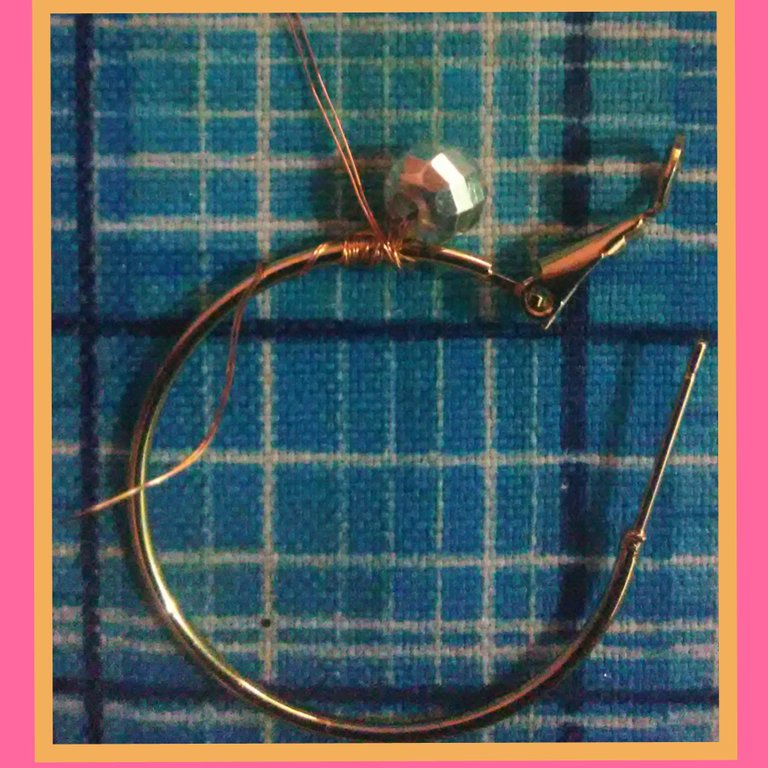
Segundo Paso:
Una vez que se ha insertado la perla gris en el alambre de cobre se procede a ajustar la perla sobre la argolla de tal forma que se teje o se inserta varias veces el material de alambre de cobre por entre el agujero de la perla, en este caso yo realicé 5 vueltas por el agujero de la perla. Es muy importante ajustarla bien, ya que no pueden quedar flojas las perlas. De esta forma se vuelve a colocar la segunda perla gris.
Tercer Paso:
Se procede a insertar la perla rosada pequeña sobre la argolla e igualmente con la ayuda del almabre de cobre se ajusta sobre el arate. Luego se inserta la perla Blanca en la argolla.
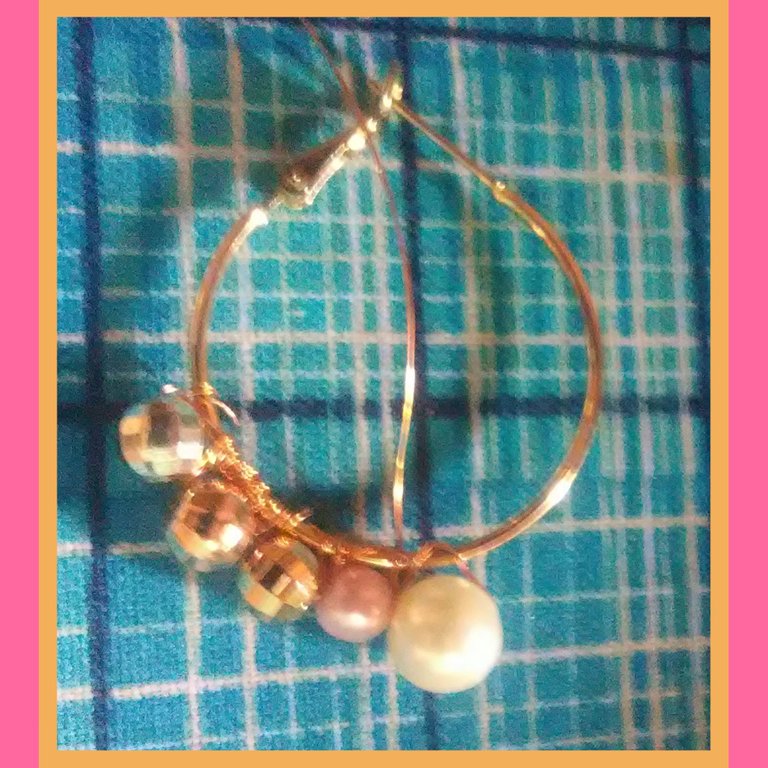
Cuarto paso:
Relaizamos el mismo procedimiento, pero a ahora a la inversa, es decir, se insertará una perla rosada y luegos las dos grises. Cupajustando siempre por entre los agujeros de las perlas y el arete.
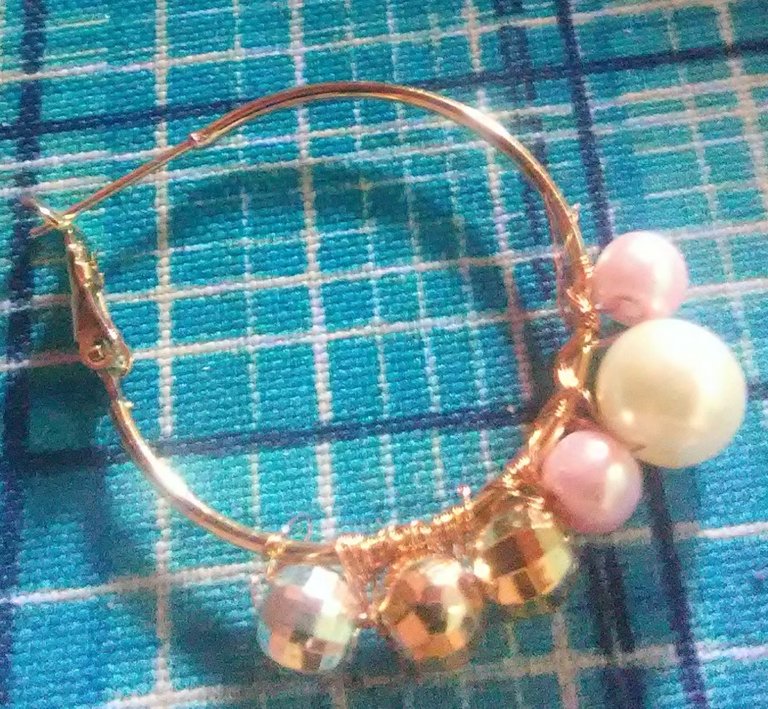
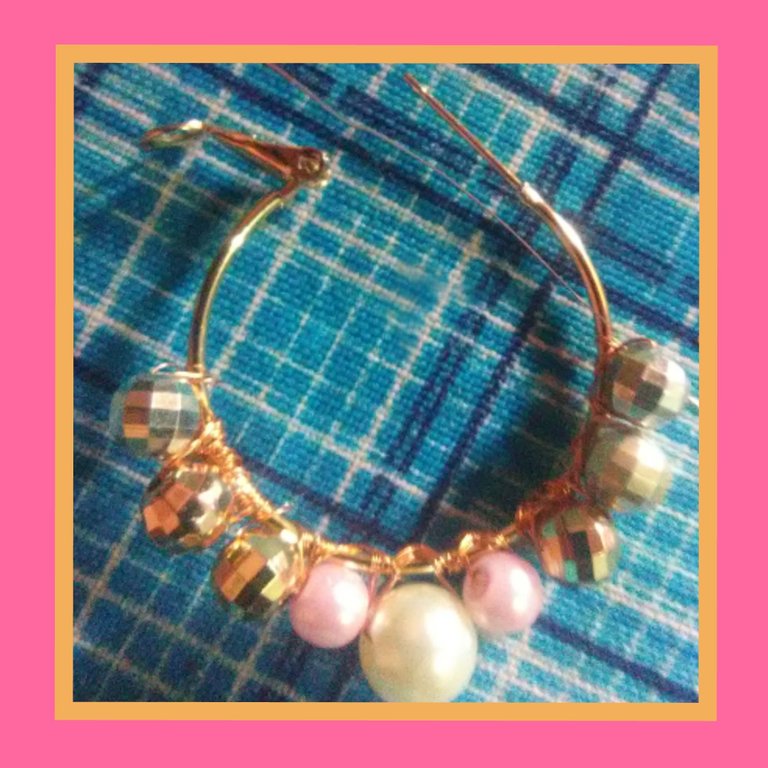
Nota: Es importante asegurar que la perla blanca quede justo en el medio de la figura circular de las argollas. y asegurar la firmeza de las perlas con el alambre, al finalizar con la ultima perla se hace dos nudos para evitar que las perlas se salgan de los aretes
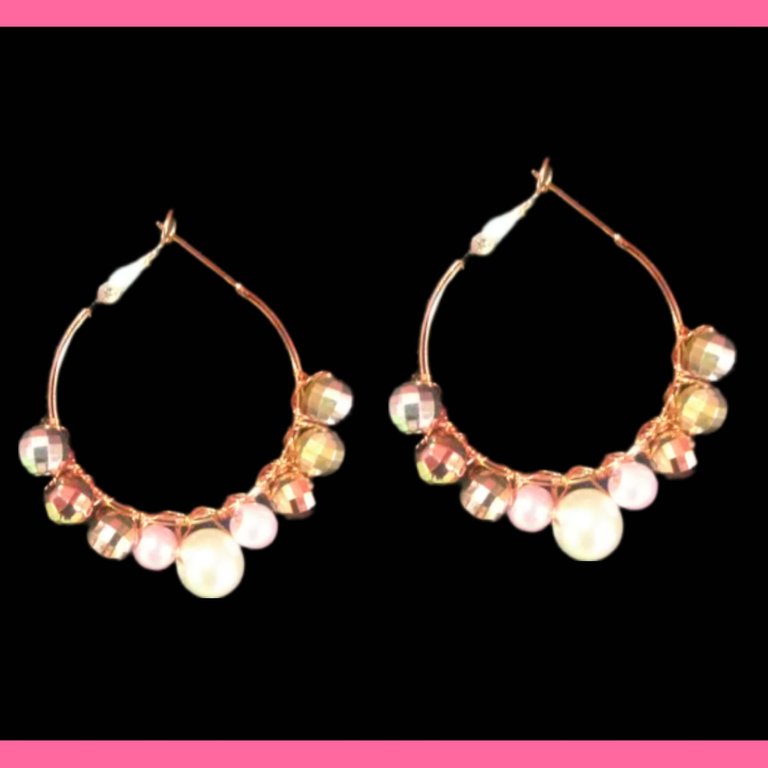
Es asi que hemos decorado las argollas con simples materiales y con una tecnica muy sencilla para cambiar la apariencia de esas argollas lisas que ya no usas o que deseas renovar. espero les guste la propuesta. saludos amigos!
Traductor utilizado: Deepl
La edicion de las fotos la realicé mediante la aplicaciones Editor de Fotos Polish.
Materials used:
Plain earrings.
6 small gray pearls, 2 small
pink pearls and two large ones.Thin copper wire
First Step:
Take 60 cm of fine copper wire and fold it right in half to wind it in the rings, give it only 2 turns and proceed to put one of the small gray pearls.
Second step:
Once you have inserted the gray pearl in the copper wire proceed to adjust the pearl on the ring in such a way that you weave or insert several times the copper wire material through the hole of the pearl, in this case I made 5 turns through the hole of the pearl. It is very important to adjust it well, since the beads cannot be loose. In this way the second gray pearl is placed again.
Third step:
The small pink pearl is inserted on the ring and also with the help of the copper syringe it is adjusted on the arate. Then the white pearl is inserted on the ring.
Fourth step:
We repeat the same procedure, but now in reverse, that is to say, we will insert a pink pearl and then the two gray ones, always adjusting between the holes of the pearls and the art.
Note: It is important to make sure that the white pearl is right in the middle of the circular shape of the ringsand to assure the firmness of the pearls with the wire, when finishing with the last pearl two knots are made to avoid that the pearls come out of the earrings.
Credits:
The images are of my authorship and were taken through a ZTE BLADE Phone.
Translator used: Deepl
The editing of the photos was done using the Polish Photo Editor application.
Nos encanta la manera como decoraste las argollas lo haces ver simple y sencillo, las piedras utilizadas son hermosas, gran trabajo.
Te recordamos las reglas de la comunidad es más de 1000 palabras en dos idiomas, para tenerlo en cuenta.
Muchas Gracias.
Lo tendré muy en cuenta. Disculpen El error.
Congratulations @divergente1! You have completed the following achievement on the Hive blockchain and have been rewarded with new badge(s):
Your next target is to reach 2250 upvotes.
You can view your badges on your board and compare yourself to others in the Ranking
If you no longer want to receive notifications, reply to this comment with the word
STOPCheck out the last post from @hivebuzz:
Support the HiveBuzz project. Vote for our proposal!
Te han quedado totalmente hermosa, las piedras que seleccionaste hacen que se vean muy elegantes.
Gracias por compartir.
Lo haces ver muy fácil, es por la manera en la que vas explicando todo detenidamente y paso a paso. Se ven sencillos y a la vez lindos y elegantes.