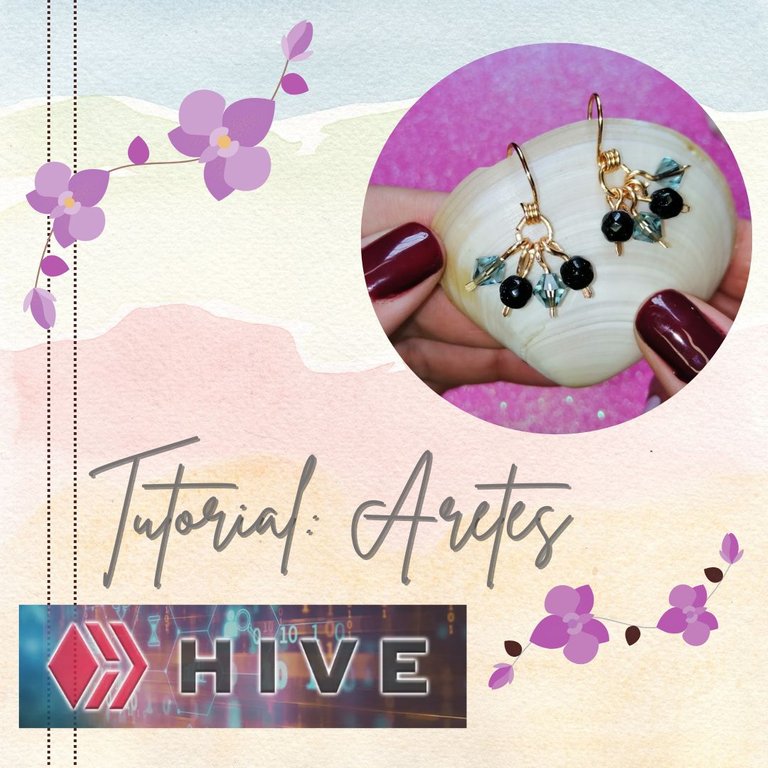
Mis queridos amigos de la Comunidad Jewelry, un placer volver a compartir con todos ustedes un poco de nuestro trabajo creativo.
El día de hoy, quiero mostrarles el paso a paso de unos zarcillos bonitos, delicados, económicos y fáciles de realizar, sólo debes adaptar los complementos y pronto estarás luciendo fantástica.
"No matter how far away we are, we will always find our way home and to our heart" My dear friends of the Jewelry Community, it's a pleasure to share with you all a little bit of our creative work.
Today, I want to show you the step by step of some beautiful, delicate, economical and easy to make earrings, you only have to adapt the accessories and soon you will be looking fantastic.
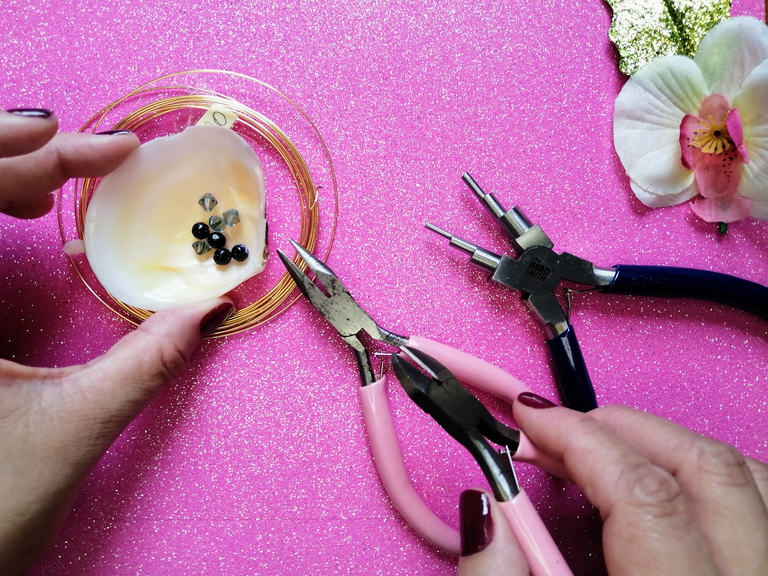
Materiales
- Pinzas de bisutería (corte, plana, redonda - o mandril -)
- Alambre de bisutería Nº 18 y 20
- Cuatro (04) cristales de Swarosvki 4mm
- Cuatro (04) piedras naturales (lluvia de plata) de 4mm
- Lima
Materials
- Costume jewellery pliers (cut, flat, round - or mandrel -)
- Fashion jewellery wire #18 and #20
- Four (04) 4mm Swarosvki crystals
- Four (04) 4mm natural stones (silver rain)
- Lime
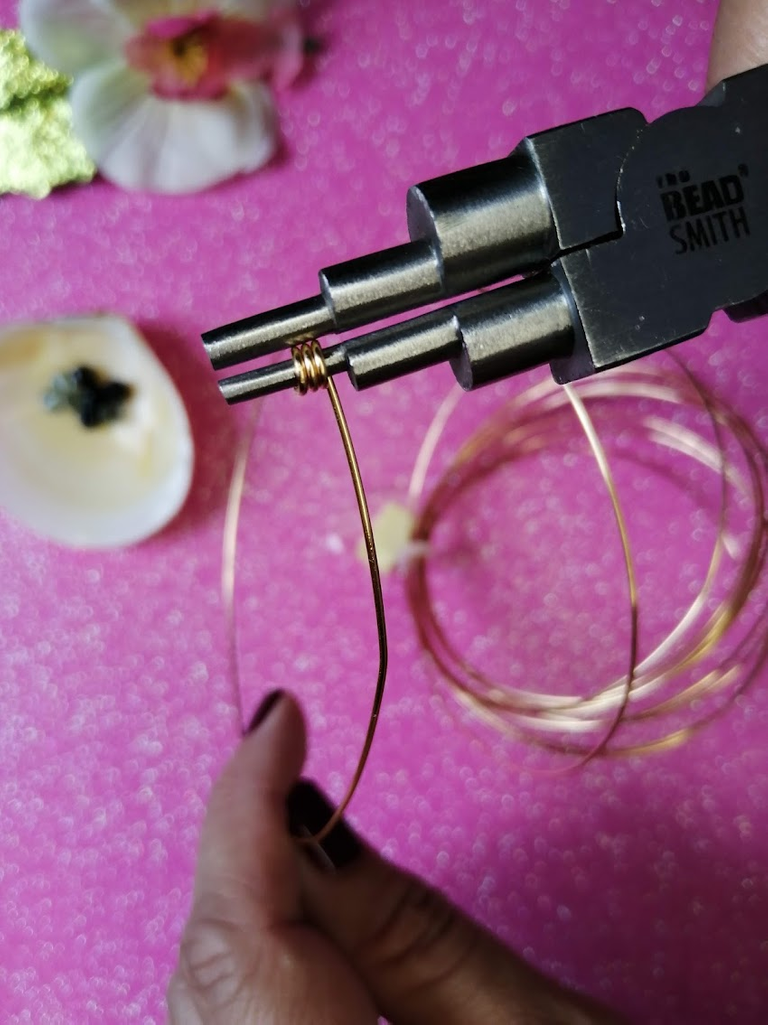
Paso a paso:
Con el extremo del hilo de bisutería Nº 20, envolvemos nuestra pinza redonda o mandril (en la posición 1) hasta alcanzar tres (03) vueltas.
Step by step:
With the end of the costume jewellery thread # 20, we wrap our round clip or mandrel (in position 1) until we reach three (03) turns.
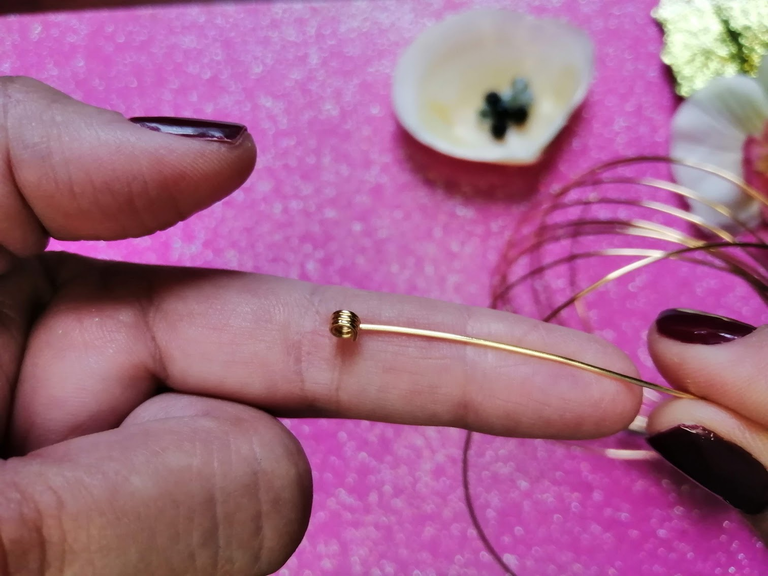
Luego, posicionamos nuestro hilo tal como se ve en la imagen, ésta será la medida promedio para la base de nuestros zarcillos.
Then, we position our thread as shown in the picture, this will be the average size for the base of our tendrils.
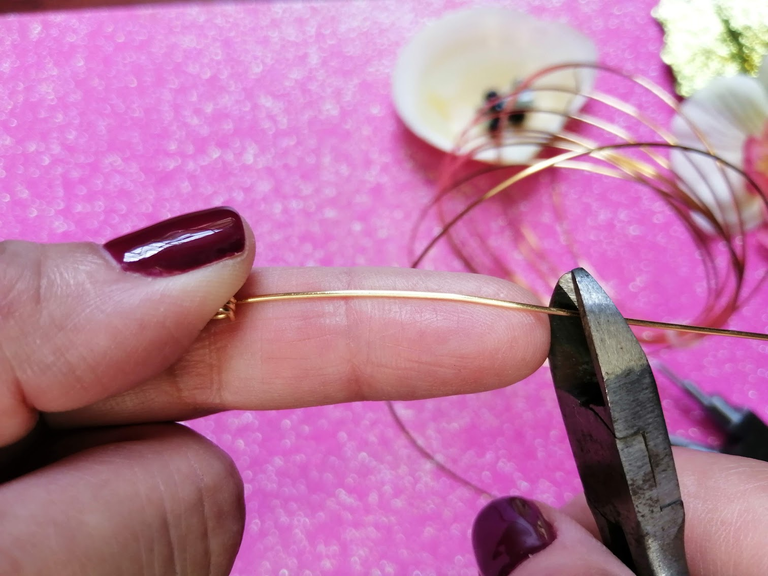
Cortamos nuestro hilo con la pinza de corte.
We cut our thread with the cutting pliers.
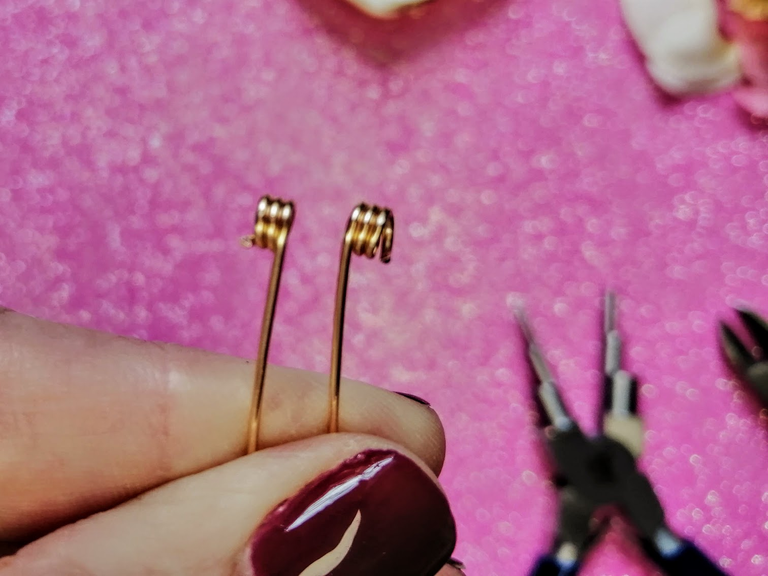
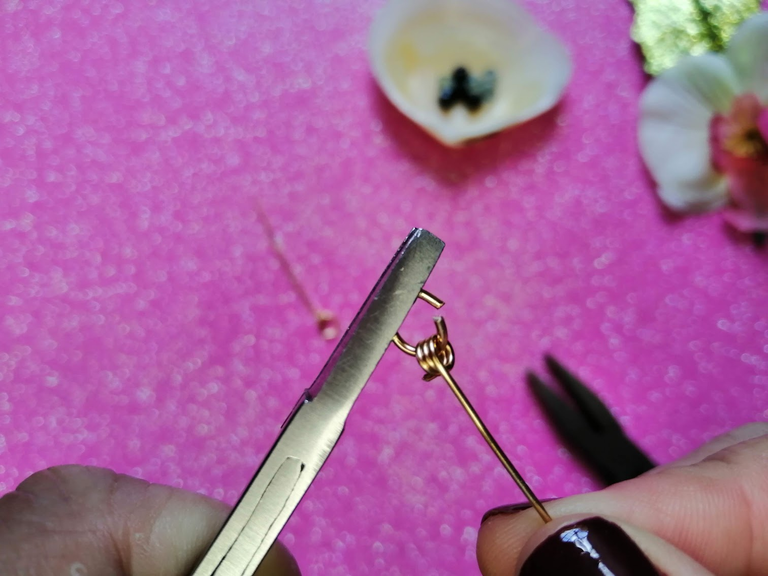
Repetimos el primer paso, pero debemos tener precaución de realizar los giros del lado contrario, a fin de conseguir éste efecto.
We repeat the first step, but we must be careful to make the turns on the opposite side, in order to achieve this effect.
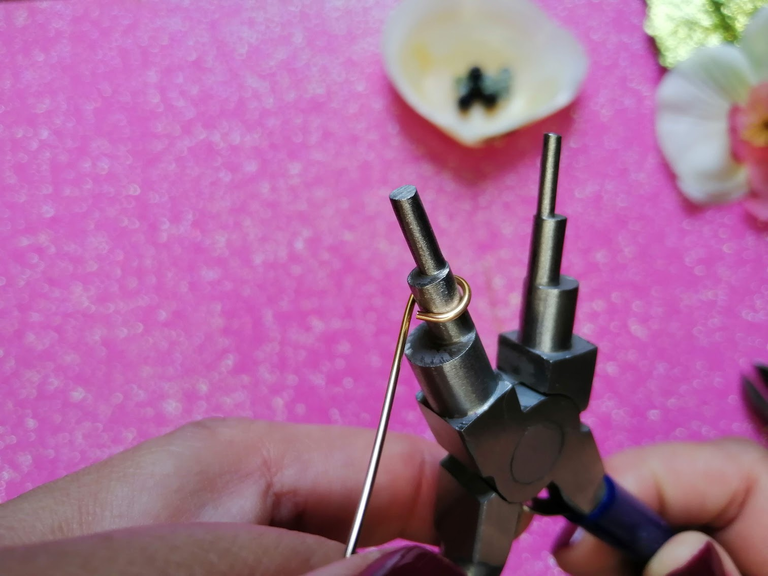
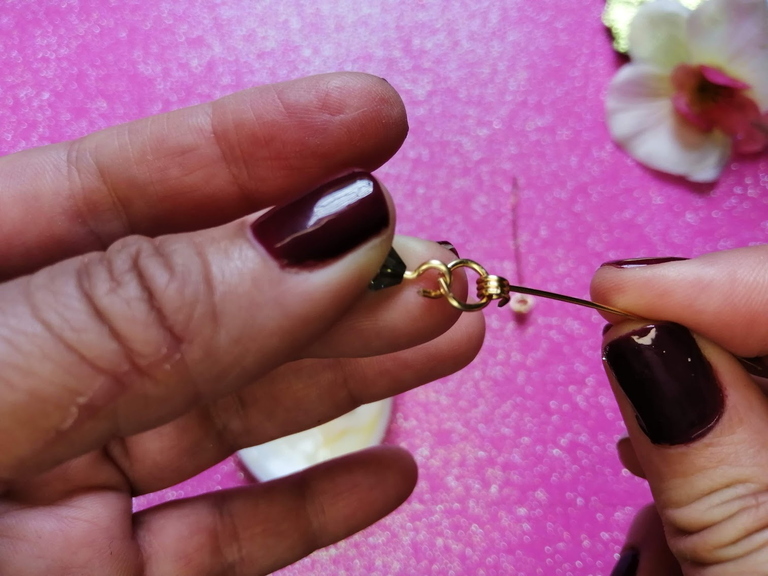
Ahora, tomamos alambre de bisutería Nº 18 por el extremos y realizamos un aro simple.
Now, we take the Nº 18 bijouterie wire by the ends and we make a simple ring.
Cortamos con ayuda de nuestra pinza de corte recto (puedes utilizar un corta uñas, así el corte será más recto y preciso).
We cut with the help of our straight cut tweezers (you can use a nail clipper, so the cut will be straighter and more precise).
Ahora, vamos a unir nuestras piezas iniciales en el aro.
Now, let's put our initial pieces together in the hoop.
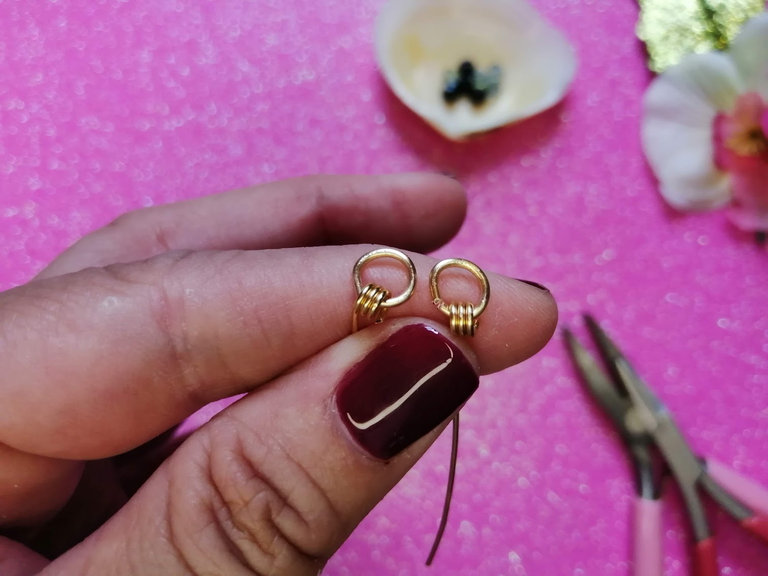
Deben quedar de ésta manera:
They should look like this:
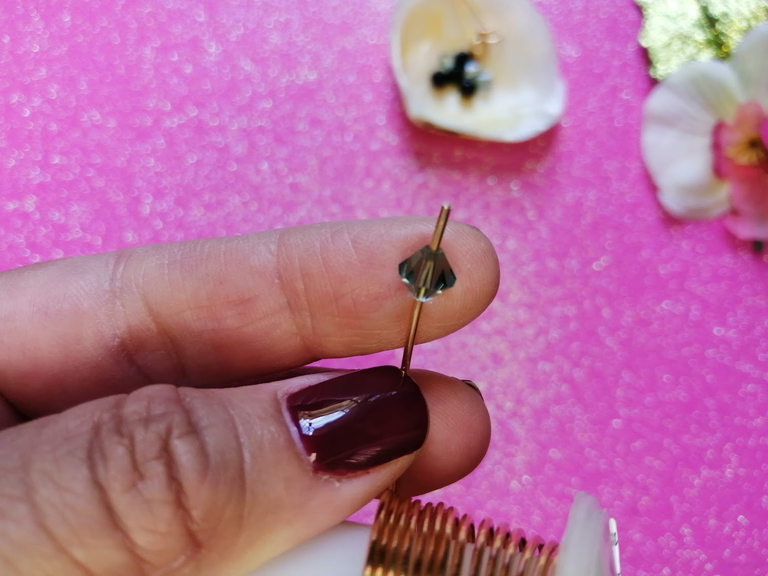
Ahora es el momento de introducir los cristales y piedras naturales en el hilo de bisutería Nº 18, para darle firmeza a la pieza y evitar que se salgan de la base en el futuro.
Now it is time to insert the crystals and natural stones in the Nº 18 jewellery thread, to give firmness to the piece and prevent them from coming off the base in the future.
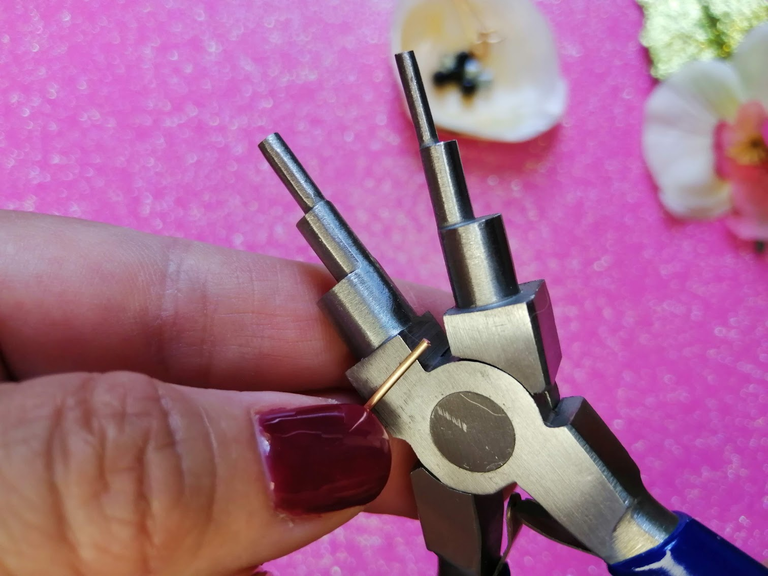
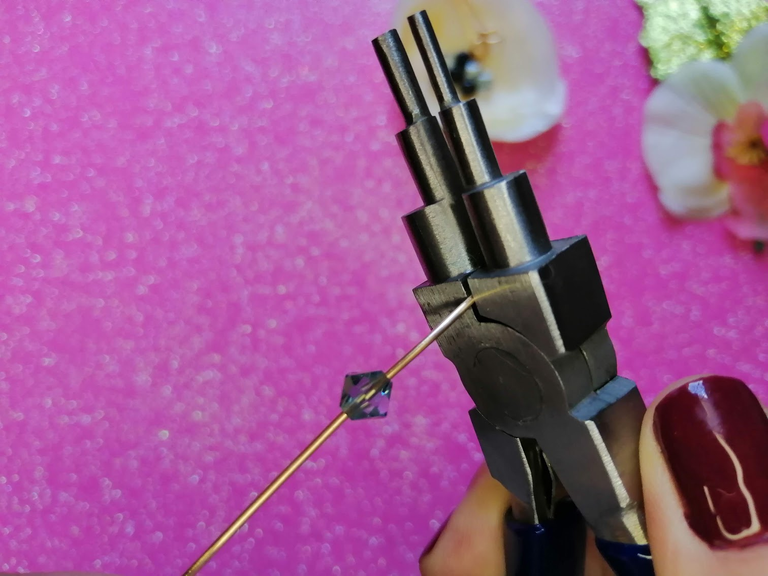
Truco en proceso 1/3
Tomamos el extremo del hilo donde colocamos nuestro cristal y lo colocamos en medio de la base de la pinza.
Trick in process 1/3
We take the end of the thread where we place our crystal and we place it in the middle of the base of the clamp.
Truco en proceso 2/3
Con mucha firmeza apretamos el hilo de bisutería
Trick in process 2/3
Tighten the jewellery thread very firmly.
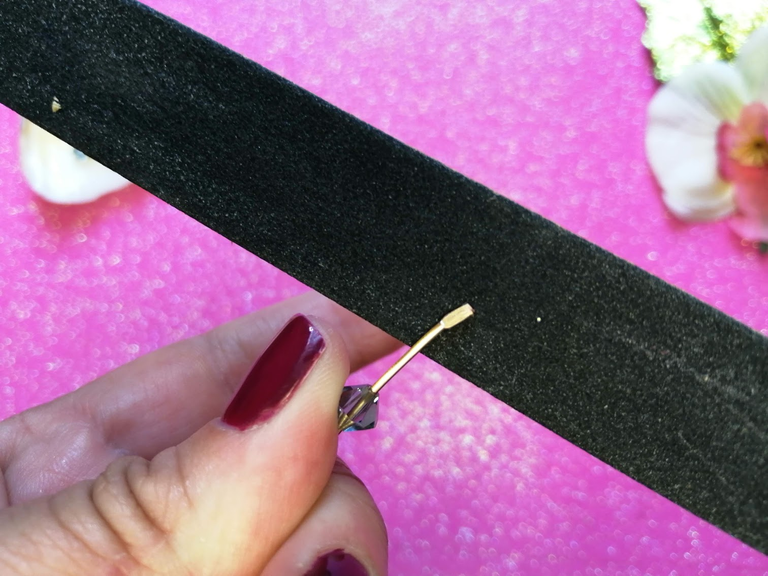
Truco en proceso 3/3
Es momento de pulir el extremo con una lima, podemos rebajar y redondearlo, para evitar que lastime nuestra piel.
Truco en proceso 3/3
Es momento de pulir el extremo con una lima, podemos rebajar y redondearlo, para evitar que lastime nuestra piel.
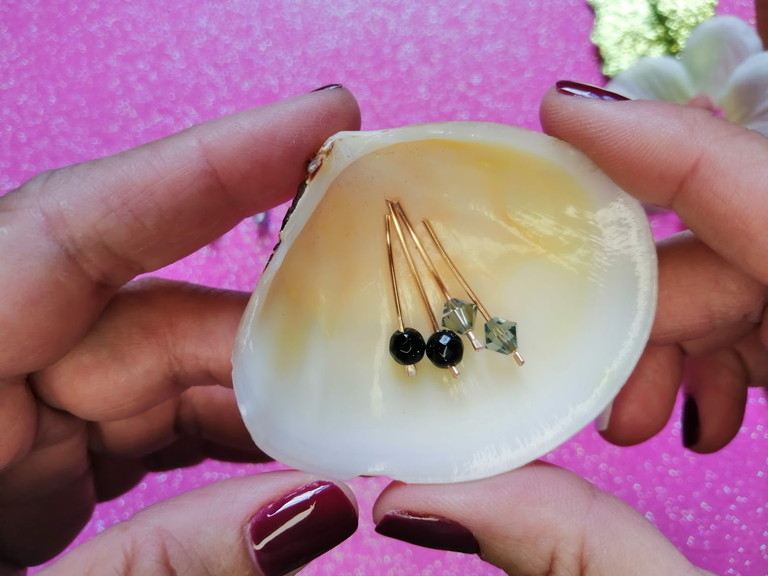
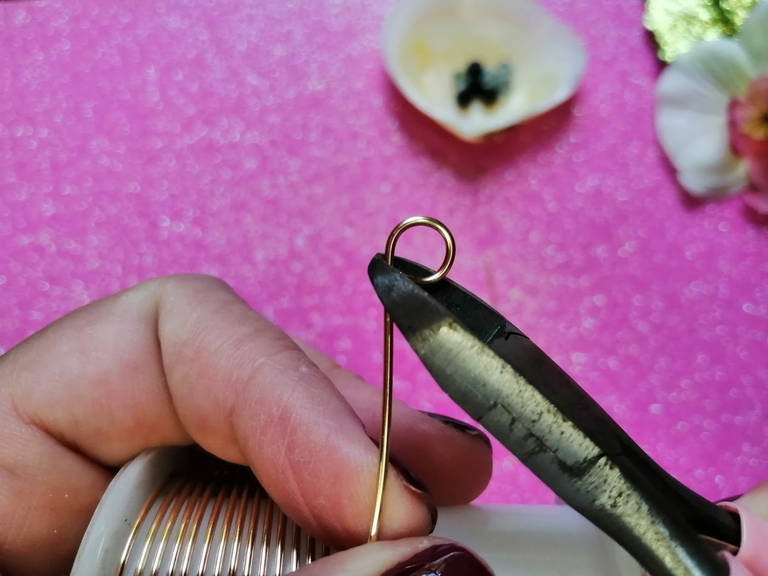
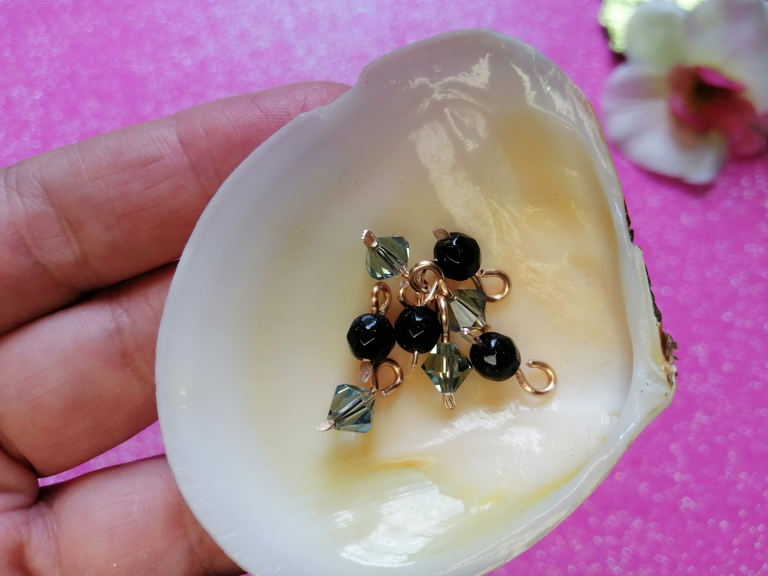
Ya que tenemos todos los cristales y piedras en sus alfileres, procedemos a realizar un aro en la parte superior, con ayuda de una pinza redonda.
Once we have all the crystals and stones on their pins, we proceed to make a ring at the top, with the help of a round tweezers.
Reservamos todos los adornos, ya estamos a punto de hacer "magia".
We put all the decorations aside, we are about to make "magic".
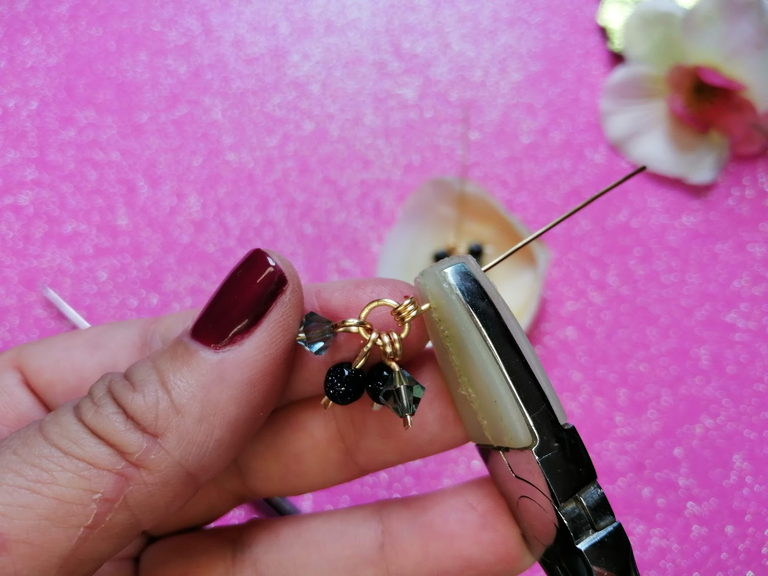
Tomamos la base de los zarcillos que hicimos al principio y vamos colocando cada uno de los cristales, bien sea de manera aleatoria o siguiendo una secuencia, como más te guste.
We take the base of the tendrils we made at the beginning and we place each of the crystals, either randomly or following a sequence, as you like.
Aseguro muy bien todas las piezas dentro de la argolla, observen que lindo se ve.
I secure all the pieces very well inside the ring, see how nice it looks.
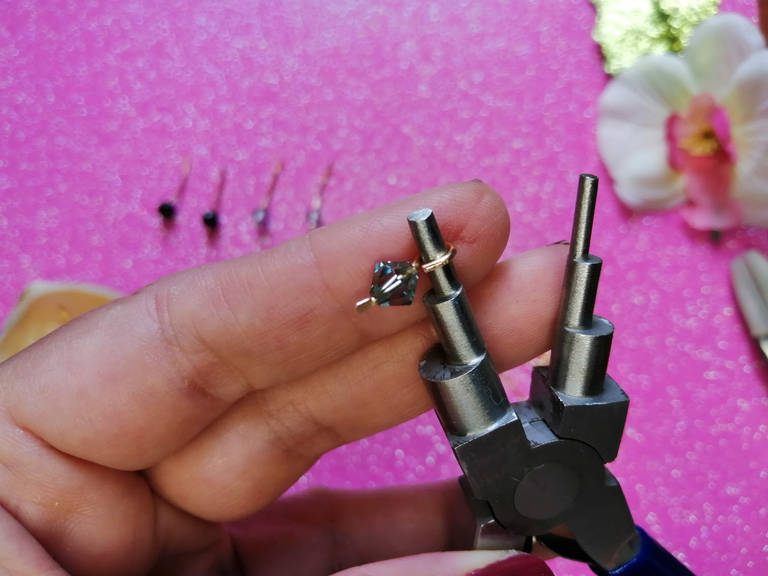
Ahora, con ayuda de una herramienta redonda, vamos a dar la forma de arete a nuestro alfiler base.
Now, with the help of a round tool, we will shape our base pin into the shape of an earring.
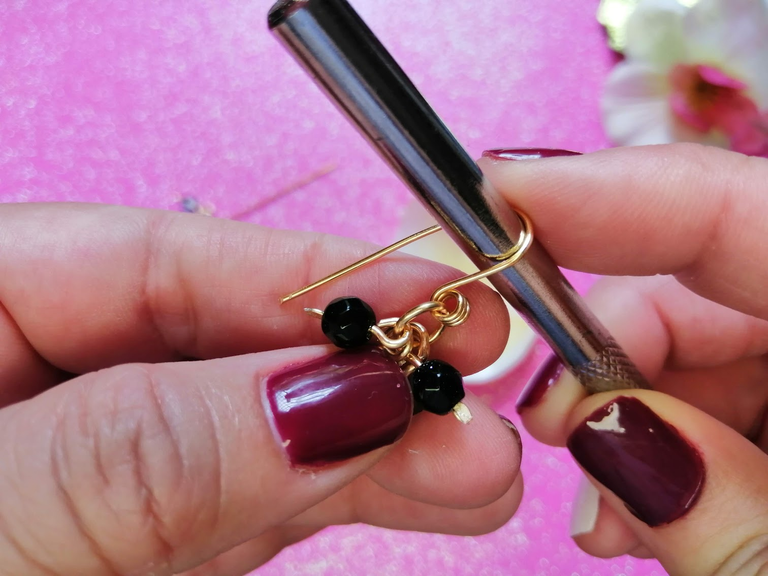
Recuerda ejercer algo de presión a nuestro alambre (nro. 22), realizamos lo mismo con el otro arete, para que ambos queden de igual tamaño.
Remember to apply some pressure to our wire (no. 22), do the same with the other earring, so that both are the same size.
Cortamos y realizamos un ligero pliegue en las puntas, verifica que no quede puntiagudo (si no, aplica el truco que te mostré antes)
Cut and make a slight crease at the ends, check that it is not sharp (if not, apply the trick I showed you before).

Sólo resta nivelar nuestros aretes con la pinza de corte recta, recuerda, que puedes limar los extremos, para evitar lastimarnos en el momento de colocarlos.
All that remains is to level our earrings with the straight cutting pliers, remember, you can file the ends, to avoid hurting us at the moment of putting them on.
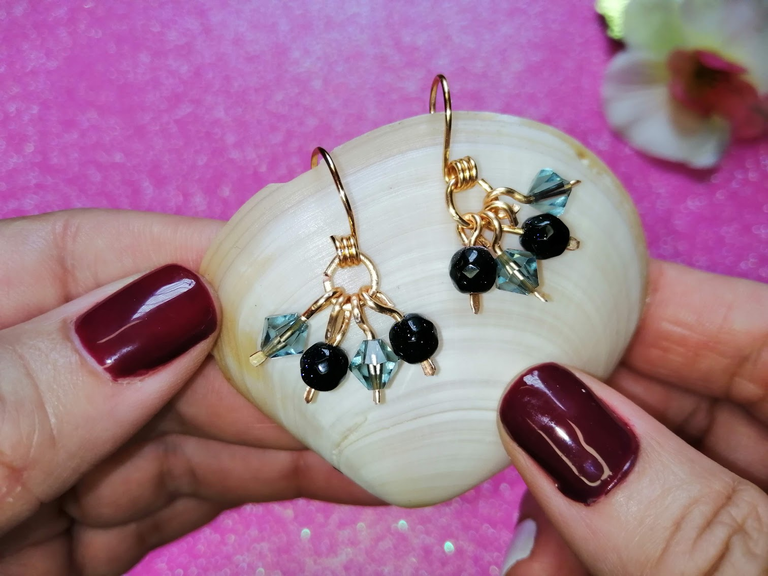
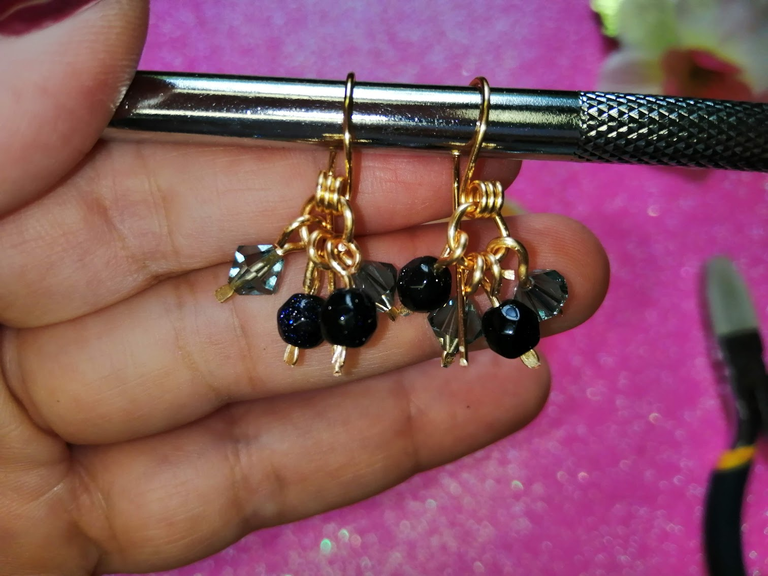
¡Enhorabuena!
¡El resultado de nuestro paso a paso, ha llegado!
Congratulations!
The result of our step by step, has arrived!
Una vez más gracias por visitarme, me encantaría saber si te gustó el tutorial y mucho más, si lo realizaste; es por ello que aprecio muchísimo tu comentario.
Amigos, ¡Espero verles muy pronto en una próxima publicación!
Once again thank you for visiting me, I would love to know if you liked the tutorial and even more, if you made it; that's why I really appreciate your comment.
Friends, I hope to see you very soon in a future post!
©️ 2022, @leticiapereira
📷 HuaweiY9
🇺🇸 🇻🇪 Translated with Deepl
The rewards earned on this comment will go directly to the people( @lanzjoseg ) sharing the post on Twitter as long as they are registered with @poshtoken. Sign up at https://hiveposh.com.
Con el apoyo de la familia.
Trail de TopFiveFamily
Hola amiga están bellos y nos explicas muy bien como intentarlo, he realizado unos parecidos anteriormente, en lo que pueda estaré subiendo unos también, gracias por la idea de la lima no se me había ocurrido limar las puntas. Me gustó tu blog 😌
Muchas gracias por tu hermoso comentario @nayed; desde ya estoy pendiente para tus publicaciones amiga!
Es bueno volver a verte por aquí amiga @leticiapereira y más con un lindo tutorial, muy bien explicado el paso a paso y muy sencillo de realizar, excelente trabajo 👏
¡Muchas gracias!, Es un placer volver a compartir con ésta creativa y hermosa comunidad!
Muchas gracias por el apoyo!
Que aretes tan hermosos 😍 con ese mismo diseño tengo una pulsera y me gusta como se ven...lastima que no tengo las pinzas especiales de bisuteria..gracias por mostrarnos este tutorial con algunos tips @leticiapereira lo hiciste ver súper fácil. Un saludito bella!!!💕✨
Gracias por visitarme y por el apoyo!!, estoy por hacer un tutorial con pinzas normales, a ver cómo queda! Feliz día amiga!!
Que belleza amiga @leticiapereira. De verdad que trabajo tan bien hecho, súper delicado, me encantaron las piedras que usaste, los colores y la perfección de las formas con el alambre. felicidades y gracias por compartir tan bonito trabajo... Saludos ✨
¡Muchas gracias por el apoyo y el comentario tan bonito!, ¡Feliz y bendecido día amiga!
Congratulations @leticiapereira! You have completed the following achievement on the Hive blockchain and have been rewarded with new badge(s):
Your next target is to reach 45000 upvotes.
You can view your badges on your board and compare yourself to others in the Ranking
If you no longer want to receive notifications, reply to this comment with the word
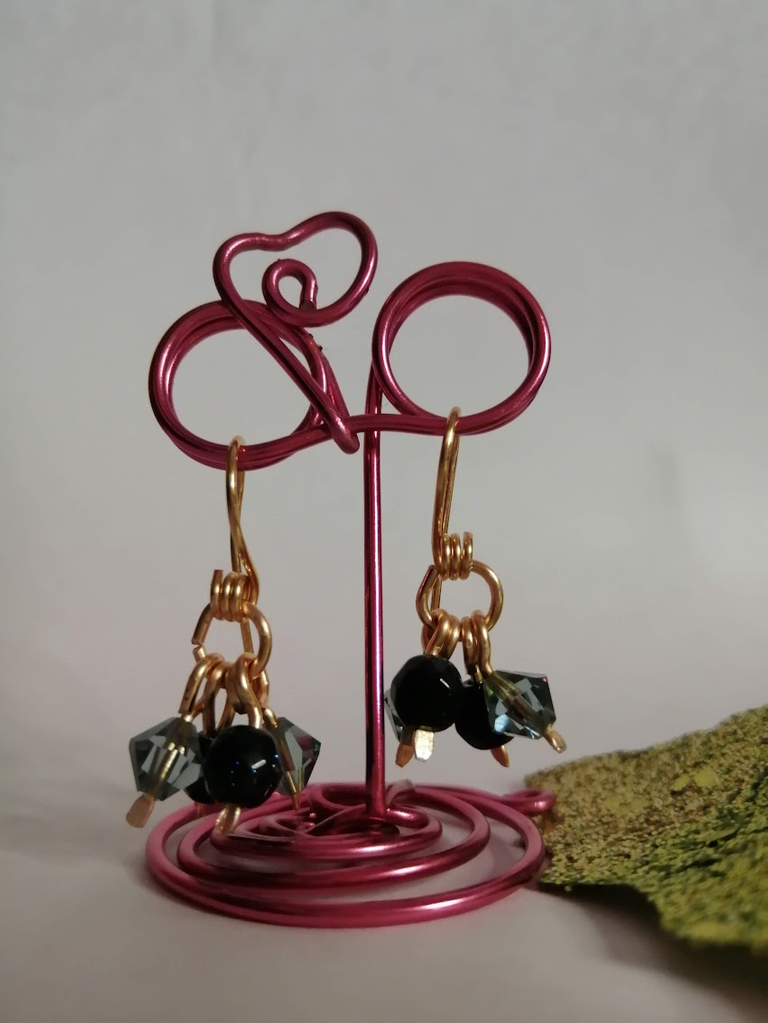
STOPQué bonito trabajo, con todo y exhibidor, @leticiapereira
Muchas Gracias @josegilberto, ¡es un gusto recibir mensajes de apoyo! ¡Feliz y bendecido día!
Dear @leticiapereira,
May I ask you to review and support the new proposal (https://peakd.com/me/proposals/240) so I can continue to improve and maintain this service?
You can support the new proposal (#240) on Peakd, Ecency,
Thank you!