Hoy les mostraré como elabore un clásico dije del signo de Sagitario en plata, que luce muy elegante y representativo en cualquier cadena o collar, desde mi punto de vista es una buena opción para regalar o para uso personal.
Lo mejor de todo es que este es un trabajo relativamente sencillo y rápido de hacer, si tienes algo ya de práctica con la técnica de calado o corte de lámina de metal para joyería.
Estas son algunas de las cosas que use:
🦁 Lámina de plata 0,7 mm
🦁 Arco de segueta y pelos de segueta 2/0
🦁 Lijas 3M de número 220, 340 y 400
🦁 Limas de joyería
🦁 Astillero de Madera o superficie plana con forma de V para hacer los cortes.
🦁 Dremel y motor de banco.
🦁 Fresa de 0,7 mm y Porta lijas.
🦁 Mopa de pulir y cera de pulir para joyería.
🦁 Argollas de plata.
PROCESO
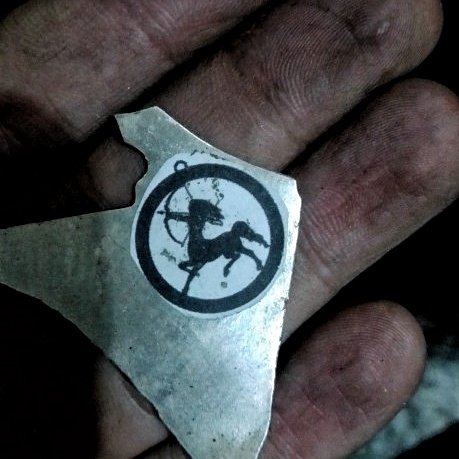
Pegue la impresión en la lámina de plata, use pega de barra, que es la que recomiendo porque se aplica más fácilmente, se mantiene adherido cuando se hace él corte y al final puedes retirarlo sin problemas, igualmente siempre es recomendable pasarle lija a la lámina para quitar grasa y así se adhiera mejor el papel.

Con el Dremel y utilizando la fresa de 0.7 mm abrí los huecos en la parte interna del dibujo del dije de sagitario.
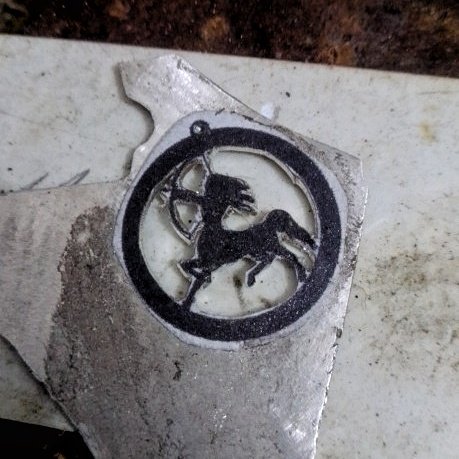
Con la el arco de segueta corté la parte interna del dije, empleando las sierras 2/0, como ven el corte no fue perfecto, tiene algunos detalles por corregir, a veces en el momento no se nota en parte porque la pieza en si es de 2 cm y también porque es mejor corregir después de quitado el dibujo.
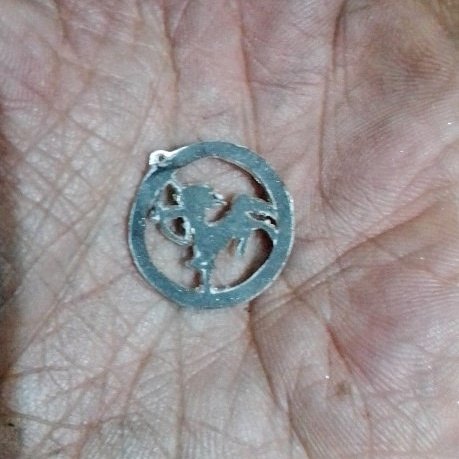
Procedo a cortar por la silueta exterior de la pieza, usando igual el arco de segueta y la sierra 2/0.

Así queda después de retirar el dibujo de la lámina, hay detalles que corregir con la segueta, sobre todo lo más evidente es el área del brazo y el arco, una vez superado esto se procede a lijar con el Dremel y usando las lijas consecutivas desde la número 220, pasando por la 340 y finalizando con la 400, que tiene el grano más fino y es el paso anterior a pulir.
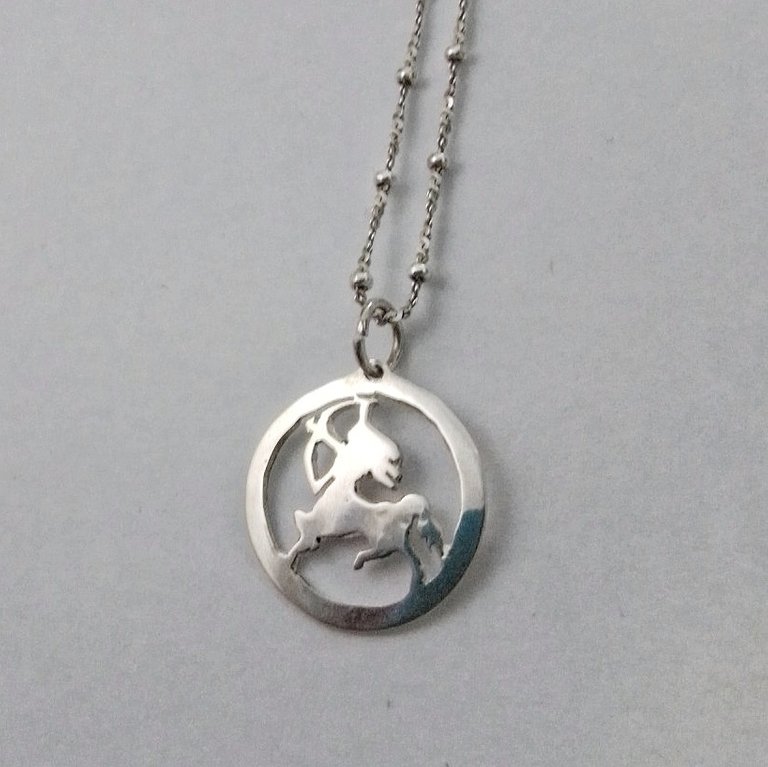
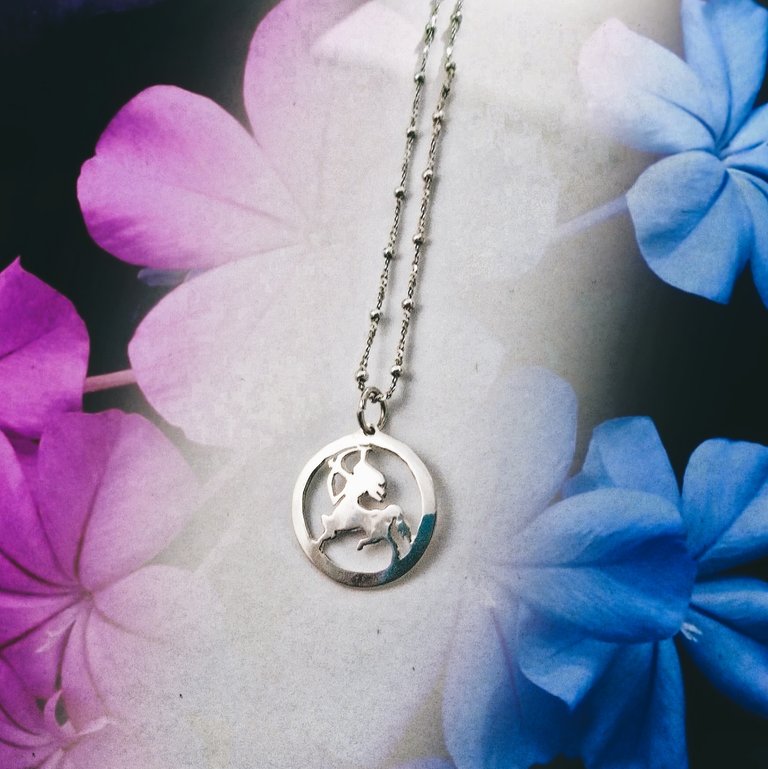
Arriba pueden apreciar la pieza culminada, pero antes paso por el proceso de pulido, este lo hice con el motor de banco que es más potente que el Dremel y emplee la mopa especial de tela de algodón y cera de pulir para joyería; una vez terminado le coloque la argolla de plata, la cual deje abierta por si la persona deseaba colocarlo dentro de los eslabones de una pulsera lo pudiera hacer, esto es como ejemplo.
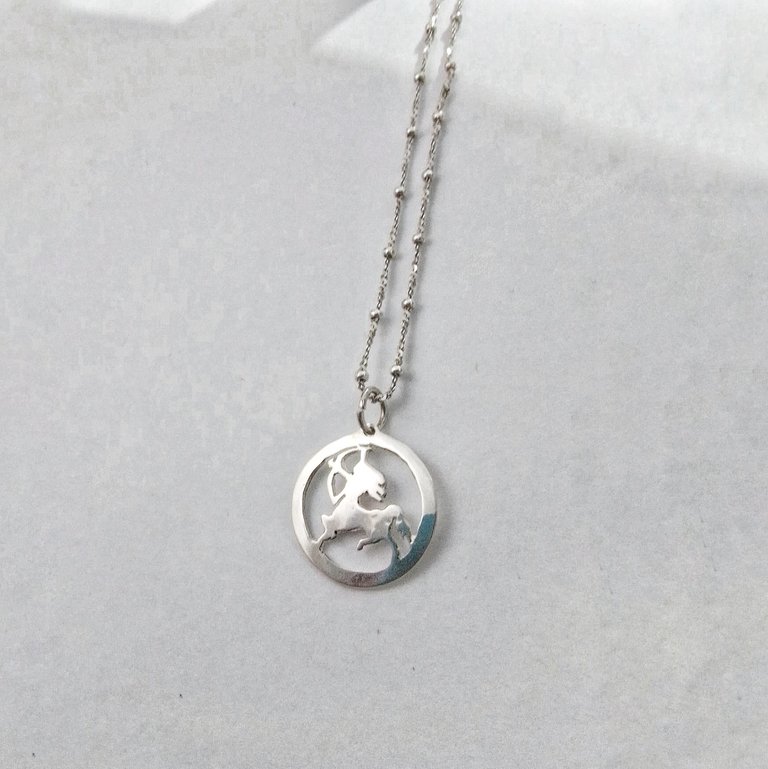
La foto de la pieza es la misma a más distancia y aquí se aprecia mejor como luce el dije con una cadena.
Así queda la fotografía para las redes sociales, después de editarla con Picsart, espero les haya gustado la pieza, la descripción de los procesos y que algo de aprendizaje se hayan llevado.
Gracias por el apoyo y puedes conocer o ver más de mi trabajo en Instagram.
https://www.instagram.com/m16ueljoyas/
//////////
English version / google translator
///////
Today I will show you how to make a classic silver Sagittarius pendant, which looks very elegant and representative on any chain or necklace, from my point of view it is a good option to give as a gift or for personal use.
Best of all, this is a relatively simple and quick job to do, if you already have some practice with the technique of cutting or cutting sheet metal for jewelry.
These are some of the things I used:
🦁 Silver foil 0.7 mm
🦁 Hacksaw bow and hacksaw hairs 2/0
🦁 3M sandpaper number 220, 340 and 400
🦁 Jewelry Files
🦁 Wood Shipyard or V-shaped flat surface to make the cuts.
🦁 Dremel and bench engine.
🦁 0.7 mm strawberry and sandpaper holder.
🦁 Polishing mop and polishing wax for jewelry.
🦁 Silver rings.
PROCESS
Paste the print on the silver sheet, use stick glue, which is the one I recommend because it is applied more easily, it remains adhered when the cut is made and in the end you can remove it without problems, it is also always advisable to sand the sheet to remove grease and thus better adhere the paper.
With the Dremel and using the 0.7 mm cutter I opened the holes on the inside of the drawing of the sagittarius pendant.
With the hacksaw bow I cut the inner part of the pendant, using the 2/0 saws, as you can see the cut was not perfect, it has some details to correct, sometimes at the moment it is not noticed in part because the piece itself is of 2 cm and also because it is better to correct after removing the drawing.
I proceed to cut through the outer silhouette of the piece, using the hacksaw bow and the 2/0 saw.
This is how it looks after removing the drawing from the sheet, there are details to correct with the hacksaw, especially the most obvious is the area of the arm and the arch, once this is overcome, proceed to sand with the Dremel and using consecutive sandpaper from number 220, going through 340 and ending with 400, which has the finest grain and is the step before polishing.
Above you can see the finished piece, but before I go through the polishing process, I did this with the bench motor that is more powerful than the Dremel and I used the special mop of cotton cloth and polishing wax for jewelry; Once finished, place the silver ring on it, which I left open in case the person wanted to place it inside the links of a bracelet, they could do it, this is as an example.
The photo of the piece is the same at a greater distance and here you can better see how the pendant looks with a chain.
This is how photography looks for social networks, after editing it with Picsart, I hope you liked the piece, the description of the processes and that you have learned something.
Thanks for the support and you can learn or see more of my work on Instagram.
Bellísimo amigo @m16uellop.Todos los dijes que haces son espectaculares, sabes que me encantan. Éxitos para ti. Saludos...✨
gracias amiga trato de hacer lo mejor posible
Excelente trabajo, el calado parece muy sencillo de realizar ya que no hay muchos orificios, que bonito se ve en plata, un trabajo muy hermoso realizaste con el dije de sagitario.
🤗 gracias
Hola. Te quedó muy bien, me encanta como se ve la figura en el dije. Los ssgitarianos querrán tener uno.
¡Saludos!
Si.... Se ve super bien a pesar de que es muy sencillo y chiquito.... Debo publicarlo en mi ig
Thank you for sharing this post on HIVE!
Your content got selected by our fellow curator desro & you just received a little thank you upvote from us for your great work! Your post will be featured in one of our recurring compilations which are aiming to offer you a stage to widen your audience within the DIY scene of Hive. Next time make sure to post / cross-post your creation within the DIYHub community on HIVE and you will receive a higher upvote ;) Stay creative & HIVE ON!
thank you this news is fabulous, I will review your community. For me it is an honor
Thank you for sharing this post in the DIYHUB Community!
Your content got selected by our fellow curator tibfox & you just received a little thank you upvote from us for your great work! Your post will be featured in one of our recurring compilations which are aiming to offer you a stage to widen your audience within the DIY scene of Hive. Stay creative & HIVE ON!
Que hermoso trabajo, @m16uellop, si fuera aries sería más espectacular; jajaja mentira está perfecto, saluditos.
yo soy aries
Jajaja, por eso te mencioné el signo porque yo soy aries, pero te quedó espectacular, como todo lo que haces!
The rewards earned on this comment will go directly to the people( @m16uellop ) sharing the post on Twitter as long as they are registered with @poshtoken. Sign up at https://hiveposh.com.
Excelente trabajo amigo, de unos años para acá me ha estado llamando la atención los accesorios y los collares son algo que siempre veo y me han gustado. Te atreverías a hacer la cruz quincy? Es dije que suelen usar con un brazalete aunque en collar sería brutal.
Está bellísimo, me encanta tu trabajo ❤️
I love the pendant. You got some talent friend. The tutorial you proved is helping.
De verdad es un trabajo impecable, el León de Leo debe quedar imponente jajajaaj saludos,,,
Gracias tendría que probar