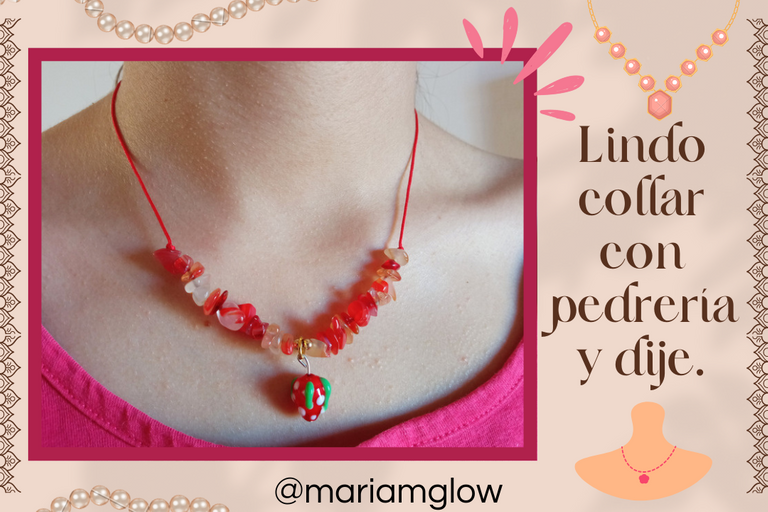
Holaaa chicosss!! Espero que estén pasando un lindo jueves!!✨ Hoy les mostraré el paso a paso para elaborar este lindo collar con pedrería y un abalorio de fresita que tenía en casa el cual convertí en un dije usando unos bastoncitos o alfileres de bisutería. El tipo de pedrería que usé la tenía también en los materiales que uso para realizar accesorios, al principio quería llenar el collar con estas pequeñas piezas, pero luego cambié de opinión. Creo que realicé un buen trabajo porque el resultado me agradó más de lo que pensaba al inicio. Espero que a ustedes les guste tanto como a mí, a continuación les indicaré los materiales que utilicé y cómo lo hice:
Hi guysssss!!! I hope you are having a nice Thursday!!✨ Today I will show you the step by step to make this cute necklace with rhinestones and a strawberry bead that I had at home which I turned into a pendant using some small sticks or jewelry pins. The type of rhinestones I used I also had in the materials I use to make accessories, at first I wanted to fill the necklace with these small pieces, but then I changed my mind. I think I did a good job because the result pleased me more than I thought at the beginning. I hope you like it as much as I do, below I will tell you the materials I used and how I made it:
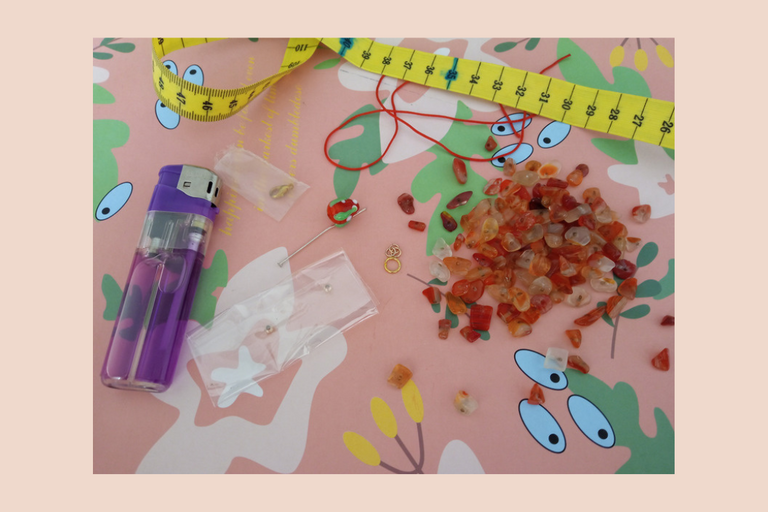
📌 Materiales:
- Hilo chino o macramé, color rojo.
- Pedrería.
- Dije, el de tu preferencia.
- Ganchito de cierre.
- Argollas pequeñas.
- Tijera.
- Encendedor.
- Bastoncito o alfileres de bisutería.
- Pinza.
- Alicate corta alambre de bisutería.
- Balines pequeños.
📌 Materials:
- Chinese thread or macramé, red color.
- Rhinestones.
- Pendant, the one of your preference.
- Hook clasp.
- Small earrings.
- Scissors.
- Lighter.
- Small stick or jewelry pins.
- Tweezers.
- Jewelry wire cutters.
- Small pellets.
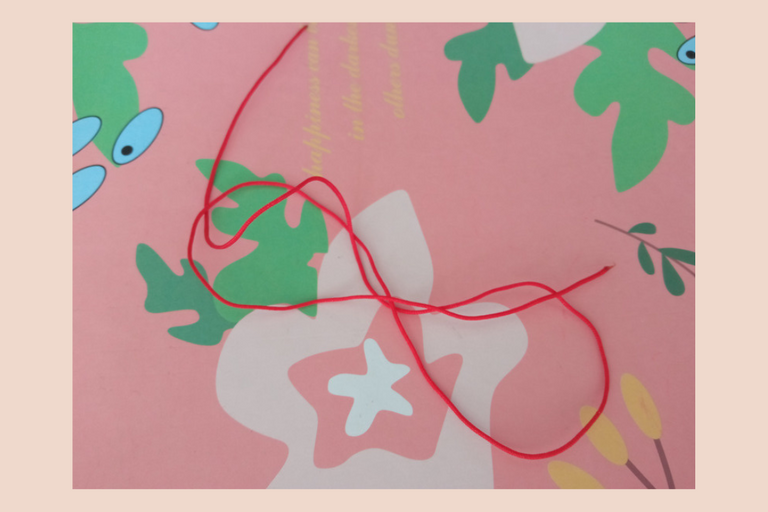
Primero, cortamos un trozo de hilo rojo de 50 centímetros aproximadamente.
First, we cut a piece of red thread of 50 centimeters approximately.
Colocamos un extremo del trozo de hilo en nuestro soporte para elaborar accesorios, y comenzamos a introducir nuestros abalorios.
We place one end of the piece of thread in our support to elaborate accessories, and we begin to introduce our beads.
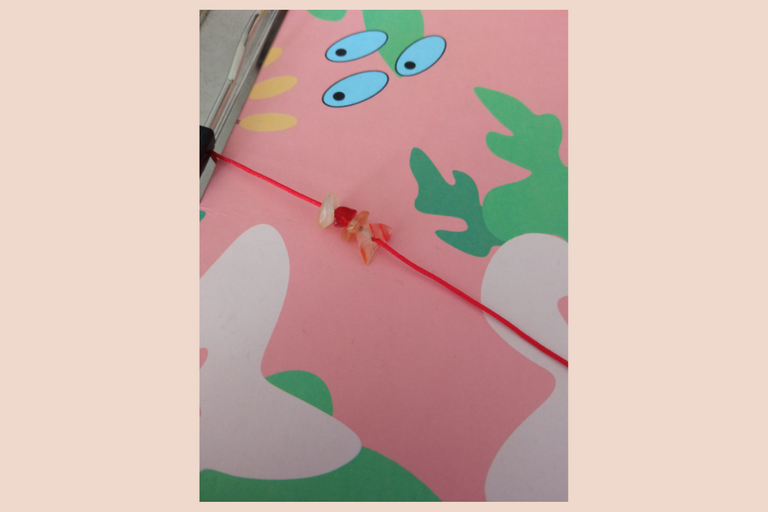
En total introduje 14 abalorios, tenemos que contarlos para colocar la misma cantidad en la otra mitad. Luego insertamos dos balines dorados.
In total I inserted 14 beads, we have to count them to place the same amount on the other half. Then we insert two golden beads.

Después seguimos introduciendo la pedrería, recordemos que son catorce.
Then we continue inserting the rhinestones, remember that there are fourteen.
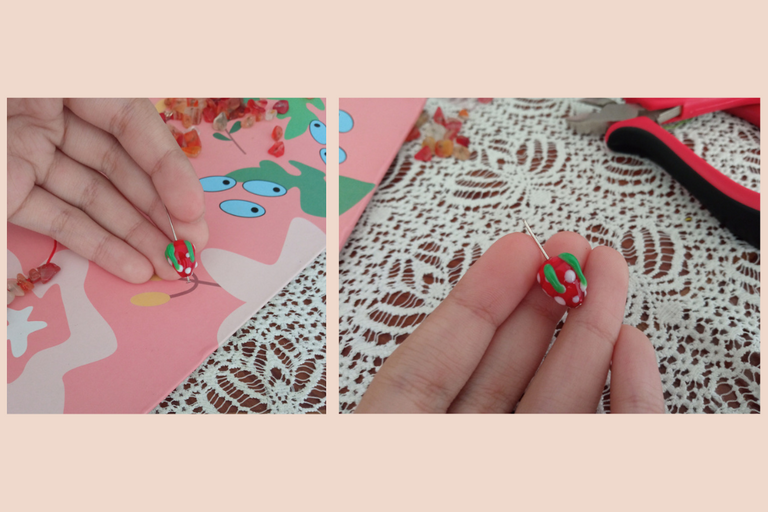
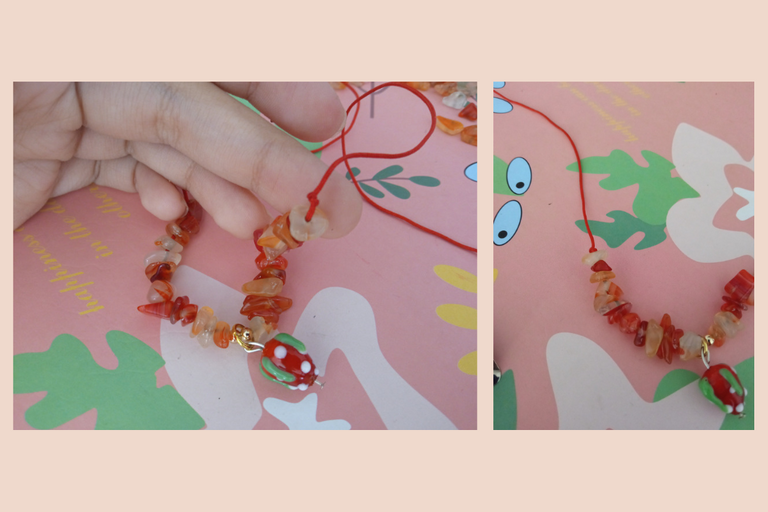
Introducimos nuestro dije en el alfiler de bisutería y con ayuda del alicate cortamos un trozo del bastoncito.
We insert our pendant in the jewelry pin and with the help of the pliers we cut a piece of the cane.
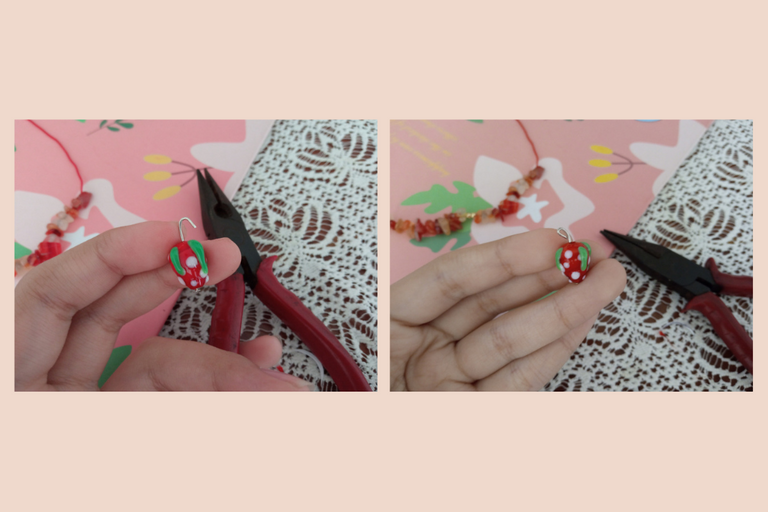
Y con la pinza le damos forma de ganchito para luego insertar la argolla por ese orificio.
And with the pliers we give it the shape of a hook and then insert the ring through that hole.
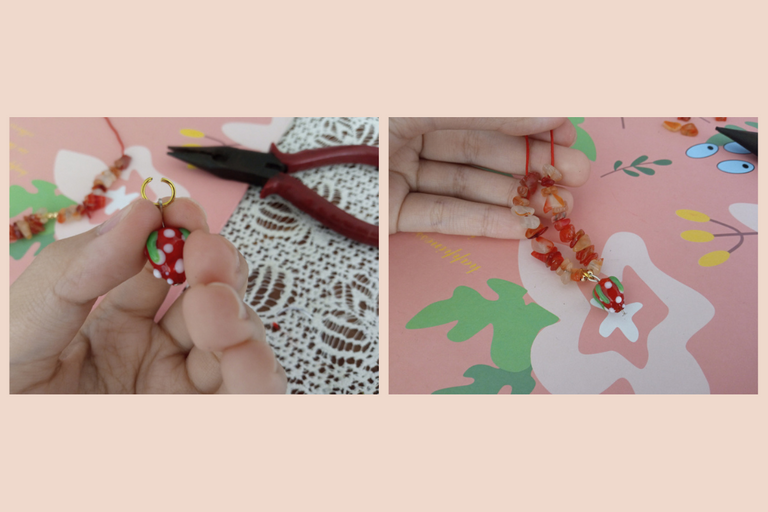
Lo que sigue es pasar la argolla por el centro de los dos balines que colocamos en el centro del collar y cerramos la argolla usando la pinza.
The next step is to pass the ring through the center of the two balls that we placed in the center of the necklace and close the ring using the pliers.
Después, realizamos un nudo simple en cada extremo del último abalorio.
Then, we tie a simple knot at each end of the last bead.
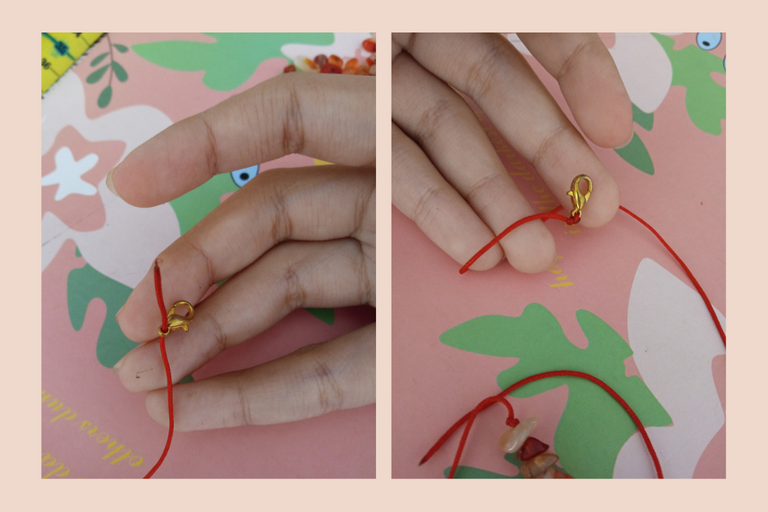
Para cerrar el collar, pasamos un extremo del hilo por el orificio que tiene el ganchito de cierre, realizamos un nudo simple, cortamos el exceso de hilo y quemamos para sellar.
To close the necklace, we pass one end of the thread through the hole in the clasp, tie a simple knot, cut the excess thread and burn to seal.
Hacemos lo mismo con el otro extremo del hilo, pero con las argollas pequeñas, pasamos el hilo por la argolla, hacemos un nudo simple, cortamos y quemamos el exceso para sellar.
We do the same with the other end of the thread, but with the small rings, we pass the thread through the ring, make a simple knot, cut and burn the excess to seal.
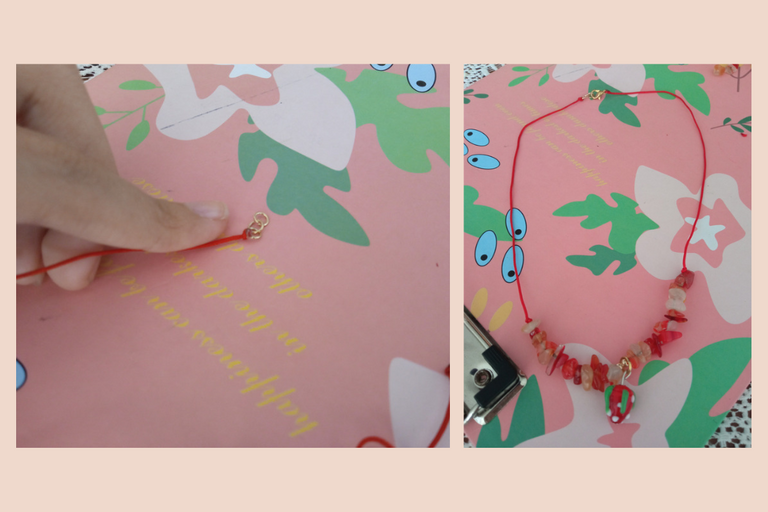
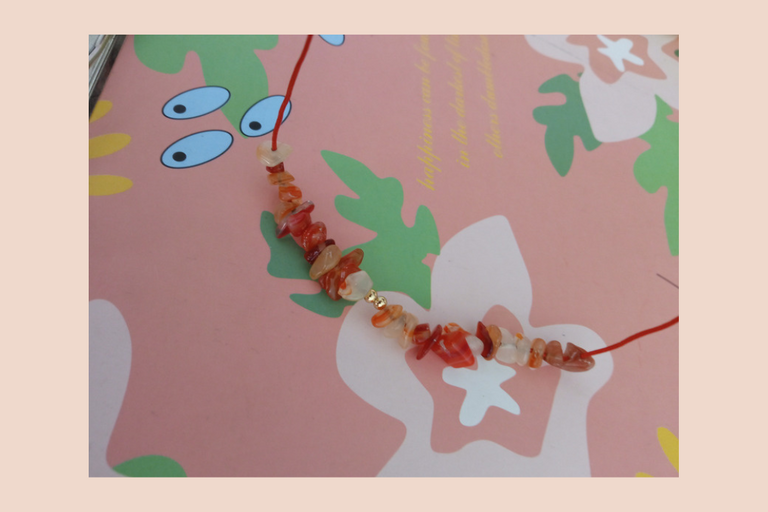
Bueno chicosss, este fue el resultado del collar que realicé el día de hoy!! Espero que les haya gustado mucho este post!!✨❤️ Cómo lo dije anteriormente, al principio quería llenar el collar de pedrería, y hasta pensé en hacerlo con hilo de nylon, pero al final quedó así y me gustó bastante, creo que cada vez que realizo un accesorio me pasa eso, tengo una idea al principio pero en el proceso va cambiando todo, y algunas veces queda mejor que como lo tenía planeado y hay otras que no tanto, ¿A ustedes les pasa lo mismo?. Bueno, agradezco muchísimo que se hayan quedado a leer, hasta una próxima oportunidad!!❤️❤️❤️✨
Well guysss, this was the result of the necklace I made today!!! I hope you liked this post!!!✨❤️ As I said before, at first I wanted to fill the necklace with rhinestones, and I even thought about doing it with nylon thread, but in the end it was like this and I liked it a lot, I think that happens to me every time I make an accessory, I have an idea at the beginning but in the process everything changes, and sometimes it is better than I had planned and sometimes not so much, does the same thing happen to you? Well, thank you very much for staying to read, see you next time!! ❤️❤️❤️✨

Todas las imágenes son de mi autoría @mariamglow, tomadas con mi teléfono Redmi 9, editadas en Canva, texto traducido en DeepL.
All images authored by me @mariamglow, taken with my Redmi 9 phone, edited in Canva, text translated at DeepL.

!discovery 27
!diy
The rewards earned on this comment will go directly to the people( @mariamglow ) sharing the post on Twitter as long as they are registered with @poshtoken. Sign up at https://hiveposh.com.
Thank you for sharing this post on HIVE!
Your content got selected by our fellow curator stevenson7 & you just received a little thank you upvote from us for your great work! Your post will be featured in one of our recurring compilations which are aiming to offer you a stage to widen your audience within the DIY scene of Hive. Stay creative & HIVE ON!
Please vote for our hive witness <3
This post was shared and voted inside the discord by the curators team of discovery-it
Join our community! hive-193212
Discovery-it is also a Witness, vote for us here
Delegate to us for passive income. Check our 80% fee-back Program
Está super bonitooo, las piedritas parecen caramelitos hahaha 🍓🍓🍓