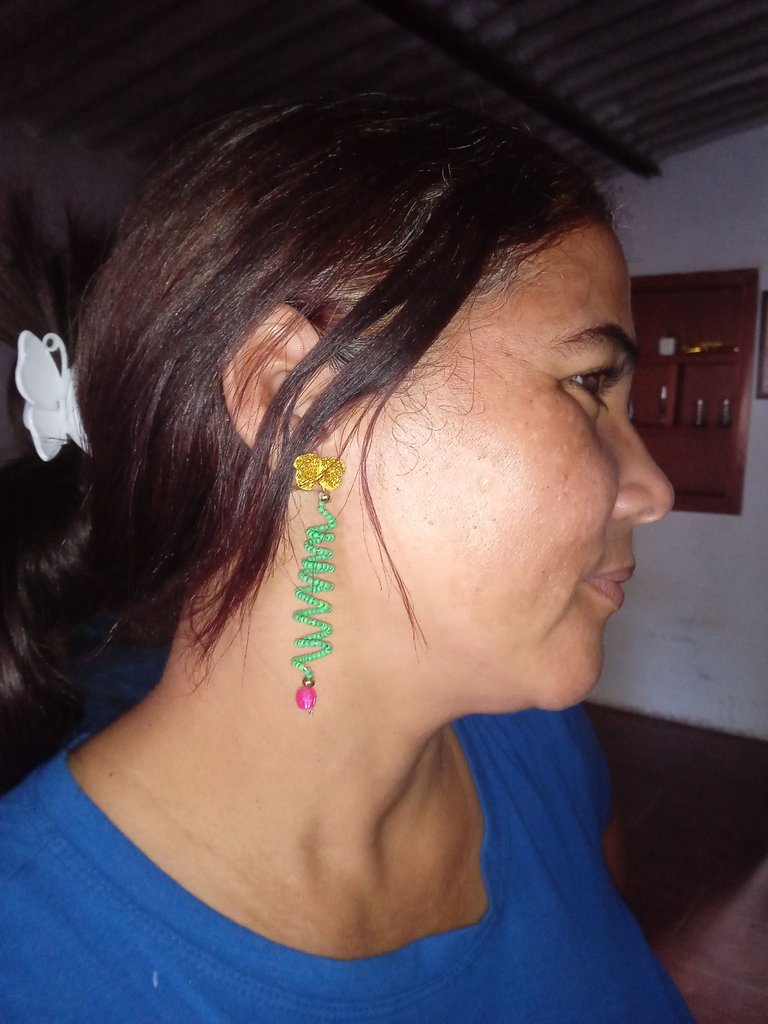
Hola buenas tardes para todos los amigos presentes,administradores,lectores y creadores de contenidos ,espero que todos estén pasando un bonito. Y agradable día , hoy les quiero presentar unos zarcillos que realice con piedras plásticas "mostacillas" esta maravillosa creación de hoy es un arbolito de navidad ,utilizando una técnica diferente con alambrismo y piedras ,como lo pueden apreciar es por la navidad ,me encantan los arbolitos navideños y está vez quise realizar uno en zarcillos . Sin más que decir les enseñaré como lo realice
Hello good afternoon to all friends present, administrators, readers and content creators, I hope everyone is having a nice. And nice day, today I want to present some tendrils that I made with plastic stones "beads" this wonderful creation today is a Christmas tree, using a different technique with wire wrap and stones, as you can see is for Christmas, I love Christmas trees and this time I wanted to make one in tendrils. Without more to say I will show you how to make it.
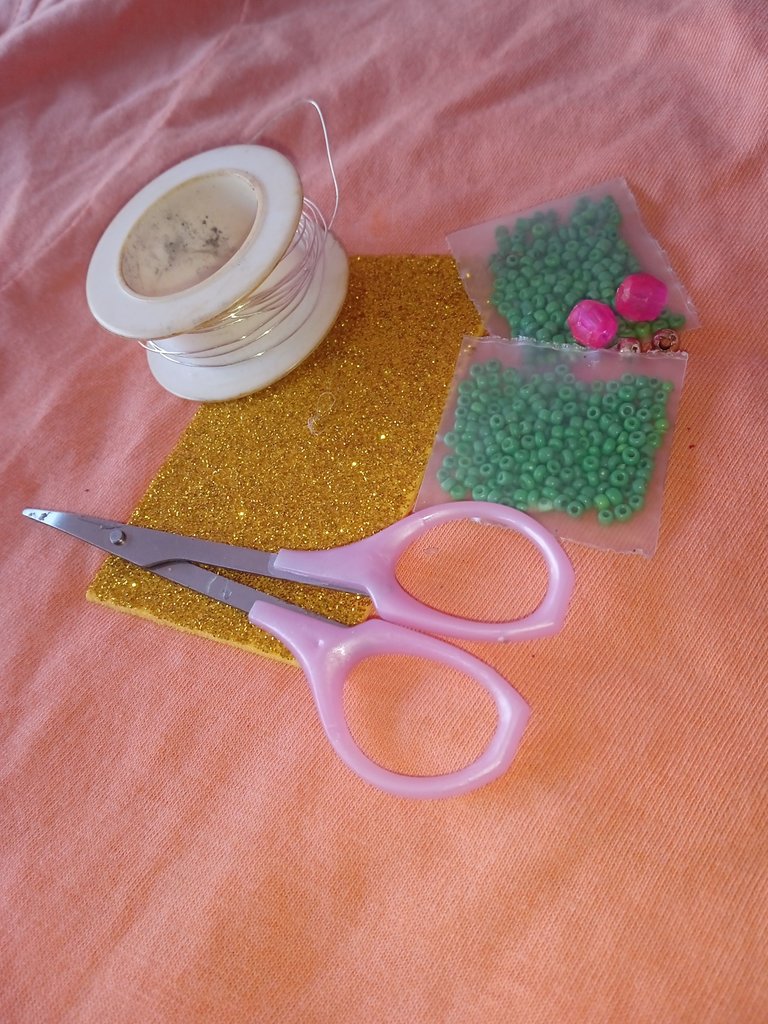
Materiales para realizar unos zarcillos en forma de arbolito :
-Alambre delgado
-Piedras plásticas mostacillas
-Tijera
-Foamis
Materials to make some tendrils in the shape of a tree:
-Thin wire
-Plastic stones, beads, beads
-Scissors
-Foamis
Pasos A seguir para realizar nuestros zarcillos:
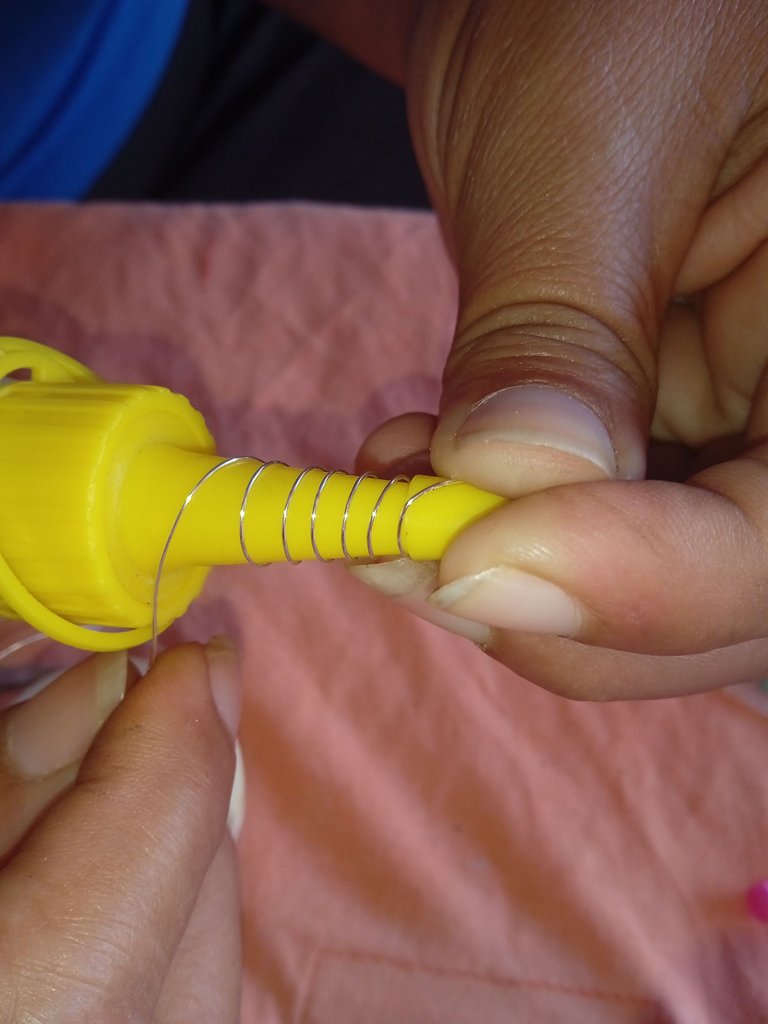
Iniciaremos primeramente tomando nuestro alambre inoxidable , sin cortarlo vamos a tomar un objeto para apoyarnos y hacer el doblaje de el alambre en forma de arbolito o resorte , por eso tomé un silicón en líquido y me ayude con la boquilla ,tomé el alambre y comencé a enrollar de la punta de el silicón hacia abajo ,realizando así la forma de nuestro árbol navideño
Steps to follow to make our tendrils:
We will start first taking our stainless wire, without cutting it we will take an object to support us and make the bending of the wire in the shape of a tree or spring, so I took a liquid silicone and help me with the nozzle, I took the wire and began to roll from the tip of the silicone down, thus making the shape of our Christmas tree.
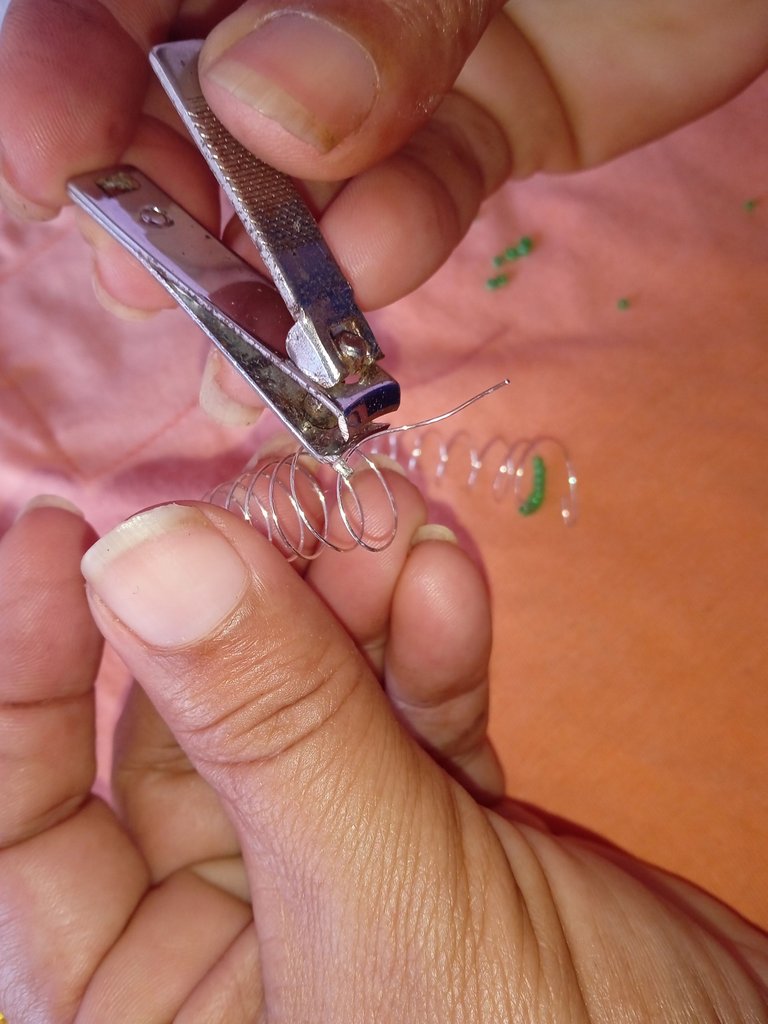
Luego que tengamos nuestra forma deseada (arbolito )vamos a continuar tomando nuestra tijera o corta uñas y cortaremos el alambre delgado y guardamos el restante ,nosotros decidimos el tamaños de nuestros zarcillos
After we have our desired shape (tree) we will continue to take our scissors or nail clippers and cut the thin wire and save the rest, we decide the size of our tendrils.

Luego Continuaremos tomando un sellador en forma de mostacilla y la vamos a aplicar en la punta de el alambre presionando con el corta uñas para que de este modo cuando vayamos a introducir las piedras color verde no se salgan ,al igual vamos hacer una vez que llenemos las piedras en el copo de el árbol
Then we will continue taking a sealant in the form of a clay and we will apply it on the tip of the wire pressing it with the nail cutter so that when we are going to introduce the green stones they will not come out, the same we will do once we fill the stones in the tree flake.
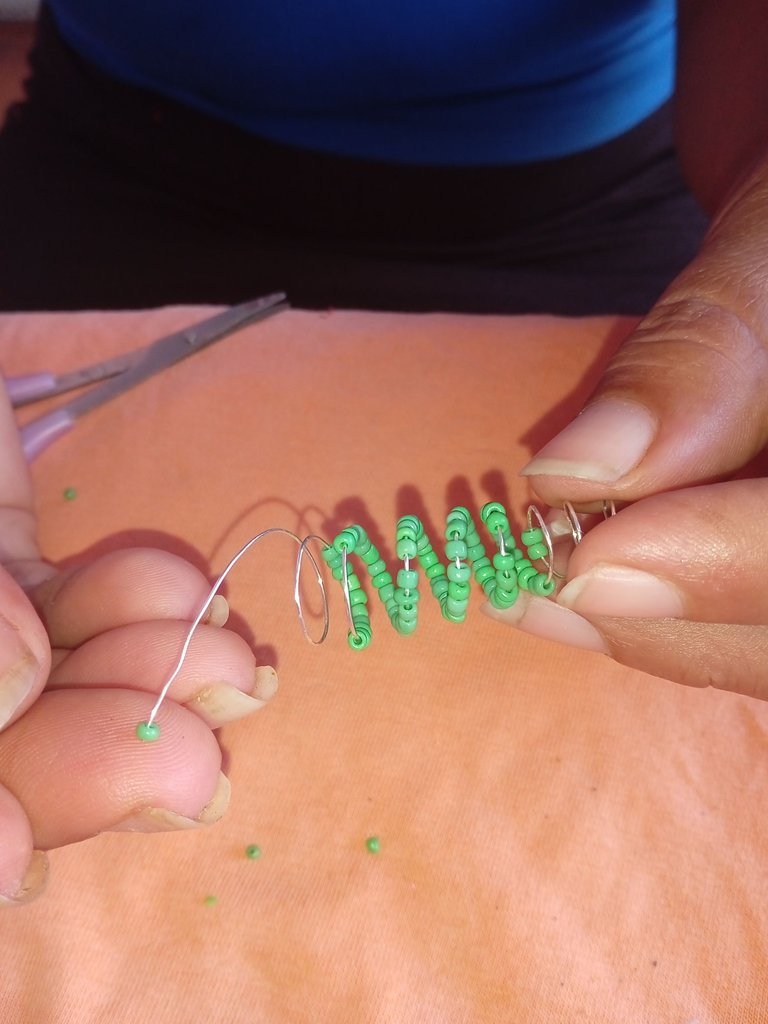
Continuaremos introduciendo las piedras pequeñas verde por la punta de arriba de el alambre hasta que lo cubramos todo ,debemos ir rodando la con cuidado para que no se quite la forma ya que el alambre es delgado para que puedan introducir las piedras con facilidad
We will continue to introduce the small green stones through the top of the wire until we cover it all, we must go rolling it carefully so as not to remove the shape as the wire is thin so that they can introduce the stones easily.
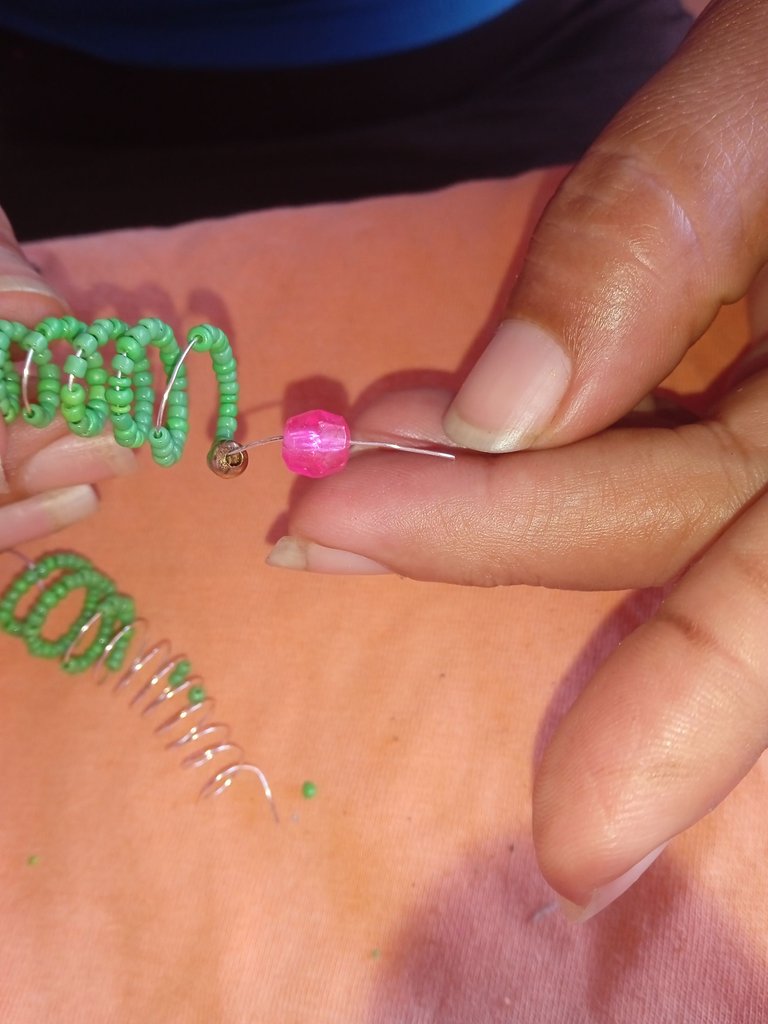
Luego al final de la decoración de las piedras verdes ,continuaremos introduciendo una piedra color rosa y la llevaremos hacia el centro de el árbol decorando así este hermoso árbol
Then at the end of the decoration of the green stones, we will continue introducing a pink stone and we will take it to the center of the tree decorating this beautiful tree.
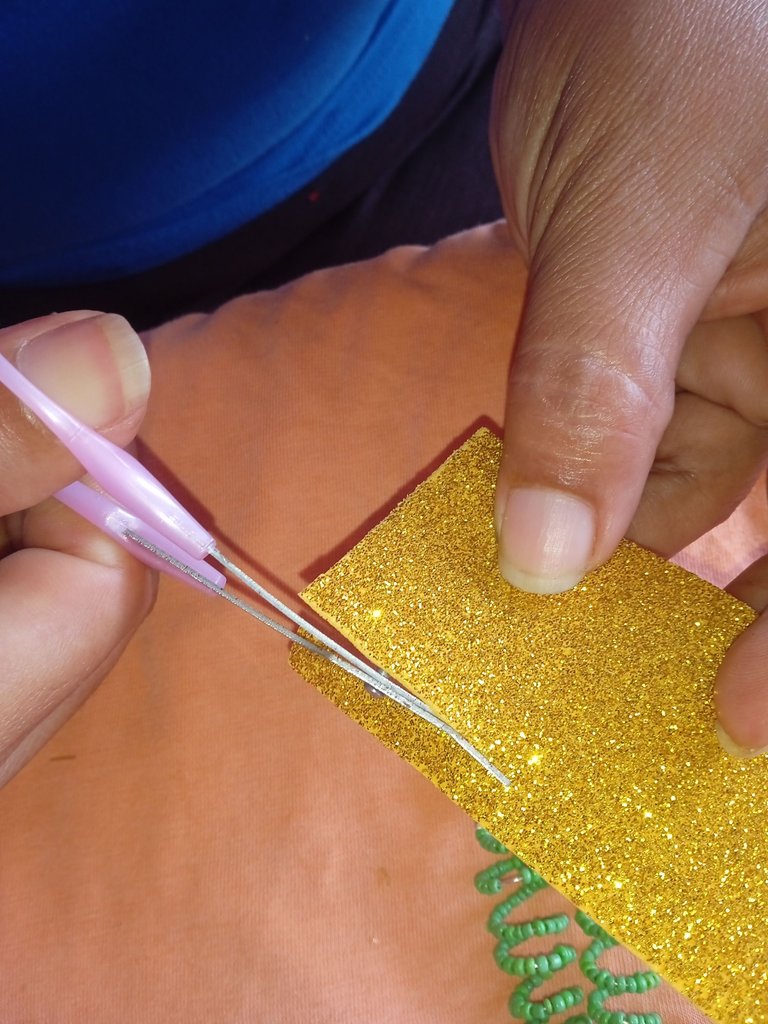
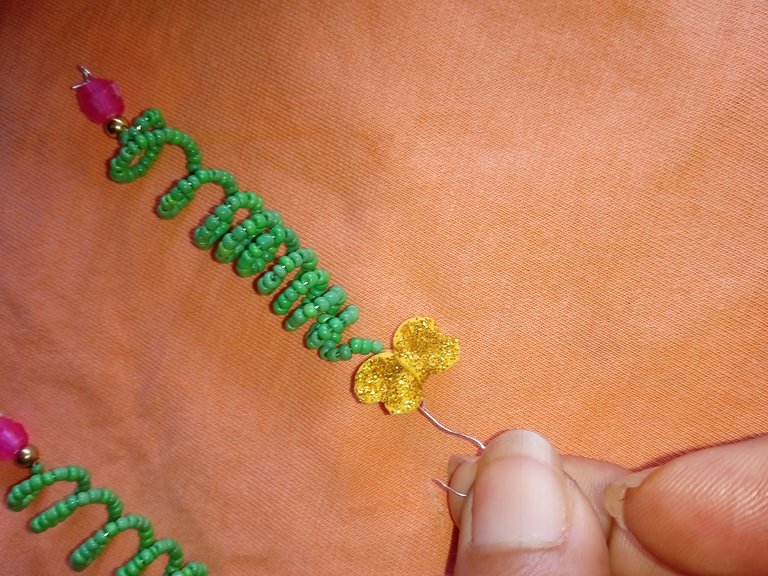
Para culminar con nuestros zarcillos de arbolitos de navidad ,recorte una pequeña tira de foamis ,sus puntas las redondee con la tijera y realice dos pequeños lazos ,una vez listos los lazos continúe pegando lo en la parte de arriba de el arbolito
To finish with our Christmas tree tendrils, cut a small strip of foamis, round the ends with the scissors and make two small bows, once the bows are ready, continue gluing them to the top of the tree.
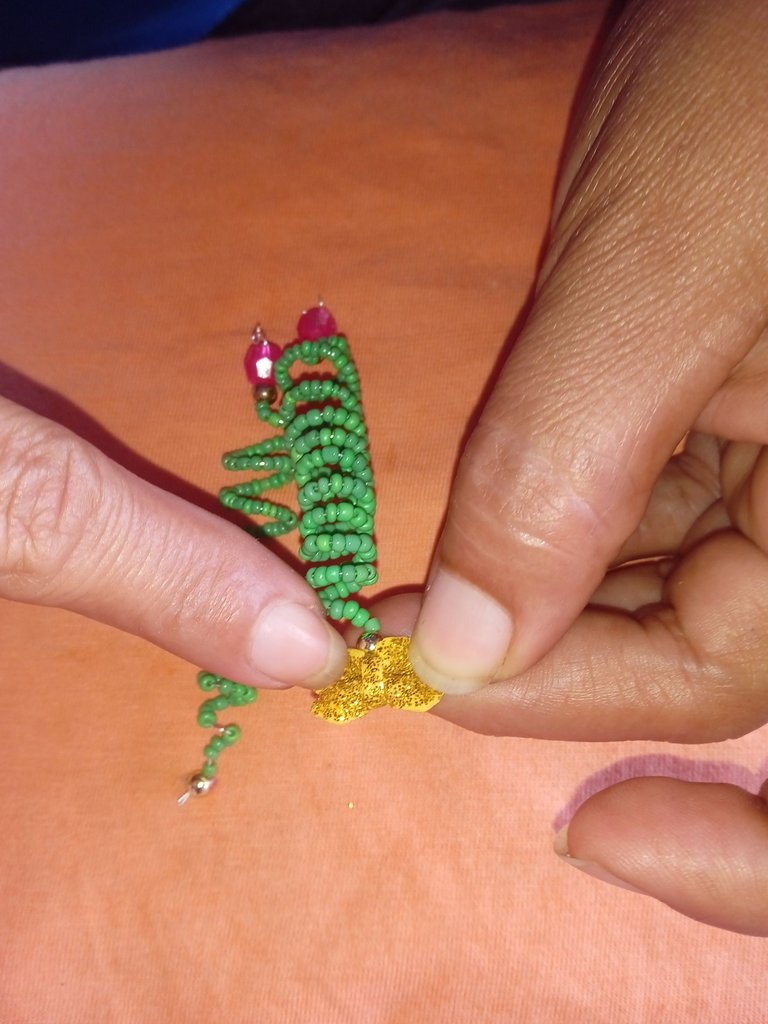
Finalmente tome unos recortes de alambre y realice unos aros ,doblando lo en la parte de el centro en una forma parecida de anzuelo y lo adapte en la parte de arriba de el lazo de los zarcillos ,terminado así nuestros zarcillos de arbolito
Finally take some wire cuttings and make some rings, bending it in the center in a shape similar to a fishhook and adapt it to the top of the loop of the tendrils, thus finishing our tree tendrils.
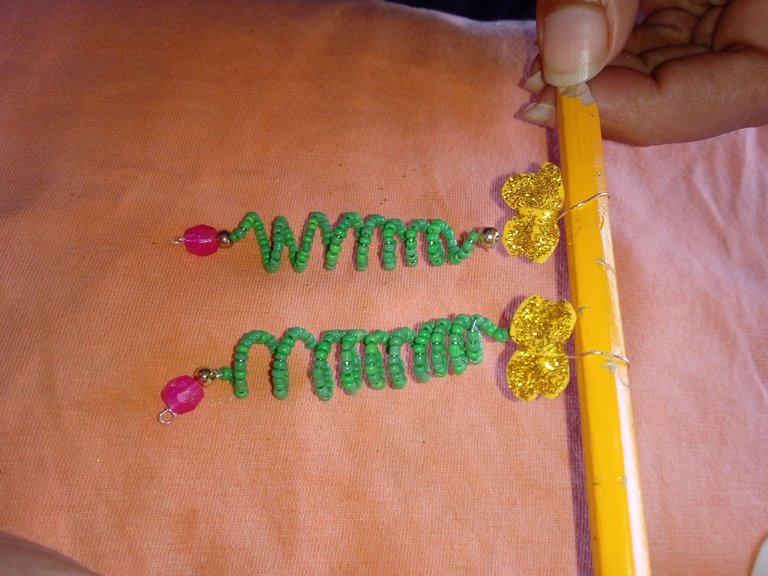
Les agradezco por su atención ,este fue el proceso final de mis zarcillos en forma de arbolito de navidad , por el tamaño y largo de ellos ,los cree especialmente para mi ya que son un poco extravagantes y para niñas son muy grandes , les invito que puedan realizar lo desde sus hogares y lucir uno igual ,los textos los traduci con el traductor DeepL ,les bendigo a todos ,aprovecho para desear les una hermosa noche a todos
I thank you for your attention, this was the final process of my tendrils in the form of Christmas tree, by the size and length of them, I created them especially for me because they are a little extravagant and for girls are very large, I invite you to make it from their homes and look like one, the texts were translated with the translator DeepL, I bless you all, I take this opportunity to wish you a beautiful night to all.
Hermosos zarcillos de árbol Navideño, se ve muy bonito y es muy sencillo el paso a paso, gran trabajo
Thank you for sharing this post on HIVE!
Your content got selected by our fellow curator jasonmunapasee & you just received a little thank you upvote from us for your great work! Your post will be featured in one of our recurring compilations which are aiming to offer you a stage to widen your audience within the DIY scene of Hive. Stay creative & HIVE ON!
Please vote for our hive witness <3