
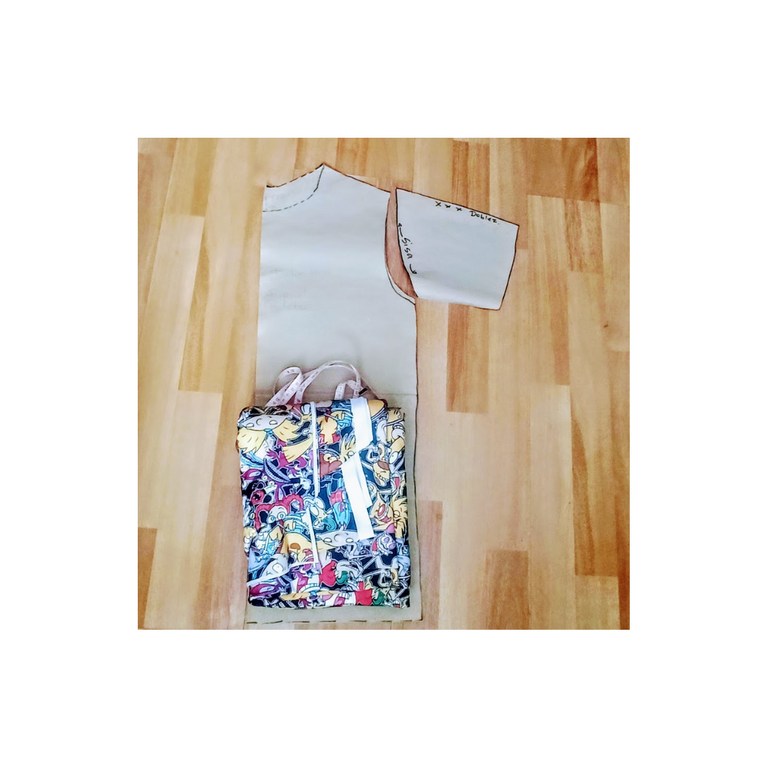
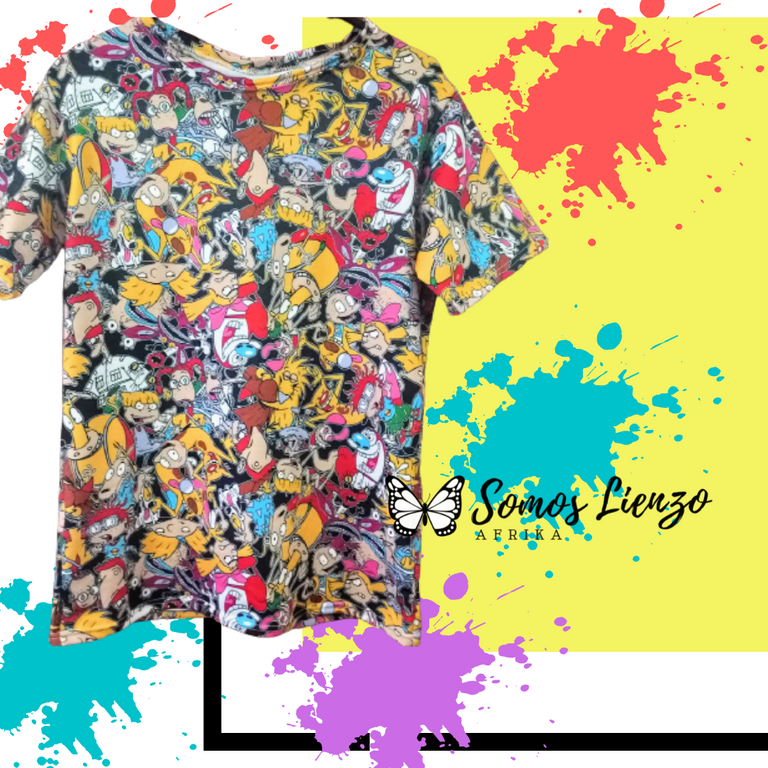
Un gran saludo a todos los hivers de la plataforma, amantes de las costuras y todas las manualidades. Hoy traigo un nuevo tutorial, bastante sencillo de hacer con esta tela fabulosa que nos recuerda nuestra infancia en los noventas con todas las caricaturas que ven en el estampado. Hoy vamos aprender a hacer una franela usando otra como patrón, vas a necesitar: papel, lápiz, una franela que te guste como te queda, tijeras, hilo, tela de tu preferencia que estire un poco de ser posible, maquina de coser pero también lo puedes hacer a mano.
Hello to all the hivers of the platform, lovers of sewing and all the crafts. Today I bring a new tutorial, quite simple to make with this fabulous fabric that reminds us of our childhood in the nineties with all the cartoons you see in the print. Today we are going to learn how to make a t-shirt using another one as a pattern, you will need: paper, pencil, a flannel that you like the way it looks, scissors, thread, fabric of your preference that stretches a little if possible, sewing machine but you can also do it by hand.
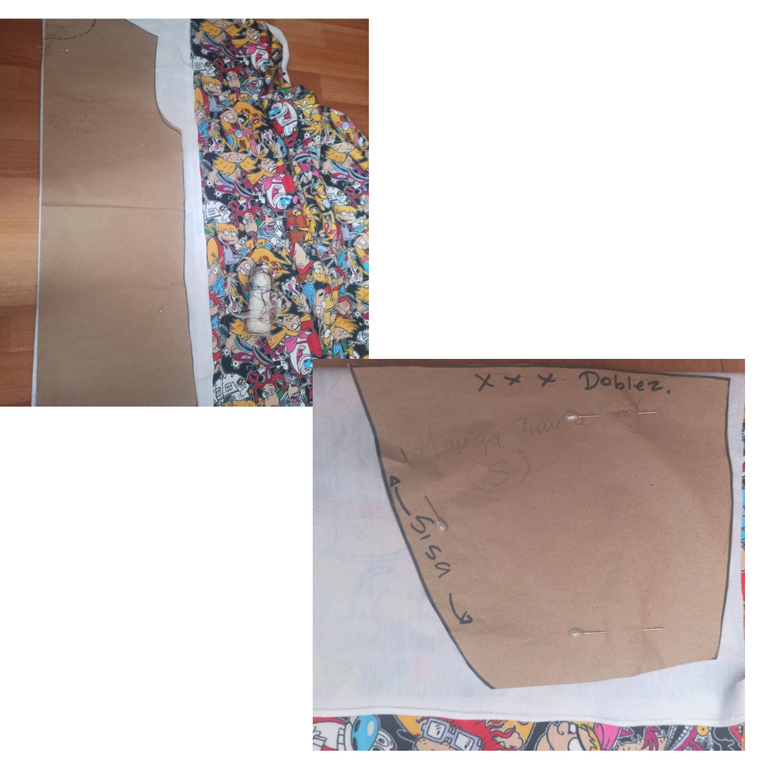
Corta tu patrón usando la franela elegida marcándolo en papel, tendrás una parte delantera y otra trasera, la diferencia entre ellas es la altura del cuello, también obtendrás el patrón de la manga. Con esto, pasamos a la tela y cortamos, tu decides si en el patrón o al recortar añades el margen costura. Una vez tengas todas tus piezas, mide el contorno del cuello y recorta una tira de 5 cm de ancho aprox con el largo recién medido, ese será tu bies para el cuello.
Cut your pattern using the chosen t-shirt by marking it on paper, you will have a front and a back pieces, the difference between them is the height of the neck, you will also get the pattern of the sleeve. With this, we go to the fabric and cut, you decide if in the pattern or when cutting you add the seam allowance. Once you have all your pieces, measure the contour of the neck and cut a strip of about 5 cm wide with the length just measured, this will be your bias binding for the neck.
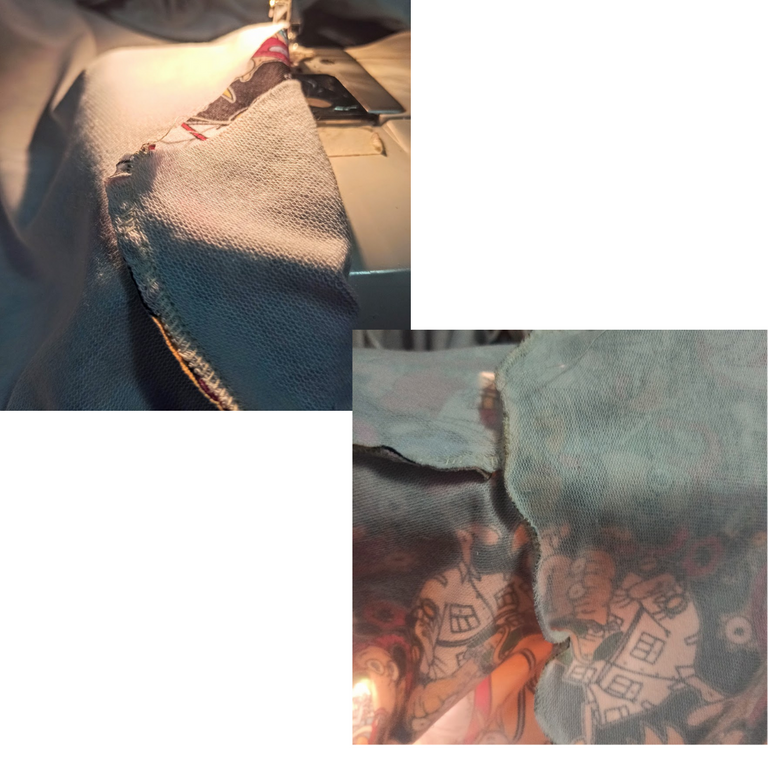
Ahora procedemos a coser, empezamos pegando los hombros, recuerda afirmar las telas con un basteo o alfileres. Luego vamos con las mangas, desde la mitad y enfrentando los derechos ajustamos para coser, así nos queda la sisa bien centrada. Ahora es turno para los laterales o los lados de tu franela. Ya la tienes casi lista.
Now we proceed to sew, we start sewing the shoulders, remembering to affirm the fabrics with a baste or pins. Then we go with the sleeves, from the middle and facing the right sides we adjust to sew, so we have the armhole well centered. Now it's time for the sides of your t-shirt. You are almost ready.


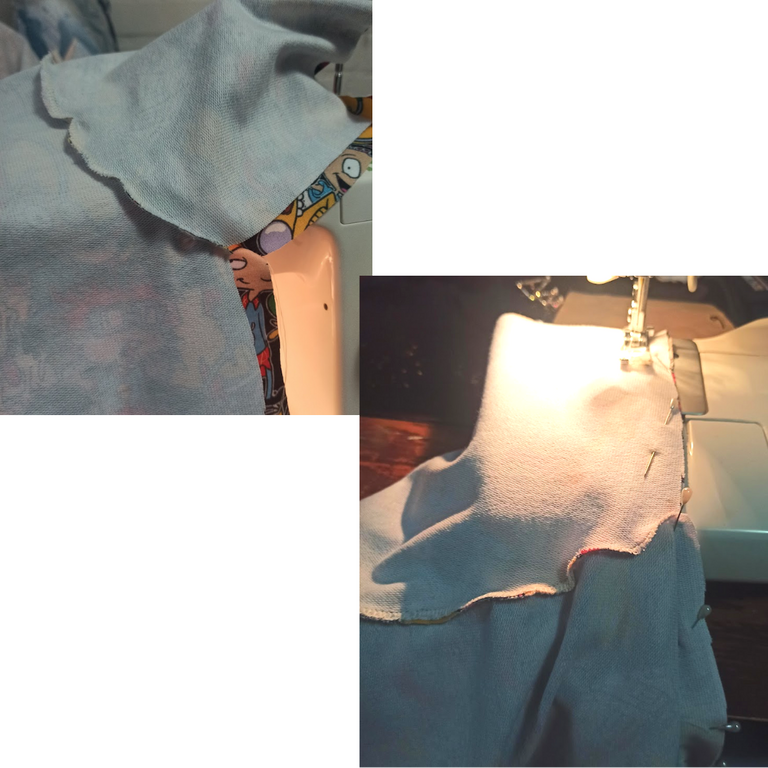
Vamos a ponerle el bies al cuello como indica la foto, enfrentando los derechos y margen con margen hacer la primera costura y para reforzar la doblamos hacia adentro, y pasamos otra puntada, puede ser con aguja gemela para darle un acabado más profesional. Haz lo mismo con el ruedo de las mangas y de la parte inferior. De esta manera ya tenemos la franela más fácil de hacer lista para lucir en el outfit que más te guste. Las fotos fueron hechas con el teléfono redmi note, editadas con canva y removebg. Gracias hivers por el apoyo, para sugerencias y preguntas los espero en los comentarios.
We are going to put the bias binding on the neck as shown in the photo, facing the right sides and making the first seam with margin and to reinforce it we fold it inwards, and pass another stitch, it can be with a twin needle to give it a more professional finish. Do the same with the hem of the sleeves and the bottom. We already have the easiest t-shirt ready to wear in the outfit you like the most. The photos were taken with the redmi note phone, edited with canva and removebg. Thanks hivers for your support, for suggestions and questions I'll be waiting for you in the comments.
Congratulations @afrikablr! You have completed the following achievement on the Hive blockchain and have been rewarded with new badge(s) :
Your next target is to reach 64000 upvotes.
You can view your badges on your board and compare yourself to others in the Ranking
If you no longer want to receive notifications, reply to this comment with the word
STOPTo support your work, I also upvoted your post!
Check out the last post from @hivebuzz:
The rewards earned on this comment will go directly to the person sharing the post on Twitter as long as they are registered with @poshtoken. Sign up at https://hiveposh.com.
Superr!me encanto tú publicación
Muchas gracias.