
Hello everyone at @diyhub!
I wish you a wonderful day, filled with good vibes, joy, and above all, love. I'm fascinated by the abundance of talent in this beautiful community, and I'm always grateful to all its members for showcasing such beautiful projects and for always supporting one another. Today, I'm going to share a detailed tutorial for making a beautiful Coquette-style headband with a double maxi bow that highlights the beauty, femininity, and charm of the wearer. This accessory was designed to perfectly complement a pretty dress that you've already made...
Buenas, buenas por aquí, gente linda de @diyhub!
Les deseo un maravilloso dia, cargado de buena vibra, de mucha alegria y sobre todo mucho amor. Estoy fascinada ante tanto derroche de talento que abunda en esta hermosa comunidad, agradecida siempre con todos sus integrantes por mostrar tan bellos proyectos y por siempre apoyarnos los unos a los otros.
El dia de hoy les voy a compartir un detallado tutorial de la confeccion de una hermosa diadema al estilo Coquette con un maxilazo doble que resalte la belleza, femeninidad y lo coqueto de quien la porte. Este accesorio fue diseñado para complementar a la perfección un lindo con un lindo vestido ya creado anteriormente...

I must say that I love to do this kind of work, because its composition is not very complex, and with any piece of fabric, preferably elastic, can be developed. That's how I started to love sewing, with small hair accessories.
For its elaboration I did a little research about the Coquette fashion and why it received this name. It turns out that this new fashion trend is based on a romantic and eccentric look, reminiscent of the fashion so popular in the Bridgerton series. A very feminine, elegant and sophisticated style. With pearls and bows as the main accessories, well-groomed hair and simple updos with accessories.
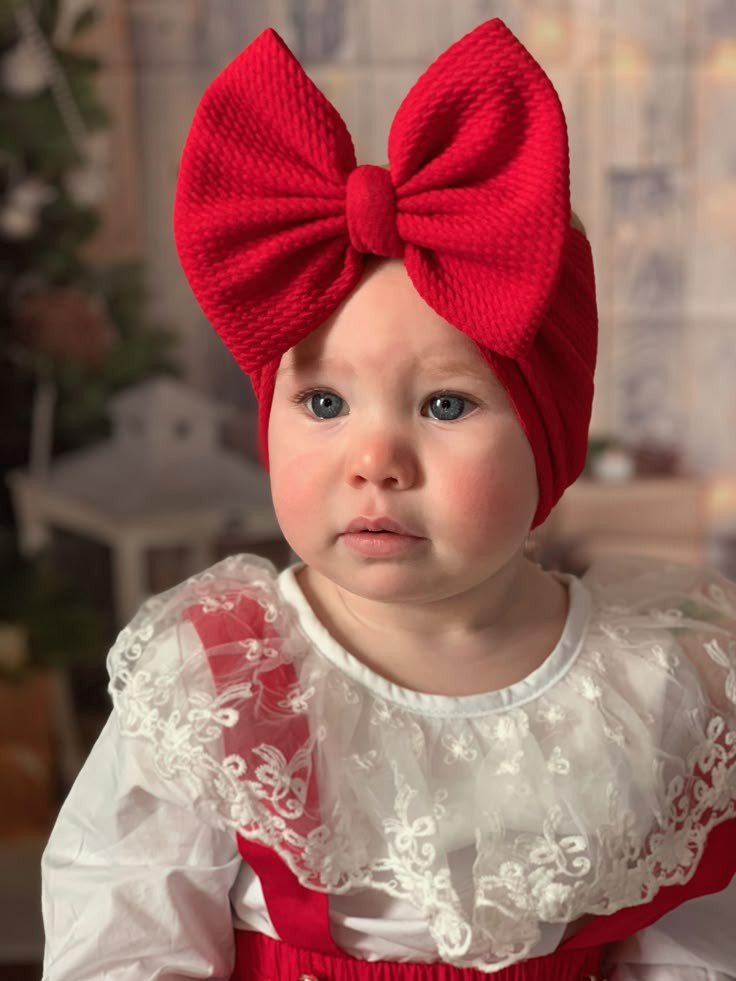
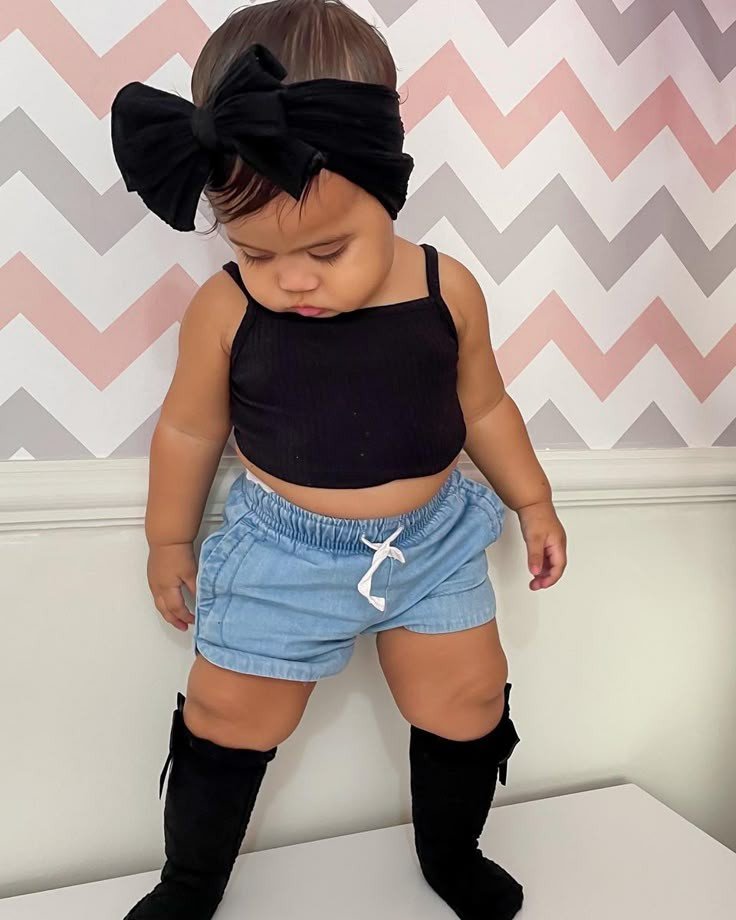
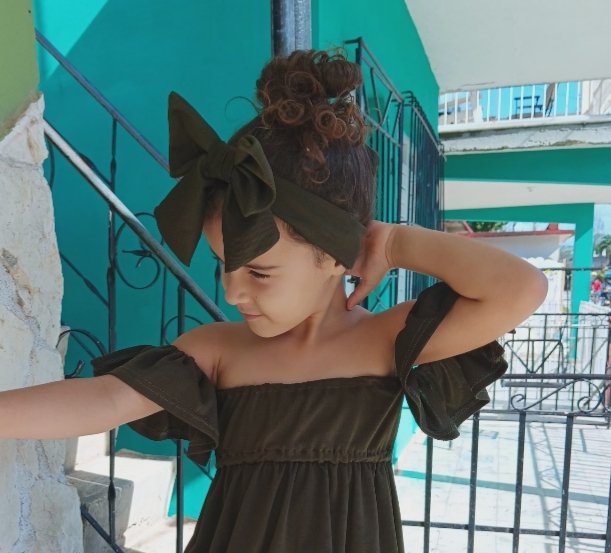
Already having a notion of this fashion, I searched with the help of the app Pinterest many ideas to carry out my project, in the end I opted for the following:
Debo decir que amo hacer este tipo de trabajos, pues su composición no es muy compleja, y con cualquier retacito de tela, de preferencia elastizada, se puede desarrollar. Asi fue como emprendi y comence a amar la costura, con pequeños accesorios para el cabello.
Para su elaboración indague un poco acerca de la moda Coquette y del porque recibia este nombre. Resulta que esta tendencia de moda basada en un aspecto romántico y excéntrico, que recuerda a la moda tan popular de la serie Los Bridgerton. Un estilo muy femenino, elegante y sofisticado. Con perlas y lazos como complementos principales, el pelo bien peinado y recogidos sencillos con accesorios.
Ya teniendo una noción de dicha moda, busque con ayuda de la app Pinterest muchas ideas para llevar a cabo mi proyecto, al final me decante por los siguientes:
Previously, I shared the tutorial for designing and making this dress with the sister community @needleworkmonday. It was designed and made using fabric scraps.
Here's a mini-tutorial, with a small photo collage, showing the step-by-step process and the materials I used to recreate this garment. For those who love challenges and sewing, I hope it's helpful and inspires your future creations.
Anteriormente habia compartido en la hermana comunidad @needleworkmonday el tutorial del diseño y confección del vestido, donde fue diseñado y confeccionado con retazos de tela.
Aquí les dejo un minitutorial, con un pequeño collage de fotos, mostrando el paso a paso del mismo y los materiales que utilice para recrear esta prenda. Para los amantes del reto y la costura, espero que les sirva y ayude en sus creaciones futuras.
🎀🎀🎀🎀🎀🎀🎀🎀🎀🎀🎀🎀🎀🎀🎀
Materiales / Materials
Fabric
Scissors
Thread and needle
Measuring tape
Pins
Sewing machine
🎀🎀🎀🎀🎀🎀🎀🎀🎀🎀🎀🎀🎀🎀🎀
Procedure:
1st step:
I began by separating several pieces from two different textured and patterned fabric scraps to make this accessory. I started by separating a wide, long ribbon, which would be used as a headband. This should be made of a stretchy or elastic fabric, allowing it to adjust to any child's size. Then I separated two squares of different sizes, one larger than the other, to be used for the double bow. Finally, I separated a small rectangular piece to secure and give the bows stability. The measurements are customizable to the customer's preference.
Procedimiento:
1er paso:
Comence separando de dos recortes de tela de diferente textura y estampado, varias piezas para la elaboración de este accesorio. Comence separando un liston ancho y largo, pues seria empleado como cinta, este debe ser de un tejido licrado o elastizado, permitiendo adaptarse a cualquier tamaño de un infante. Luego separe dos cuadrados de diferentes tamaños, uno mas grande que el otro, siendo empleados para el lazo doble. Por último separe un pequeño recorte rectangular para sujetar y darle sostenibilidad a los lazos. Las medidas son a gusto del cliente.

2nd step:
Once each piece was cut out, I began by sewing the two squares for the bows. To do this, I placed wrong sides together and sewed all around the edge, leaving a small opening to turn it right side out. Then, using a hand needle, I gathered the fabric right down the center to give it more stability when attaching the bows.
2do paso:
Una vez recortada cada pieza, comence cosiendo los dos cuadrados para los lazos. Para ello coloque reves con reves y pase costura por todo el borde o contorno, dejando un hueco pequeño para poder voltearlo al derecho.
Luego con una aguja de mano, procedo a fruncir justo por el centro, para tener mas estabilidad a la hora que colocar los lazos.


Step 3:
I took the ribbon and joined the two ends so that the seam would be hidden. To do this, I placed the two ends on the seam allowance, folded them over with the wrong side facing, and gradually passed the seam through until I reached a point where I could not continue, leaving a small opening.
3er paso:
Tome la cinta y la uni por las dos puntas de manera tal que fuese quedando la costura oculta, para ello, coloque las dos puntas en la parte de los empates, reces con reves y fui pasando poco a poco la costura hasta llegar a un tope que no me permitia seguir, quedando asi una pequeña abertura.

4th step
Once my ribbon is in place, I proceed to add the bows, mounting larger and then smaller, mounting from largest to smallest and placing the bow support and grip for the ribbon.
4to paso:
Una vez colocada mi cinta, procedo a añadir los lazos, montando mayor y luego menor, montando de mayor a menor y colocando el sosten y agarre del lazo para la cinta.

✨✨✨✨✨✨❤️❤️❤️✨✨✨✨✨✨
Resultado/Result
✨✨✨✨✨✨❤️❤️❤️✨✨✨✨✨✨


I hope you liked it and I hope this little mini tutorial will be of some help to you. I apologize if some information is not well understood, because I am not very good at explaining these procedures. Thank you in advance, I hope you like my content, and I would appreciate if you could leave your nice comments and venture with me in this project. Blessings and have a nice day.
Espero que les alla gustado y les sirva de alguna ayuda este pequeño minitutorial. Pido disculpas si no se entiende bien alguna informacion, pues no soy muy buena explicando estos procedimientos. Gracias de antemano, espero y os guste mi contenido, y agradeceria que dejaran sus lindos comentarios y se aventuraran conmigo en este proyecto. Bendiciones y lindo dia.
El texto o resumen es totalmente de mi autoria.
The text or summary is entirely my own.
que belleza, encantador diseño
what a beauty, lovely design
Muchas gracias amiga. Me alegra que te haya gustado 😊
It is so cute and beautiful. Love its design. It looks pretty good. Nice work! Keep up the good work!
selected by @rezoanulvibes
Thank you so much my friends @rezoanulvibes and @diyhub
Bonito conjunto de niña amor, veo q hasta las macetas salieron para marketing jj.
Así mismo, jj. Gracias amorcito
I love this color combination, and it looks great on the little supermodel we can see in the photos. This tutorial is fantastic; you've done a great job, and I'm so glad you shared it on the DIYHub Community. Thank you so much!..
Siempre es un placer recibir comentarios tan cálidos y lindos, por parte de usted amigo @jesuslnrs. Me alegra que le haya gustado este proyecto, a mi me encanta esta mezcla tan sutil de animal print, con ese tejido elastizado, creo que dan un toque muy casual y aesthetic.
Your baby girl is really lucky to have you
Thank you so much 😊