Hi,👋
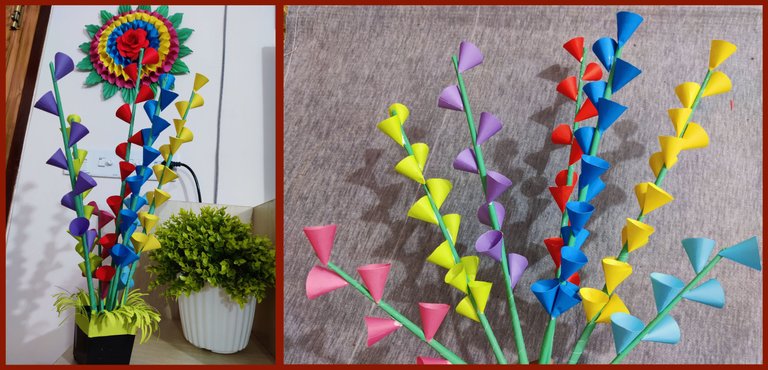
I'm back with a new post where I'll show a origami paper stick flowers that can be a part of the house decoration.
I followed this DIY idea from a YouTube video and I don't credit myself for the original idea.
Let's see how I did this paperwork.
Equipment's:

I used total 9 color papers (A4 size) as you can see 1 green paper for the leaves and stick and all other colors for the flowers, scissor, glue, pencil compass stick and pencil.
Steps to follow:
There were only two steps to follow, 1. The Flowers, 2. The leaves and stick. I'm going to show the flowers steps first and then the other parts.
Let's talk about a single colored flower first as all colors follows the same process.
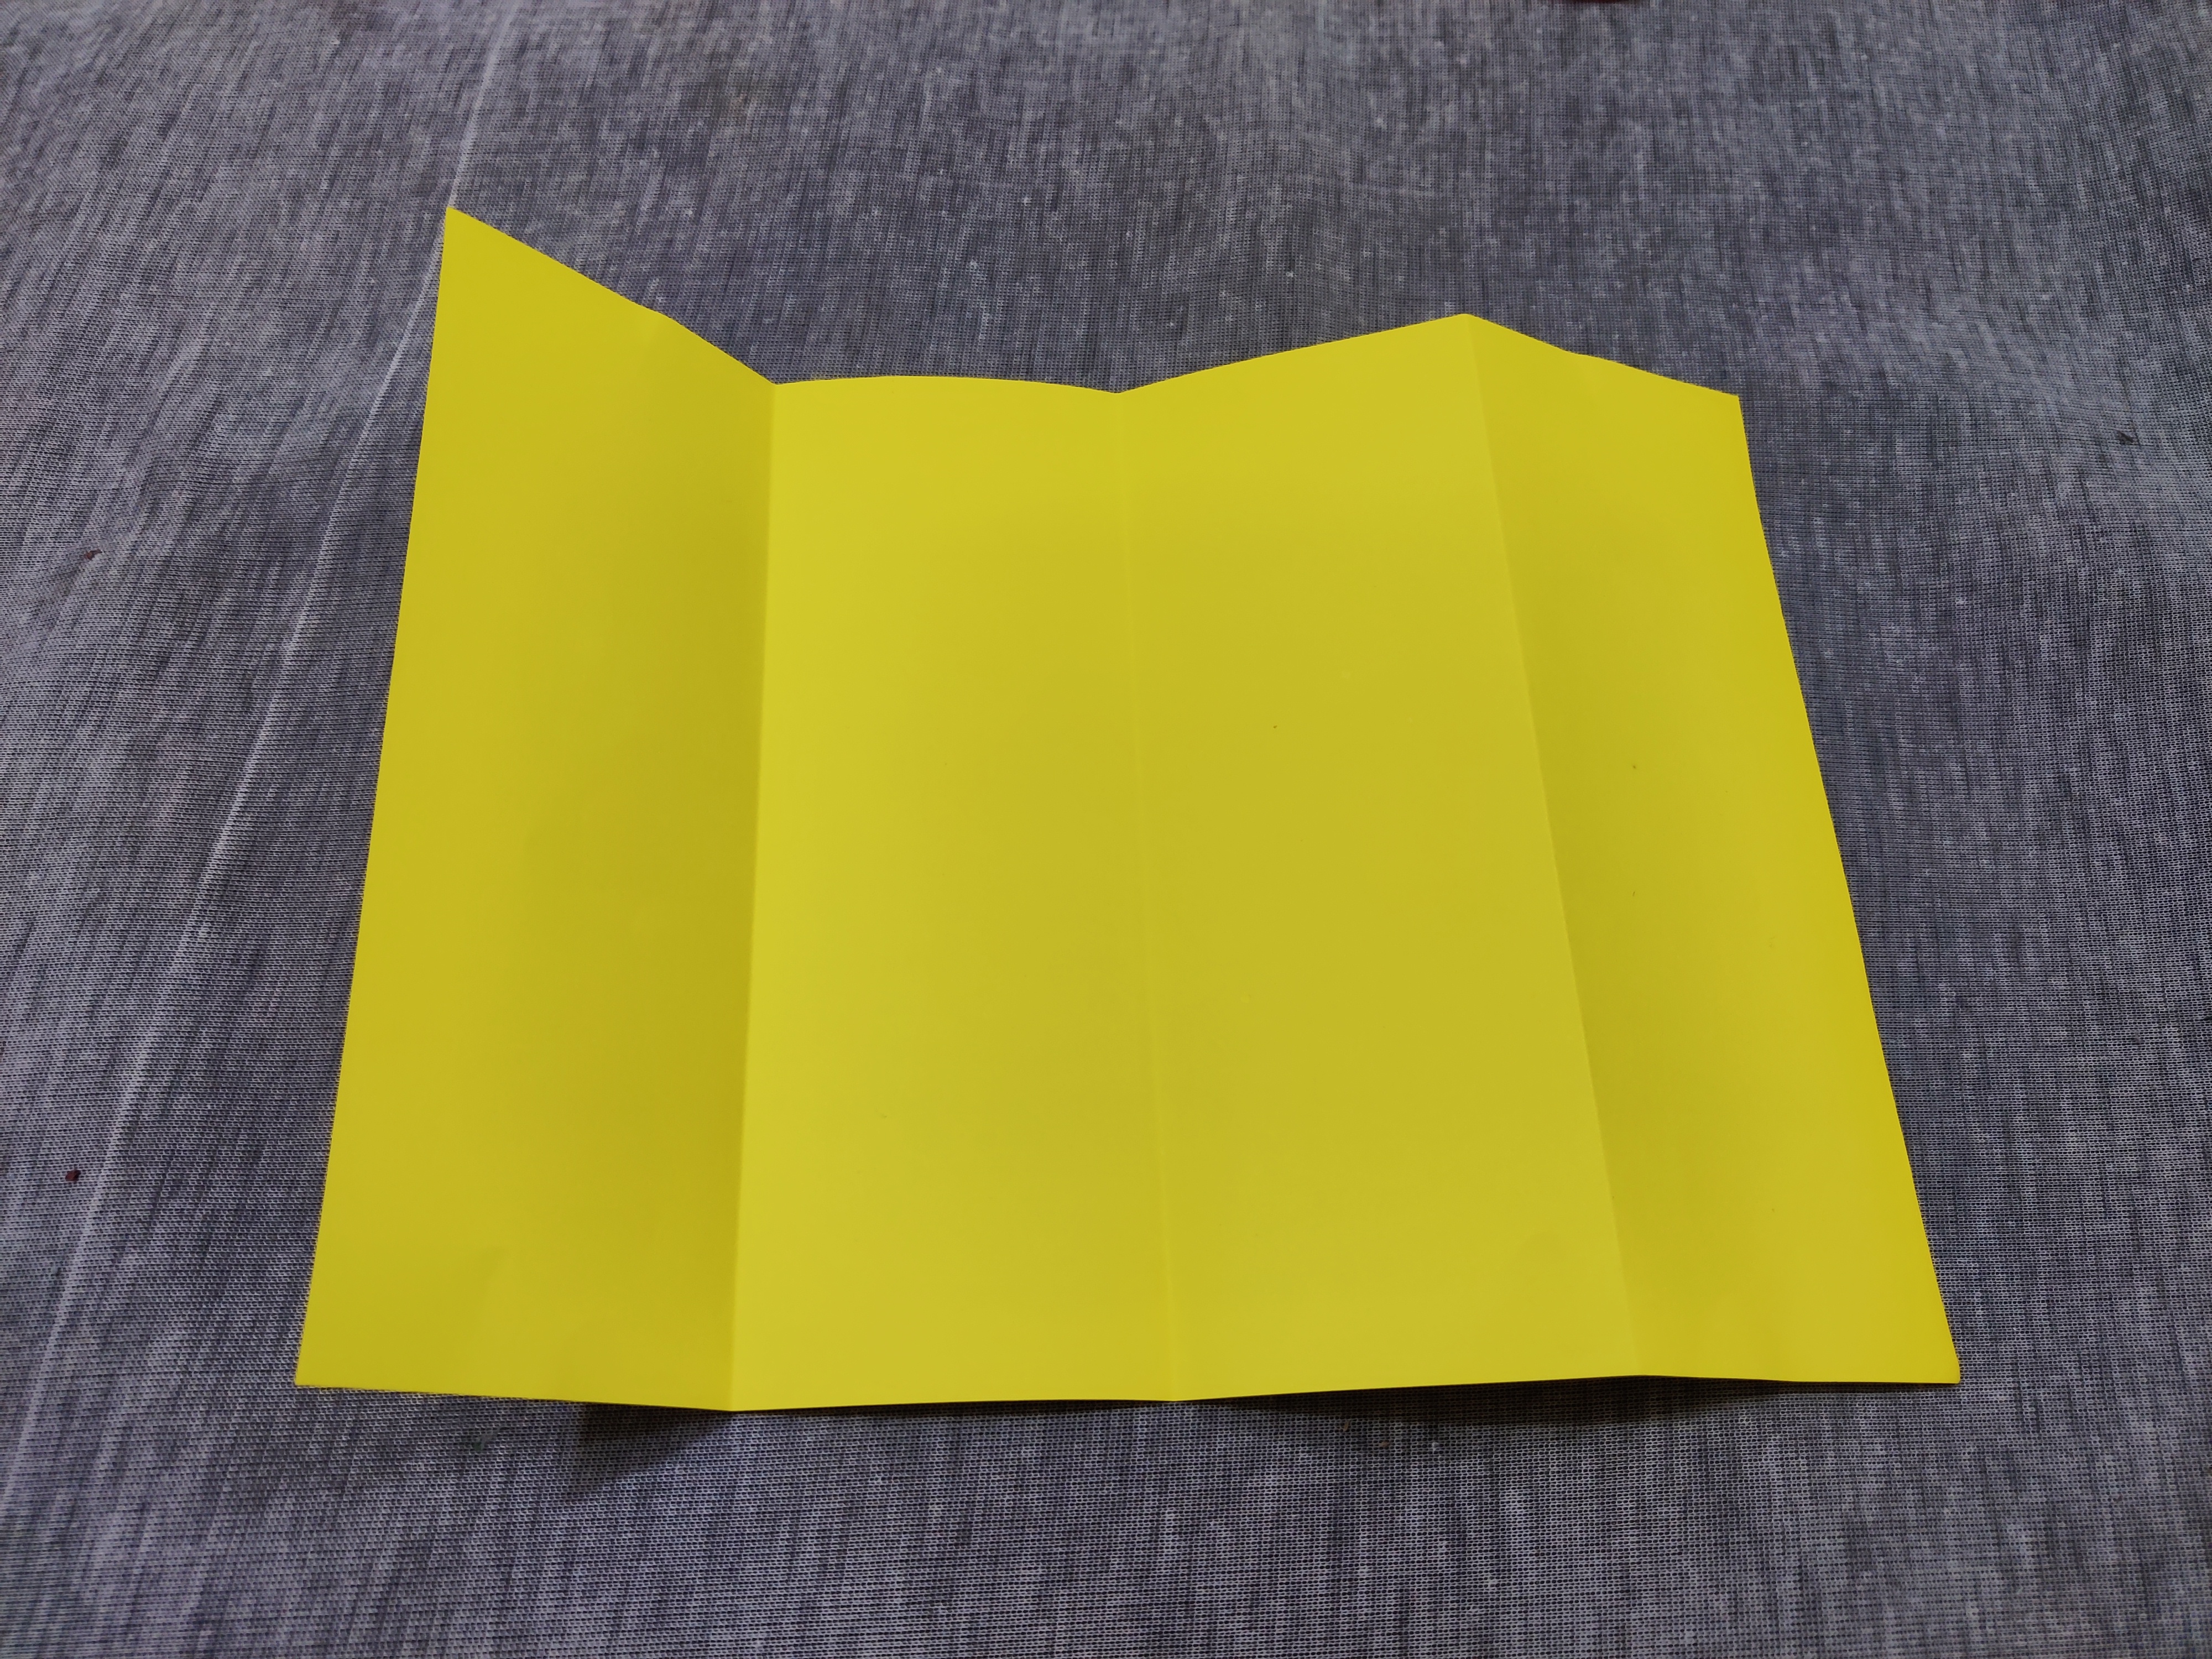
I needed some circle shape papers so I started folding the A4 size paper so that I can get a lot of circles from a little work. I folded the paper in half first and then another half which gave 4 parts in the paper as you can see above.
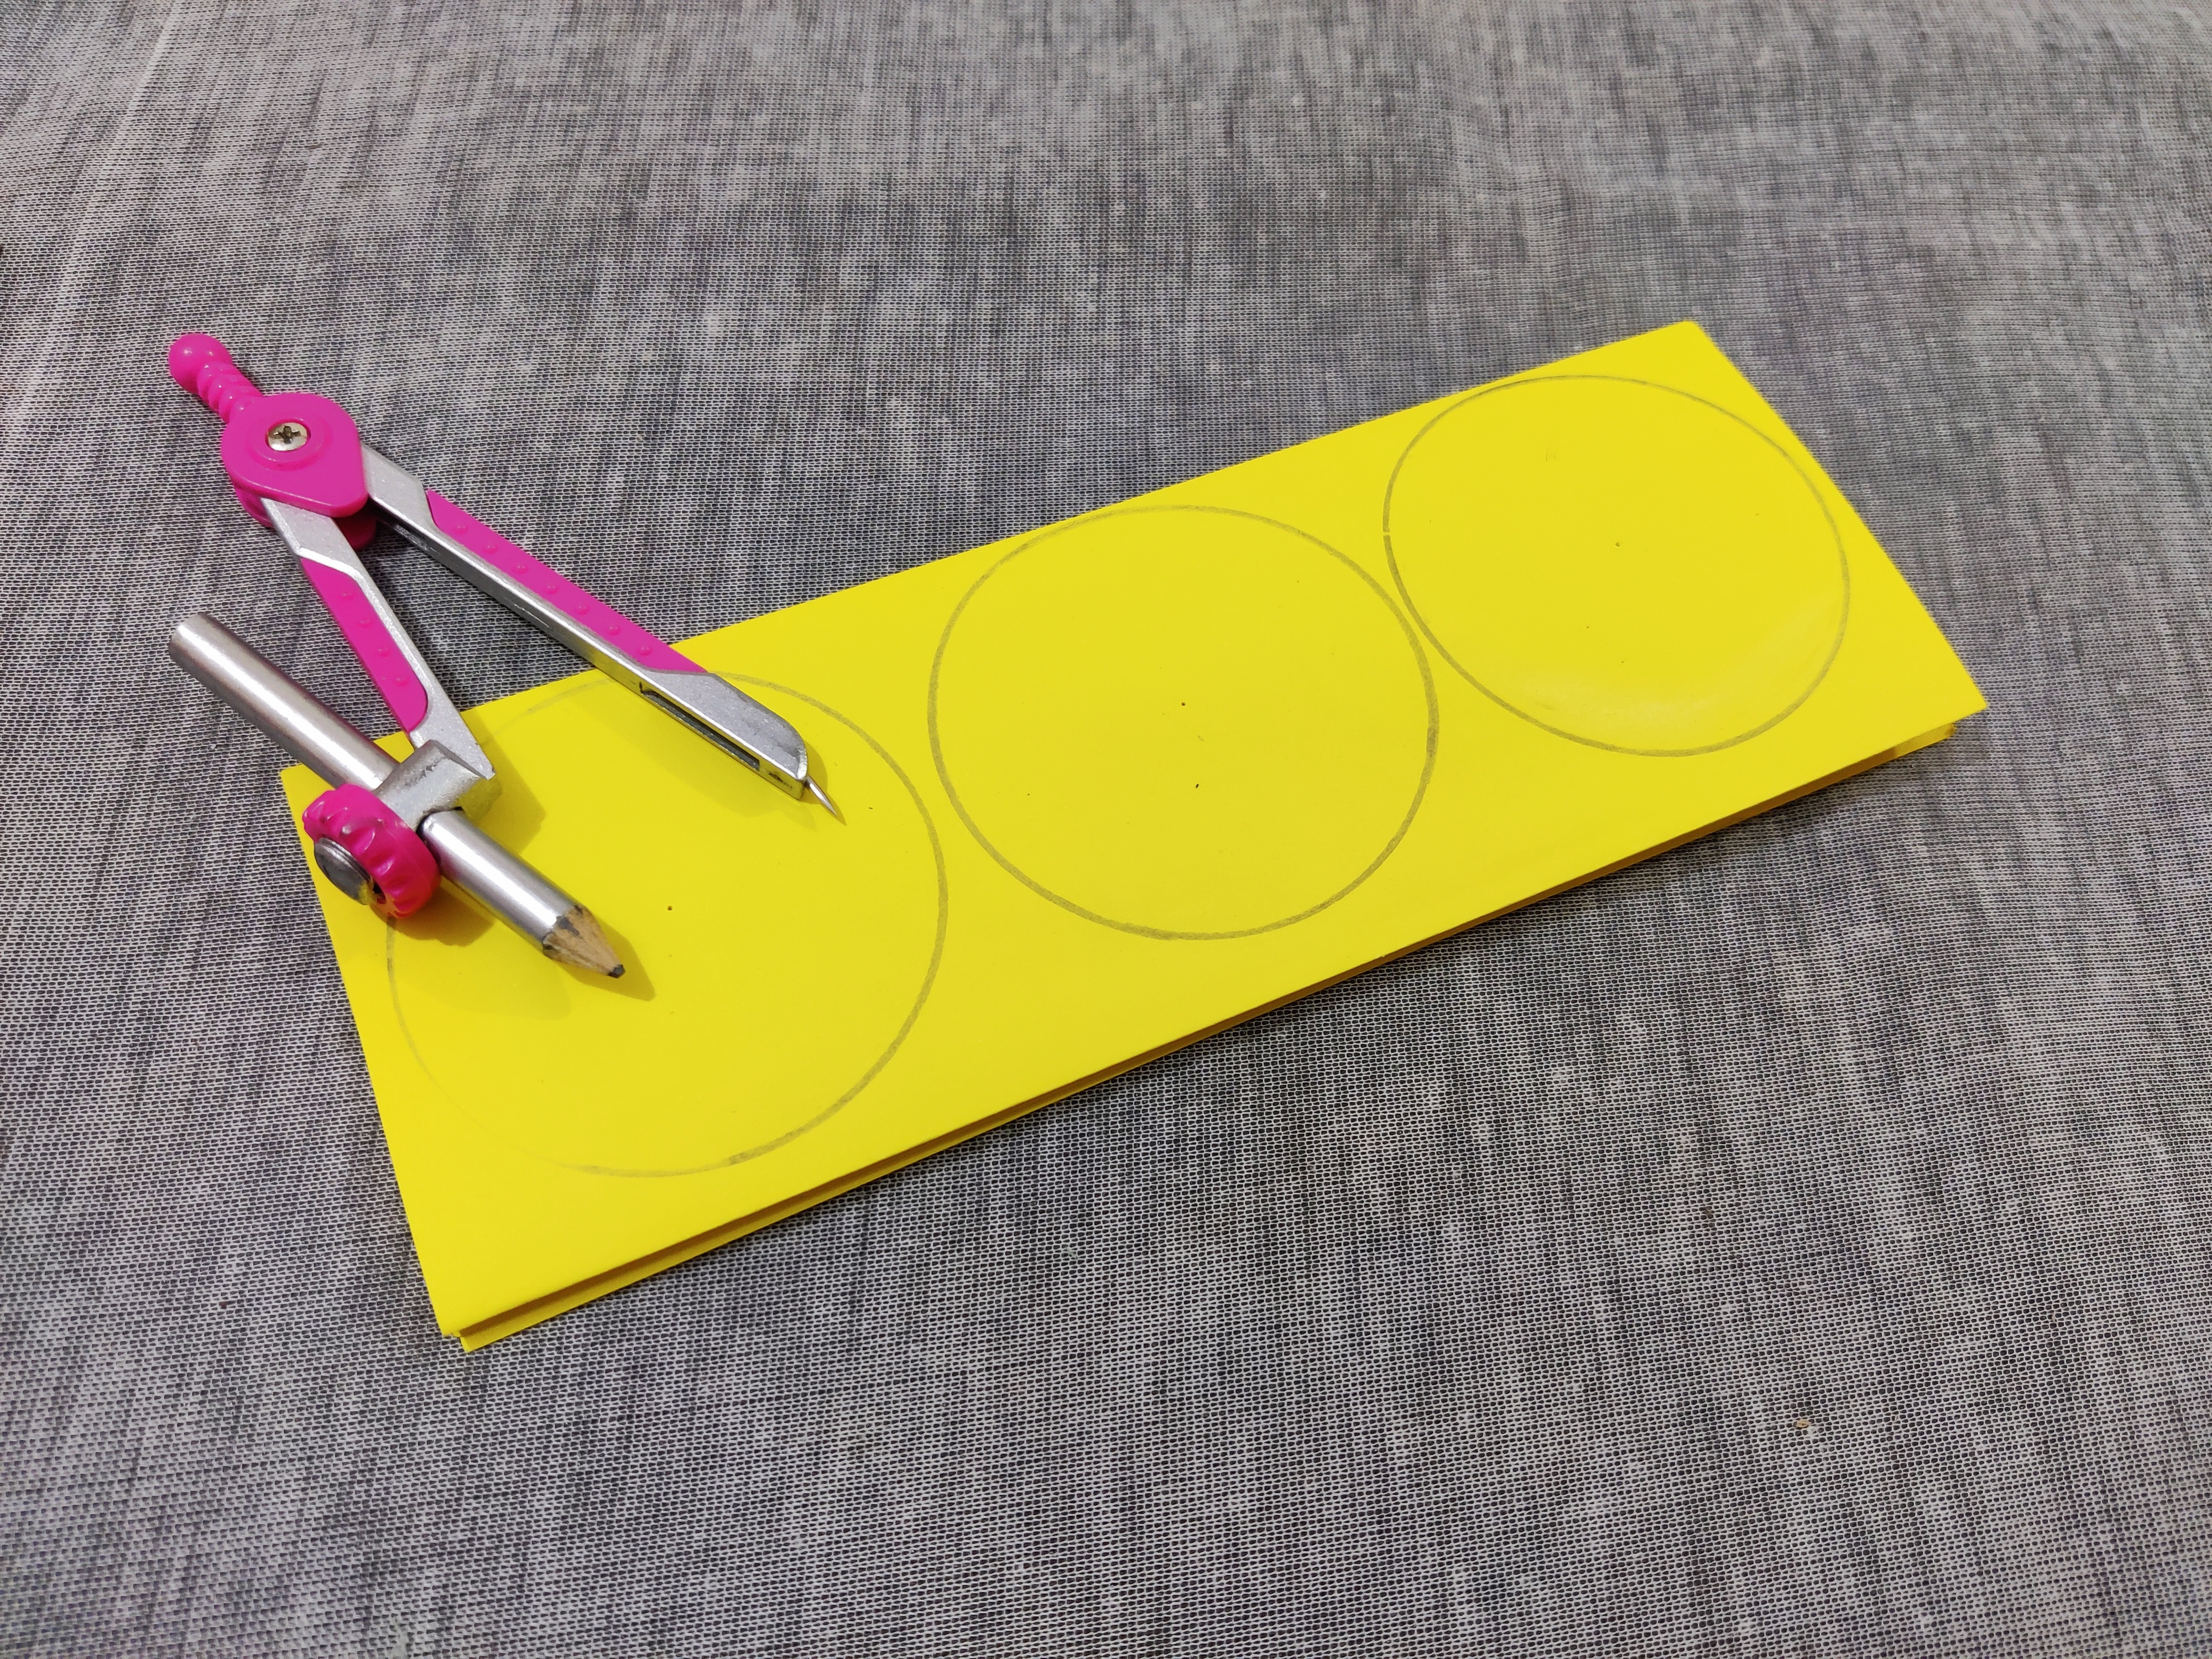
Then I used a pencil compass to draw circle on the paper and I drew 3 circles with the same measurement (I took the measurement on my own according to 3 circles).
Then I cut the 3 circles and I got total 12 circle shape papers as the paper was folded in 4 parts 3X4=12.
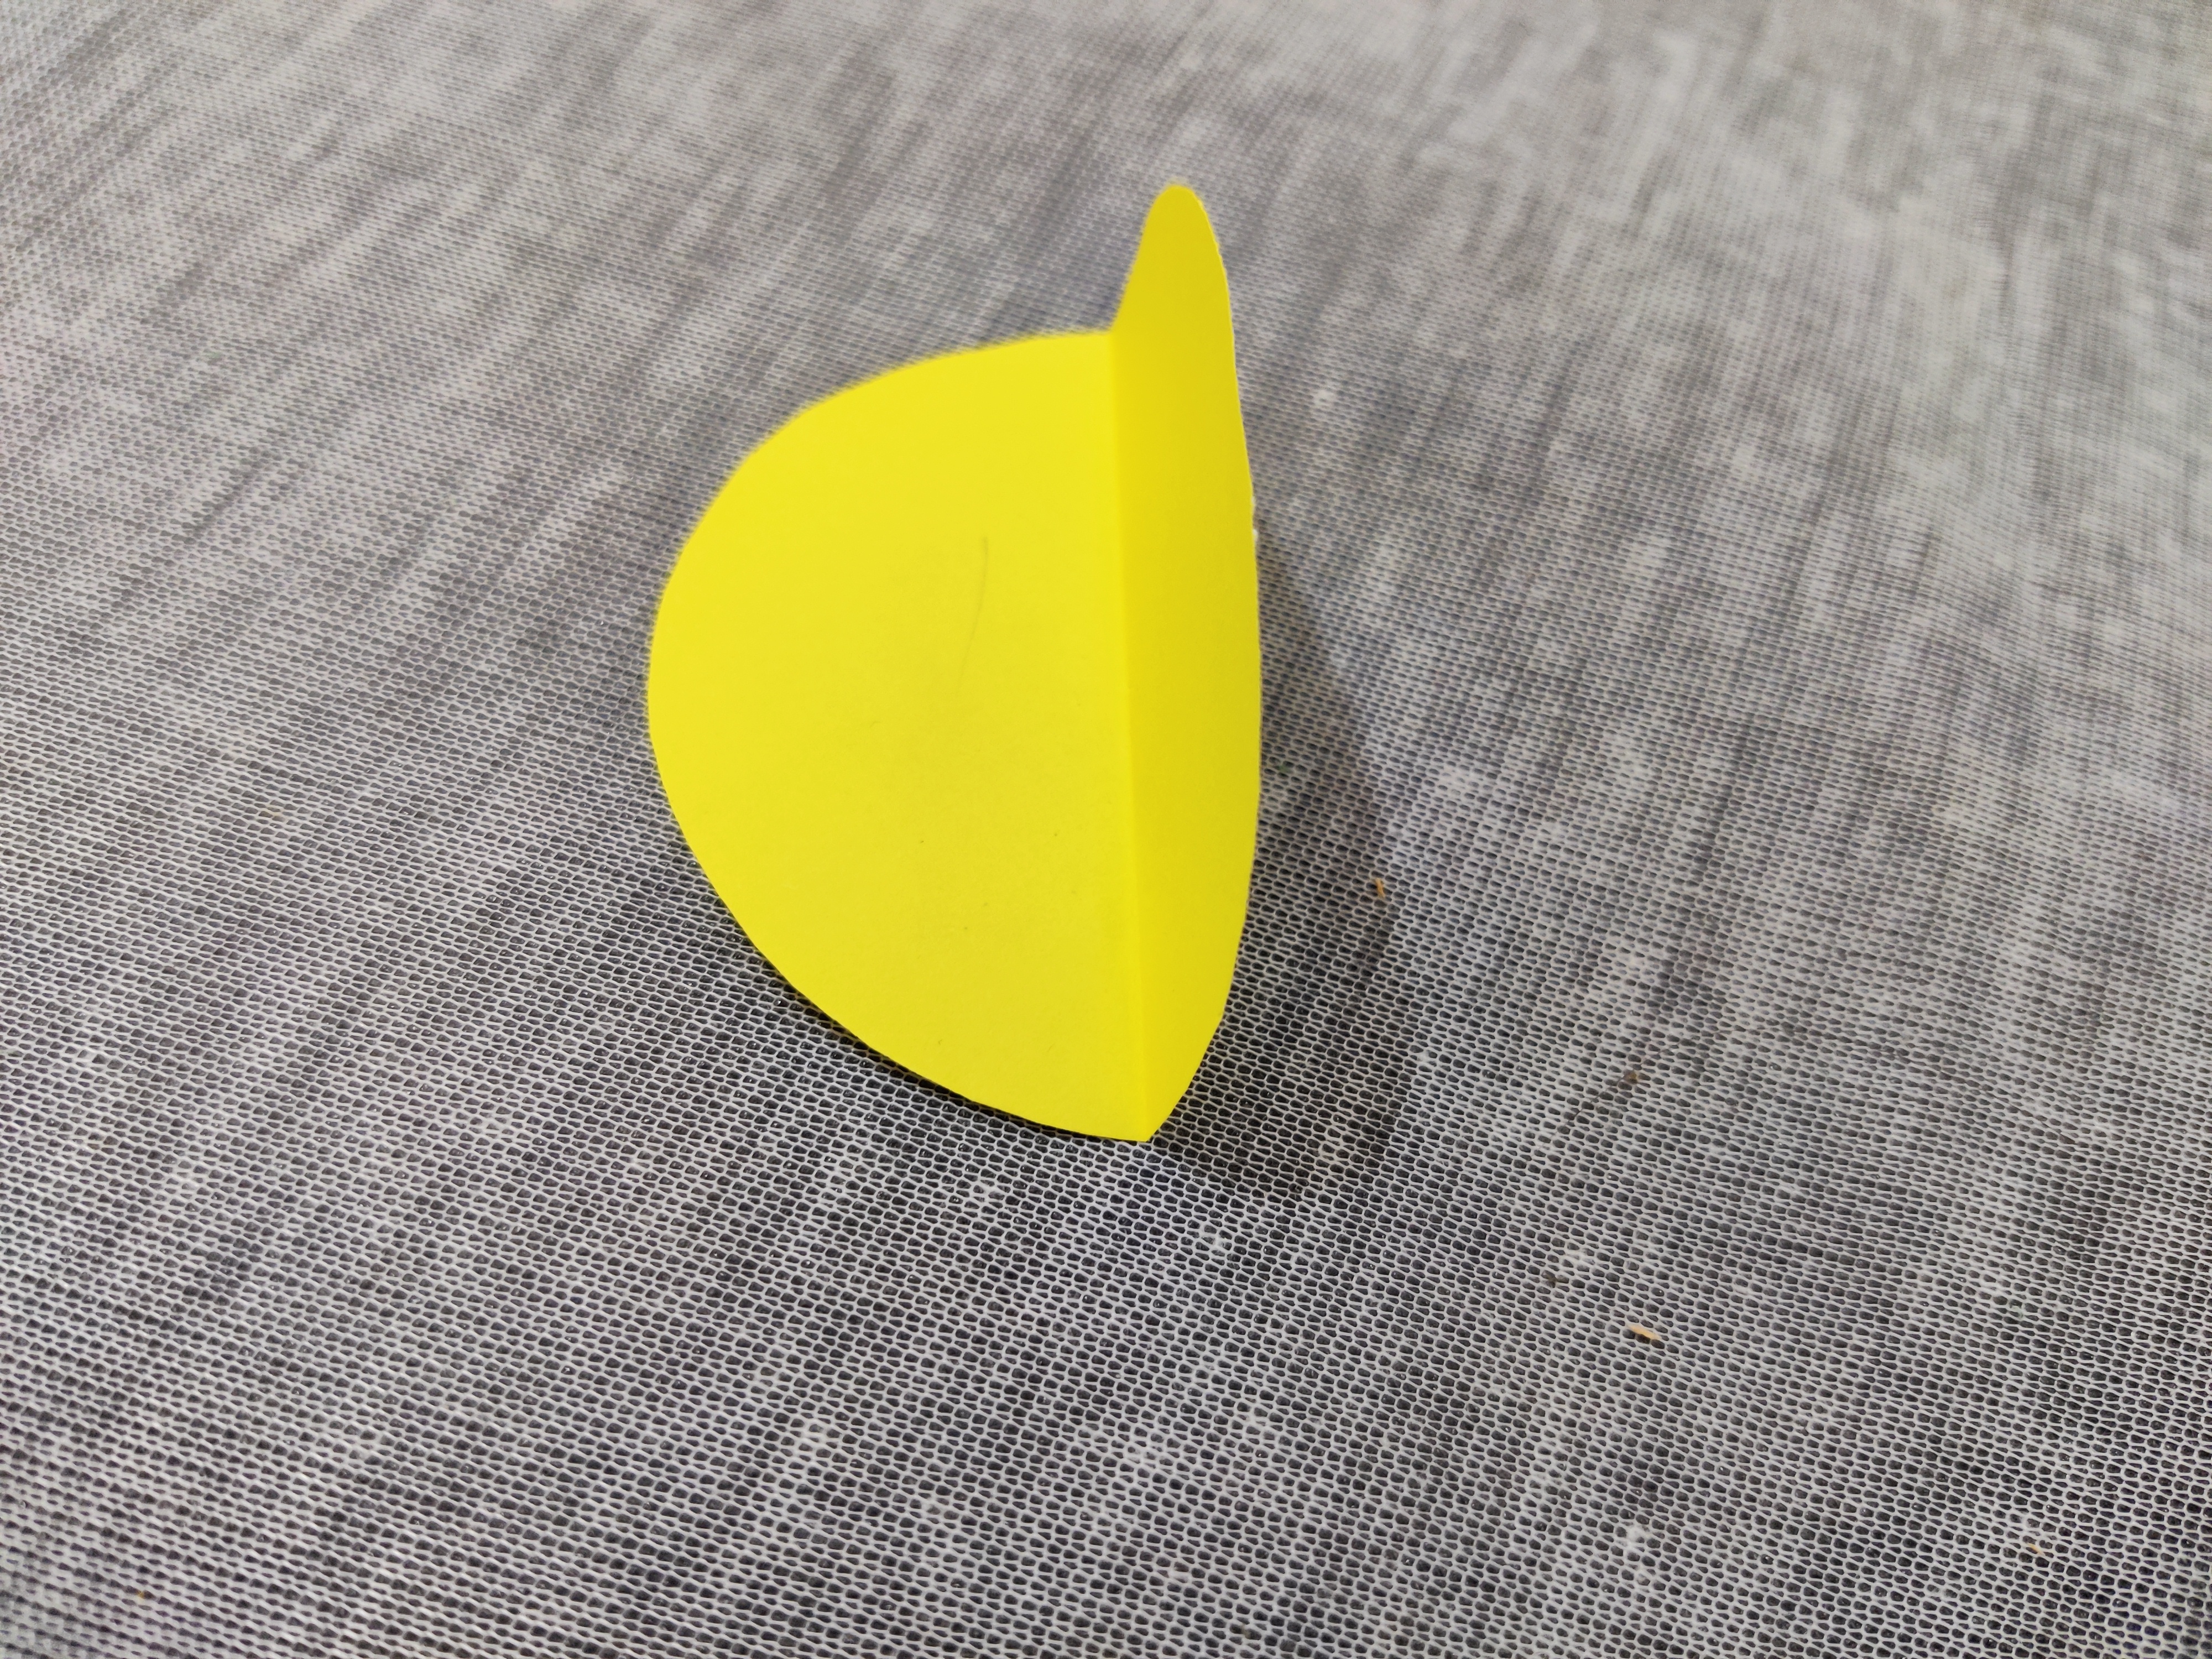
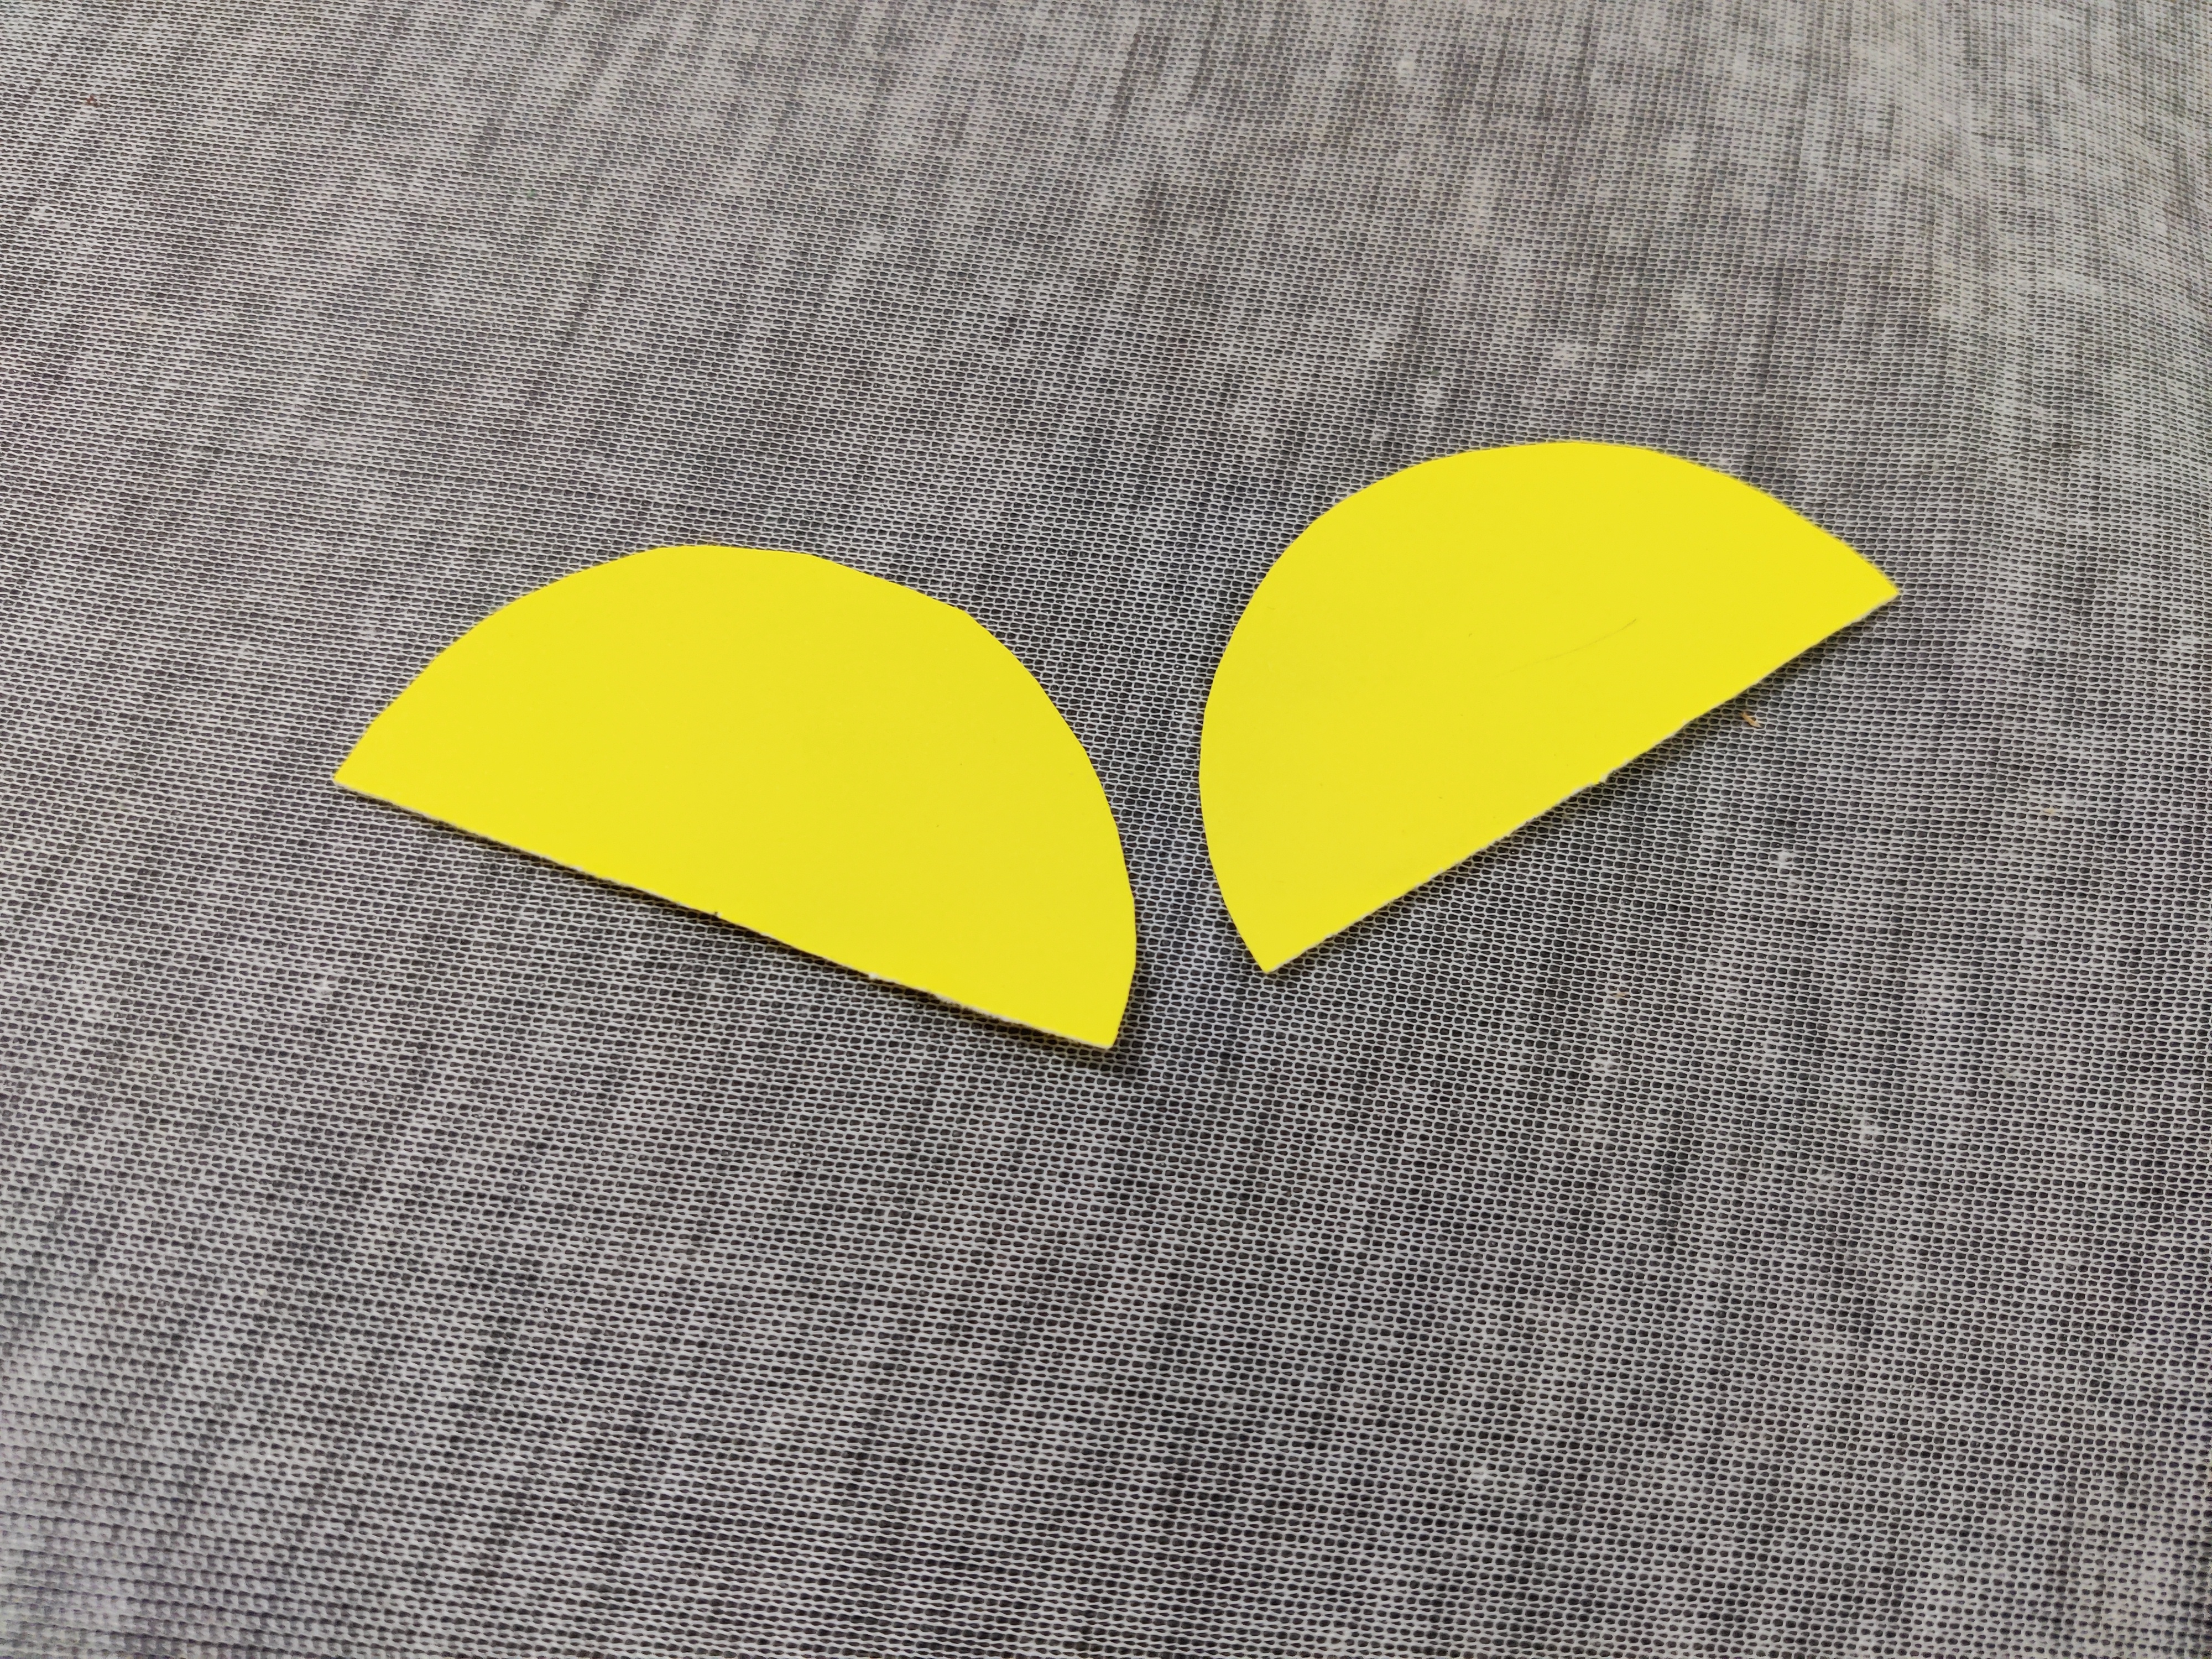
Now I needed to cut the circle in half and make them two parts.
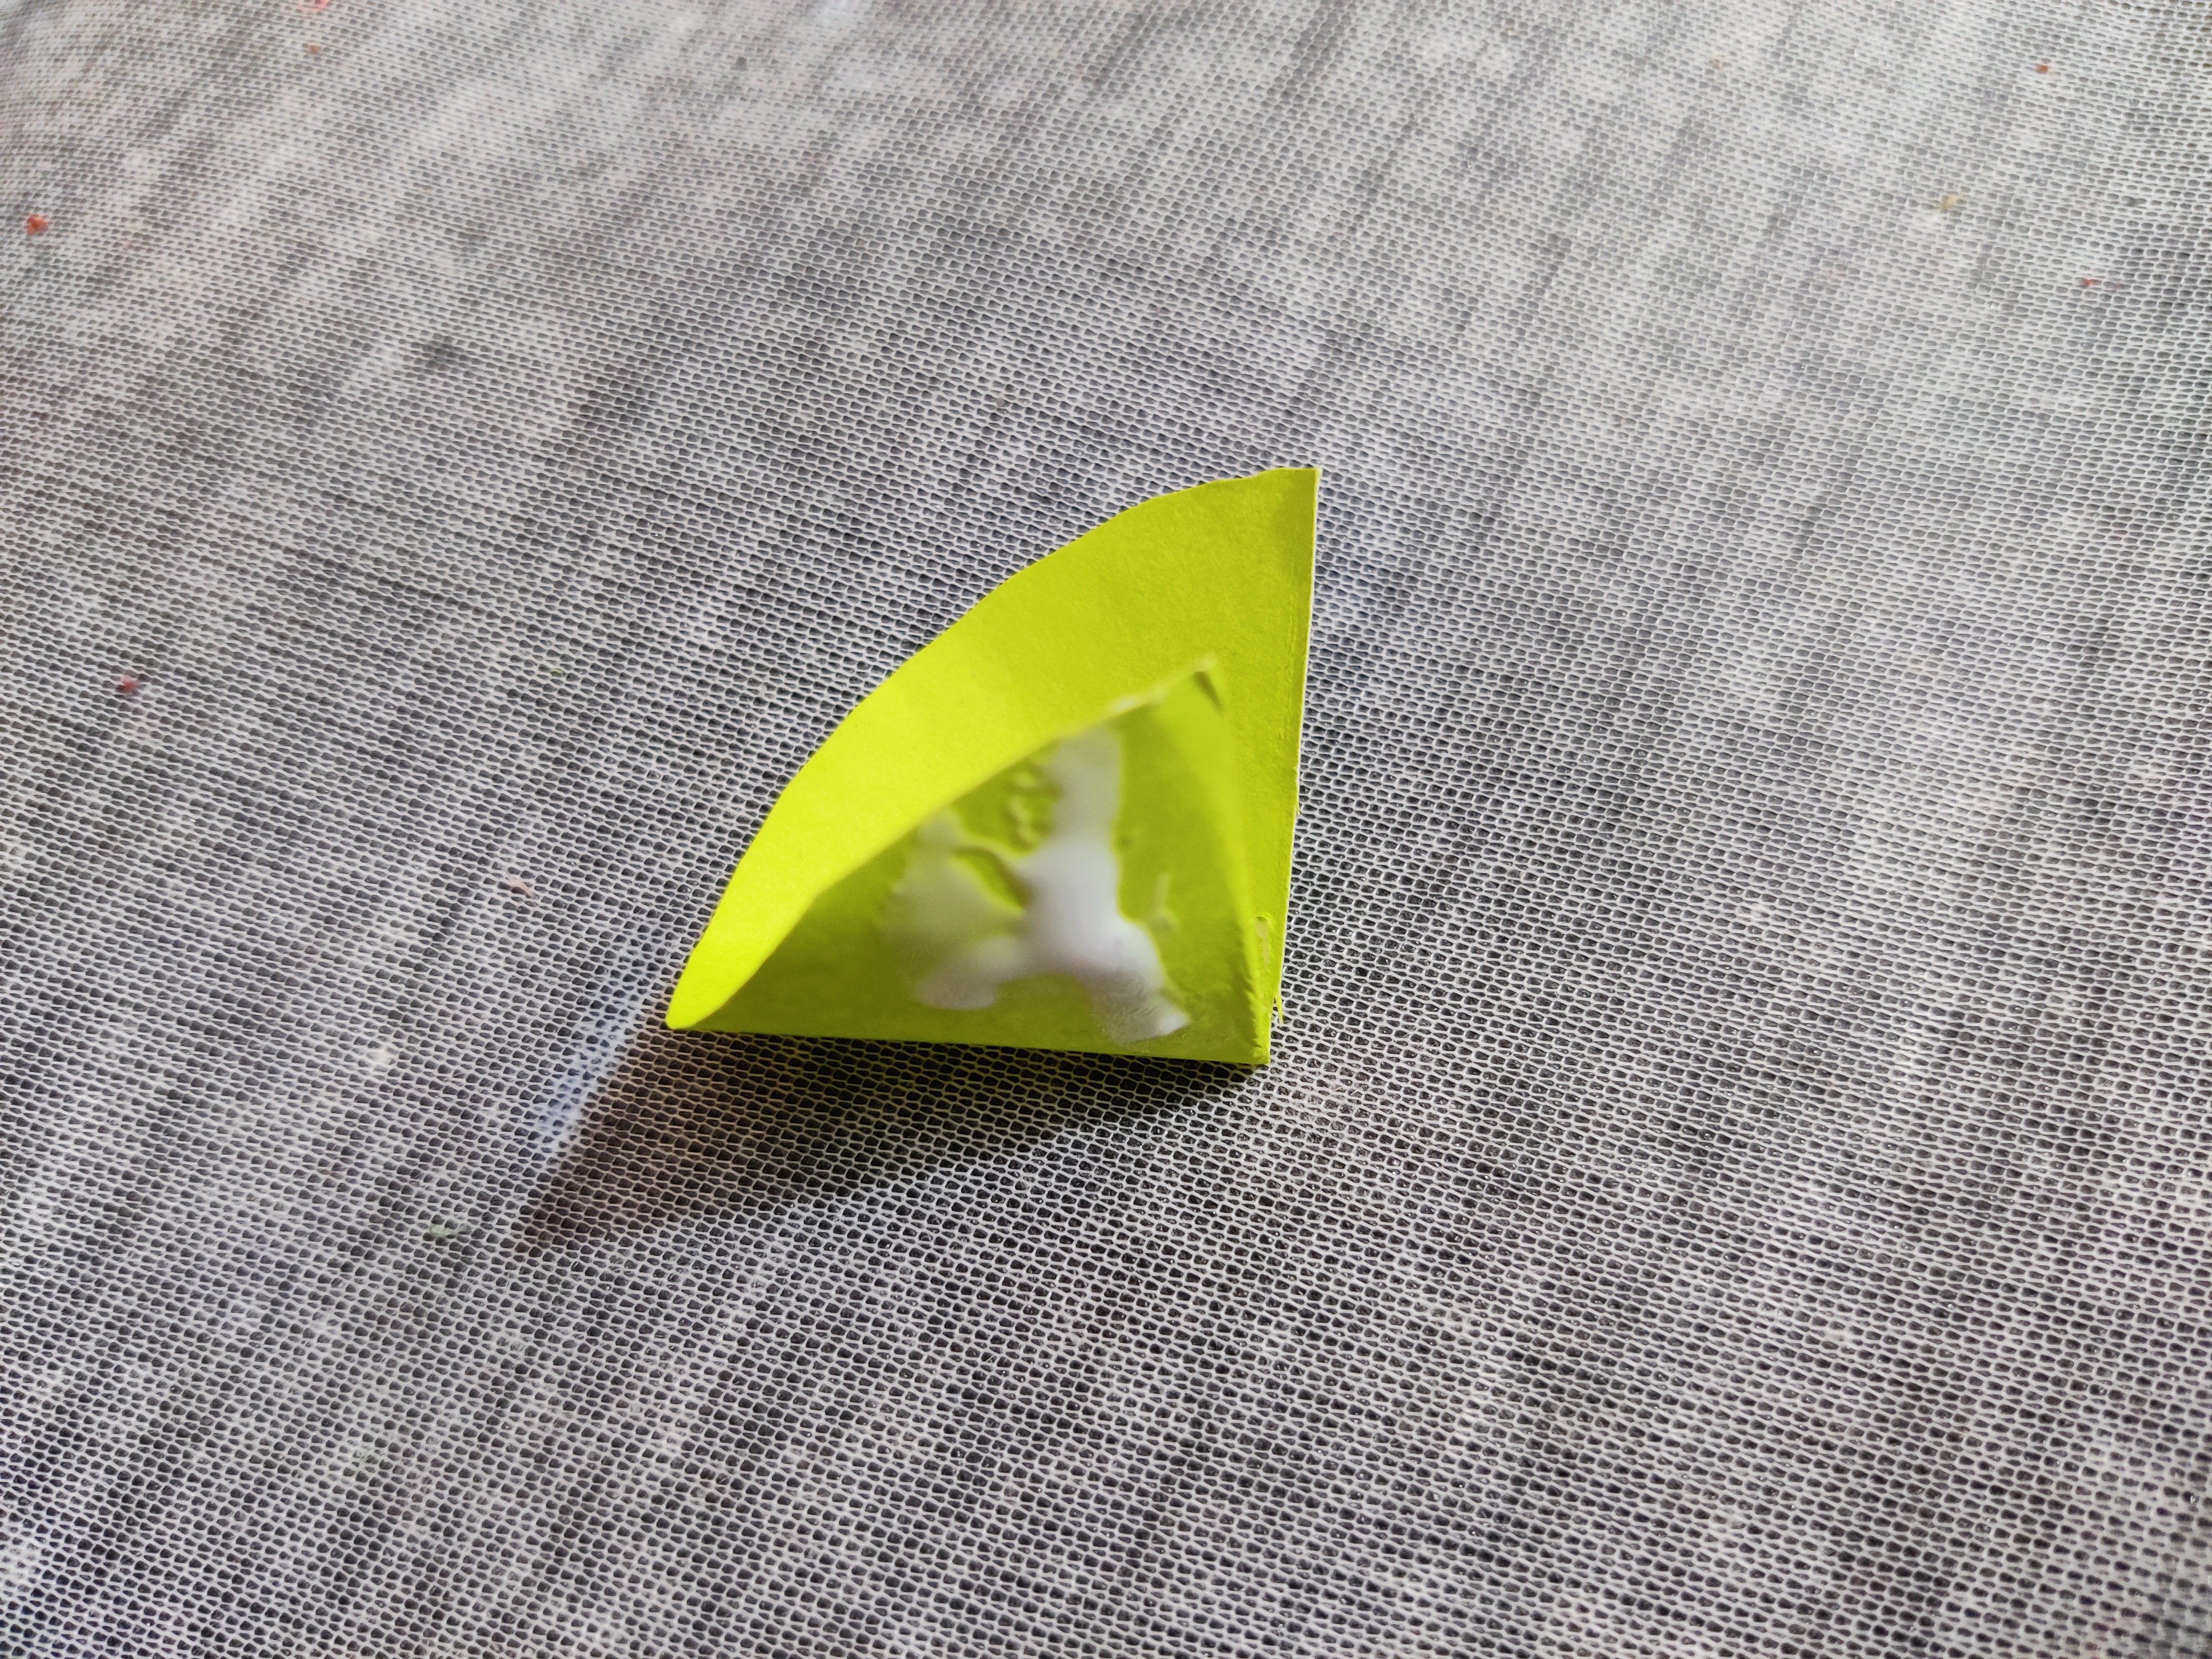
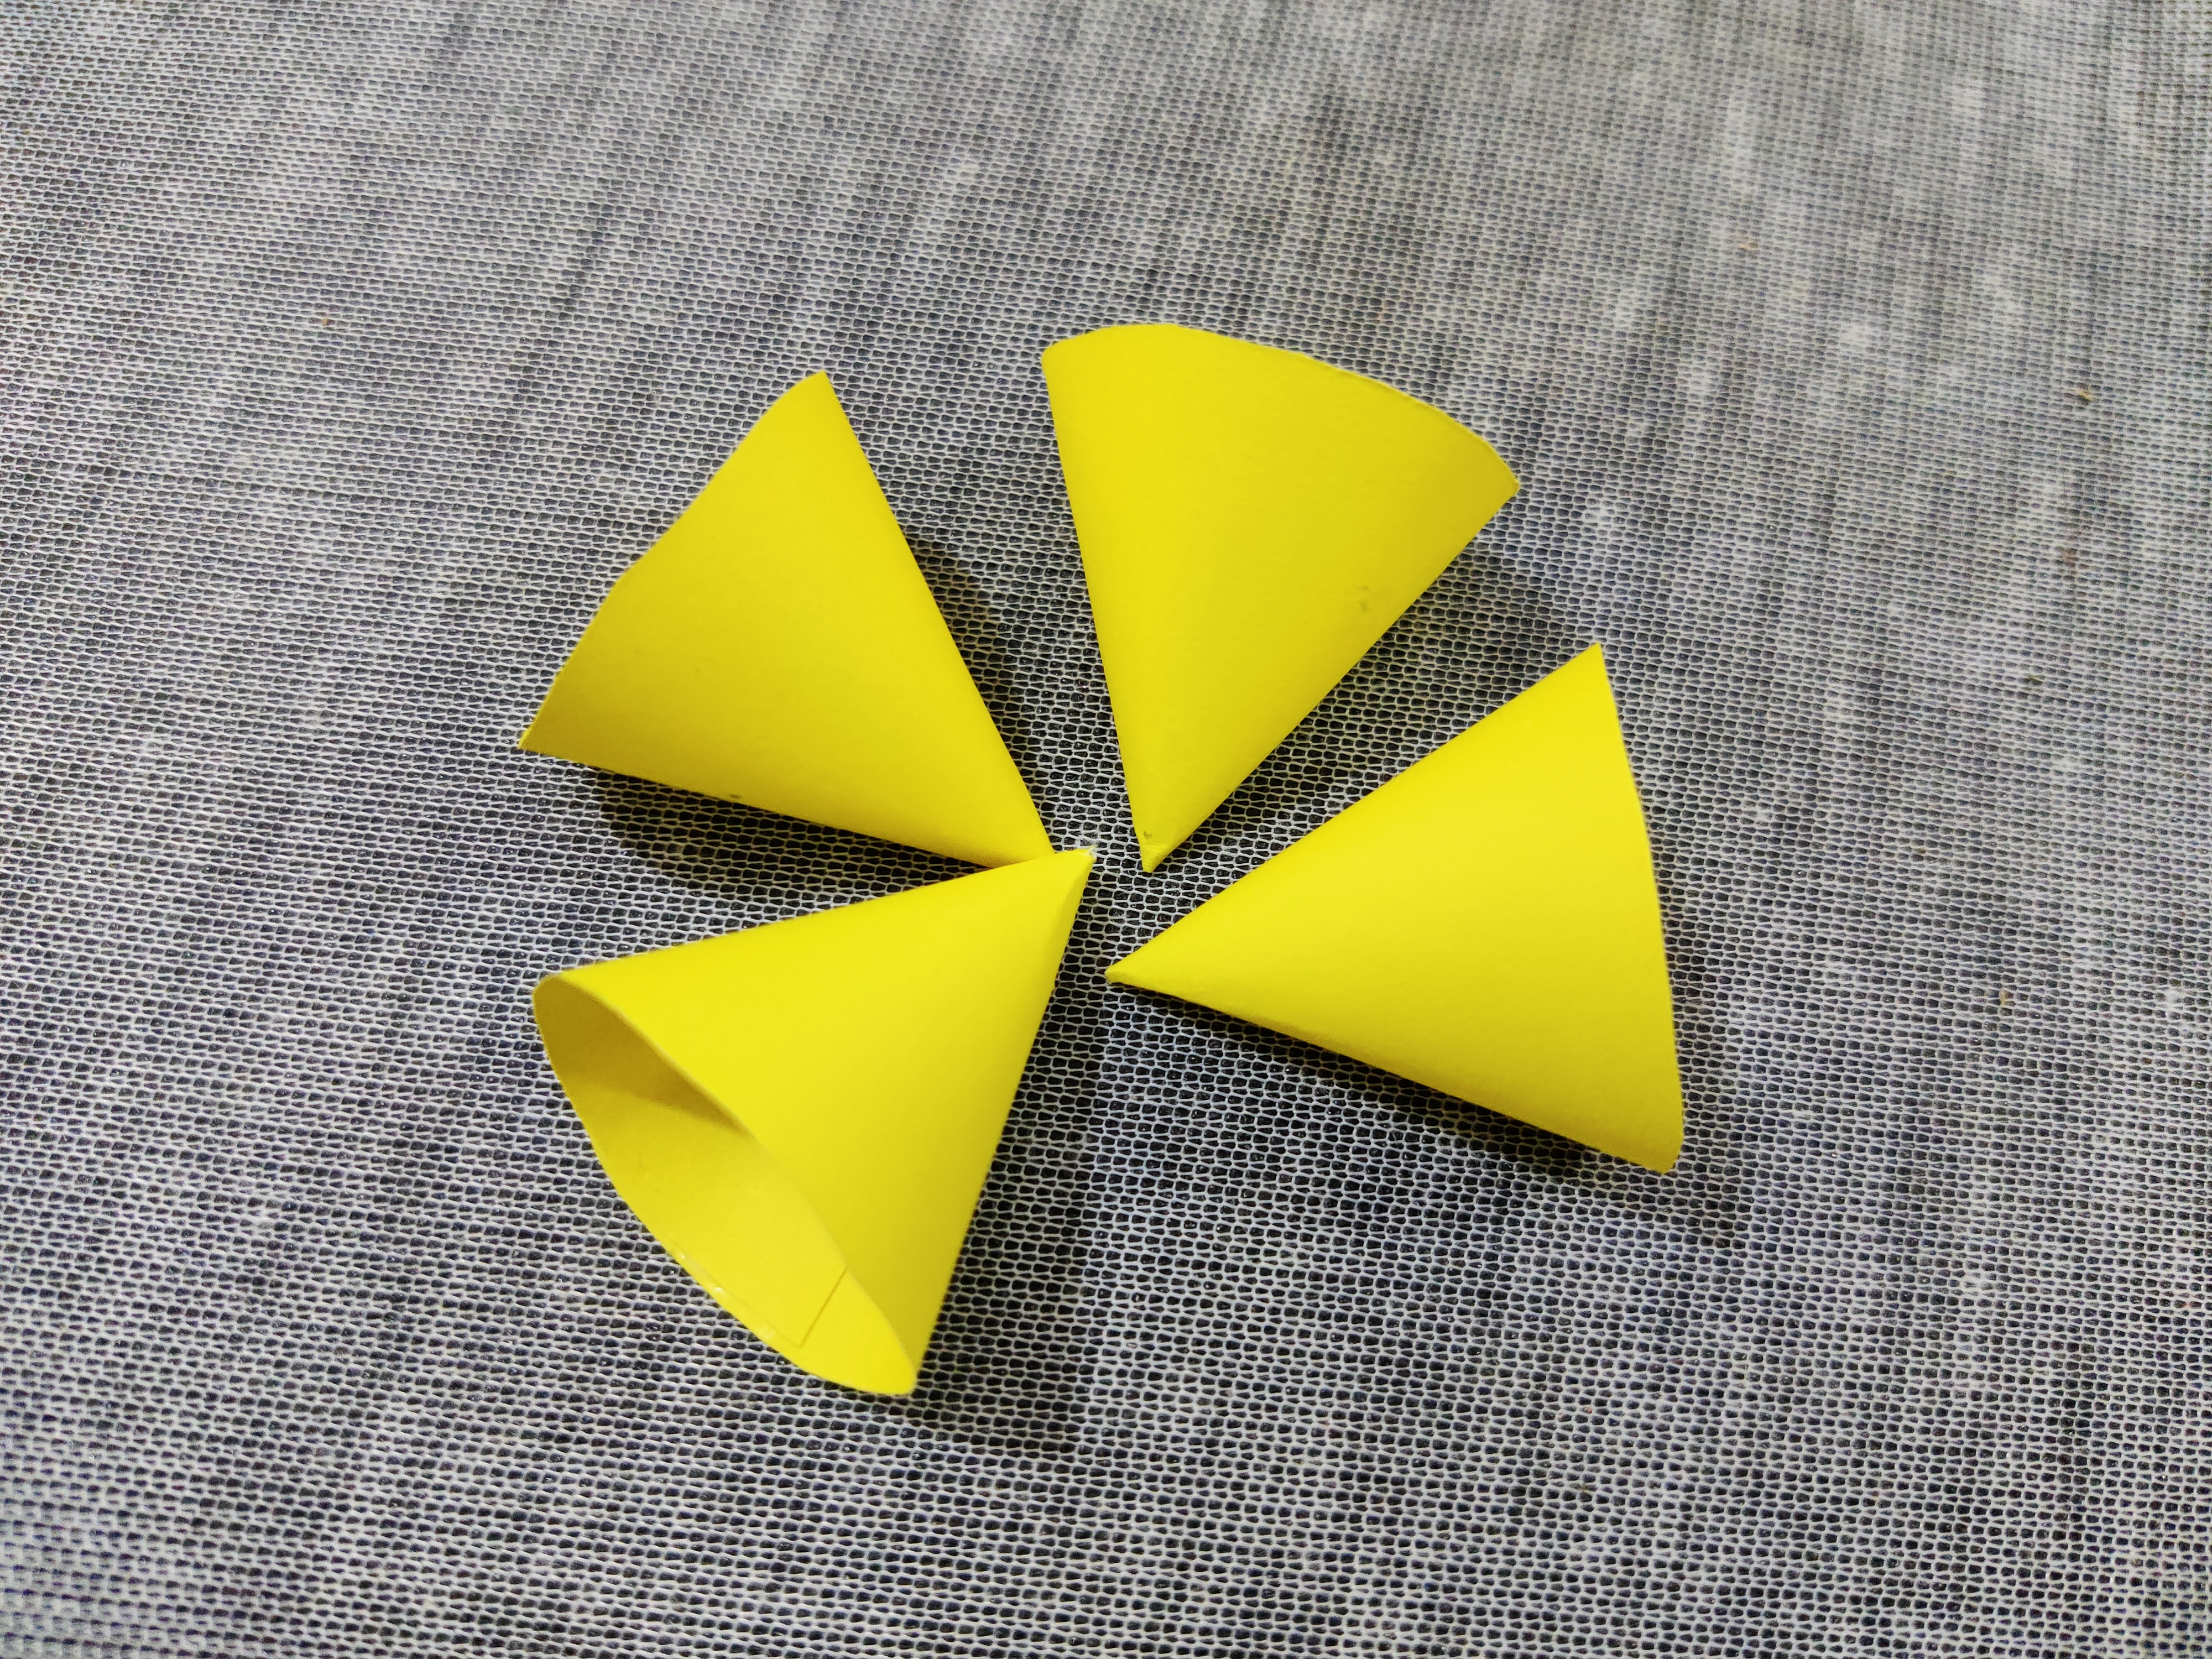
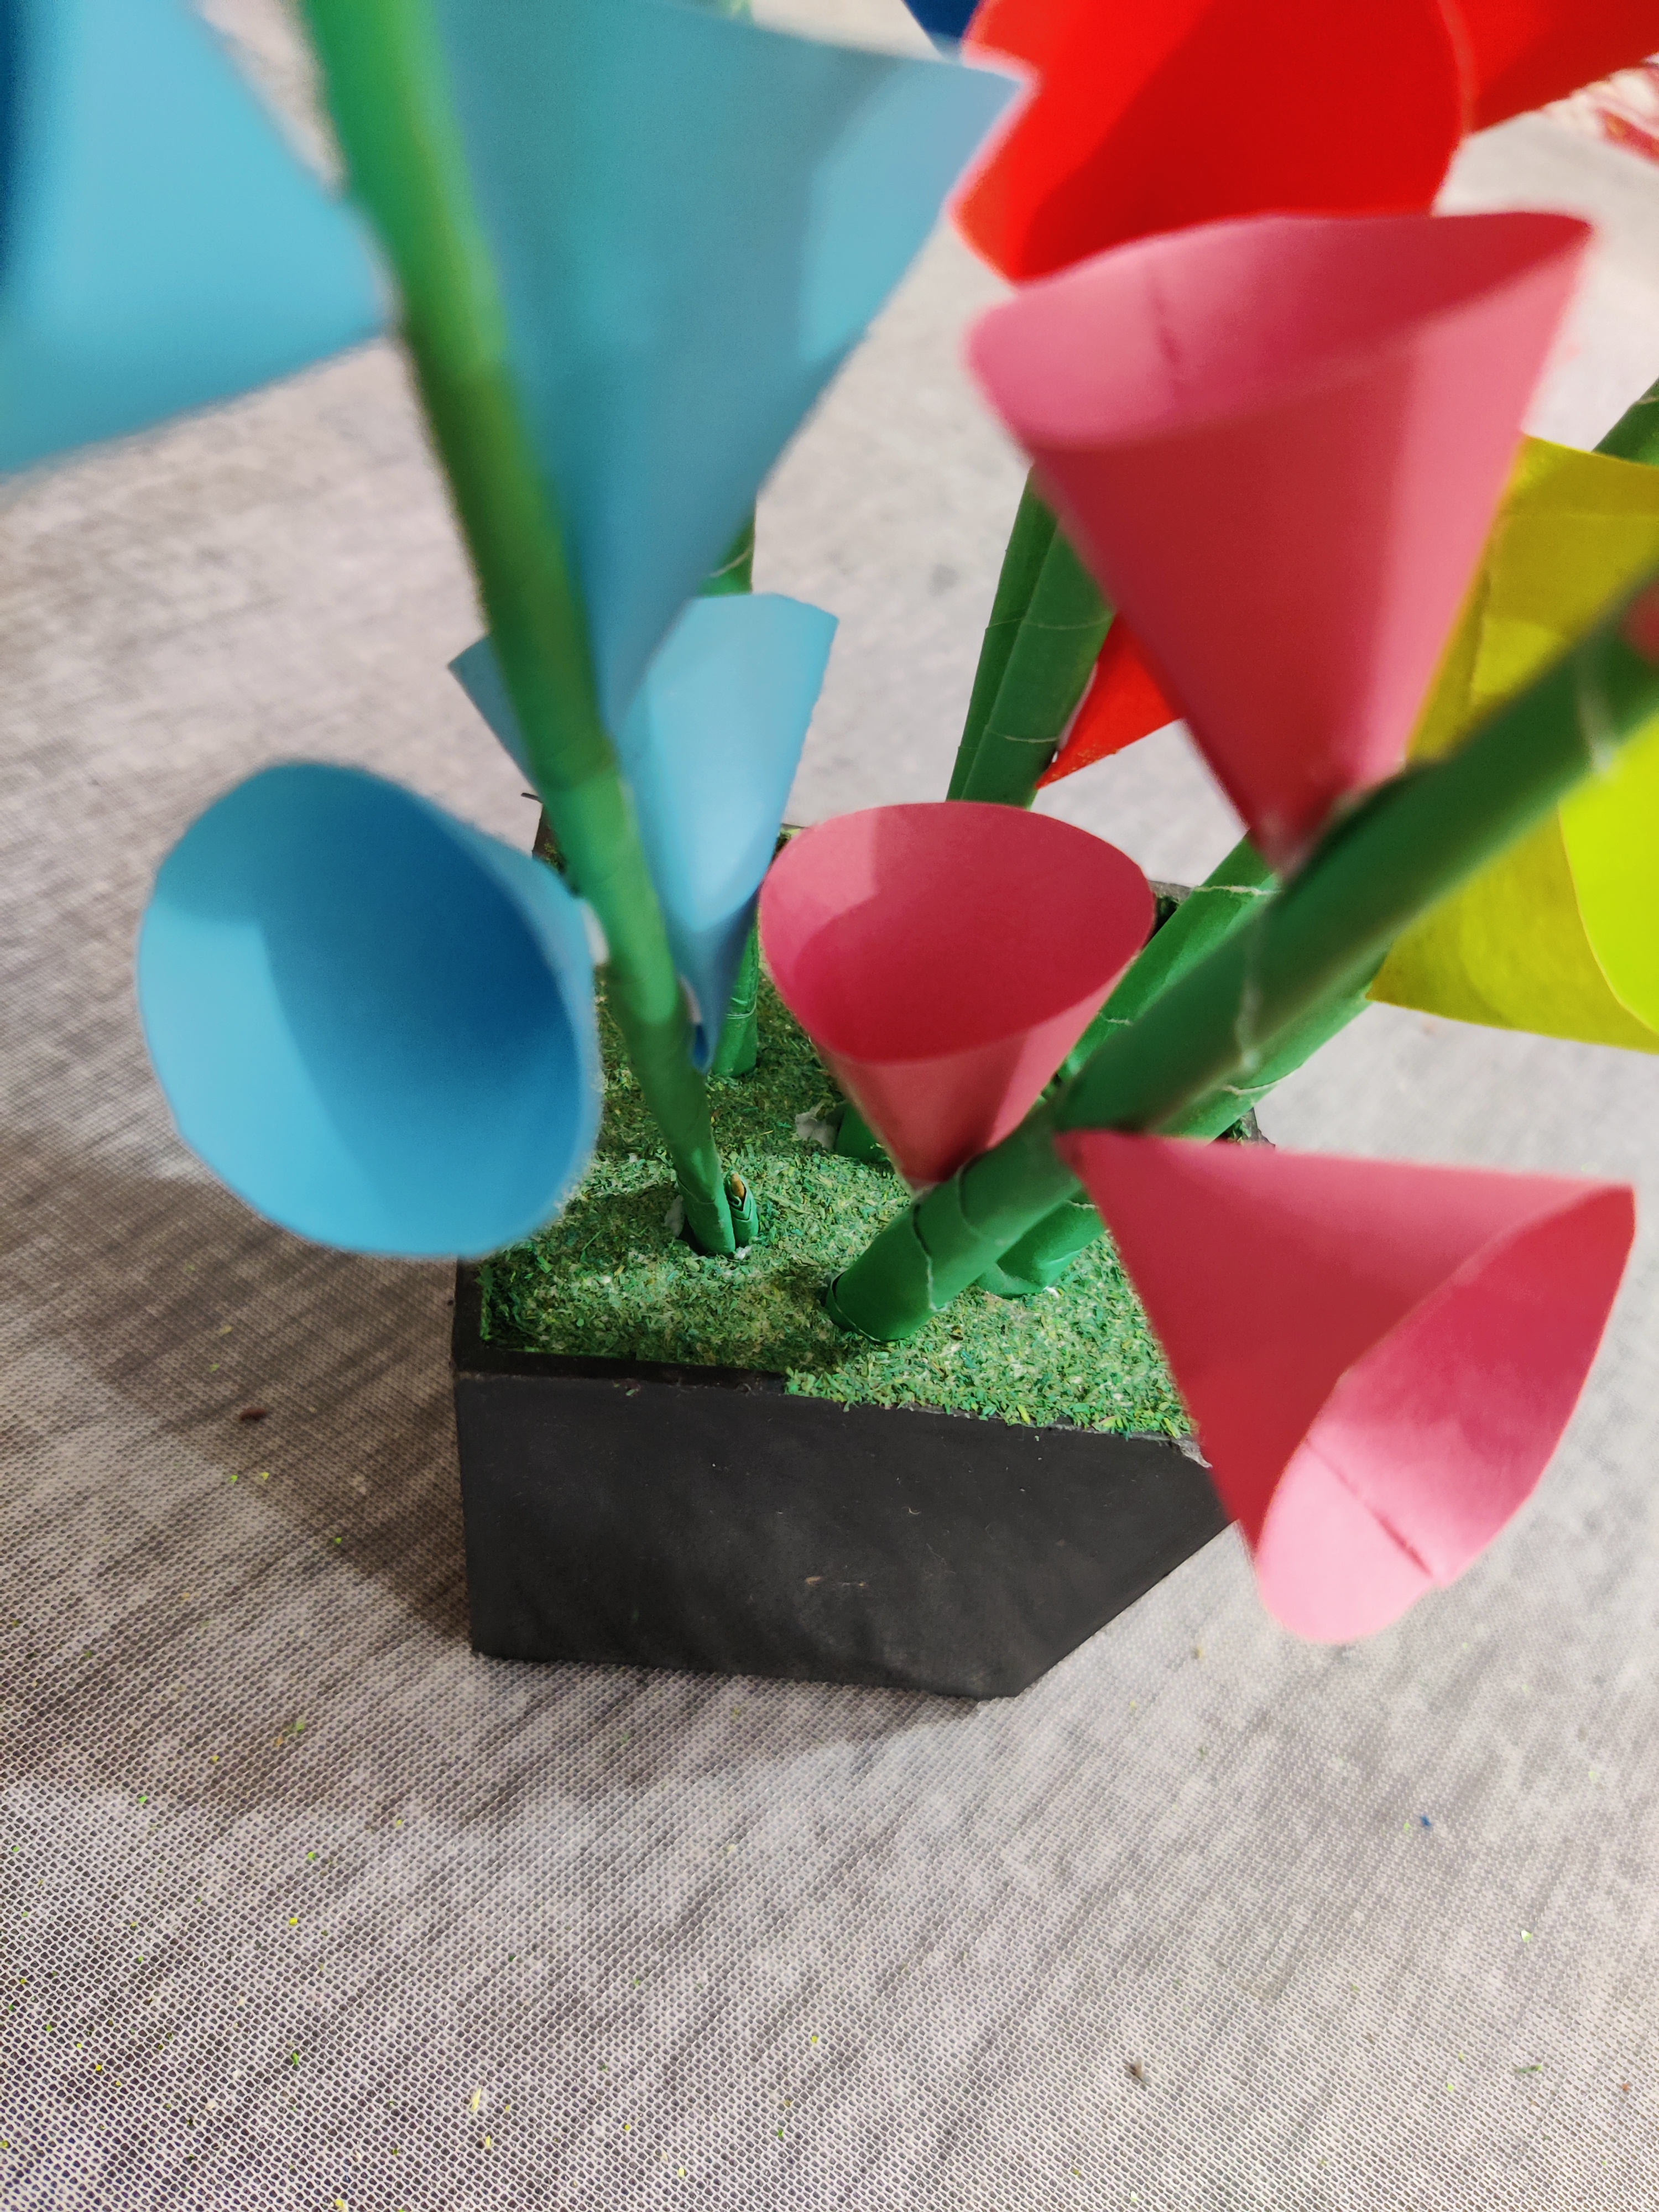
And now its time to do some gluing. I glued one part of the half circle to another part and I got flower pedals that can be seen above.
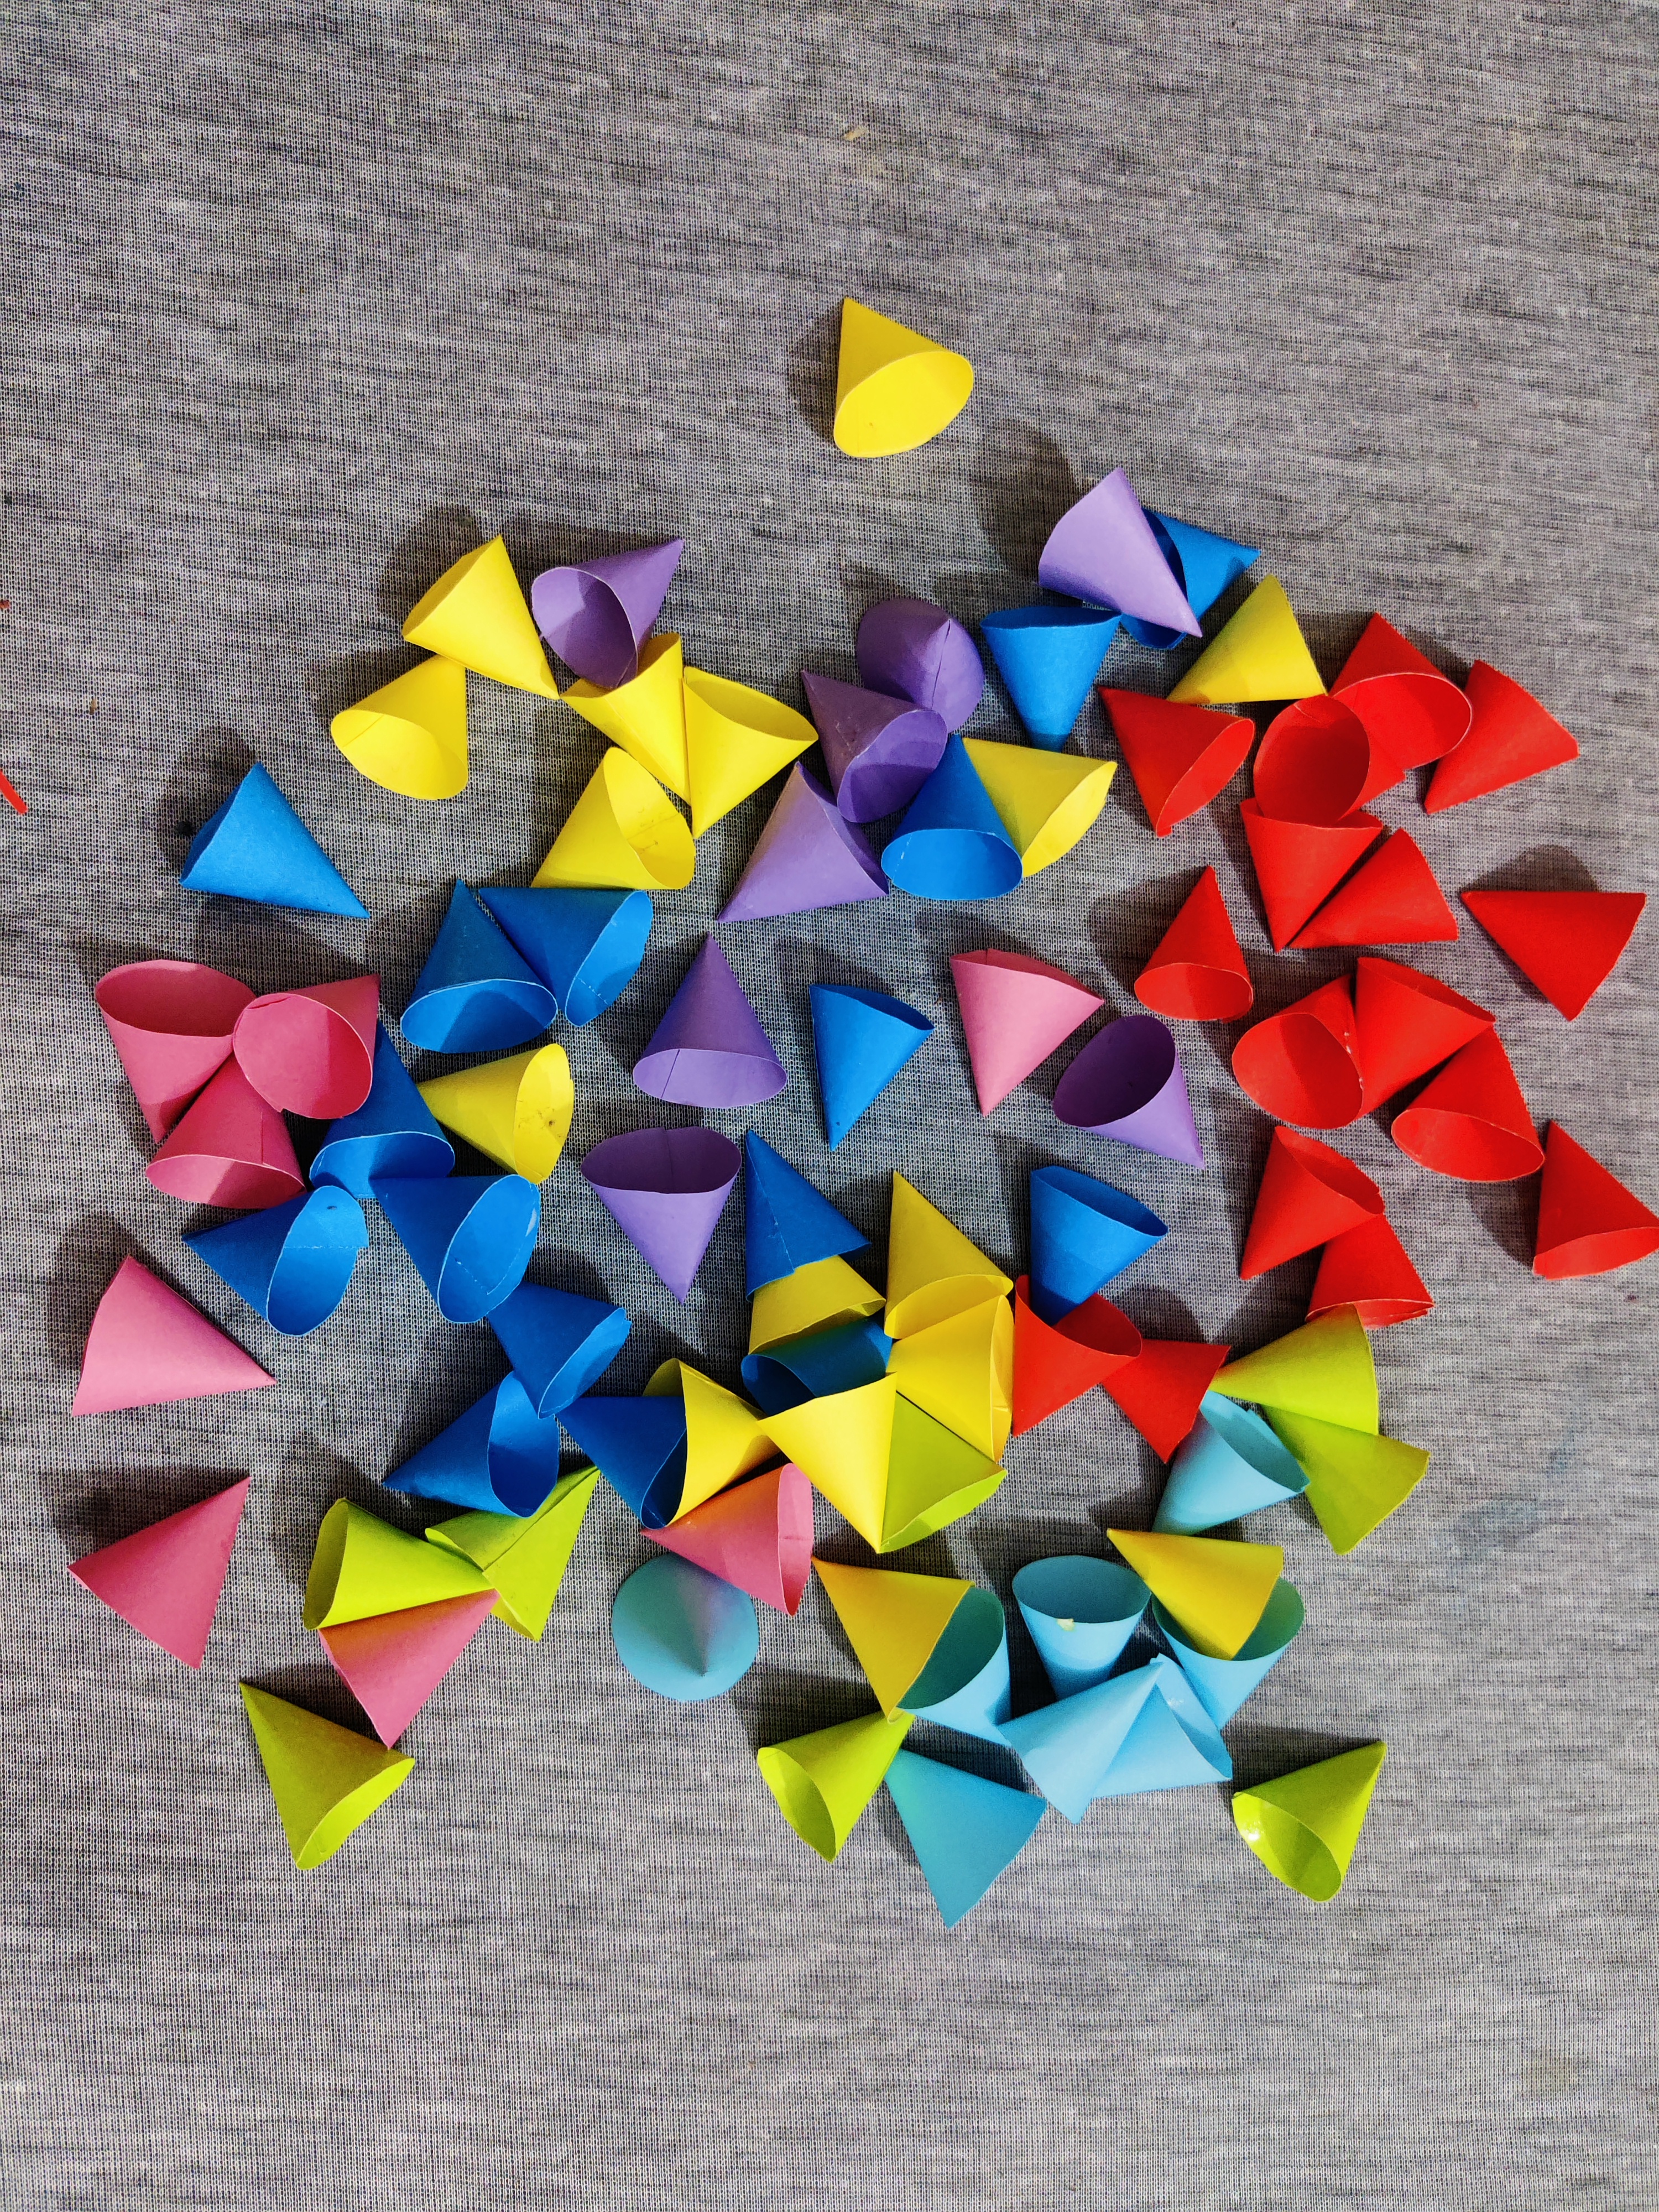
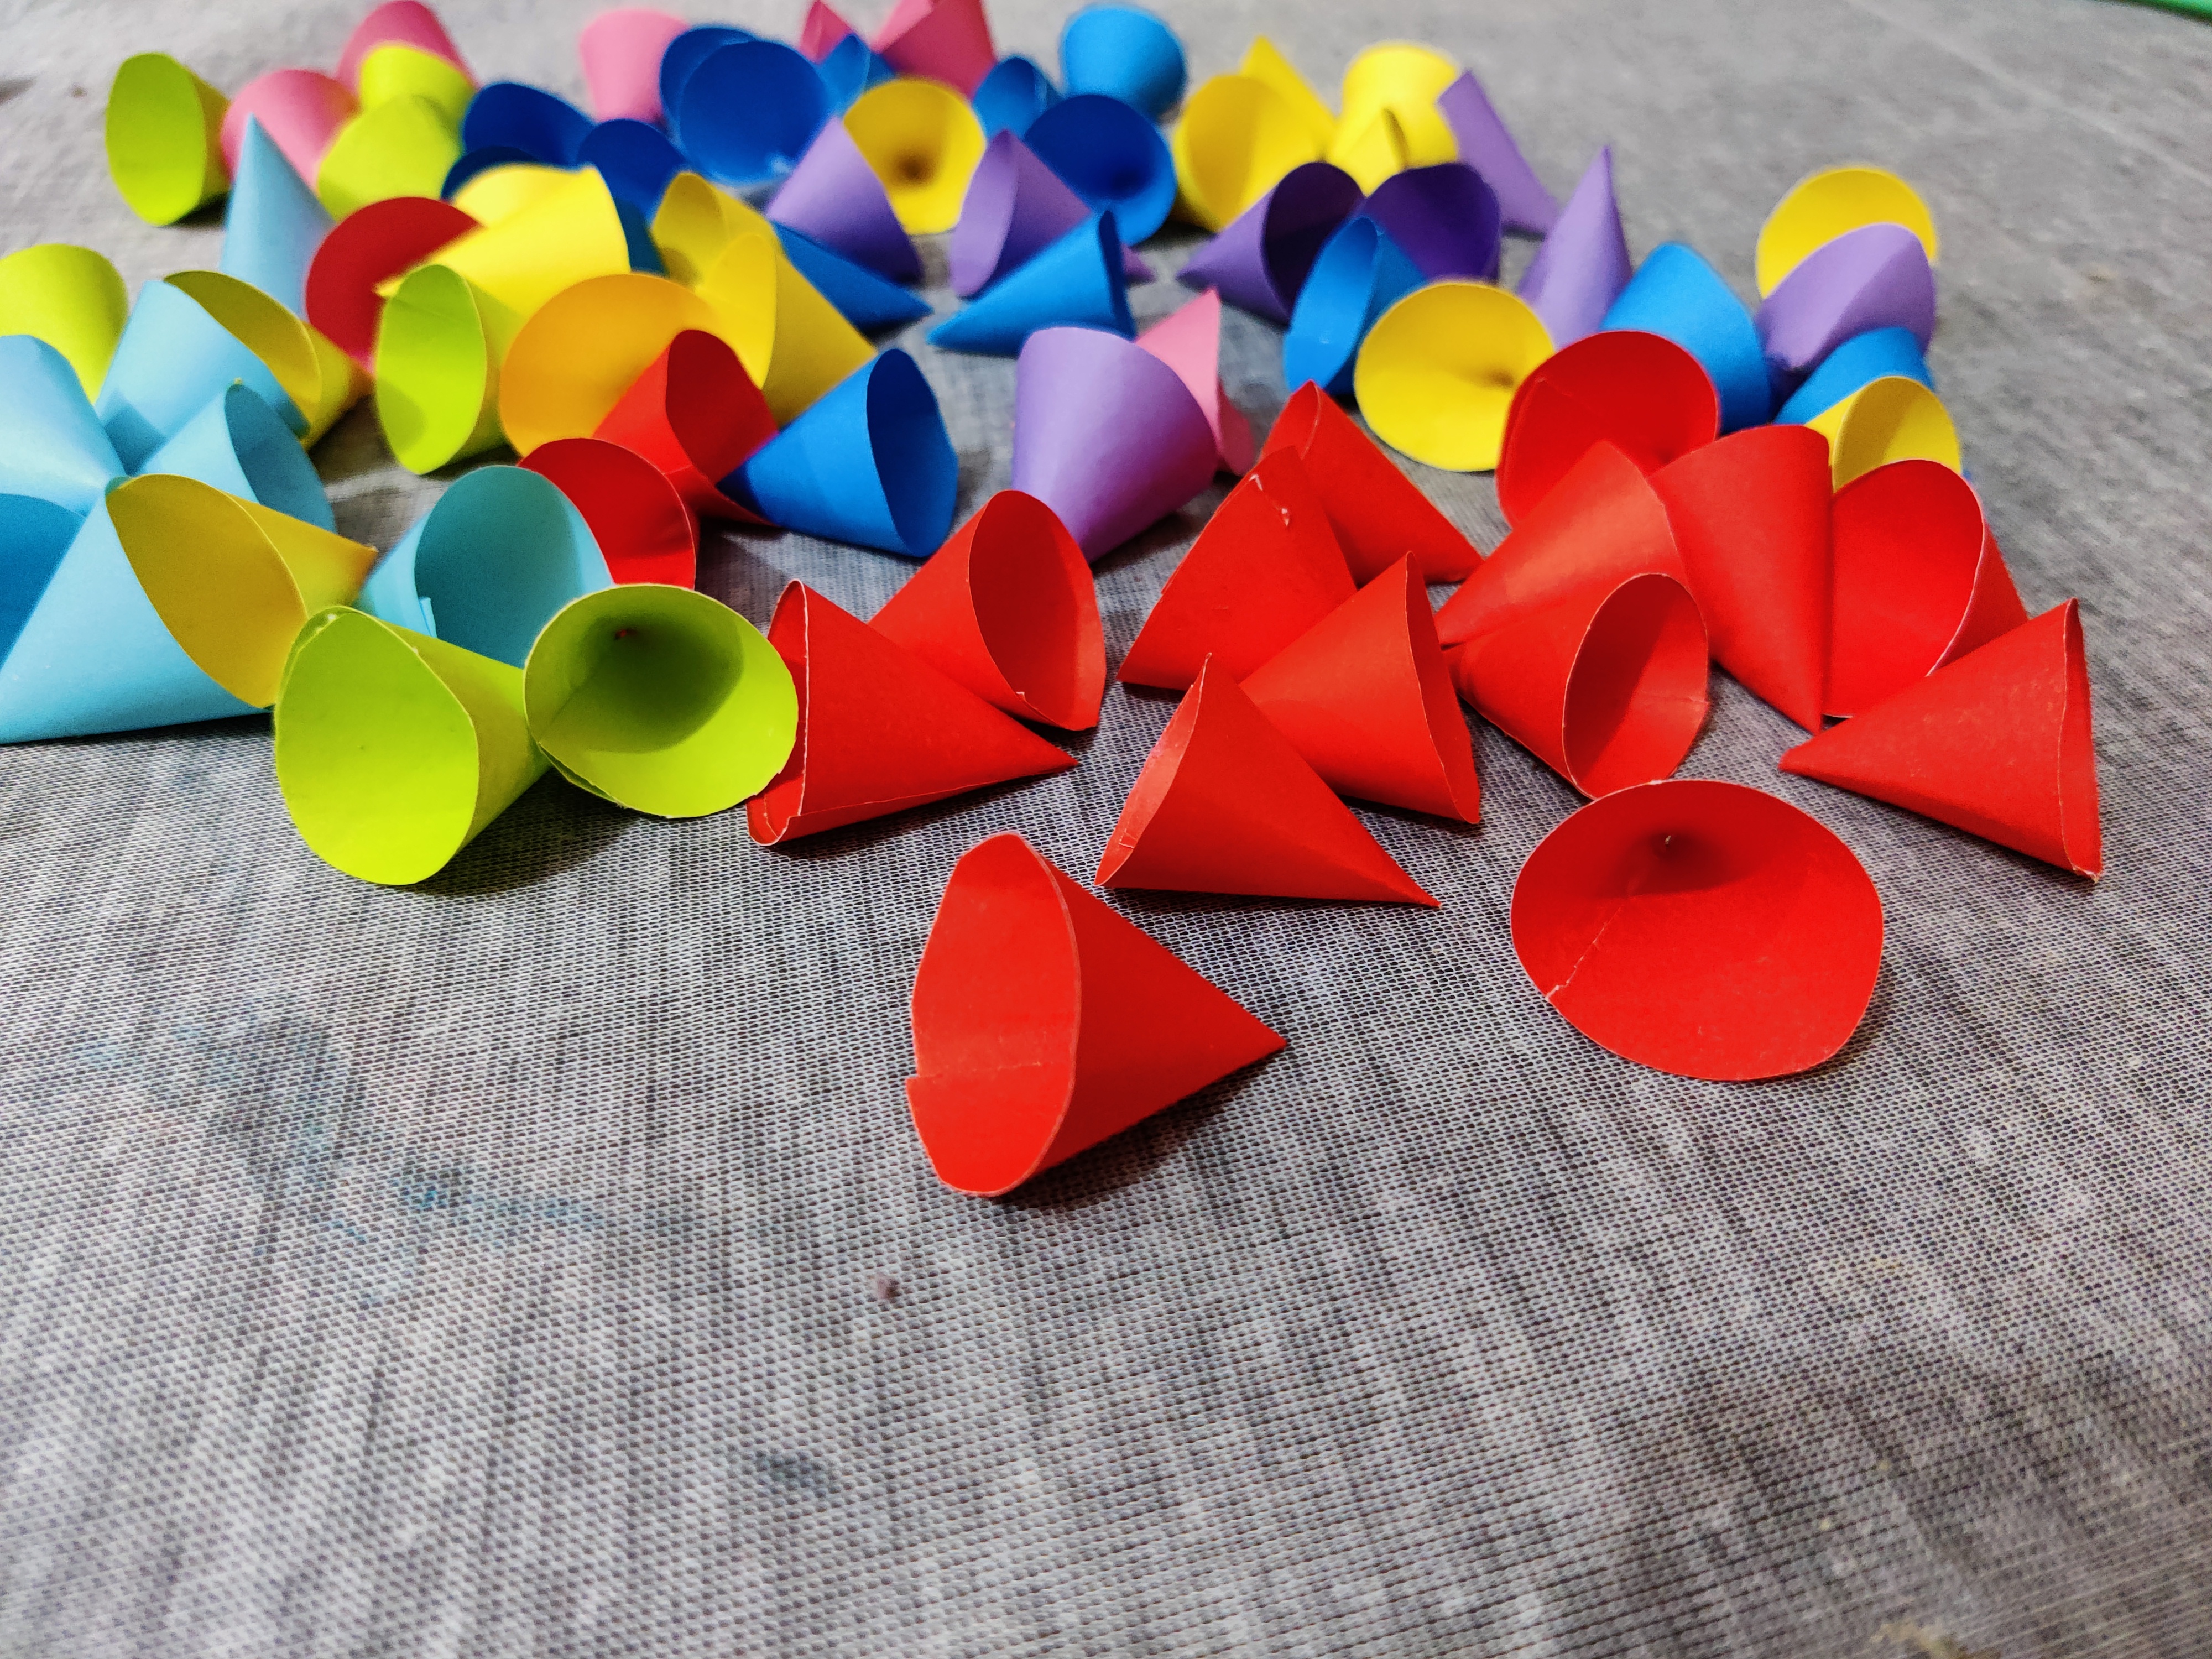
And here are all the flower pedals.
I used total 7 color papers for all these flower pedals and I didn't need more than one paper from each color.
Now its time to make the sticks.
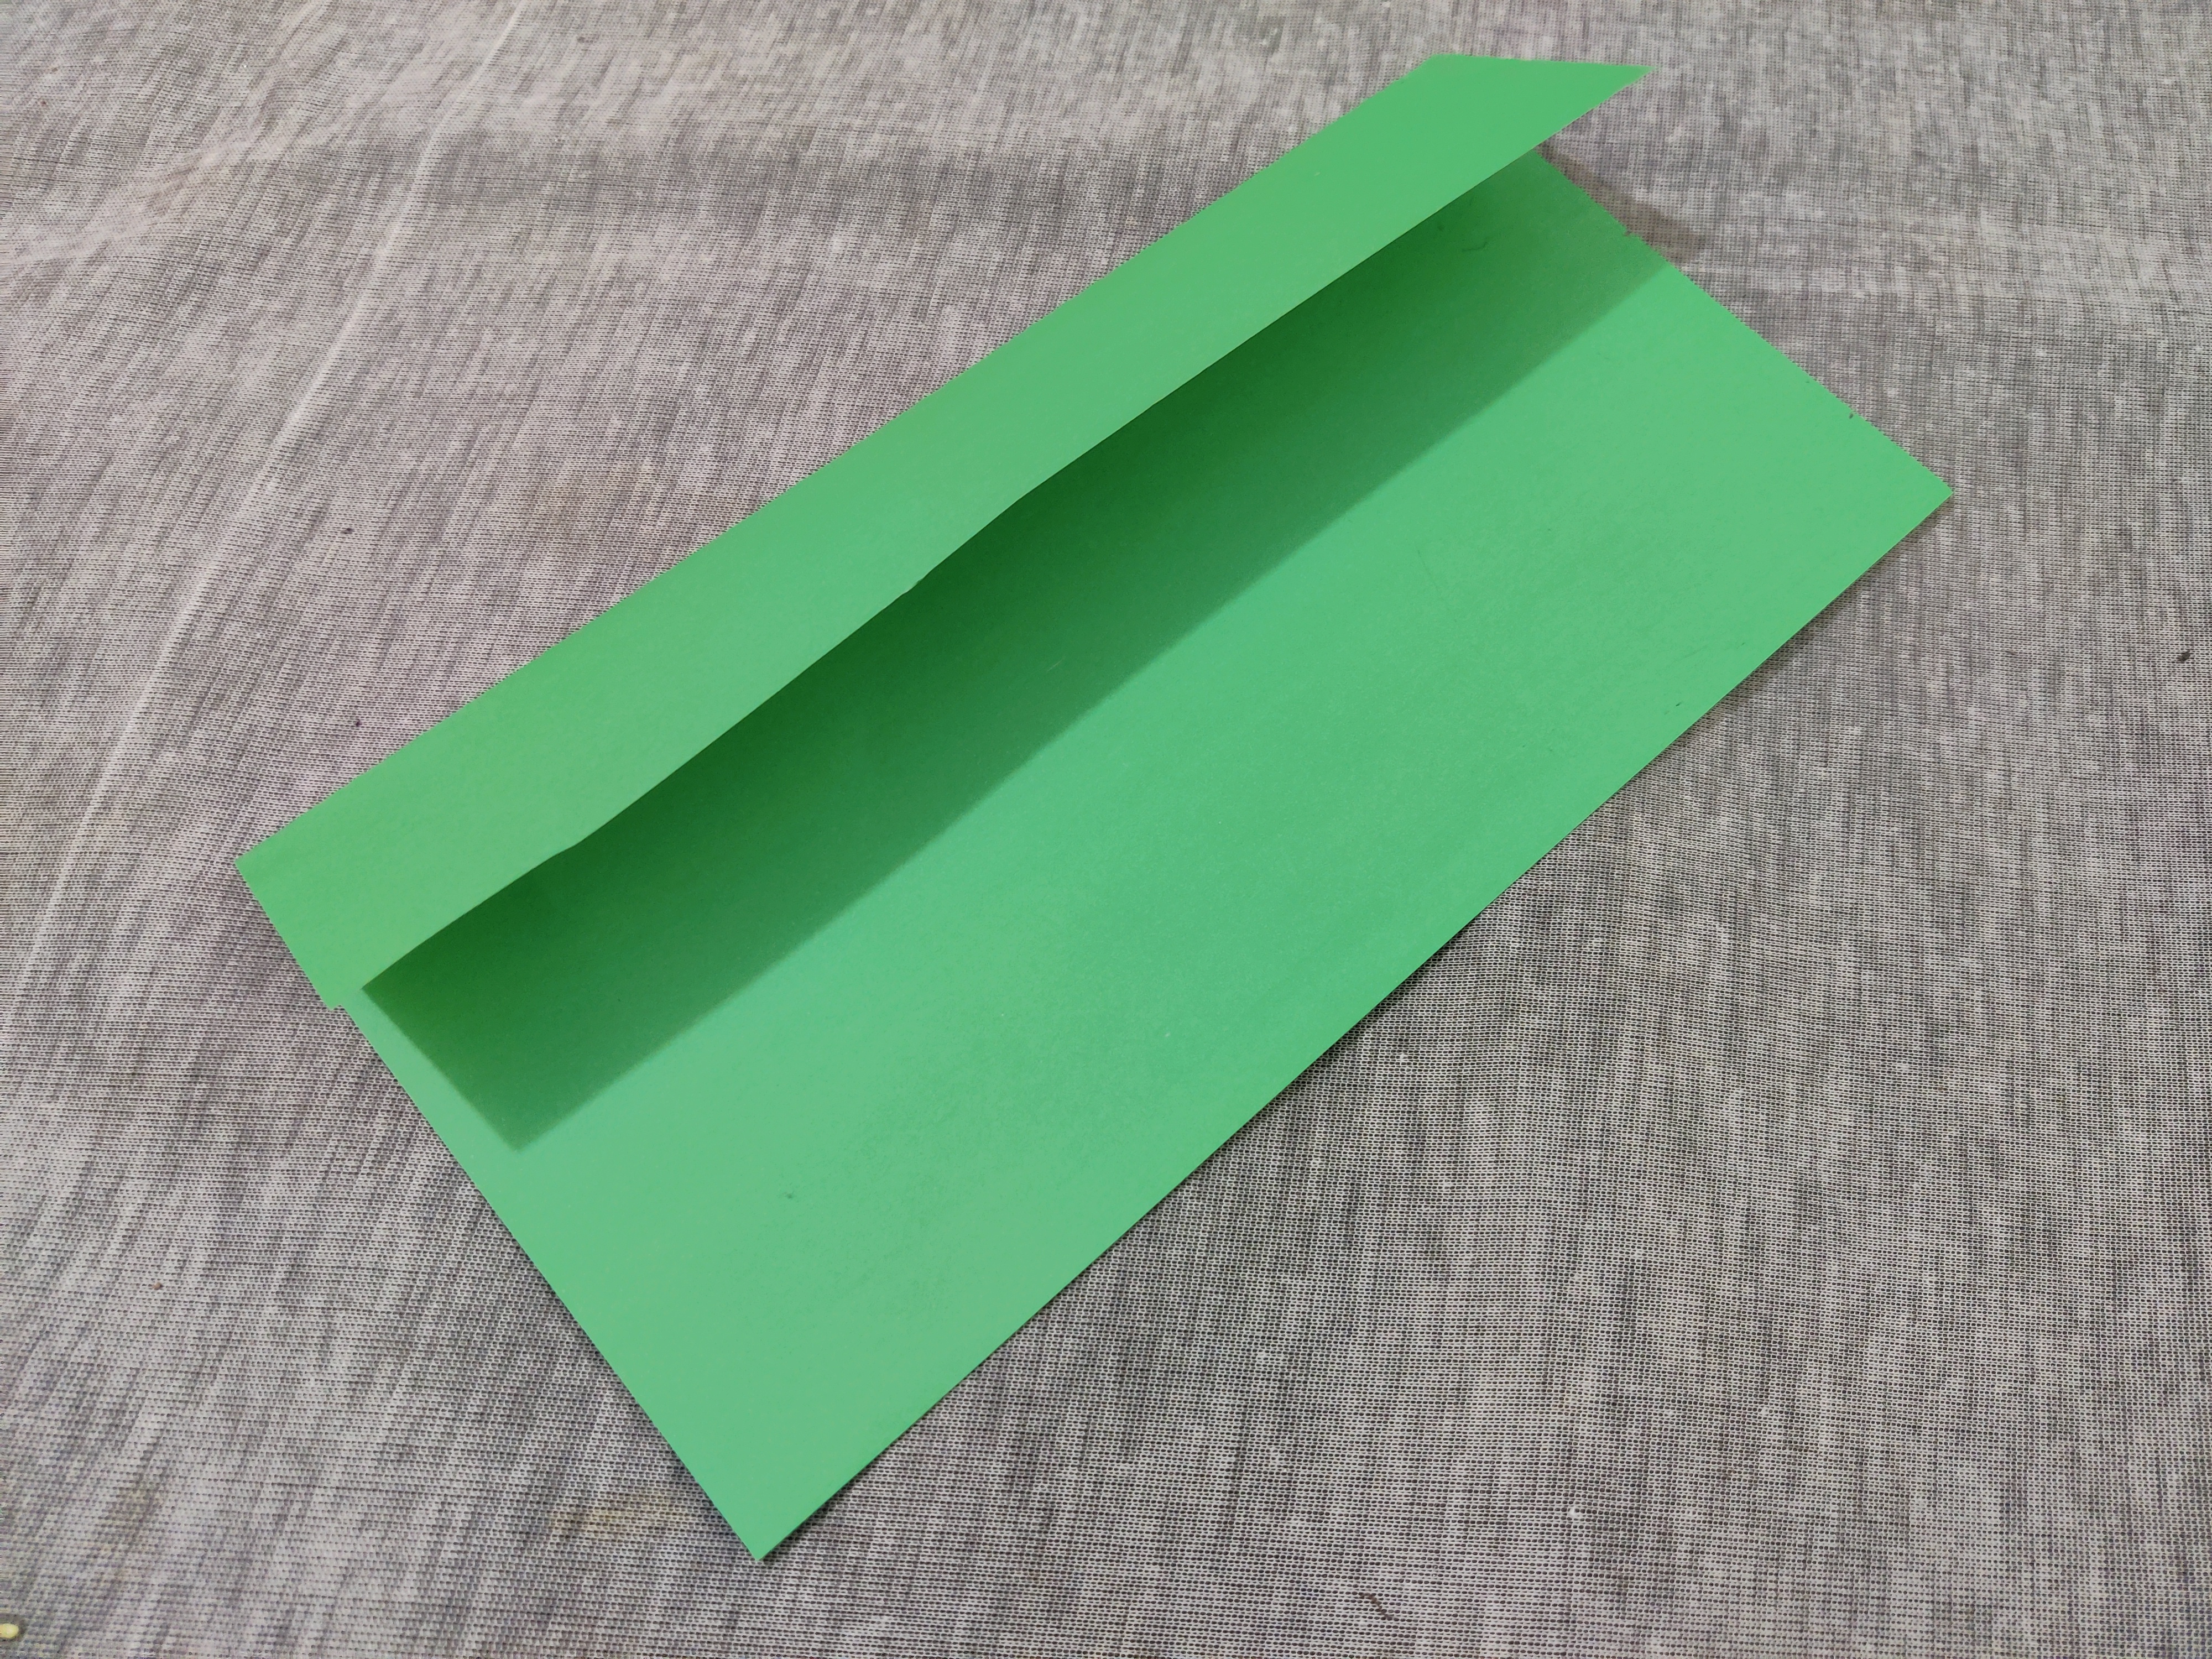
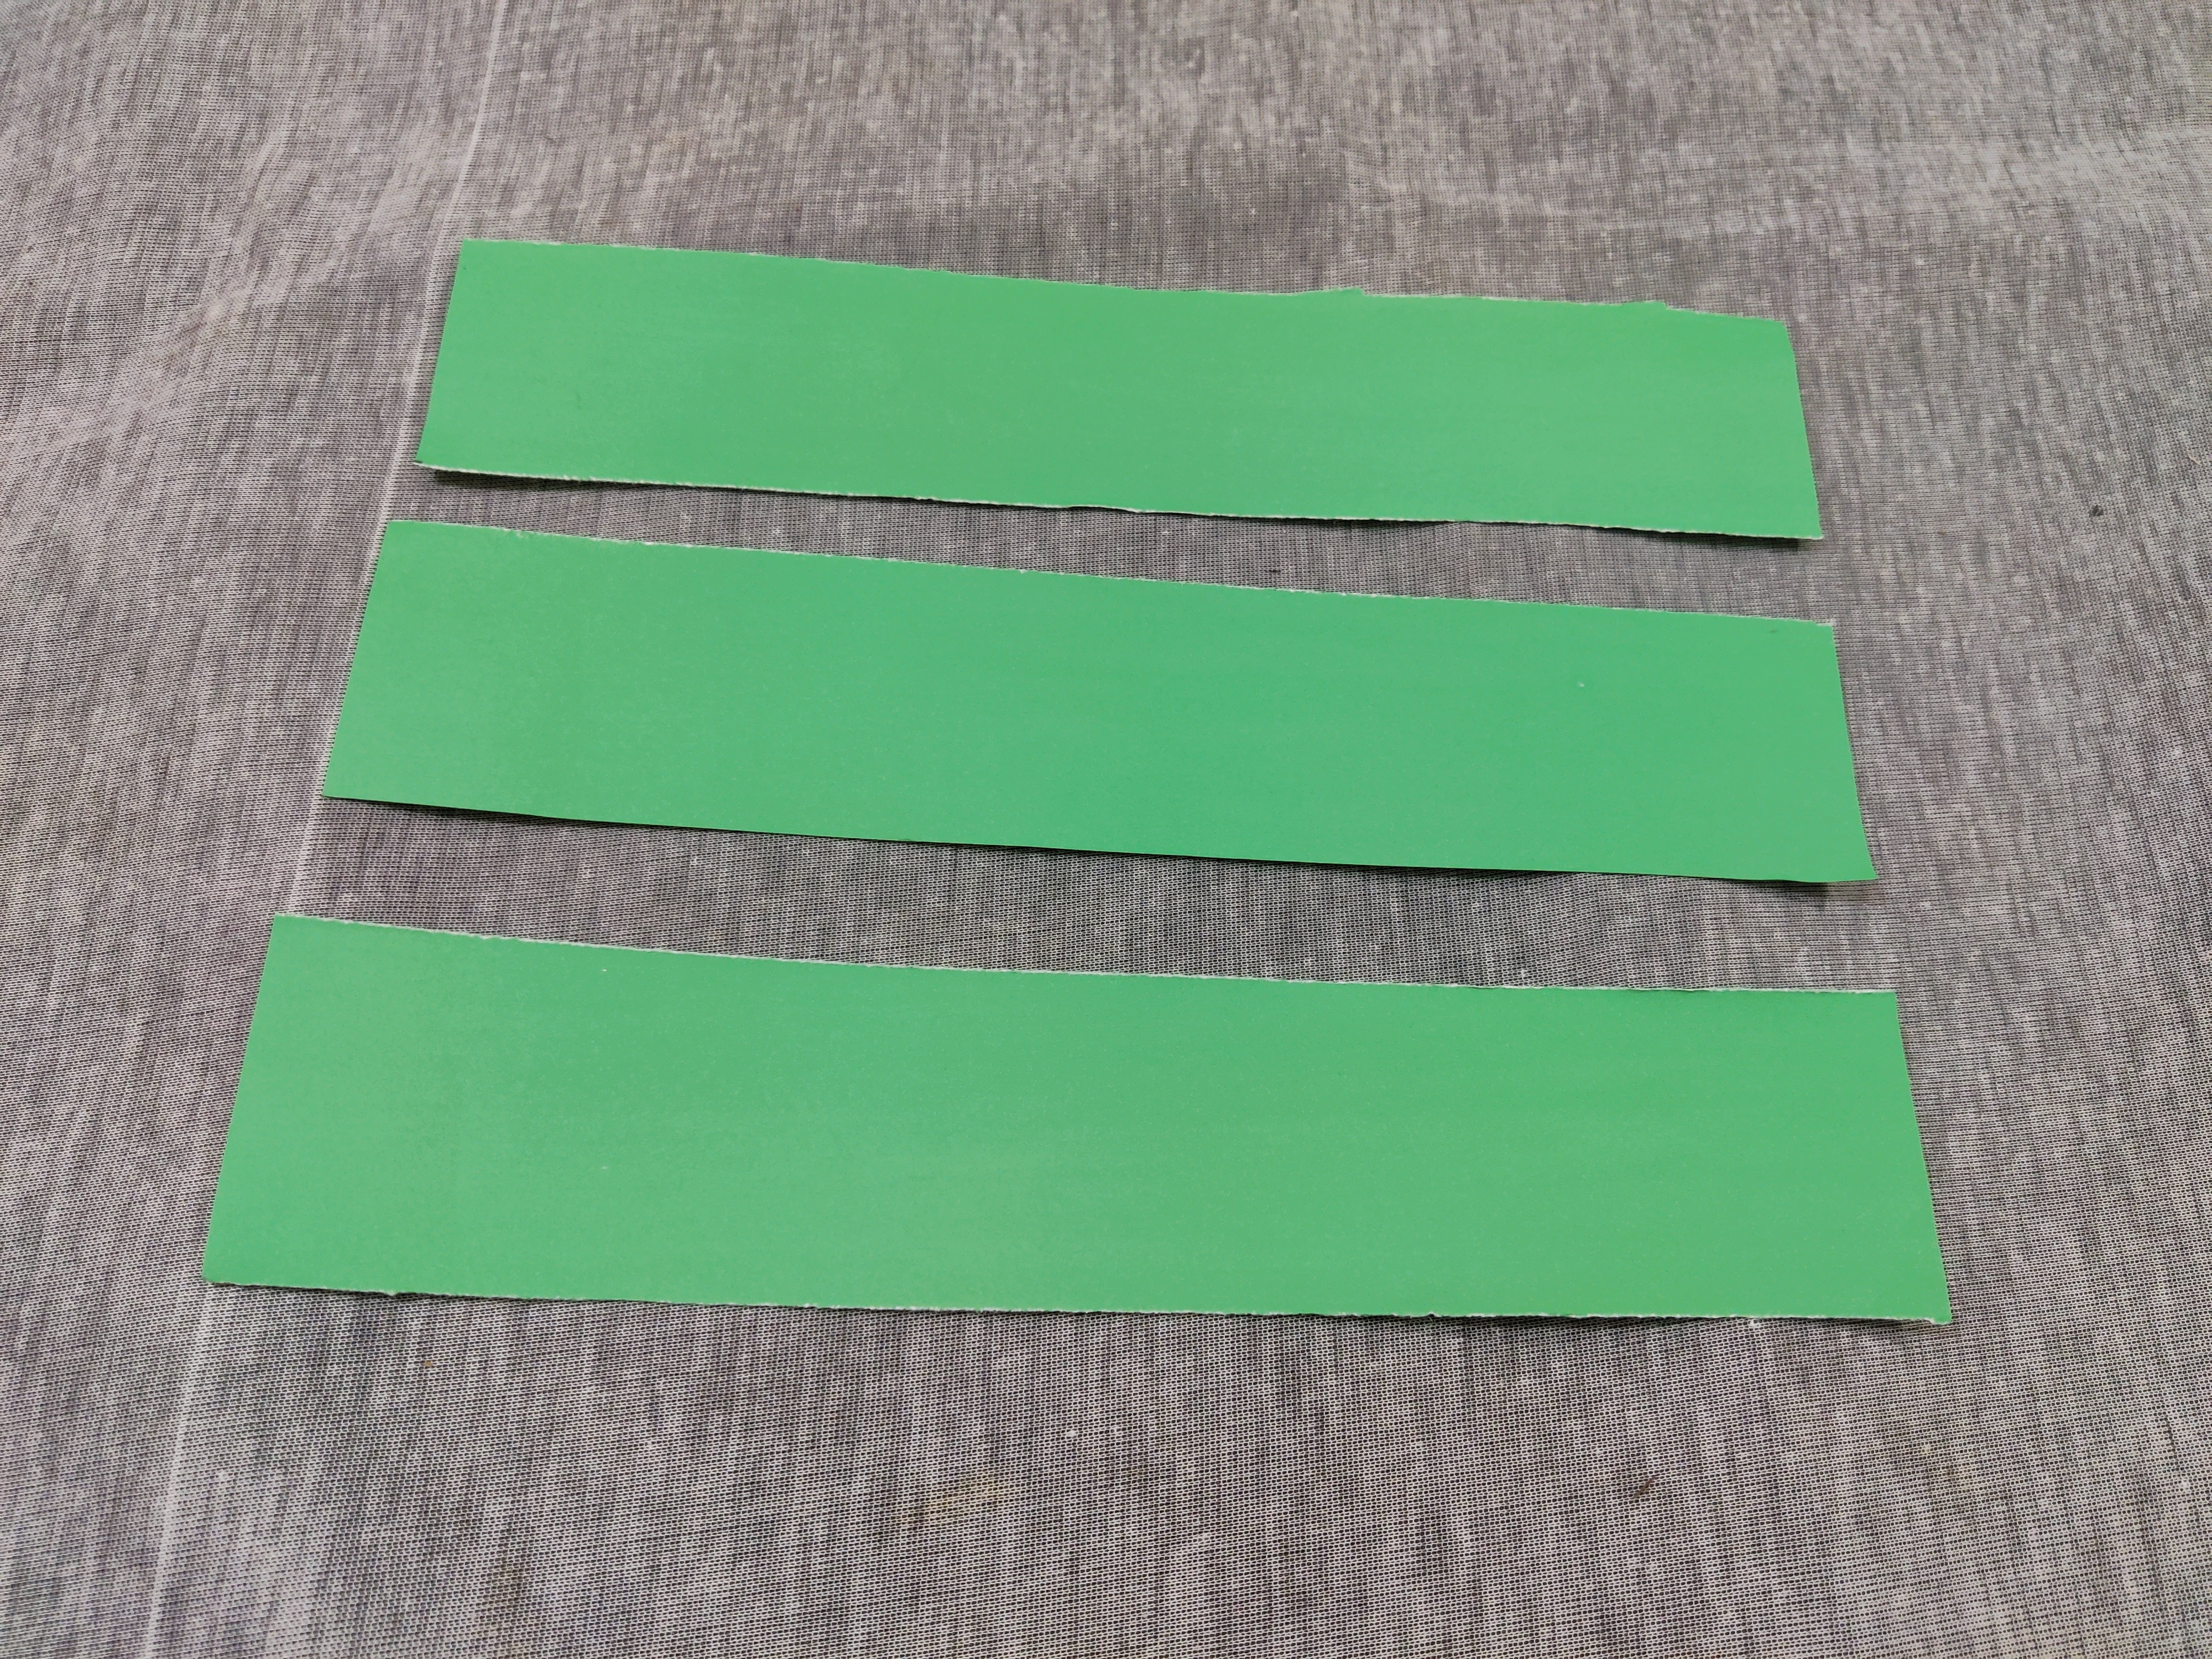
I took a green paper and started folding it so that I can cut it easily and I got some cutting parts from the paper.
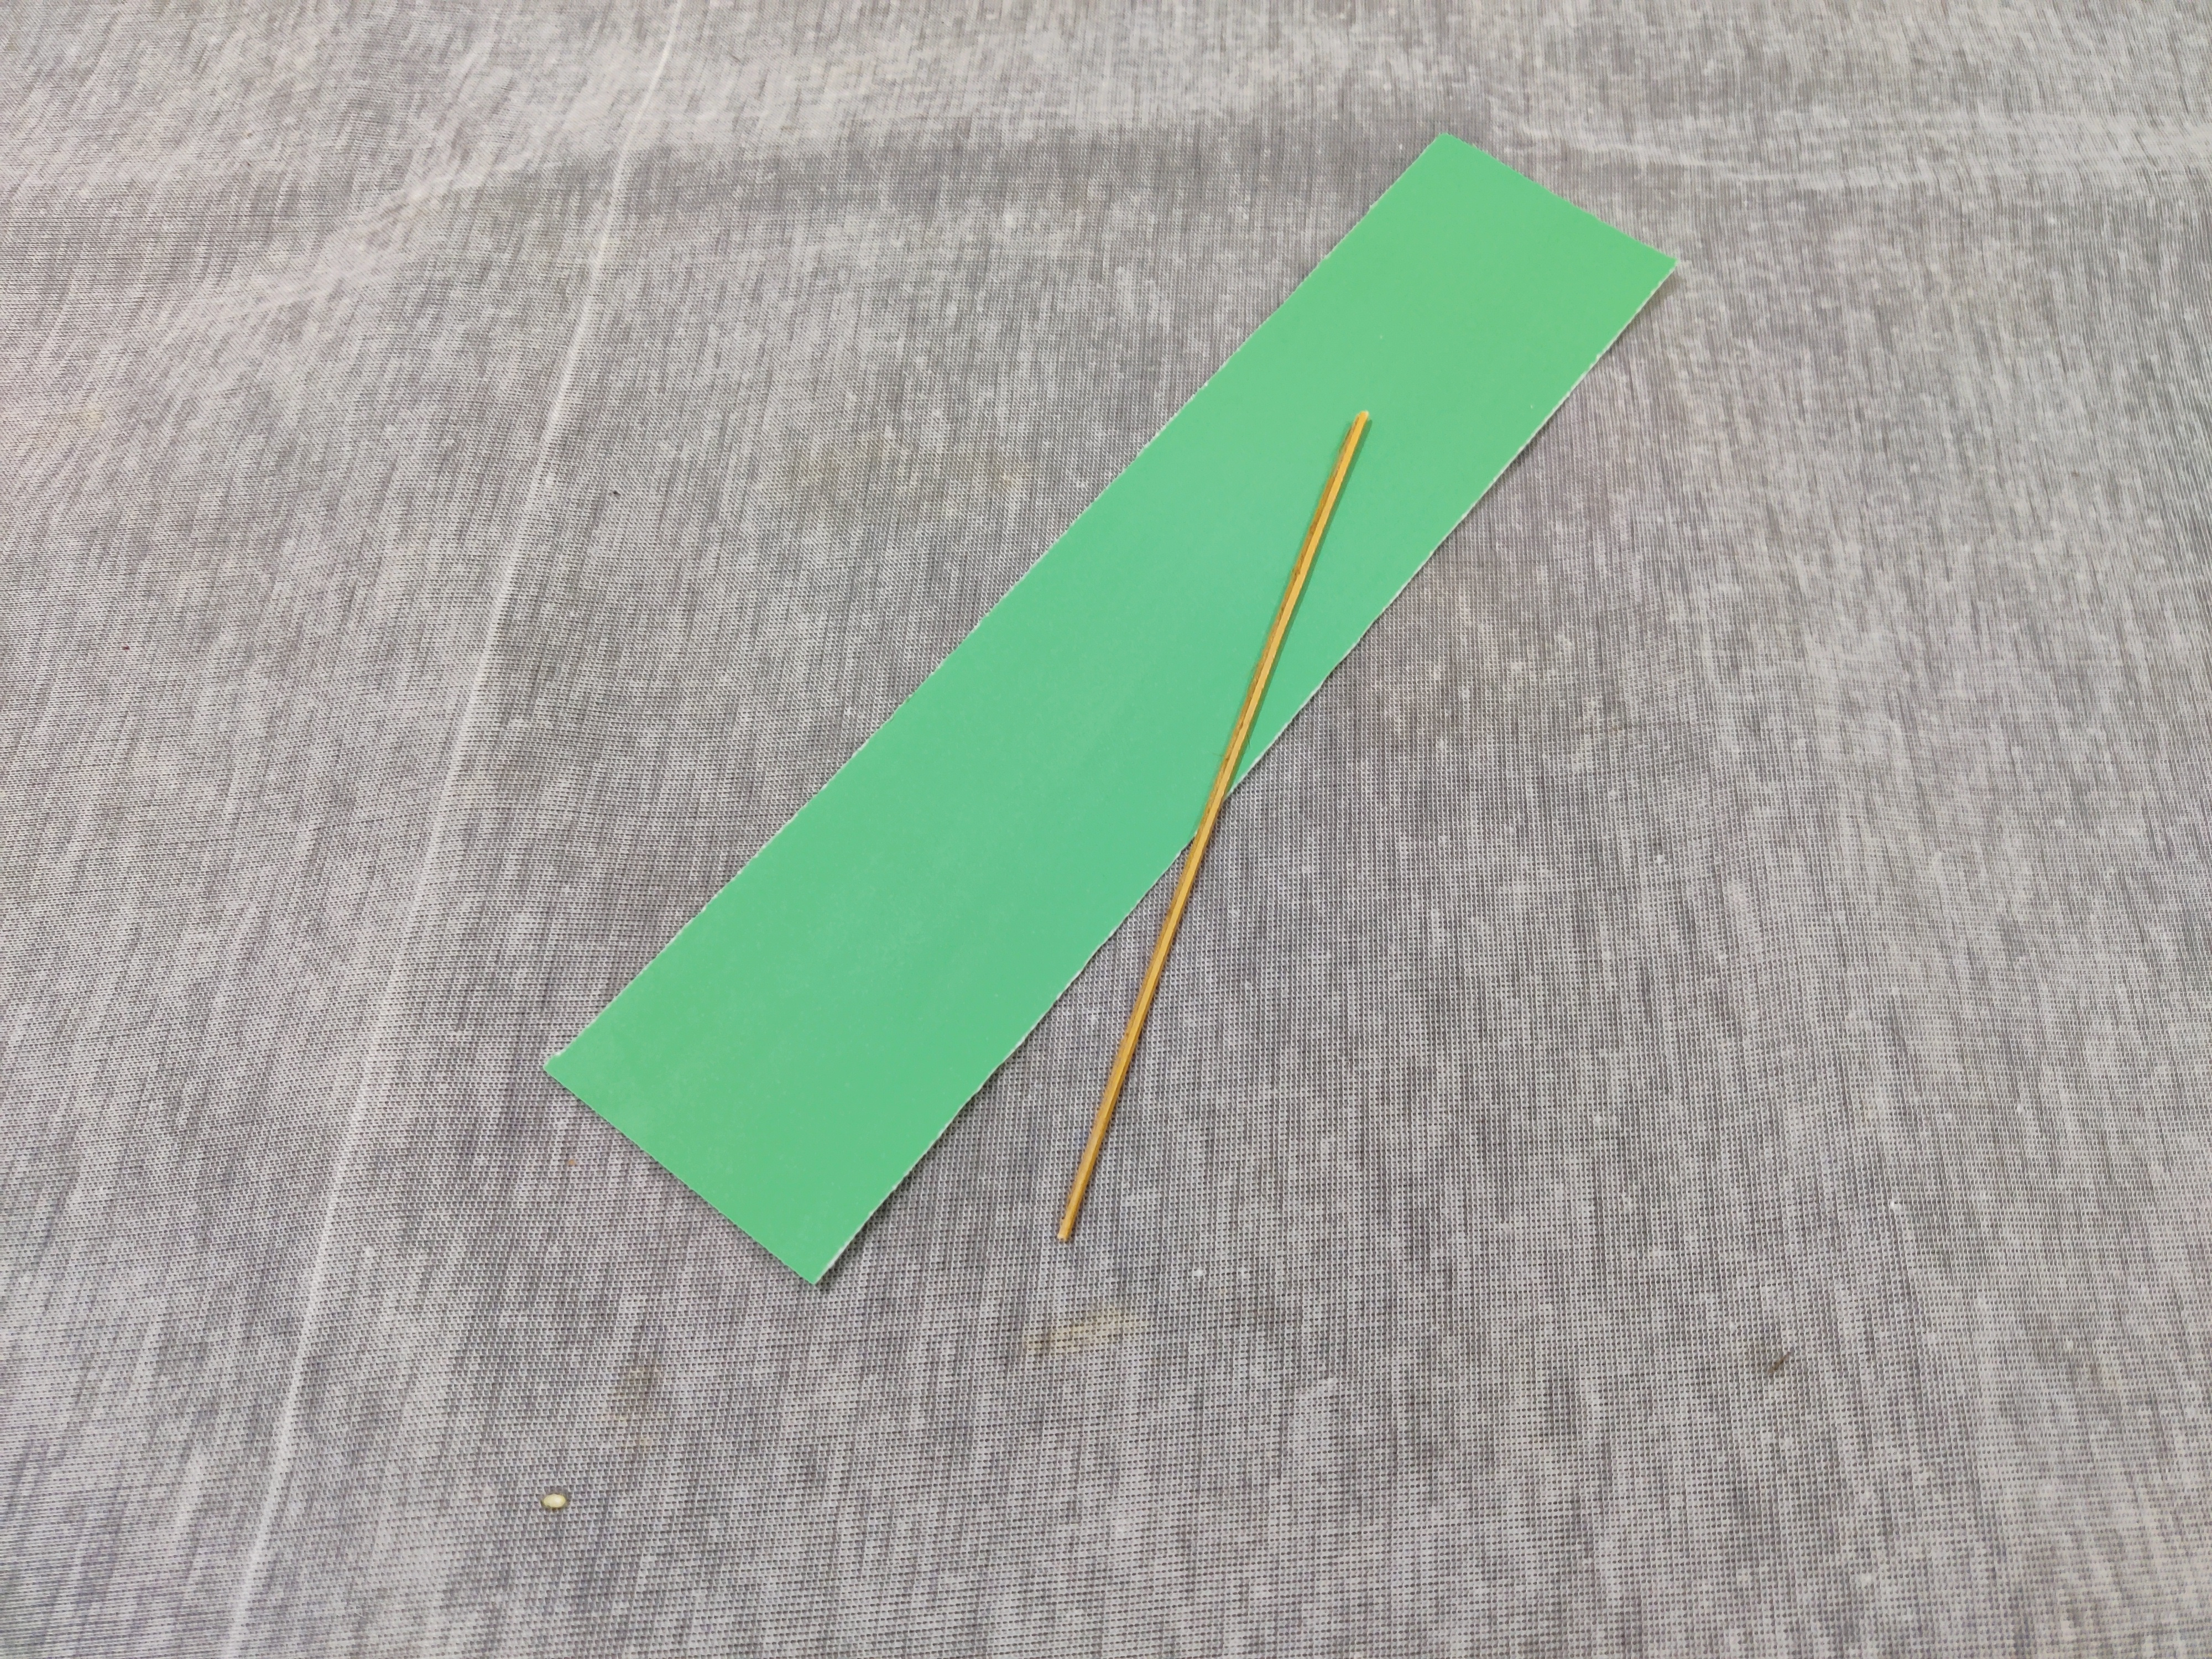
Then I used a stick to help the paper for rolling.
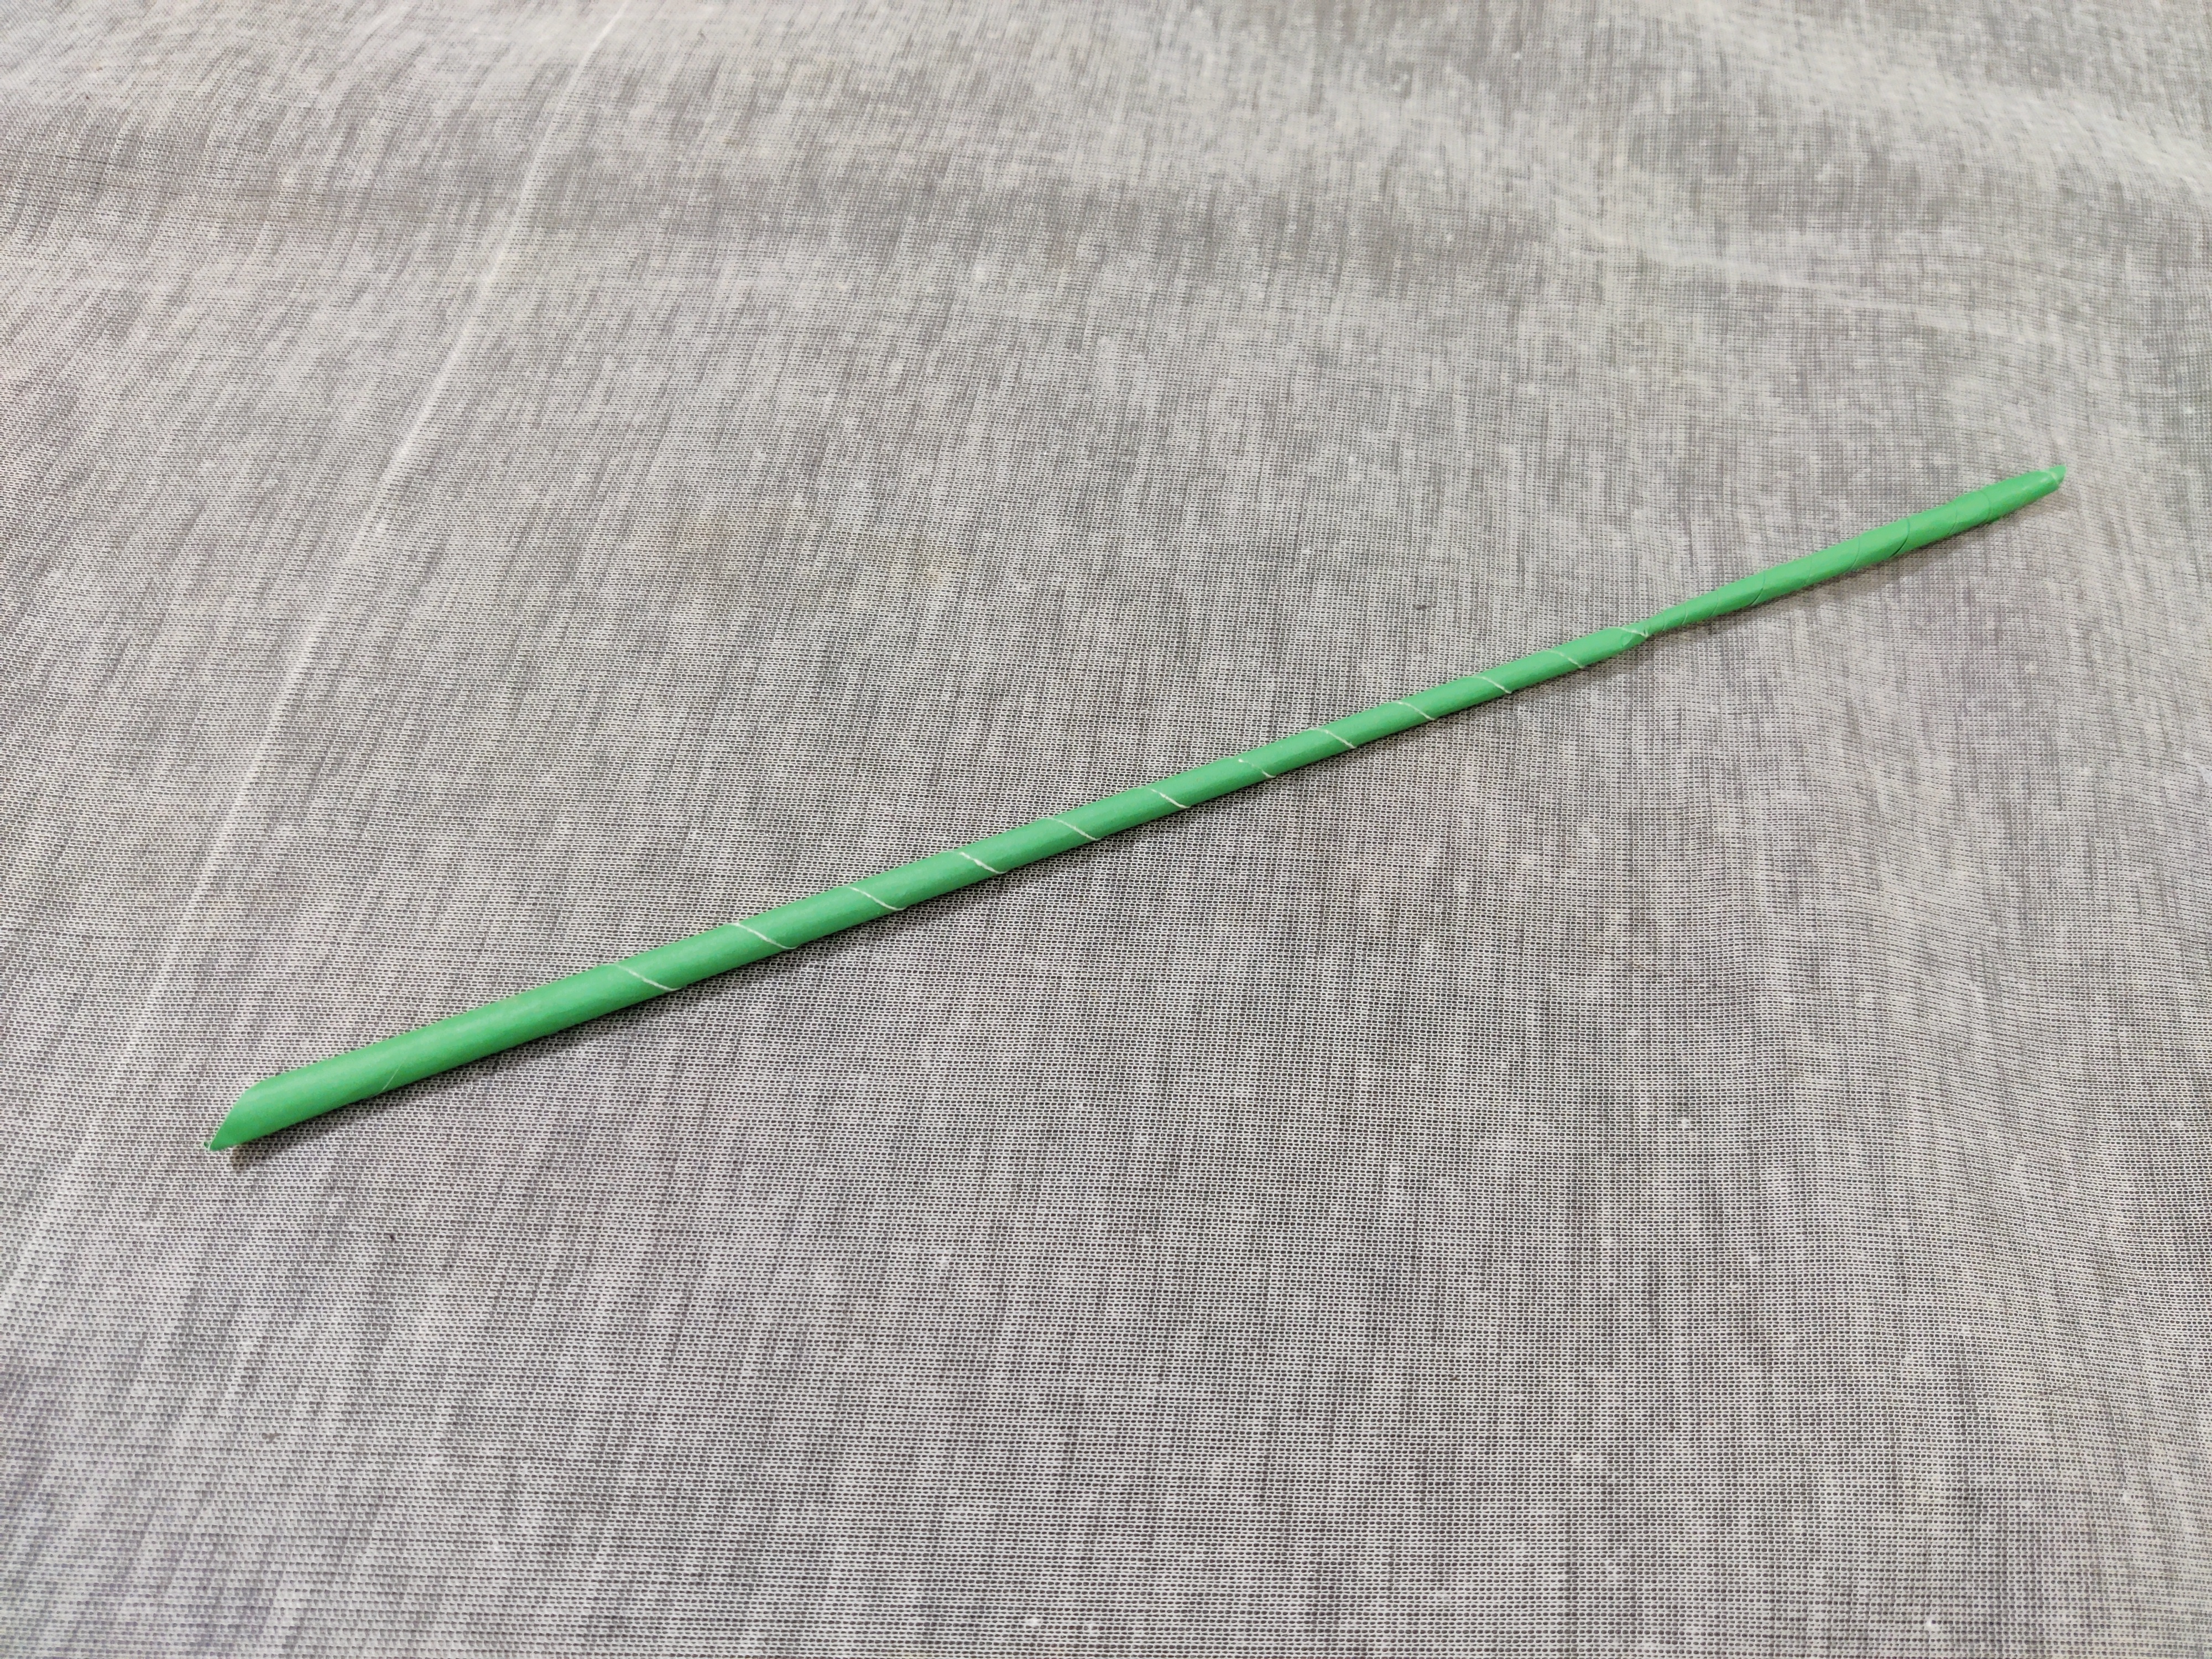
I started rolling the cutting part of the papers holding the stick inside.

And I made 7 green sticks for 7 color flower pedals and I made the sticks in different sizes so all the flower pedals can be seen easily when its decorated somewhere.
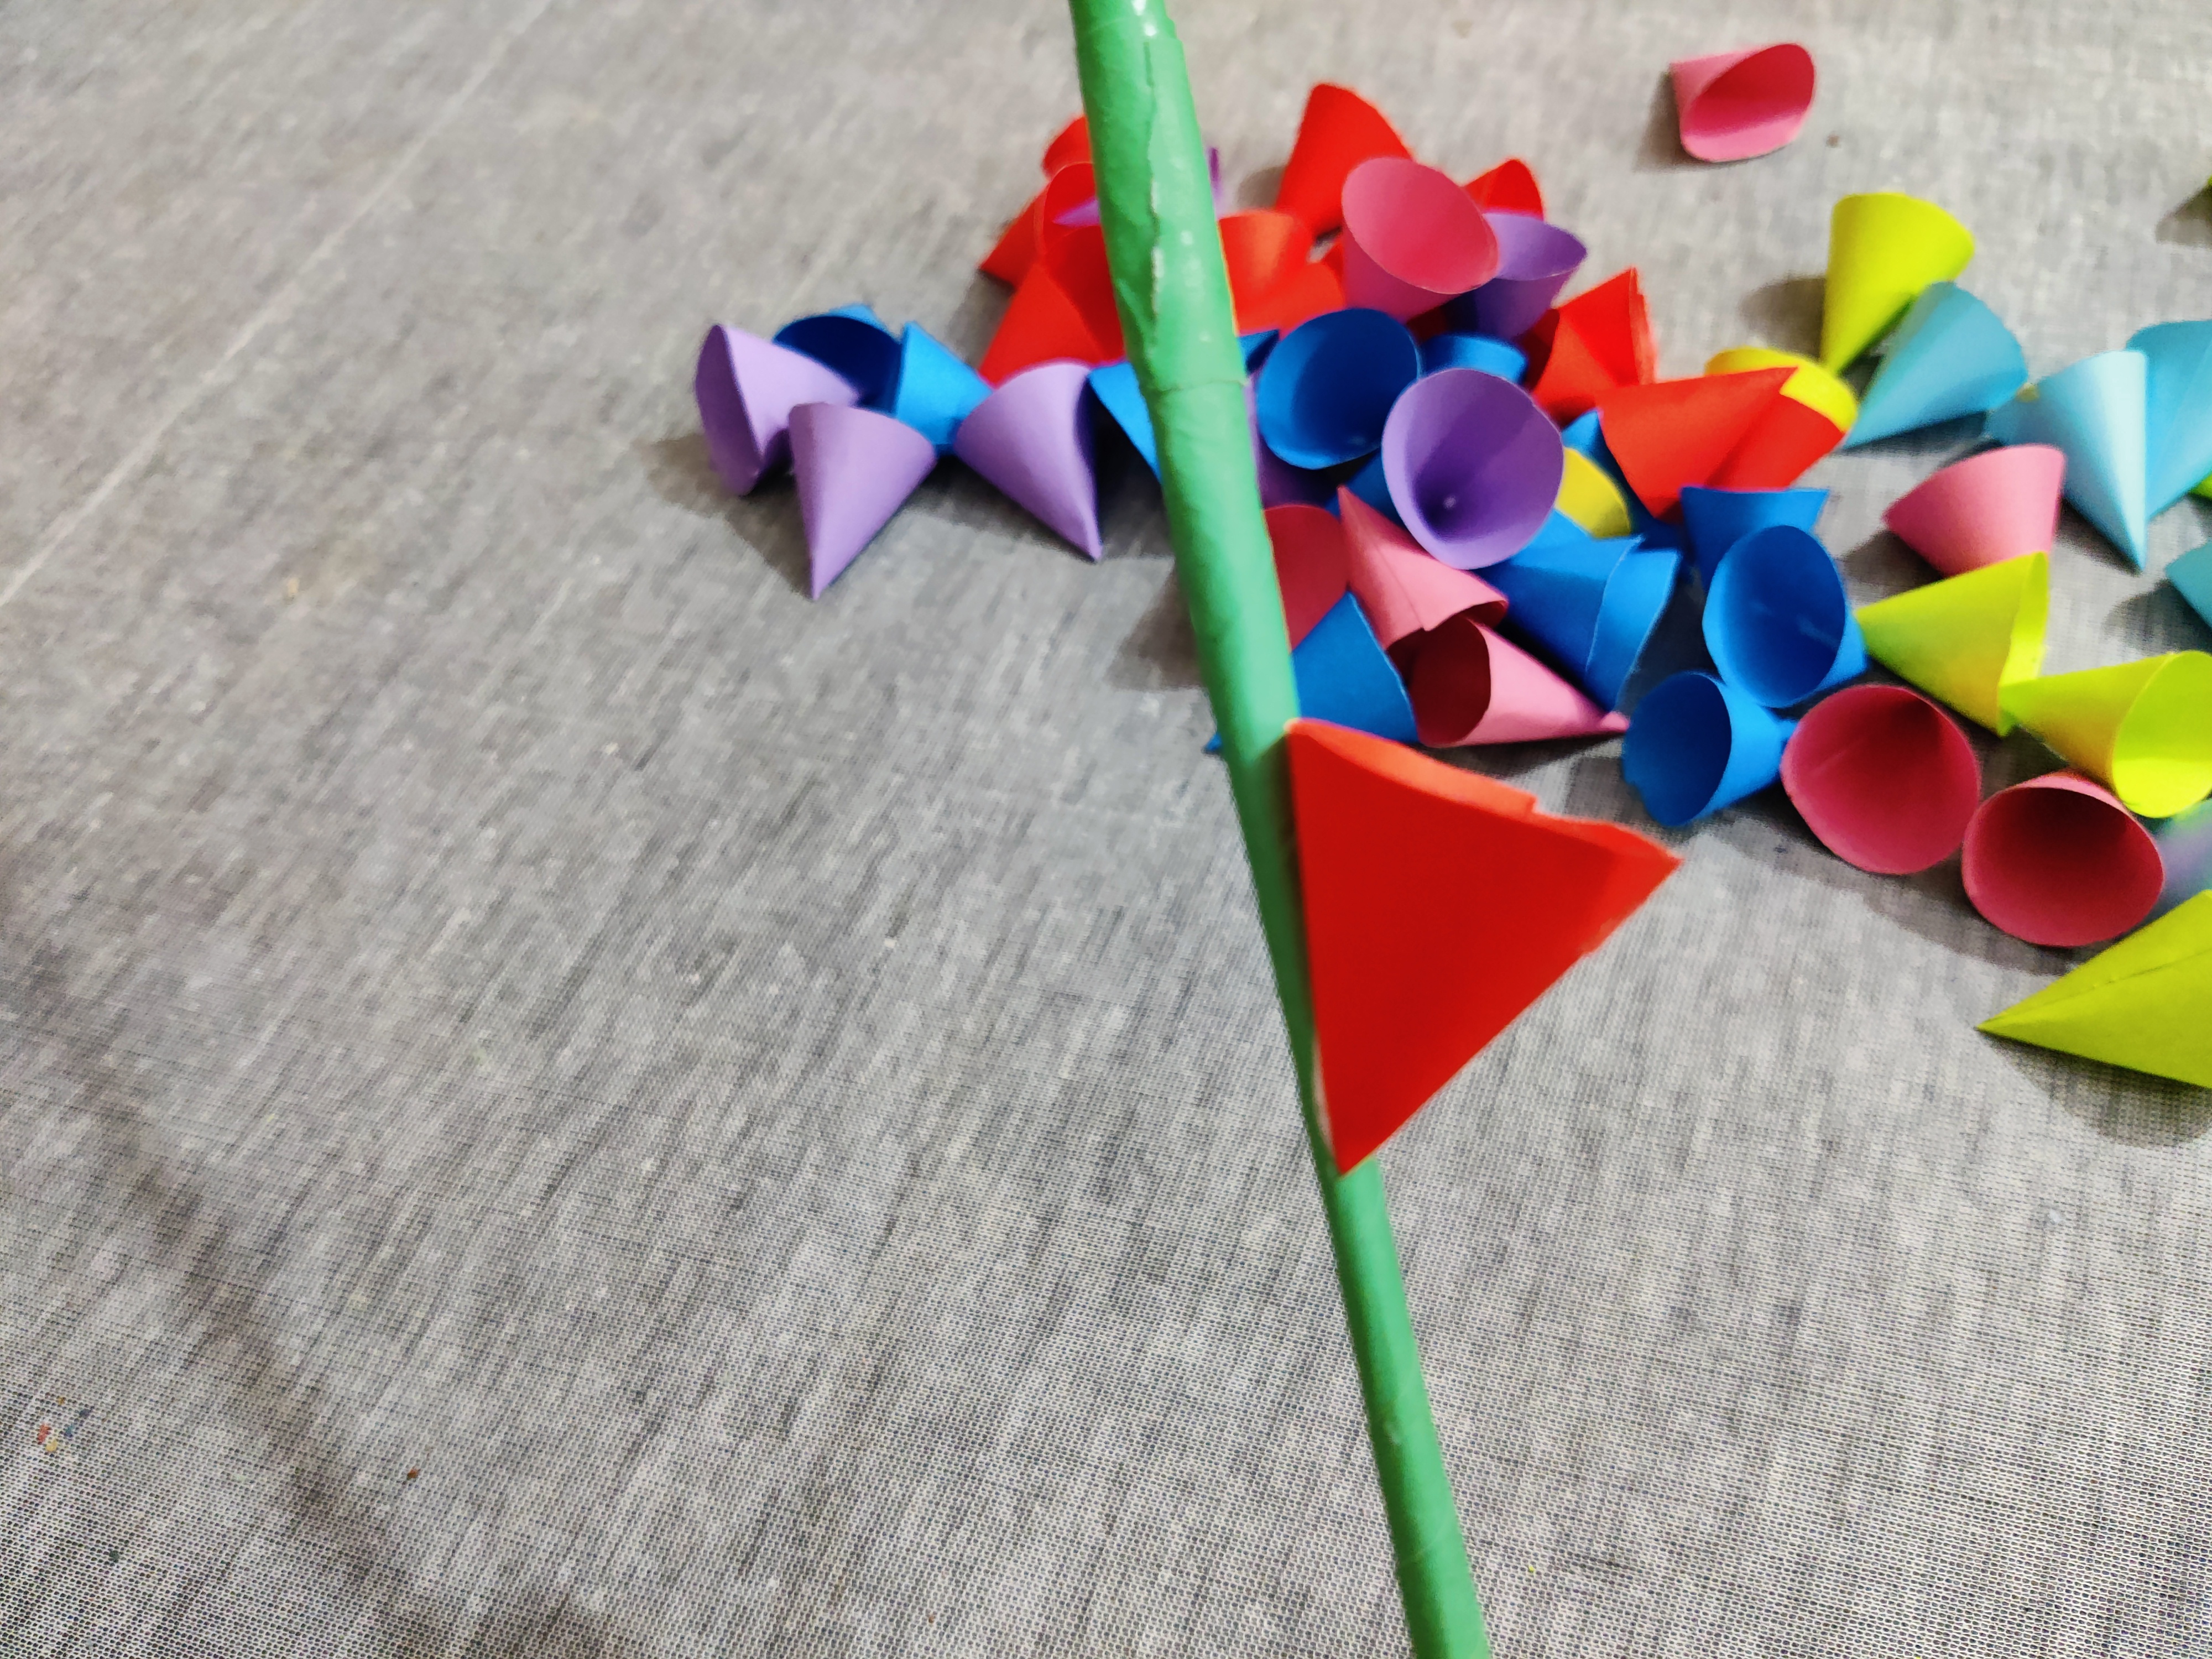
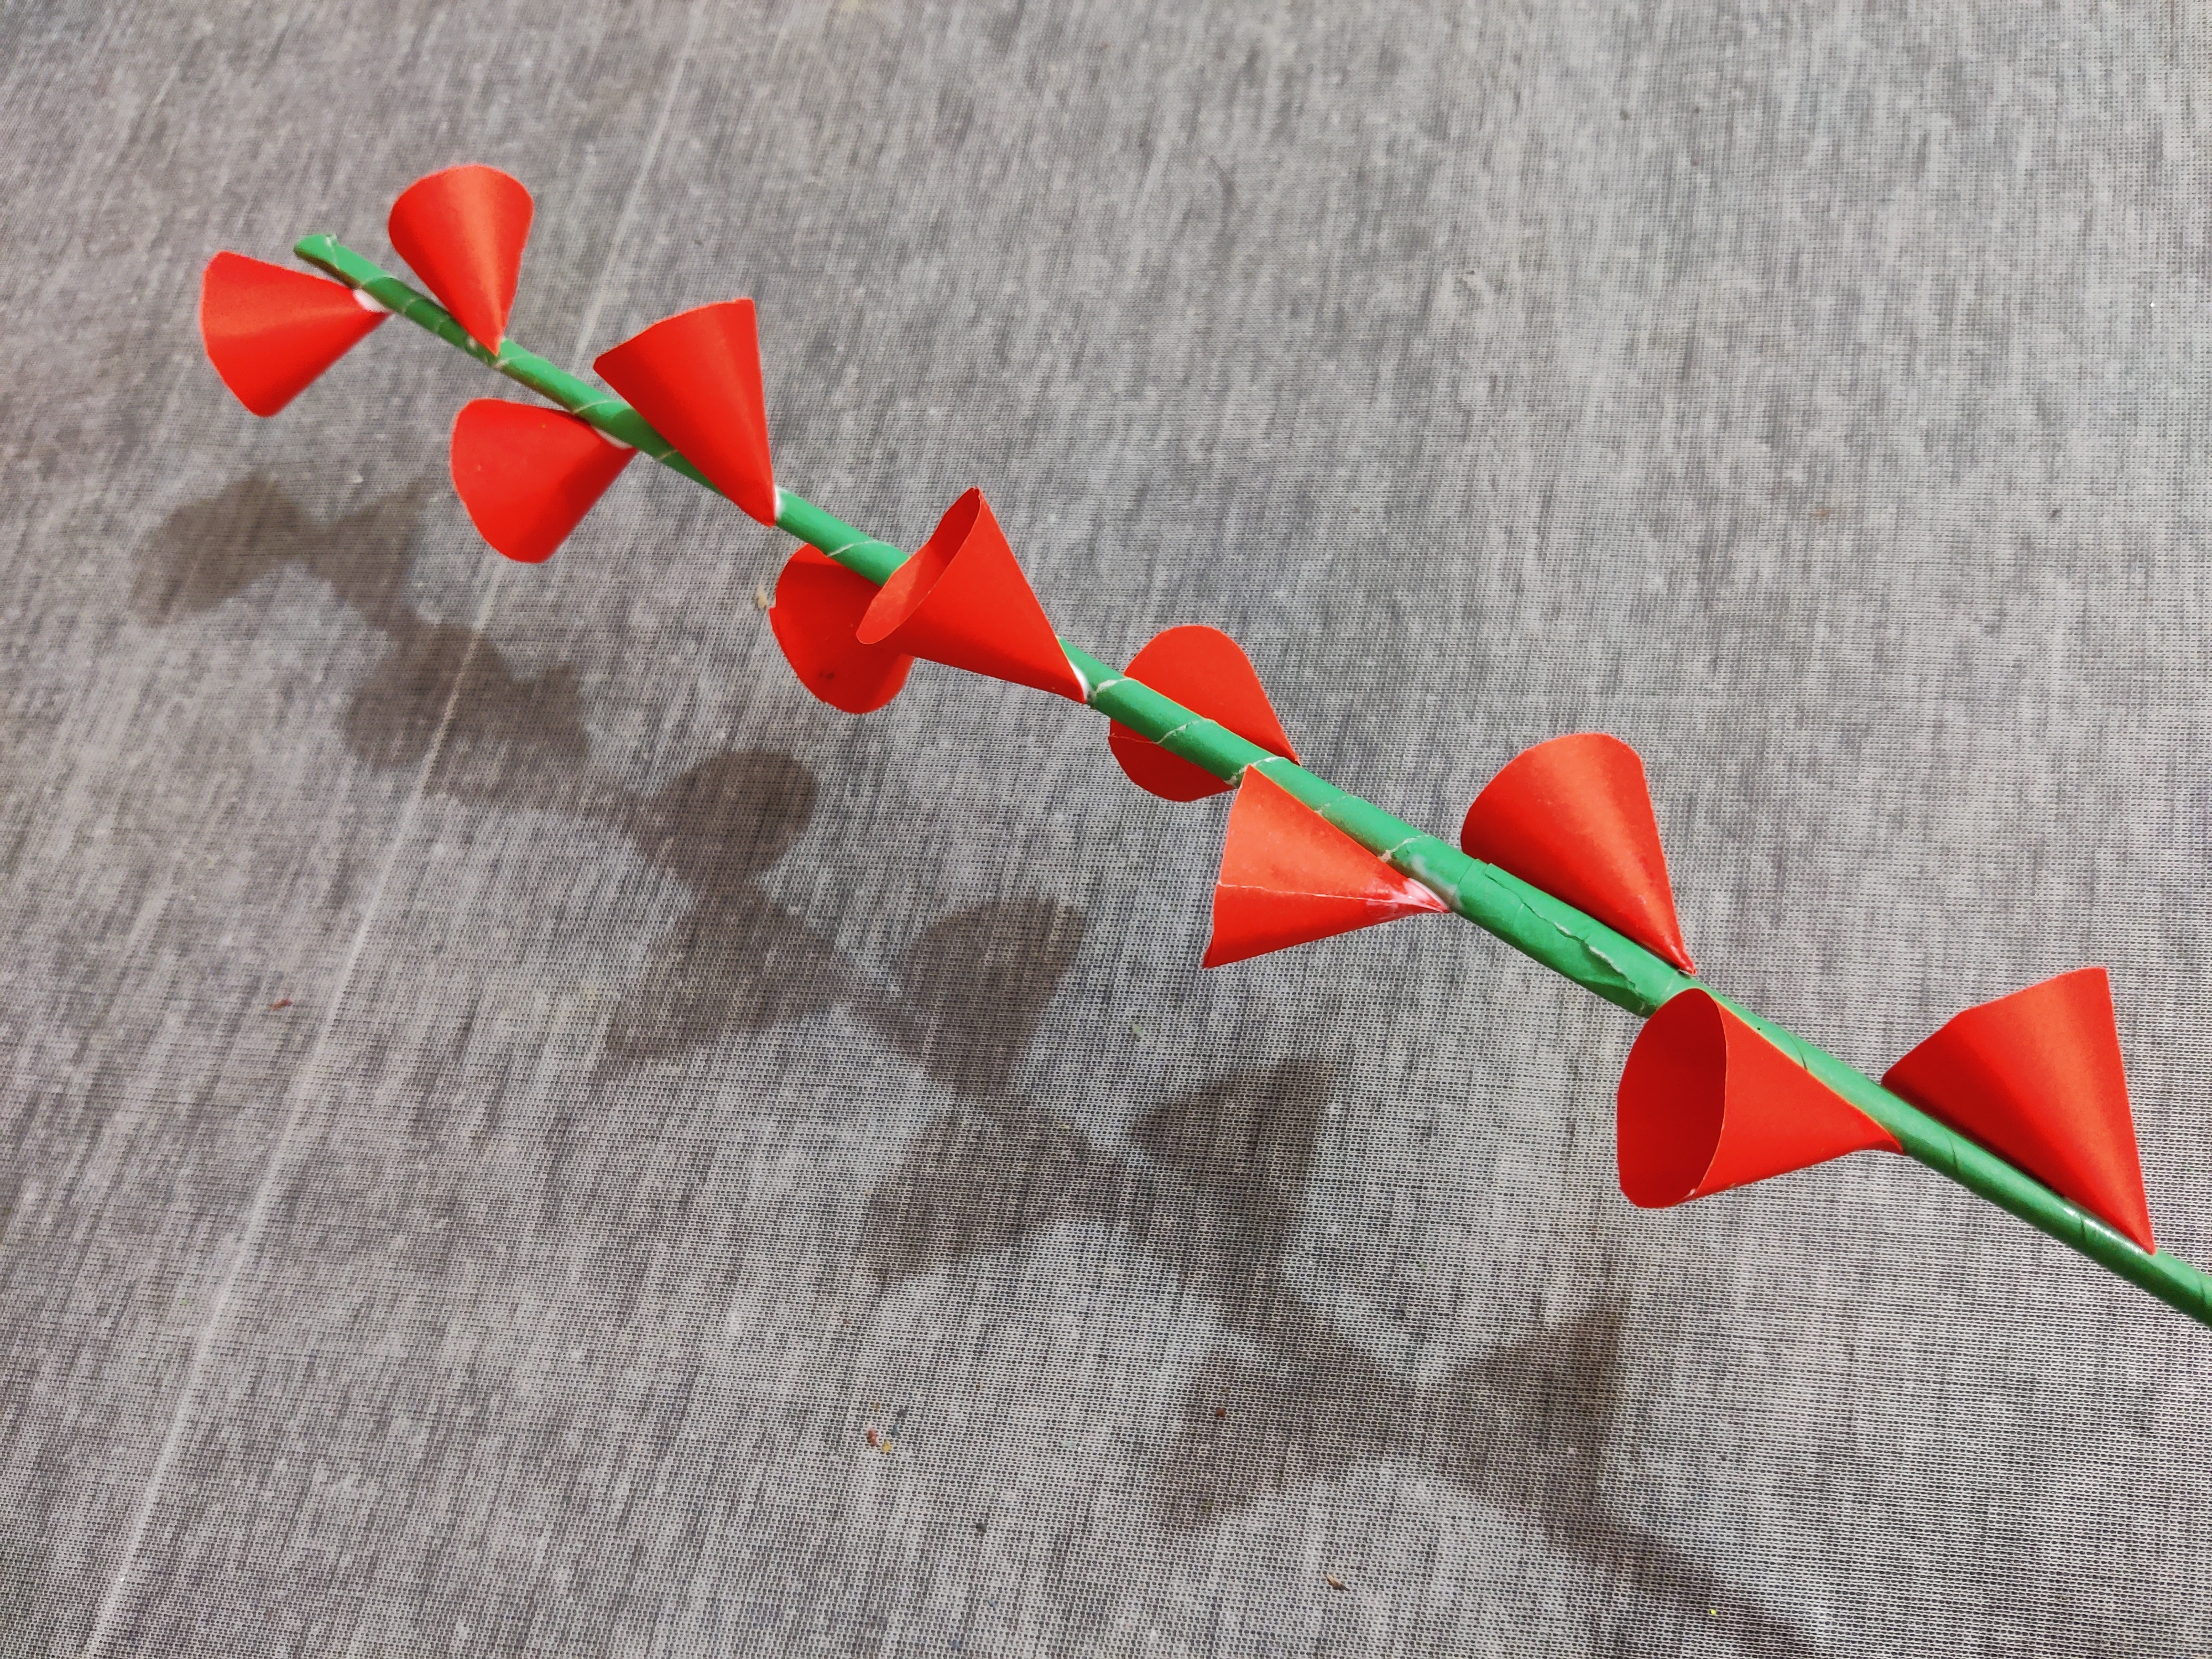
Then I started gluing the flower pedals on the stick and here I glued the red pedals first.

Then I finished gluing all colored flower pedals with the sticks. Now its time to dig then into something so they can stay still and standing.
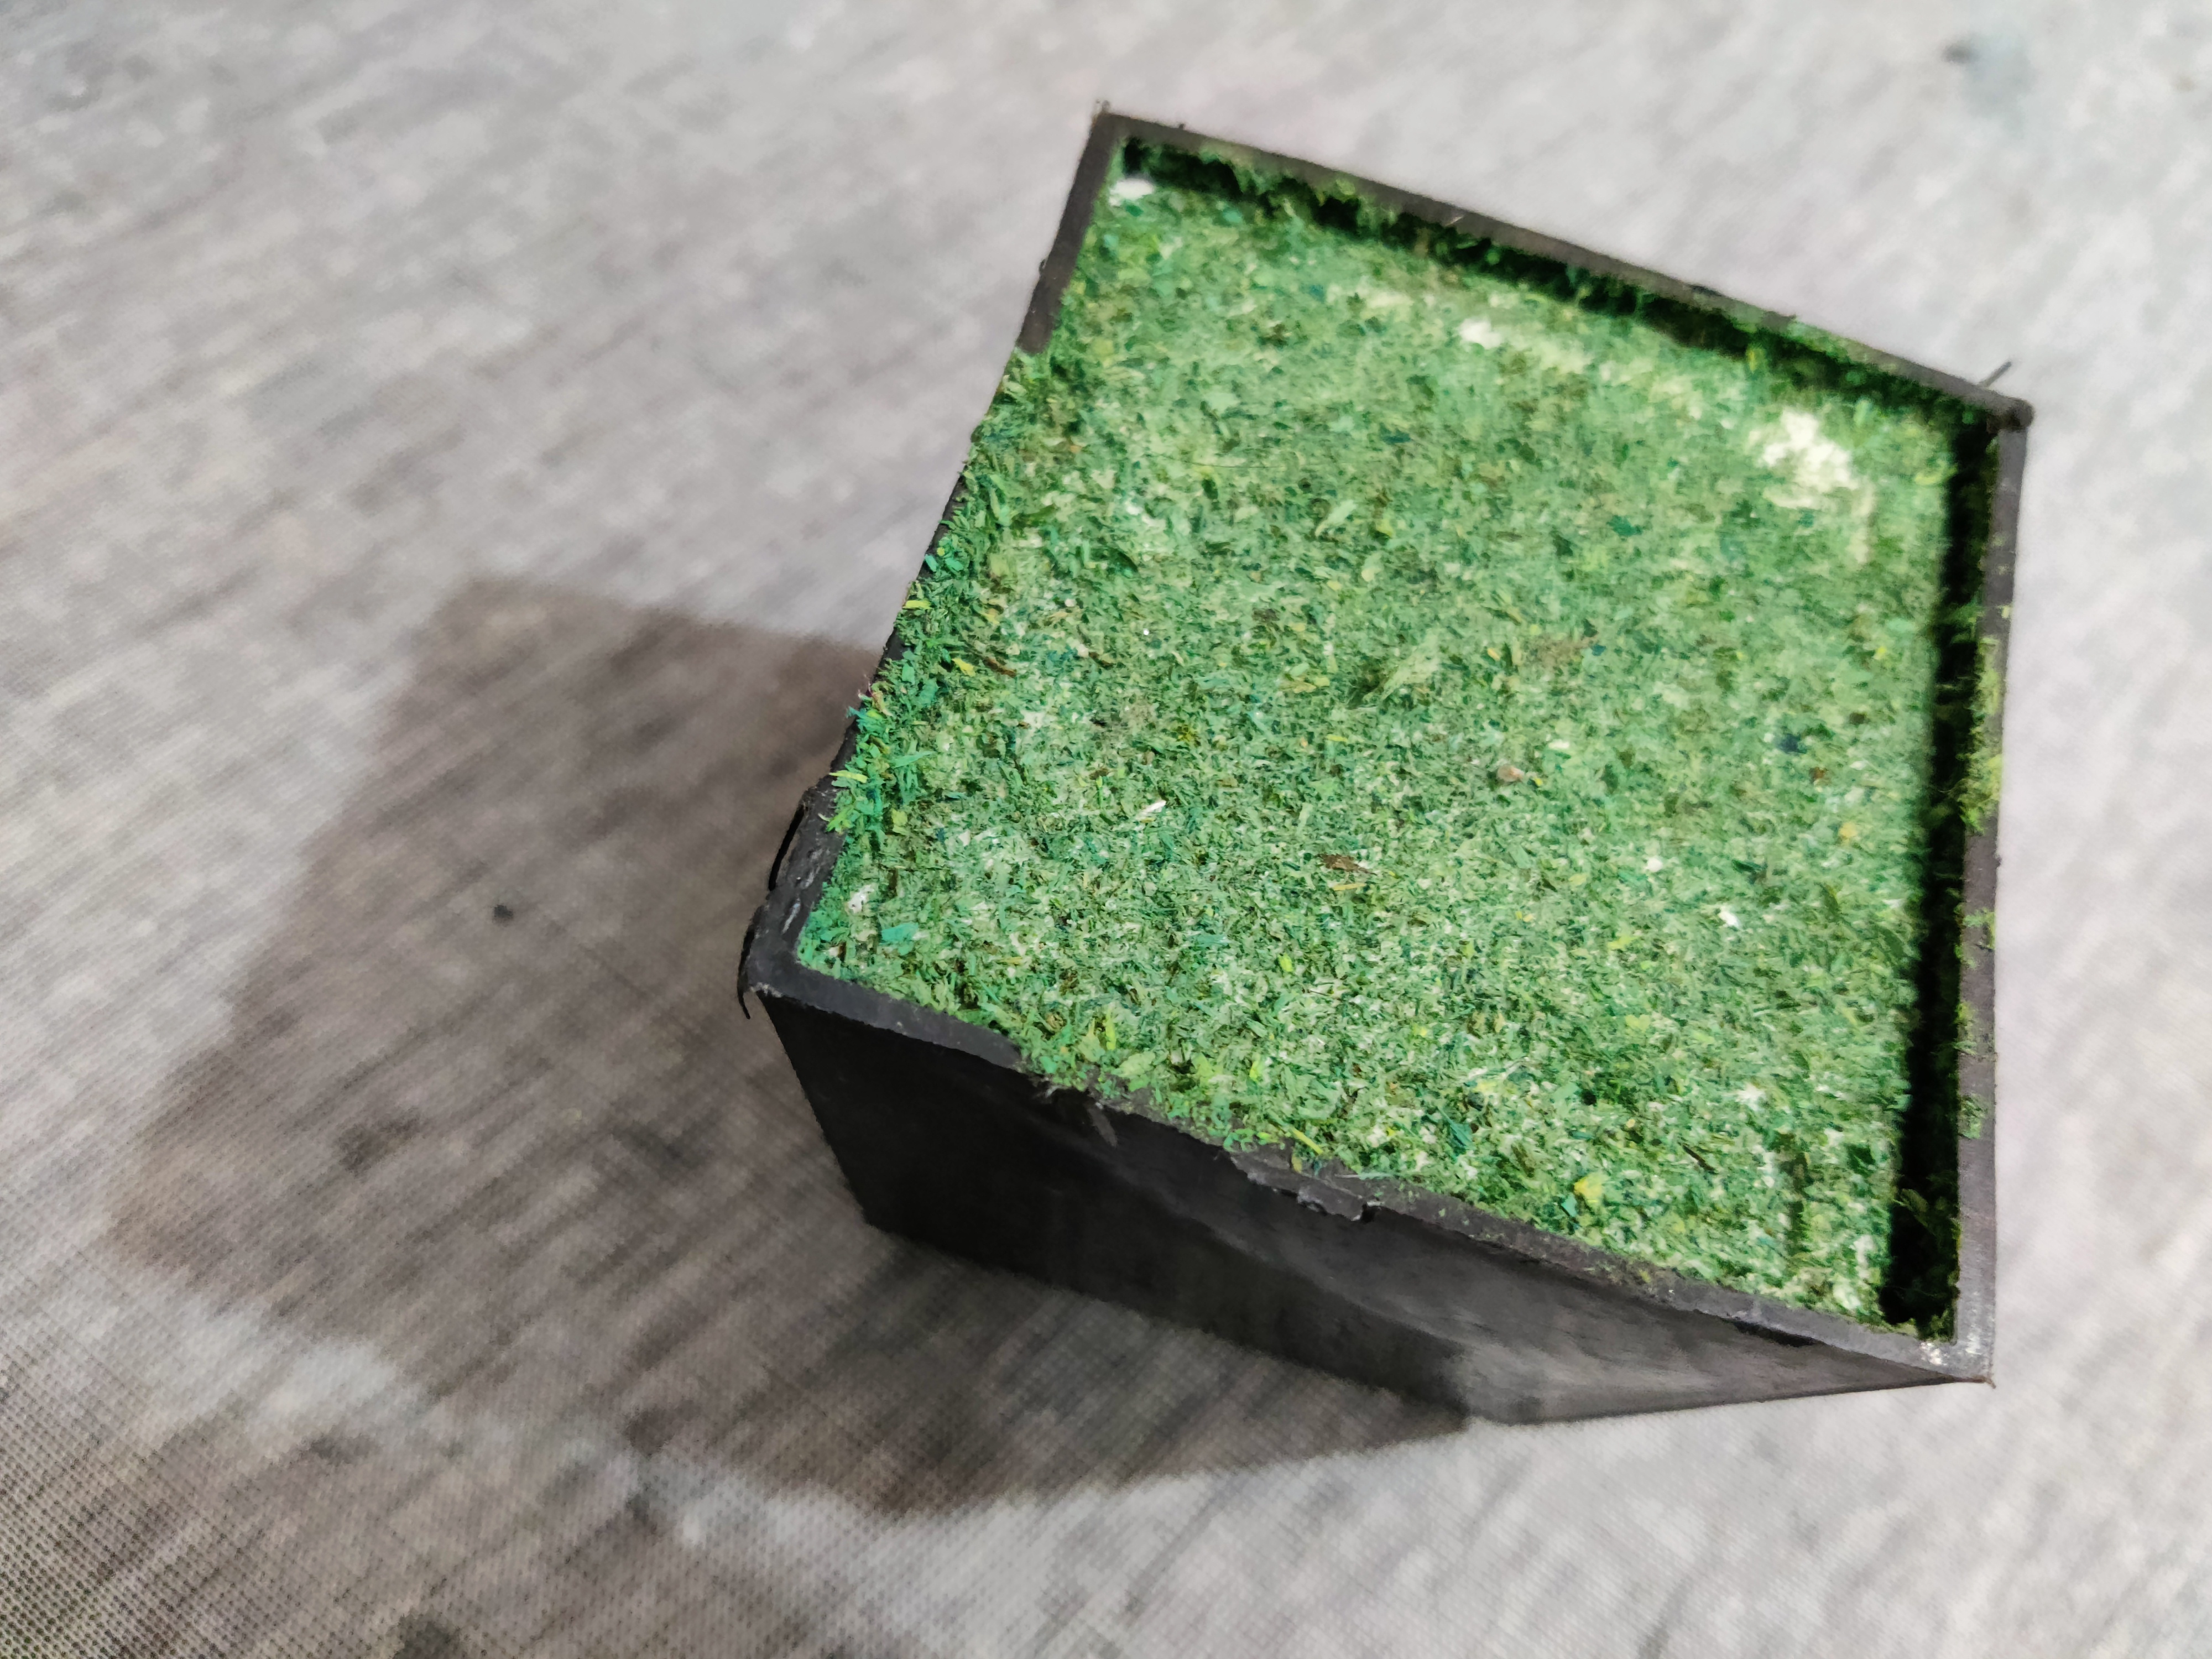
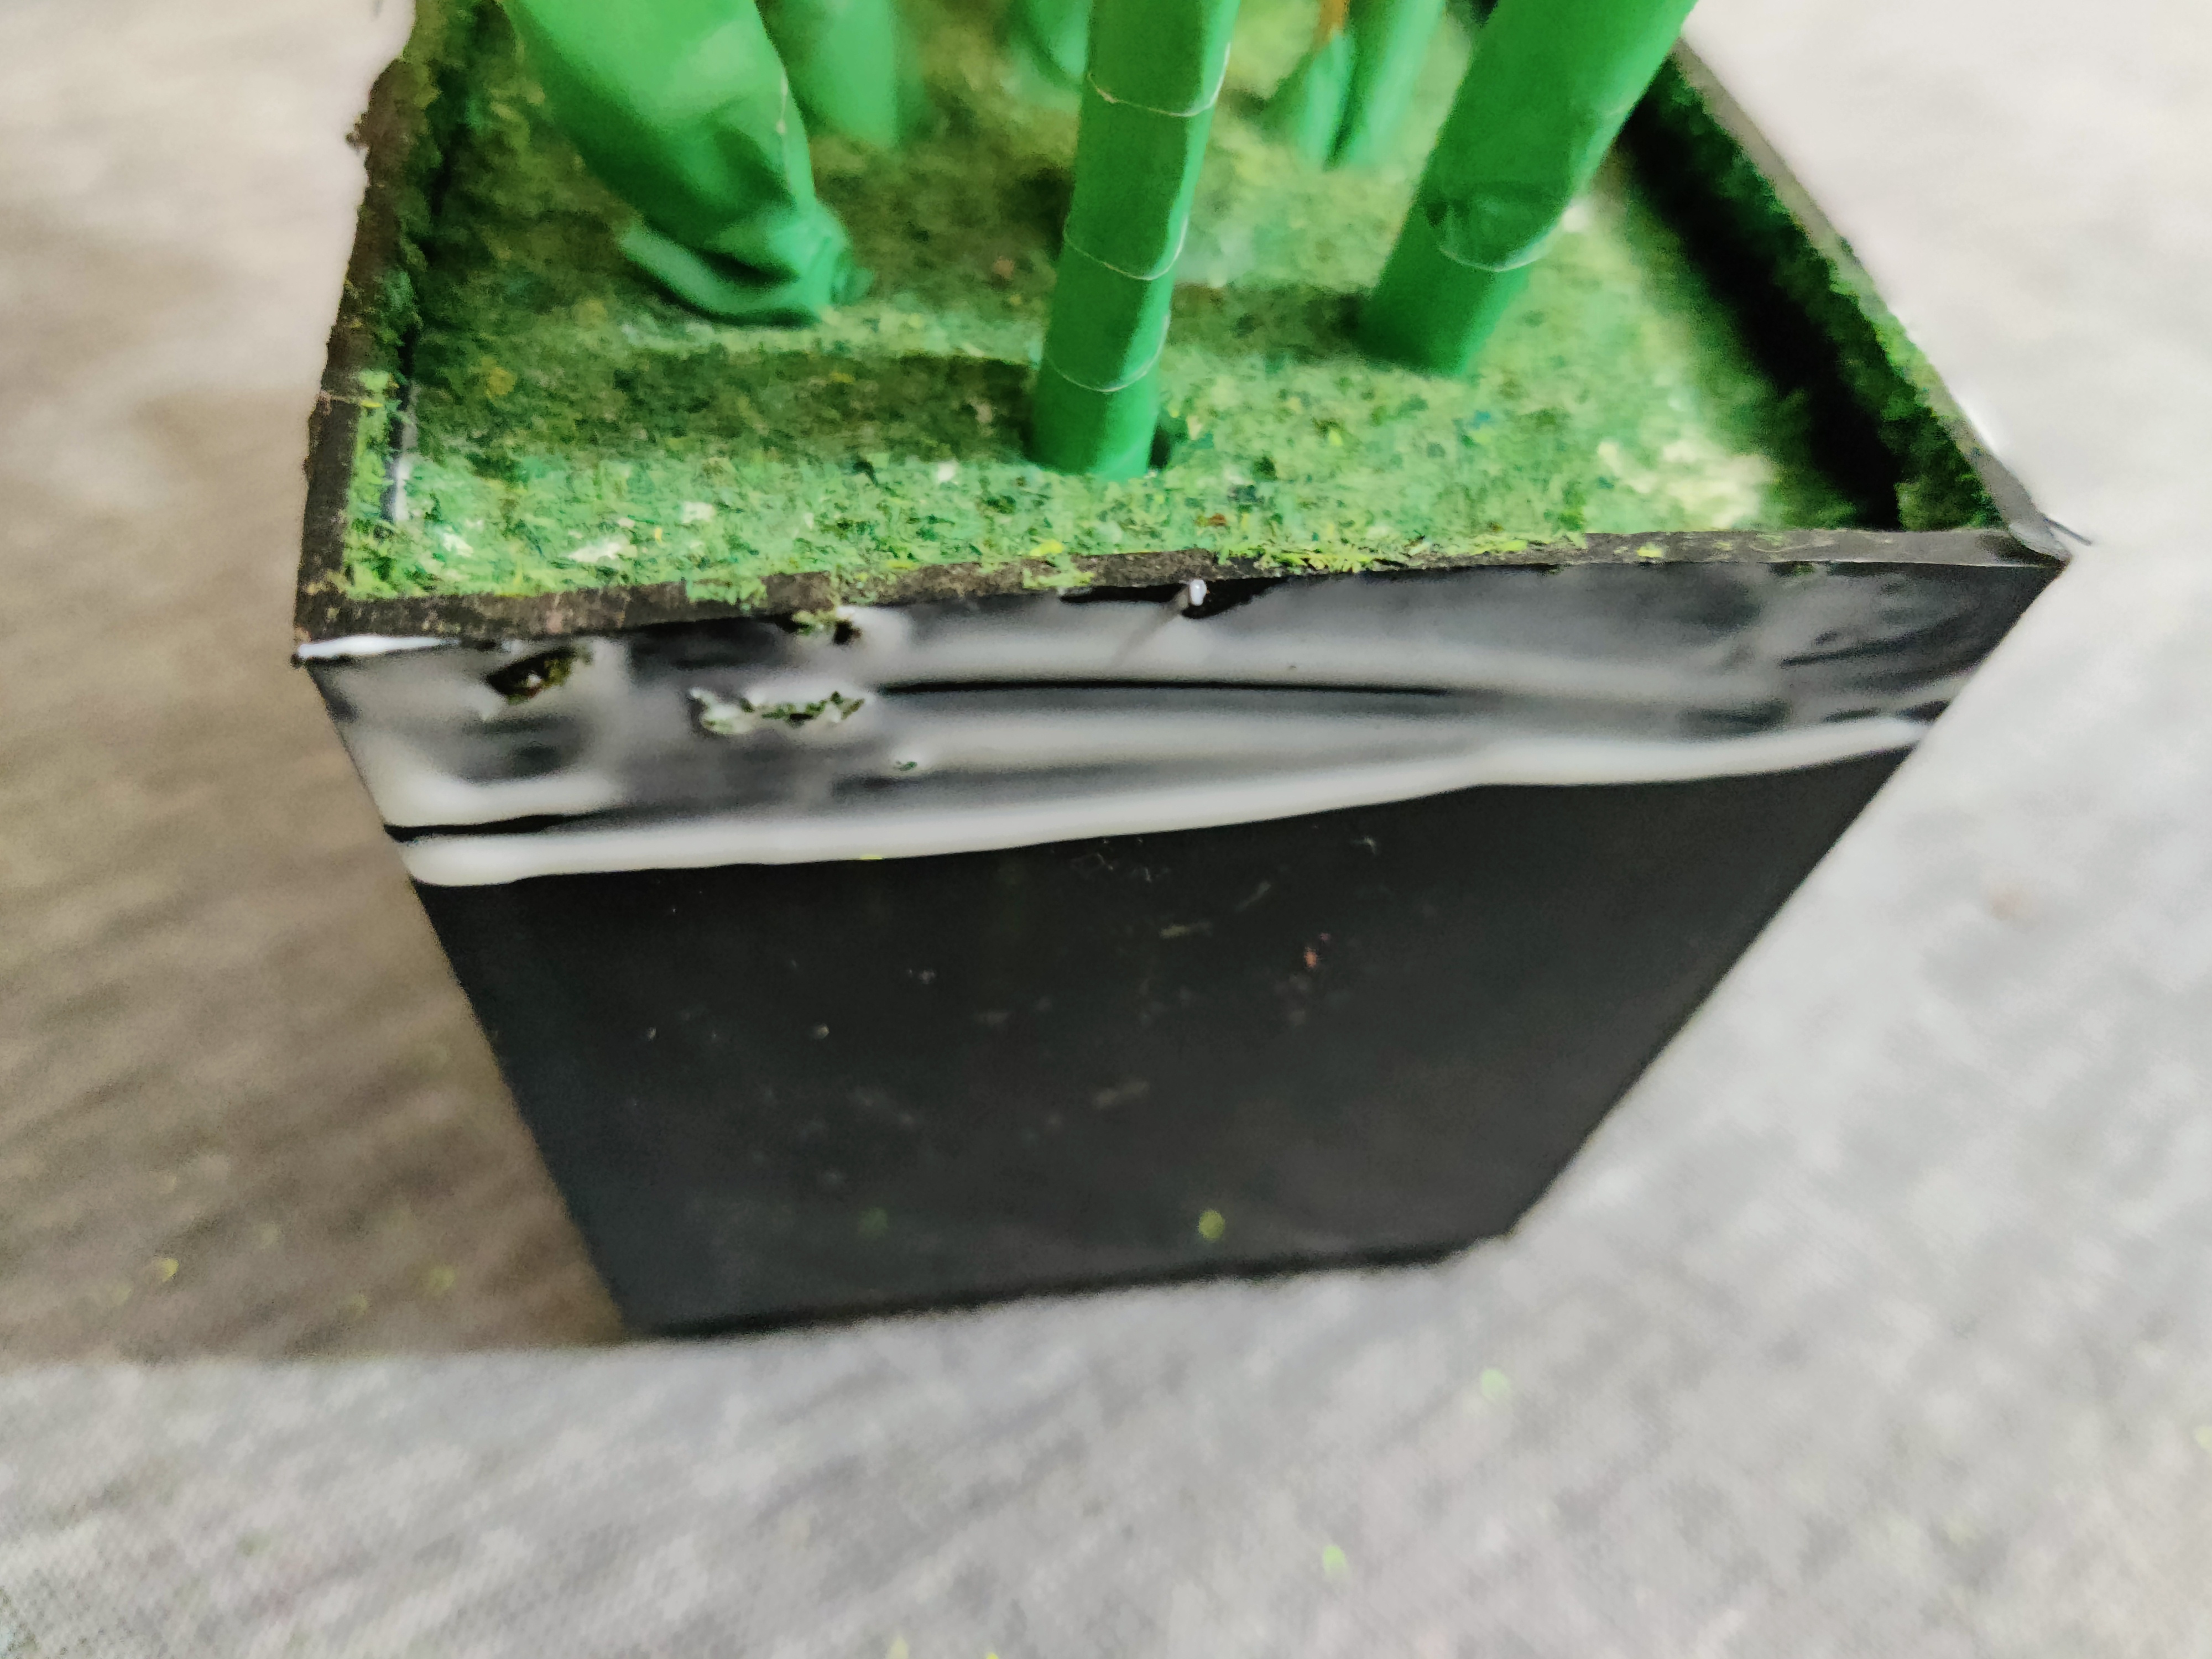
I used this plastic tub that has foam inside which was kind of unused in my house and now I'm kind of recycling it.
Then I attached all the flower sticks into it but the tub looked artificial so I started thinking about doing something to the tub so it gets my diy work as well.

To make the tub look better, I thought of using some grass on it so I took this piece of paper and I cut it like above.
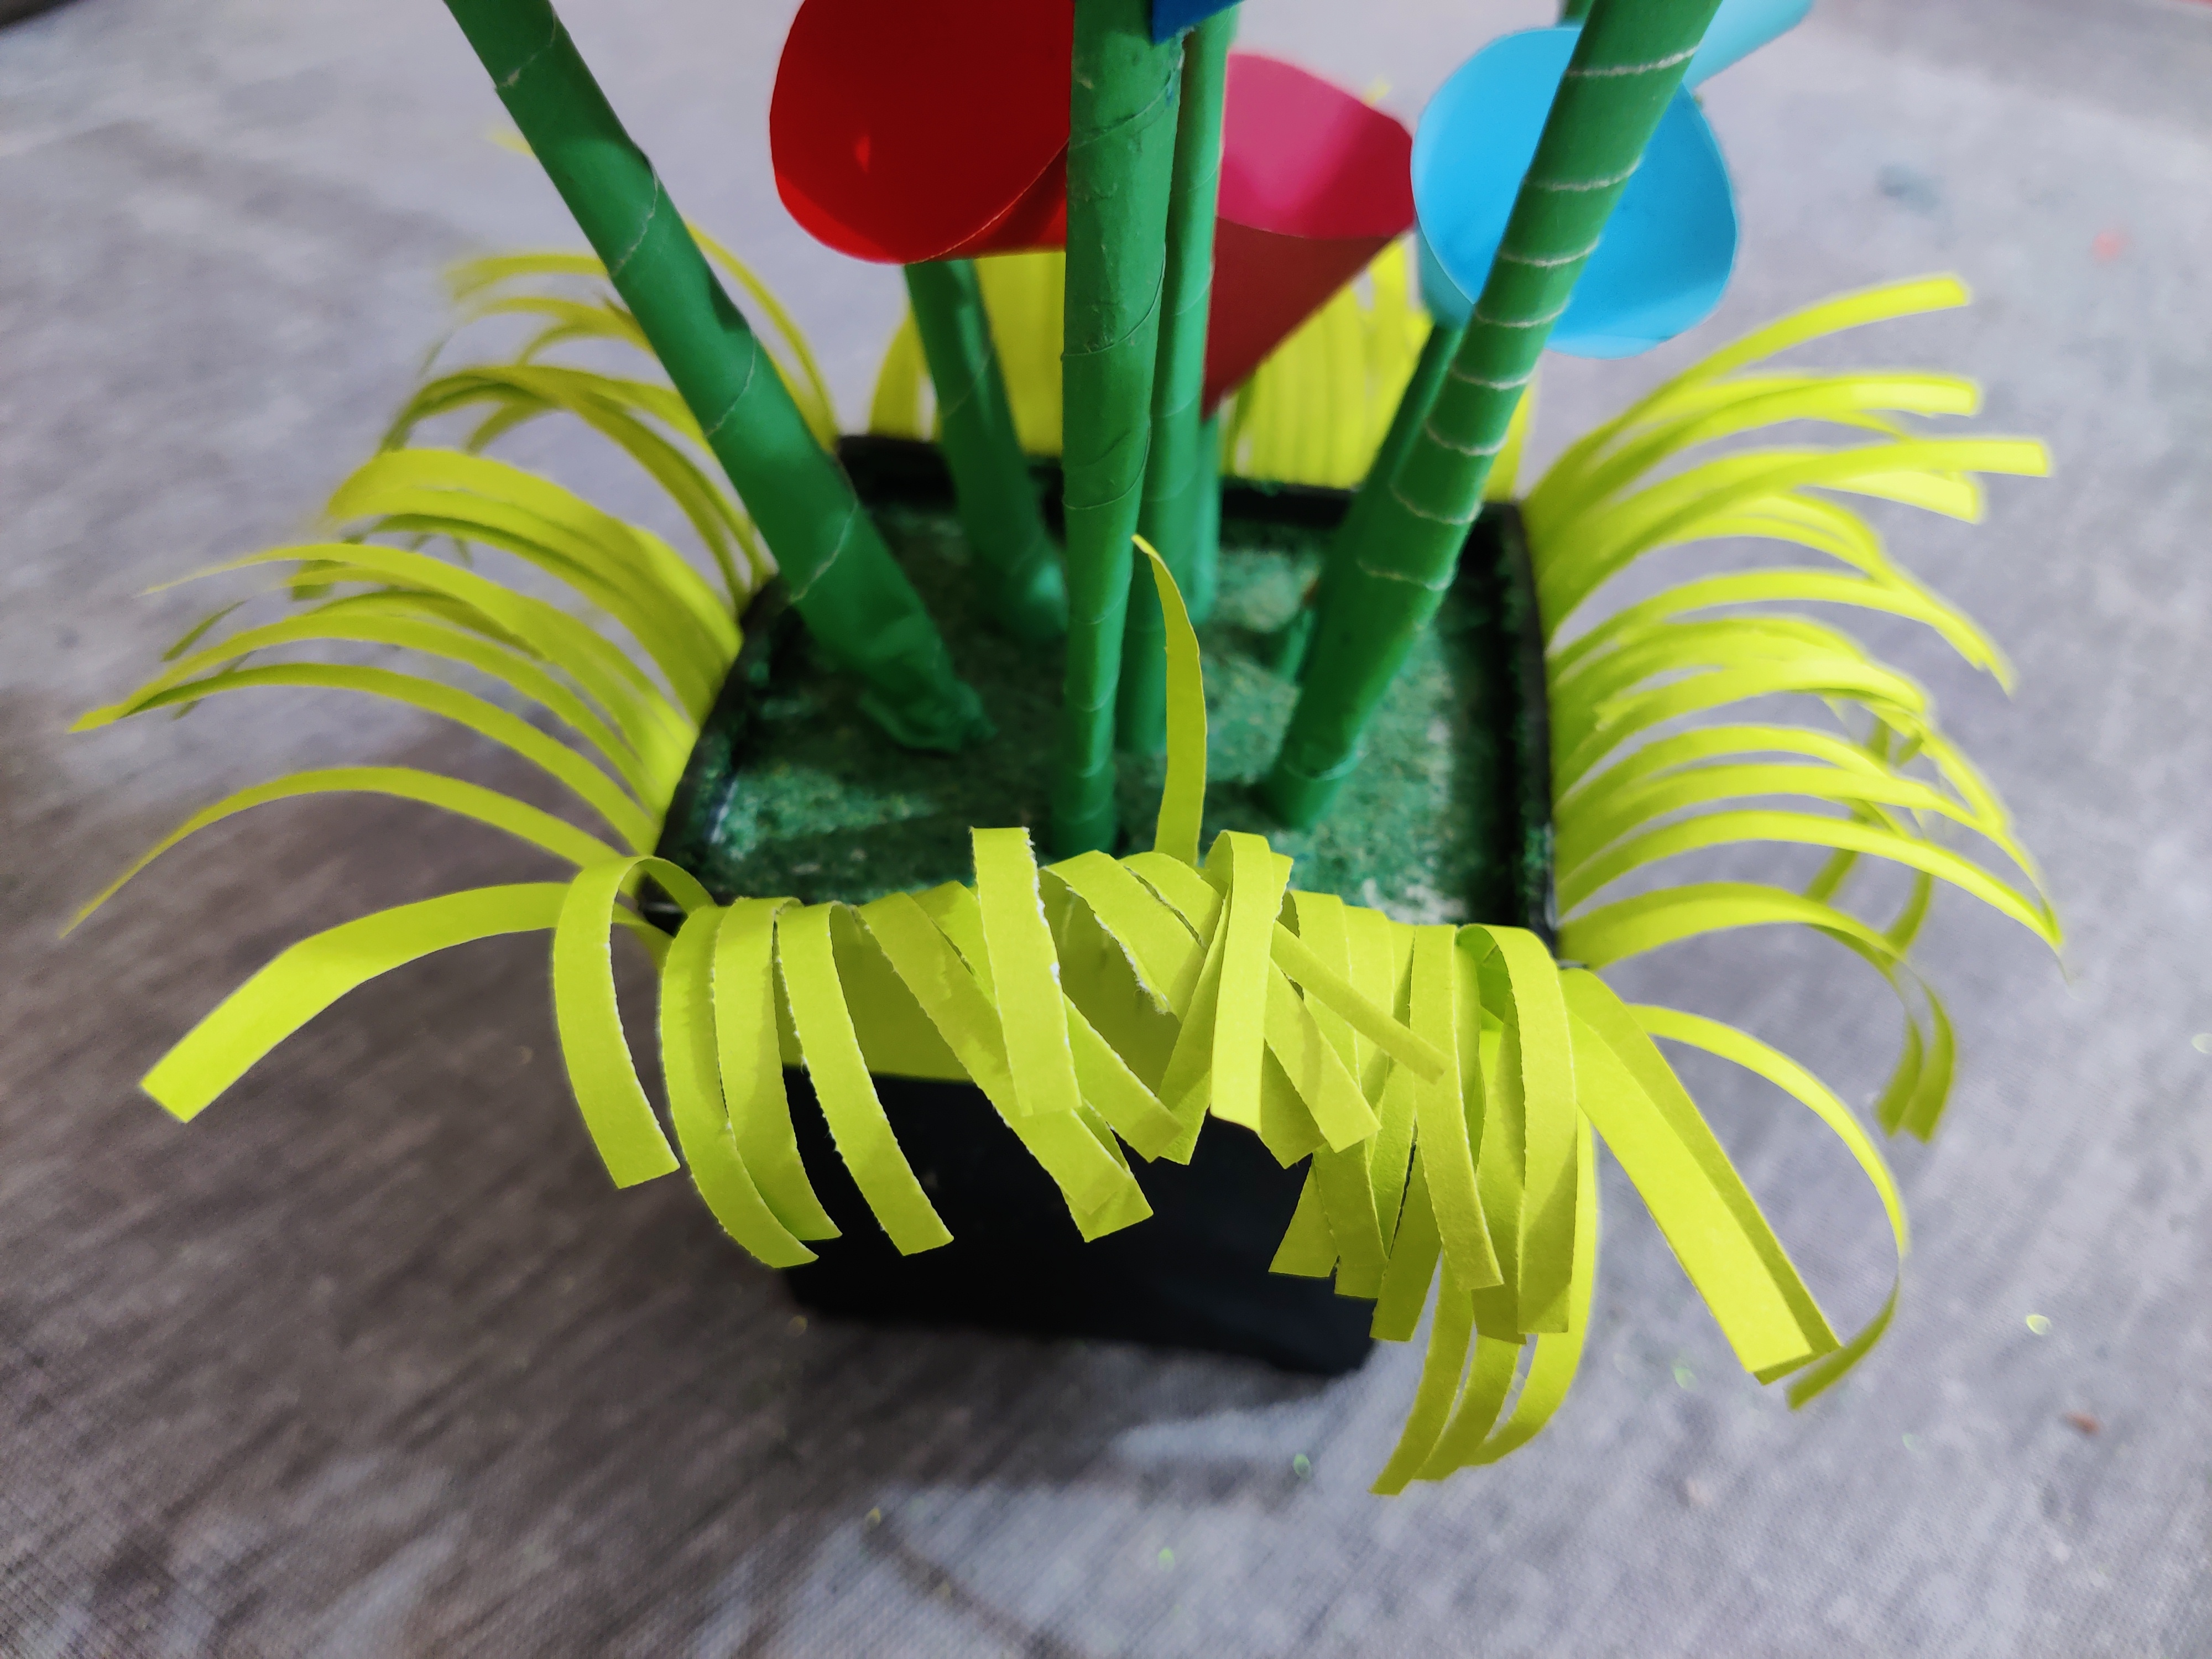
Then I glued the paper to the tub and it looks a little like grass although it looks better from a far.
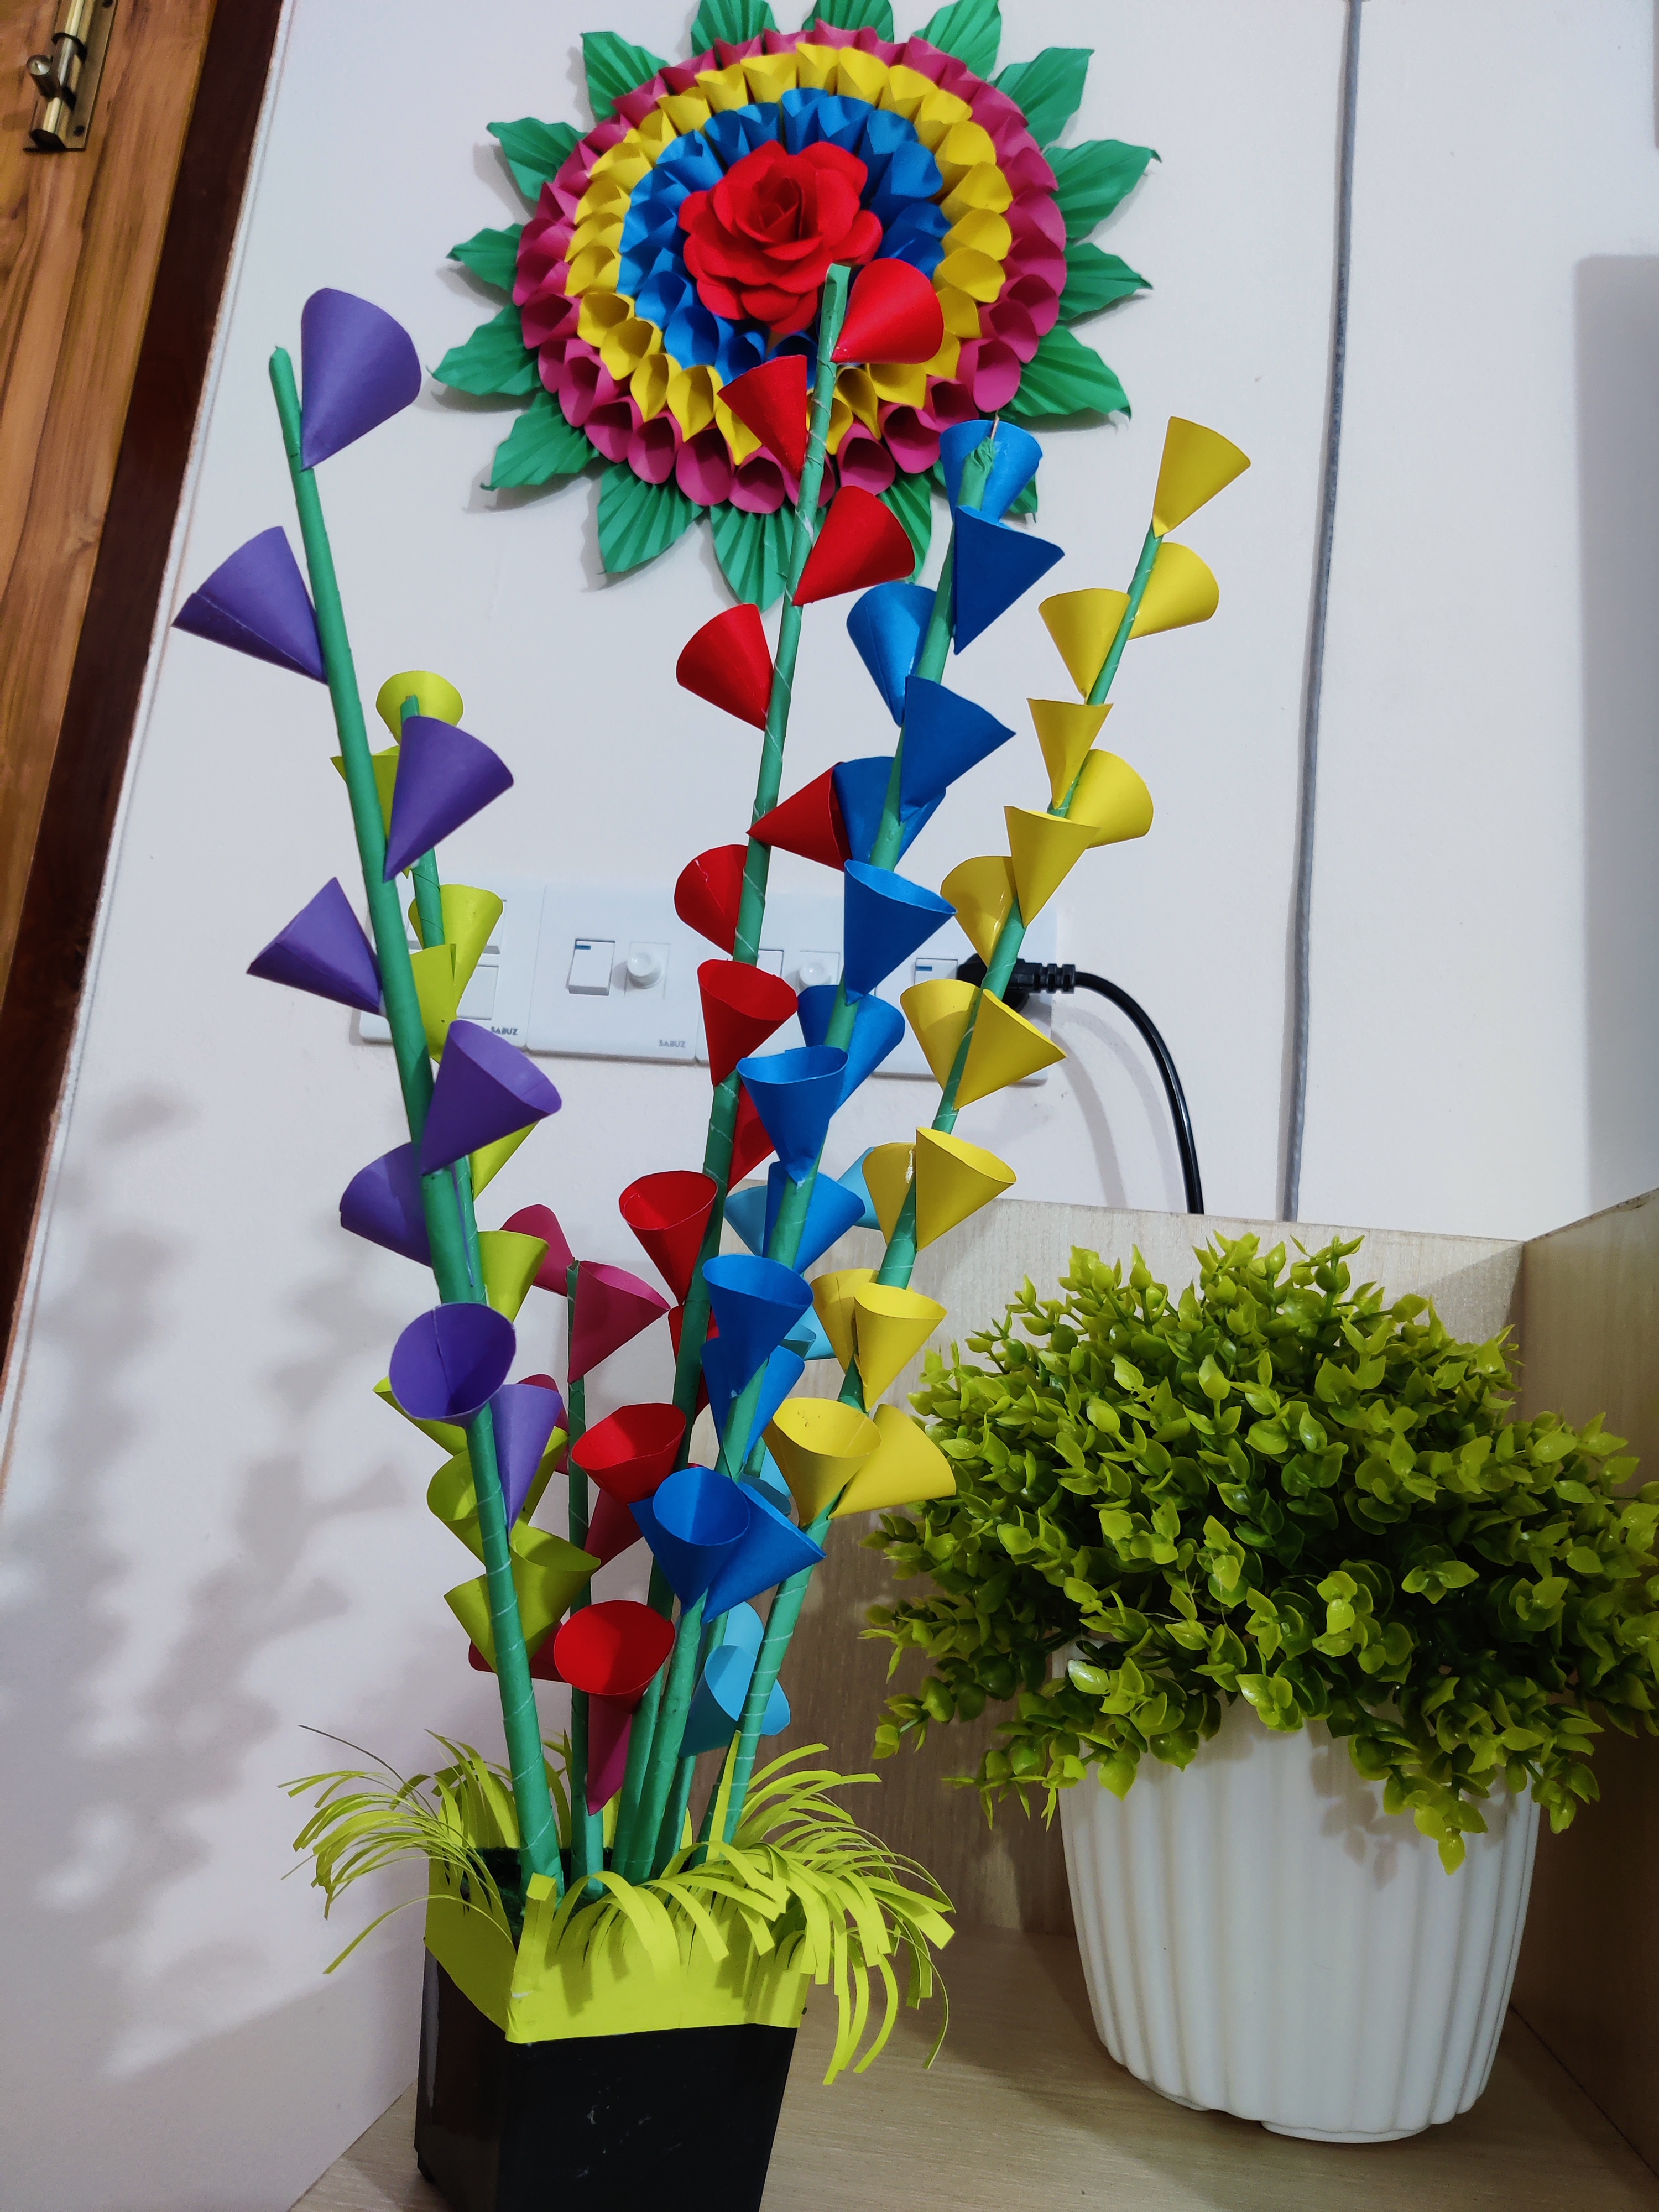

And it is finished. There I tried to keep it beside other showpieces and it looks good to me.
I may show more of my paperwork later.
No more today, I'll talk more later with another craft soon.
BYE BYE.
What a great and simple artwork at the same time. There's a lot of things you can do if you have a creative mind indeed.
Thanks for your inspirational comment my friend. I agree that with a creative mind, a lot of things can be done.
Well done. You explained it well.
@tipu curate 6
Upvoted 👌 (Mana: 0/55) Liquid rewards.
Thanks a lot my friend. I'm happy to know that you liked my explanation and my work.
A pleasure. Keep up the great work.
Thank you for sharing this post in the DIYHUB Community!
Your content got selected by our fellow curator sharminmim & you just received a little thank you upvote from us for your great work! Your post will be featured in one of our recurring compilations which are aiming to offer you a stage to widen your audience within the DIY scene of Hive. Stay creative & HIVE ON!
Please vote for our hive witness <3
Thank you @sharminmim and @diyhub
Yay! 🤗
Your content has been boosted with Ecency Points, by @ladychef.
Use Ecency daily to boost your growth on platform!
Support Ecency
Vote for new Proposal
Delegate HP and earn more
Thanks @ecency
Congratulations @ladychef! You have completed the following achievement on the Hive blockchain And have been rewarded with New badge(s)
Your next target is to reach 2250 upvotes.
You can view your badges on your board and compare yourself to others in the Ranking
If you no longer want to receive notifications, reply to this comment with the word
STOPCheck out our last posts:
Wow, this is so beautiful. Great artwork from you, keep it up
Thank you very much my friend. I'm trying to keep it up but can't get enough time for some days.
Ohk, good.