Hi friends!
So... I continue my color correction tutorials with Photoshop tools.
Color correction by texture mapping
I want to note that these methods of photo processing not only change the color gamut of the image. In some cases, with their help, you can, for example, even even out the lighting - to darken an overexposed photo or, conversely, to lighten overly dark parts of the image.
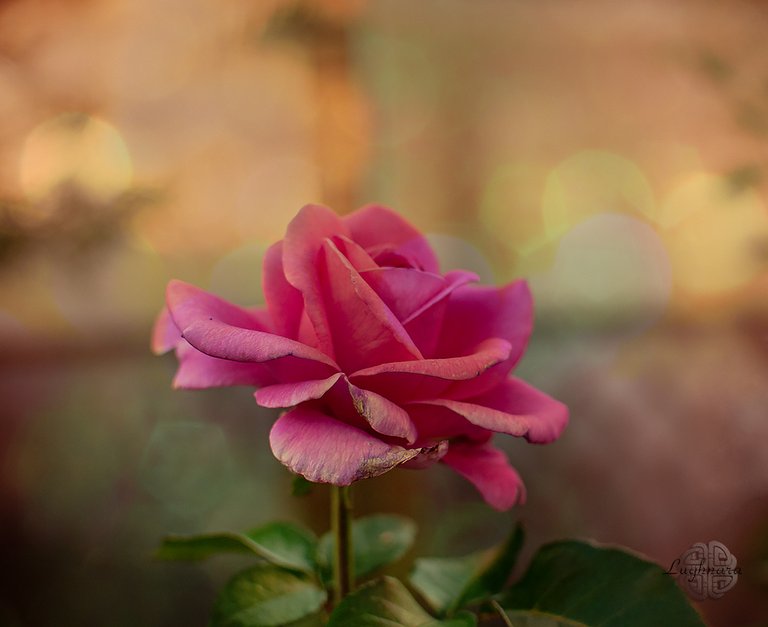
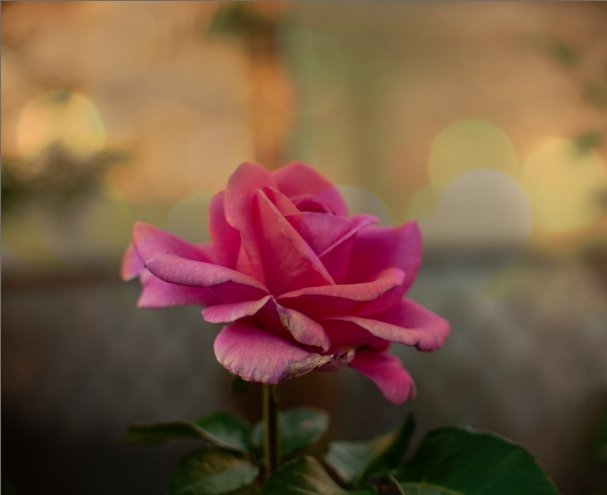
For example, here is a photo of a beautiful garden flower, but with a very uneven background in lighting (overexposed top and dark bottom).
What can I do about it?
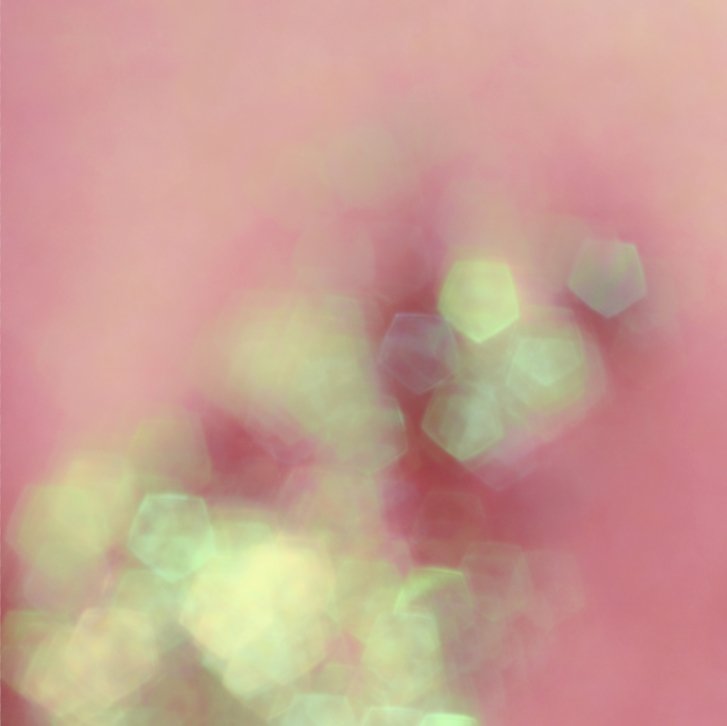
To begin with, let's select a suitable texture
For example, these colored bokeh
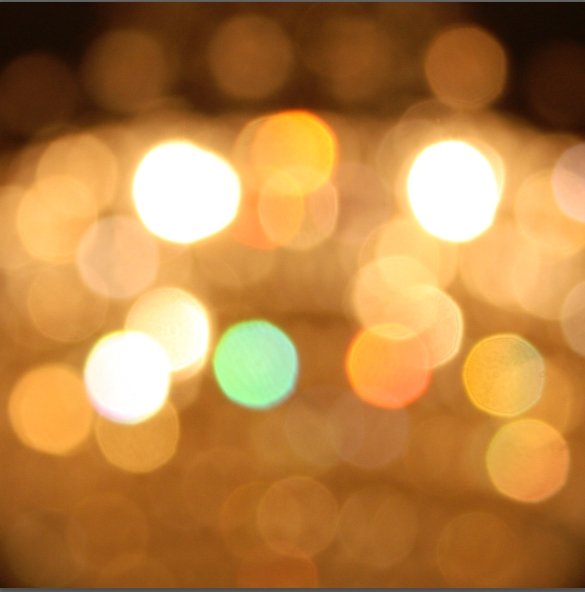
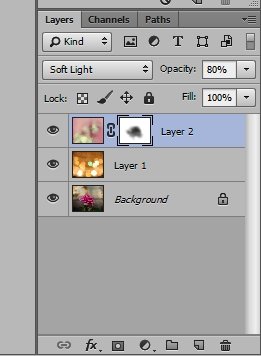
I select a photo with the texture and use the ALT key to drag it with a new layer on the photo with a rose.
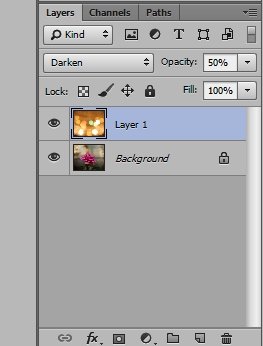
To even out the top overexposure, I select the blend mode Darken and reduce an opacity, if it nessesary
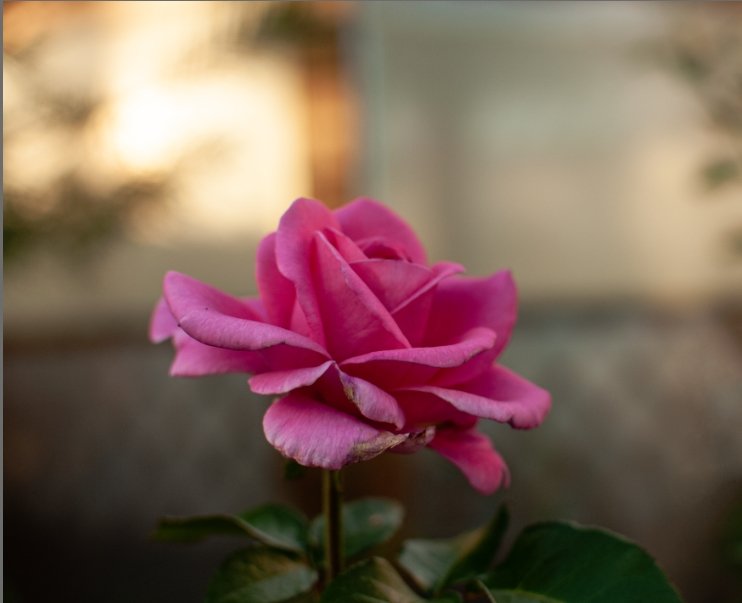
It turned out already pretty!
Now I need solve the problem with dark below...
I choose one more bokeh texture
and drag it like first

Now I change blend mod to Soft Light and reduce an opacity to 60%

Can leave this look.
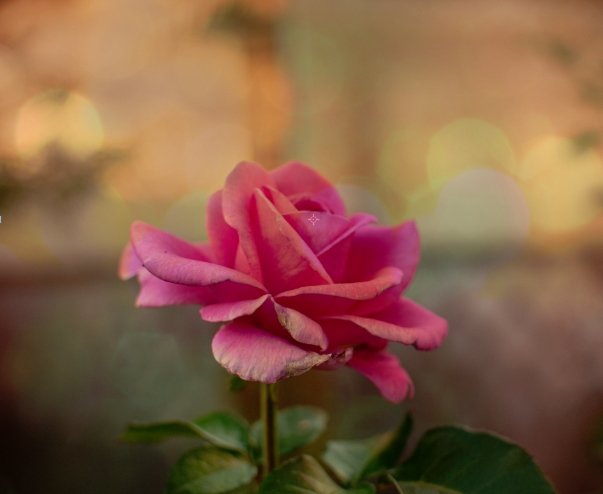
But I wanted to highlight the flower itself more, so I added a mask to the second texture

Then I selett soft round brush with these options.

and paint over the flower area with black
So, I like this result!
To be continued next time!
Have a nice and creative day!
Yay! 🤗
Your post has been boosted with Ecency Points, by @daring-celt.
Use Ecency daily to boost your growth on platform!
Support Ecency
Vote for Proposal
Delegate HP and earn more