Hi friends!
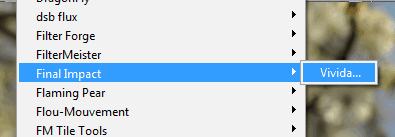
Consider another plugin - Viveda from Final Impact
Its interface resembles the Hue / Saturation adjustment layer settings in Photoshop.
It is very simple to work in it.
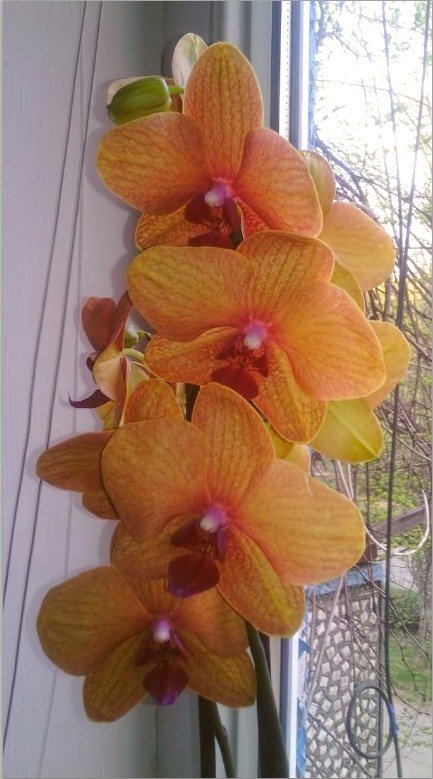
Uploading a photo (in this case it was an orchid taken on a mobile phone)

Opening the plugin
Then I move a sliders (as you can see, three colored circles mean a color shift by channels in RGB mode - red, green and blue -, and three small round icons in each of them, opposite the sliders - brightness, contrast and saturation)
In this case, I also make a photo more nice - I increase a shade of yellow in a highlights and remove blue from blue channel in order to draw out the dark shadows on a lower flower.
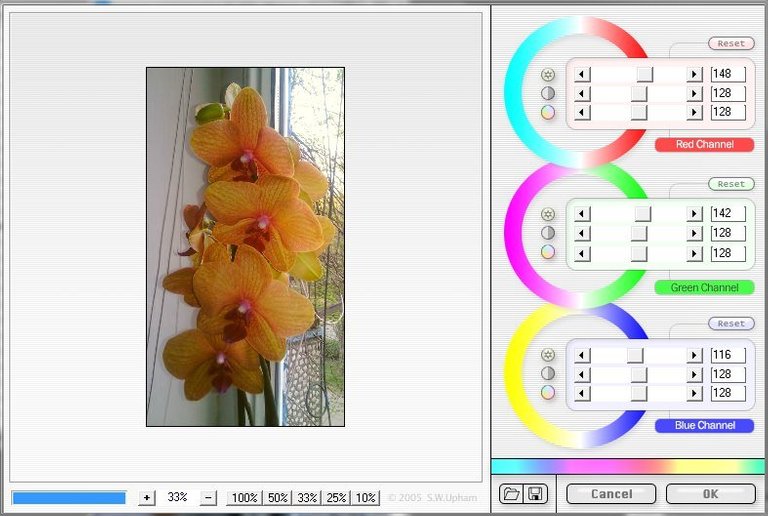
Lighting is noticeably leveled!
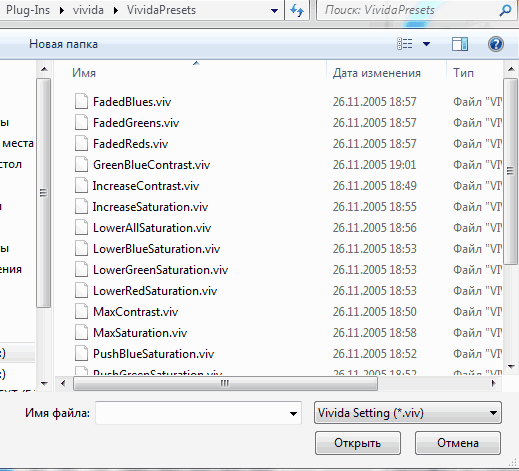
This plugin has a set of ready-made built-in presets (open with this icon)
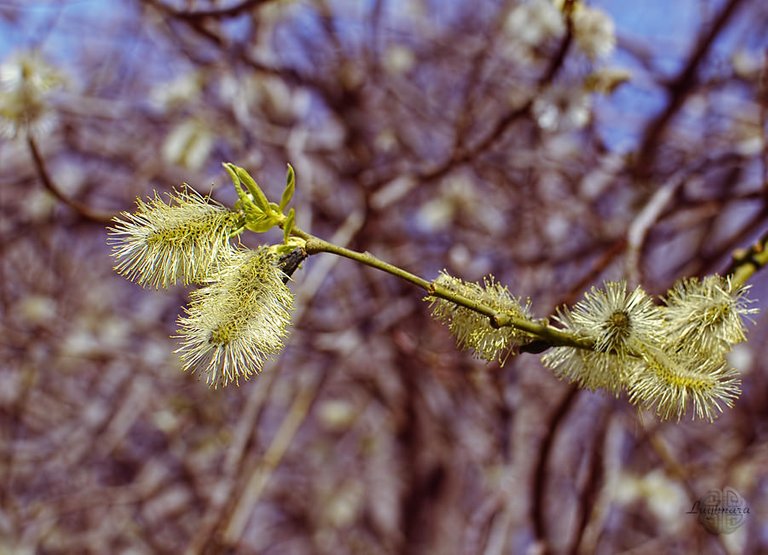
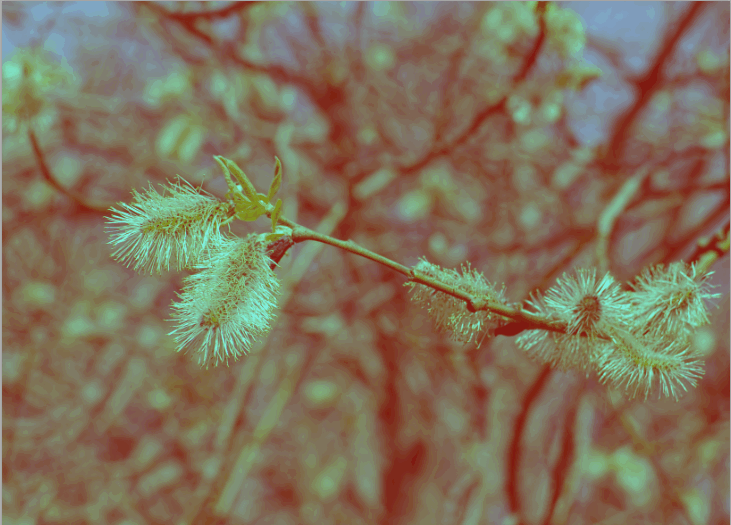
With their help, I applied my favorite technique of "tone breakdown according to plans" to a photo with a willow (main shot in the post)
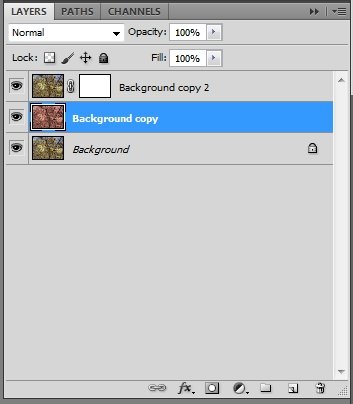
I copied the layer with the photo twice
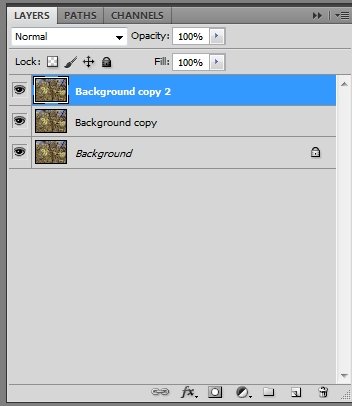
then for the first copy I chose the ready-made preset Faded Red
And for the second - PushBlueSaturation
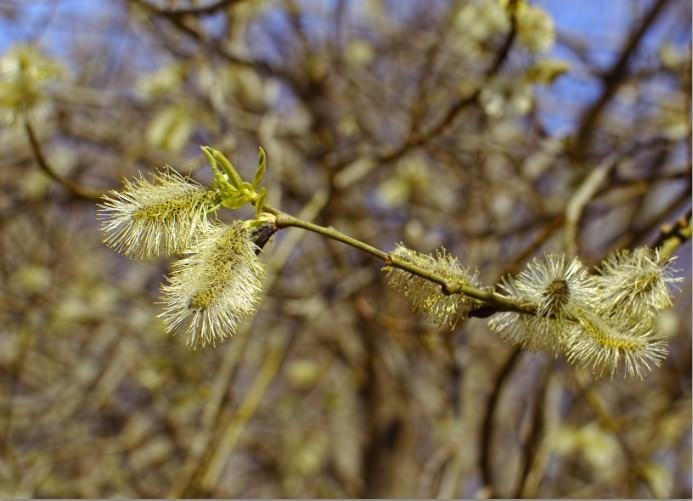
Then, using the mask, I developed the lower layer through the upper one.
An main object in a photo becomes voluminous, as in a 3D scene!
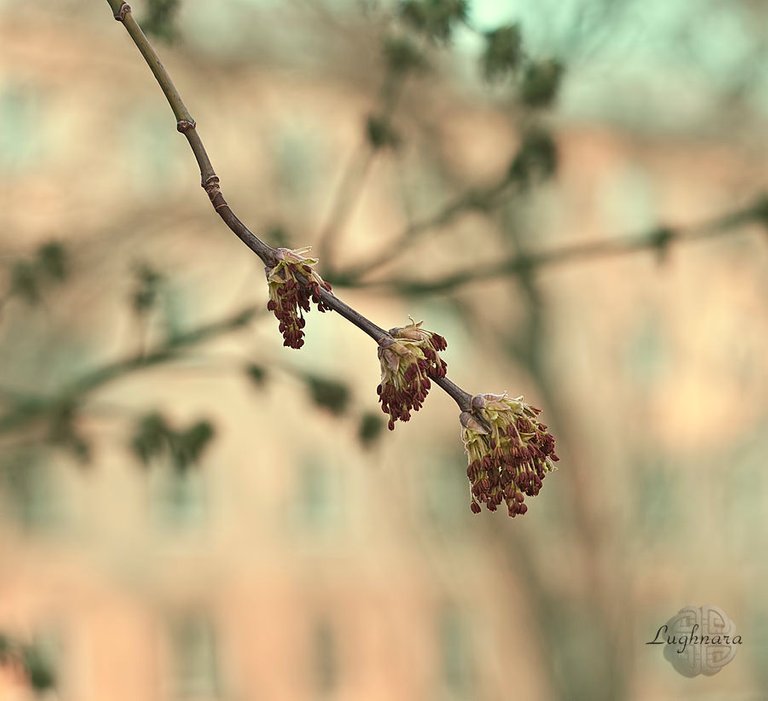
Or can it be like this...
Thanks to visit in my blog))
Have a nice and creative day!