One of the main reasons why I like using Lightroom for editing is because of the simple tools that can make wonders to my photos.
Aside from adjusting the brightness and contrast of the image, I also used the Radial Filter tool that allows simulating the light glow on the upper right corner of the image. I applied layers of the radial filter using the same settings. The only difference is the sizes of the radial filters. I made one filter bigger than the other to create a hotspot at the top-right corner of the image.
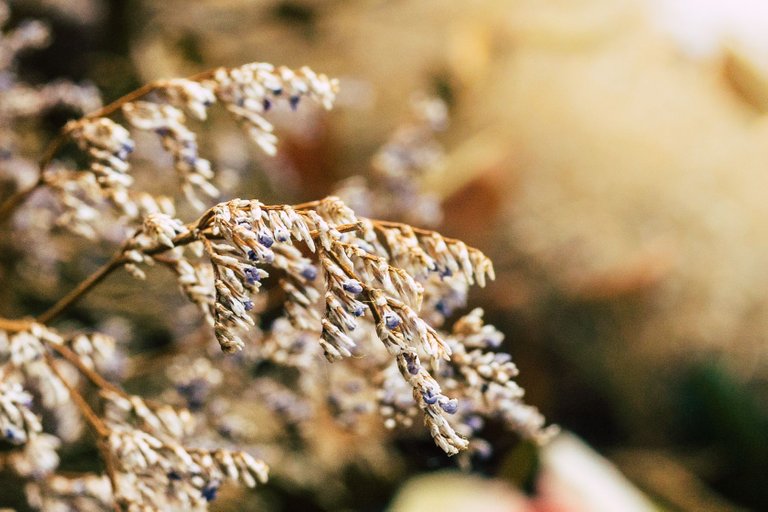
As a result, the edited photo has more contrast and more depth. The added glow filter also adds dynamics to the overall tone of the image.
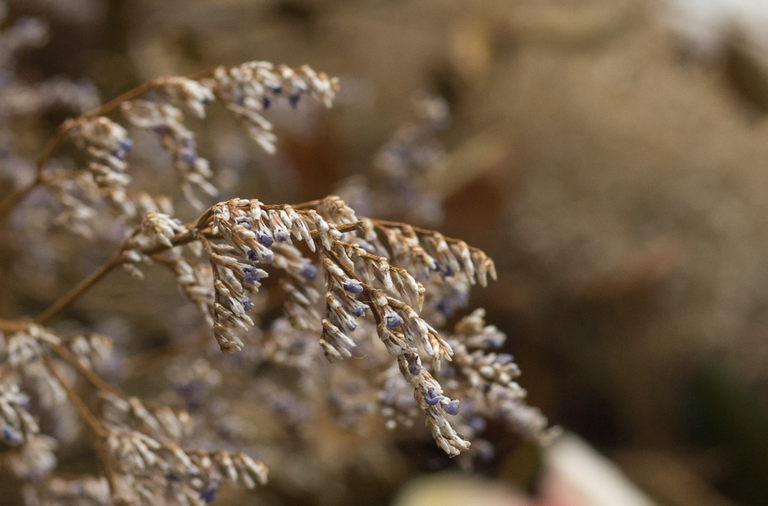
Here's the original photo for comparison.
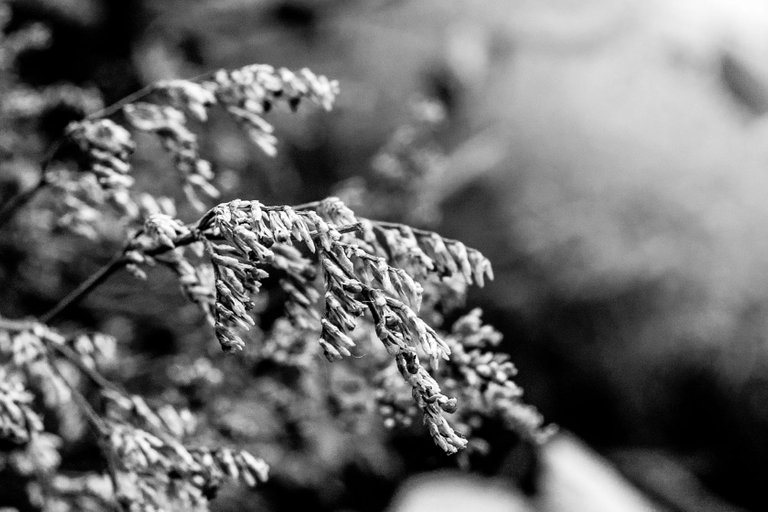
As usual, I also made a black and white version to see if it's any better than the colored version.