Two weeks ago I was talking about my project of setting up a blacksmith shop at home. About a week later, I started building my anvil from a piece of crane rail track (smaller than a railroad track), it took me 8 days to complete it.
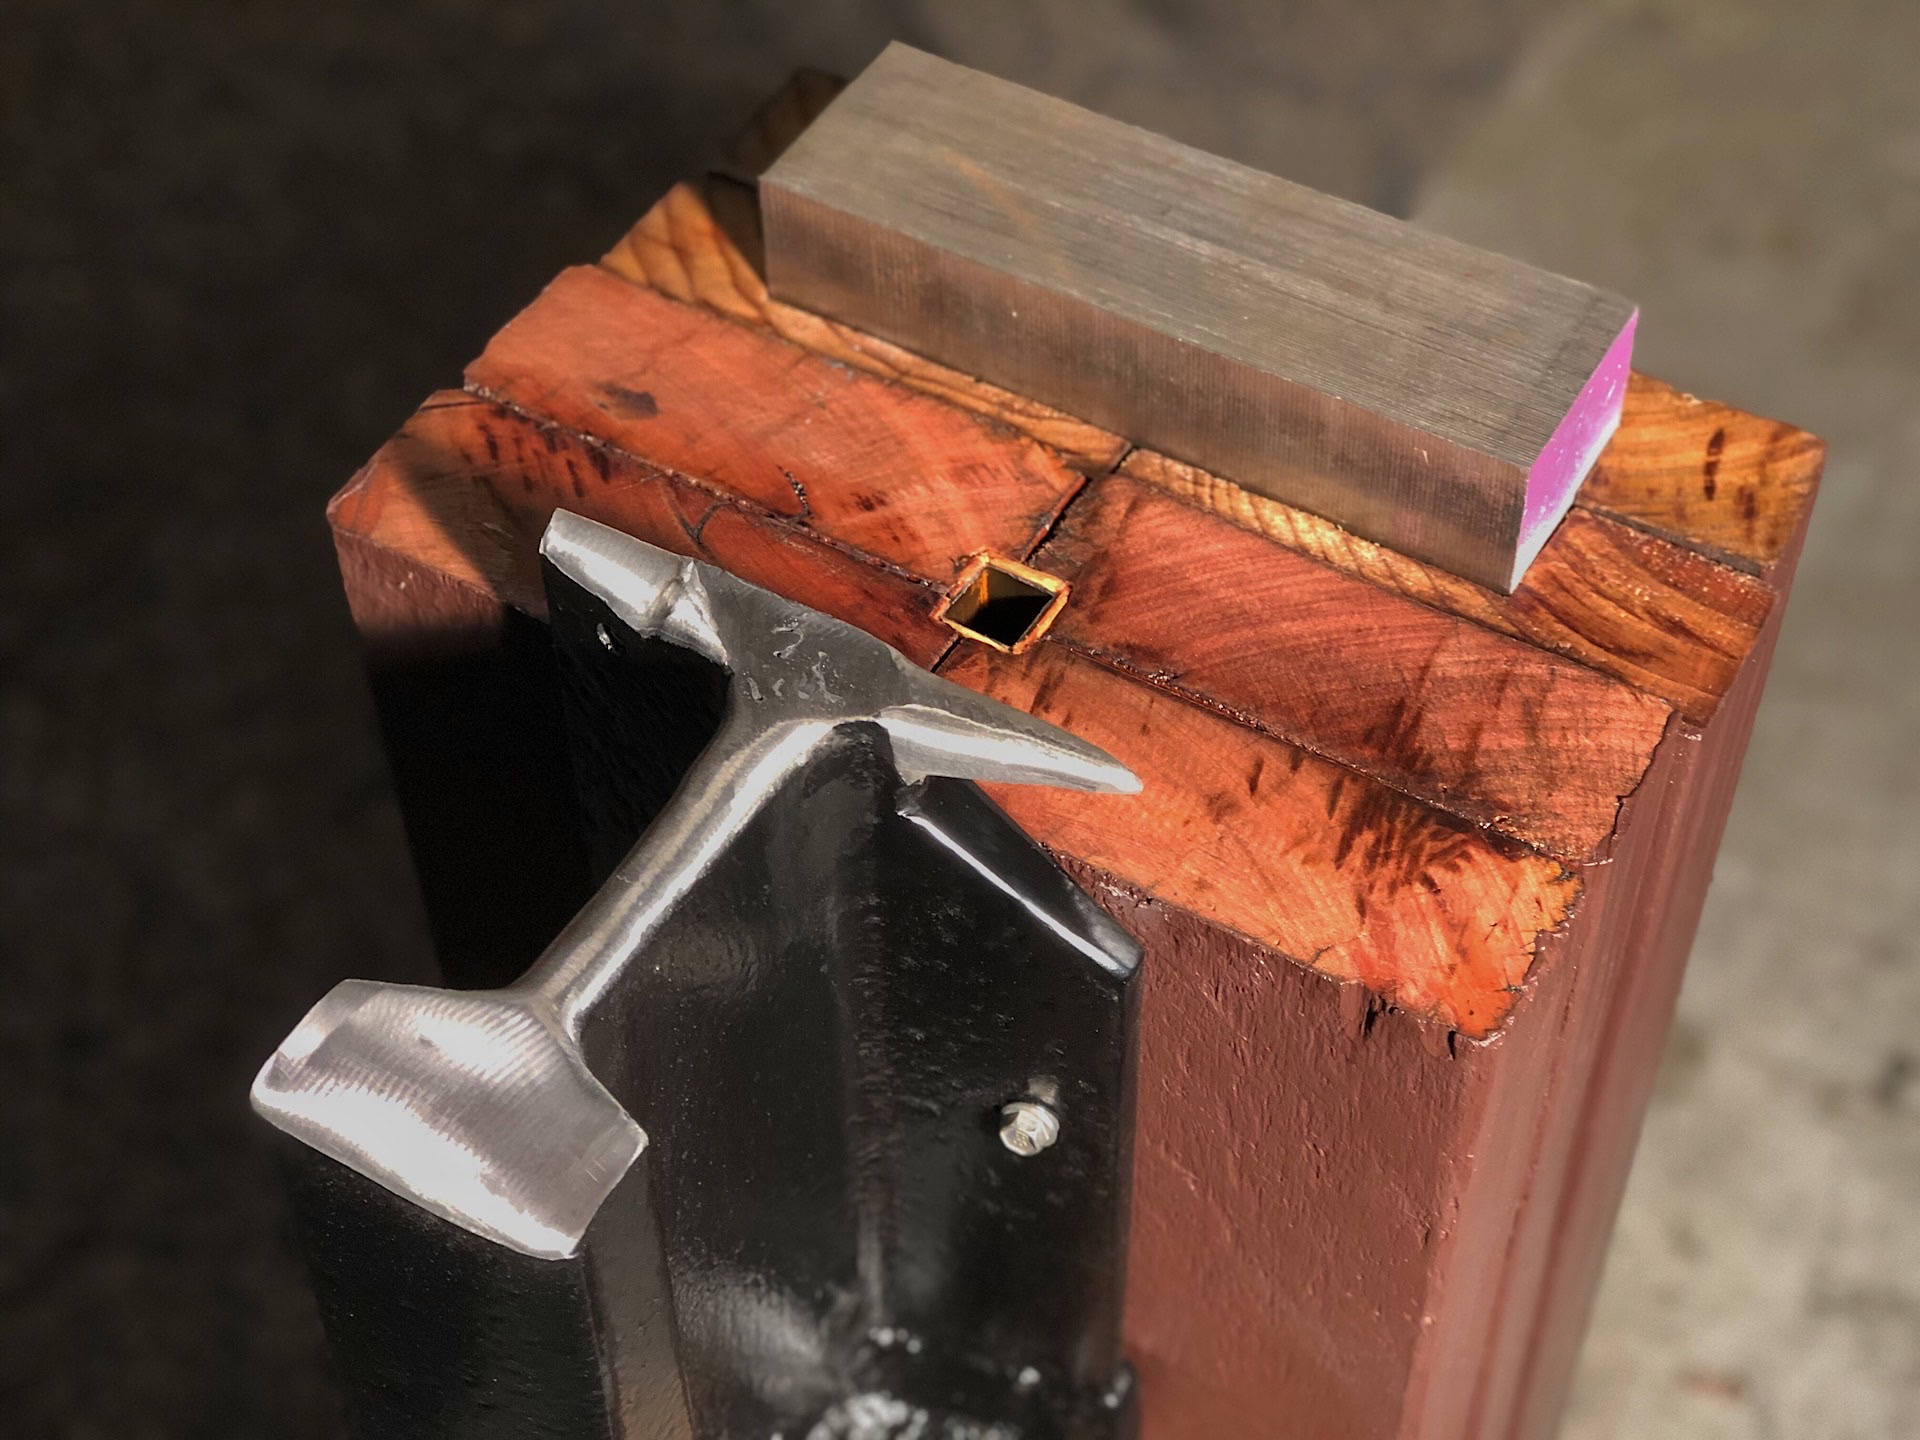
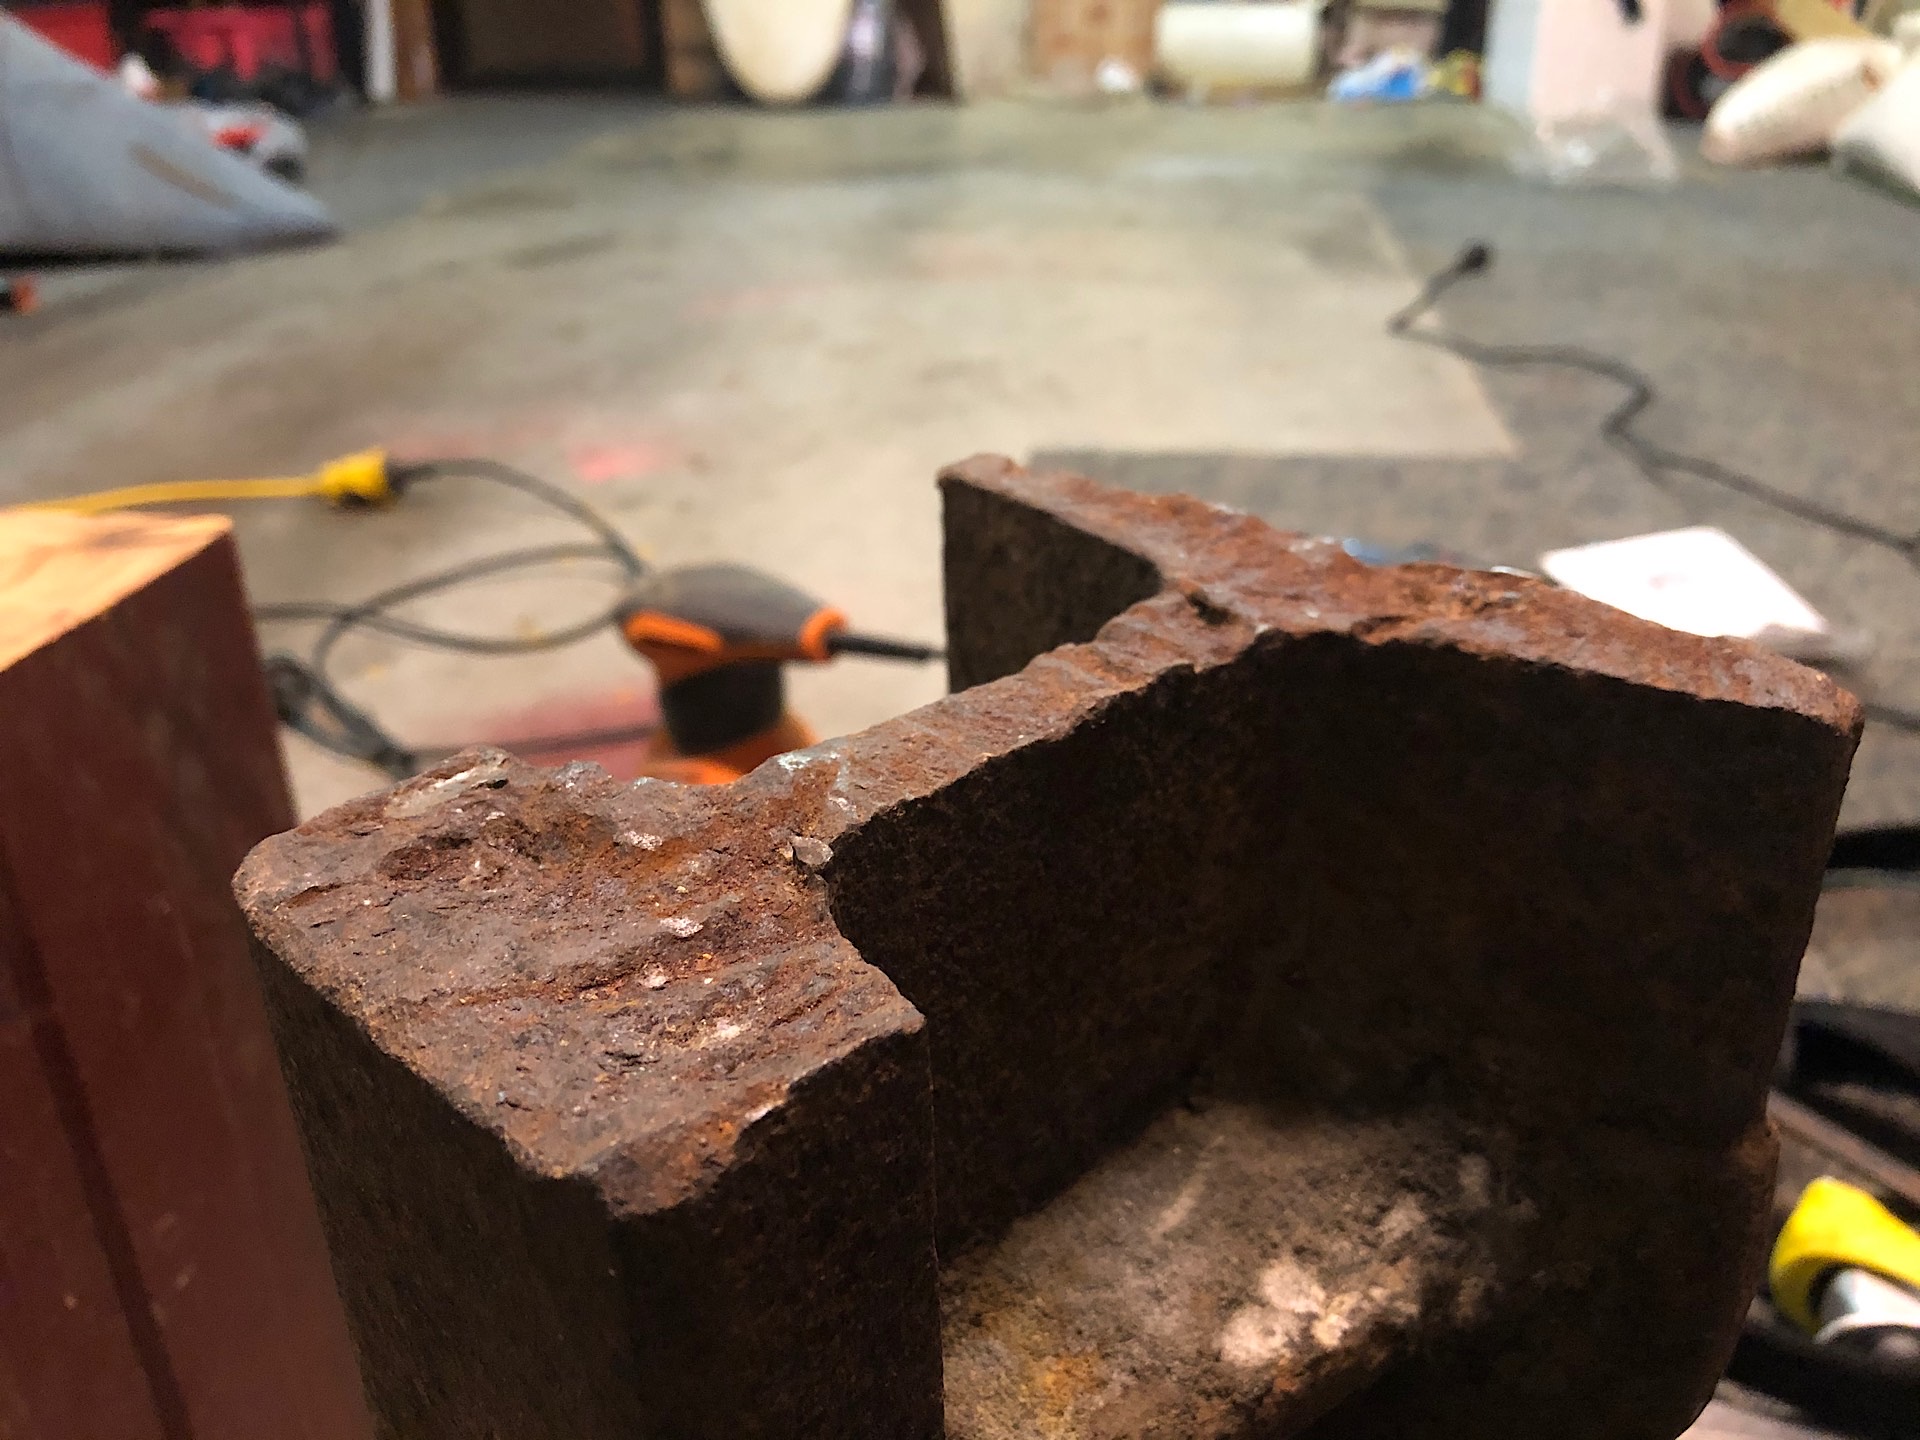
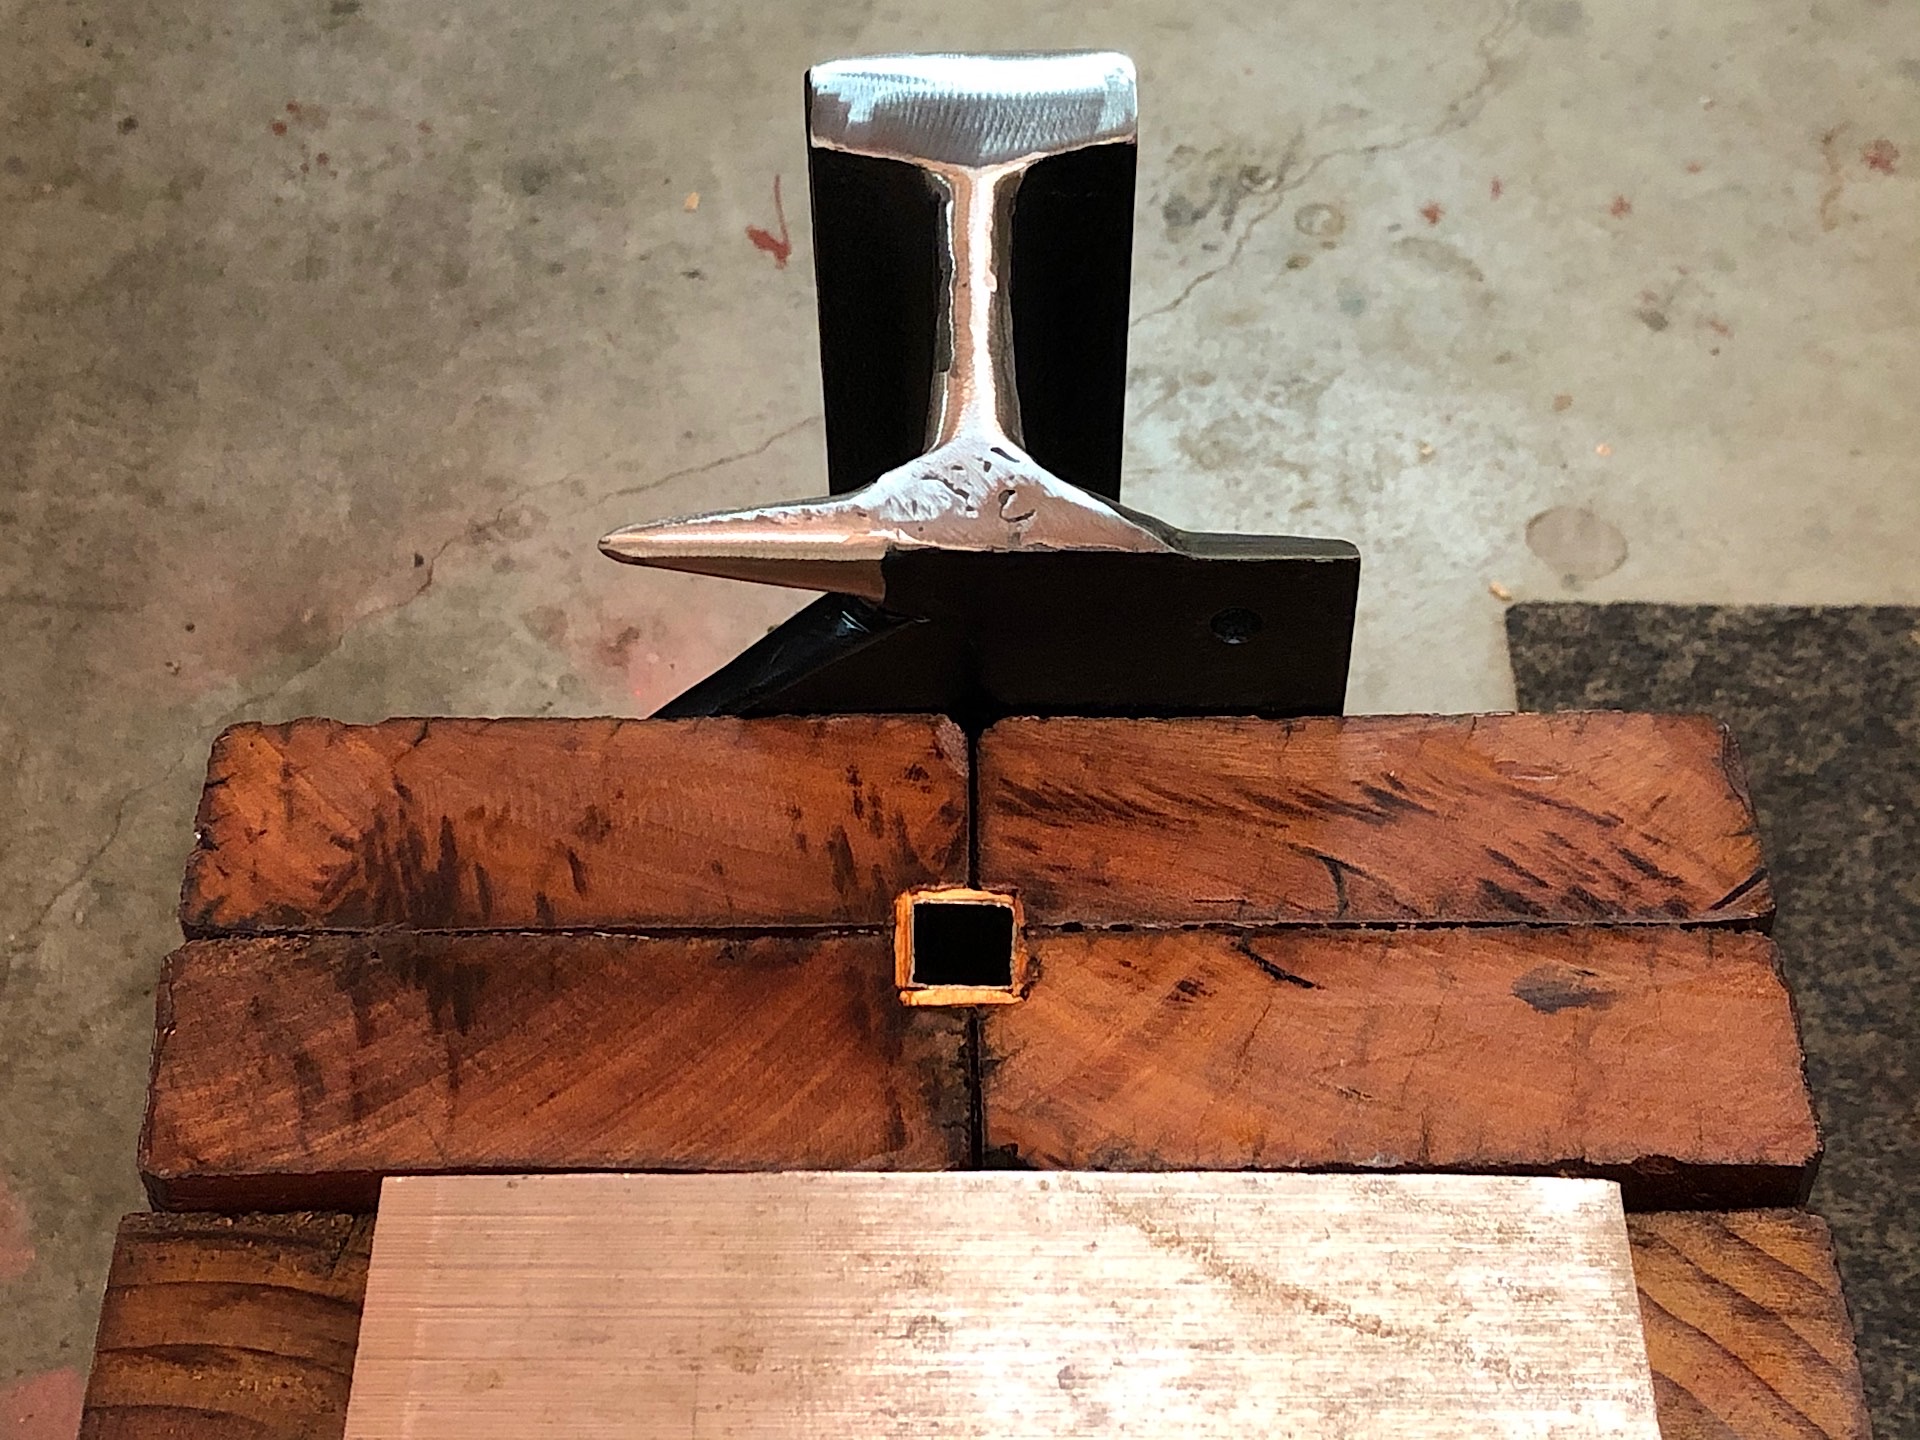
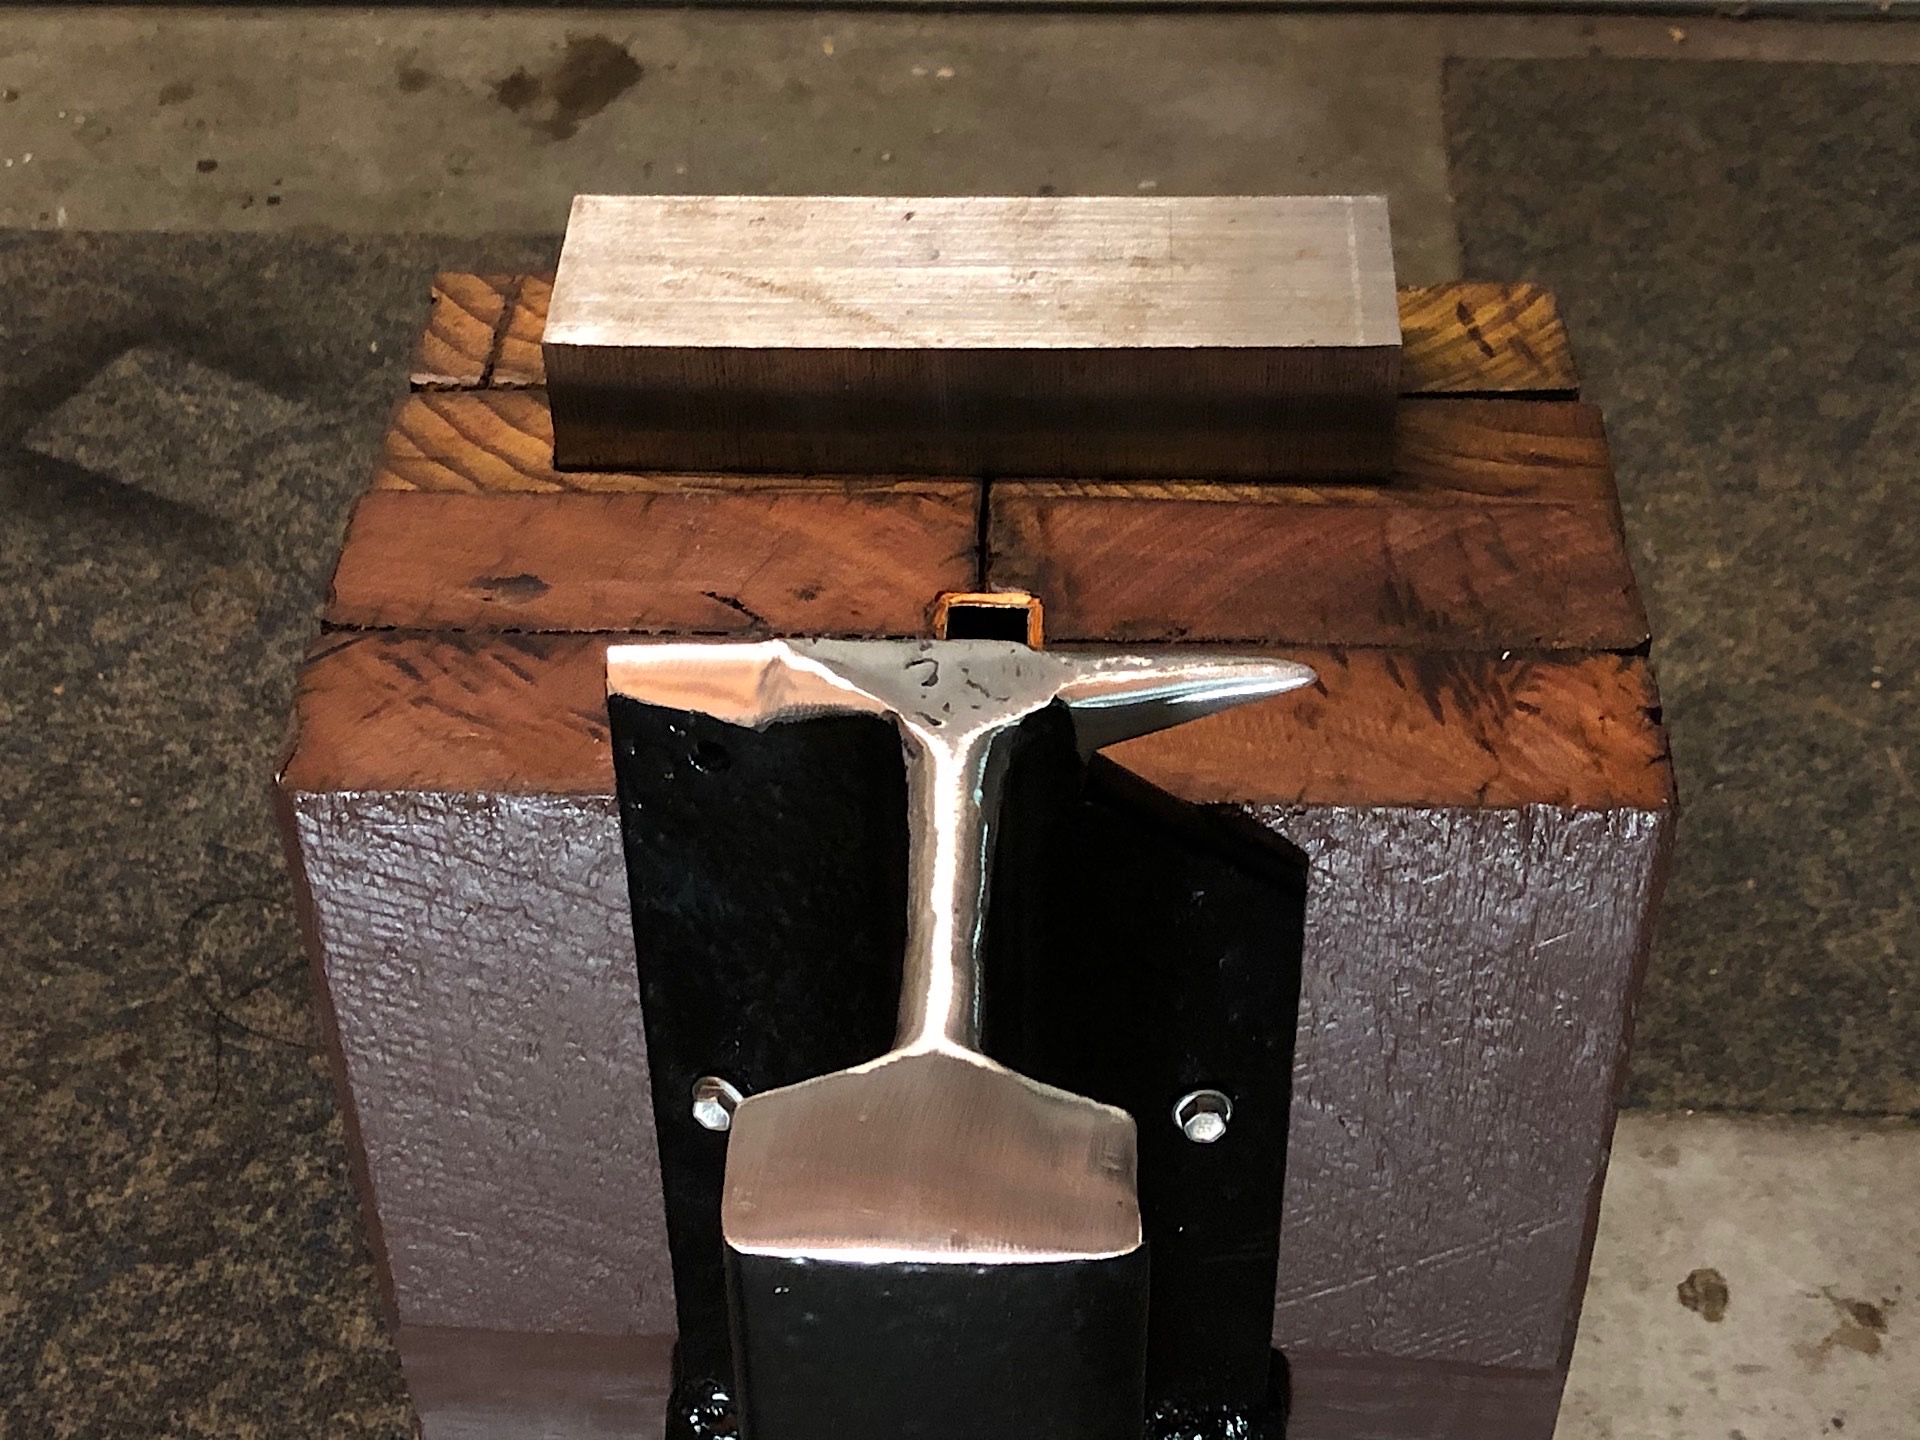
It is composed of two main parts, the rail anvil itself and a rectangle chunk of tool steel. The anvil would be my main anvil for shaping the work piece while the longer chunk of steel would be used to flatten it if needed. The rail track has a small rectangular shaped area (the head of the rail) that will be my striking area, the web (part that links the head to the base) was rounded down and will be used as a fuller (to make dents and shoulders), one side of the base was sharpened and will be used as a hot cut when the other side was rounded into a horn/bickern used for curling bars or making rings for example. Between the rail and the chunk of steel is a square hole called a hardy hole used for attaching removable tools. The hardy hole is one part that I'm unsure about, I hope it will be strong enough, else I will have to cover it with a steel plate with a square hole on it to strengthen it more.
The building process
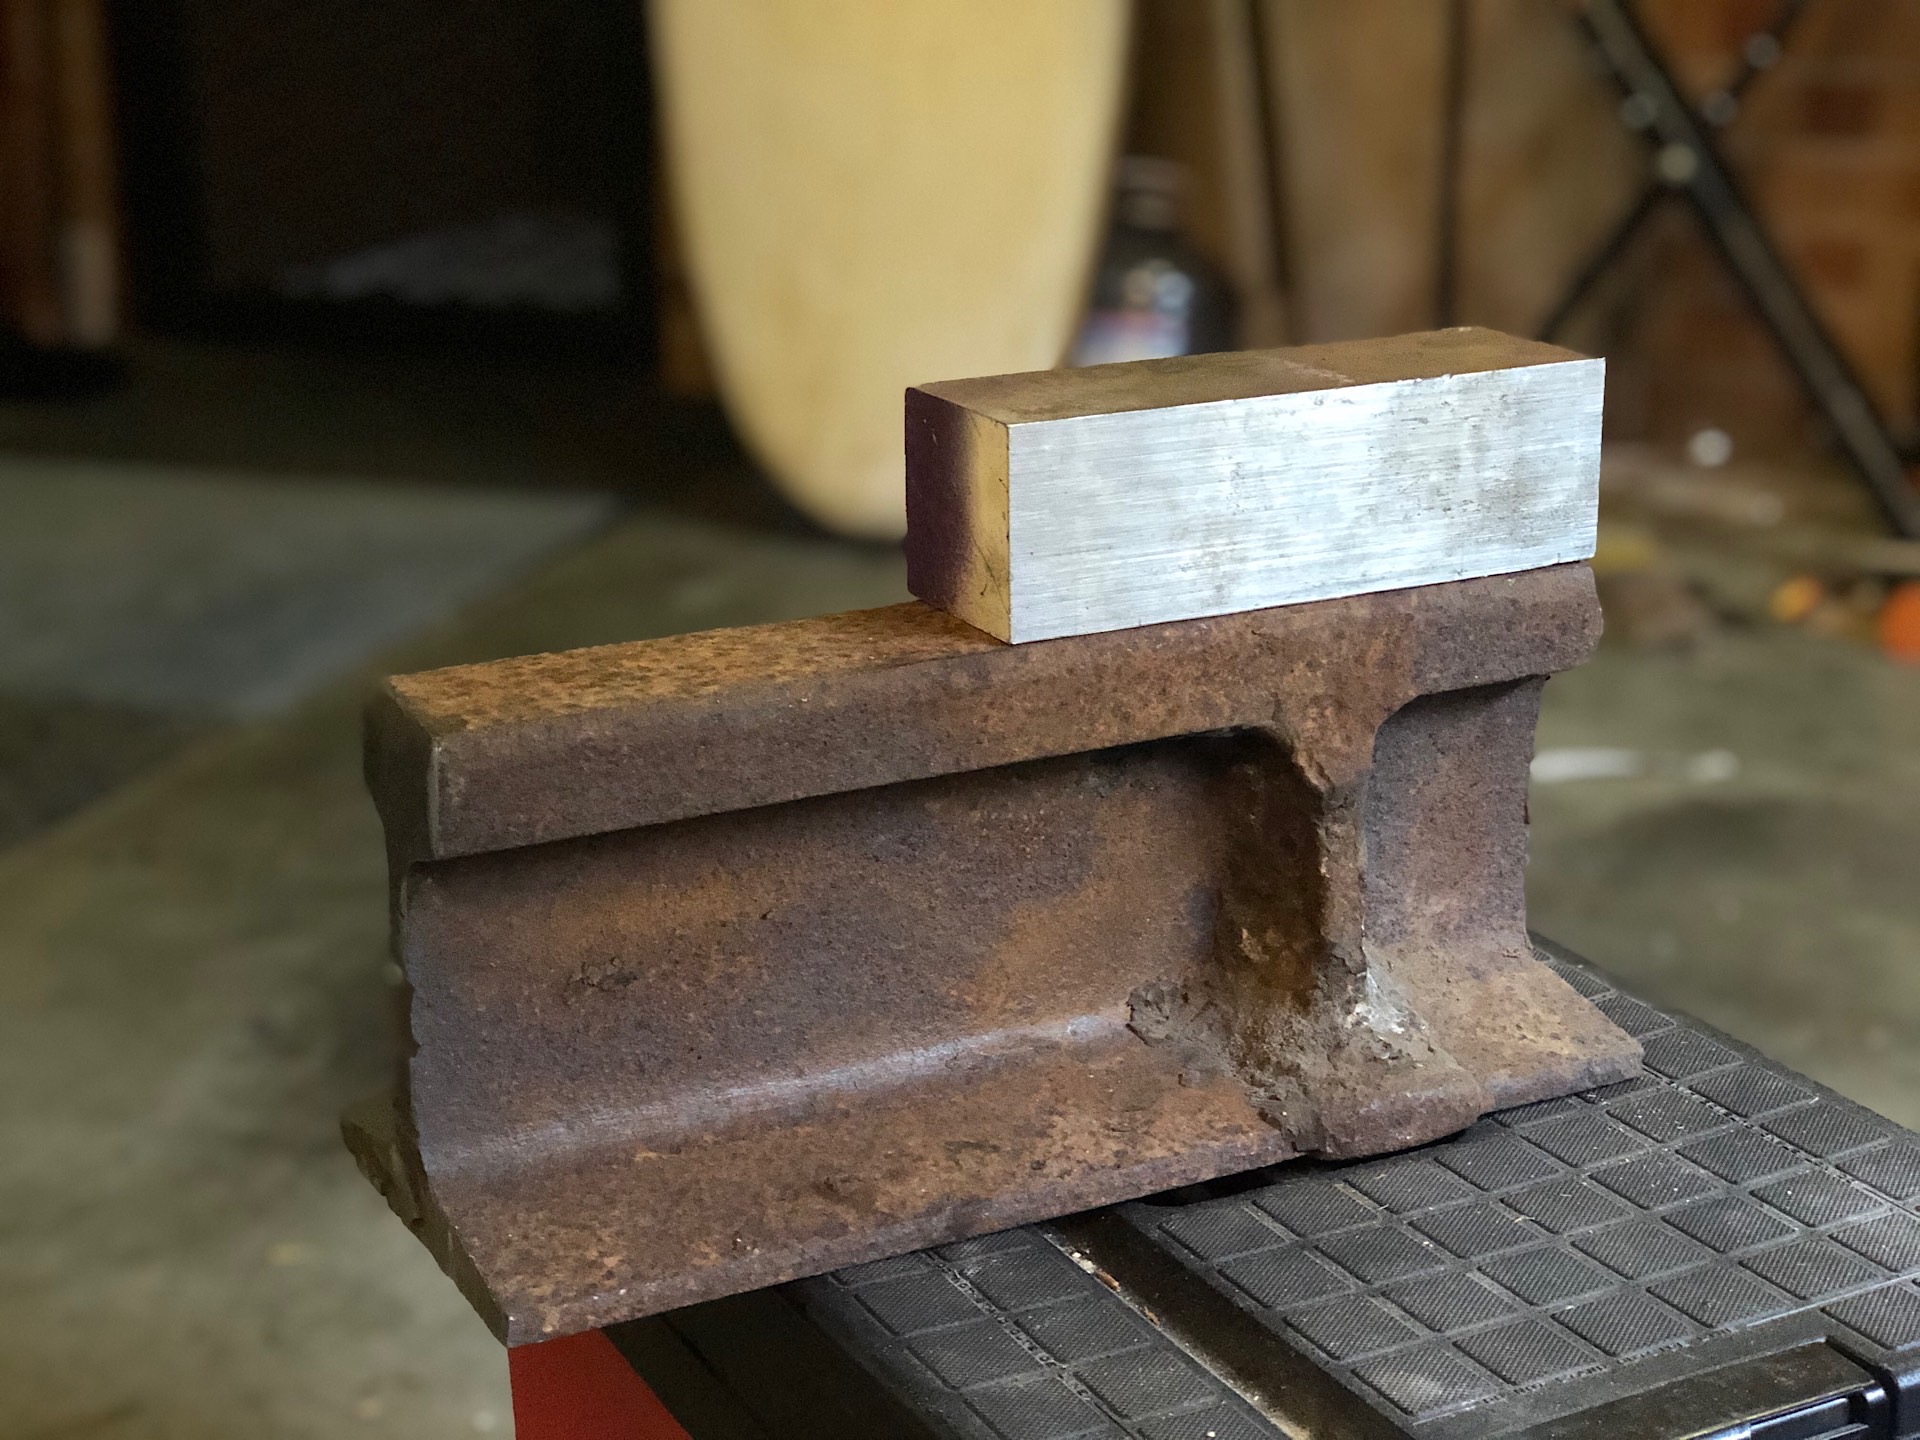
I started with this piece of crane rail I found at a garage sale and got it for 5 Australian dollars along with some fishing gears and other stuffs. So it's a score!

I discovered a machine shop not too far from me and went there to buy a mild steel plate to weld as a foot for the rail but discovered that they were also selling steel off-cuts and bought this rectangular chunk of tool steel that is supposed to be very hard after heat treatment, it should cope very well with hammering. That piece alone cost A$45 but I think it will be worth it.
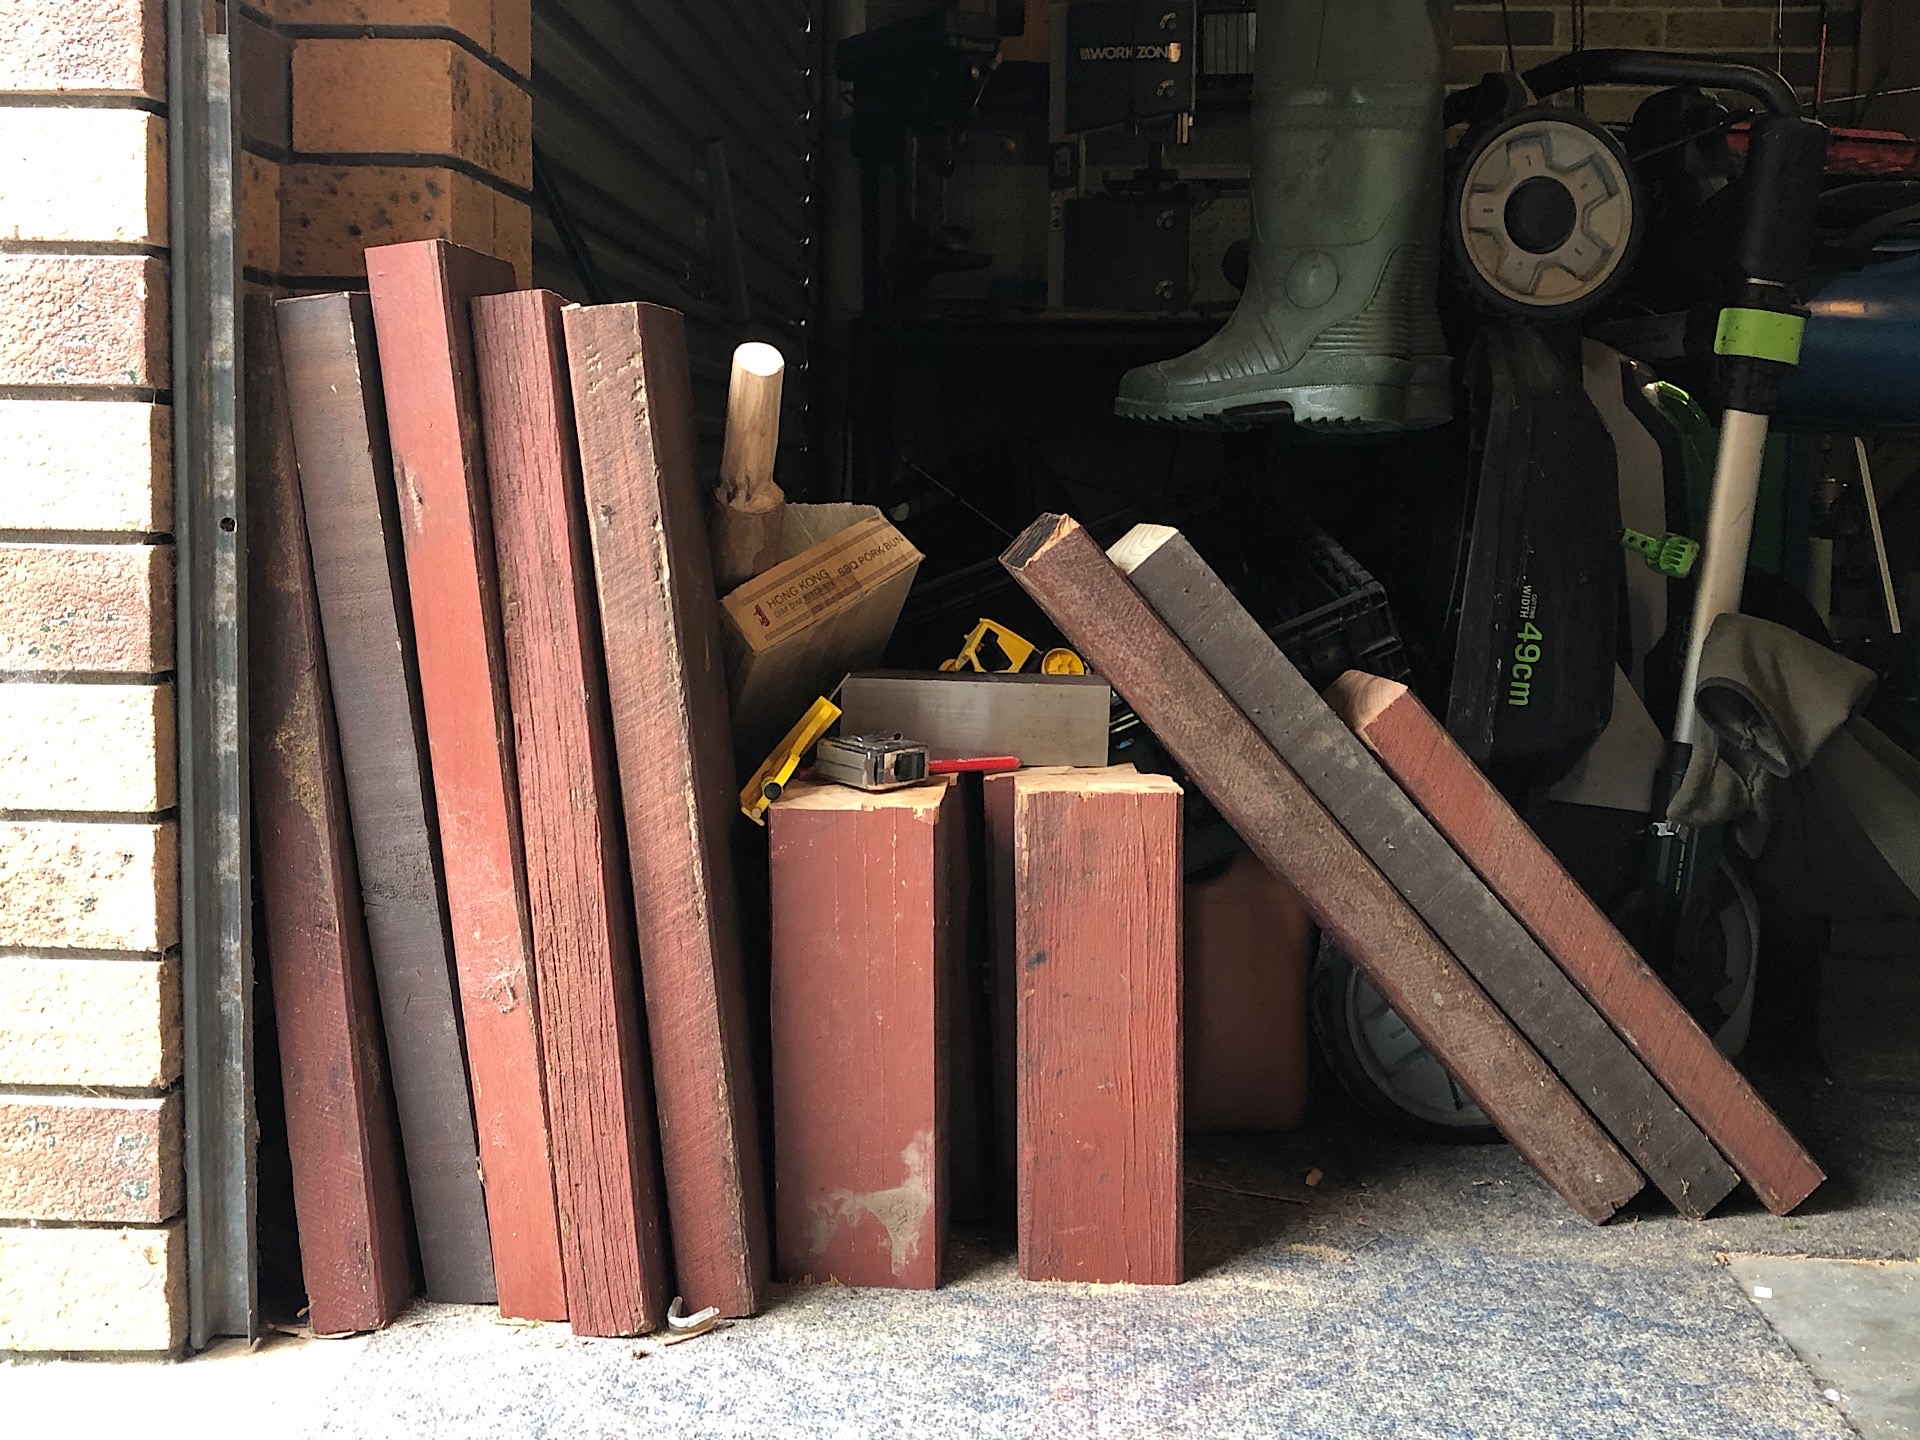
I saw an ad from someone who just took down their wooden fence and were giving away the hardwood, so I went and took some back and cut them with a circular saw to get the desired length. These will be used to build the stand for my DIY anvil.
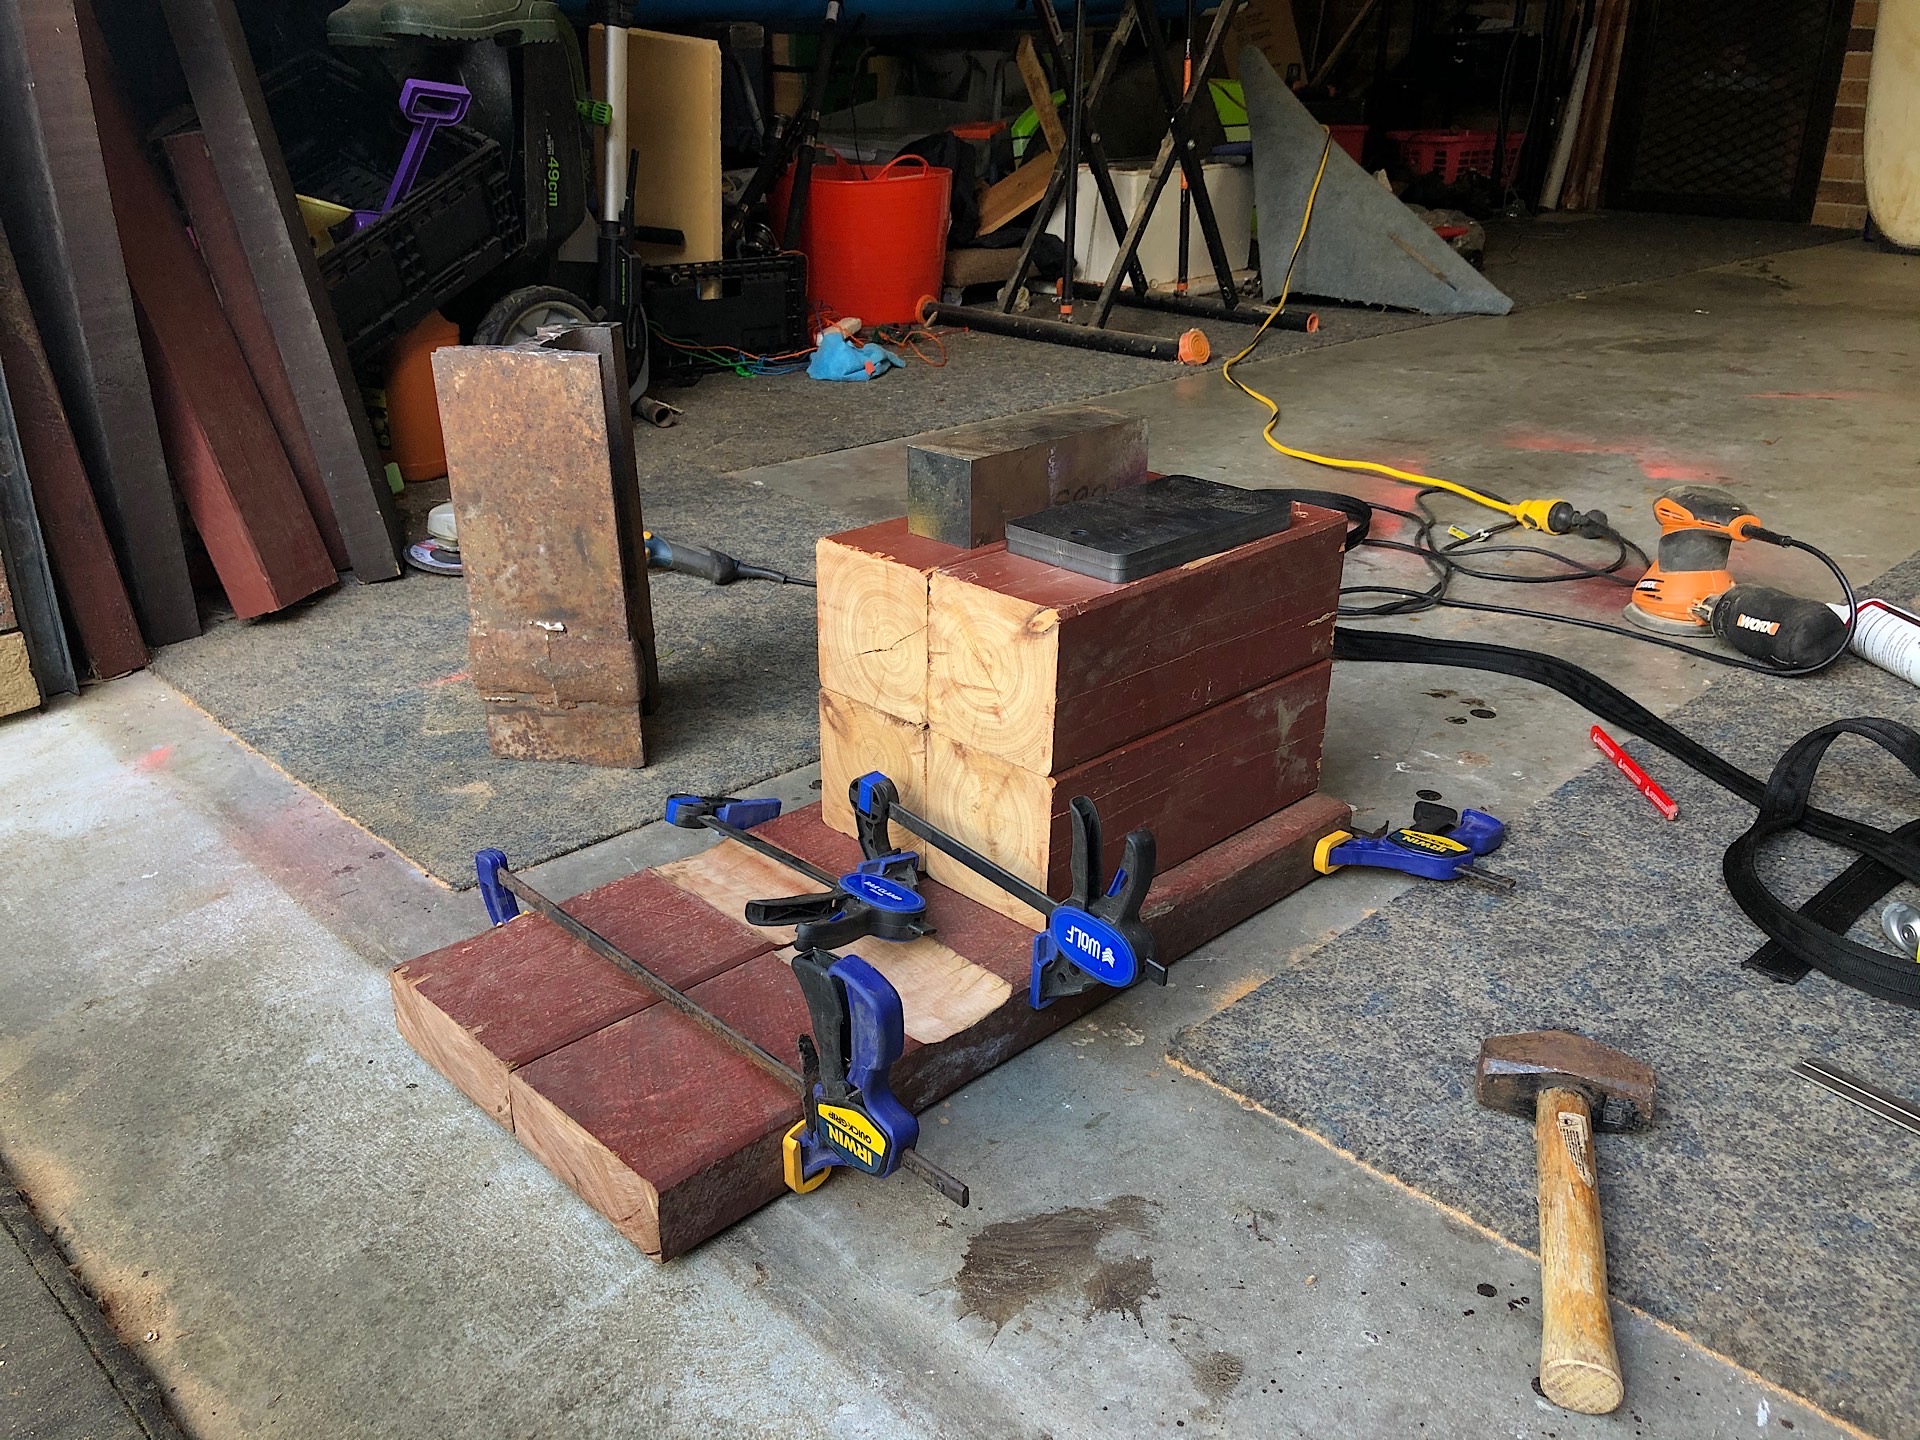
After a lot of sawing and sanding, I glued some pieces together and clamped them. Because it's cold now in Australia, the glue takes more time to dry so there was a lot of waiting in between layers.
Look at this mess. The person who cut this rail has probably used a plasma torch which is fast but does not make a clean and straight cut. I spent hours cutting one end to a useable flat surface using a 4.5" angle grinder but the other end is also very messy and when installed on the wooden stand only one spot of the rail was touching the stand which is not great.
This is why I wanted this mild steel plate welded as a foot.
All right, I'm a crappy welder but this is my first time but the plate is now attached to the bottom of the rail track so the welding is successful as far as I am concerned 😝.

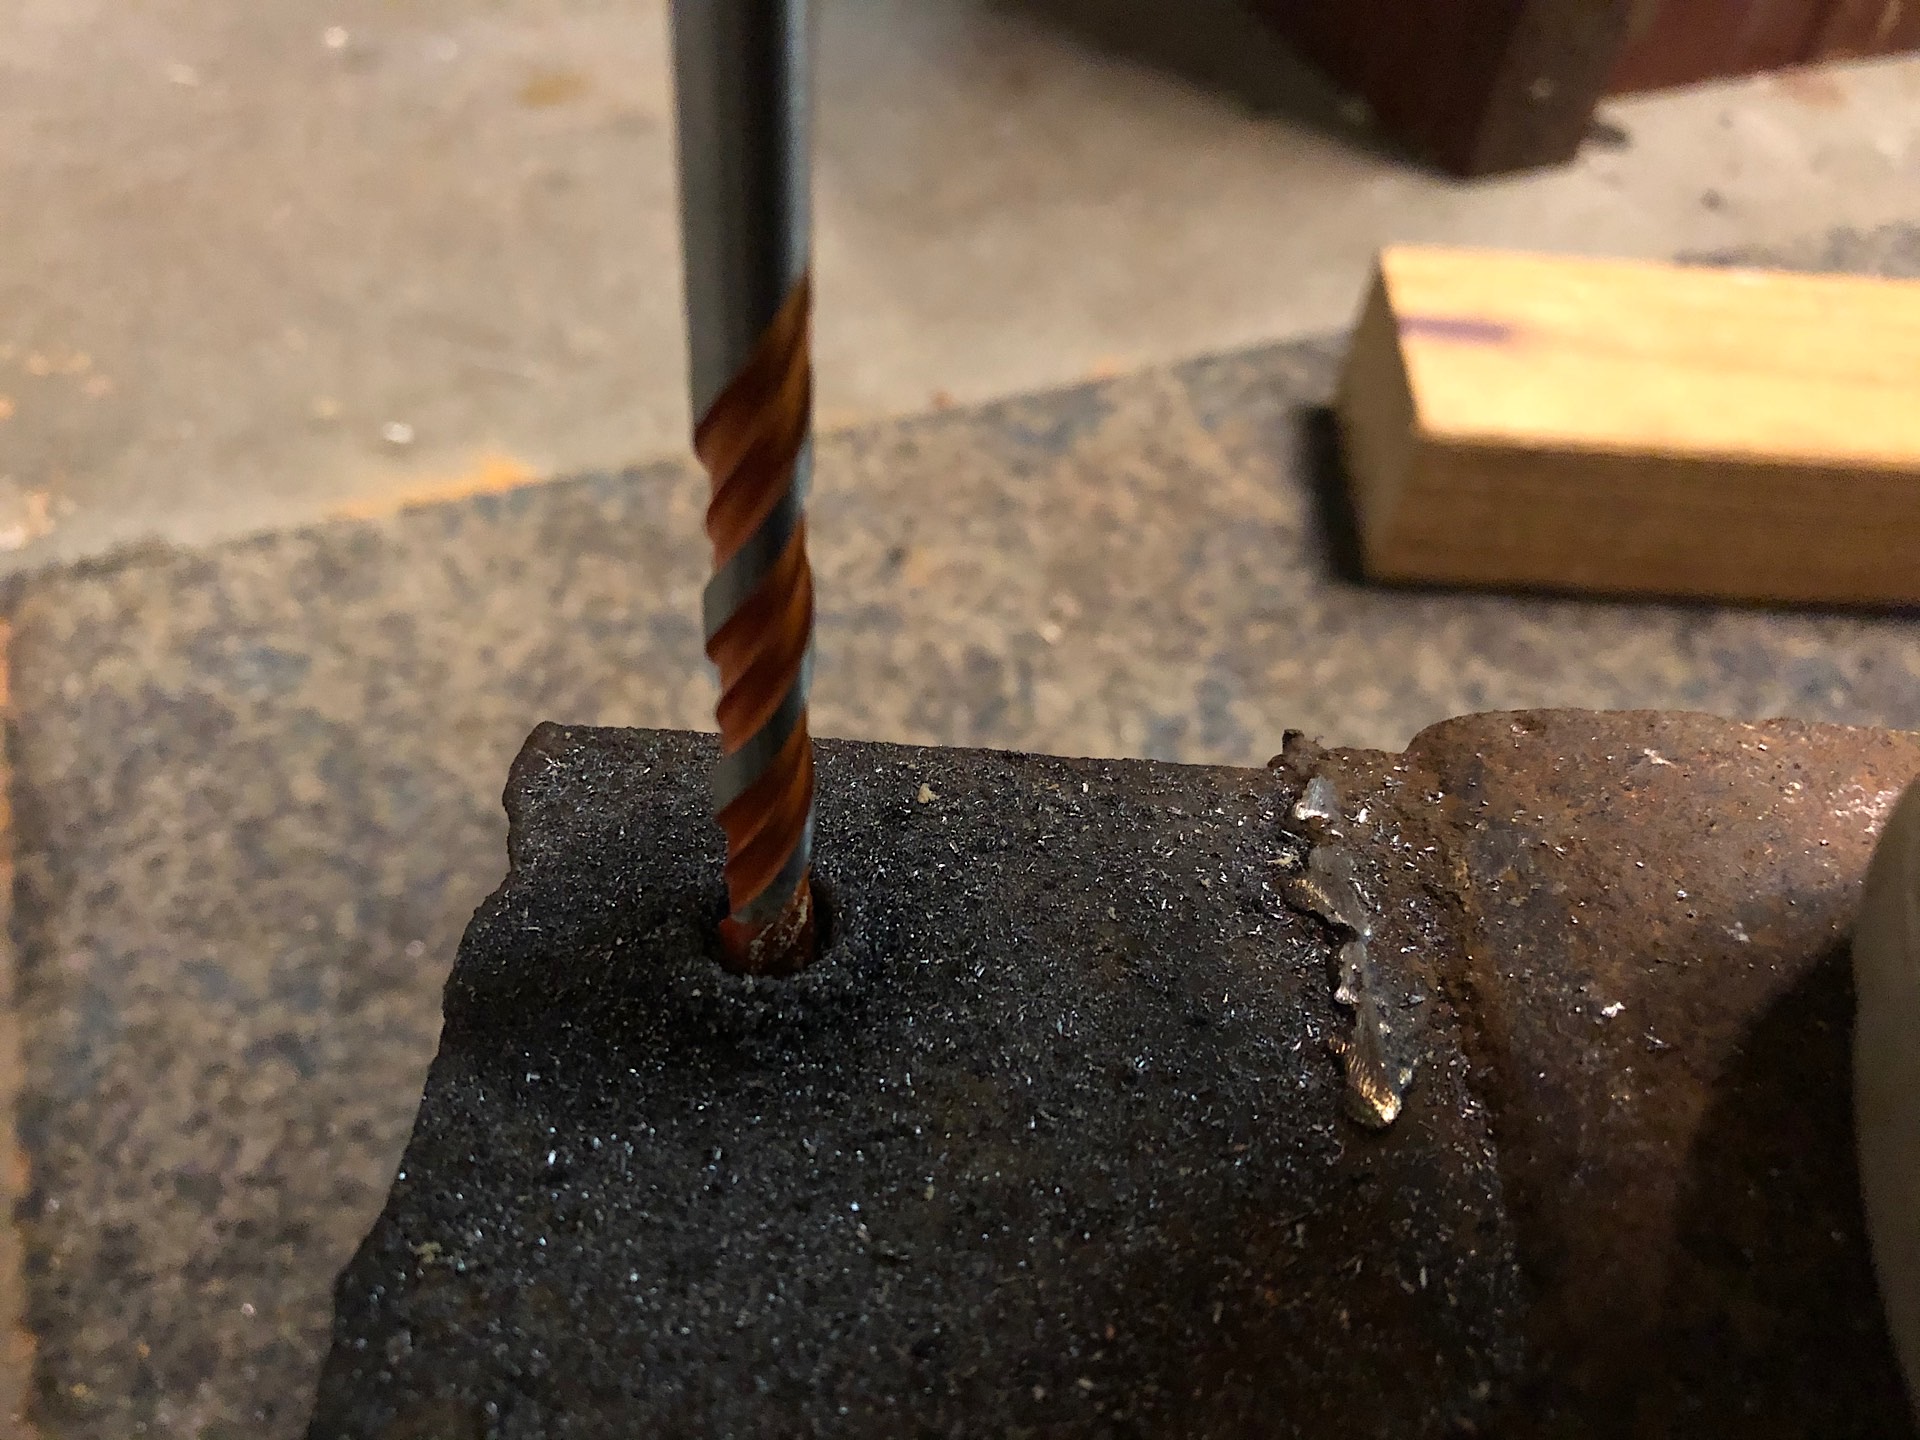
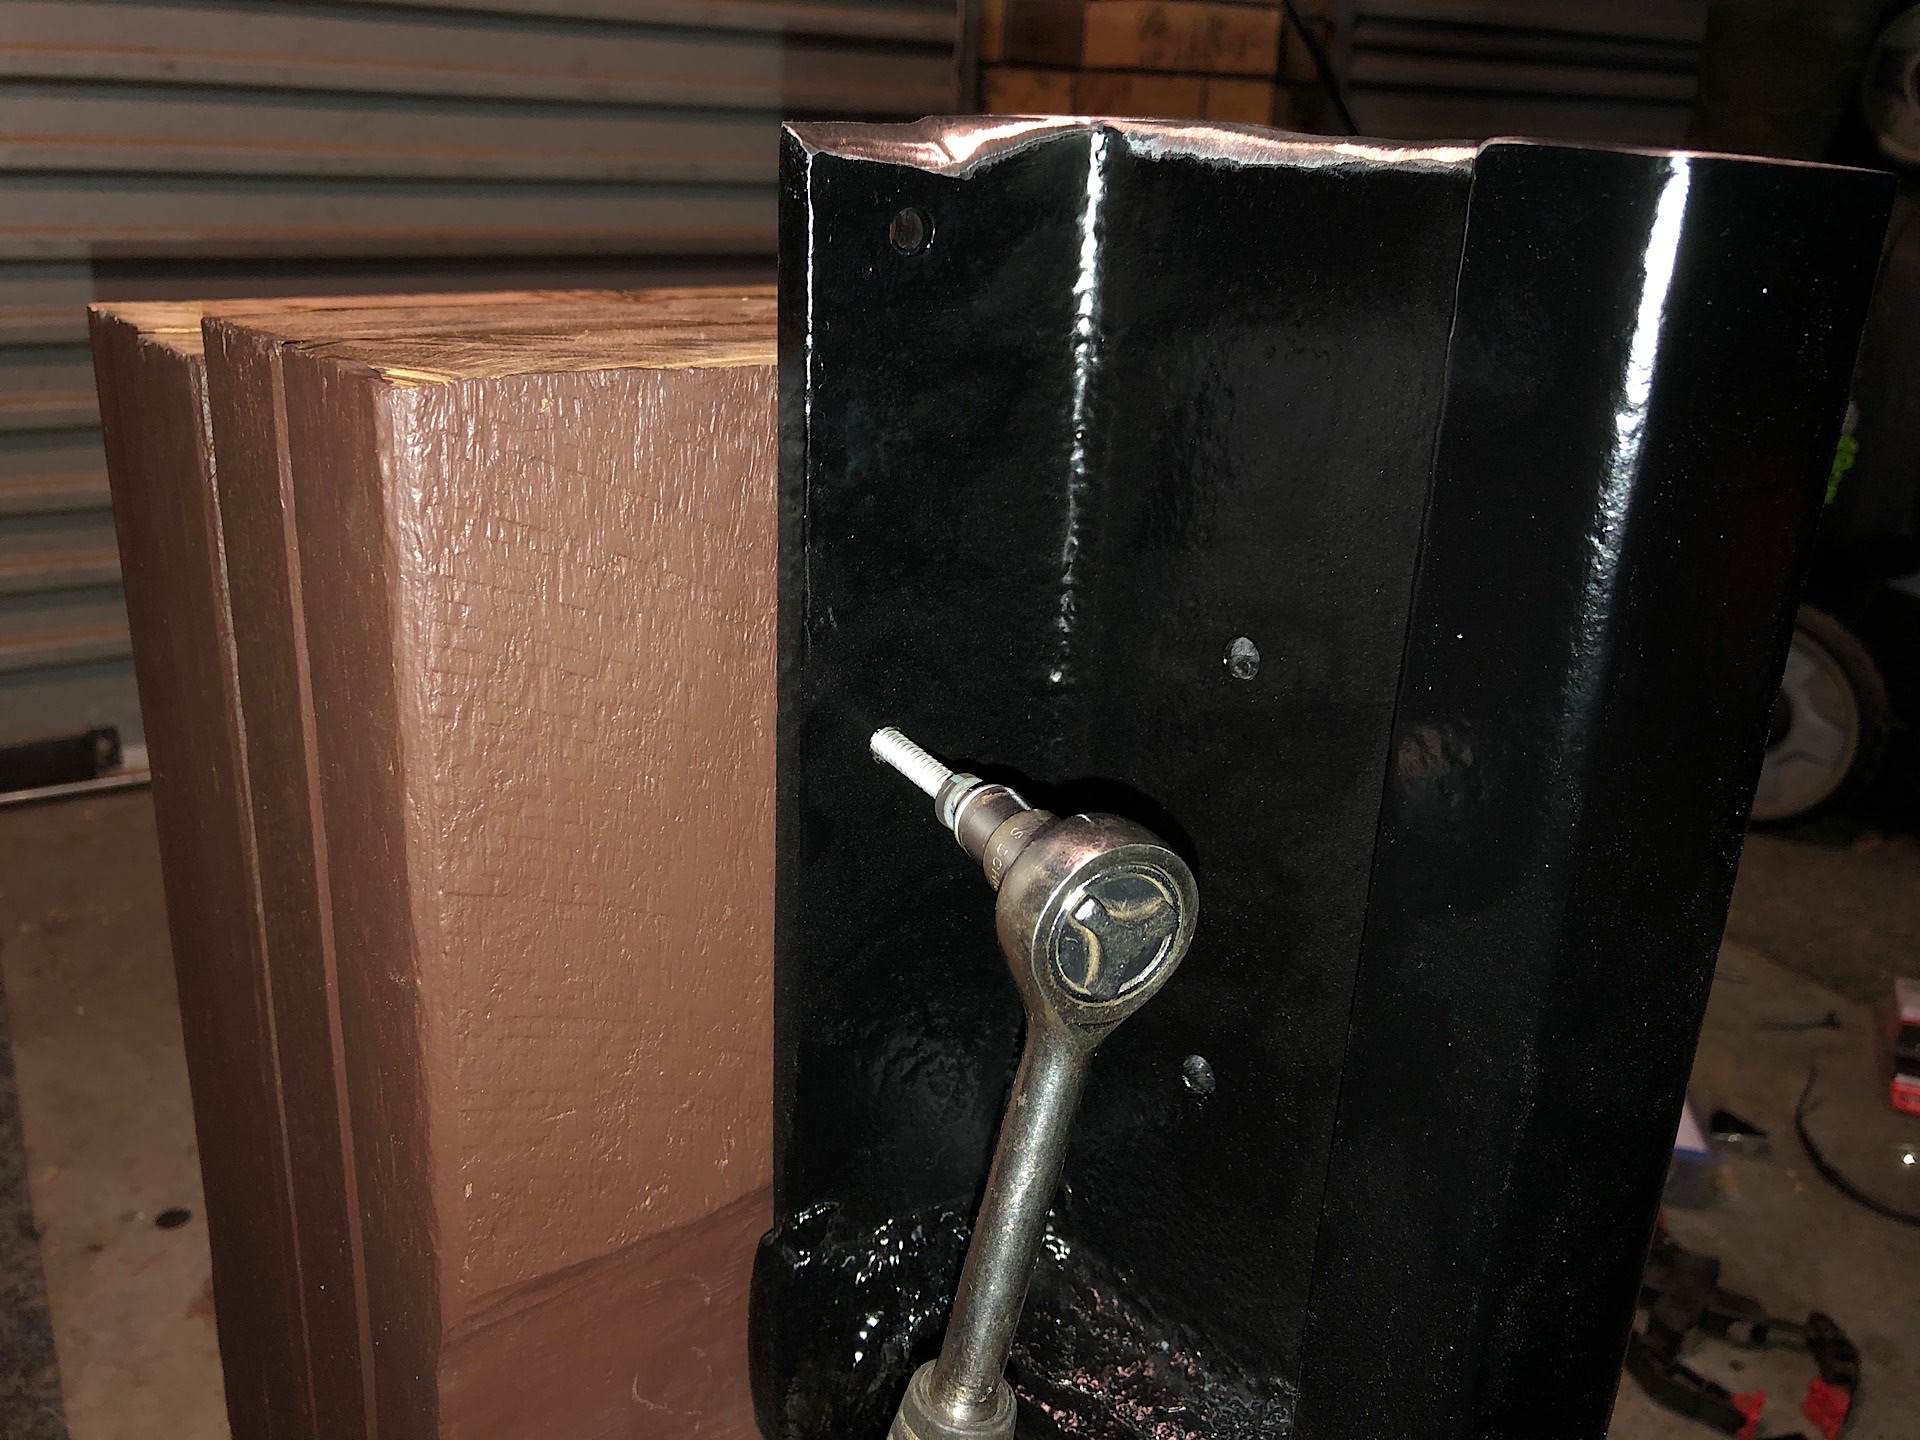
I now have to drill some holes in the base of the rail so I can screw it agains the stand. It's also my first time drilling into steel and I went through many drill bits because I was forcing on them too much. In the end I learned that less is more and taking my time drilling gently was more efficient. It took me a couple of hours especially when I realised two of the holes I drilled were at the wrong location and I had to drill two more...
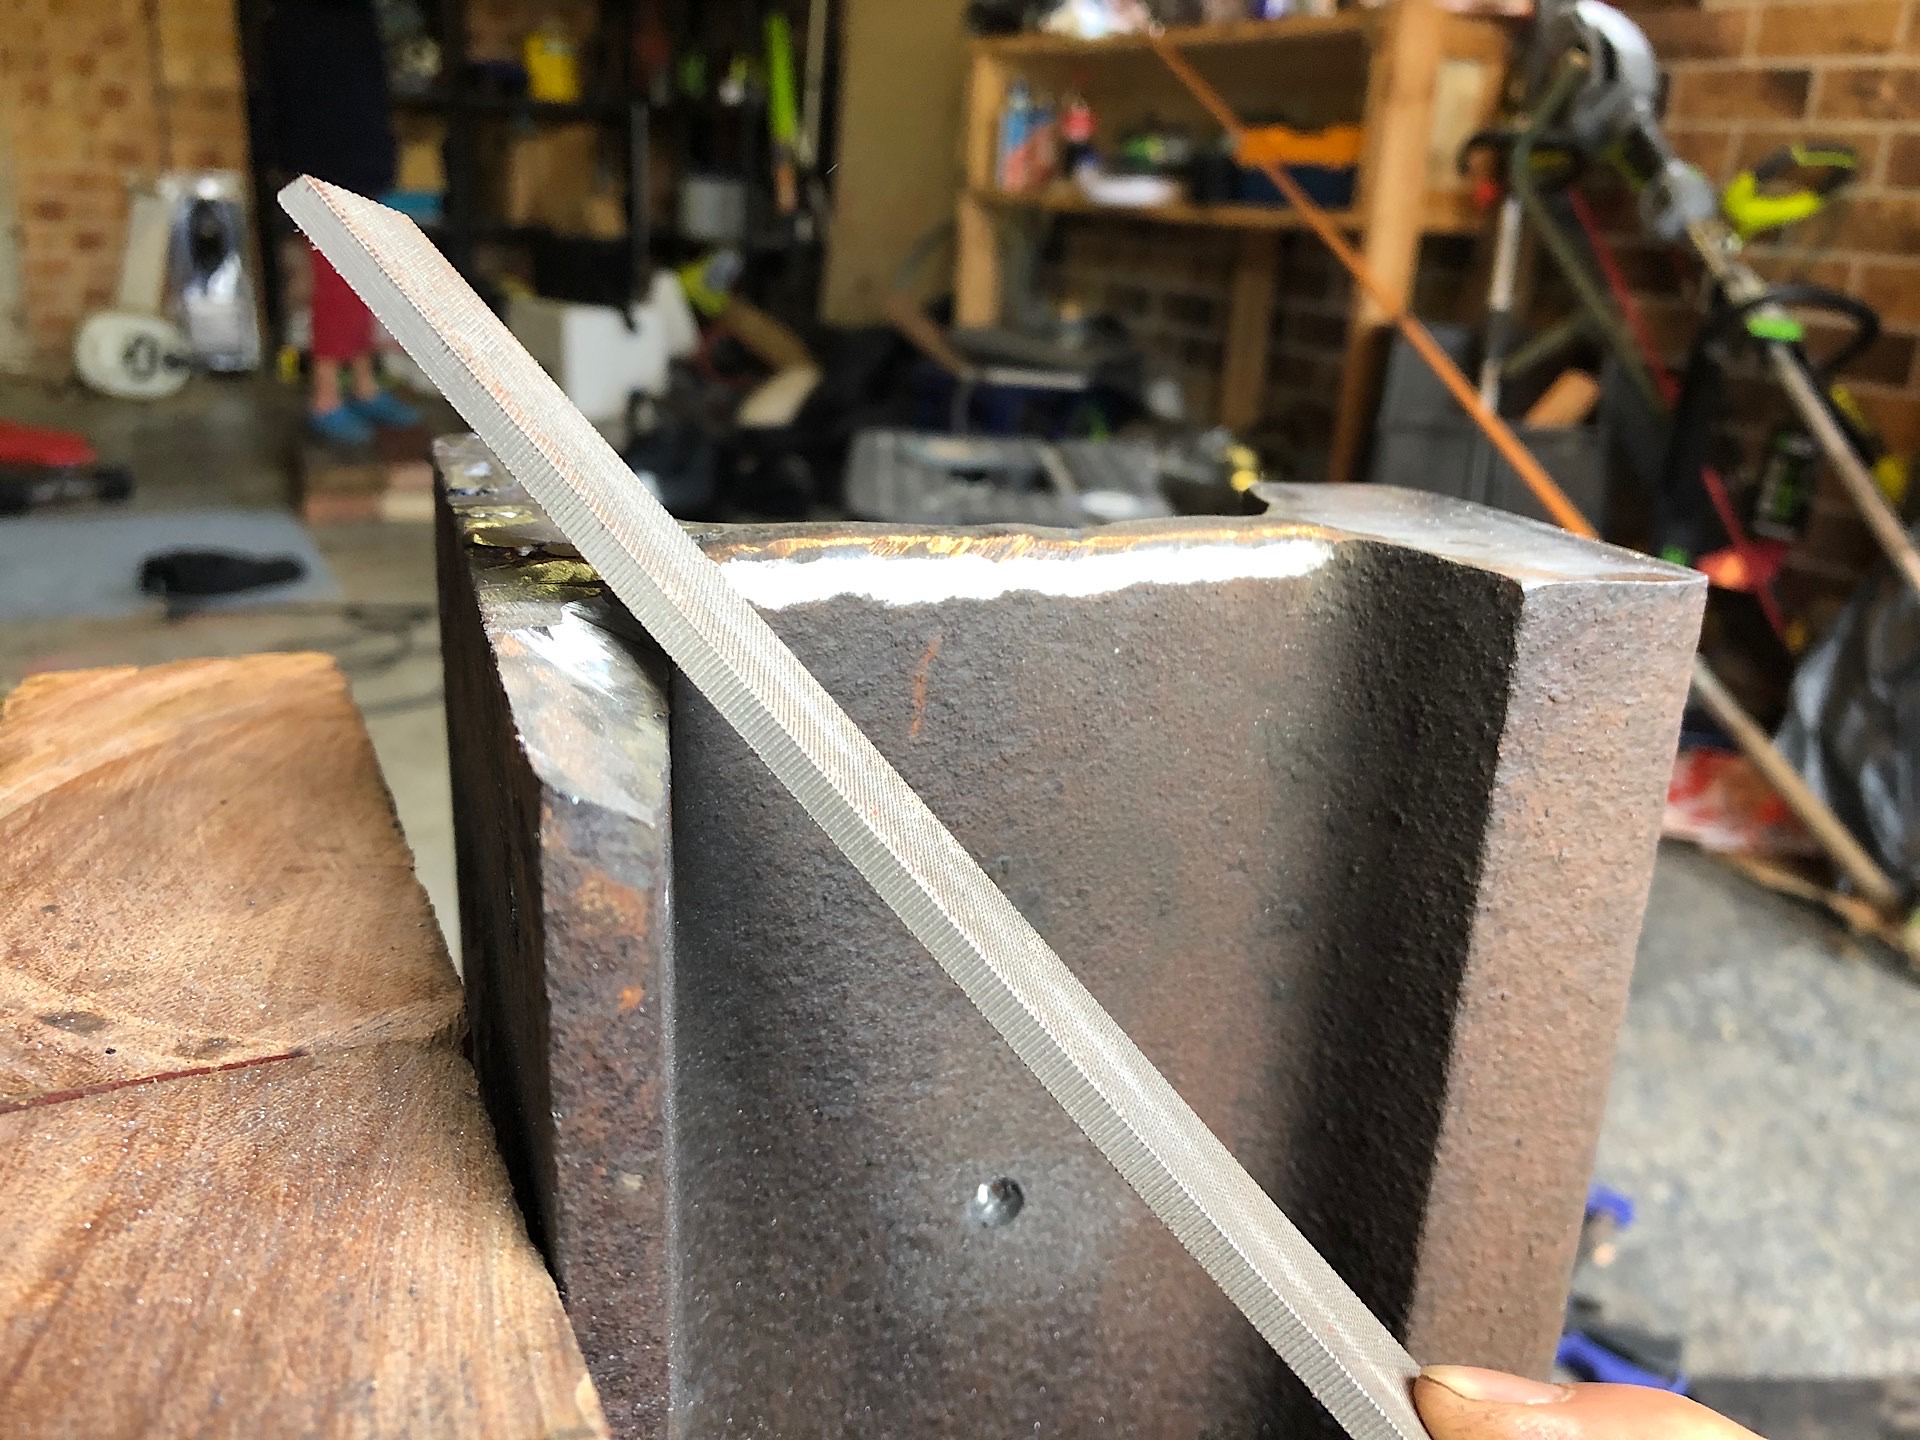
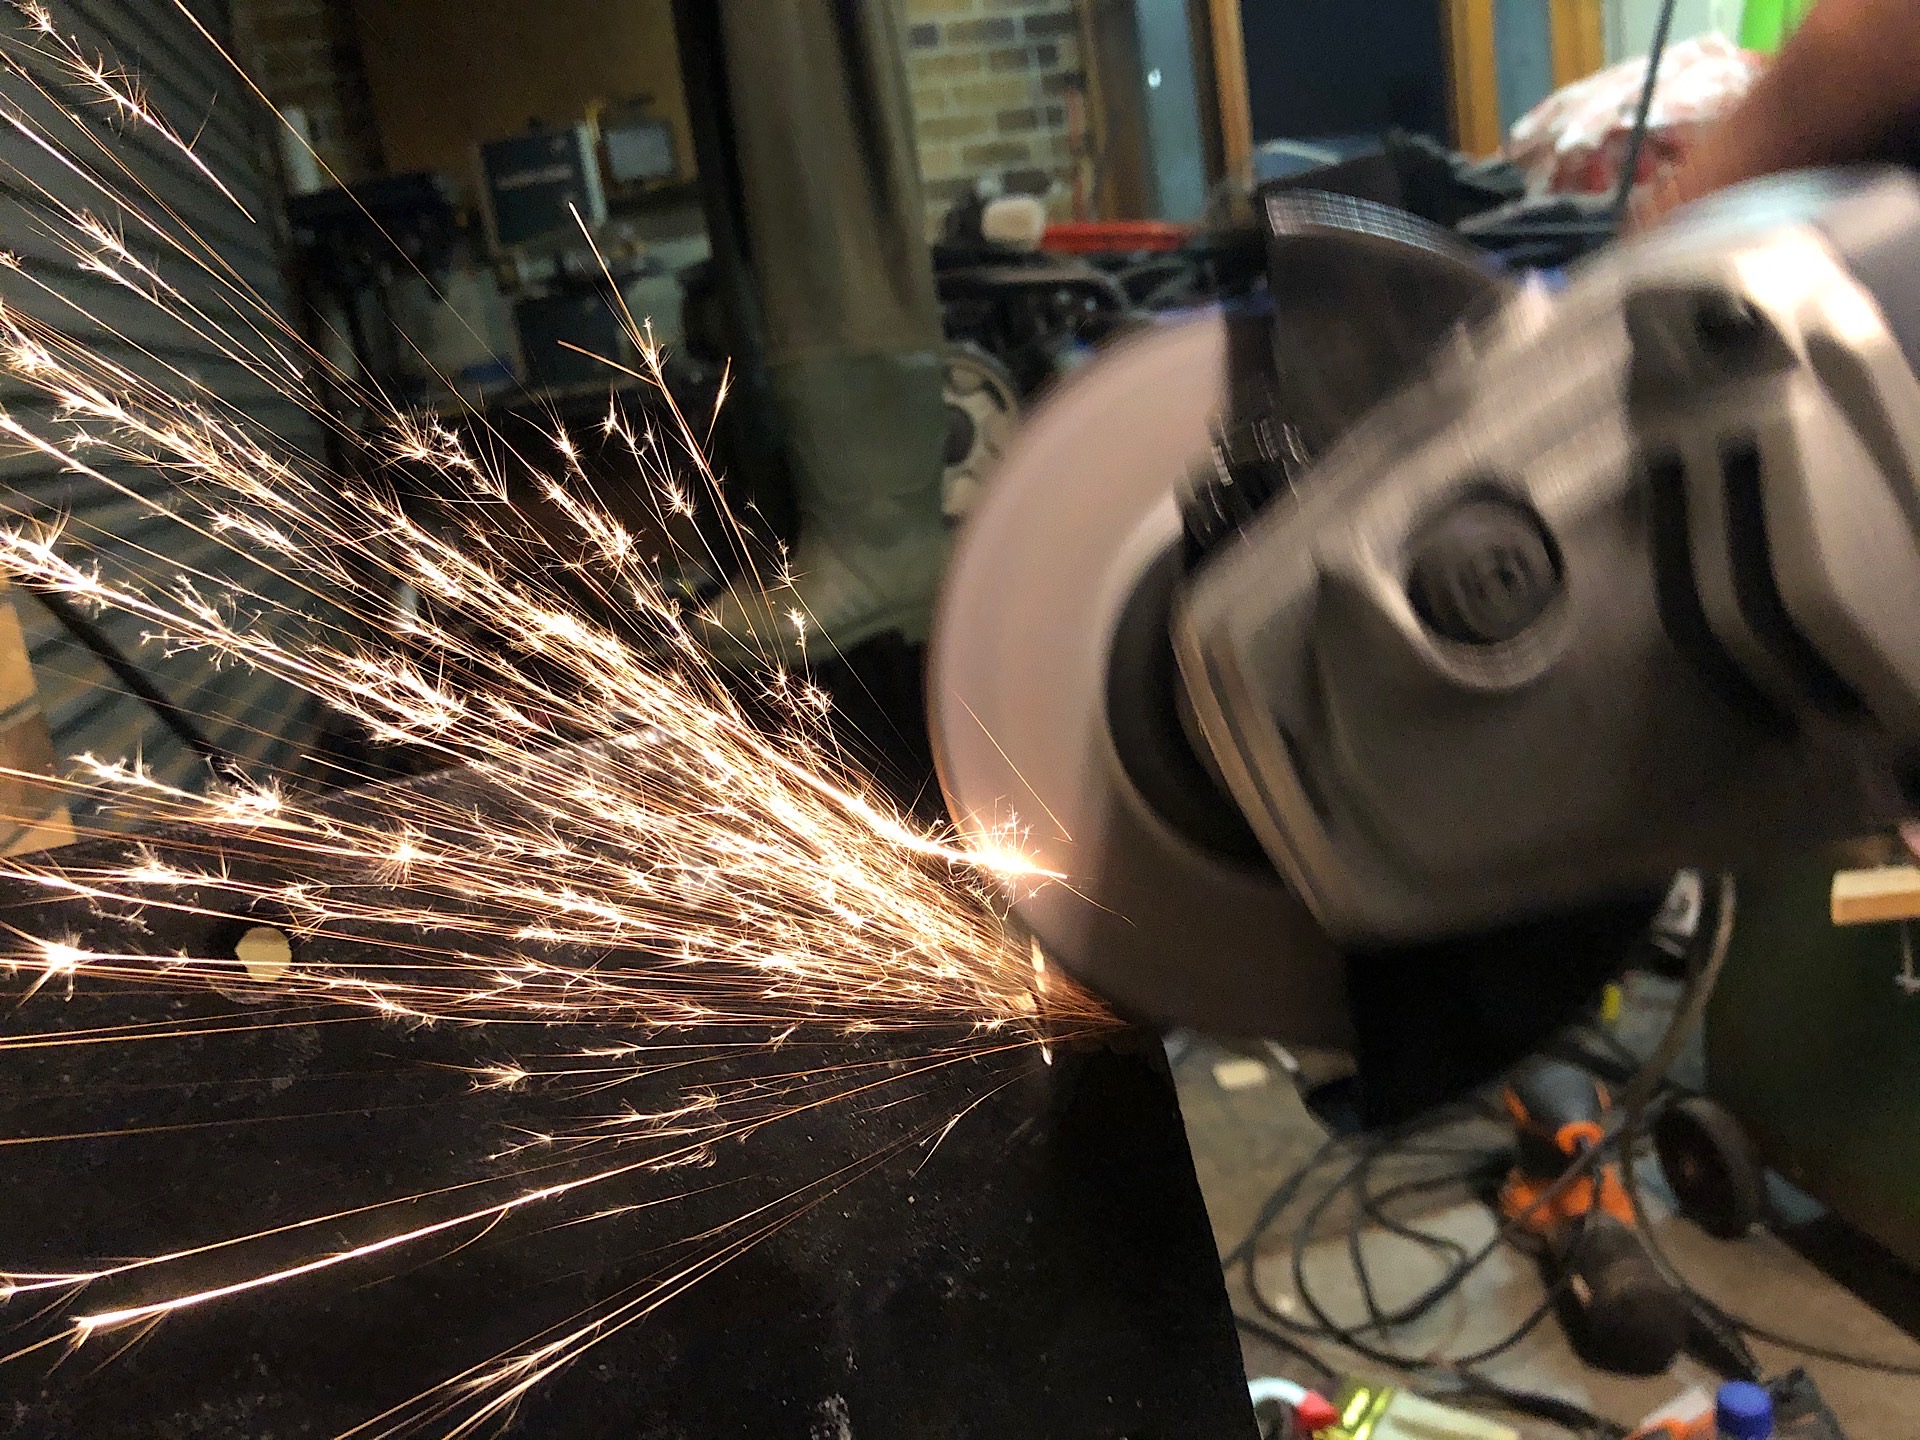
Next step is a lot of grinding and filing and more grinding and more filing of the rail track to get it ready for being a useful anvil.
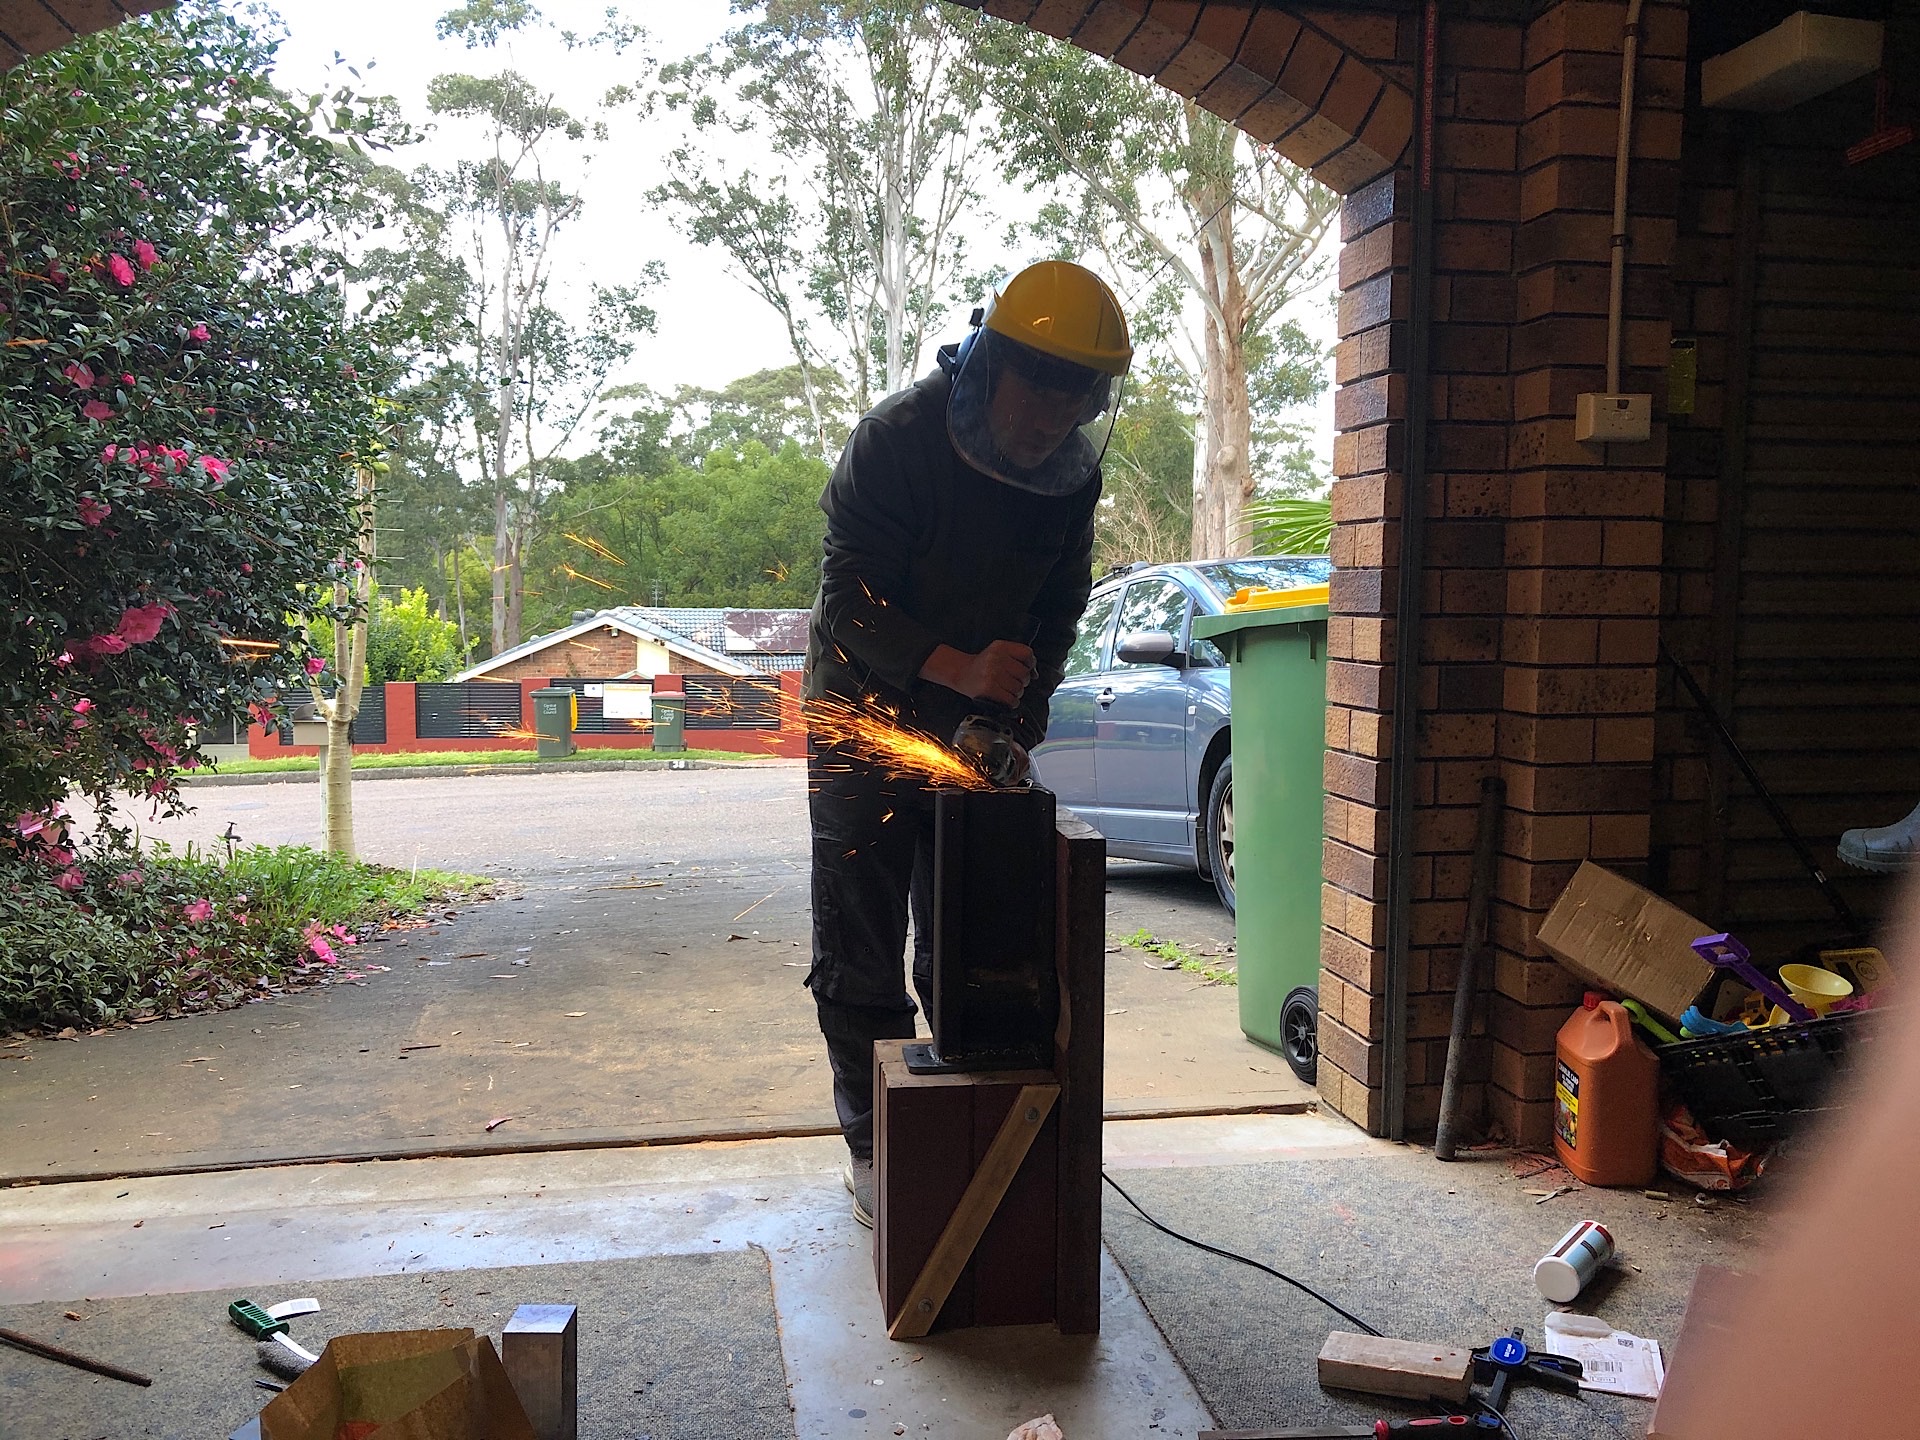
I had to use the stick welder again to fill some holes and irregularities on the surface of the steel and sand the weld bead down before proceeding with grinding and filing.

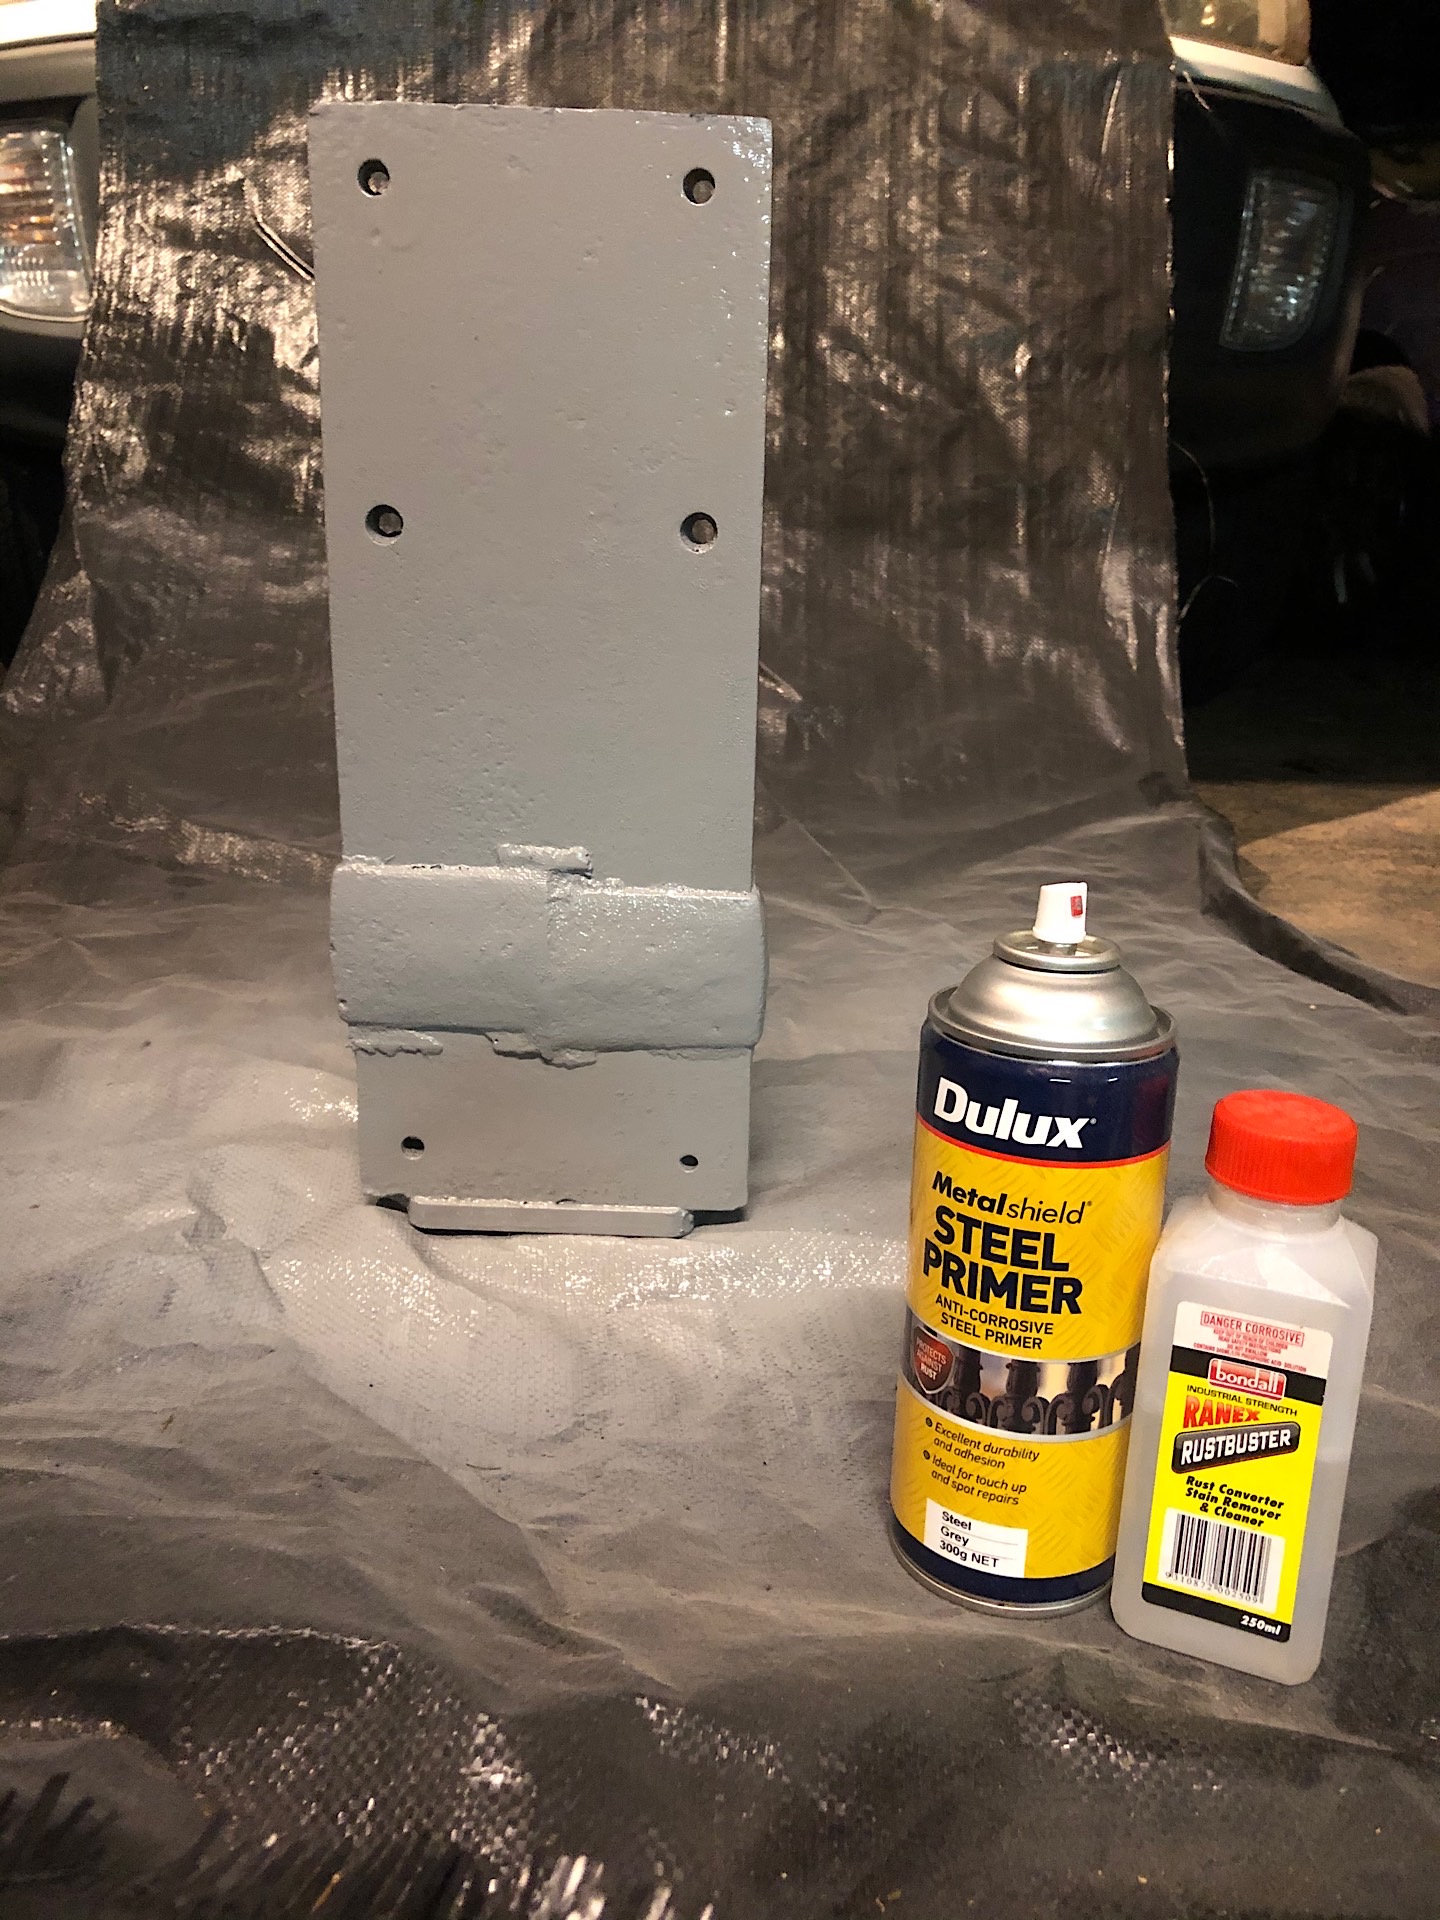
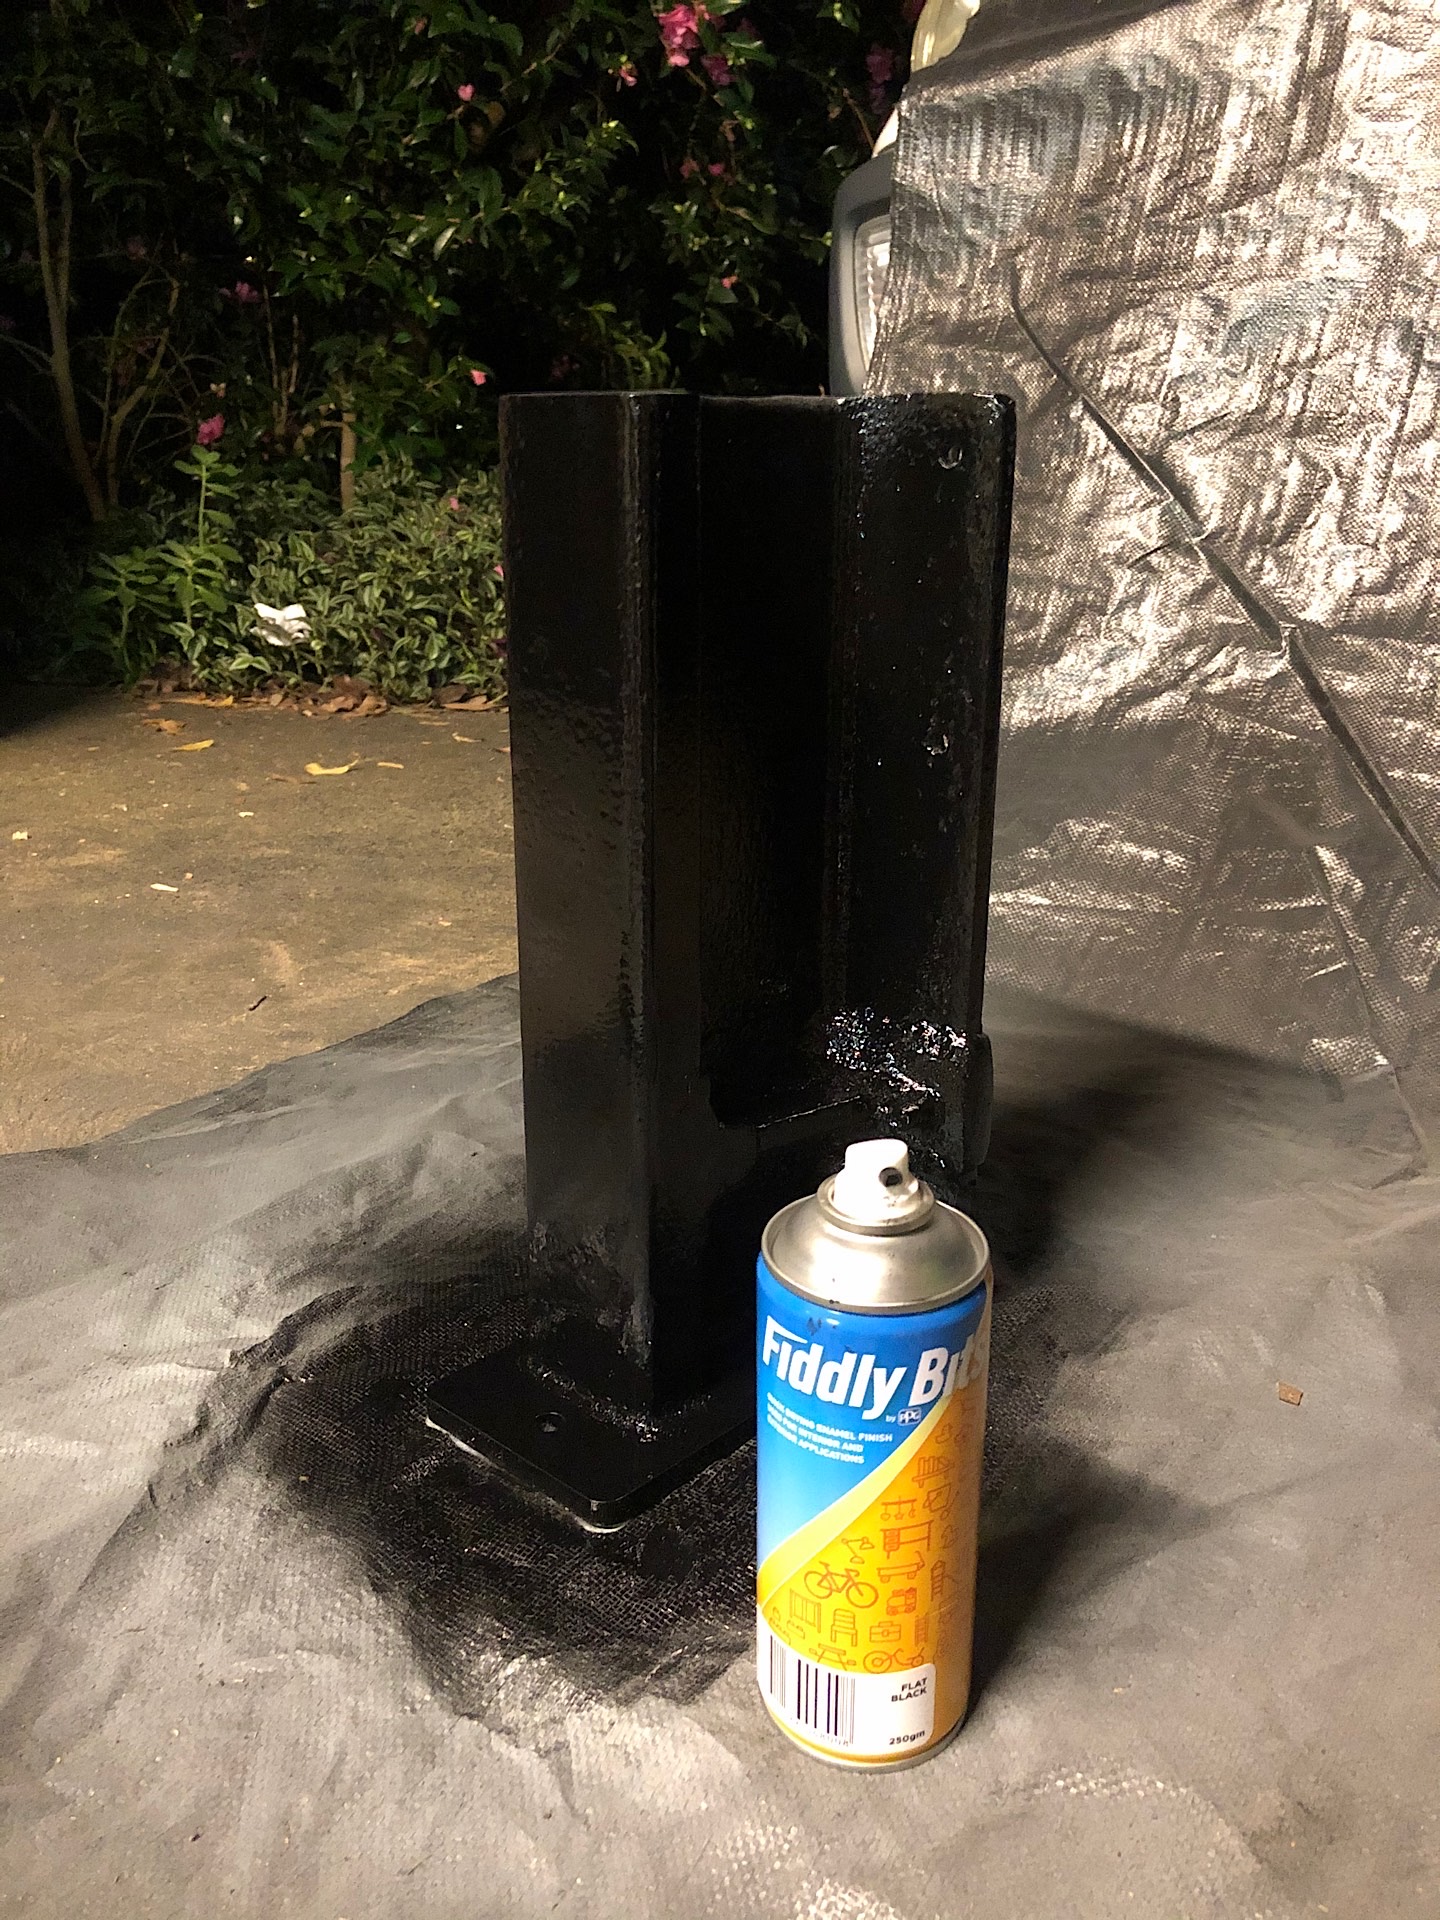
I still have the horn to grind but enough is enough, the vibration from the angle grinder got me very tired so I took a break and did some painting instead. After lightly sanding out the surface rust I used some rust converter before covering most of the rail with a steel primer and then painted it black.
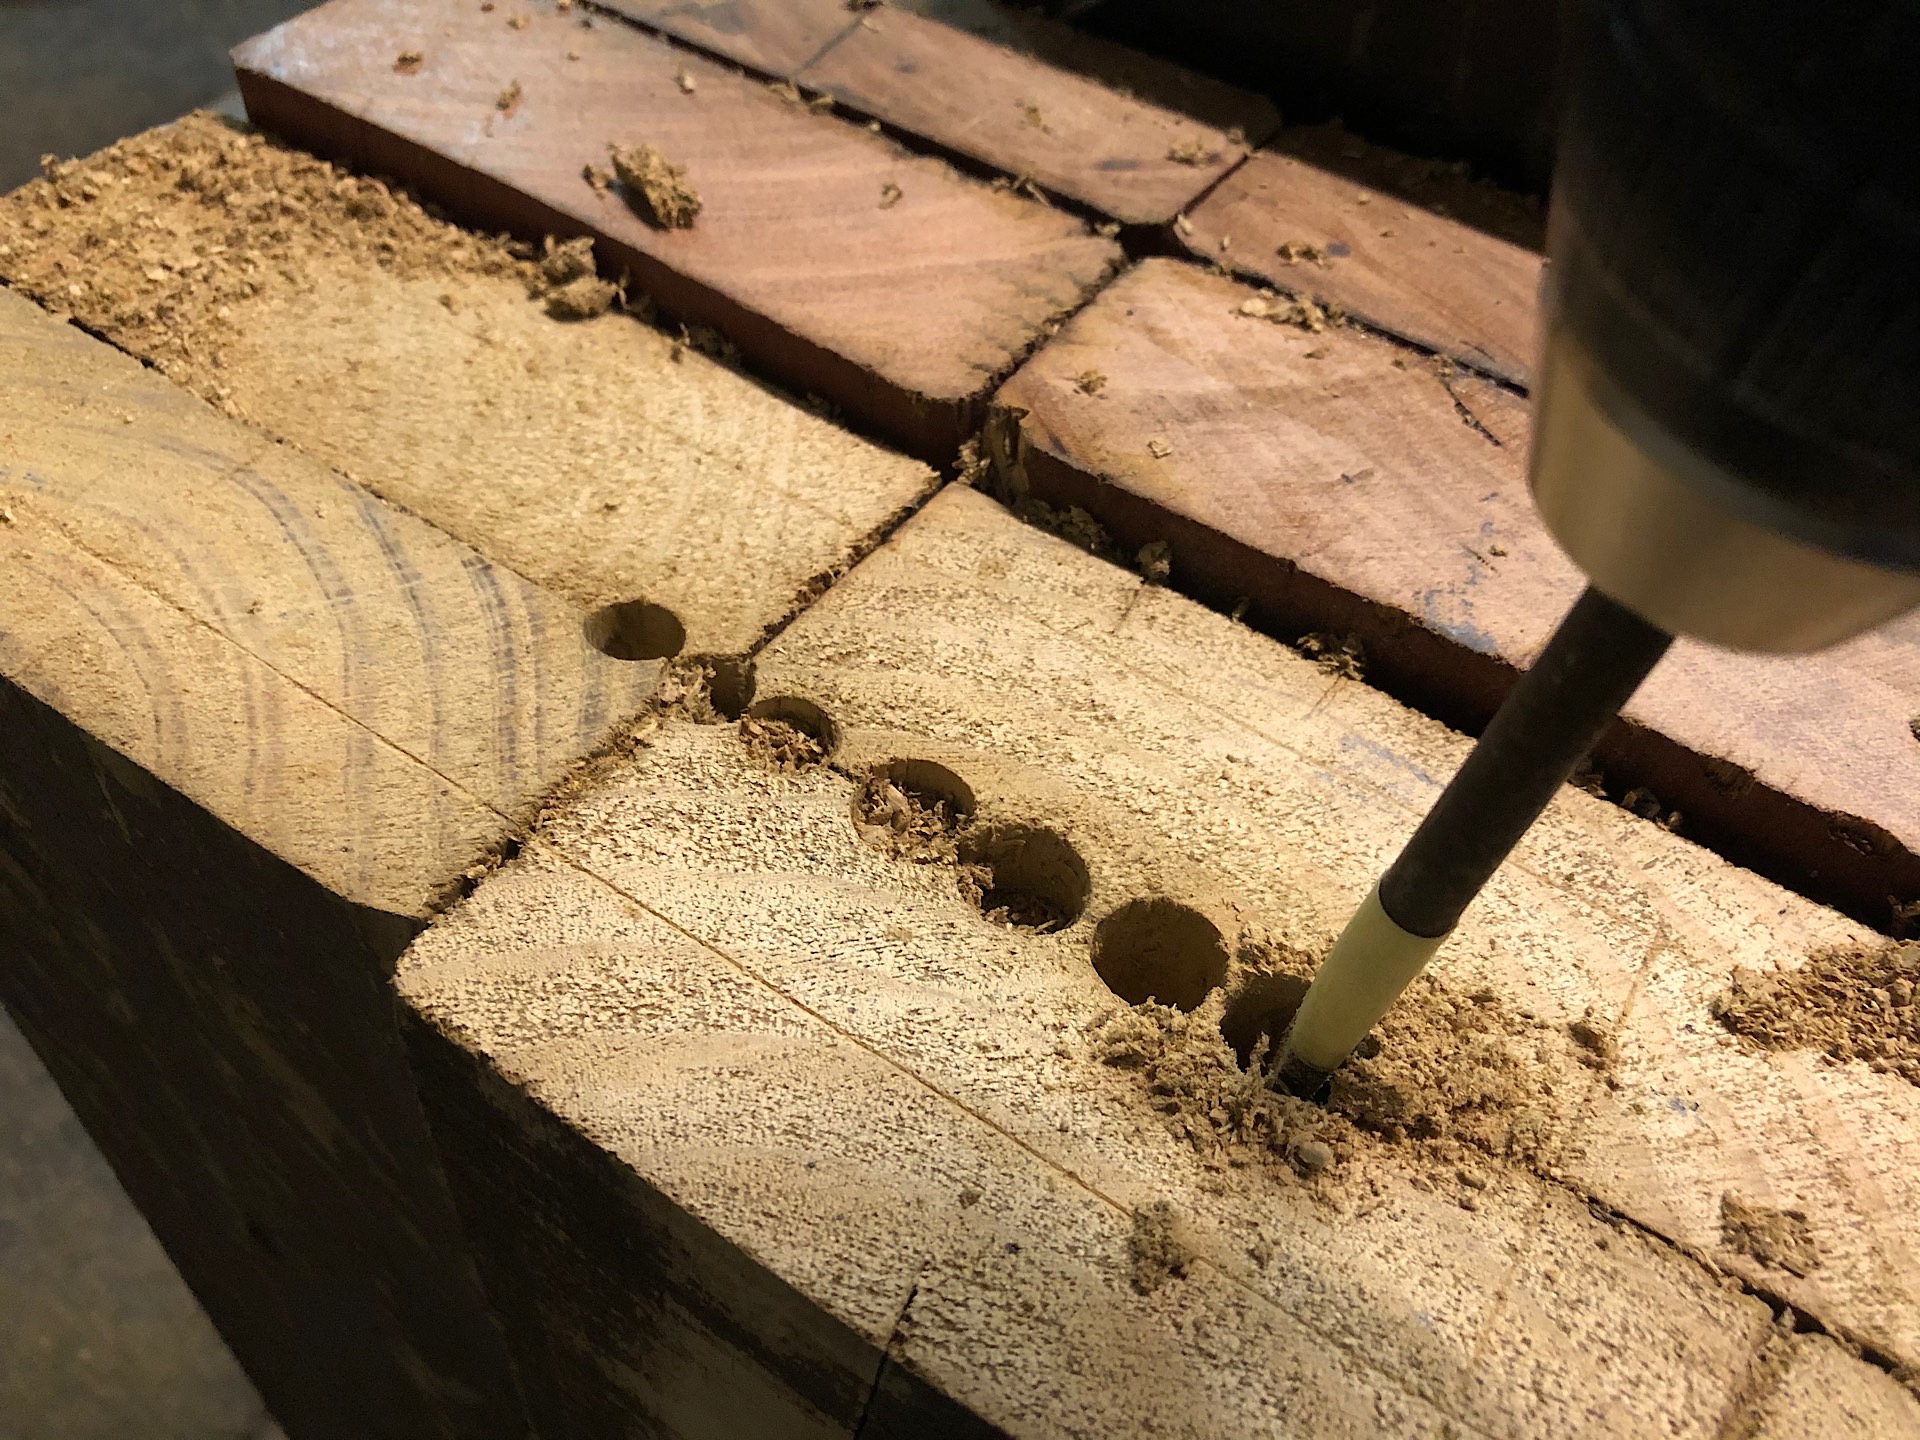
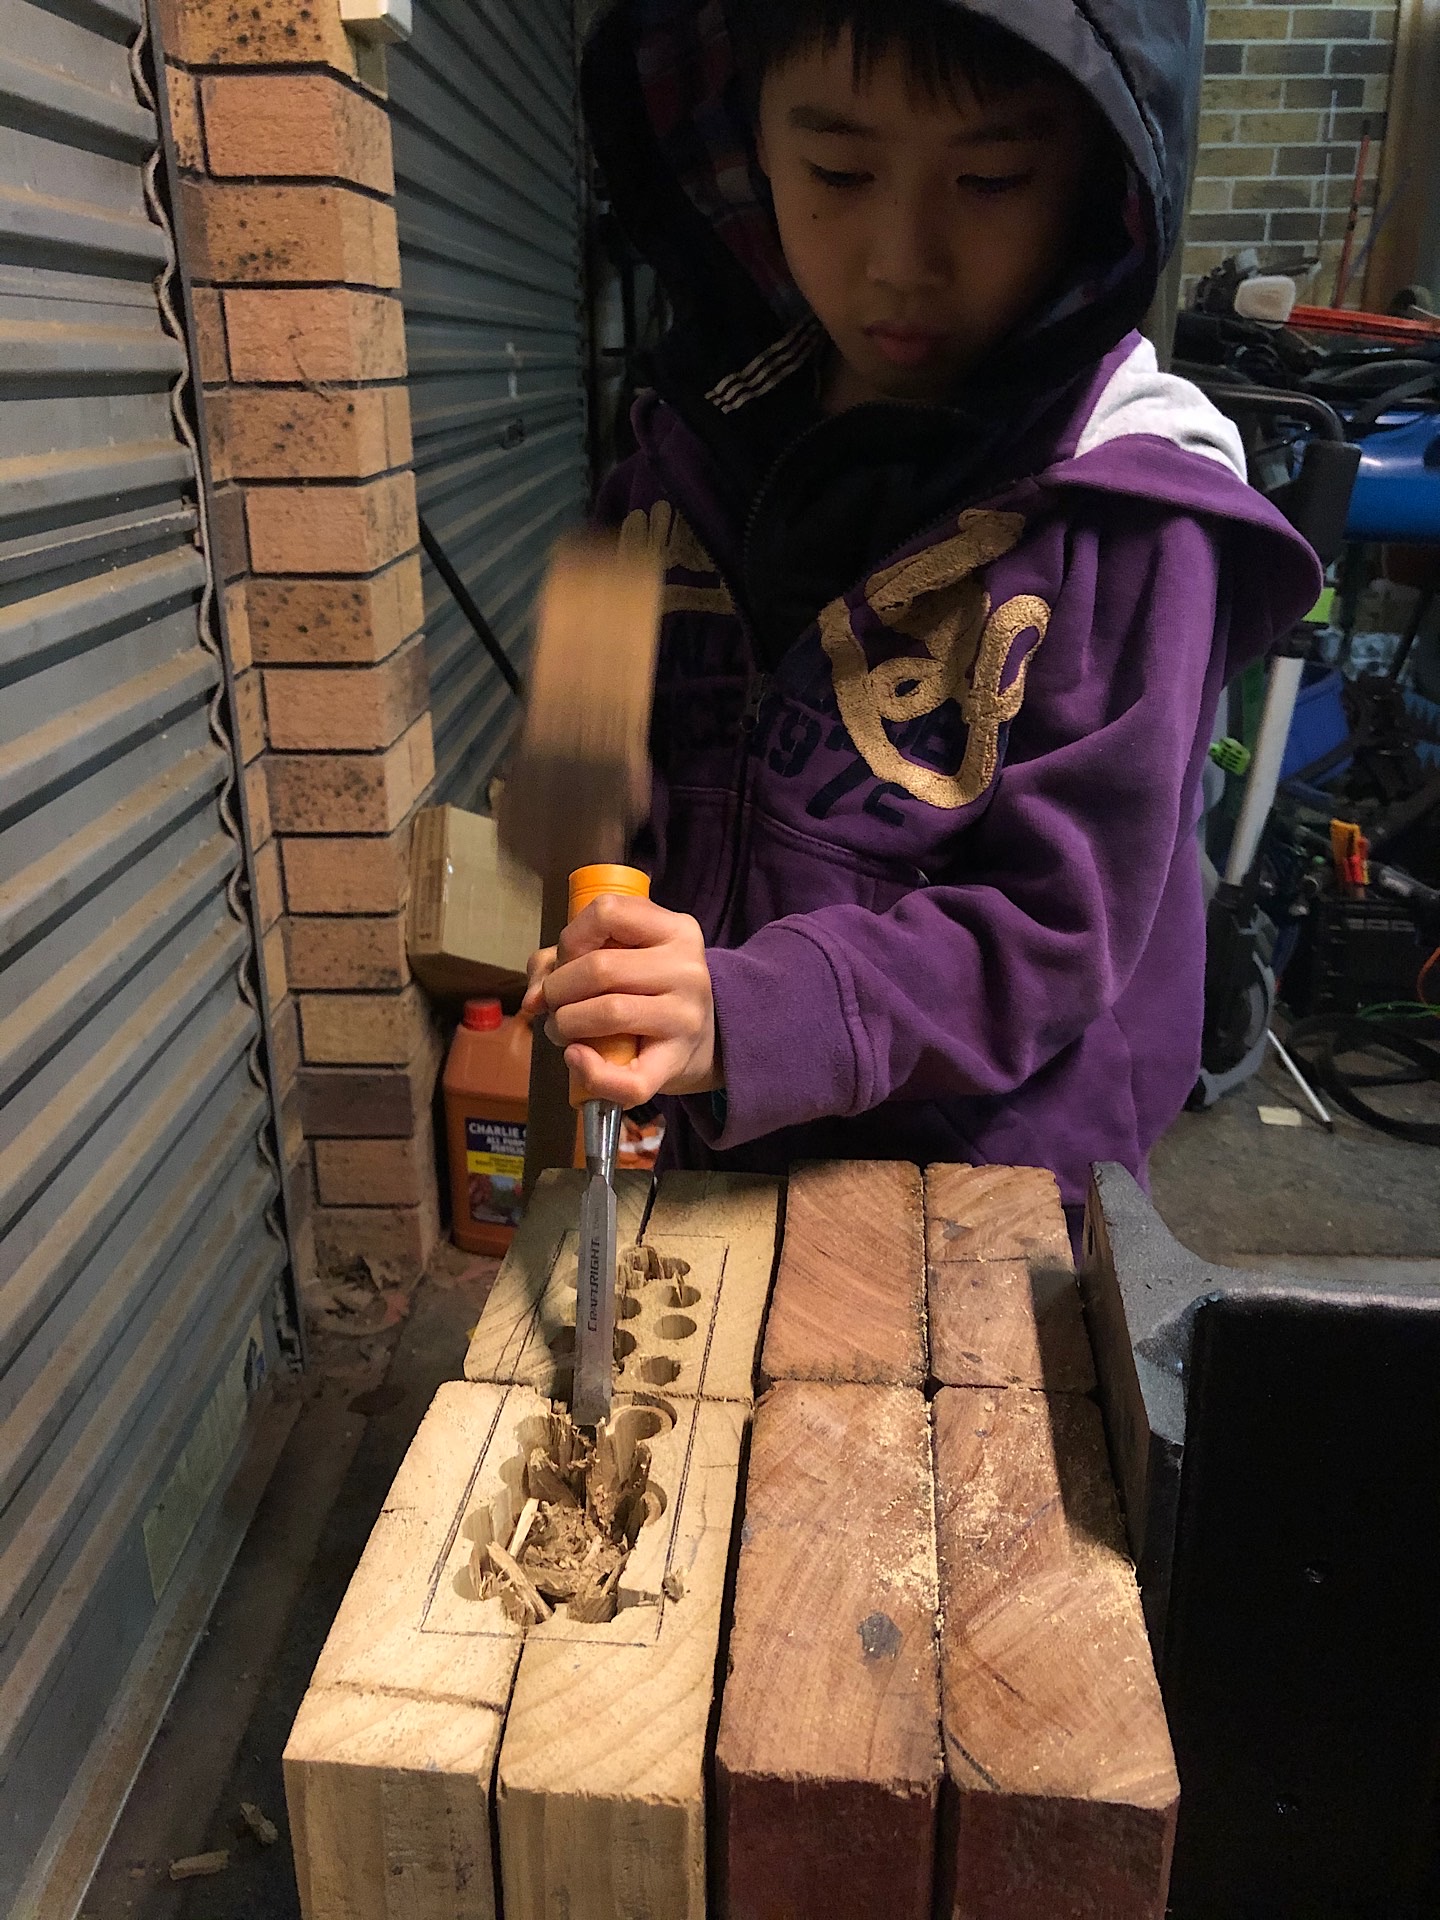
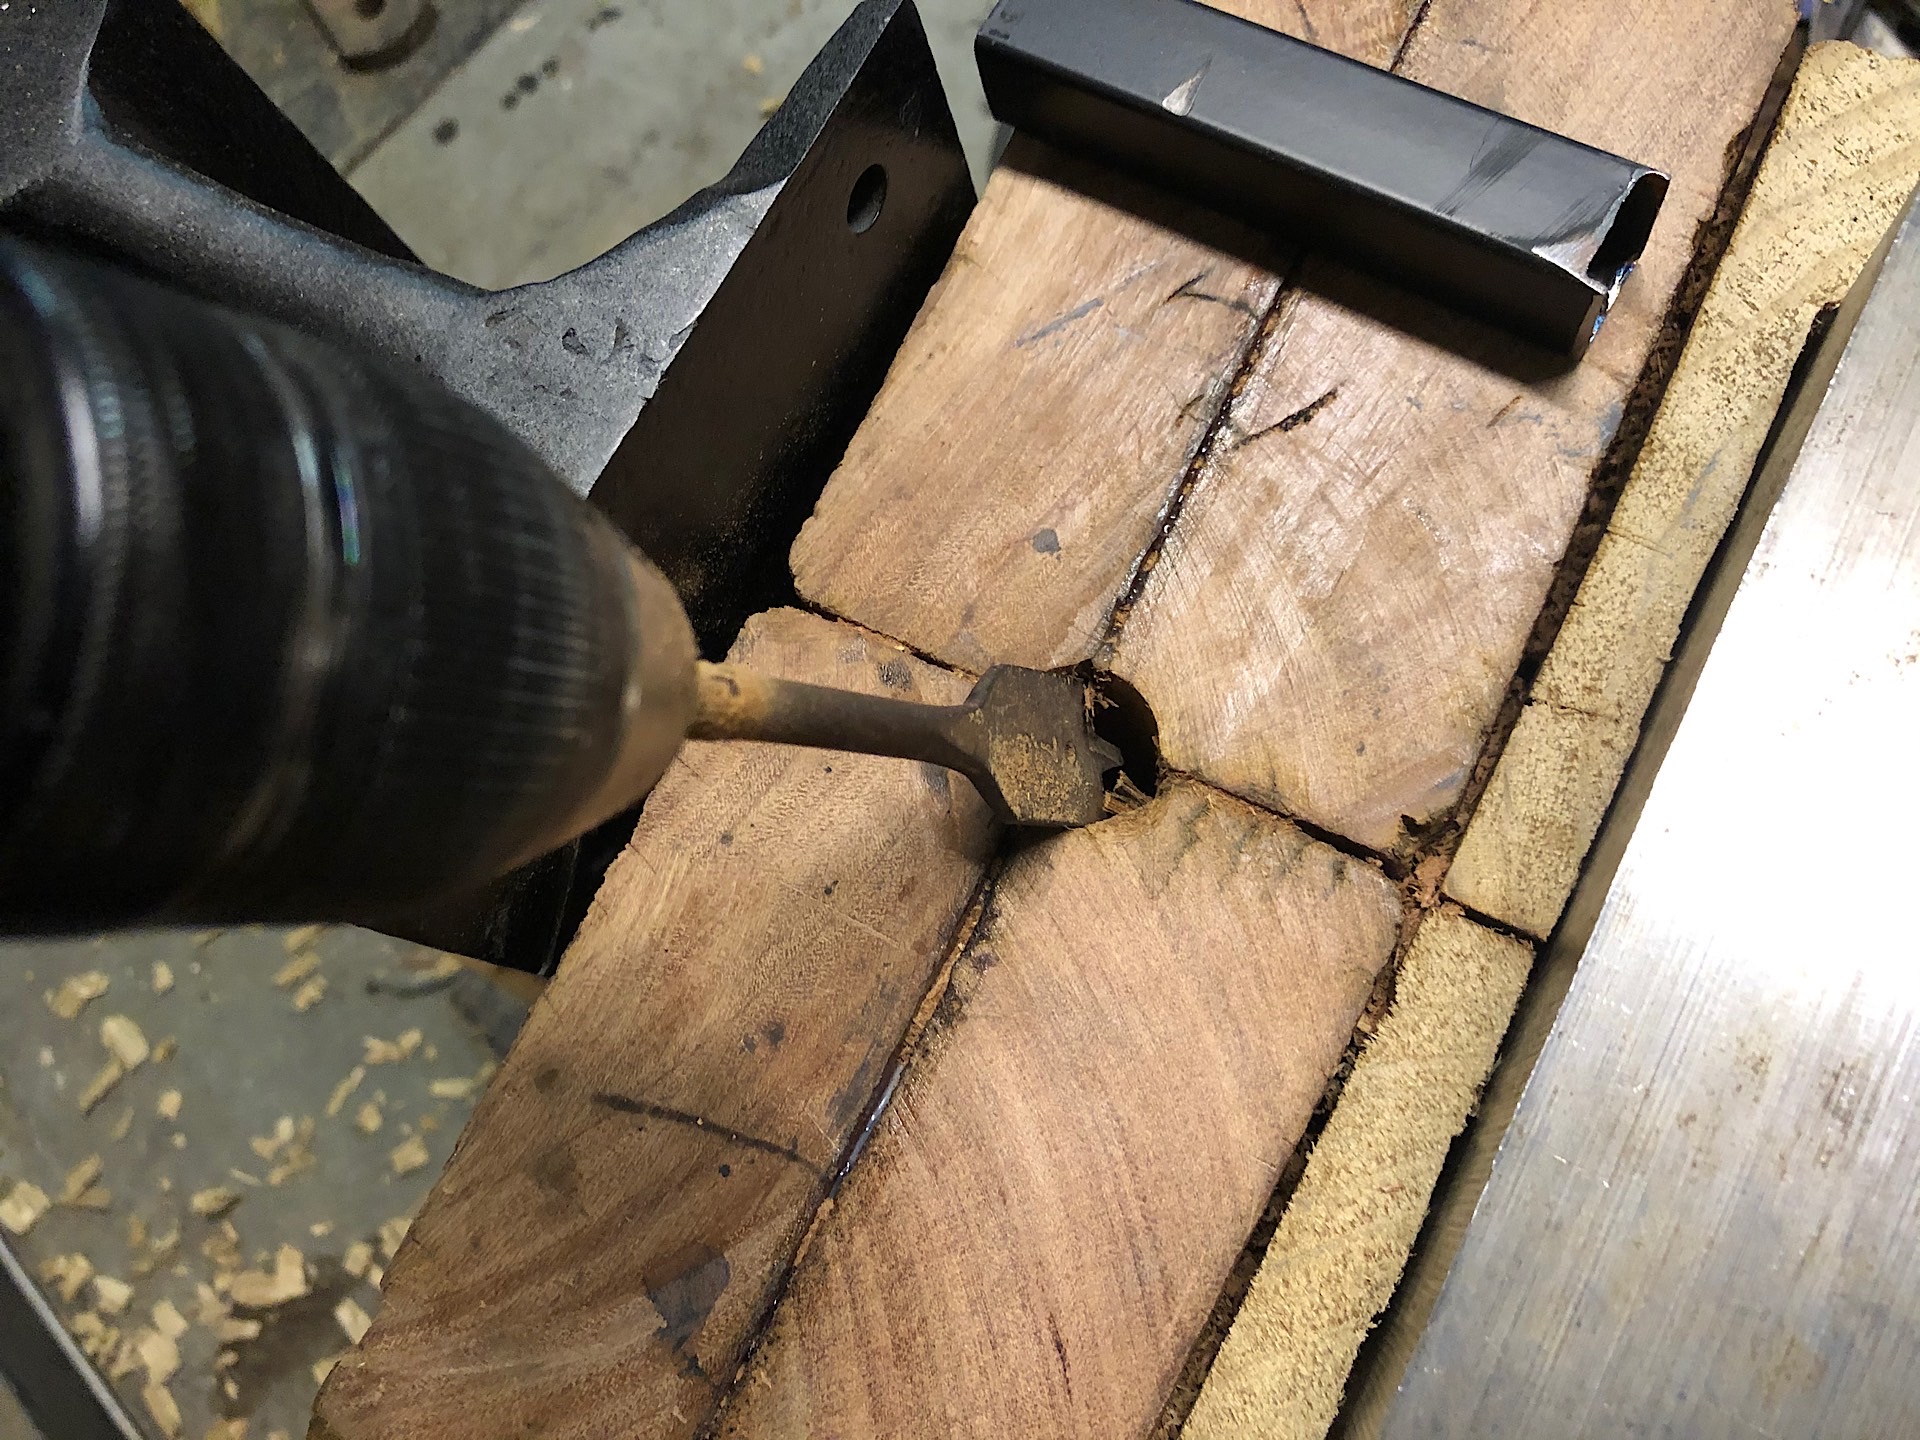
Now that all parts of the stand were glued together, I needed to cut a rectangle hole at the top so I can set the chunk of steel inside. I used a spade drill bit to drill many holes inside a drawn rectangle and my son helped me chisel bits out.
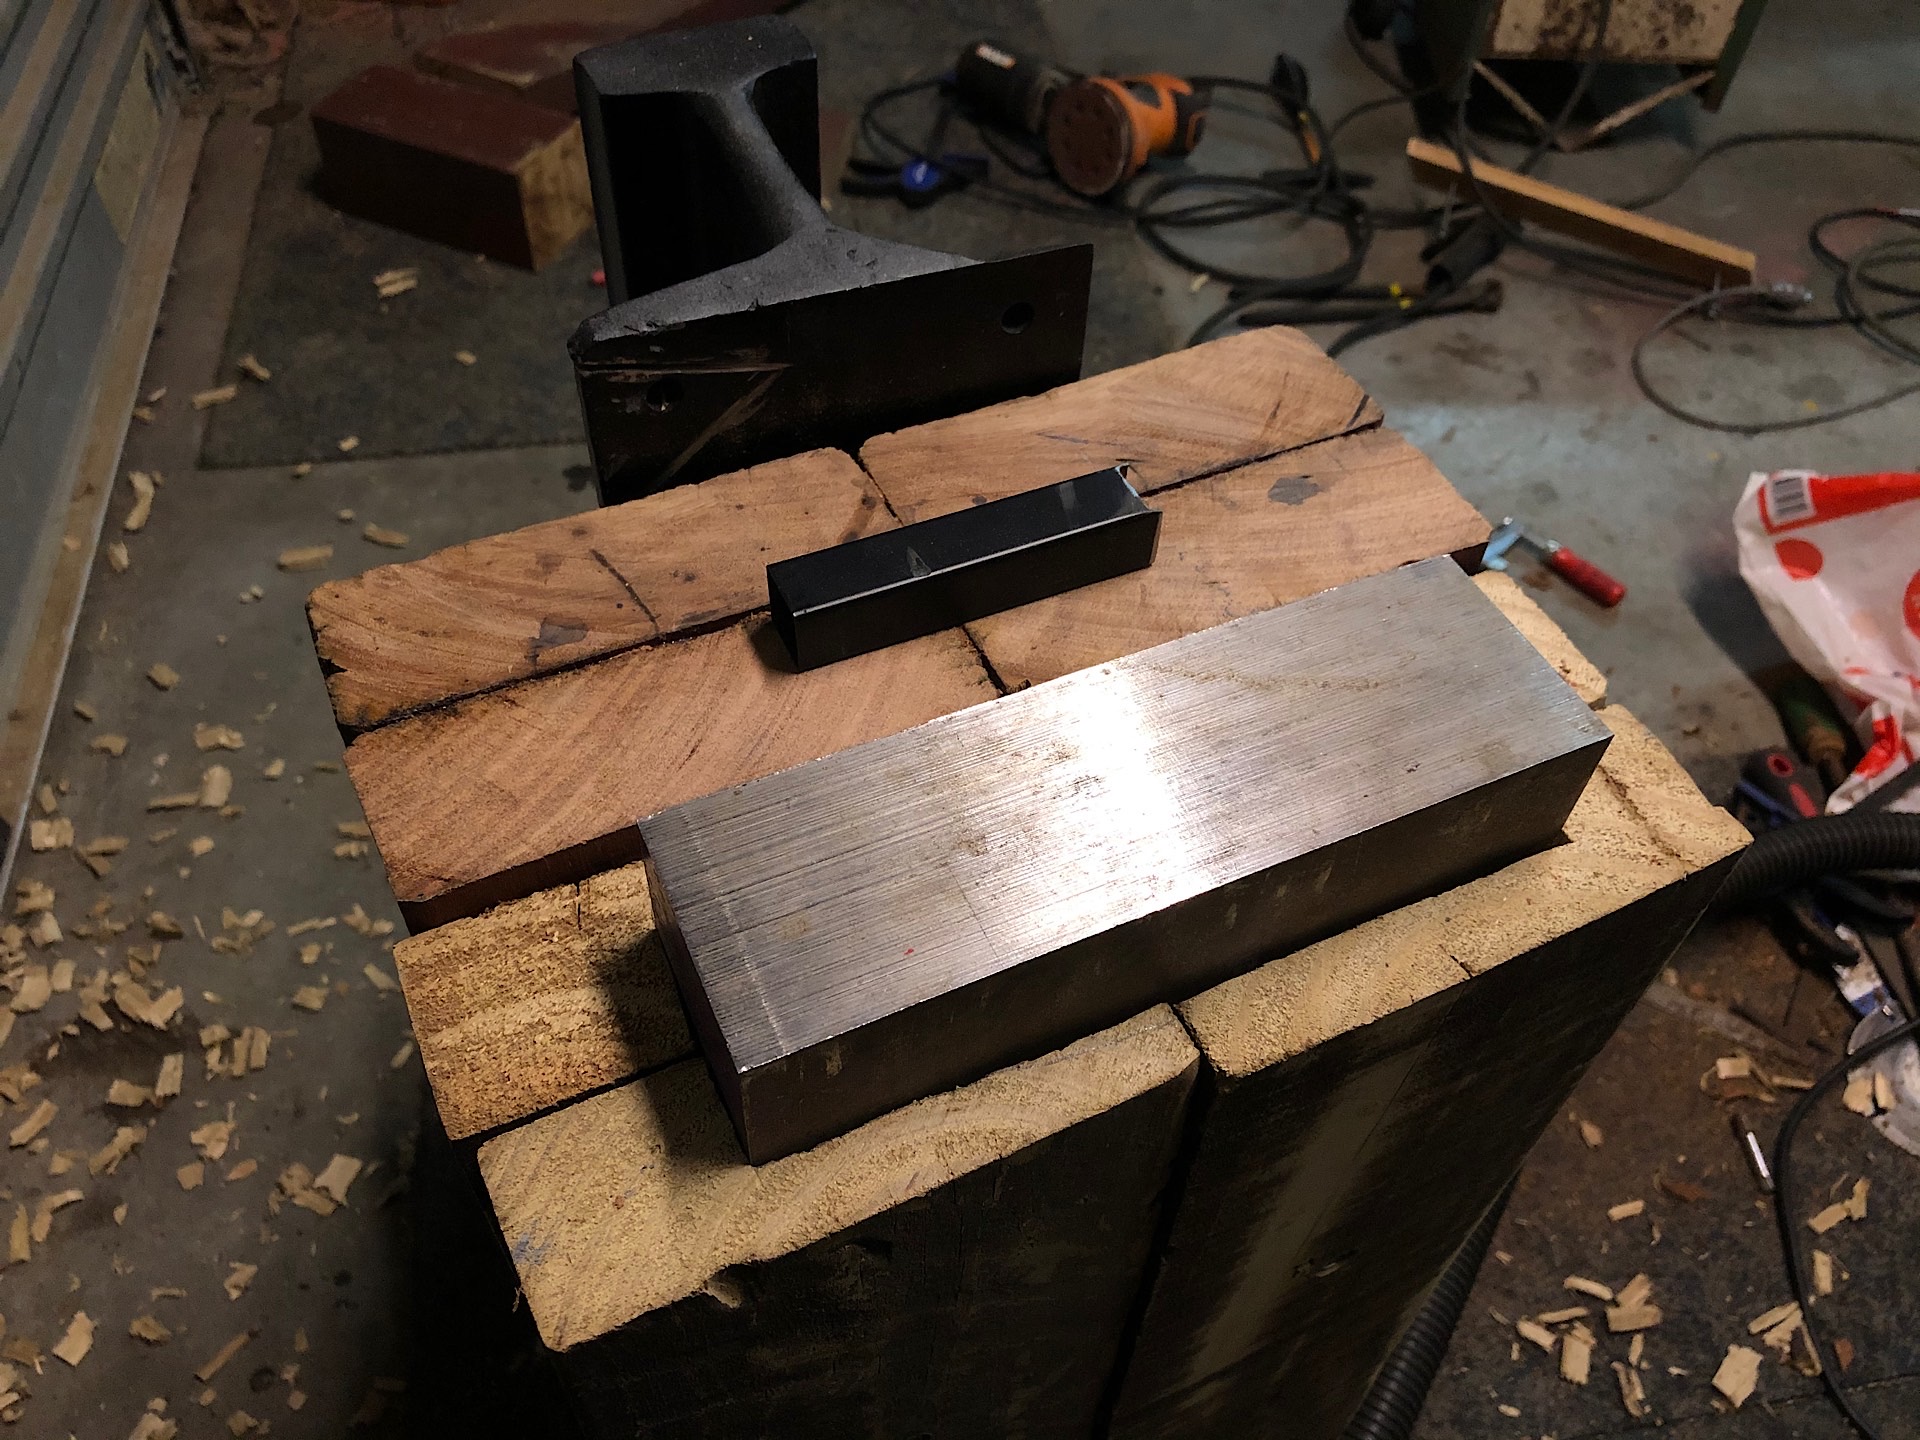
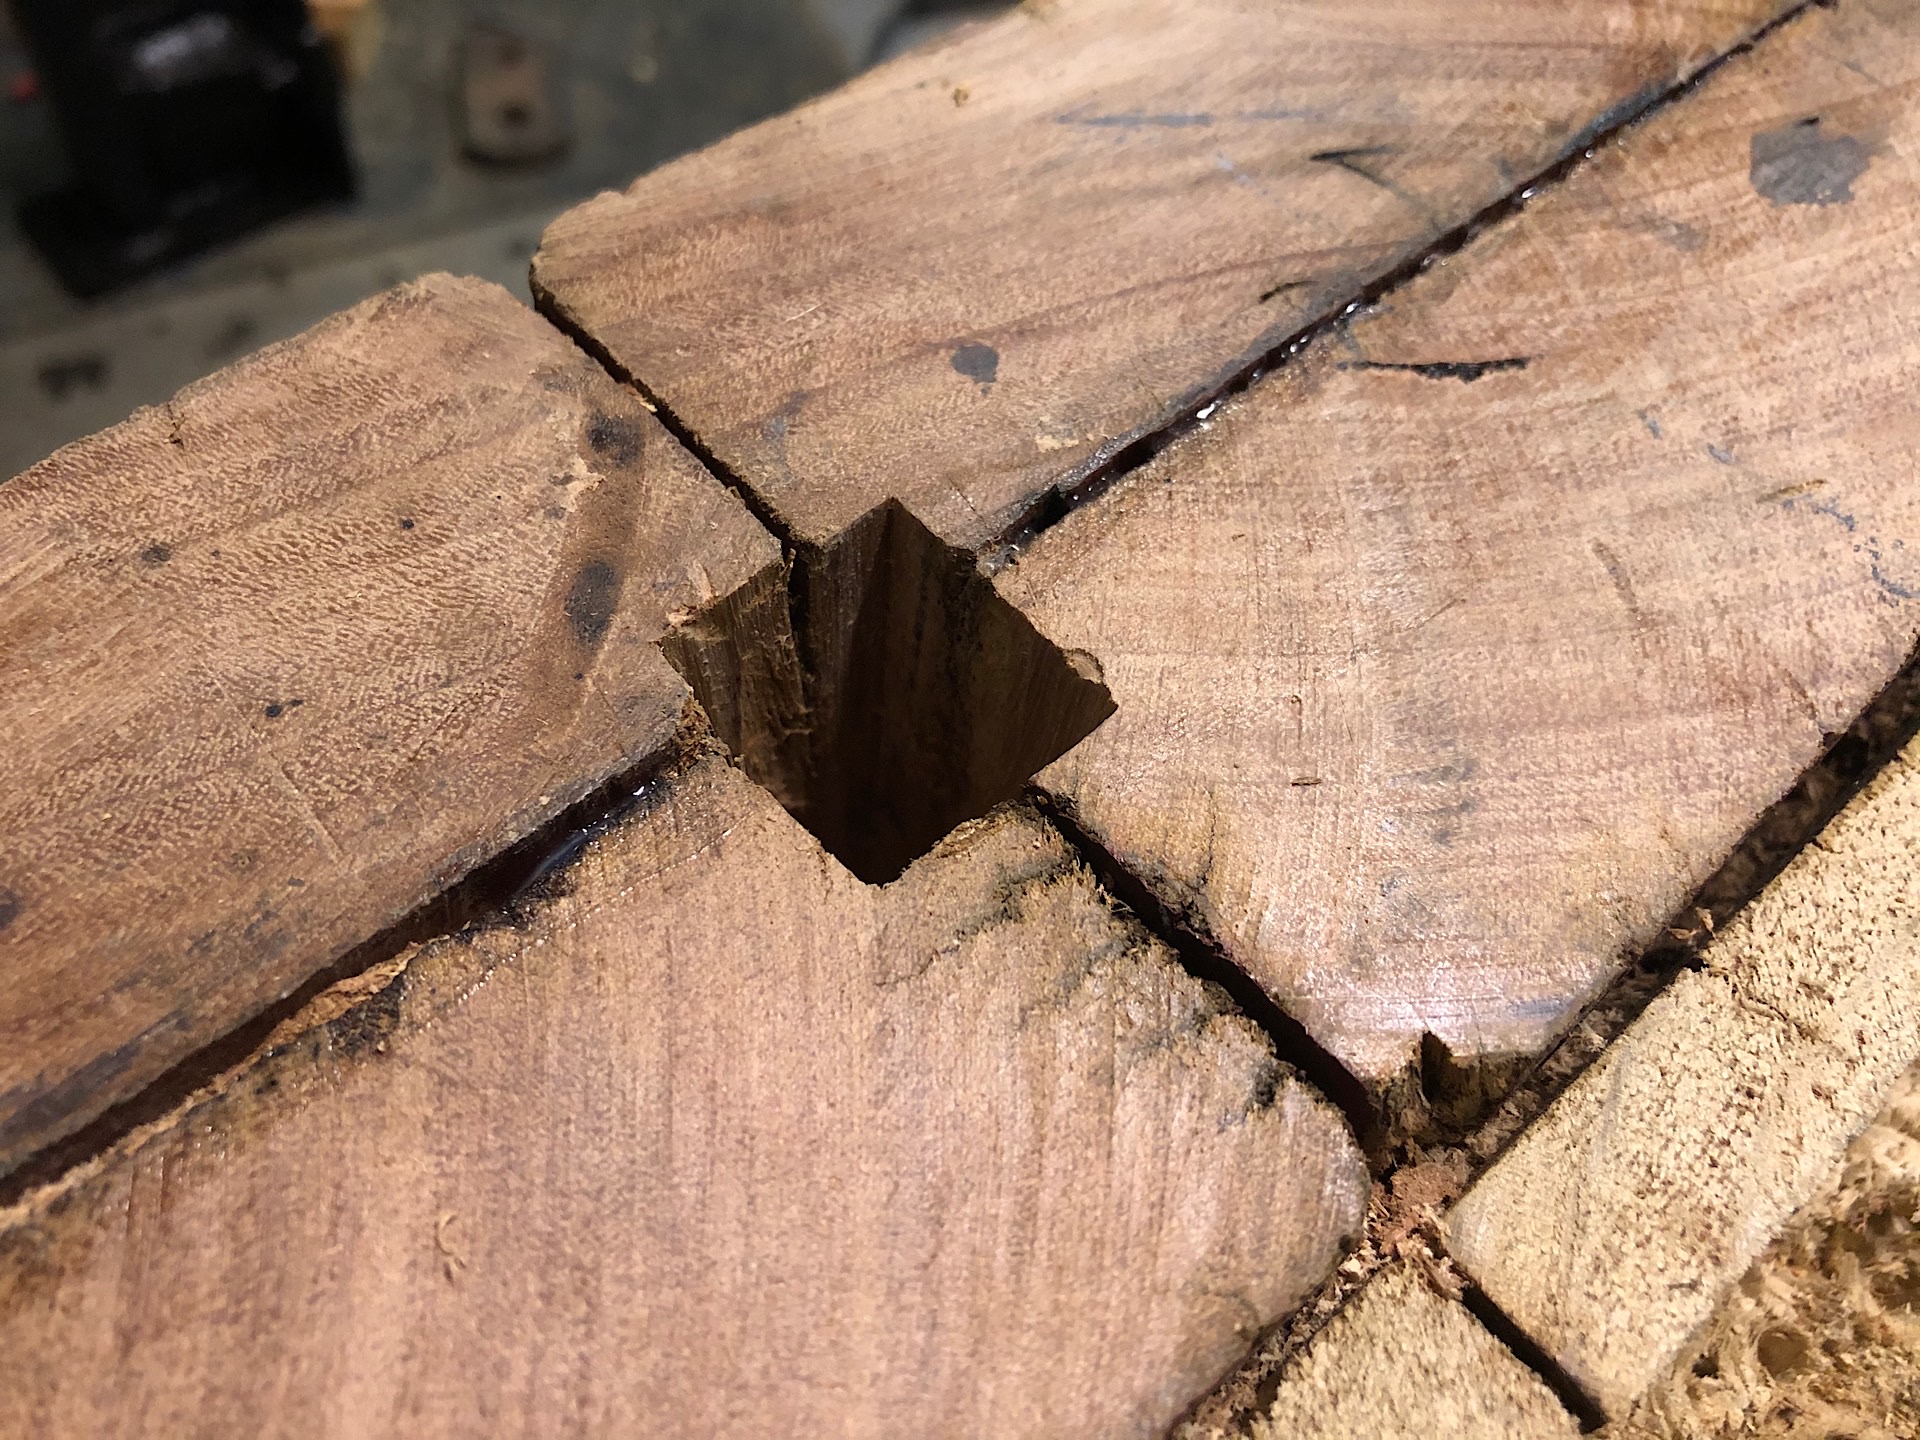
In the end I managed to get something very acceptable, not perfect but it does the job and the block of steel fits in nicely and does not move around.
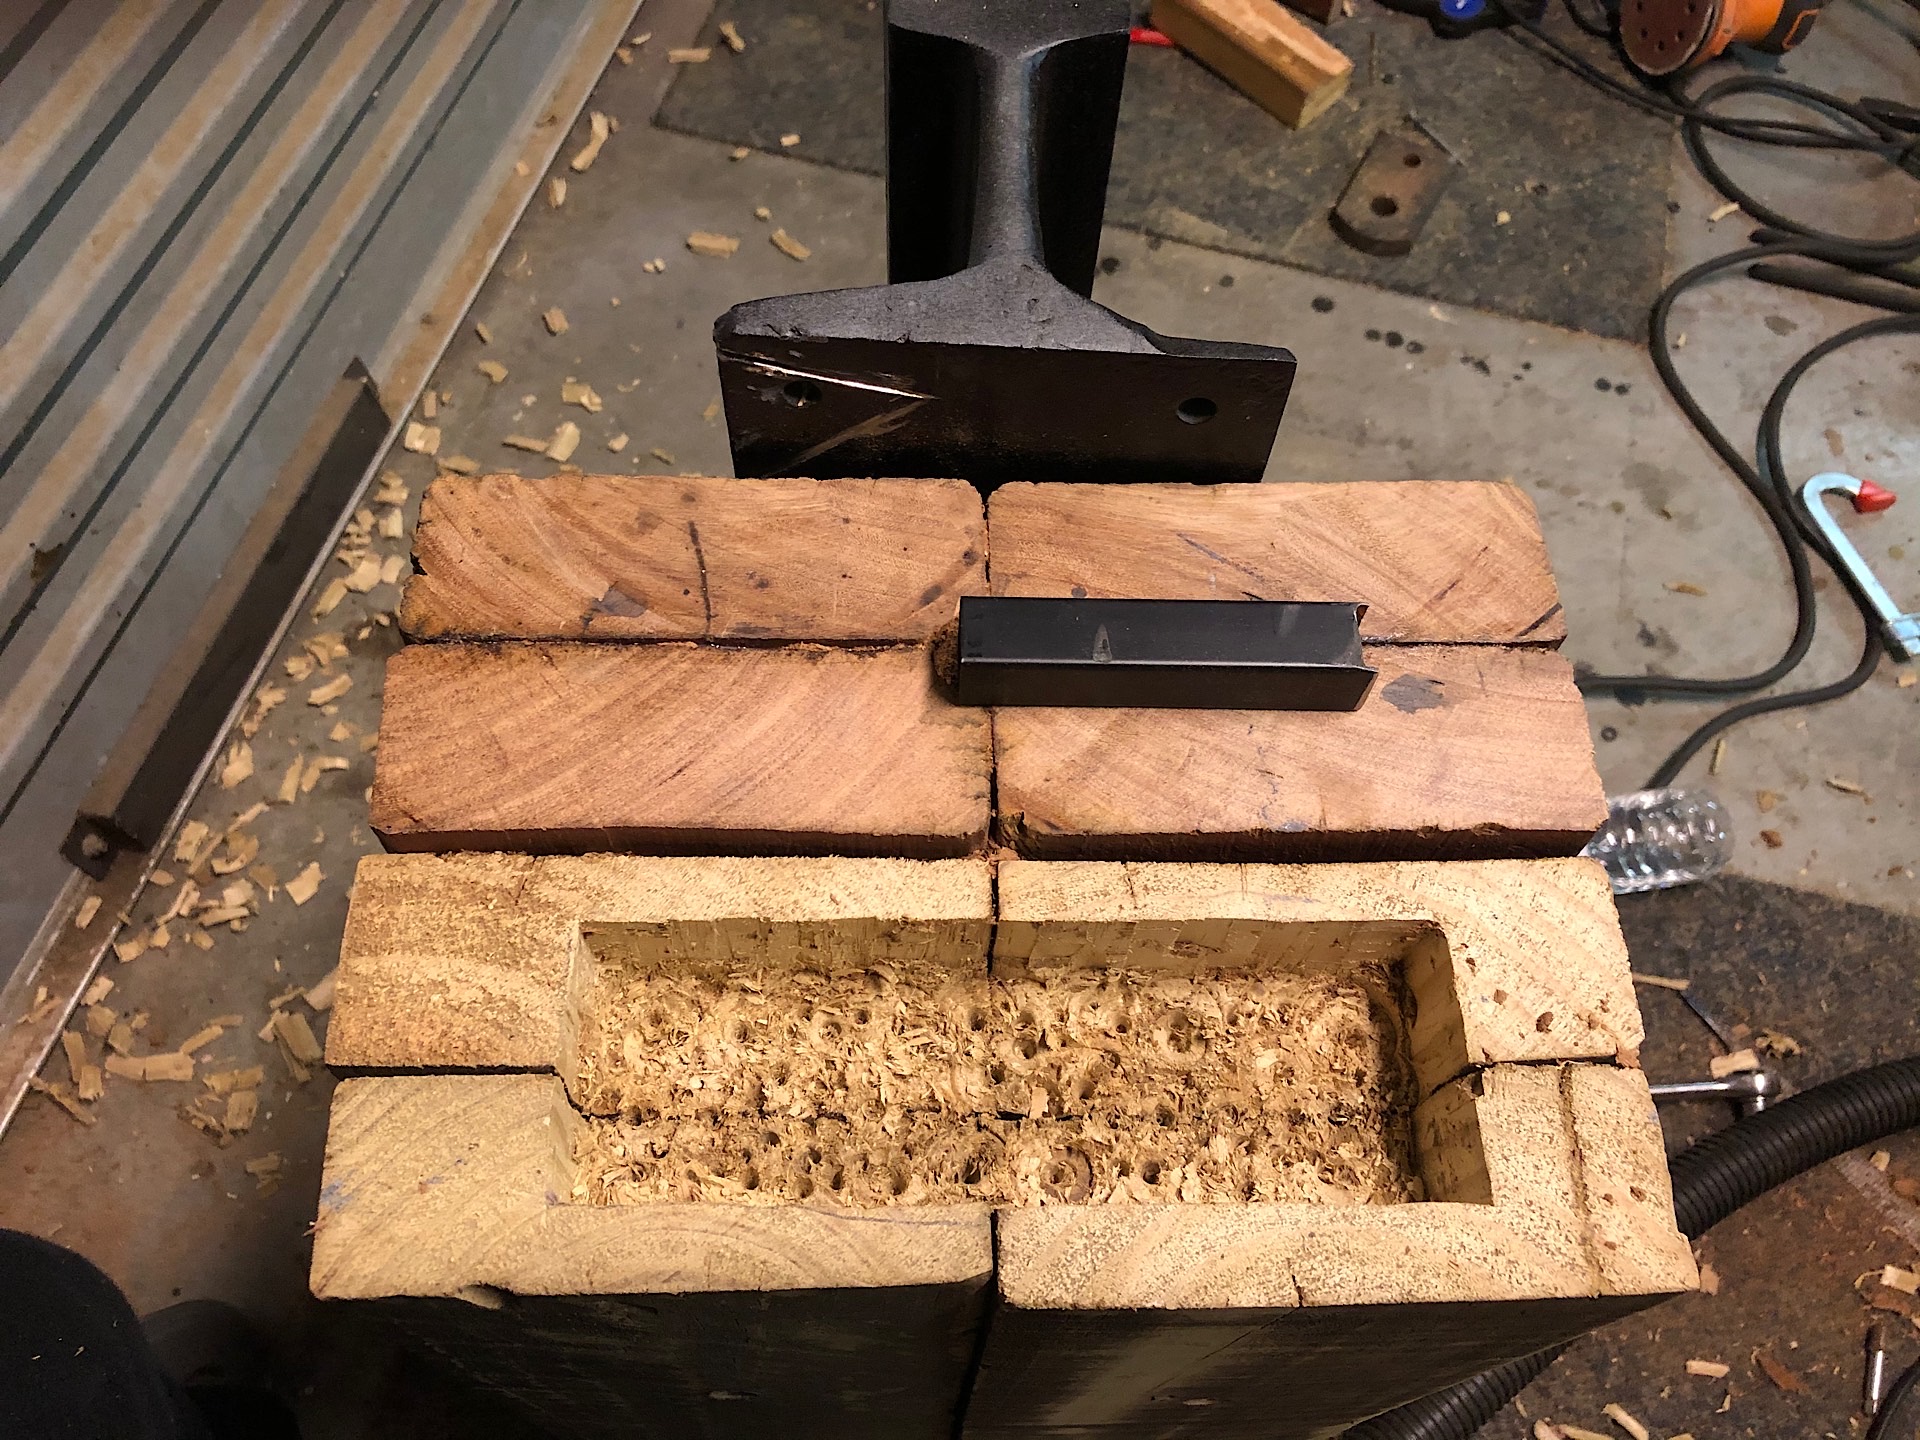
With a larger spade bit I drilled a the hardy hole. The black square tubing will be used as a reinforcement.
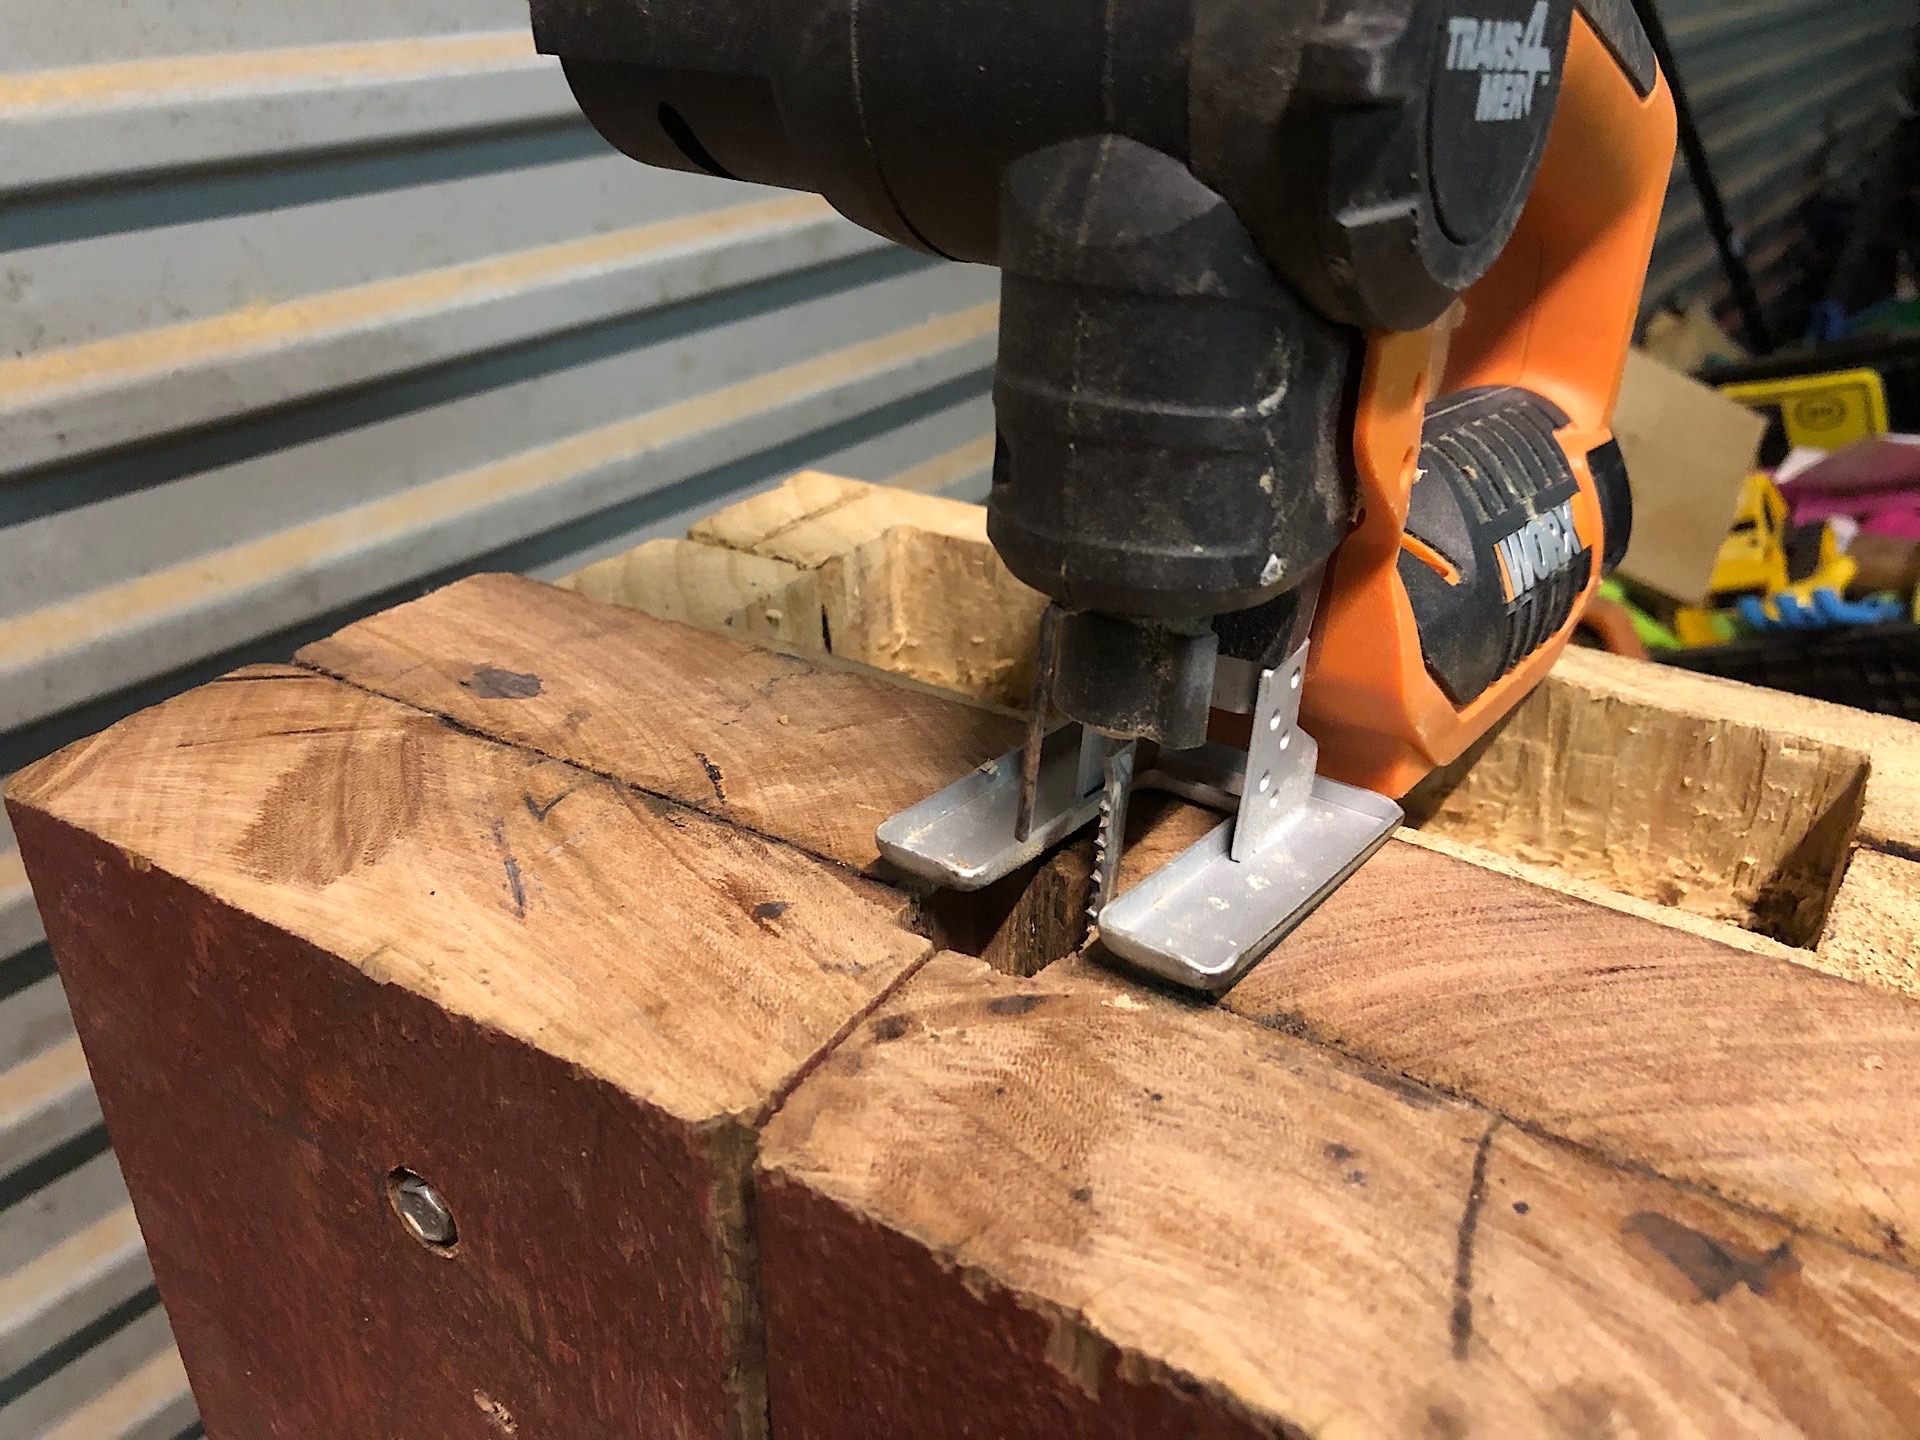
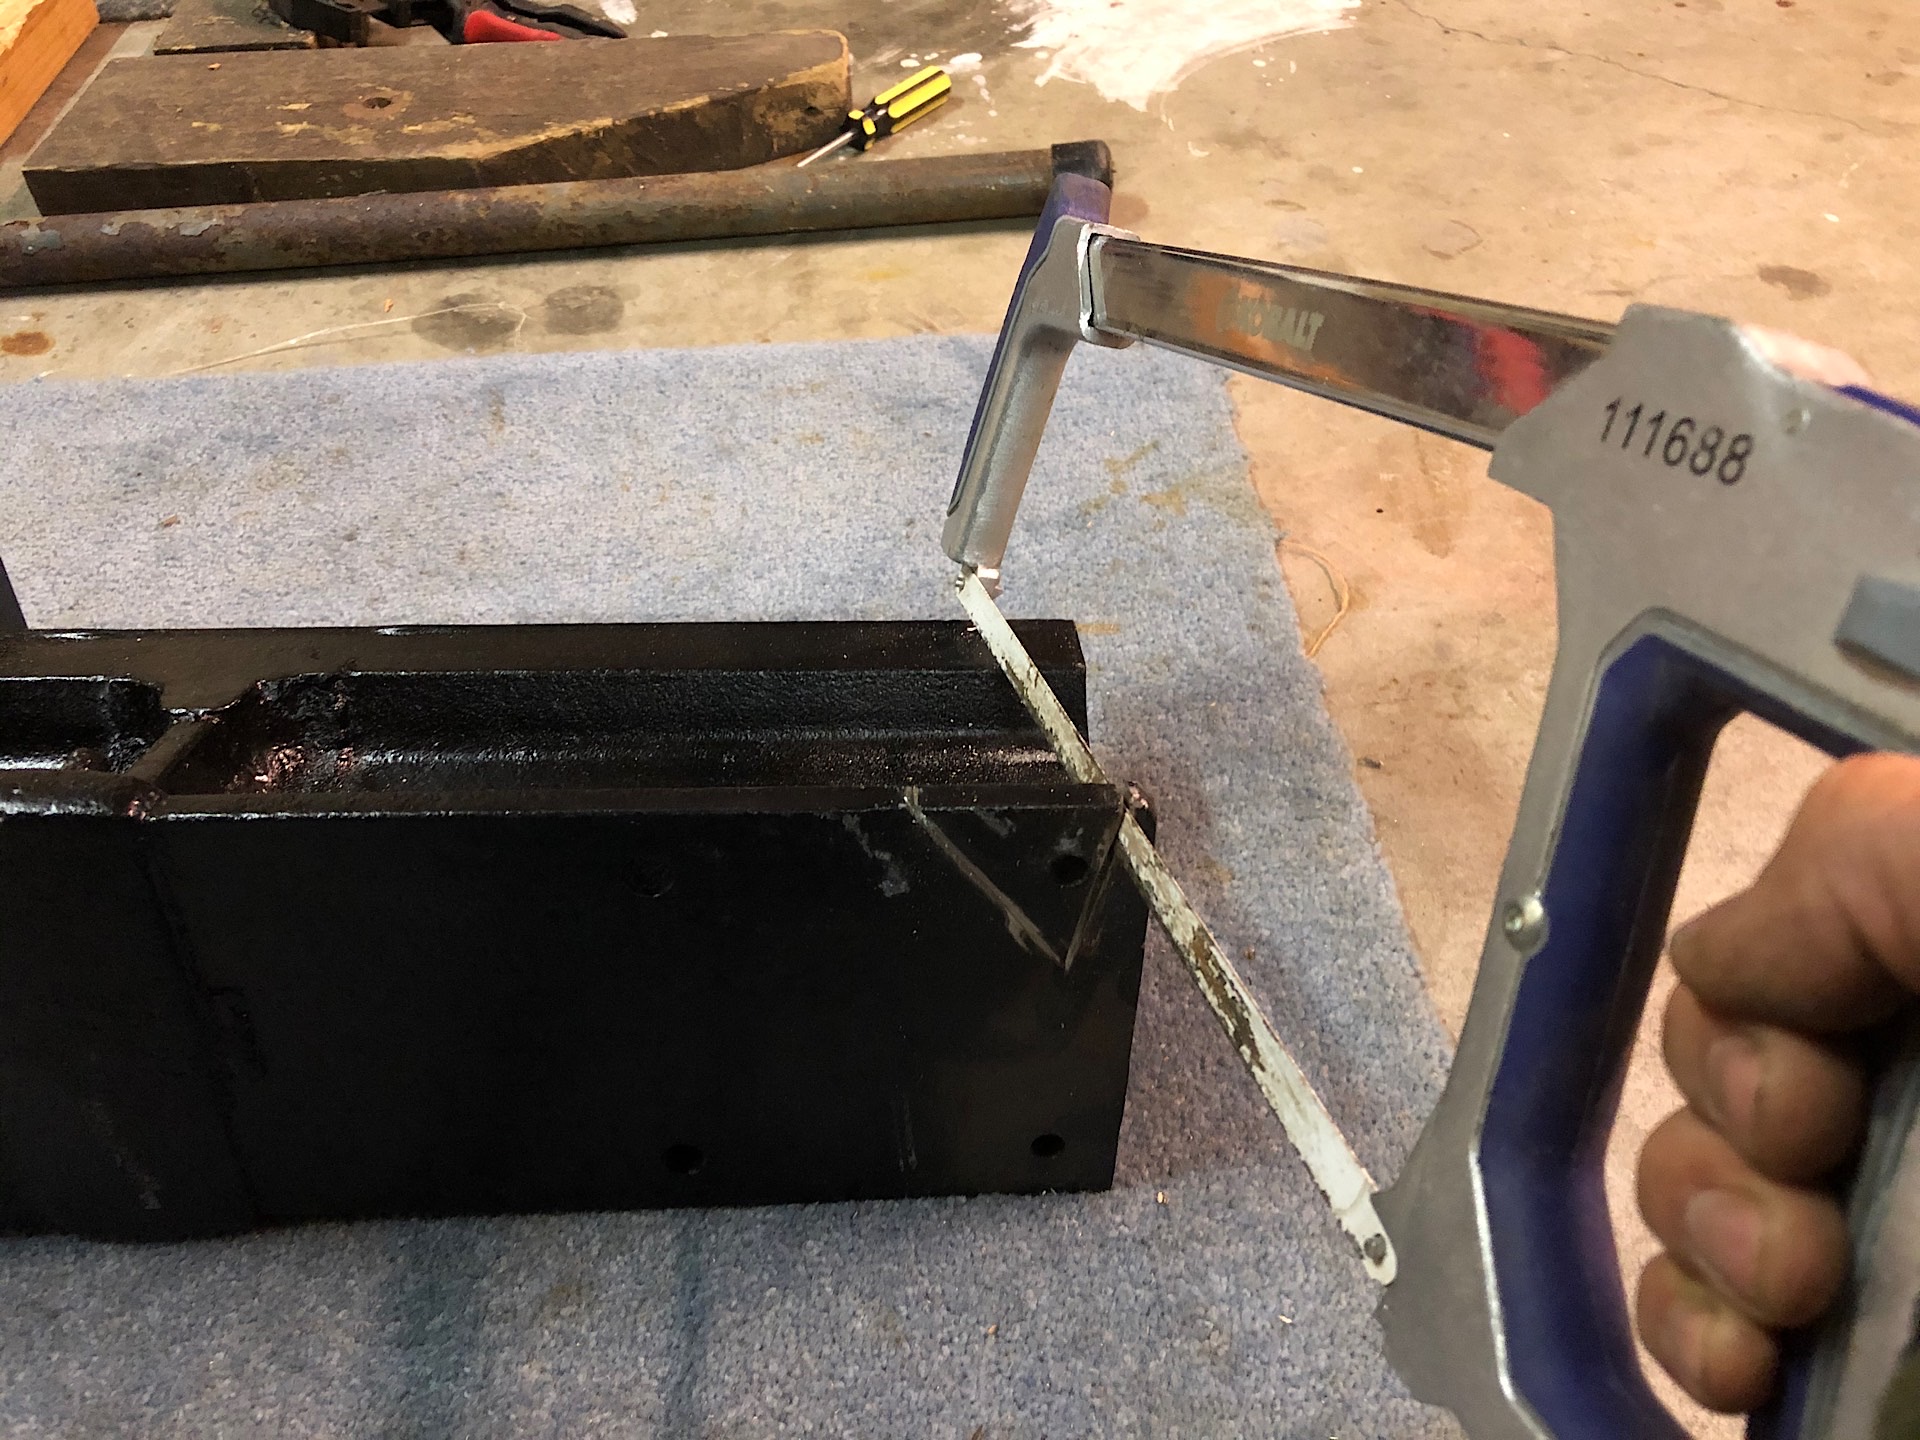
I used a jigsaw to make the round hole square. and it worked relatively well.
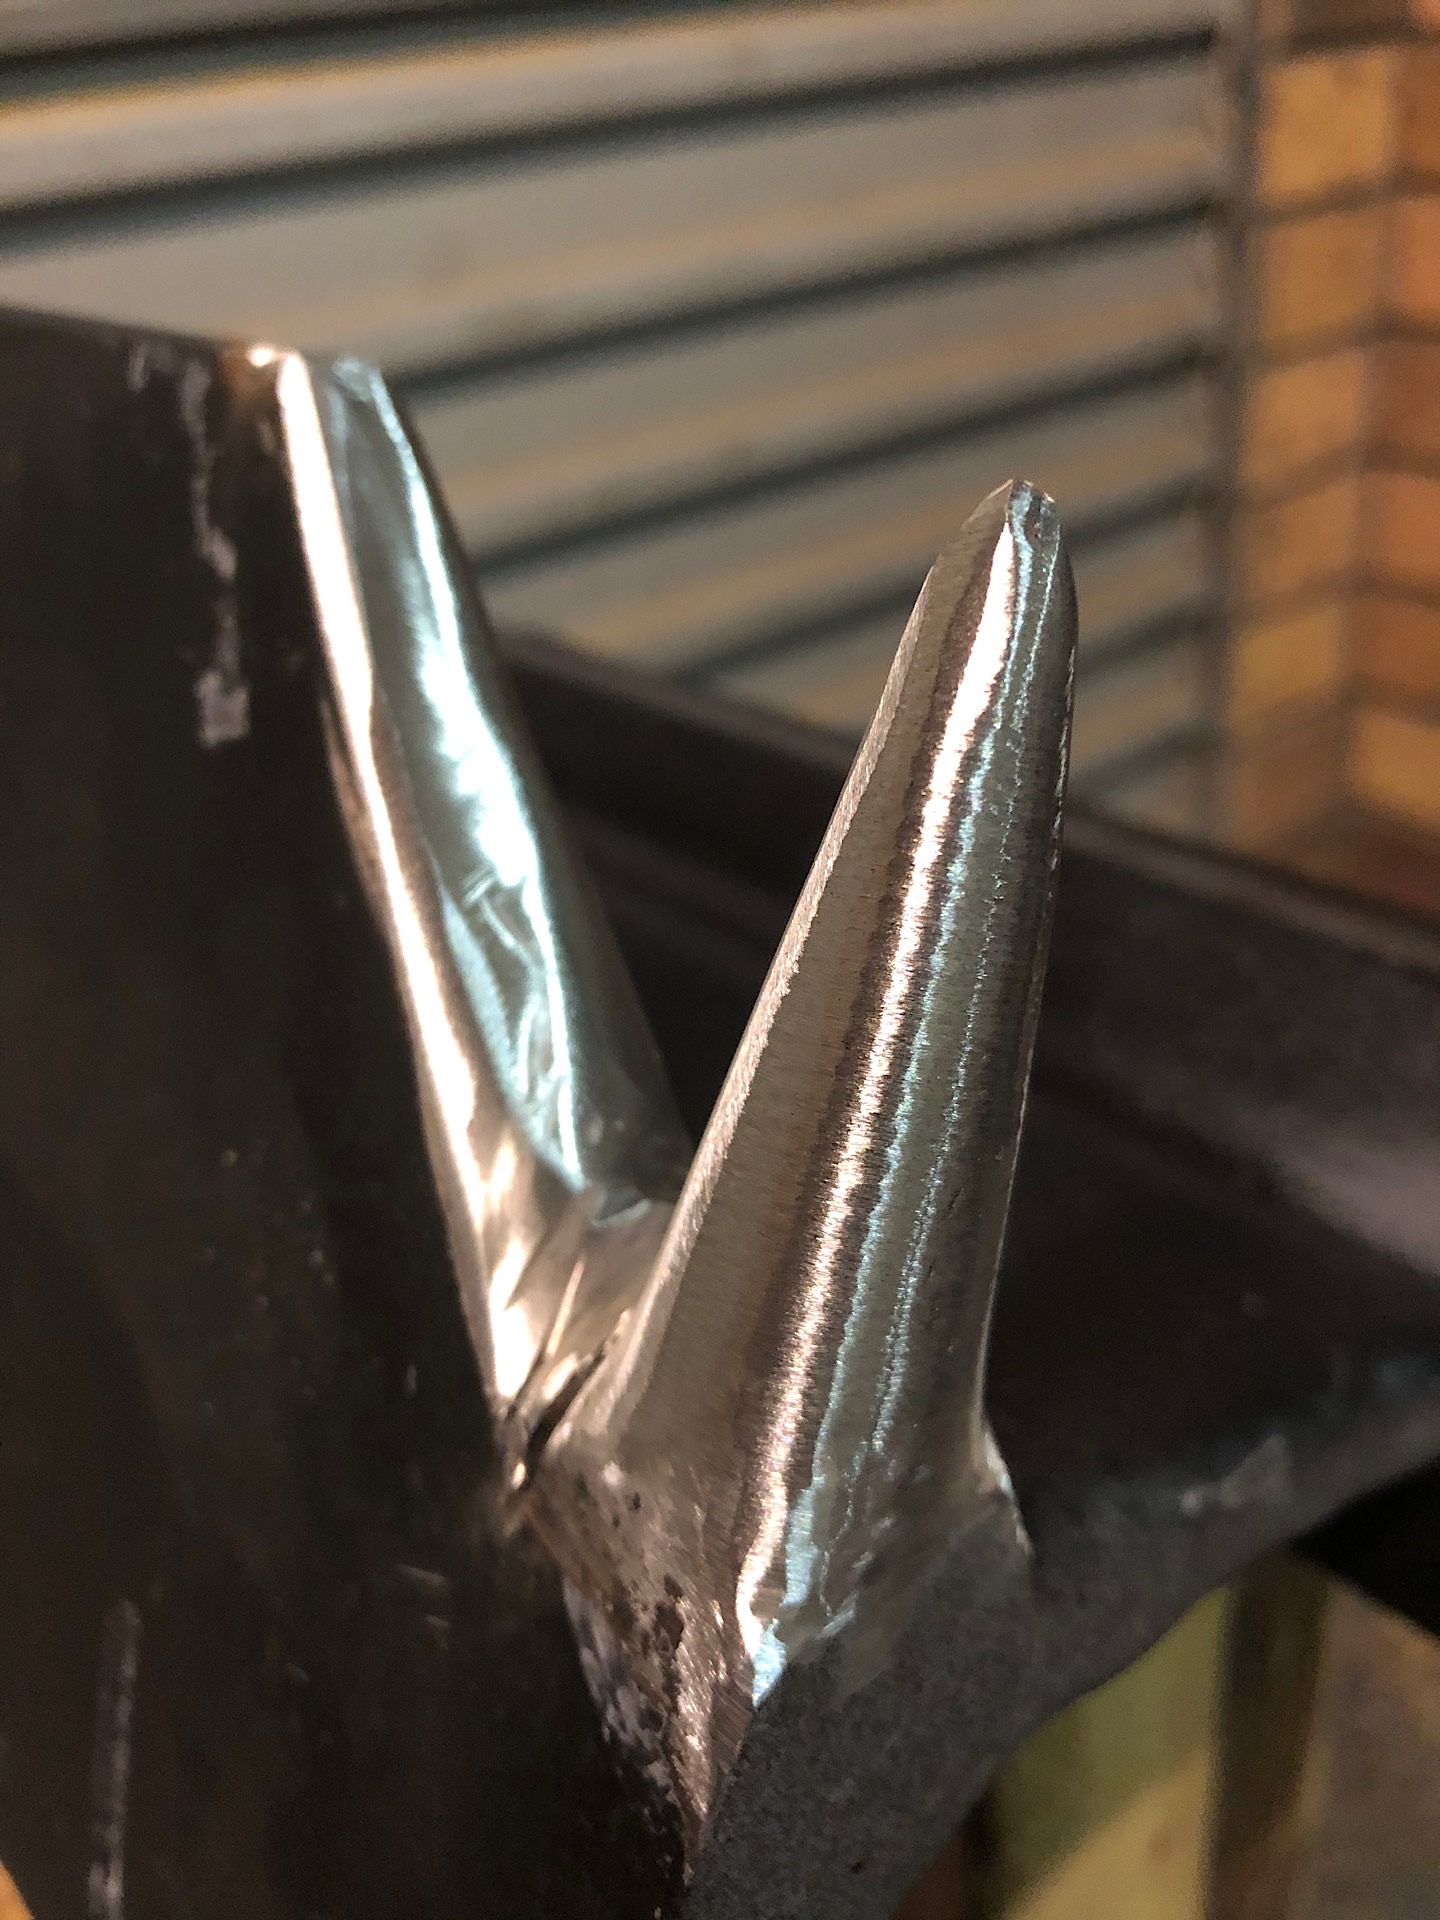
More sawing and more grinding of the track to make the horn.
I did the horn in three sessions over a couple of days and I'm quite happy with the result. It's quite small so I might need something else in the future if I work on larger projects.
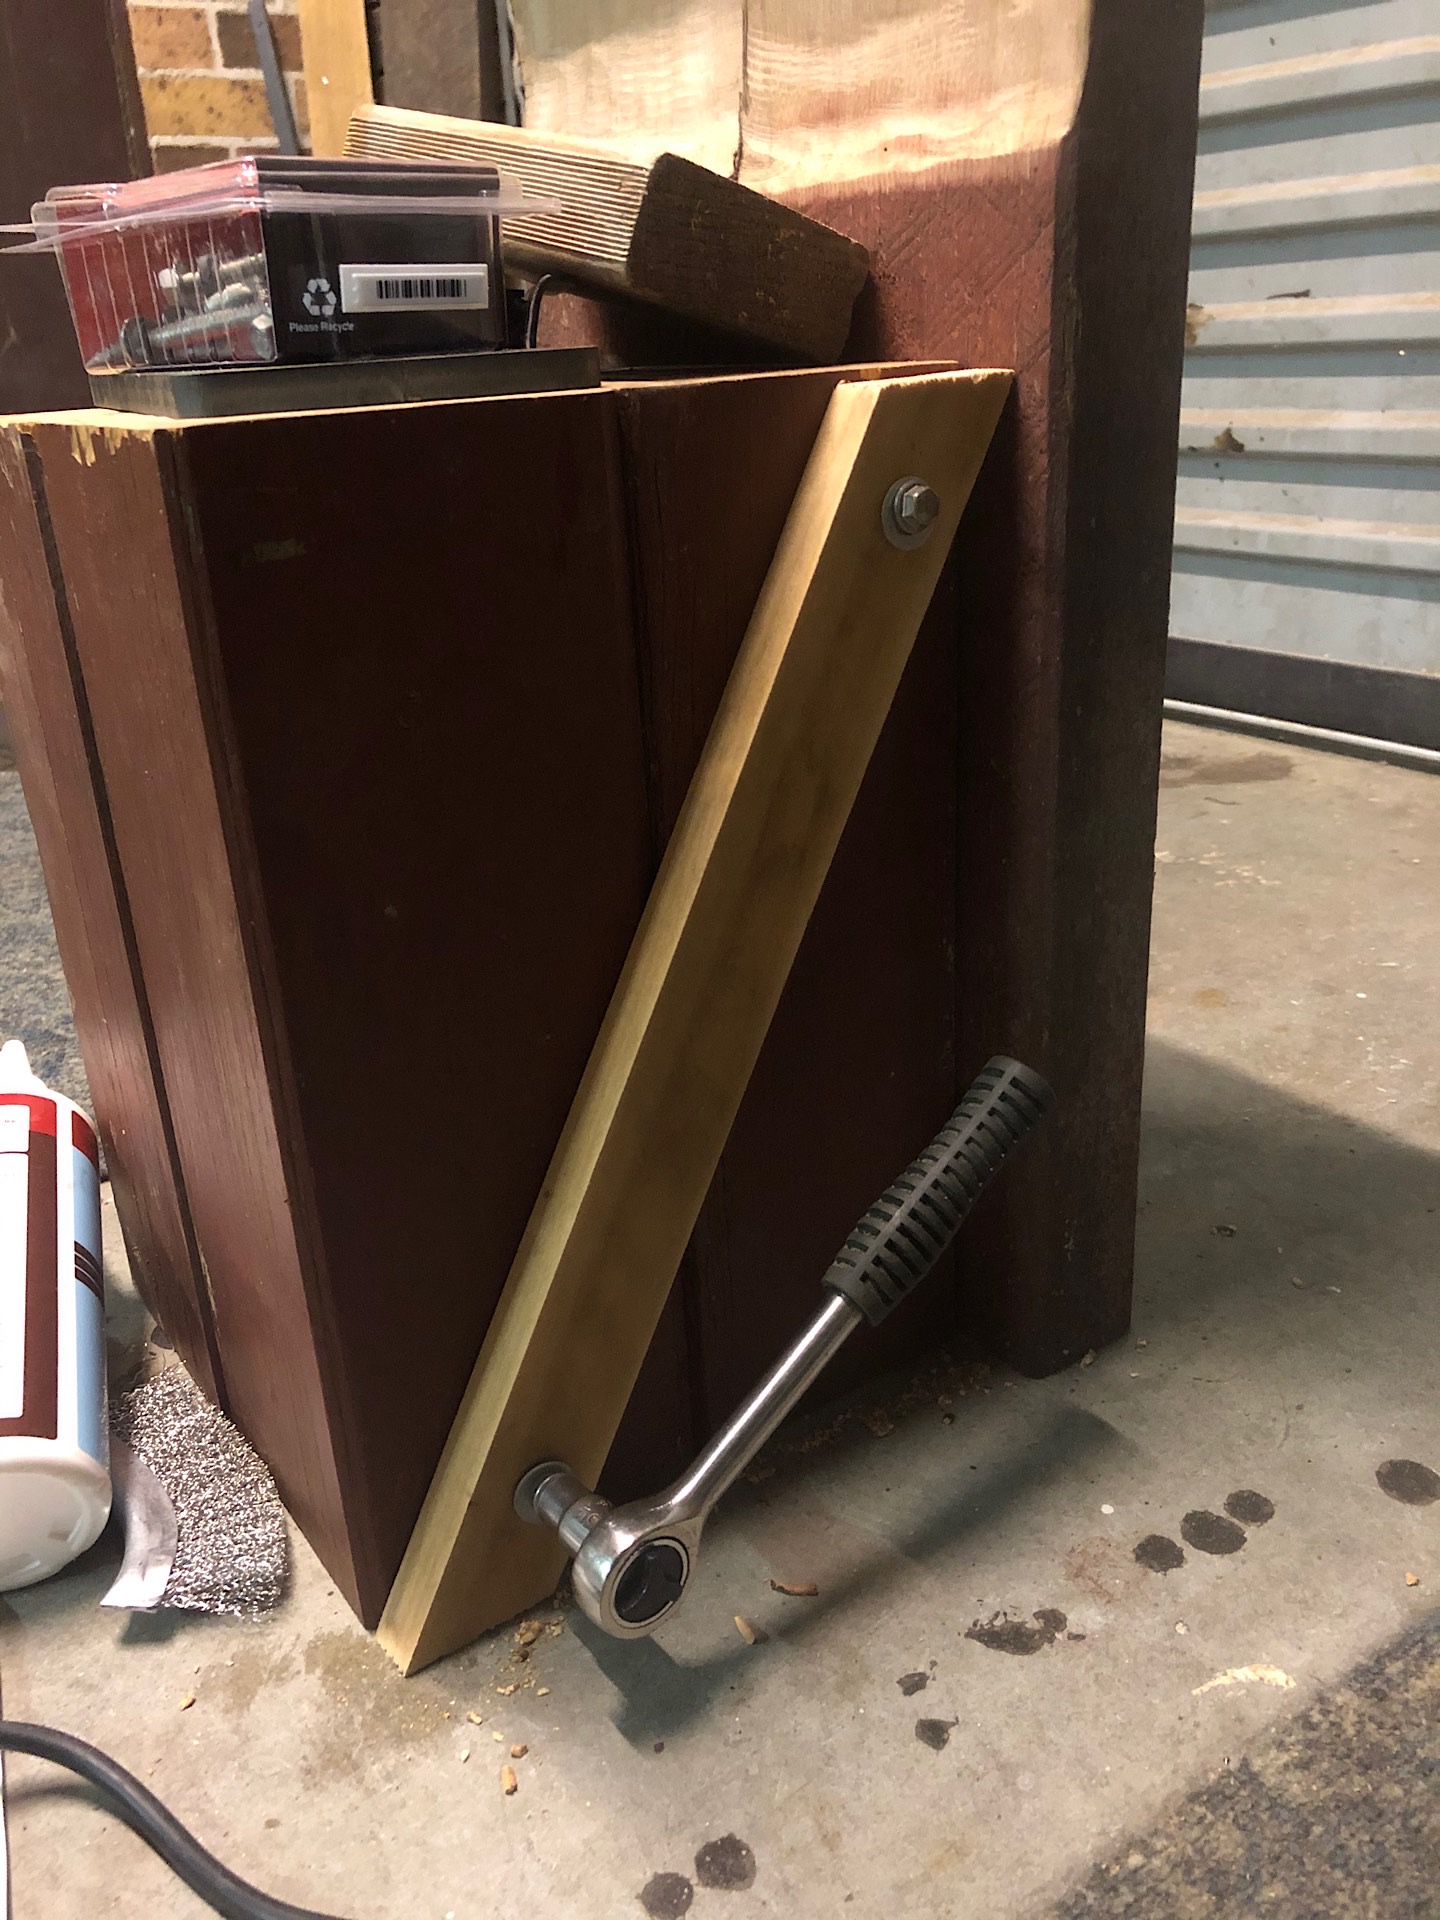
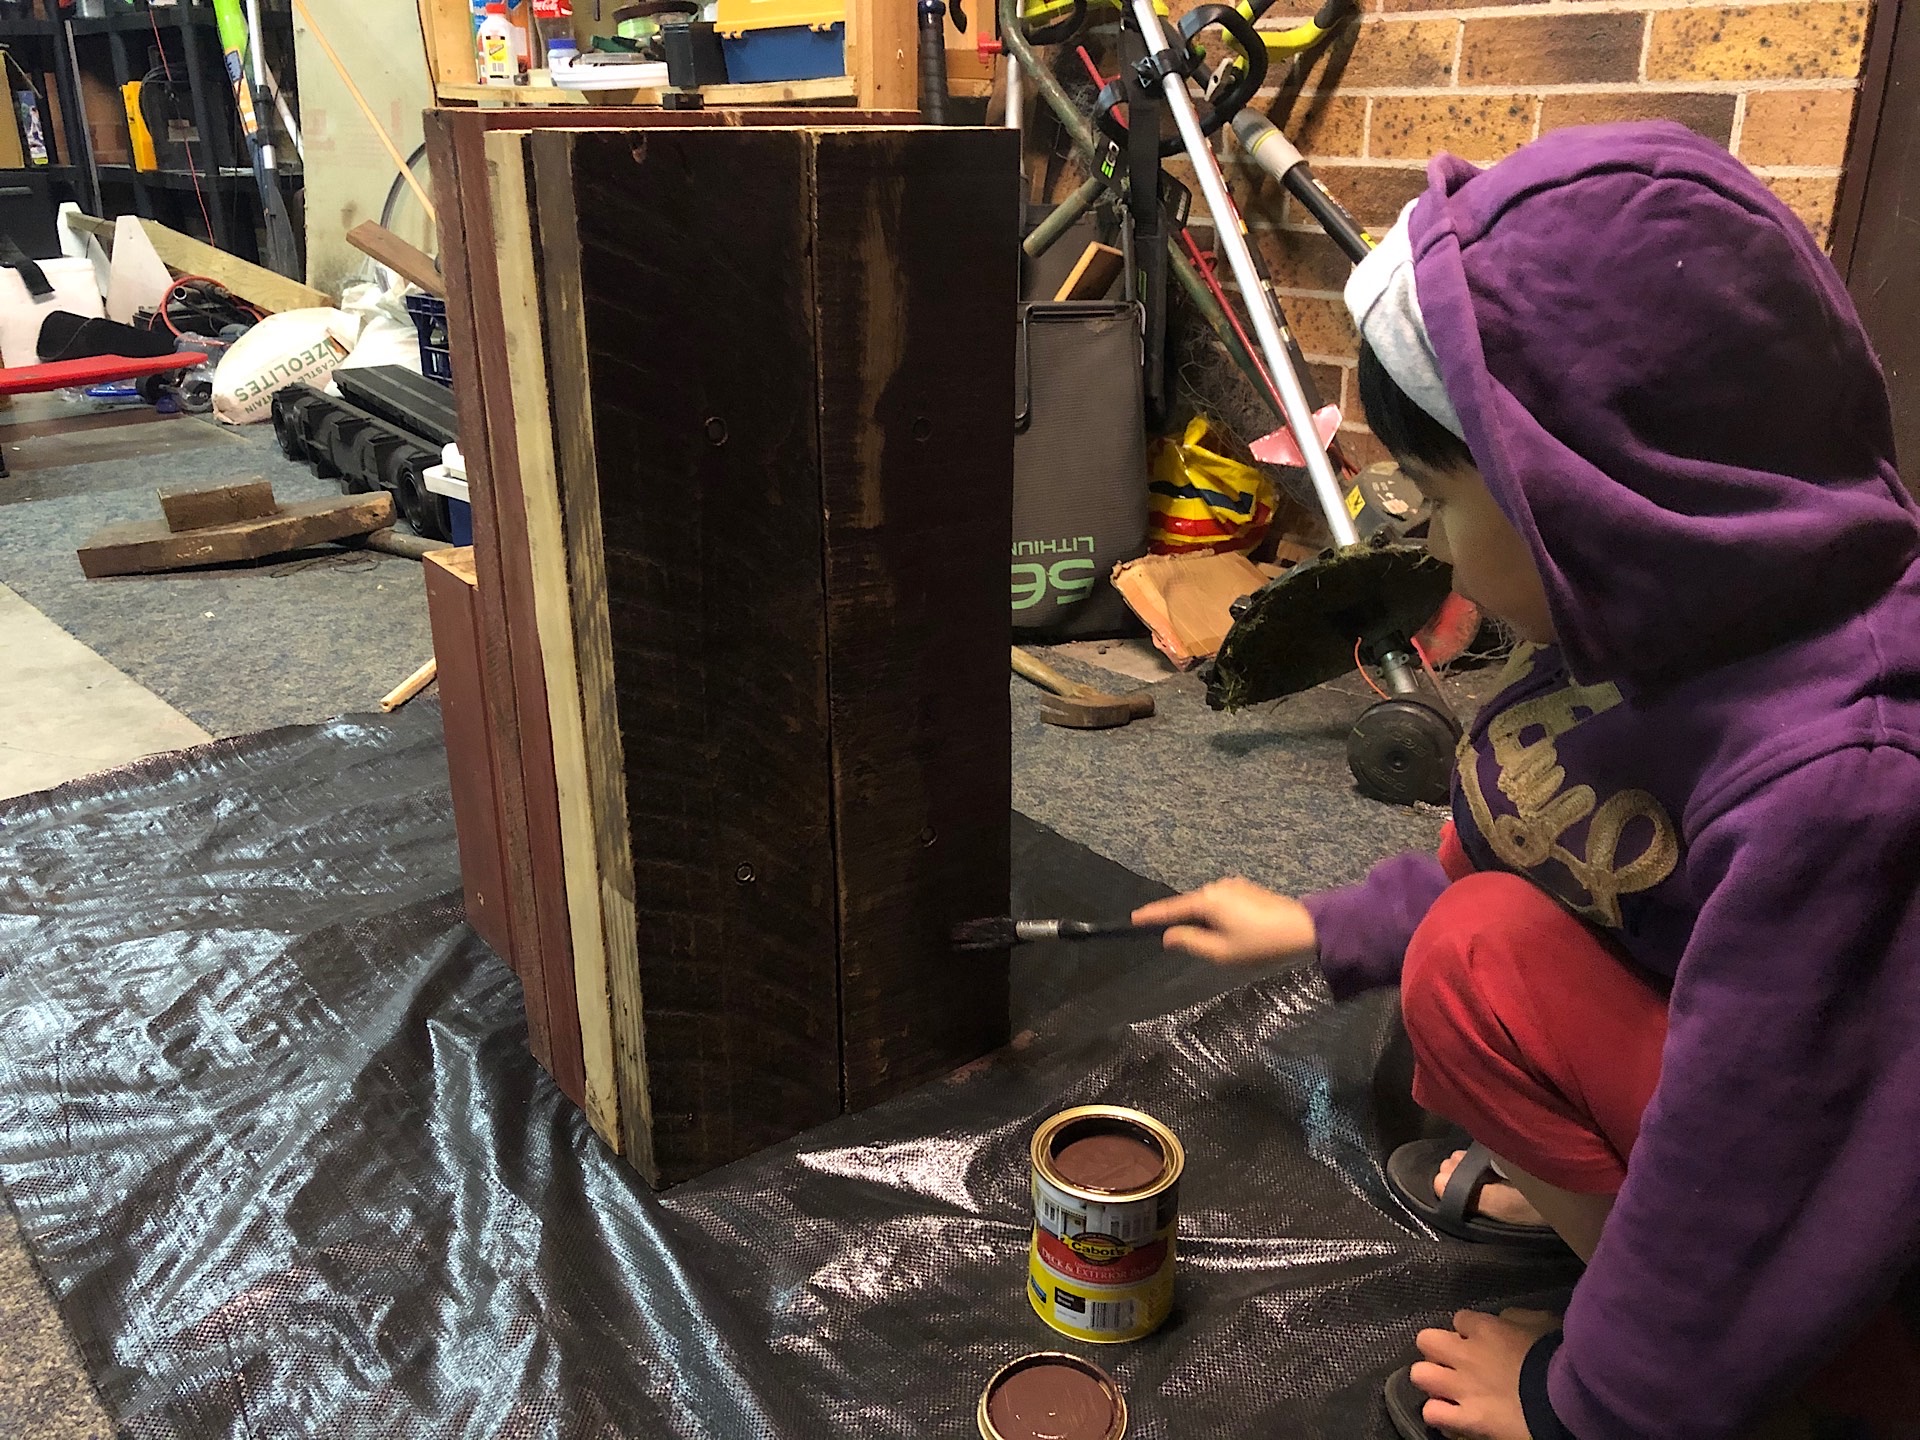
Back to the anvil stand, I braced the base to strengthen it and make sure the glued square sections won't move away from one another. I then removed the braces and started painting.
My son came down again to help me with the painting. I initially didn't plan to paint the stand but it was such an eye sore that I had to do something.
After some more coats of black paint and a clear top coat for protection (I should add more coats...), I started screwing the crane rail onto its stand. The screws are long and the screwing process took a while.
The result
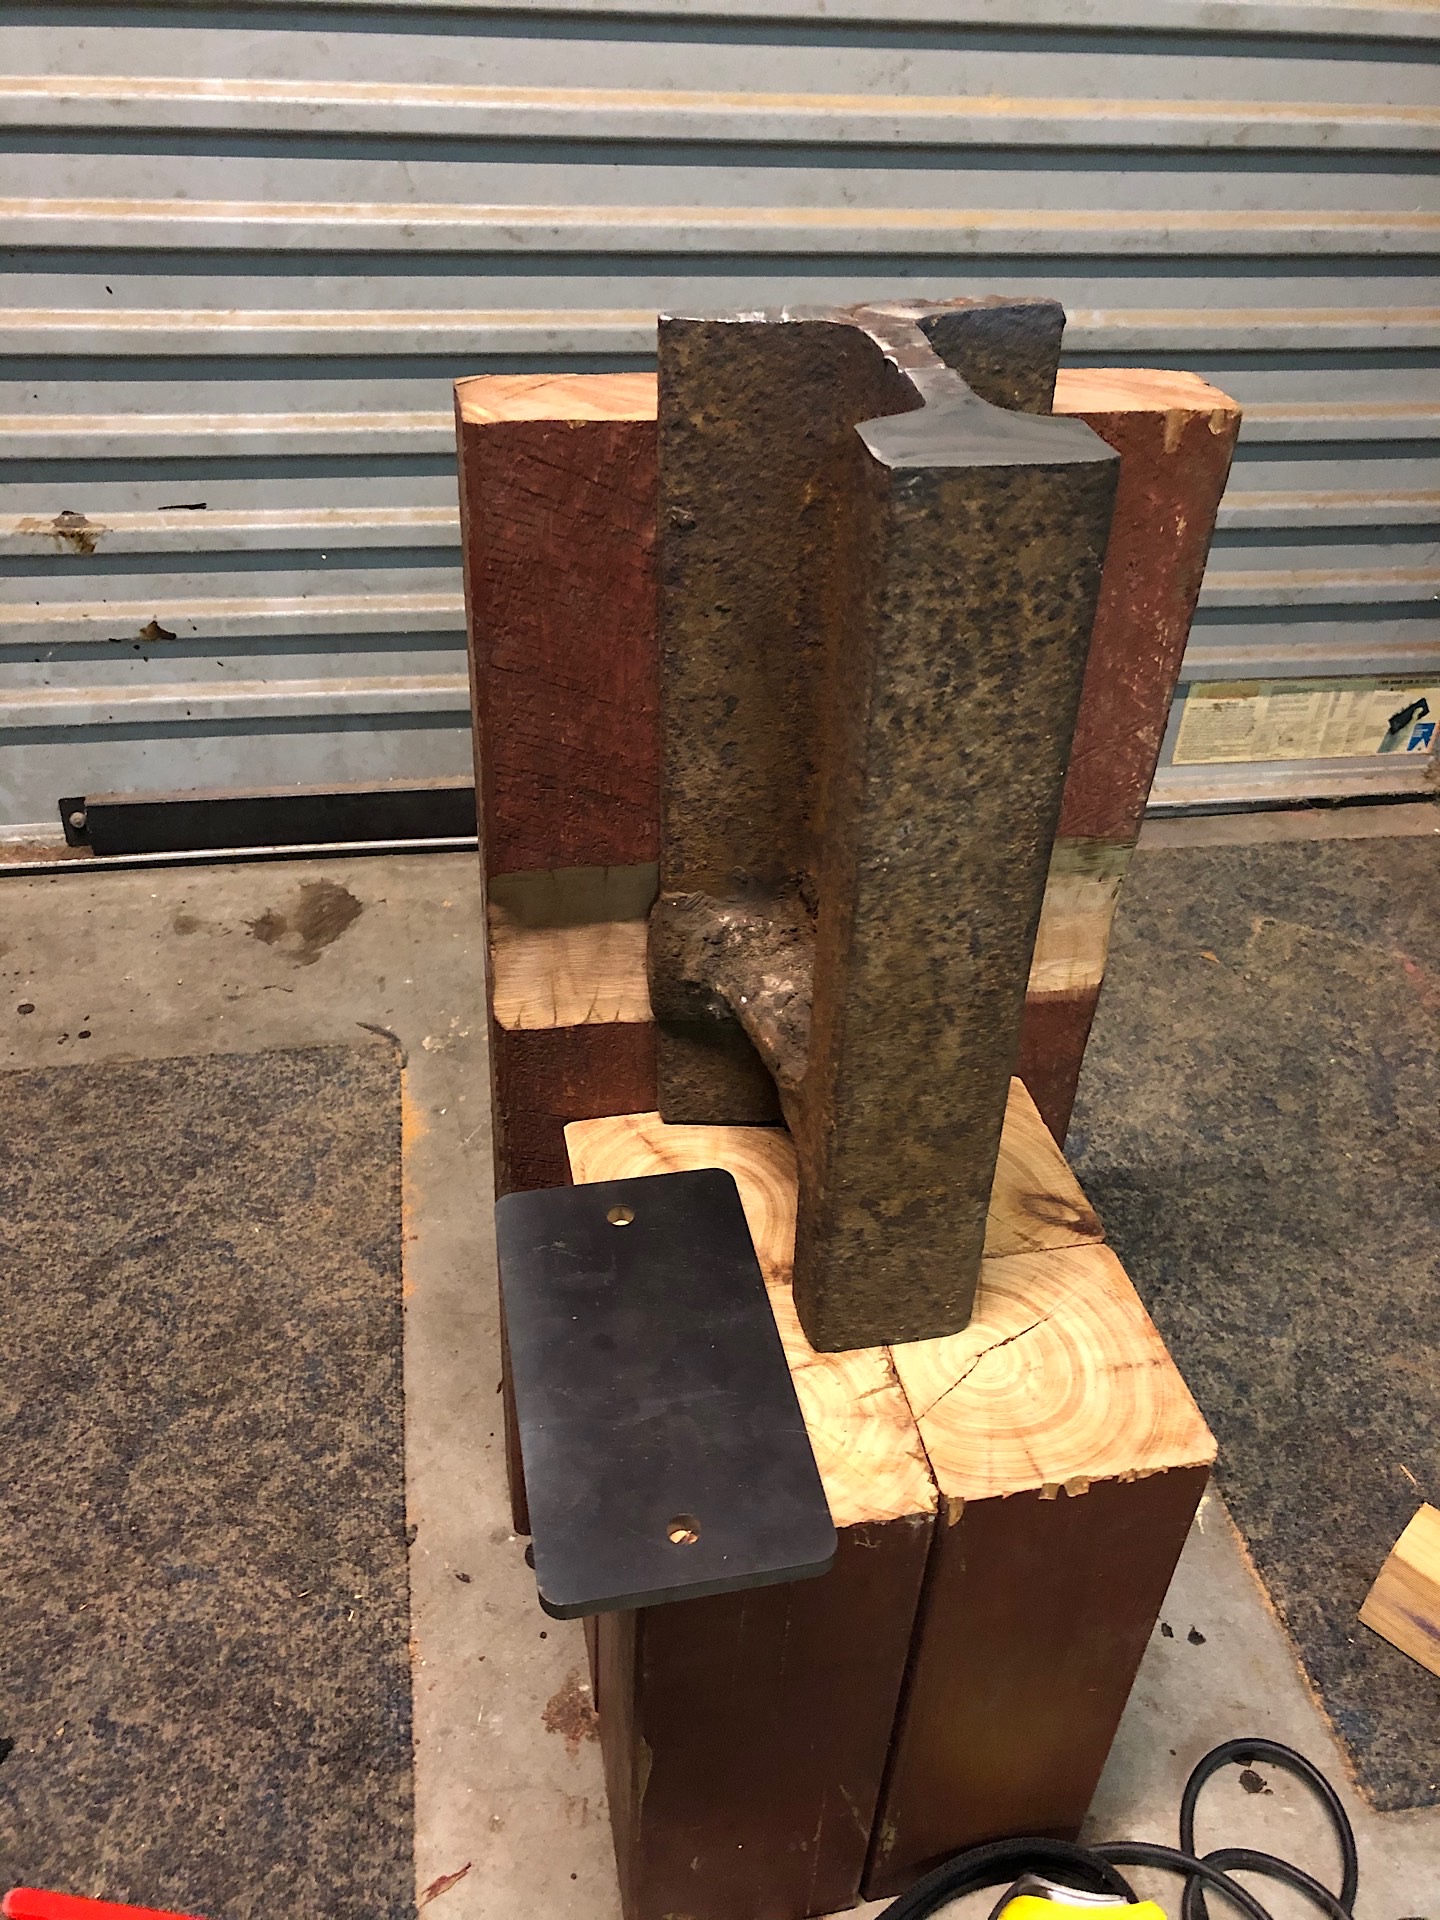
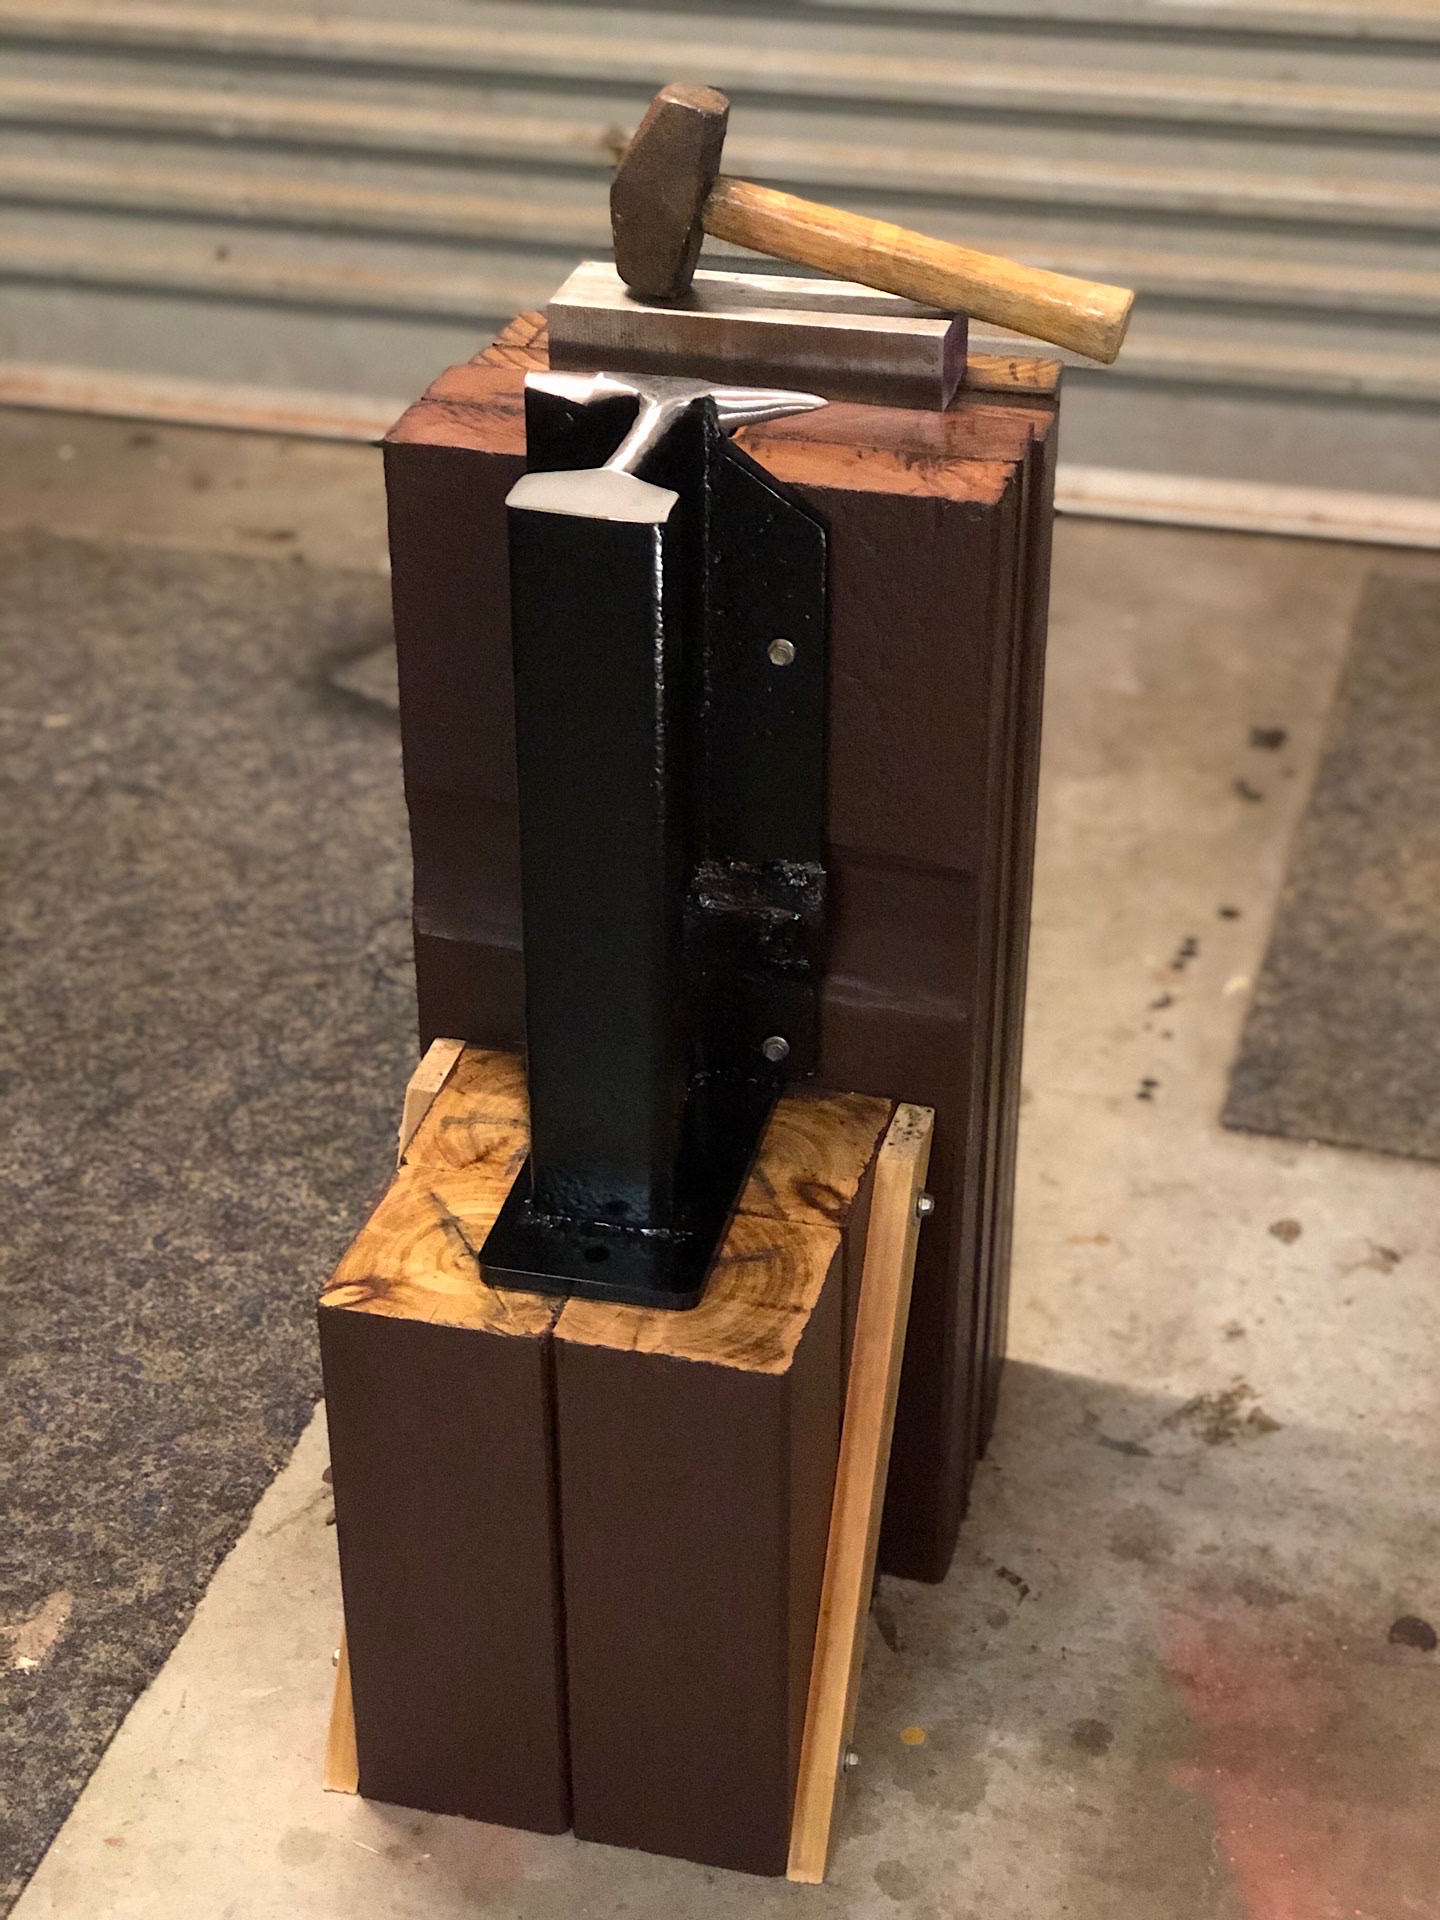
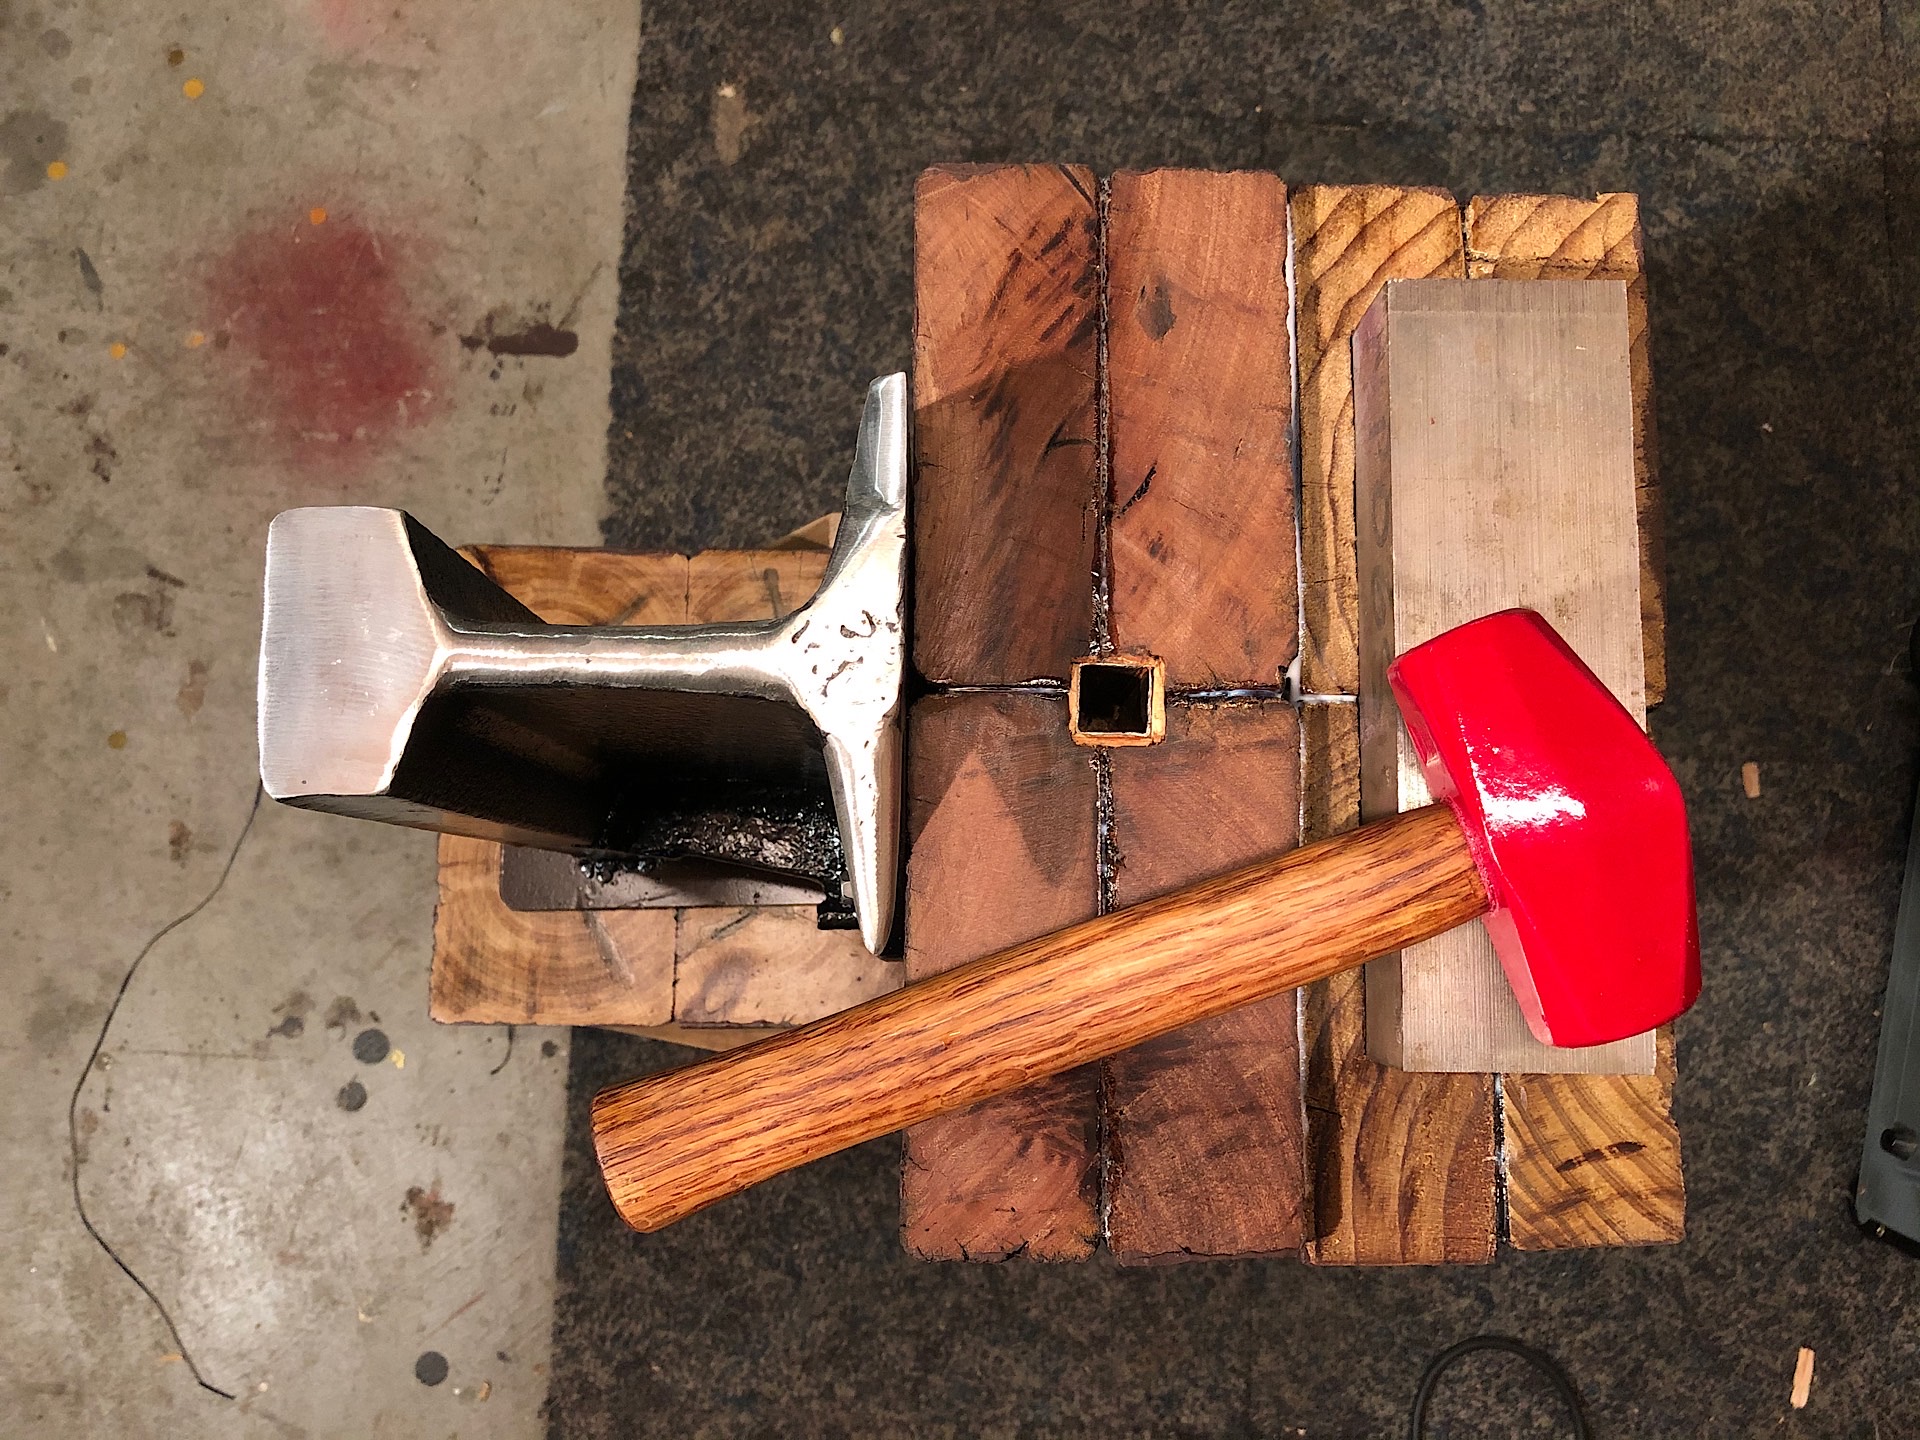
On the night of the 8th day, my anvil was born. From the many designs available online, I chose this one because the vertical rail is more efficient for forging steel providing more mass under the hammer strikes. The larger and flatter steel block will be helpful for some straightening of knife blades.
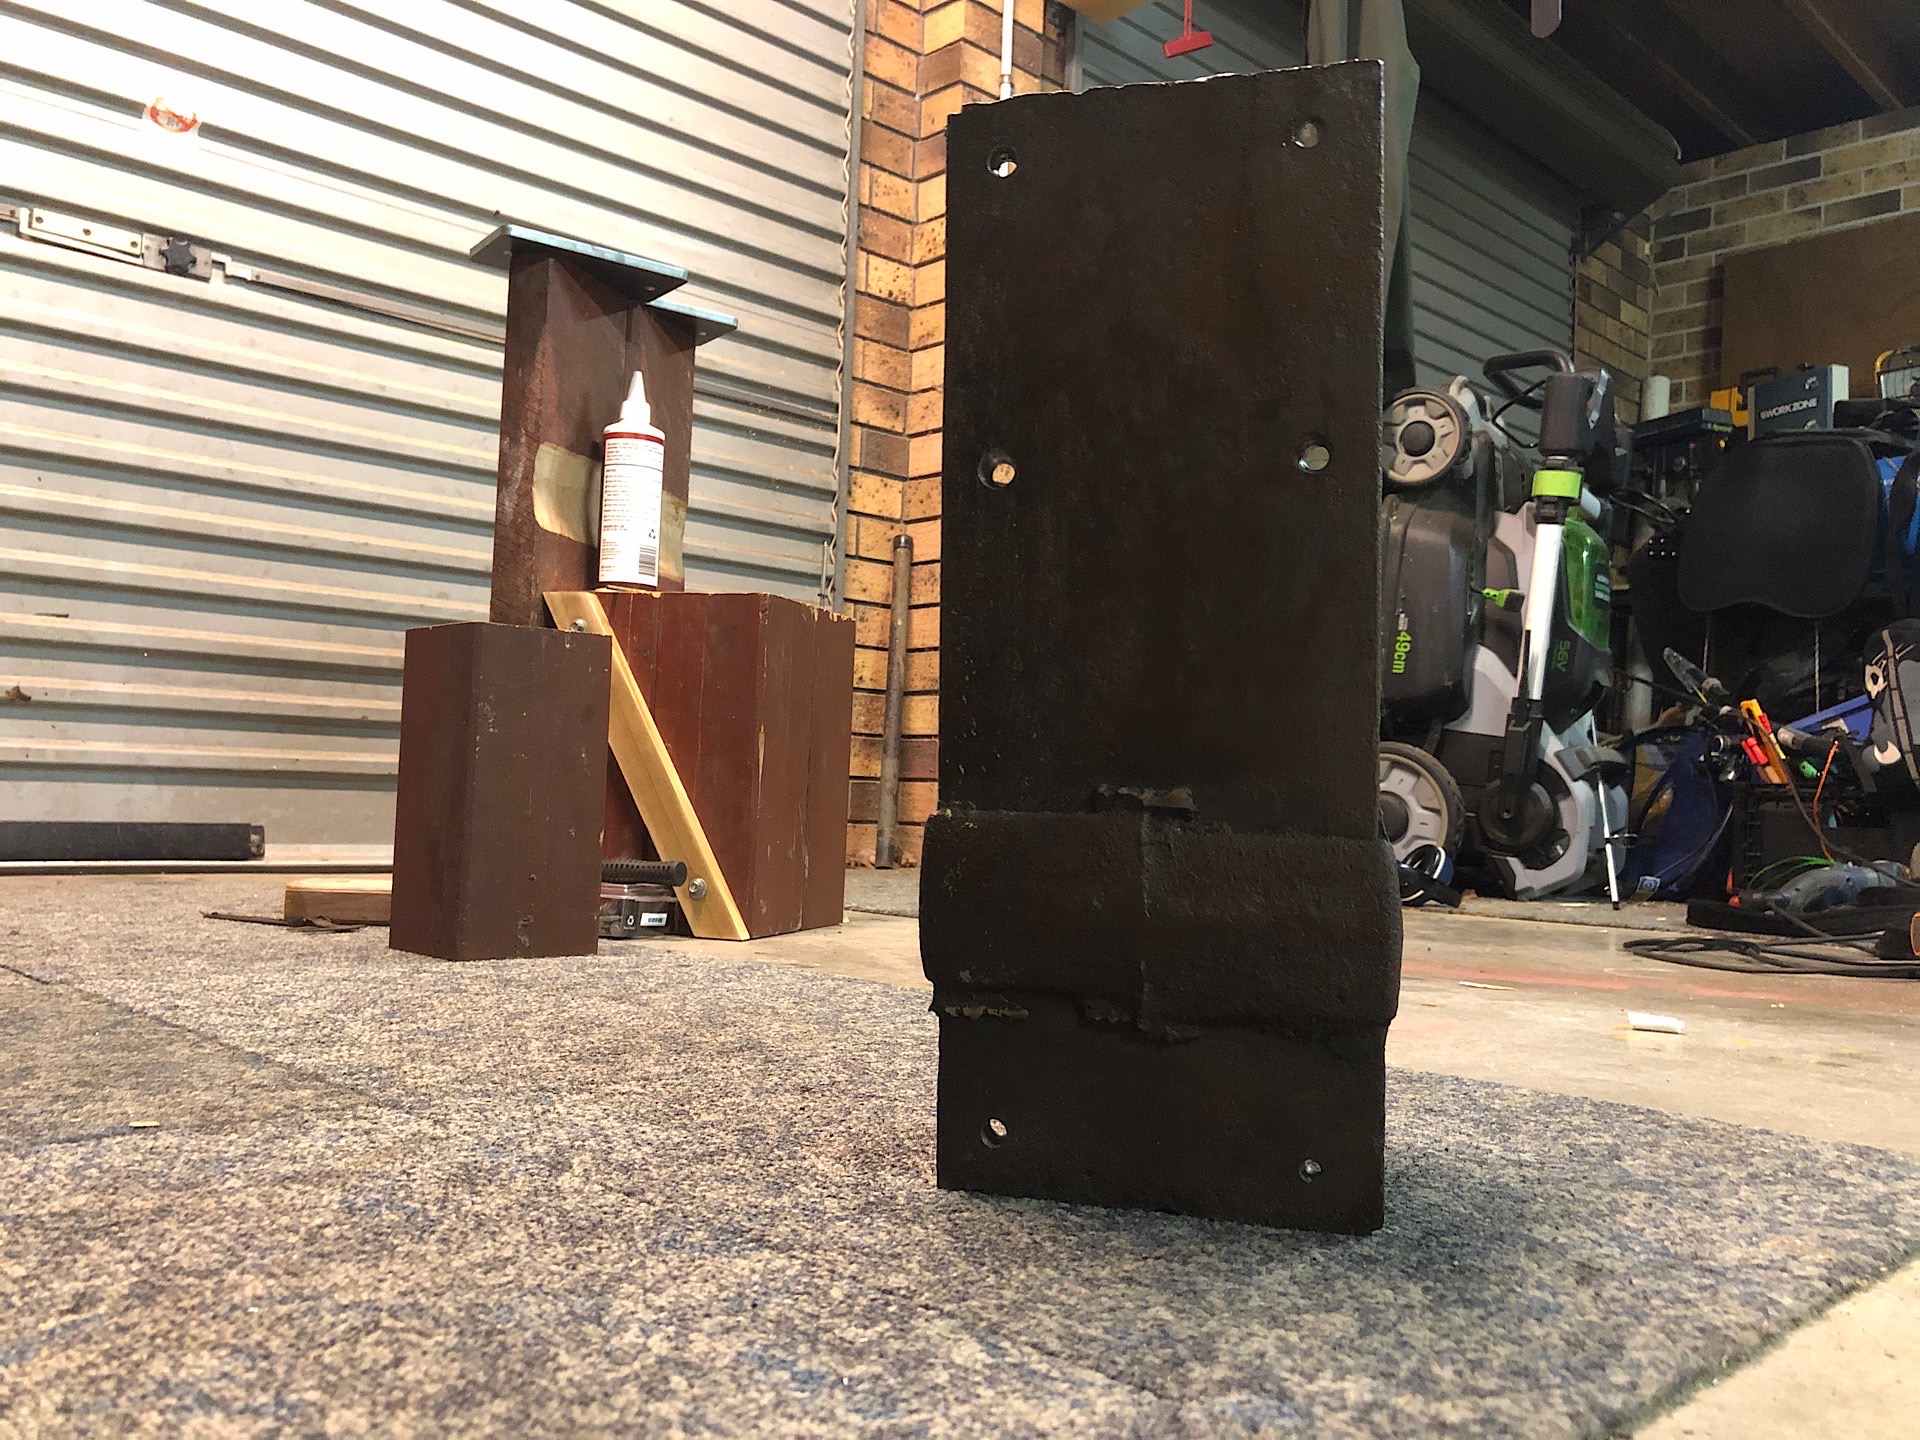
Here is the rear view, the top of the stand was sealed with some natural oil to protect it from moisture.
Here's the front view.
I still had some rust converter left so I applied it on the lump hammer and decided to paint it red 🤣. I then use a scraper to remove the varnish from the handle and applied some natural oil and burnished it into the wood to make an ultra-smooth finish. The oil makes the texture stand out.
Next step? I've already ordered the gas forge, I wanted to build a coal forge but I decided for gas for cleaner burn. I didn't want to mess with building a gas appliance so went for a commercial one for now. Once I will get it I will start forging my first blacksmith tool: a pair of tongs.
![]()
I'm also a Hive Witness, I have been helping some communities and contributing to the Condenser (the software that powers this blogging platform). Support me by voting for my Witness
This post made me remember my father who was a blacksmith.
My brother is now running the blacksmith shop hope to get some photos so I could write about his business.
They say that children follow the path of their parents, their son is small, but at his side he will learn the trade, he will feel comfortable working with you and he will have plenty of time to further improve the tasks entrusted to him.
😍😍😍 Beautiful work
Thank you
Anh giỏi quá nè, cái gì cũng biết làm hết trơn.
😁
@quochuy, Heavy work for sure but in my opinion Hand Work gives more Satisfaction and Fulfillment. Have a blessed time ahead.