One of the most useful, money saving tools you can have on your homestead is a chainsaw mill. This is a guide that clamps onto the bar of your chainsaw, allowing you to make rough cut boards. They are fairly inexpensive with small models available brand new for under $150, used for under $100. A chainsaw mill will likely pay for itself in lumber the first time you cut up a log with it. I thought the following picture would be a good attention grabber, but I debated leading with a pile of boards, which I will instead close with.
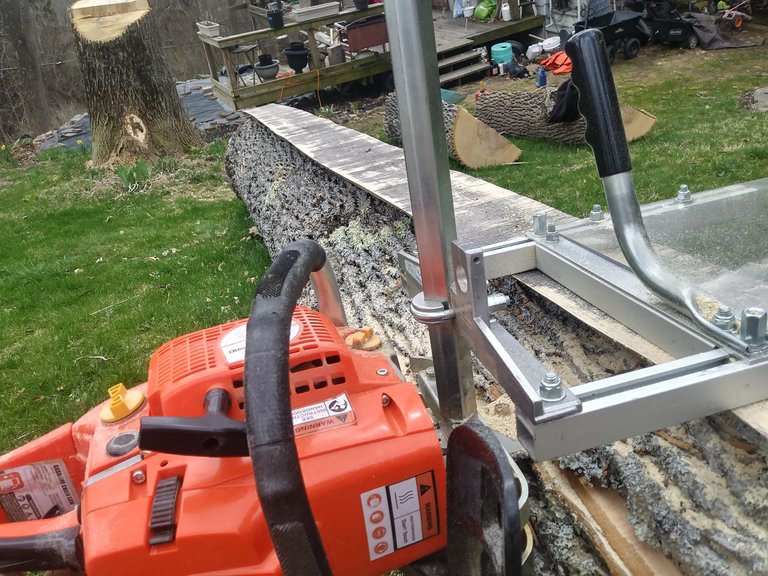
Chances are, if you're homesteading, you already have a chainsaw. There is also a good chance that to mill boards, you will need a bigger one. The mill you will see in these pictures is a Granberg Alaskan MKIII small log mill. It is recommended for use on bars up to 20", and they recommend a saw with at least a 60cc motor. I have successfully milled with a 22" bar on a 58cc saw, and I'm sure that smaller bars could use much smaller motors. If your saw is underpowered, it will still cut, just slower.
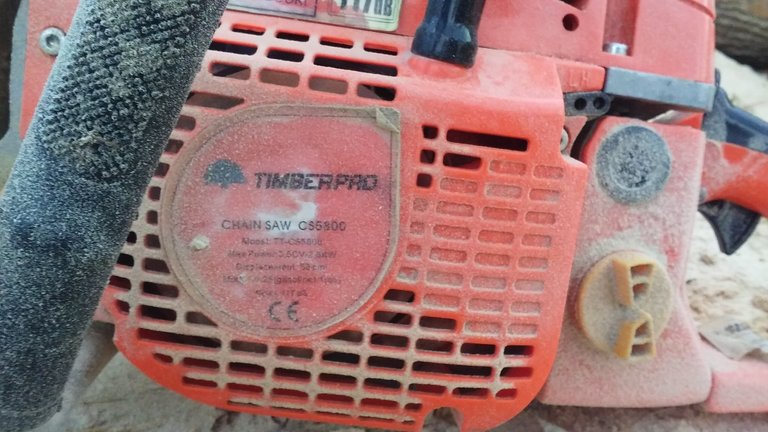
Used saws around 60cc can be found in the $50-$100 range pretty commonly. The old Craftsman SuperXL is a popular one that is a real workhorse, but most of them have a manual pump for the bar oil, which I would avoid. Forgetting to hit the pump for just a few seconds could quickly scorch your bar, and possibly damage the bar, chain, and saw. If you have some extra money to spend, you can find brand new saws around this size on the internet, and I found this one for about $150. This is a 58cc saw, and is a clone of a popular mass produced saw from a company called Baumr-Ag. This one came with a toolkit, a carrying bag, bar cover, fuel mixing container, and 2 extra chains. Having extra chains, and knowing how to sharpen them yourself, is very helpful and will be addressed in detail in a later post.
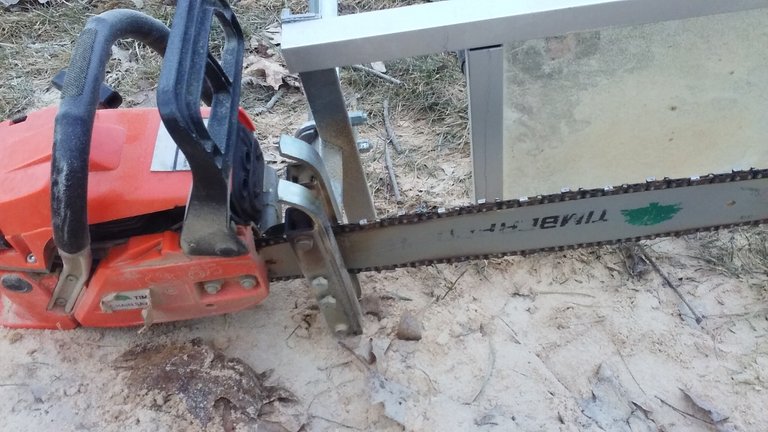
As you can see below, the guide is simly clamped onto the chainsaw bar with a couple bolts. This will leave a couple small indentations on your bar, but they do not hinder performance in any way that I've seen. On smaller, more narrow bars, you may want to make sure that they won't actually be pressing into the grooves that hold the chain. By loosening the U-bolt you can see in the picture, you can adjust the depth of your cut. On this mill, the perpendicular support is marked in 1/4" increments that allow for very quick and reasonably precise adjustment.
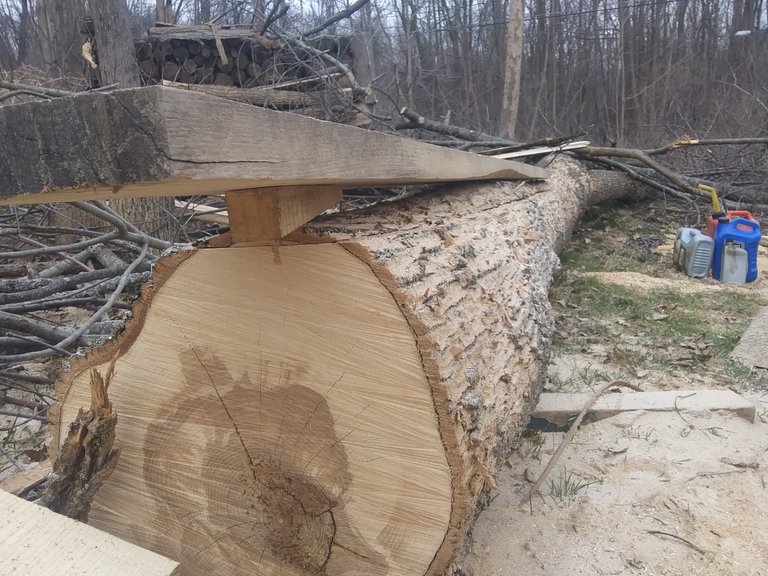
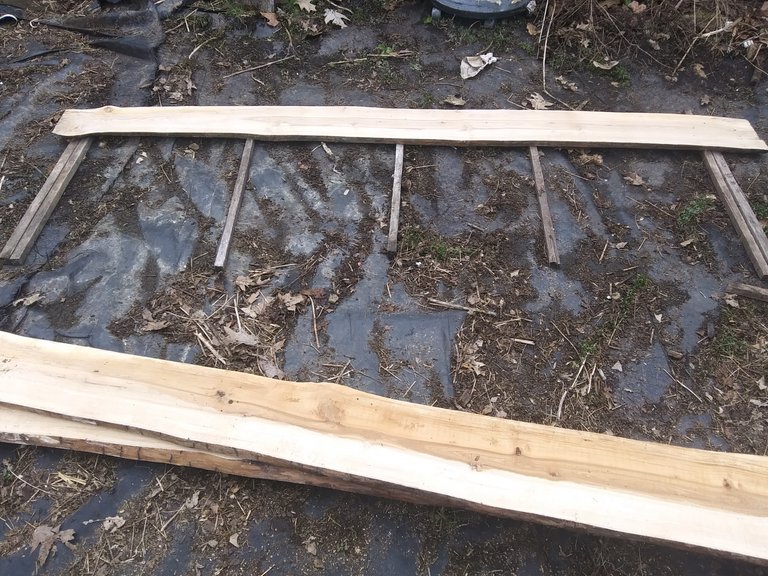
Operation of the mill is very simple. For your first cut, you will need a straight, flat guide to run the mill on. Many people like to use ladders because they are common, fairly straight and sturdy, and often the ideal width to provide a good base for the mill. I prefer to use a board because they are much easier to manage in my rough terrain. For my very first cut ever, I used an extra deck board that I had laying around. Since then, I've picked some of my milled boards to give me a selection of guides, for different situations. The guide board shown below is an ash 2"x8" that was a little too close to the edge of the log to have a perfect board edge.
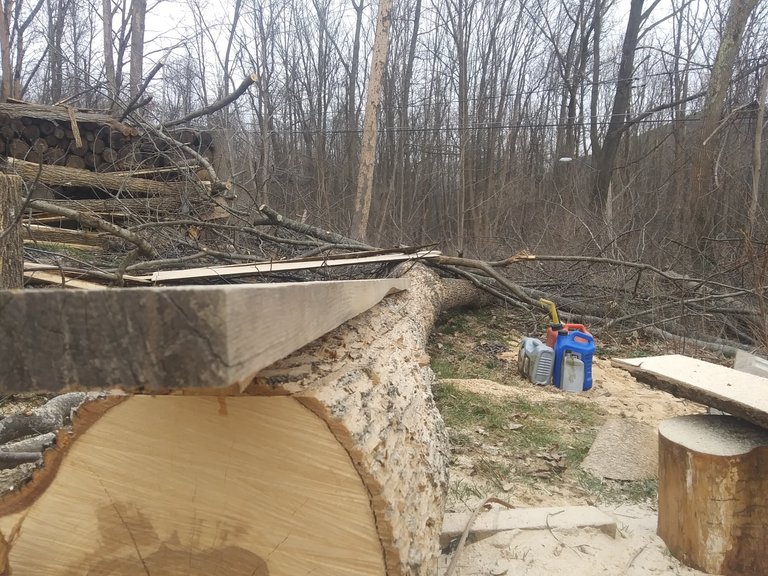
Very few of my trees are straight, so I use wooden wedges to make sure that my guide board is flat and straight, then fasten it down with screws. IT IS VERY IMPORTANT that for your first cut, the depth of your cut is set deeper than the length of your screws. I like to add an 1/2" to the length of the screw, to accommodate for the screw head sinking in lower than the surface of the board. For this cut, I fastened the board with 3" screws, so I set my cut depth to 3 1/2", to ensure that I won't be cutting through the screws.
Once you make your first cut, the top of the log will be your guide, and you simply set your depth to the thickness of board you wish to cut.
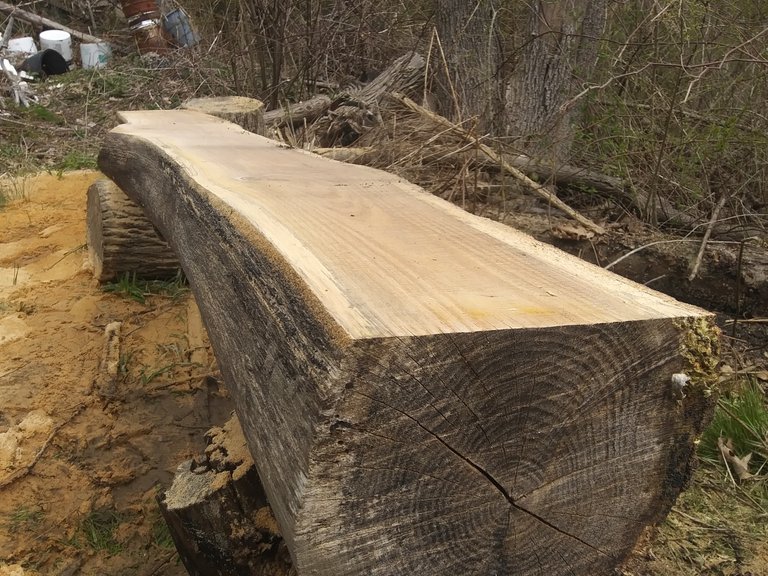
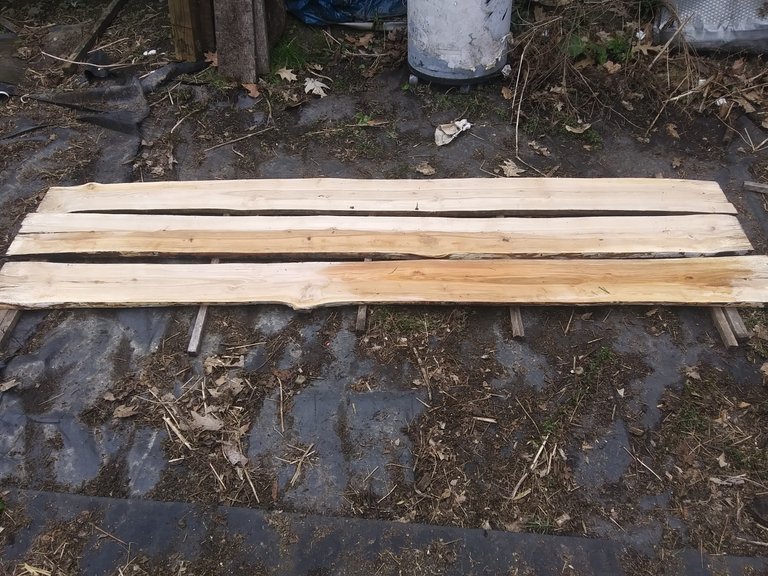
If you're cutting a lot of lumber and do not want live (uncut) edges, then rotate your log 90 degrees and make another top cut perpendicular to the first. If you cut your log this way, you can get the maximum width of each board, and only have one live edge to trim for finishing.
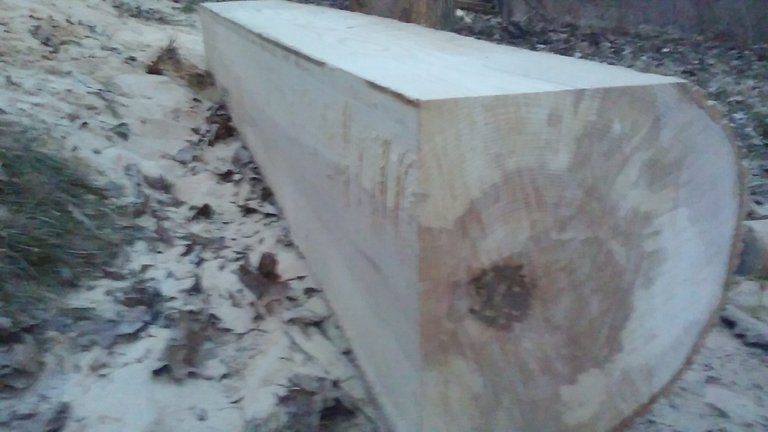
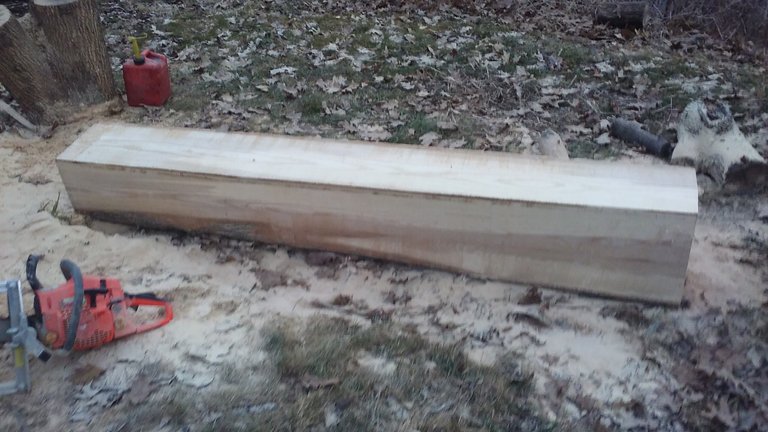
If you're cutting a lot of dimensional lumber, it helps to make a third cut that is parallel to the first, with the depth set to the width you wish your boards to be. Then you can simply set your depth to your desired board depth and zip through the log cutting out boards that need no further processing for construction lumber. They will still require planing if you want a smooth finish.
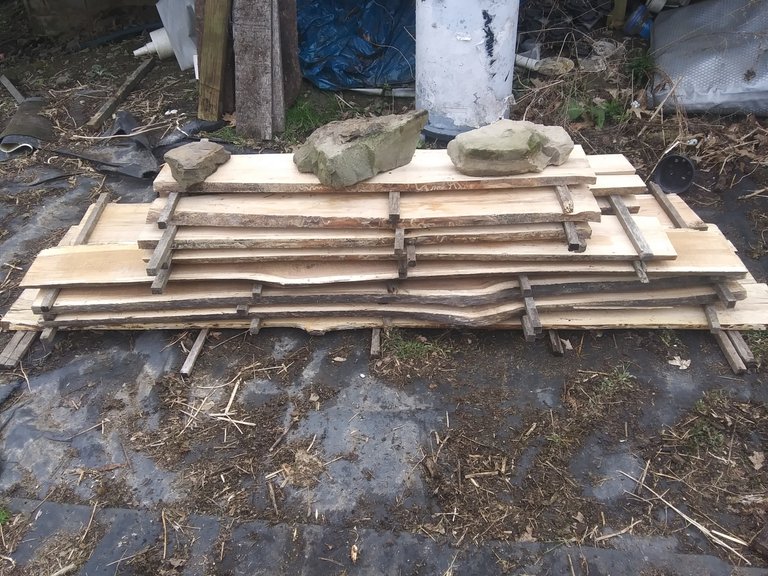
For boards under 1 1/2", you will want to stack them properly immediately. Thinner boards are much more prone to twisting as they dry, and they begin drying relatively quickly once they are cut. You will want to stack them on flat, preferable level, ground. Use small pieces of board (called stickers) in between each layer to keep your boards at least 1/2" apart. This allows air to flow around your boards, so they dry more evenly. If you plan on covering them with something close fitting, like a tarp, then use thicker stickers so the air can move between them more freely. Using doubled stickers on the ends of the boards, like you see below, helps to keep the ends from splitting. You should place your stickers every 2' or less, though I've placed them as much as 4' apart with seeing too much difference in how the boards dry. More than 4' apart and the thinner boards will definitely get some noticeable waves in them.
Use boards of the same thickness on each layer so that your layers stay flat. You also want to leave at least 1/2" gap between the edges of the boards. Because thinner boards are more prone to twisting, I put them on the bottom of my stacks. The extra weight on top will help keep them straighter as they dry. I have found that you can actually straighten out boards that were cut with a twist in them, if you stack them flat and get enough weight on top of them.
I have a lot of project in the works, so to keep waste down I let the logs dictate what boards I cut. There seems to be a little debate on whether your stickers should all line up, or be offset. I haven't actually noticed much difference either way, as long as they are close enough together that your thinner boards don't sag under the weight on top them.
If you've never priced out hardwood boards before, the pile below might not look like a very big deal. In my area, it's about $600 worth of retail hardwood, which is more than twice as much as I spent on my saw and mill together.
Was that enough to whet your appetite? It's really just the tip of the iceberg, and I'll get into more detail of some of the benefits of cutting your own lumber. If there's enough interest, I'll put together a better tutorial of using the mill, with much more detail on setting up the saw and preparing your first cuts. I'll also address modifying your chains to make smoother cuts, or to make rougher (but much faster!) cuts, and making your own stickers from your scraps. I'll also talk about some of the uses for the literal tons of sawdust that board milling will produce.
Feel free to ask questions in the comments, and as always, I hope to see you again soon!
This is great information. I’ve featured your post in The Lotus Garden newsletter. Wish I could reward it more, as it certainly deserves it.
Curated for #naturalmedicine (by @minismallholding) - join our community here.
The Lotus Garden is a newsletter supporting content relevant to Homesteaders & supported by Natural Medicine. Earn LOTUS & HIVE for your #homesteading content!
About II Discord II Community
Putting out great information to help people is my reward. Thank you so much for consistently helping my content reach a bigger audience.
Thanks for sharing your creative and inspirational post on HIVE!
This post got curated by our fellow curator @tibfox and you received a 100% upvote from our non-profit curation service!
Join the official DIYHub community on HIVE and show us more of your amazing work!
Already joined the community, and I hope to put together several posts specifically for DIYHub once I get into my off season.
When I lived out in the country back in the 1990s, I had one of those chainsaw sawmill guides. It was really handy for making squared off posts and beams for building with.
That looks like some nice hardwood you're cutting boards from.
It's mostly ash, not quite sure which variety. We have been losing them to emerald ash borer beetles for years now, and I had several that leaned precariously over the house and power lines. There is also some oak that had to come down, and in the future a couple large hickory trees.
Yeah, we've had a lot of problems with ash borer beetles here also, plus the oak trees have been dieing from oak wilt fungus around this area.
That's pretty nifty! I'll try not to show hubby, or he'll want one even though we won't use one.
@tipu curate
Upvoted 👌 (Mana: 16/32)