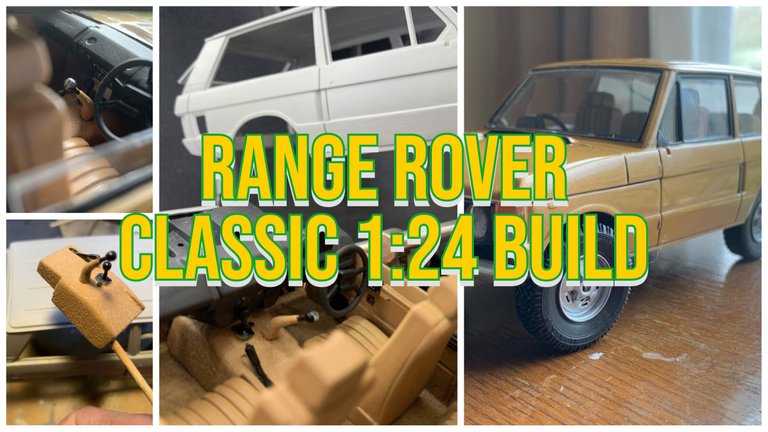
It's model making time again, this time to a previous lock-down project not shared before. This kit came at a bargain price and I just couldn't resist it. The Range Rover is a classic that is adored by many, and has a lot of character for building as a scale model. Originally launched in 1970, the Range Rover has even been displayed in the Paris Louvre as an “exemplary work of industrial design”.
It came to be called the Range Rover 'Classic' only once the 3rd generation with a significant body style change was launched in 1994. The idea for a luxury 4x4 was new in 1970, and the car went on to prove very popular, being used more than just by farmers or for off-roaders. People found it to be an immensely capable family car, and liked the status of riding high. The formula was set for all of the luxury SUVs we see on the road today. So I decided to add one to my model collection, and build it to the spec I desired.
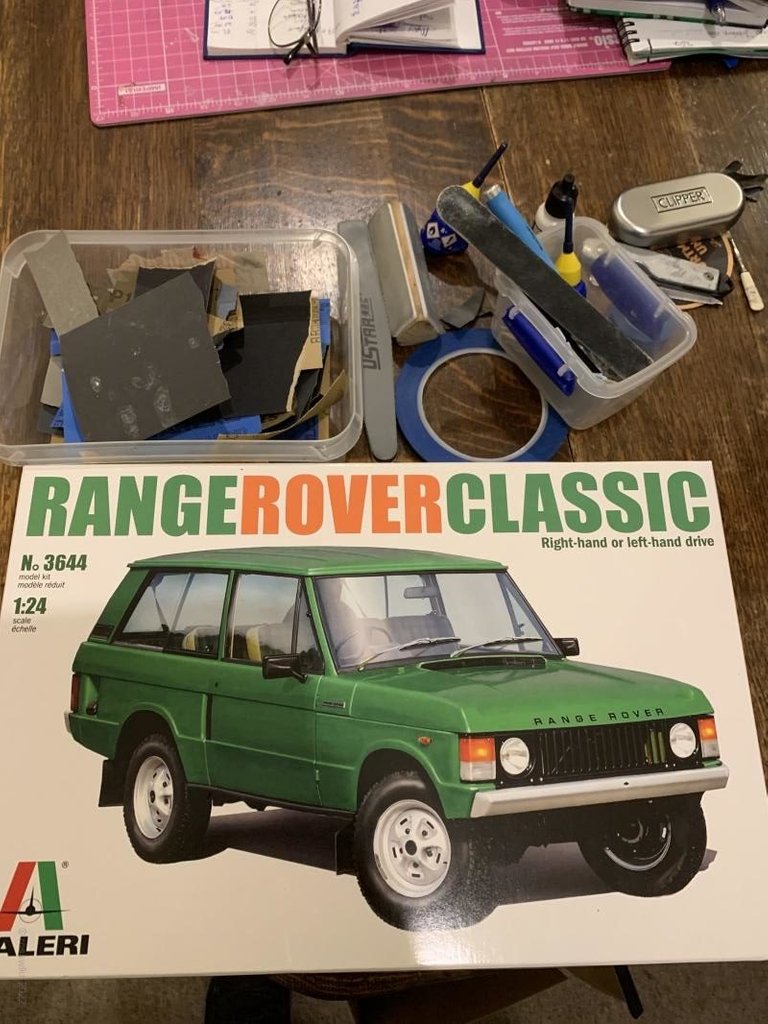
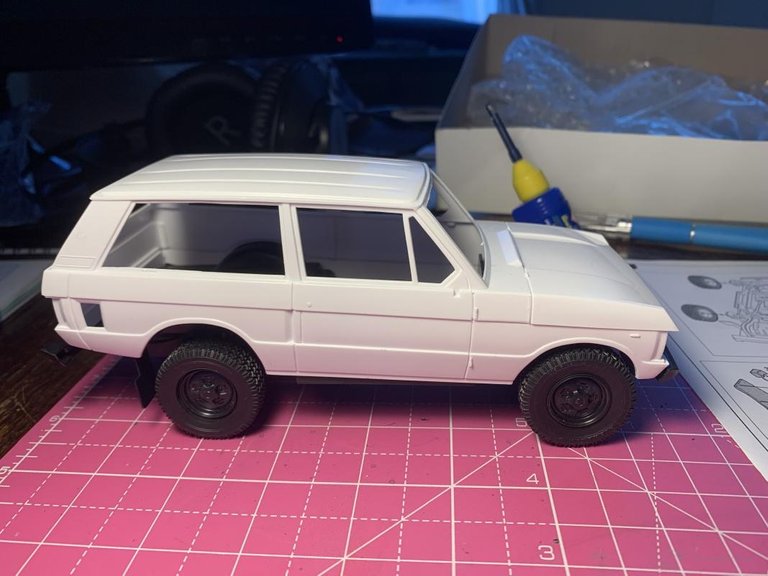
It all starts here - The box with the kit and some tools
Chopping it Up
The body of this model was well presented in white plastic initially. Before going to paint or anything else, I want to make any modifications early on. The model came with the option of cutting the tailgate so it can be modeled in an open position, and expose more interior details. These Range Rovers had a split tailgate, the window section lifting up and the bottom section folds down to create a kind of bench. Very practical for all types of activities, or to sit on whilst watching some event like sports day or horse racing. It's great that Italeri includes the option, just you have to take care and use a proper modelling saw (below) then shape it a bit with sandpaper and files.
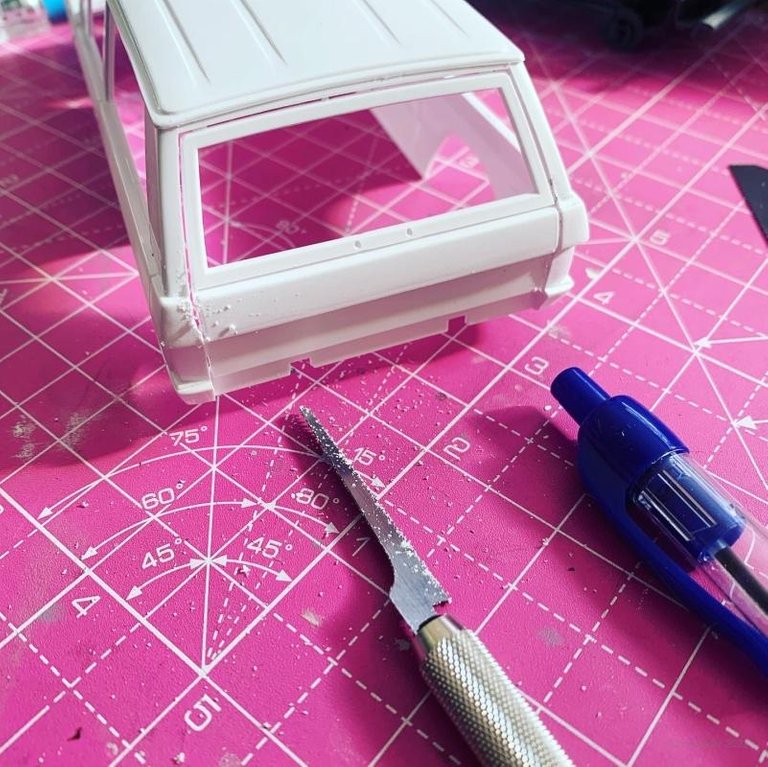
Starting to cut the rear tailgate
Below, the cuts are made and the tailgate does not have hinges, it will remain more or less in this position or the fatigue on the plastic would cause them to snap off. Adding hinges is a more involved and tricky operation that may be attempted on a future build!

Cutting completed
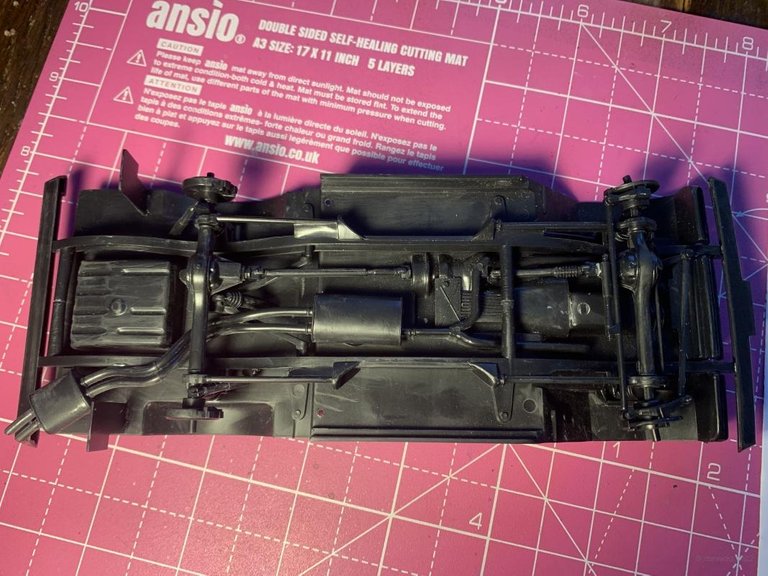
Construction on the underside was fairly straightforwards, most of the effort was to be on body and interior look. More realism was added with paint later, this is just the raw underside so we can test body fitting and correct any shaping before paint.
Testing the fit, everything seems to be in order. It's best to check these things early and then corrections can happen from the start of the build.
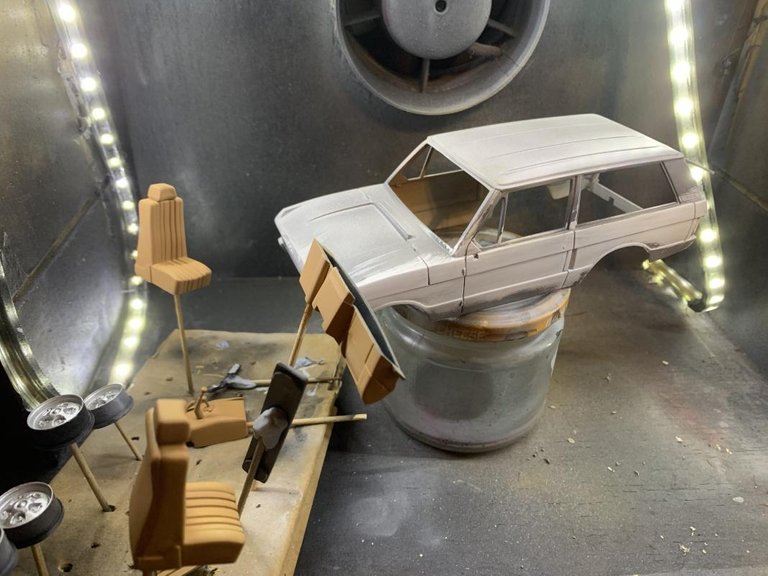
Placed for illustration only - many of the parts coming on with base colors and the body has begun to be primed
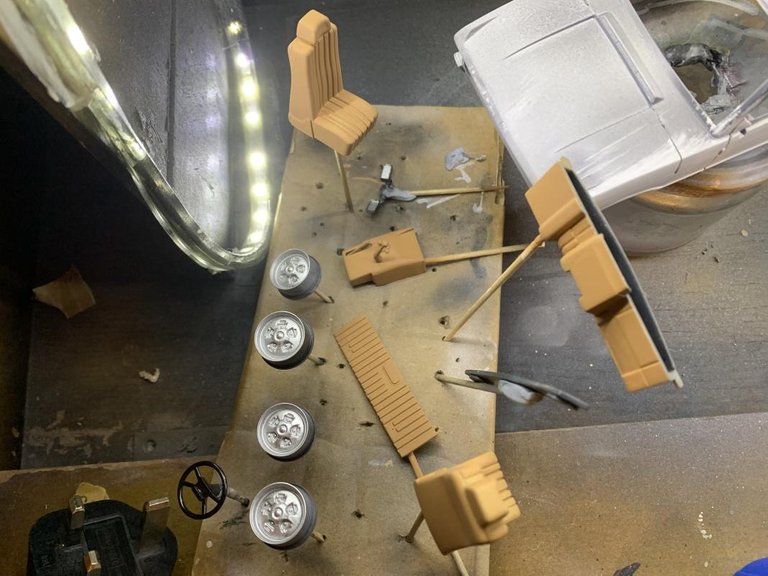
I wanted to get the small details right on this build. The interior color was created from a mix of paints to closely match photographs, and in a matte finish which looks more realistic/less like plastic than glossy seats
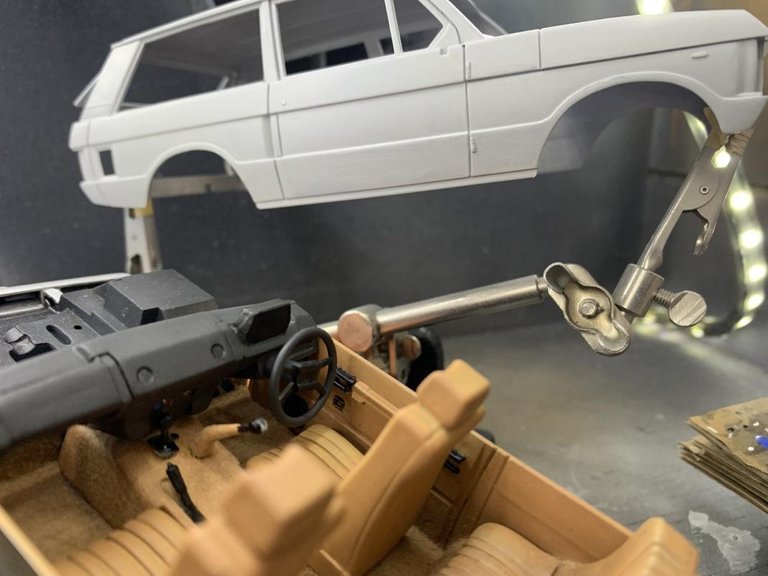
Interior is mostly done at this stage, and the body is being left until last. Right now it's had more primer but must be left to harden for 1-2 days before sanding and adding more if required.
Interior Details
For carpeted areas of the interior, I used what is known as 'flocking powder' and managed to find this sand color version of it to match. First you just use a brush to put watered down upvc glue where you want the flock, then using a very small sieve (actually in my case, a tea strainer), we sprinkle the flock and it sticks only where you put the glue. The trick is in placing your watered/diluted glue carefully, and using enough flock to soak it all up and adhere to the surface. With a bit of skill and luck, you can end up with a very carpet like effect. The flocking must be very fine in order to be at 'scale'; this is what adds the realism in many aspects of model detailing - it's always important to think of scale and not only rely on the kit instructions. Use your creativity too!
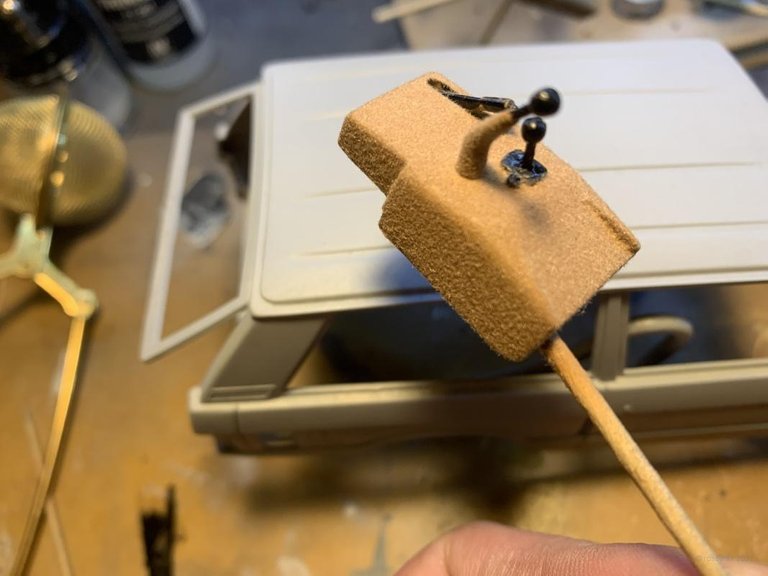
Flocking the center console
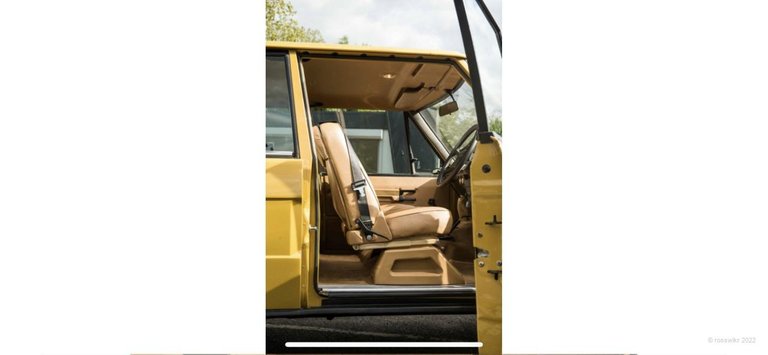
Color scheme inspiration
Bahama Gold
This is the name of the paint that inspired me to try and mix a color which closely resembles it.

Source: headlightmag.com
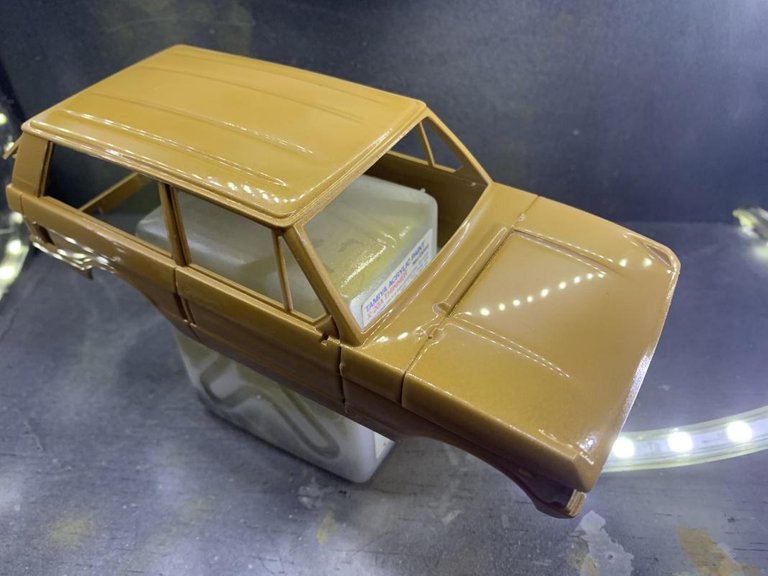
Body Painting
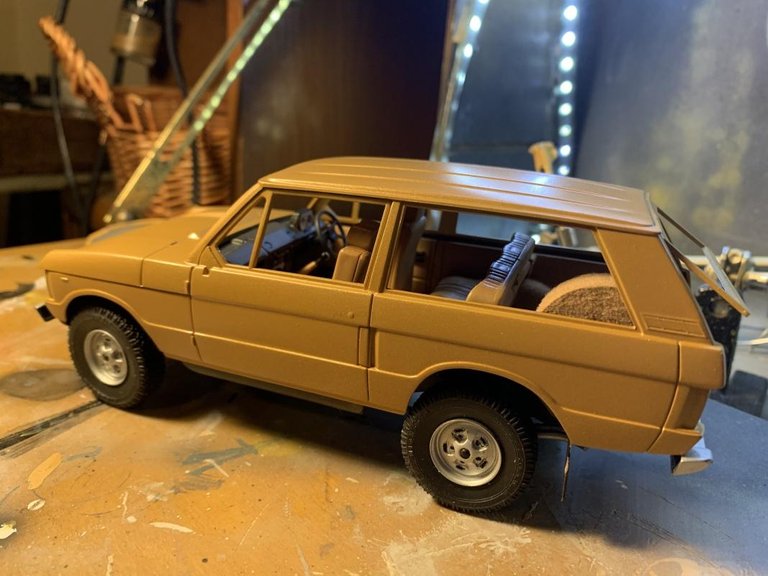
The color was mixed from some different gold, yellow, brown acrylic (water based) paints and applied over white primer with an airbrush. It is meant to match closely Bahama Gold, an original Range Rover paint option. There were some specialist model paints on the market, however they were cost prohibitive and would be a few weeks to deliver. Plus I might struggle to use them. Best to keep things simple - model making budgets can run out of control if you let them.
In order to achieve this I'd built a DIY paint booth and used a reasonably priced air compressor and airbrush. Airbrushing the entire body here is time consuming, and we need to do many coats with drying time in order to build up a solid color. I have to confess, the rattle cans might be faster yet the end result was much finer and scale - using automotive rattle can paints tends to result in larger grain - the airbrush disperses paint in much more fine particles which add to the scale and depth of finish.
Later some errors had to be corrected (still some exist), and several layers of a hard wearing clear-coat for models was added. Following which, black details could be added and simply wiped clean if they went wrong, before a final clear coat varnish to hold it all in.
Happy to have made a close match to Bahama Gold
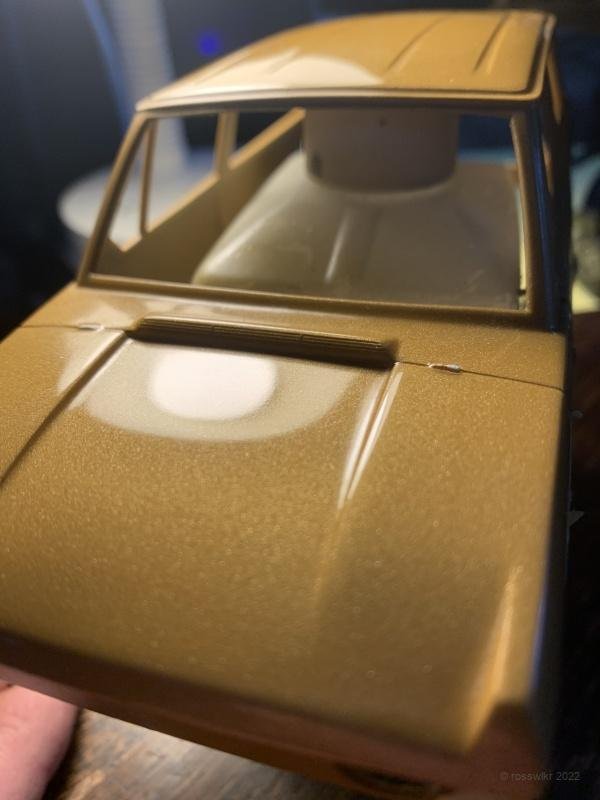
Finish of body painting is coming closer
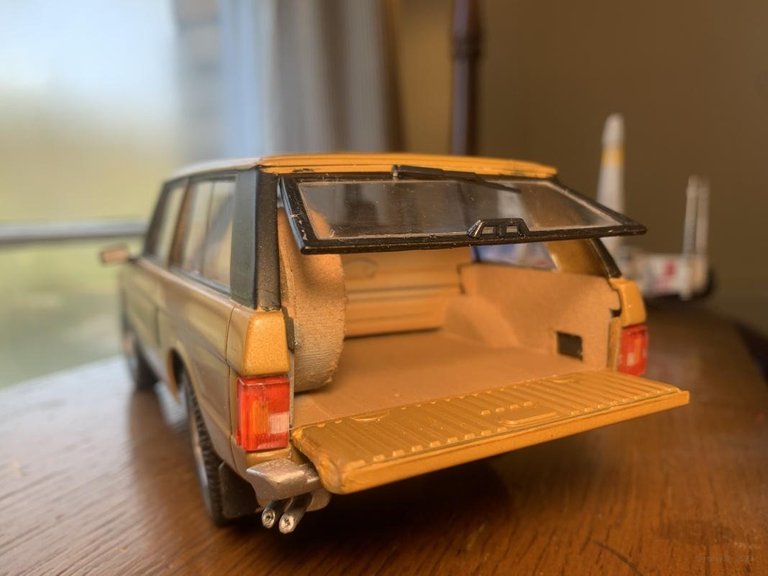
End result with carpted spare wheel and sides, plus much detail added. Painting taillights by hand is always a challenge, a 000 brush and clear paints are used on the inside of the clear plastic parts provided.
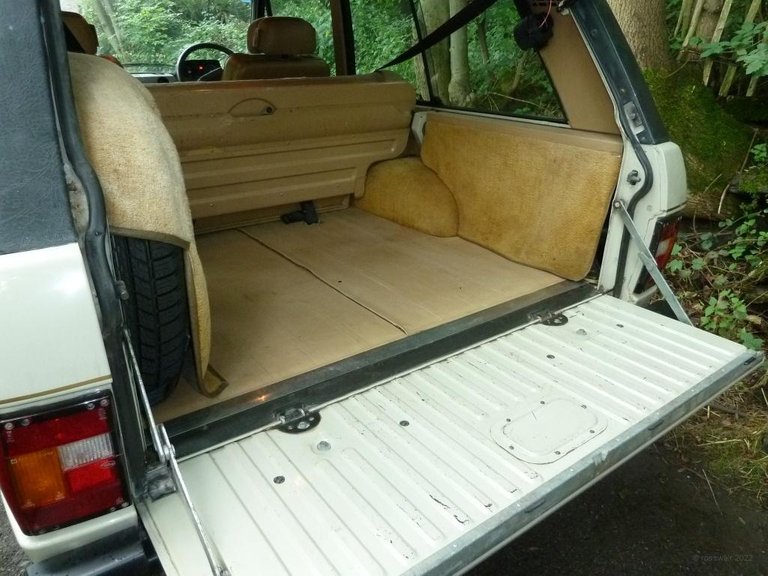
Reference shot for the rear section details
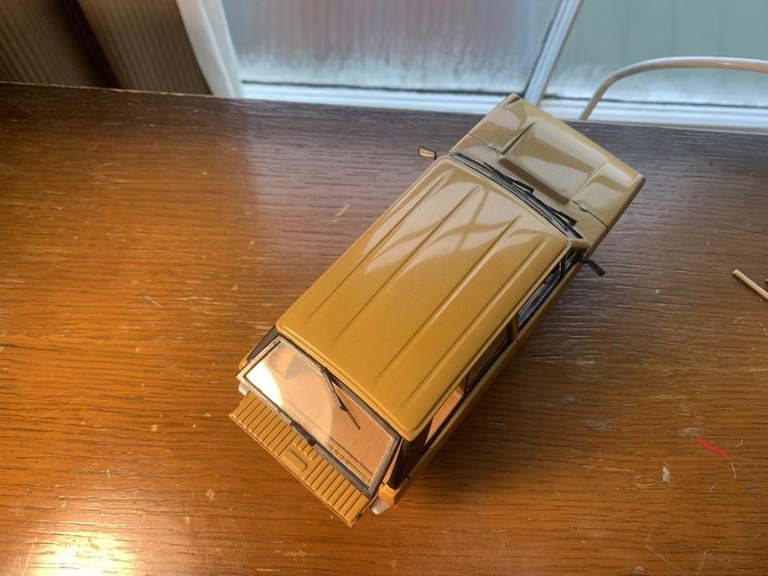
Featured in the paint booth before final details and glass installation
Finished Piece
This has been a mere whistle stop tour, as I never captured every last step of the details and many small tasks undertaken! For that, you can find many long and in depth videos and blogs online by very skilled model makers. There would be too much to include here, so it's left as some inspiration that even a relative amateur with enough patience, simple tools and other few useful things here and there can produce a result like this. It's also a great way to unwind and focus the mind. Models can be built over any period of time, the next one I do may take months or even a year. The best is to always carry out small steps and not rush for the finished piece. The longer you take, the better it may turn out.
Polishing took a few more hours
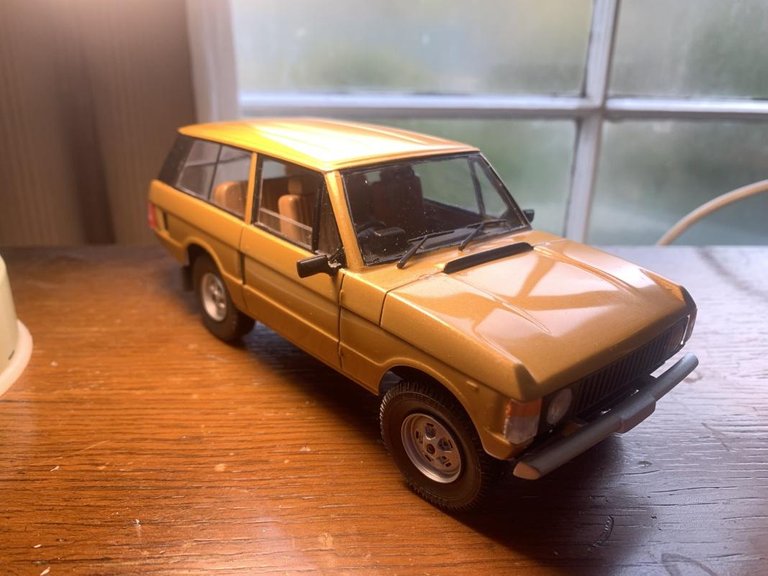
Complete at last, albeit for a few tiny details which can always be added later.
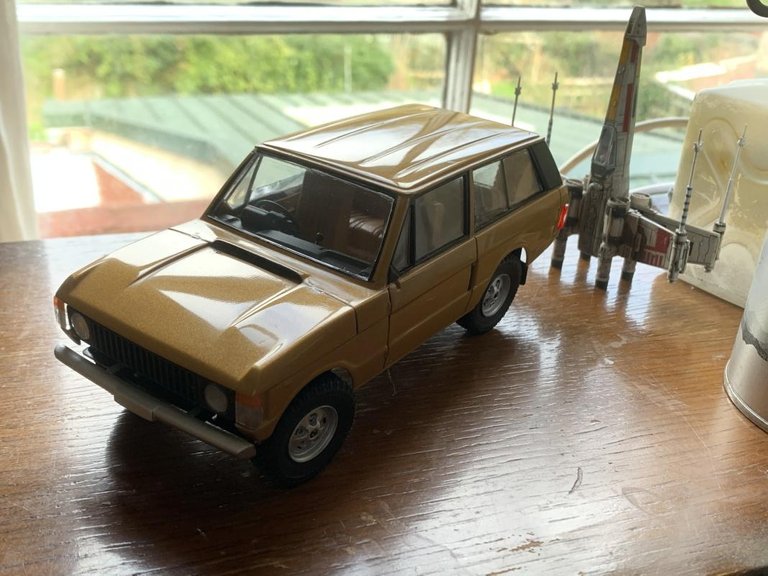
It still needs the 'RANGE ROVER' script to go on the front of the bonnet. X-Wing model behind.
Very happy how this came out, and will go for more of these kits in future as they are fun builds. There is no engine in this kit. However the body and interior part details are excellent.
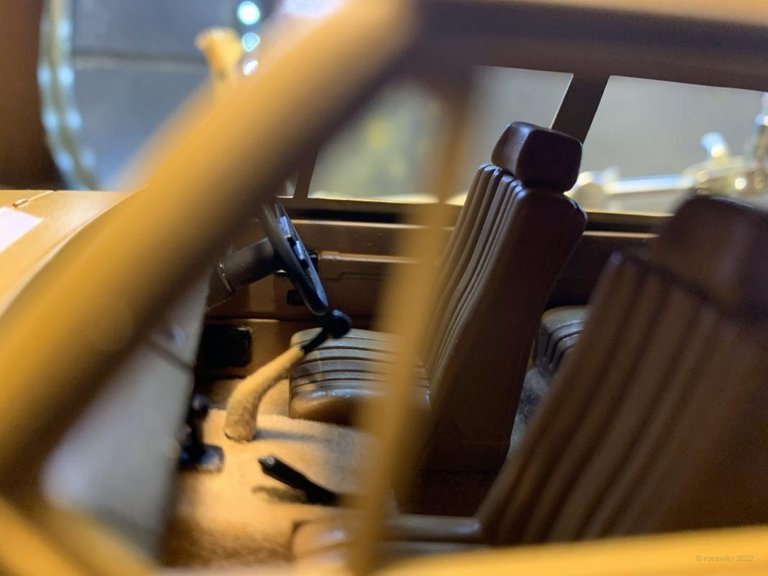
Through the peephole ... finished interior

Through the window, purposefully modified to remain half open
Thanks for reading, and hope you like the final result of this Range Rover Classic in Bahama Gold! Happy model making :)
Posted from my blog with Exxp.
Shout out BitShares Open a free named account today. : https://newtonclassics.co.uk/scalemodels/ranger-rover-classic-italeri-124-scale-model-build/