Today we will look at how to use Avocado pits and Skin to dye wool.
First you will have to find and eat the Avocado. Then save the skins and pits in the freezer or use them right away if you can eat a few avocados.
I do not particularly like avocados so i waited till a friend of mine ate a few to save the skins and pits to use. Unfortunately this friend did not eat that many avocados and up in Canada in winter they get expensive, spoil really quickly, and are not very good tasting. So i used just one frozen skin and pit to do this post. It is a good base level as to what to expect when it comes to dying wool with avocado skins.
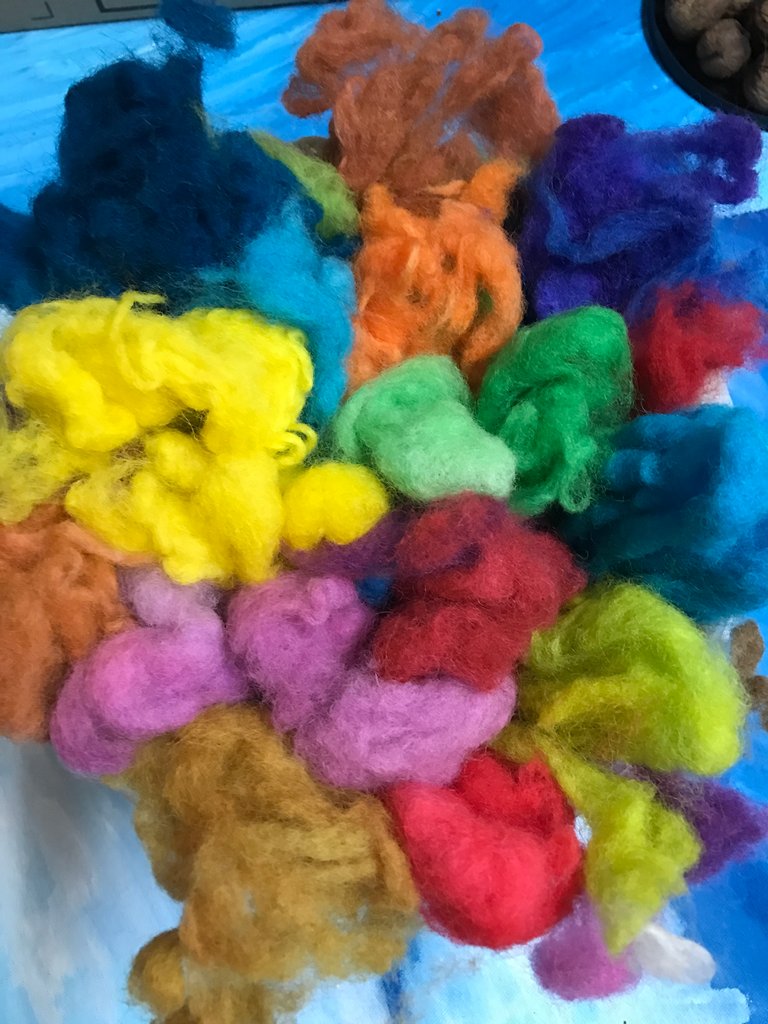 Here is a selection of wool that i dyed with various methods of dye. Some are natural dyes some are food colouring some are a mix. Ill do another post of other natural ways of dying wool in later posts.
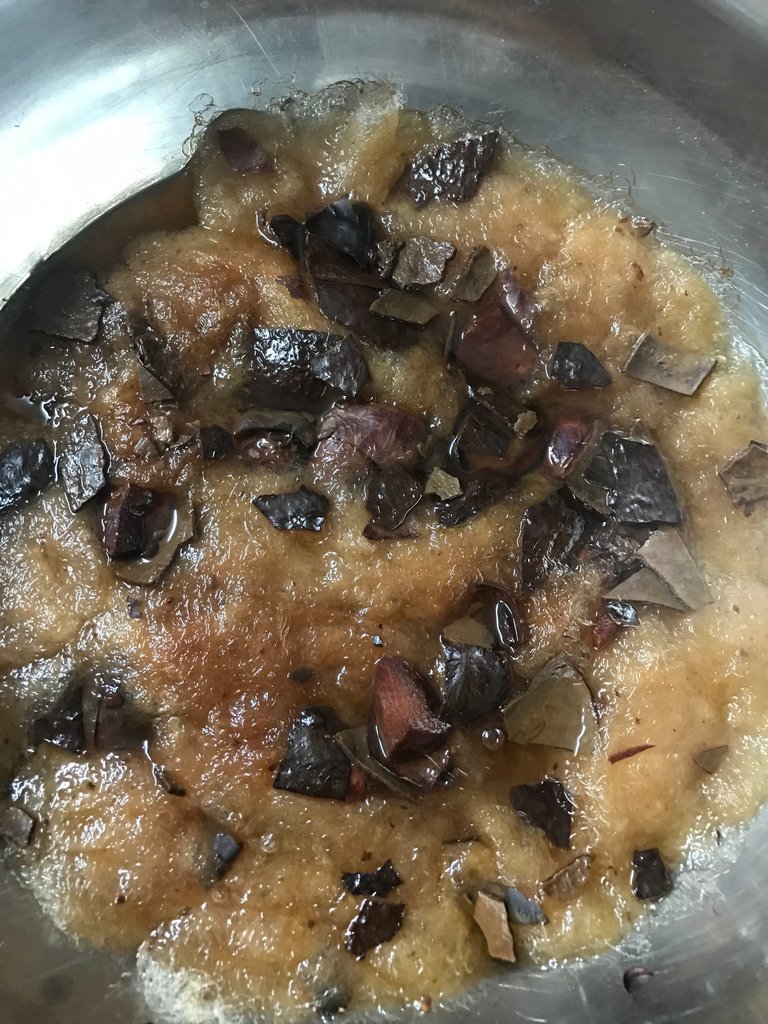
 break cut chop or mash the avocado pieces into a bowl of water.
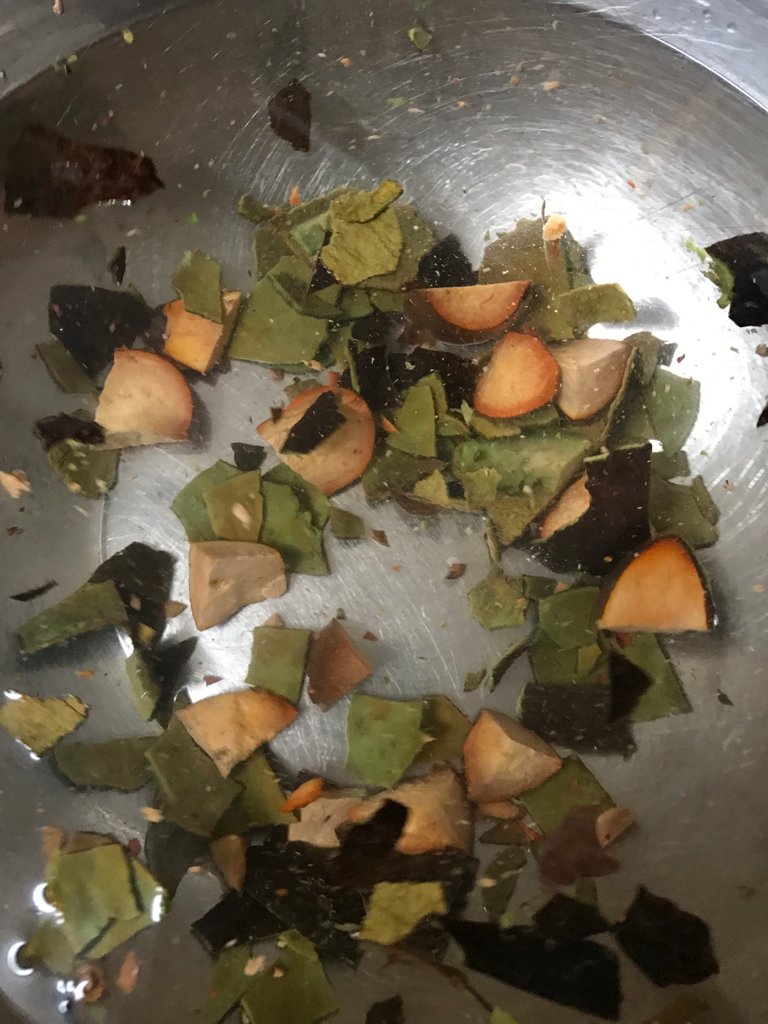
I put about 15grams of wool into the mix. or enough to get covered by water depending on the size of the bowl.
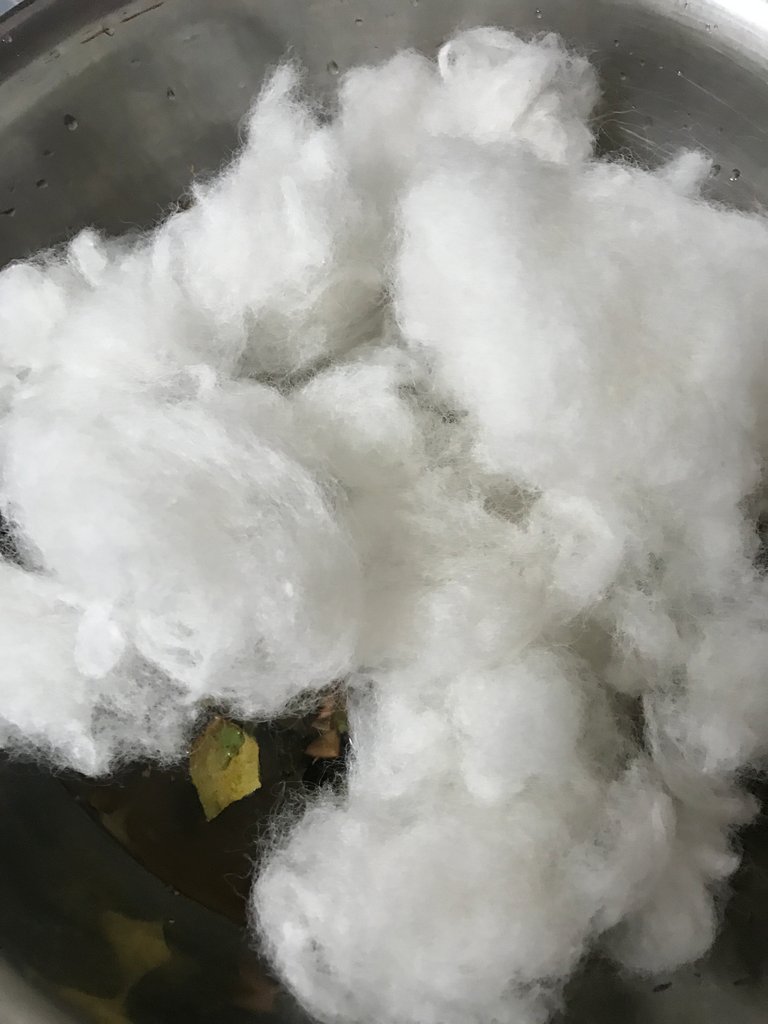
 Press the wool down and let it get wet. Some people say to wet the wool first then transfer it into a dye. There are many ways to do this but it makes sense to have dry wool soak up the dye on the first round as it will be the most porous at the first intake of water.
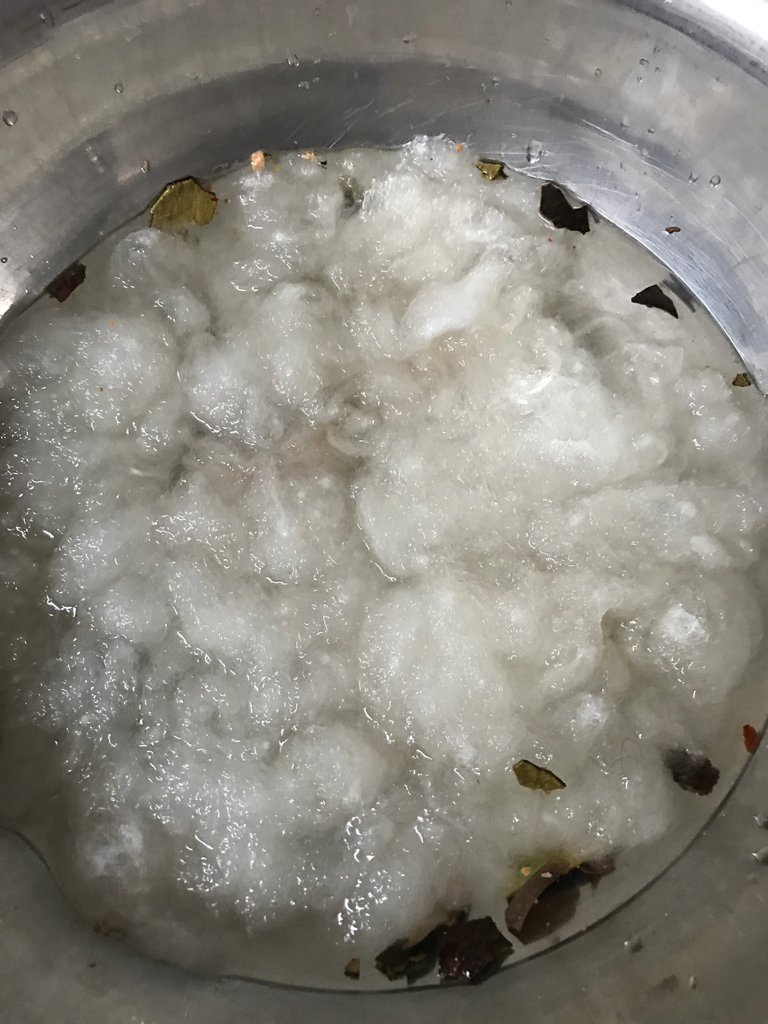
 Put the bowl onto the electric stove on the lowest setting and leave it there for a few hours. The colours will start to steep through as the heat builds.
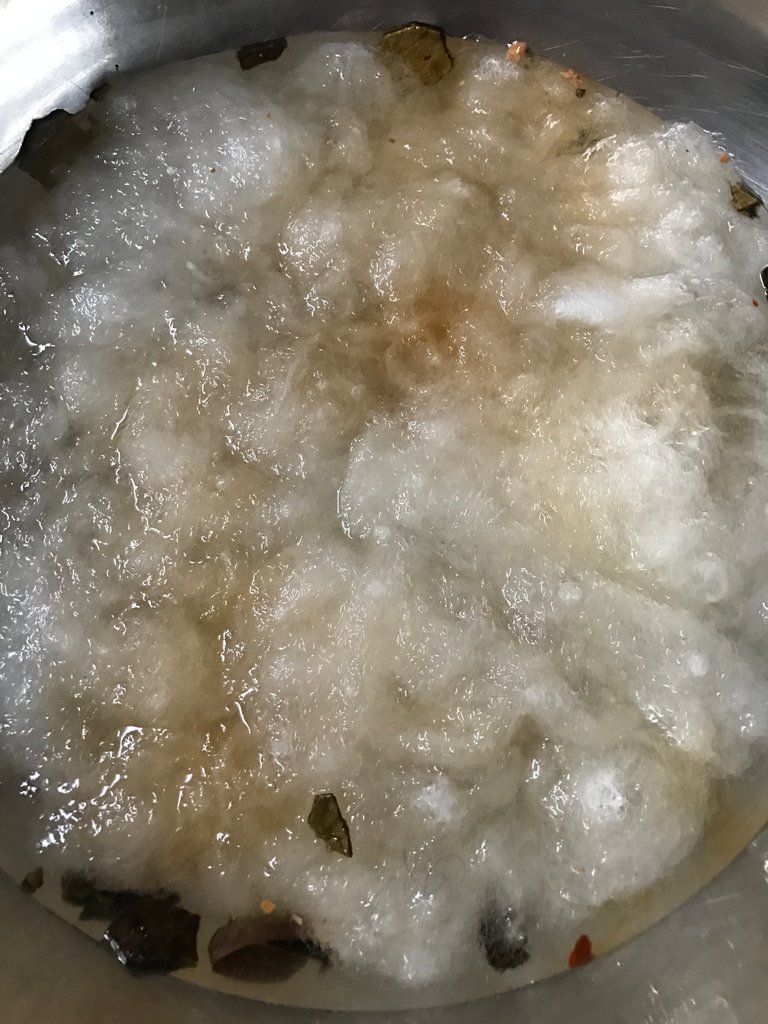
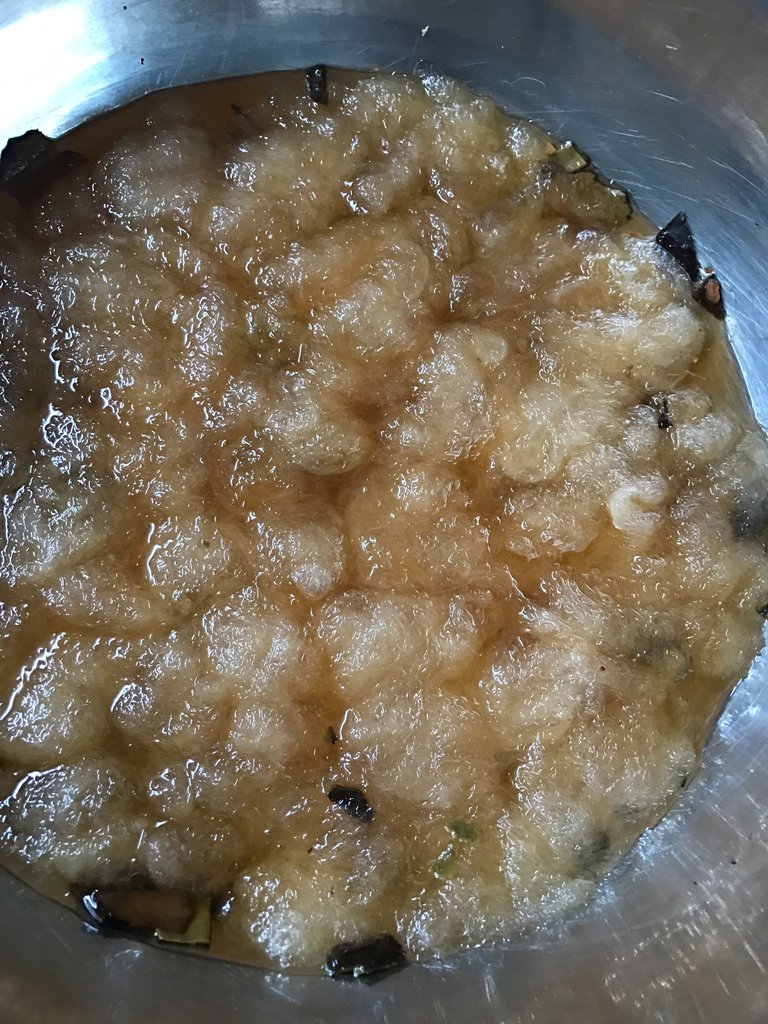
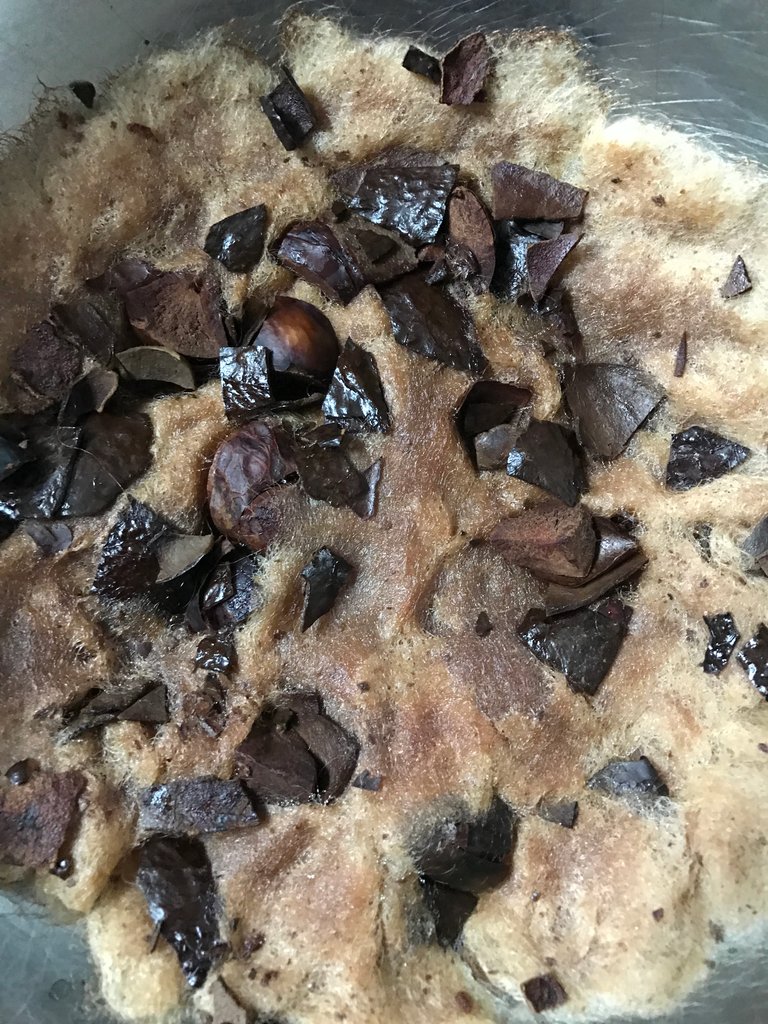
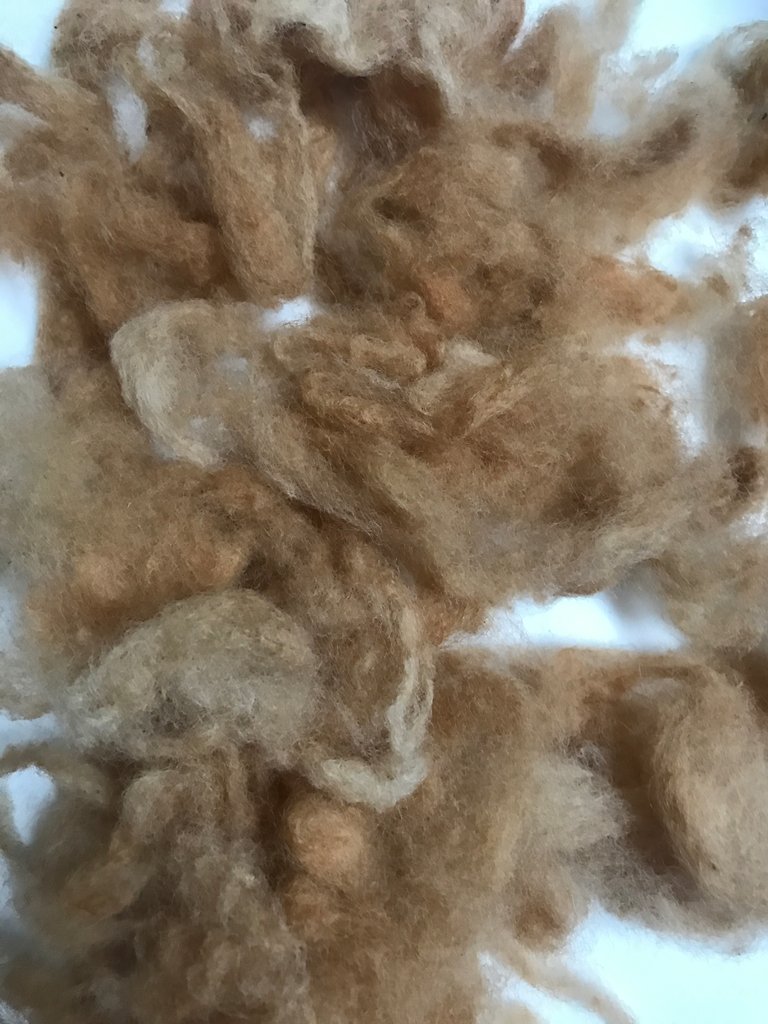
After a few hours on low low heat the wool takes on the colour of the avocado.
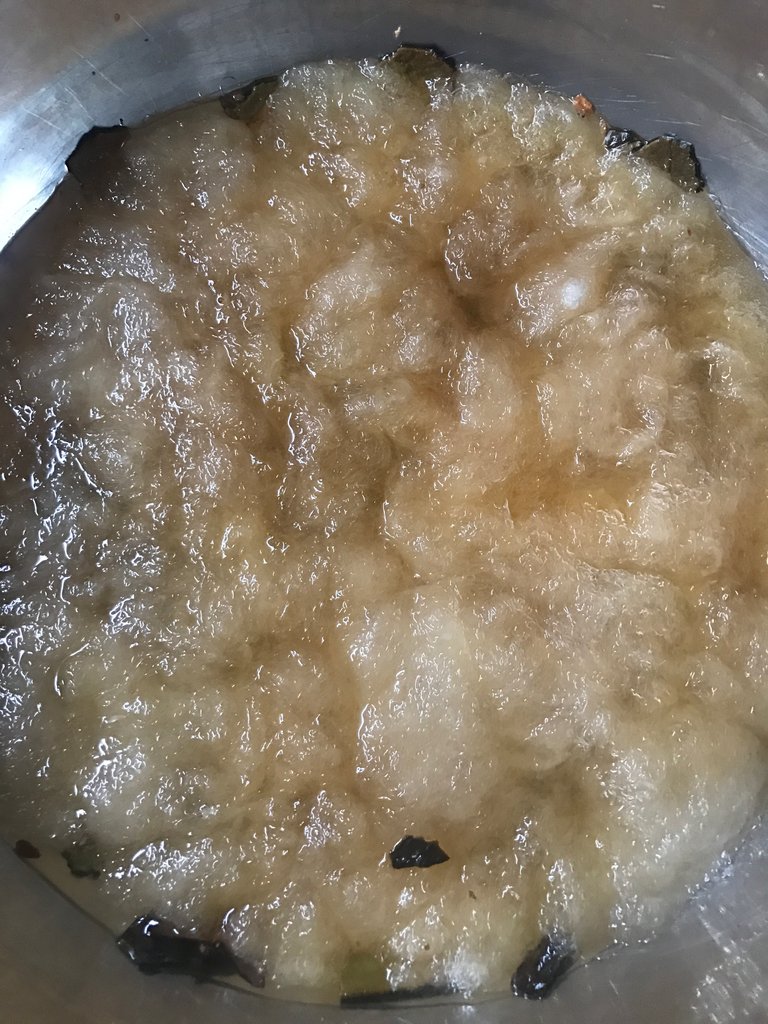
I agitate the mixture and let it settles to try to get an even spread of colour into the wool. Do not mix this as it will get to felted and knot up. Just press it down with a fork and let it be on low heat.
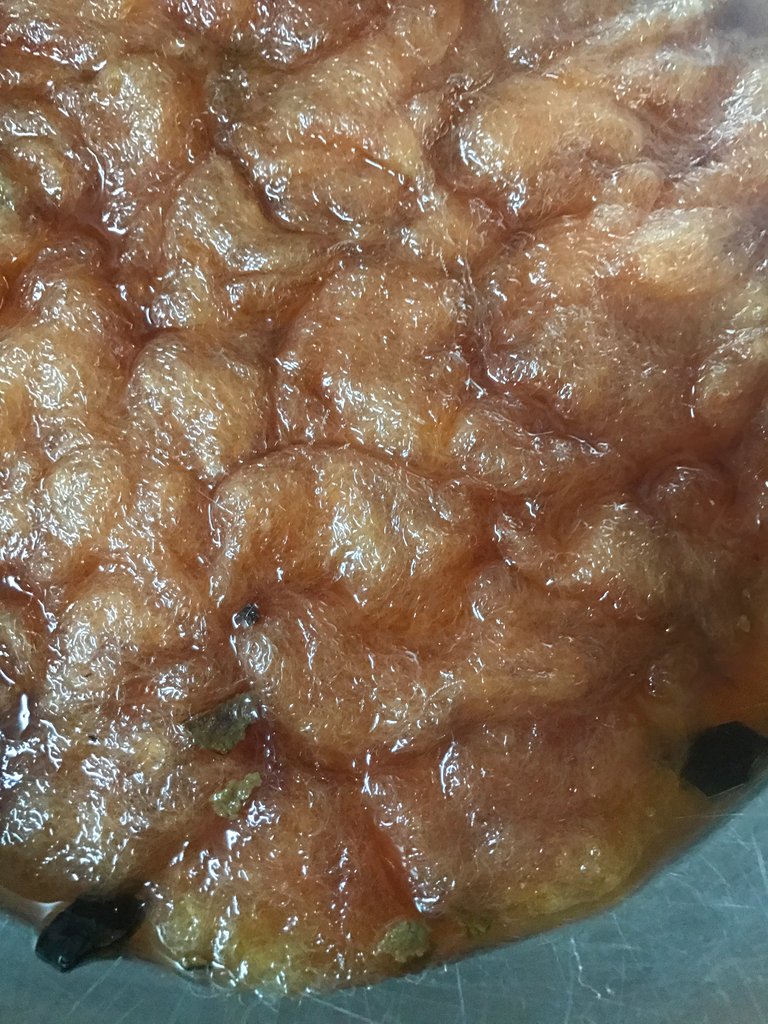
 Here you can see the colour that the avocado creates. A nice deep orange brown.
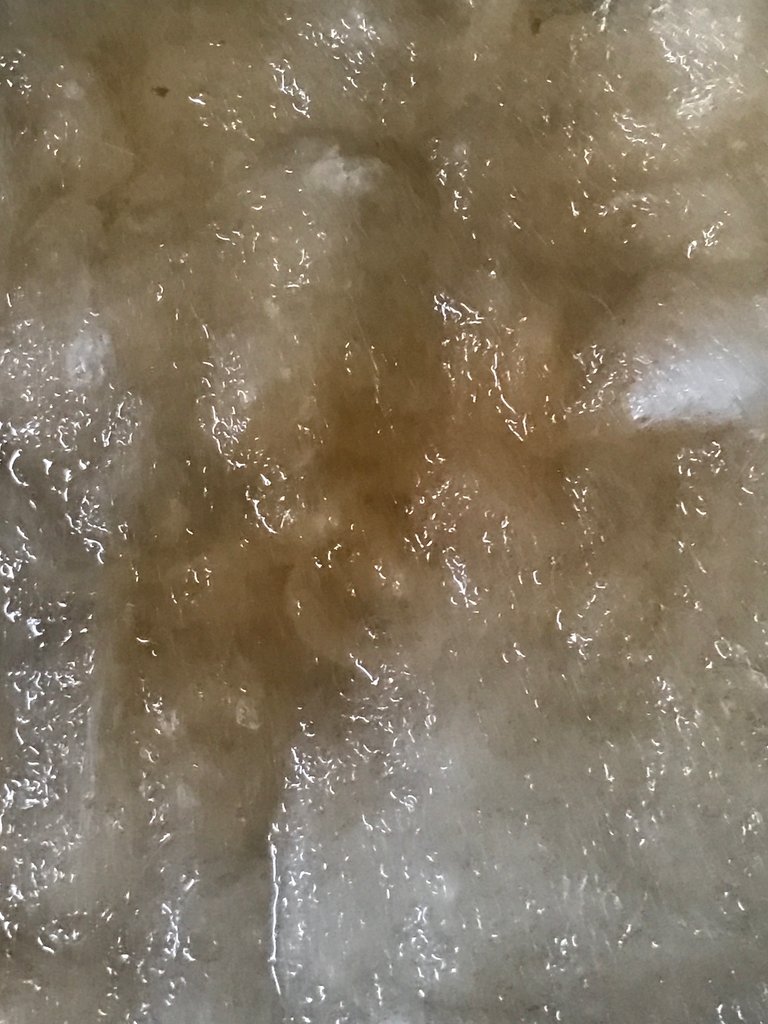
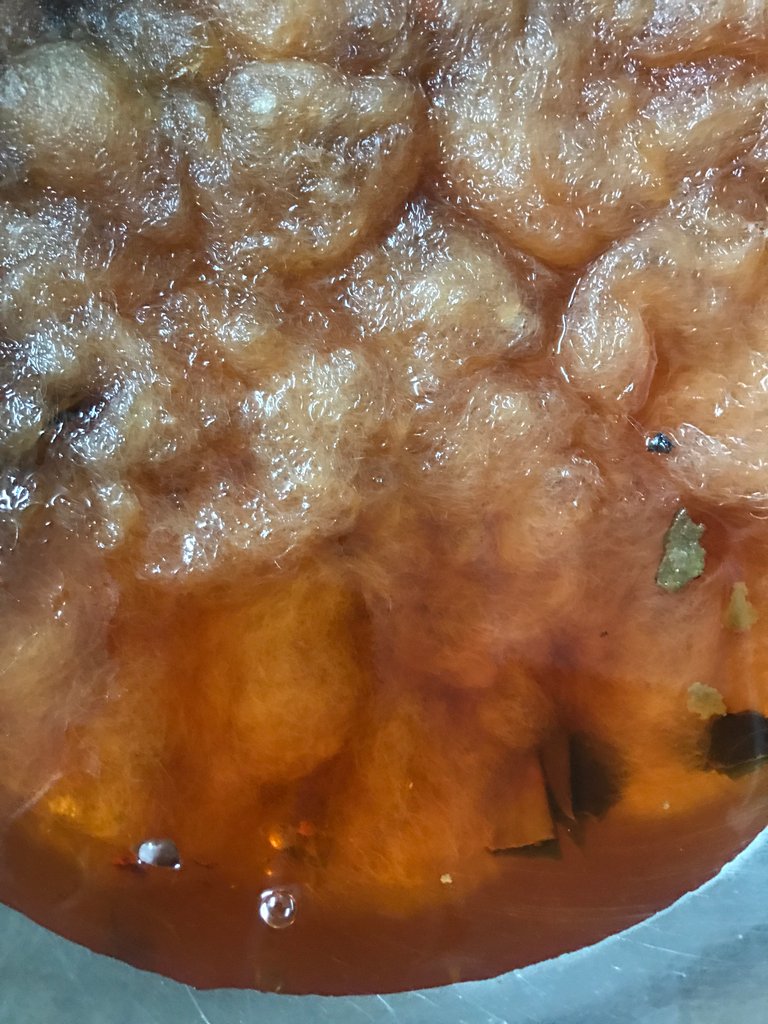
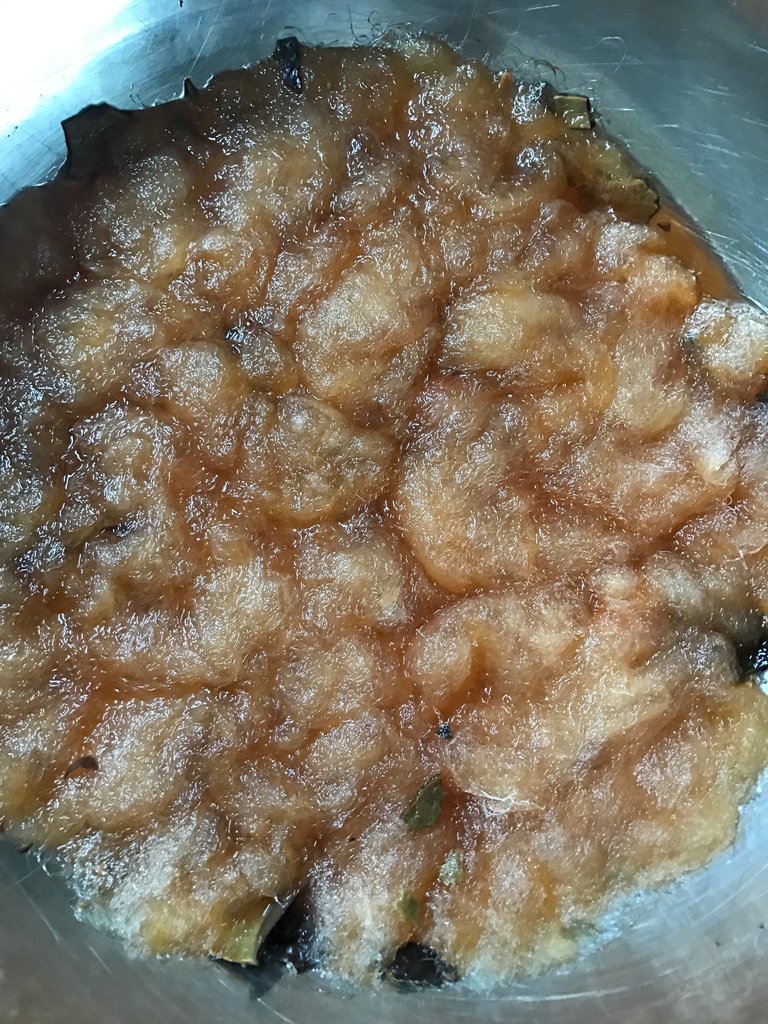
 I let the mix heat for 7 hours and the water is way down. Ill let the water go down a bit more but careful not to let it burn. I think having the water recede a lot is good and concentrates the mixture of coloring.
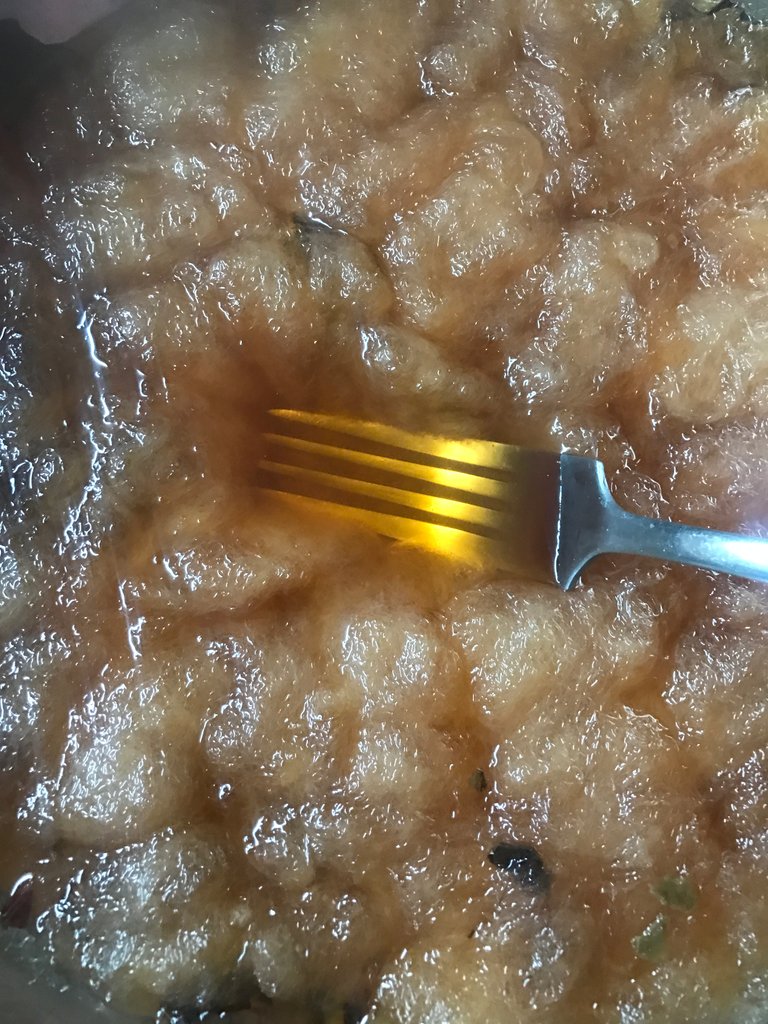
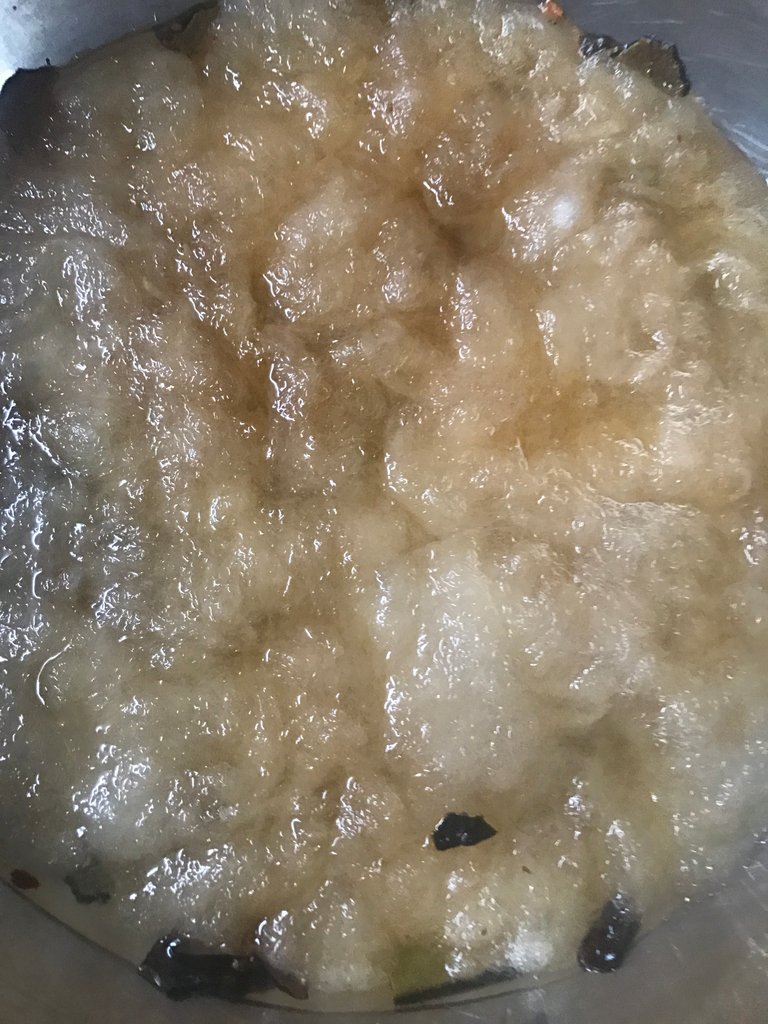
Fork the wool down to mix the colours.
Add more water and let it stay on the stove again at a low heat. I do they dying over two days.
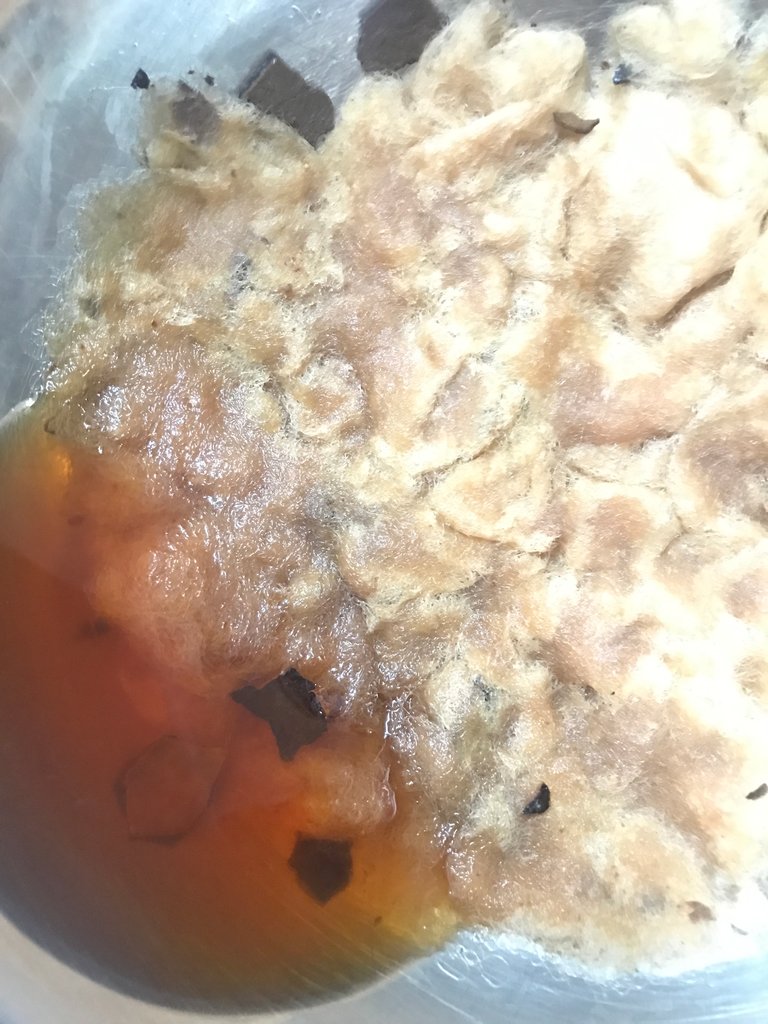

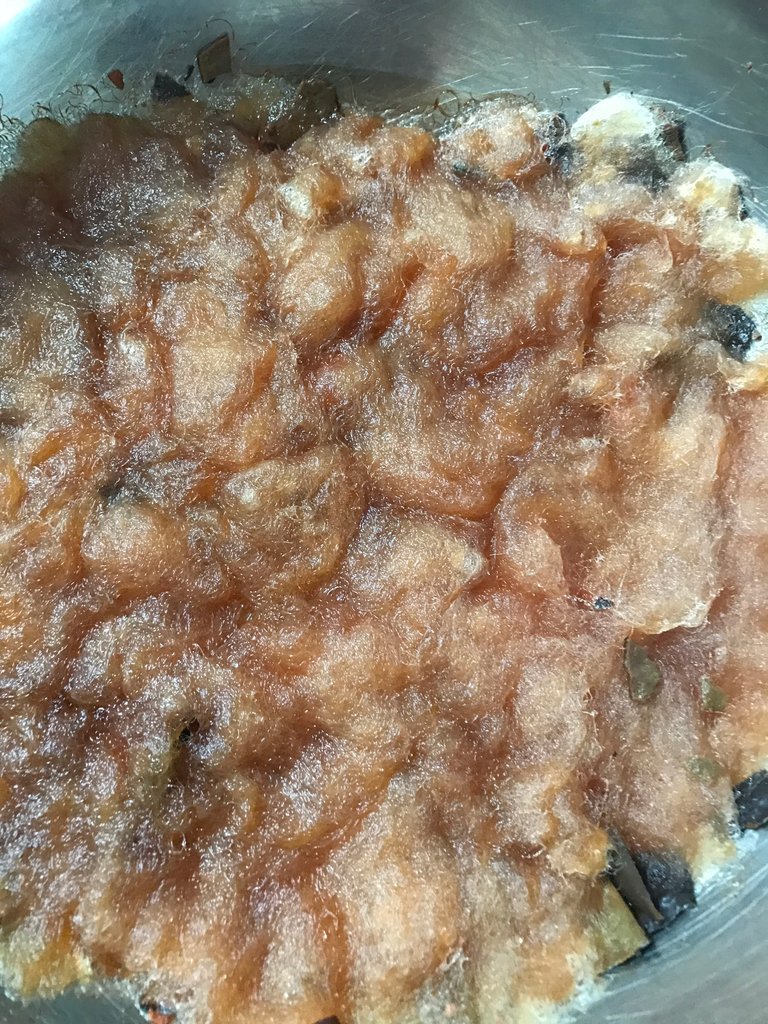
Here is after 12 hours of adding water and letting it slowly evaporate down. The colour gets rich and dark.
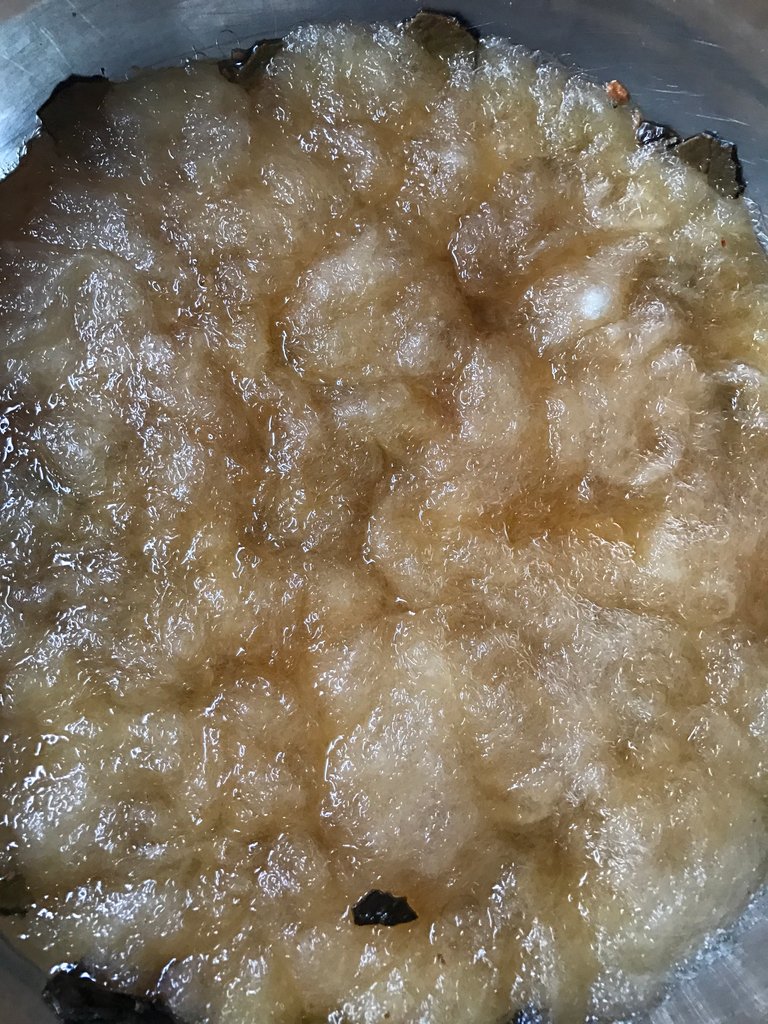
Add Vinegar and water for the last stages of the dye. I find vinegar fixes the colour to the wool for various dye methods. I put 3 to 5 table spoons into the bowl, and maybe a splash for good tithing's and good fixing. You will have to experiment what works best for what medium of dye you use and find the right amount of vinegar to use to fix the wool. Too much wont harm the process, although too little will leave the water with colour not fixed to the wool.
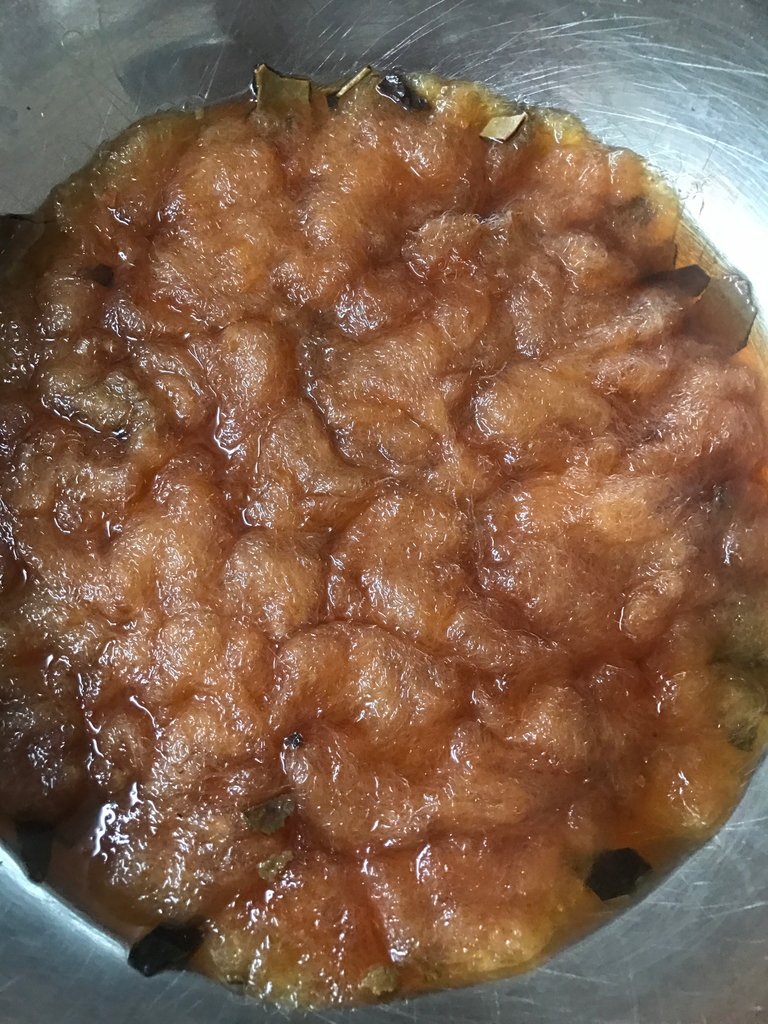
Swirl the wool water vinegar and avocado around and let it stay on low heat for another round of almost all evaporation. 20 hours at this point.
I flip the mix over and do another slow low heat session.
Flipping the mixture over to let the wool get a little bit more dye out of the avocado.
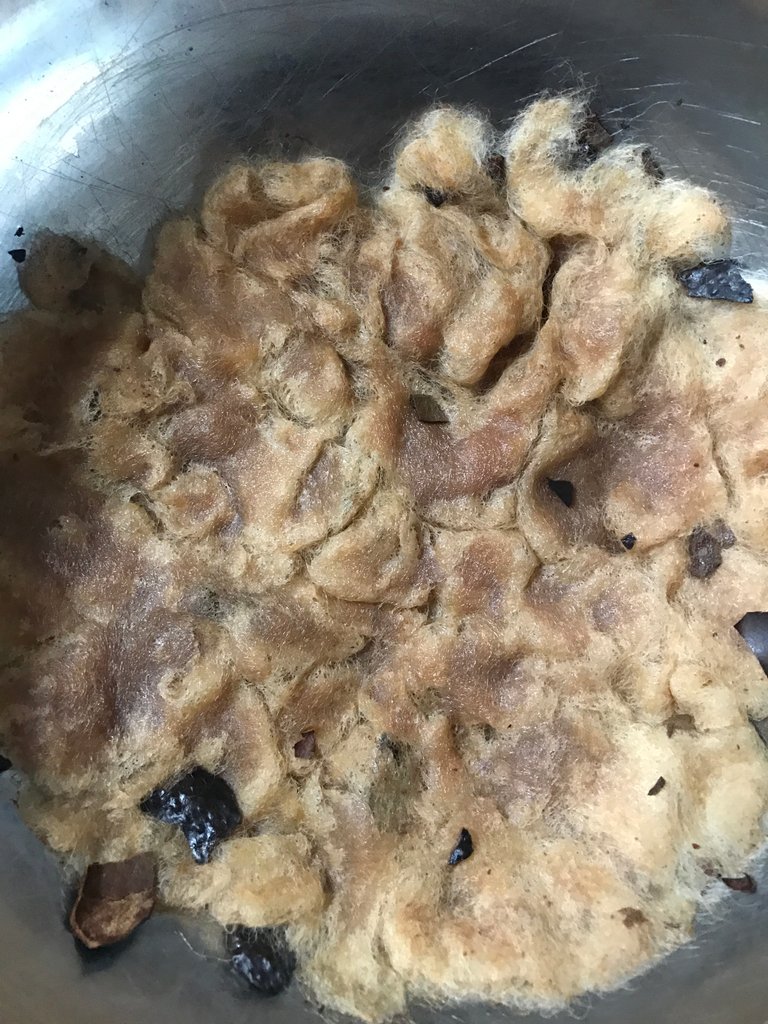
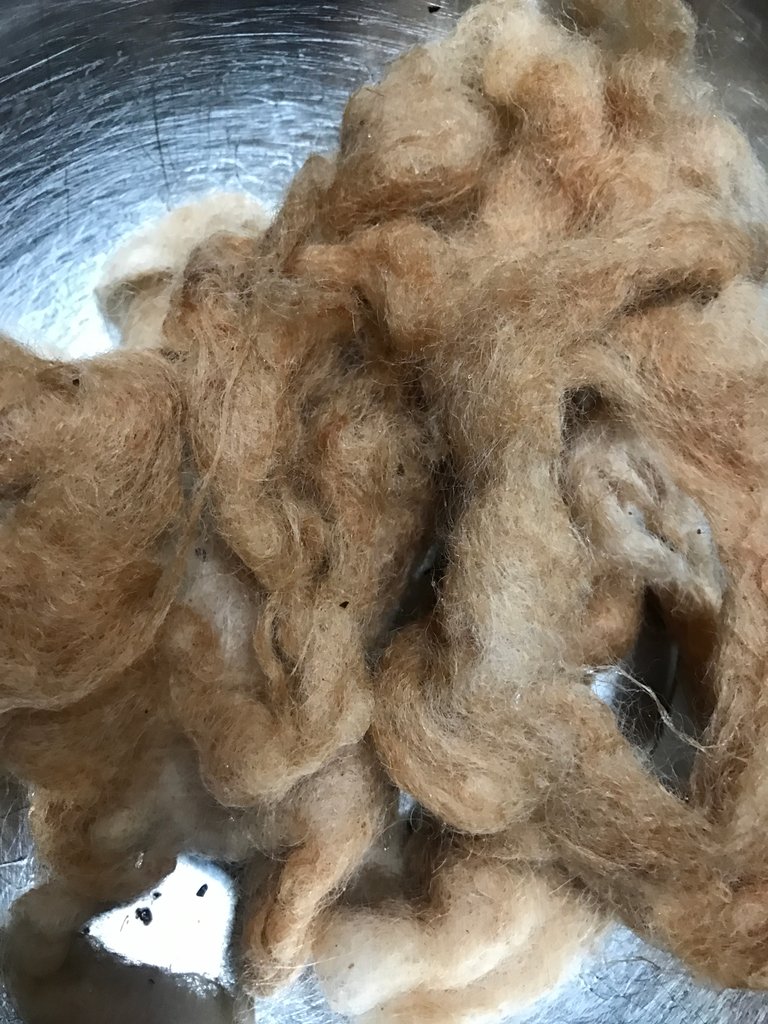
I pick out some of the big chucks and let the residual heat evaporate more of the water out of the wool.
I wash the wool and use a mild dish soap to makes sure any colour that will run runs now and Not when i am using it for a project. I try to not be to rough with the wool as it will felt if it is roughly treated. Cold water rinse is alright. Squeeze the excess water out.
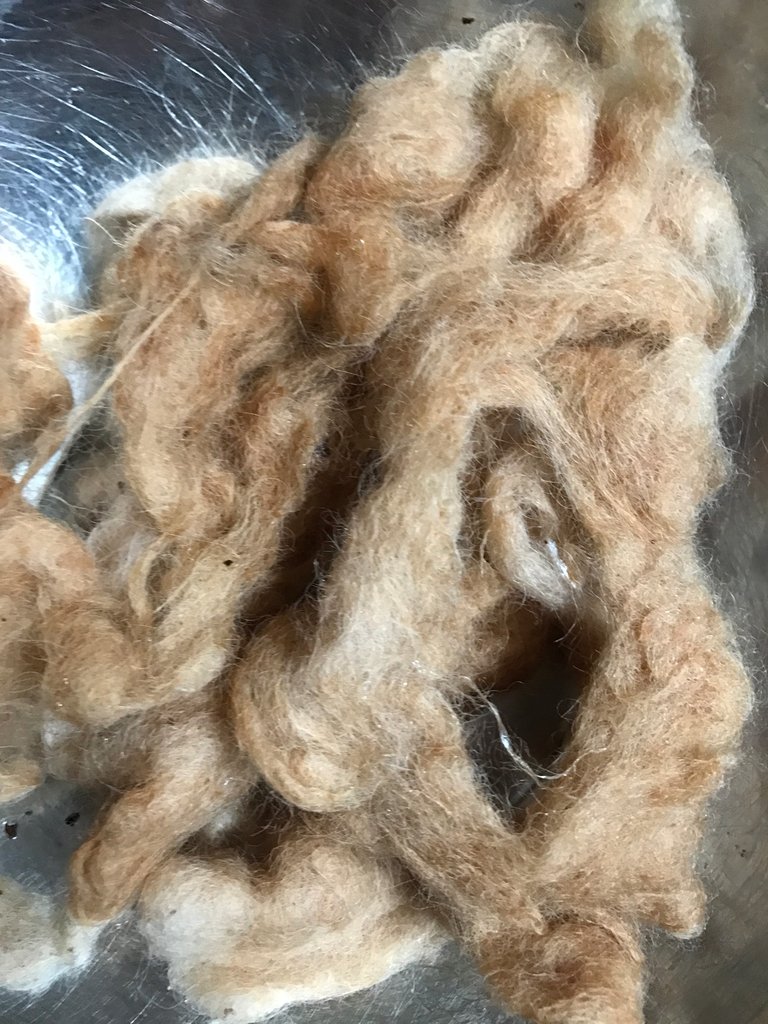
I leave the wool to dry on the heater with parchment underneath it
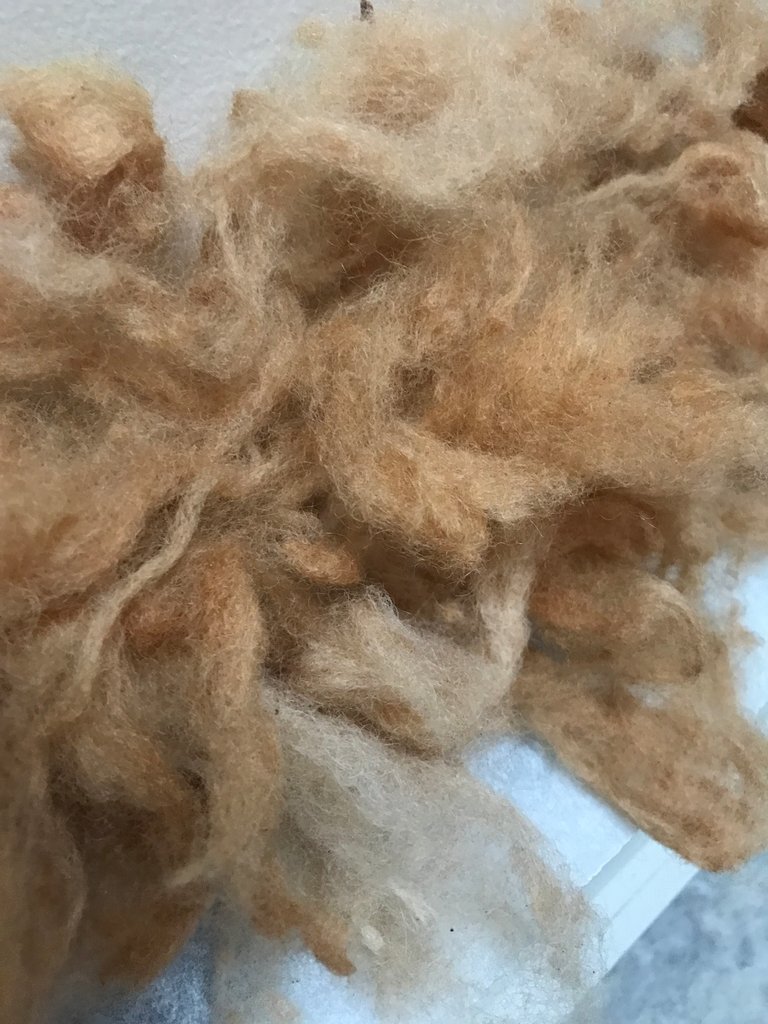
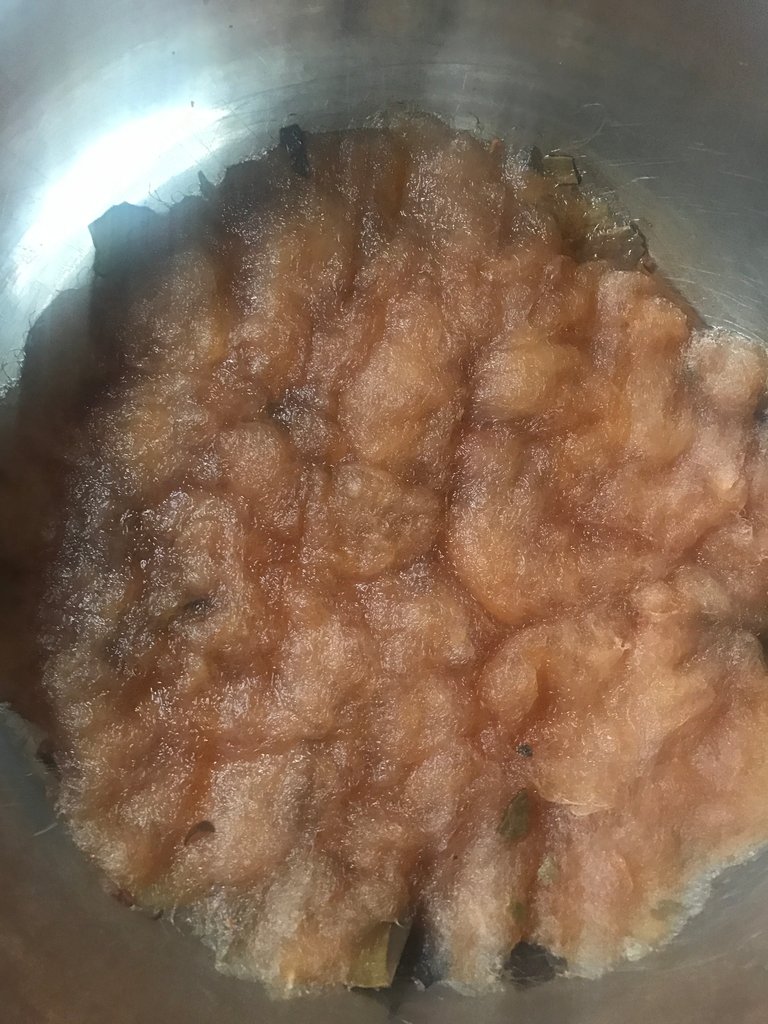
Can you see the rich colour of the avocado onto the wool?
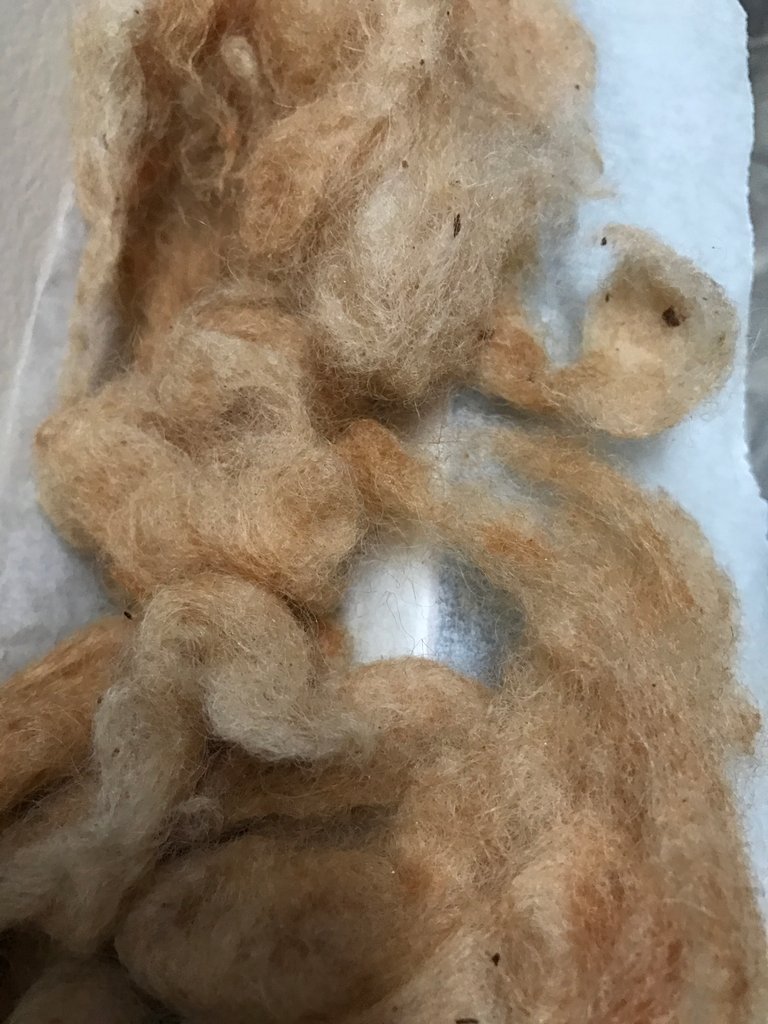
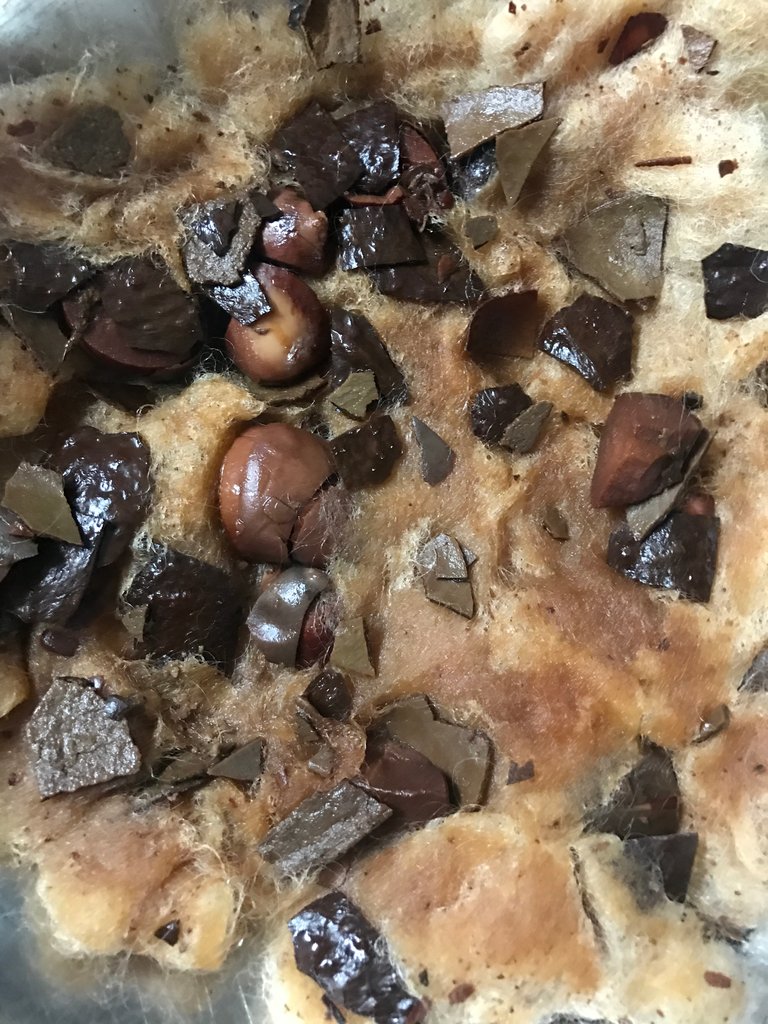
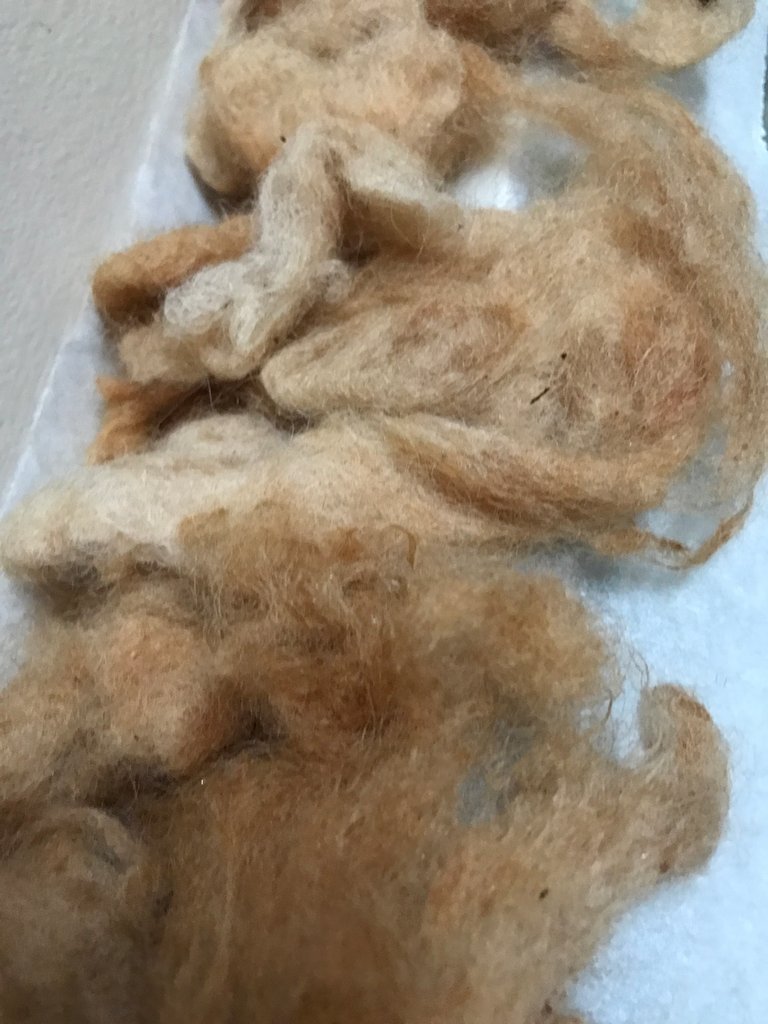
The little bits of avocado skin and pit can be picked out when it dries.
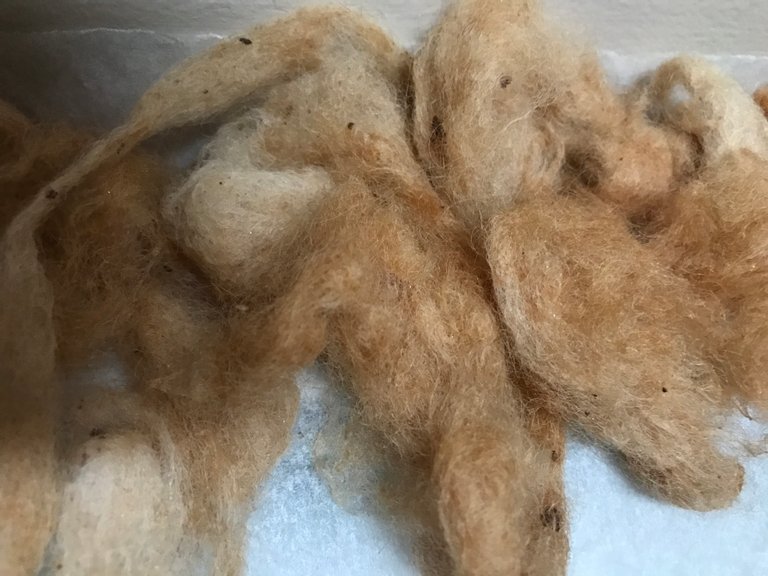
When dry you can pull the wool apart or leave it chunky, depending on what you intend to do with the wool. Make sure that the wool is thoroughly dry throughout the entire mass. Wet wool with natural colouring might get a funky smell to it if not completely dry.
I hope this walk through was helpful and informative on how to go about unsung natural dies to make wool for various wool projects.
Congratulations @an-man! You have completed the following achievement on the Hive blockchain and have been rewarded with new badge(s) :
Your next target is to reach 40 posts.
You can view your badges on your board and compare yourself to others in the Ranking
If you no longer want to receive notifications, reply to this comment with the word
STOPCheck out the last post from @hivebuzz: