For several months taking small breaks I have been showing interest in embroidery in all its branches, in my case normally those of us who make a living from this, we usually do business embroideries in the form of series, for uniforms in general, well there is always a case and a special moment to give us the time to create different things, original designs that appeal to in simple garments giving them a touch of beauty, artistic, giving a new value to that garment that we are going to change.
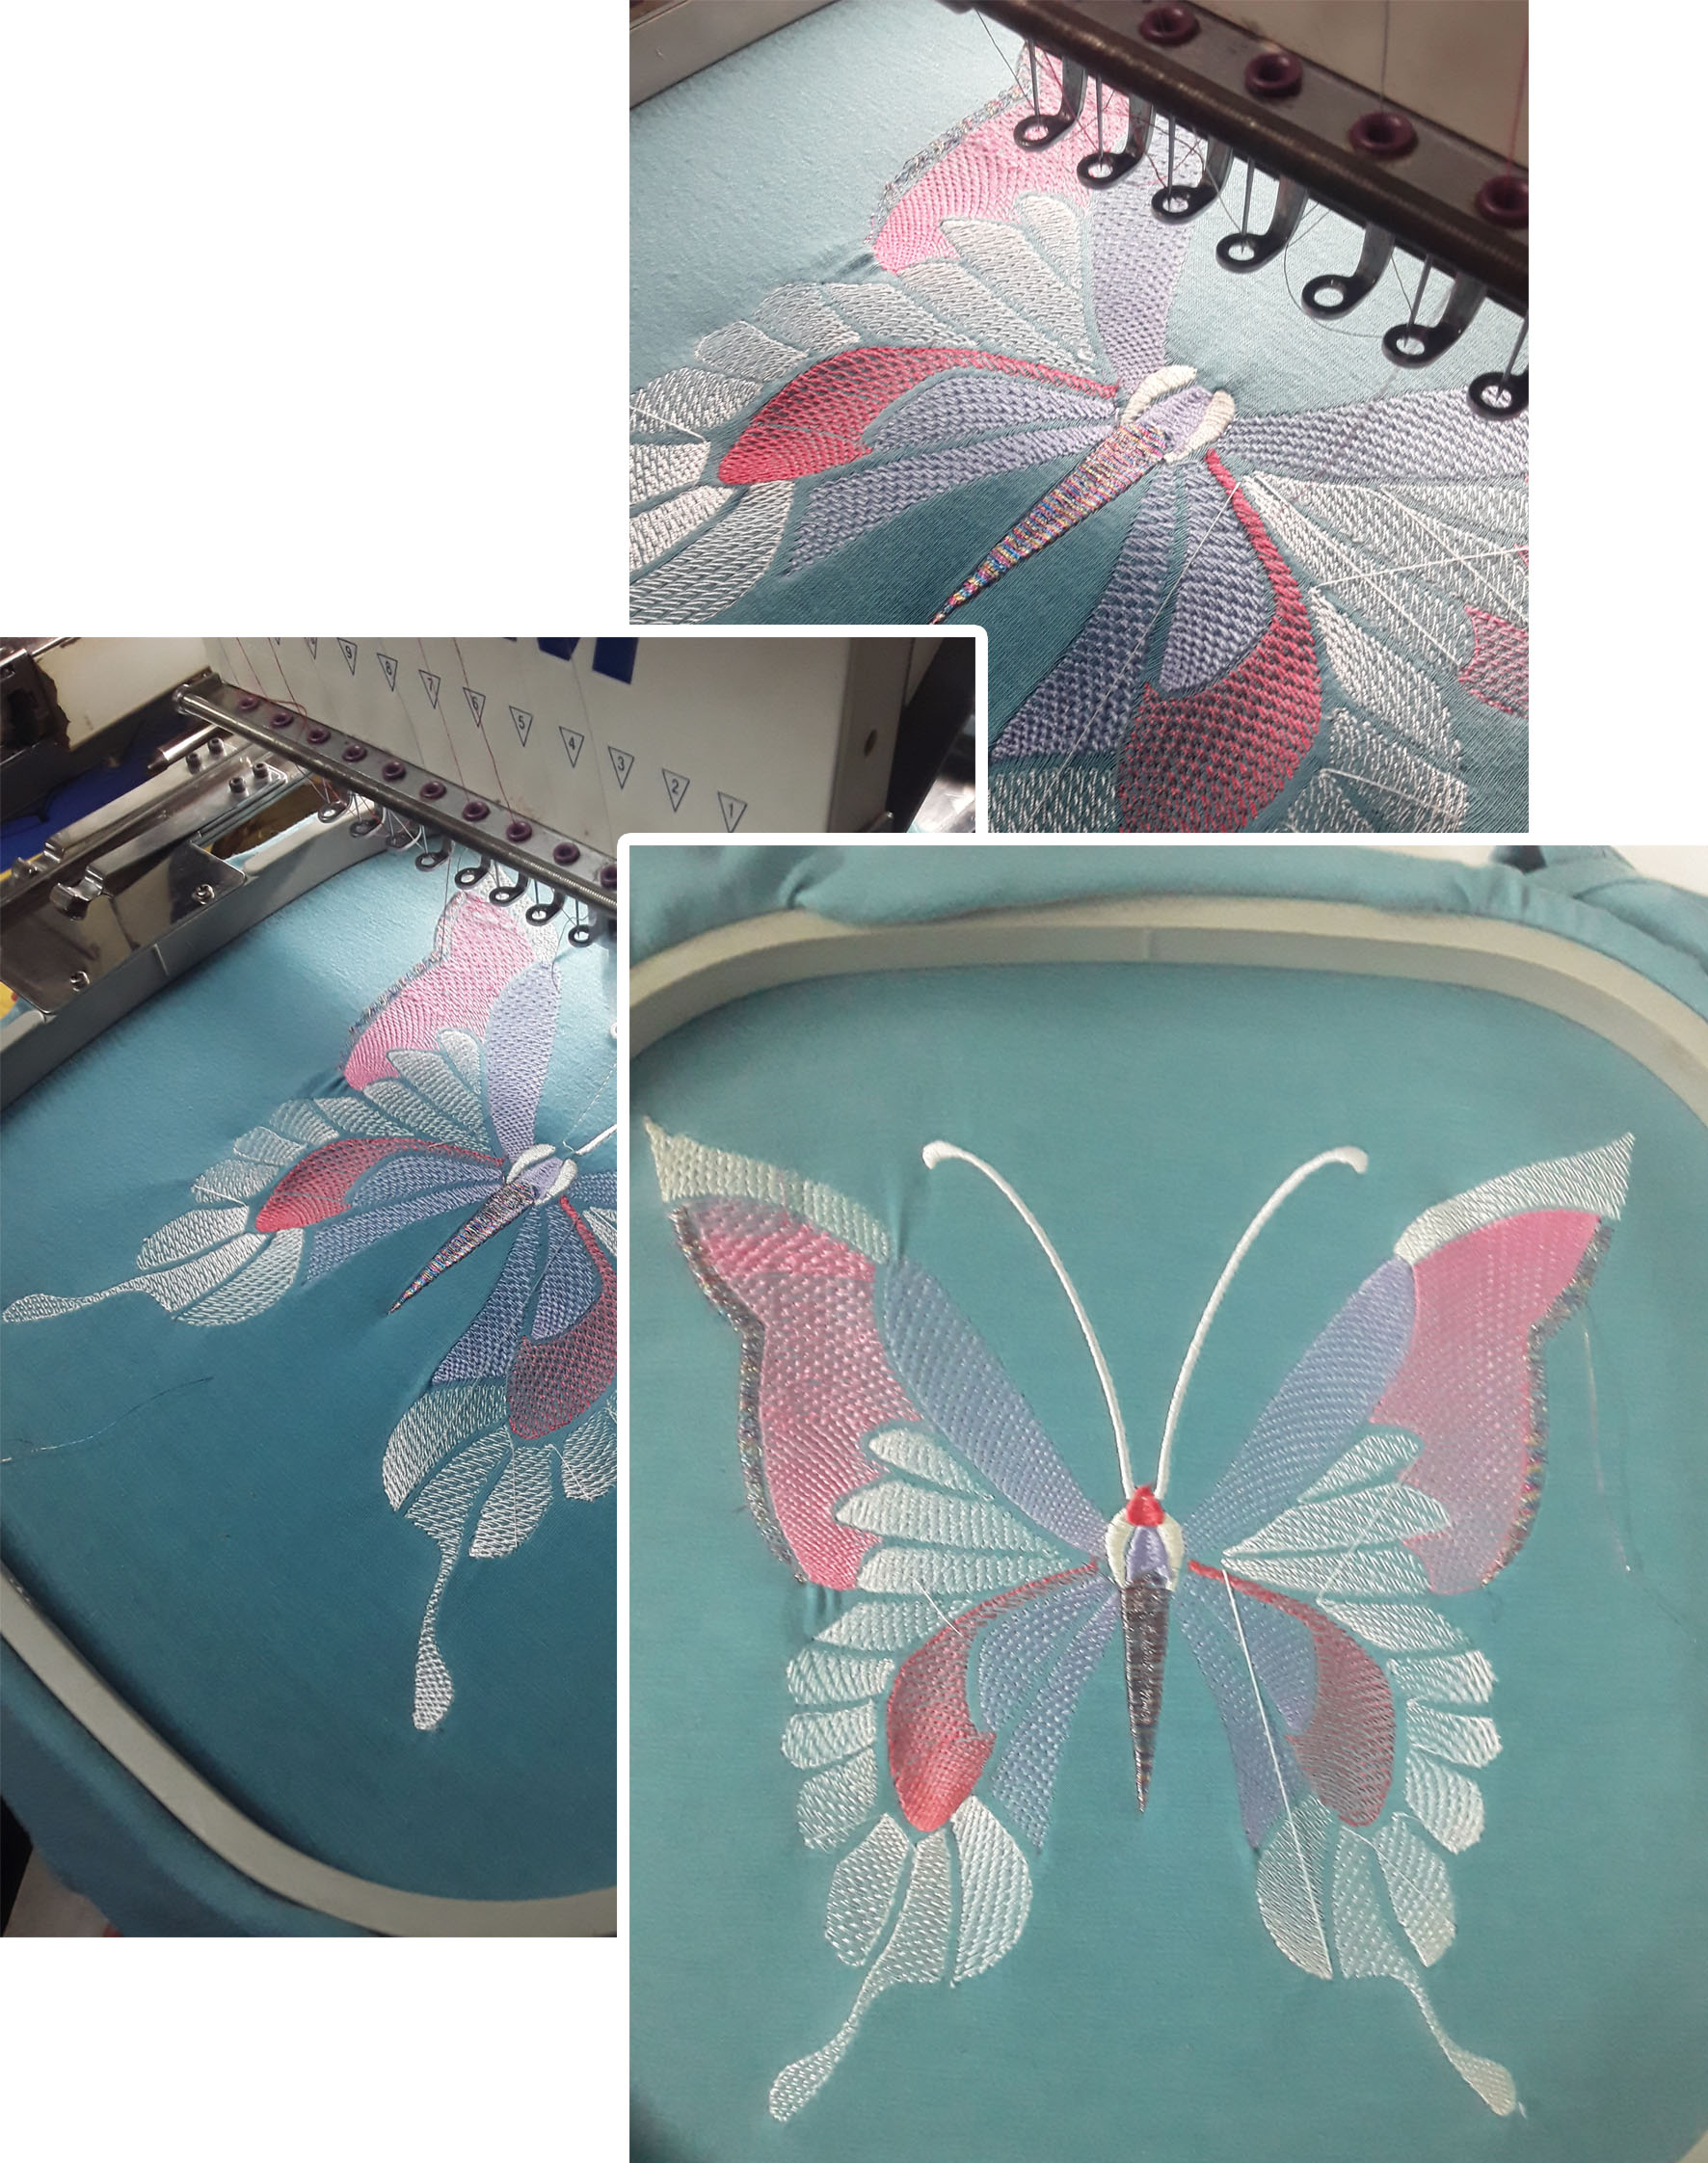
We have a totally simple green unicolor flannel with which we are going to make a beautiful butterfly design with a Florentine effect and also a multicolored metallic thread to give it some touches, this drawing will be made in two publications, so we go calmly and start...

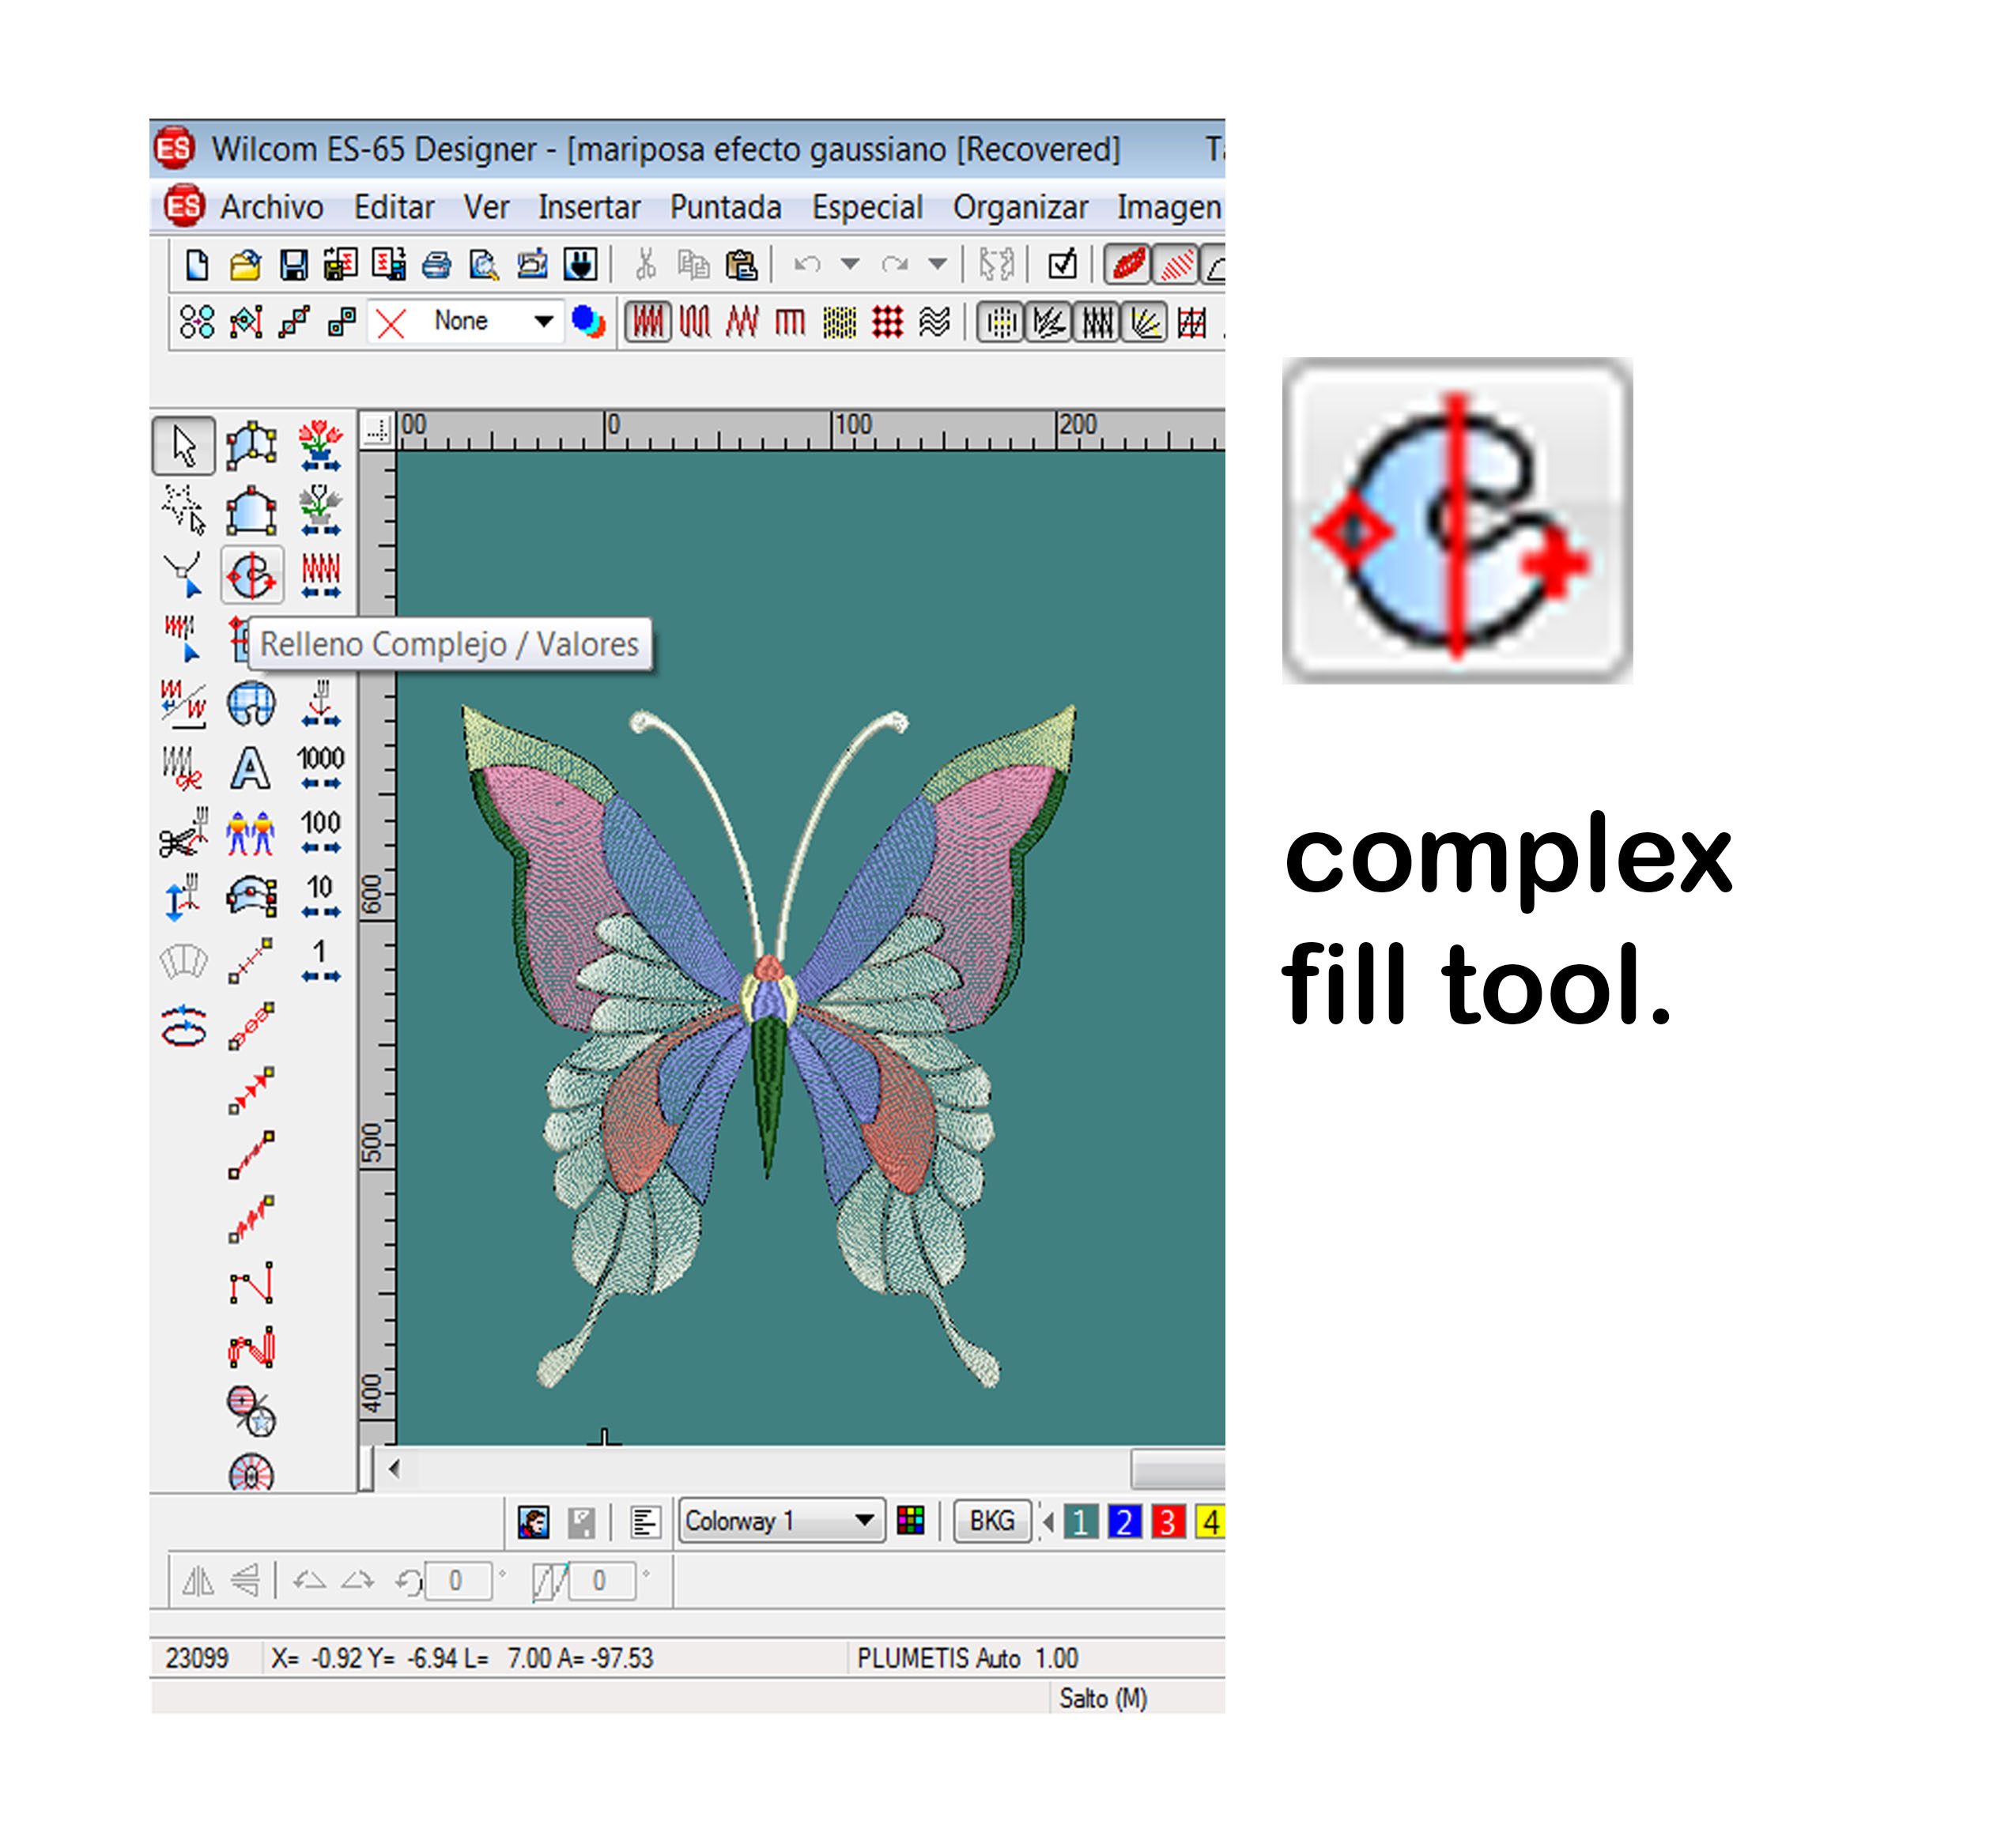
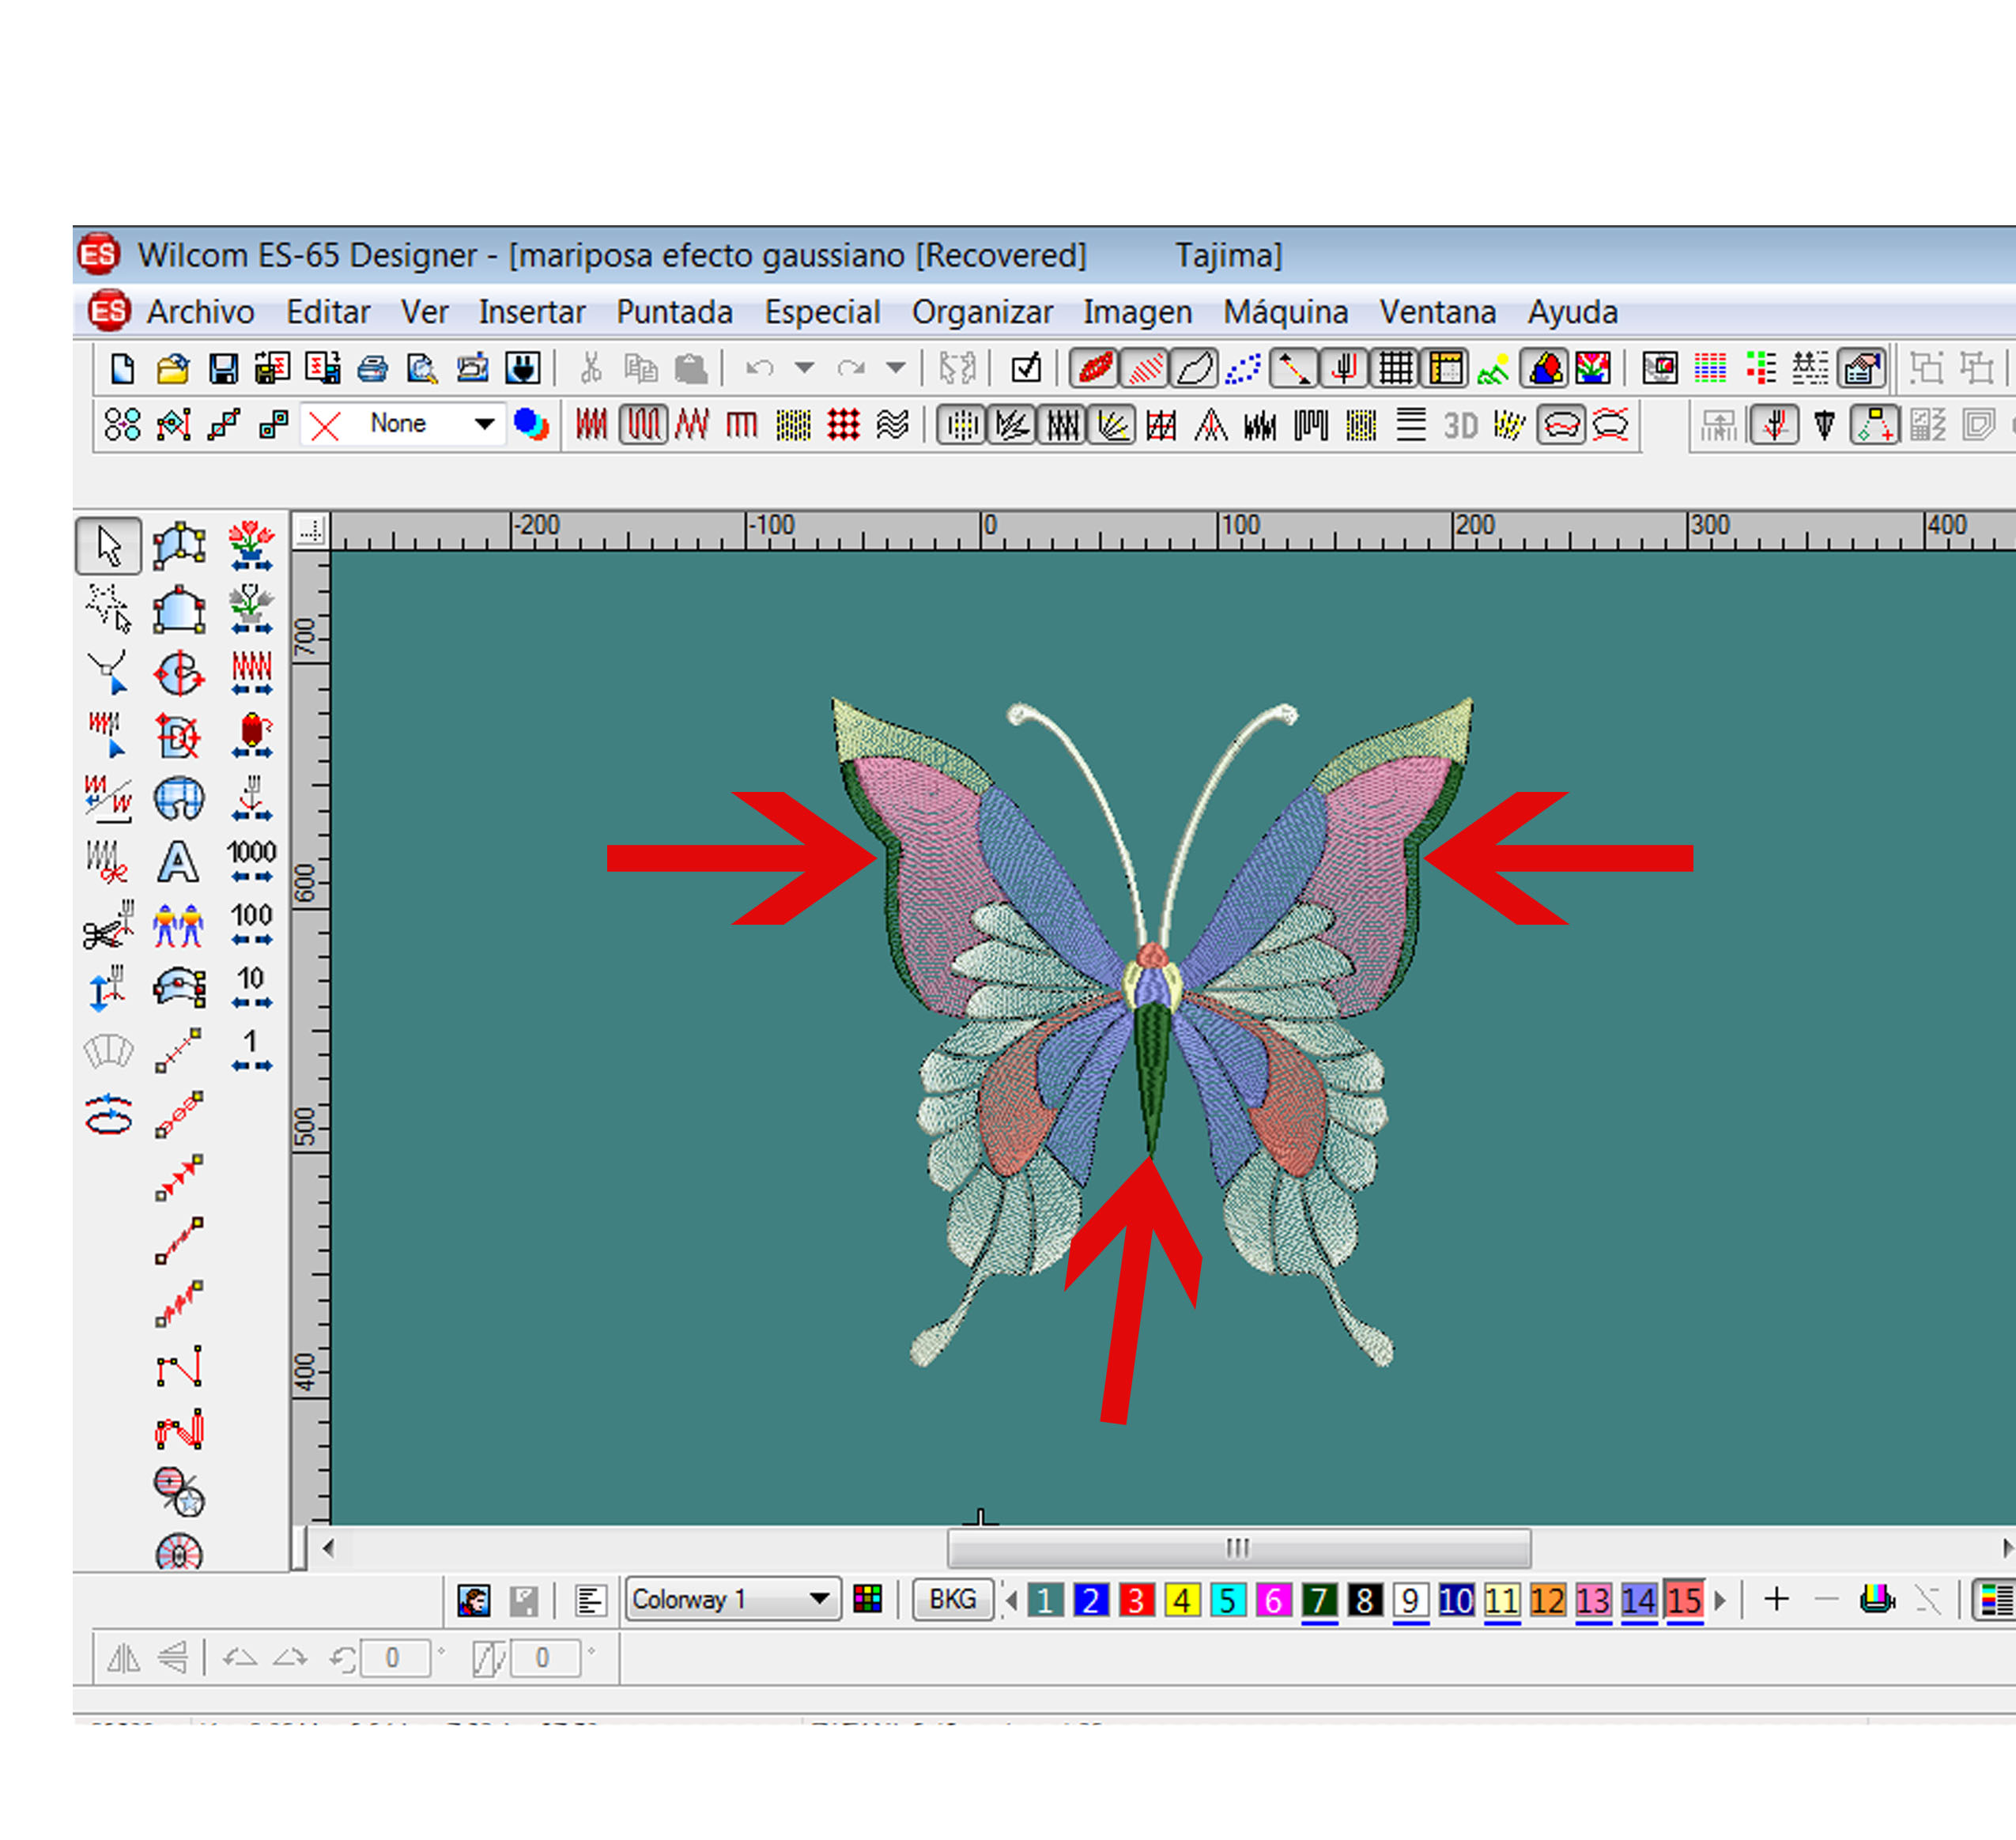
When we make embroidery on industrial or domestic machines, it is accompanied by a computerized design, which must be done prior to embroidery, this design is the one that will indicate the beginning and end, changes of colors, amount of thread and stitches of our embroidery, there are different programs but the one I use is Wilcom Embroidery.
First we must introduce the design that we are going to vectorize with our embroidery tool, previously we chose a butterfly from the internet that had several colors and was as sectorized by representative pieces on the wings and I decided to go that way in terms of the shape of the butterfly, the idea is to vectorize each part using the complex fill tool.
After tracing our piece of butterfly we are going to assign its stitch, in this case as our objective is to make a Florentine effect we must place the Tatami stitch, and click on the Florentine effect, that is where it will give us the conversion to a curved effect with movement.
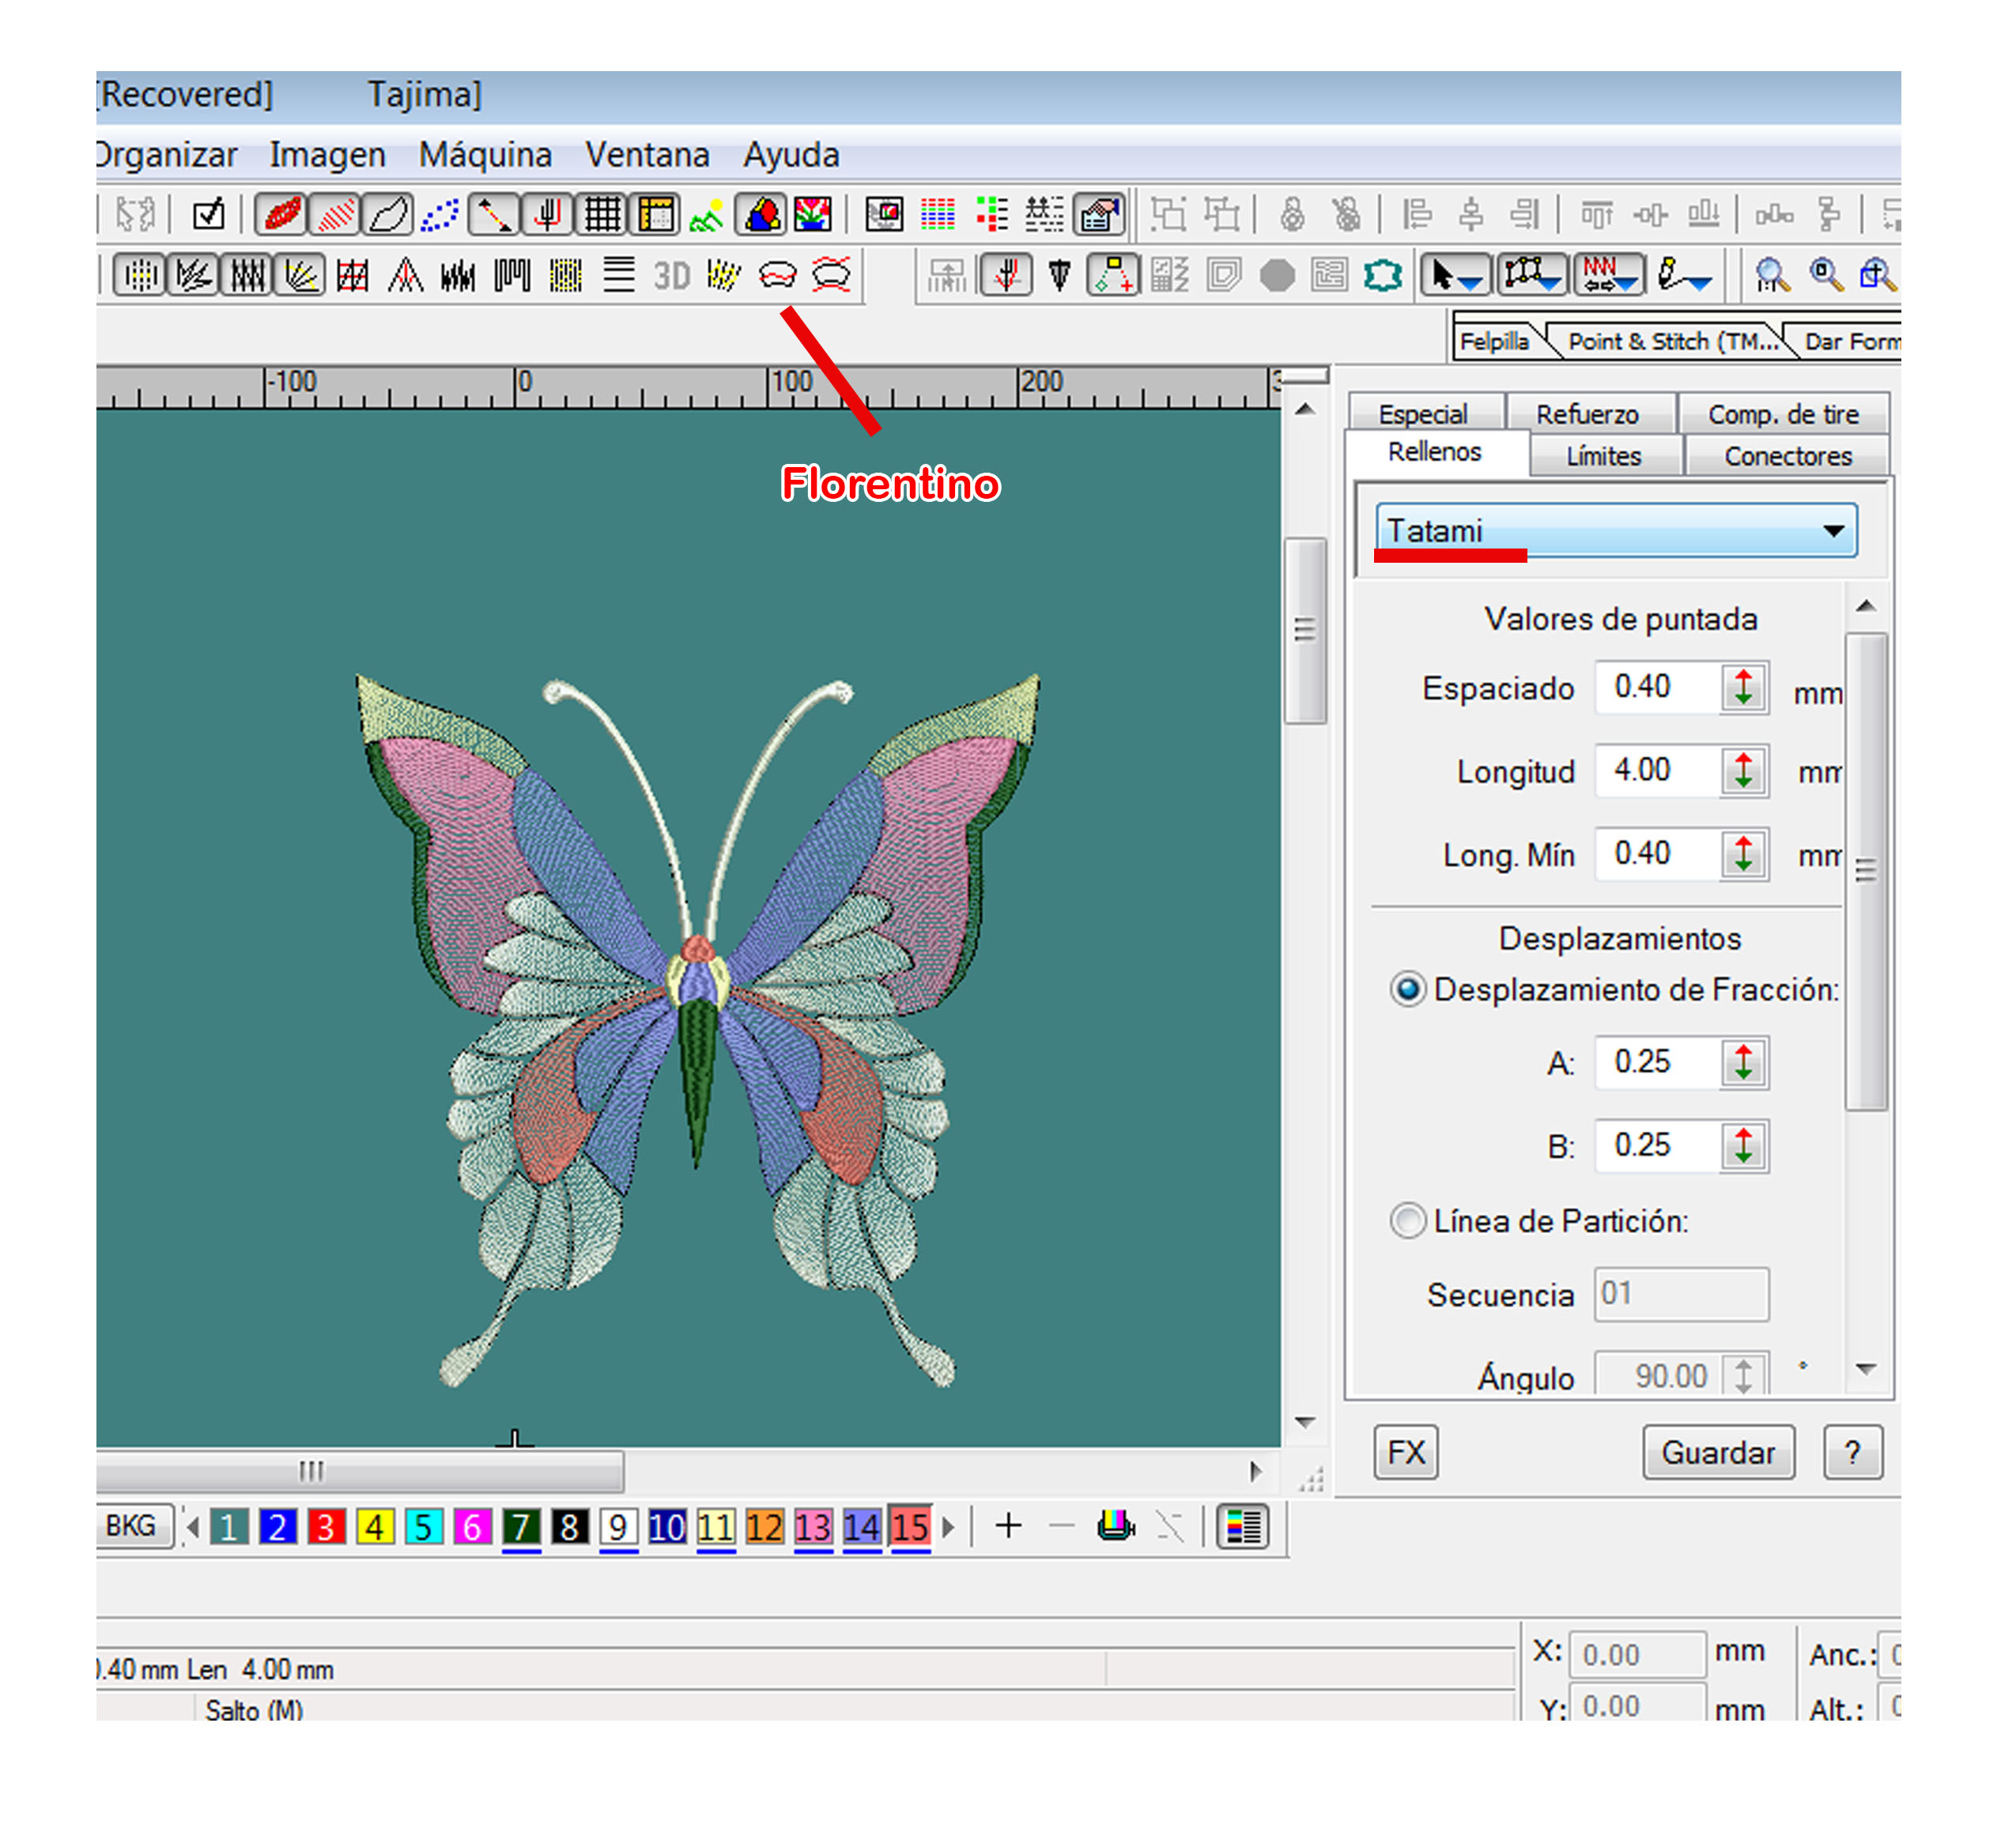
Within the Florentine effect we are going to move some values that can be appreciated according to the shape of the figure.
Why is this effect done?
It has a non-heavy effect function on a fabric such as cotton, flannel fabrics usually tend to move or it is not highly recommended since they are heavy and it is not very comfortable to wear, that is why if you want to make For a large embroidery on a flannel, it is preferable to use a stitch that is as light as possible, this effect helps because it looks covering in the distance but up close you can see the openings of the stitch, thus allowing the embroidery to be light and easy to use.
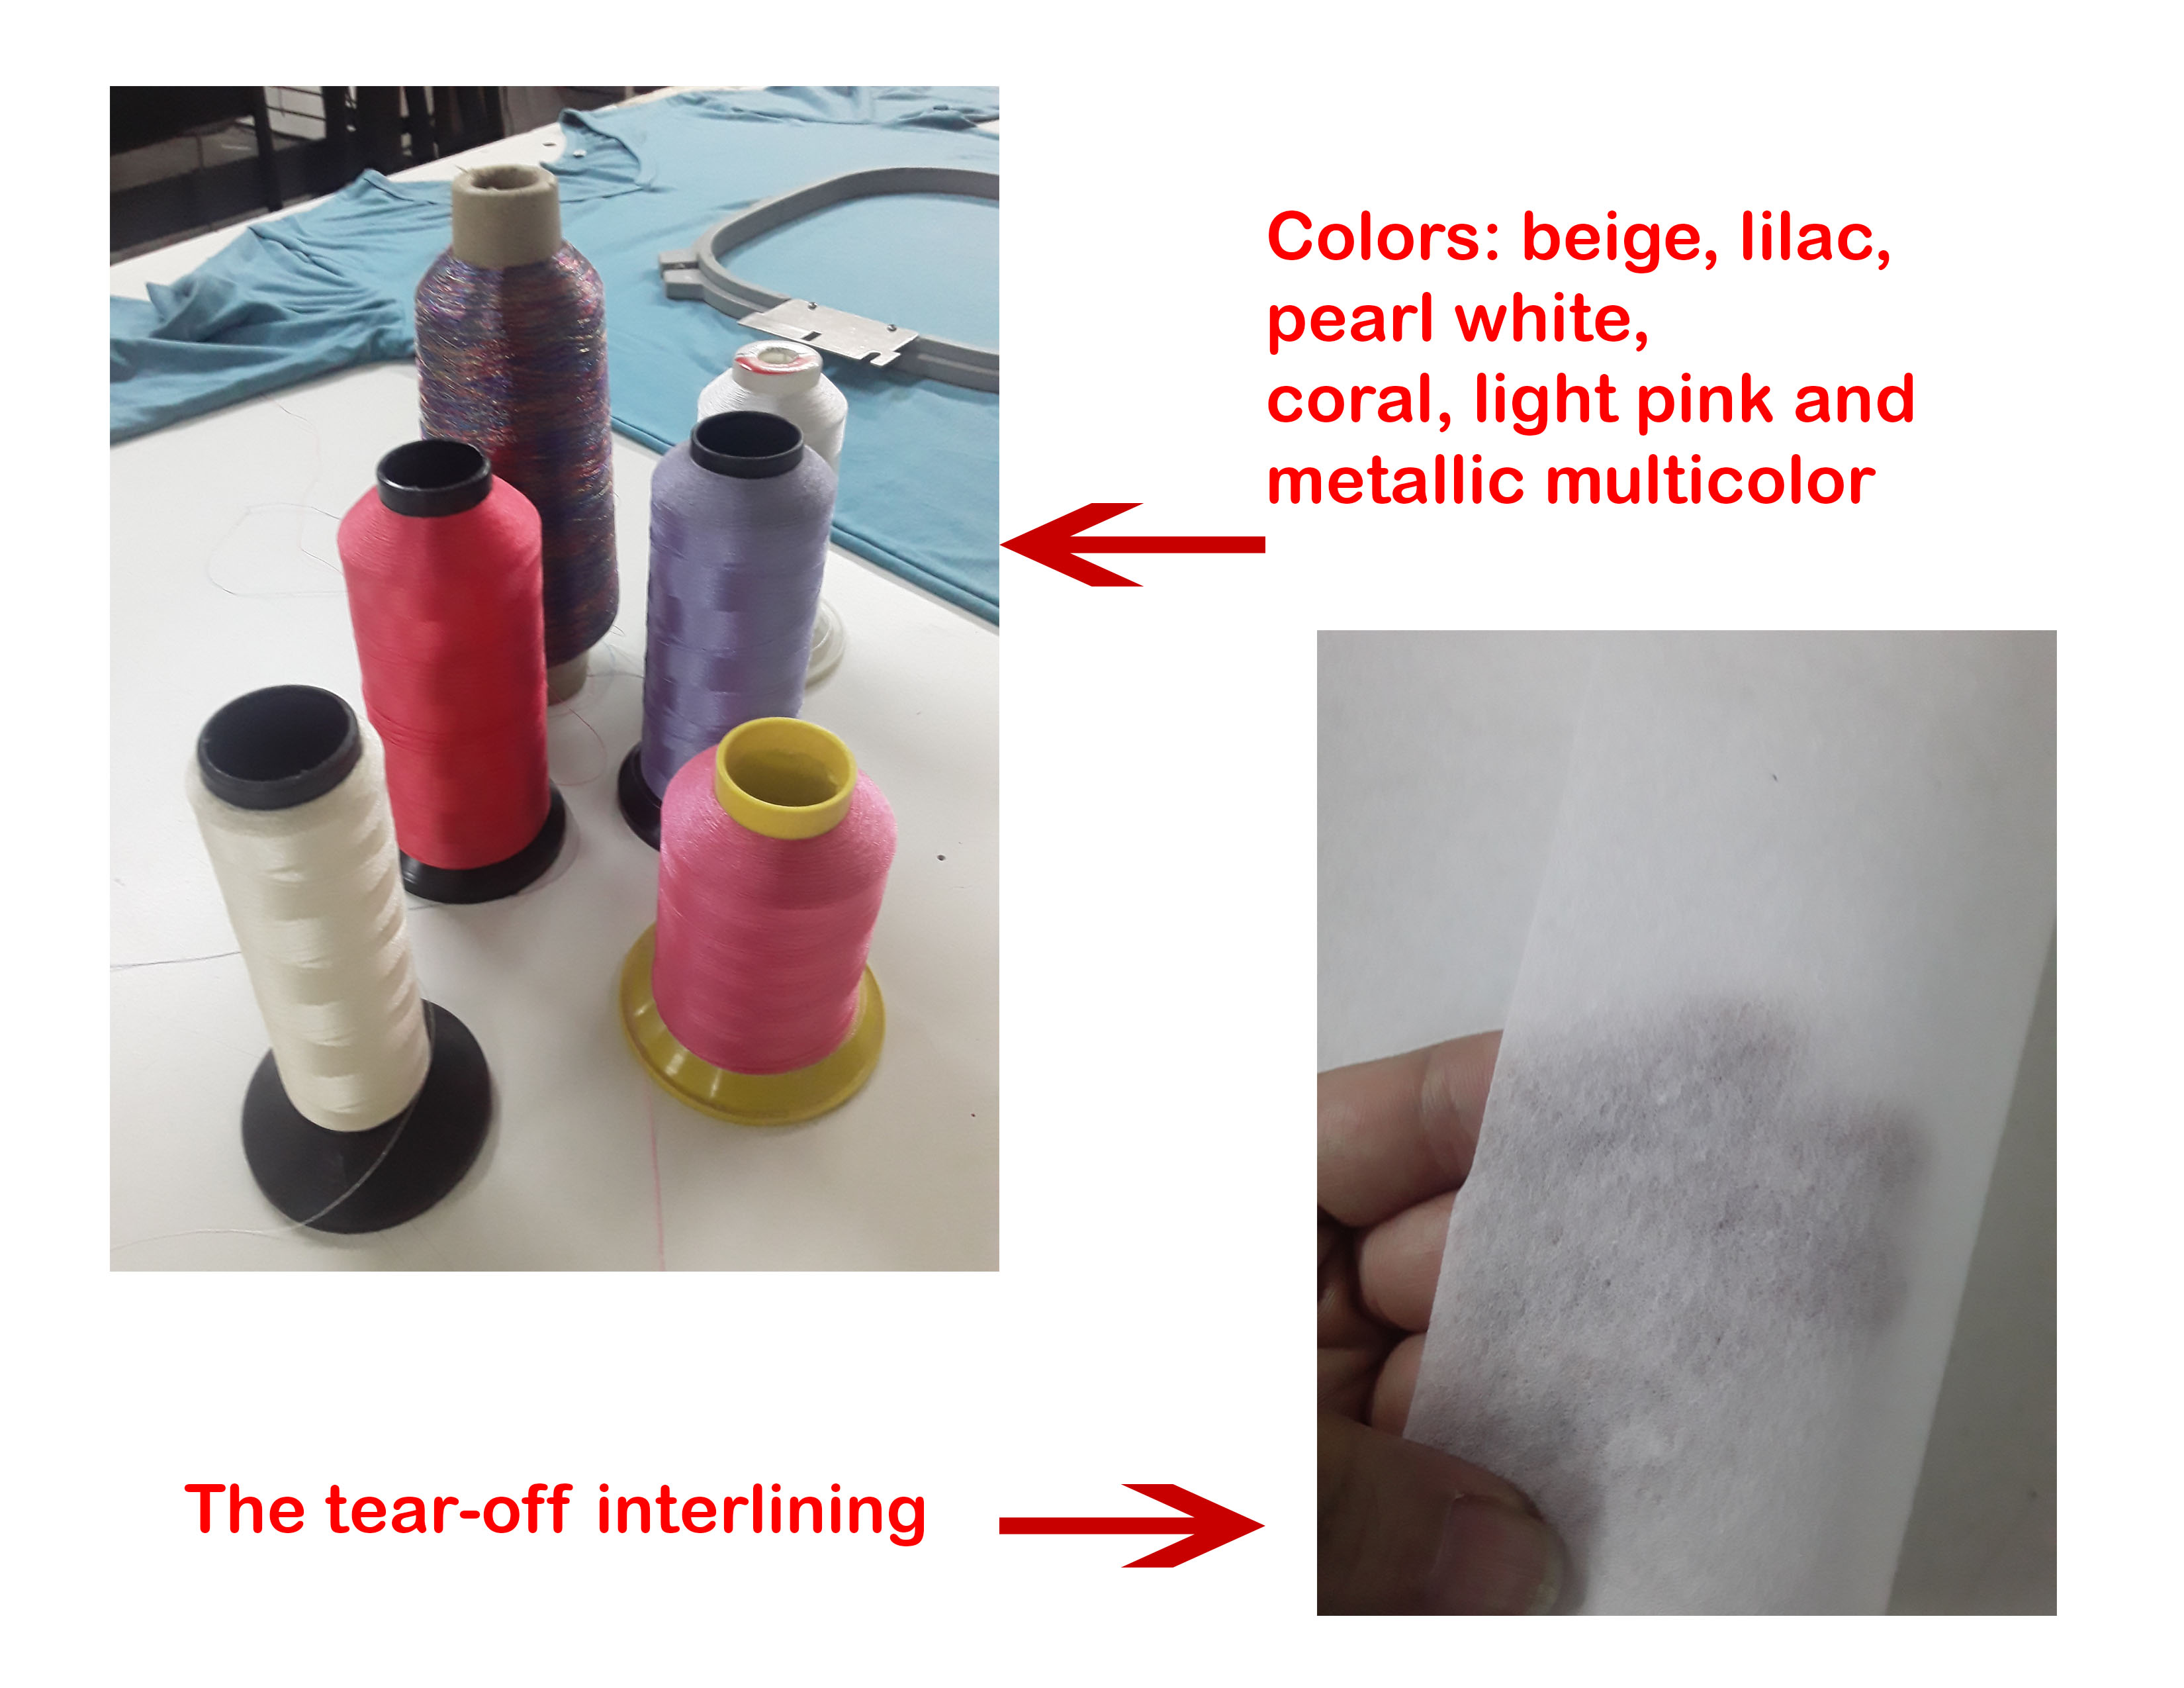
In addition to this we must also use interfacing or tear-off hair, nothing from Pop will be very rigid.
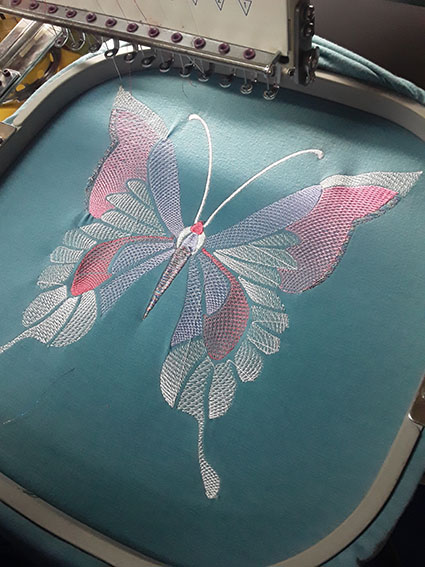
Normally the metallic thread tends to break in the machine, but we wanted to carry out the test with a multicolored metallic thread that we have and that we think can give a good shiny detail to the butterfly.
Now, we go to the machine and the implements that we must use:
We thread the threads in the machine and measure with the hoop to make sure that it does not stick and may cause any damage, since we are working with a maximum hoop size and we must be very careful, apart from that we must center the embroidery well.
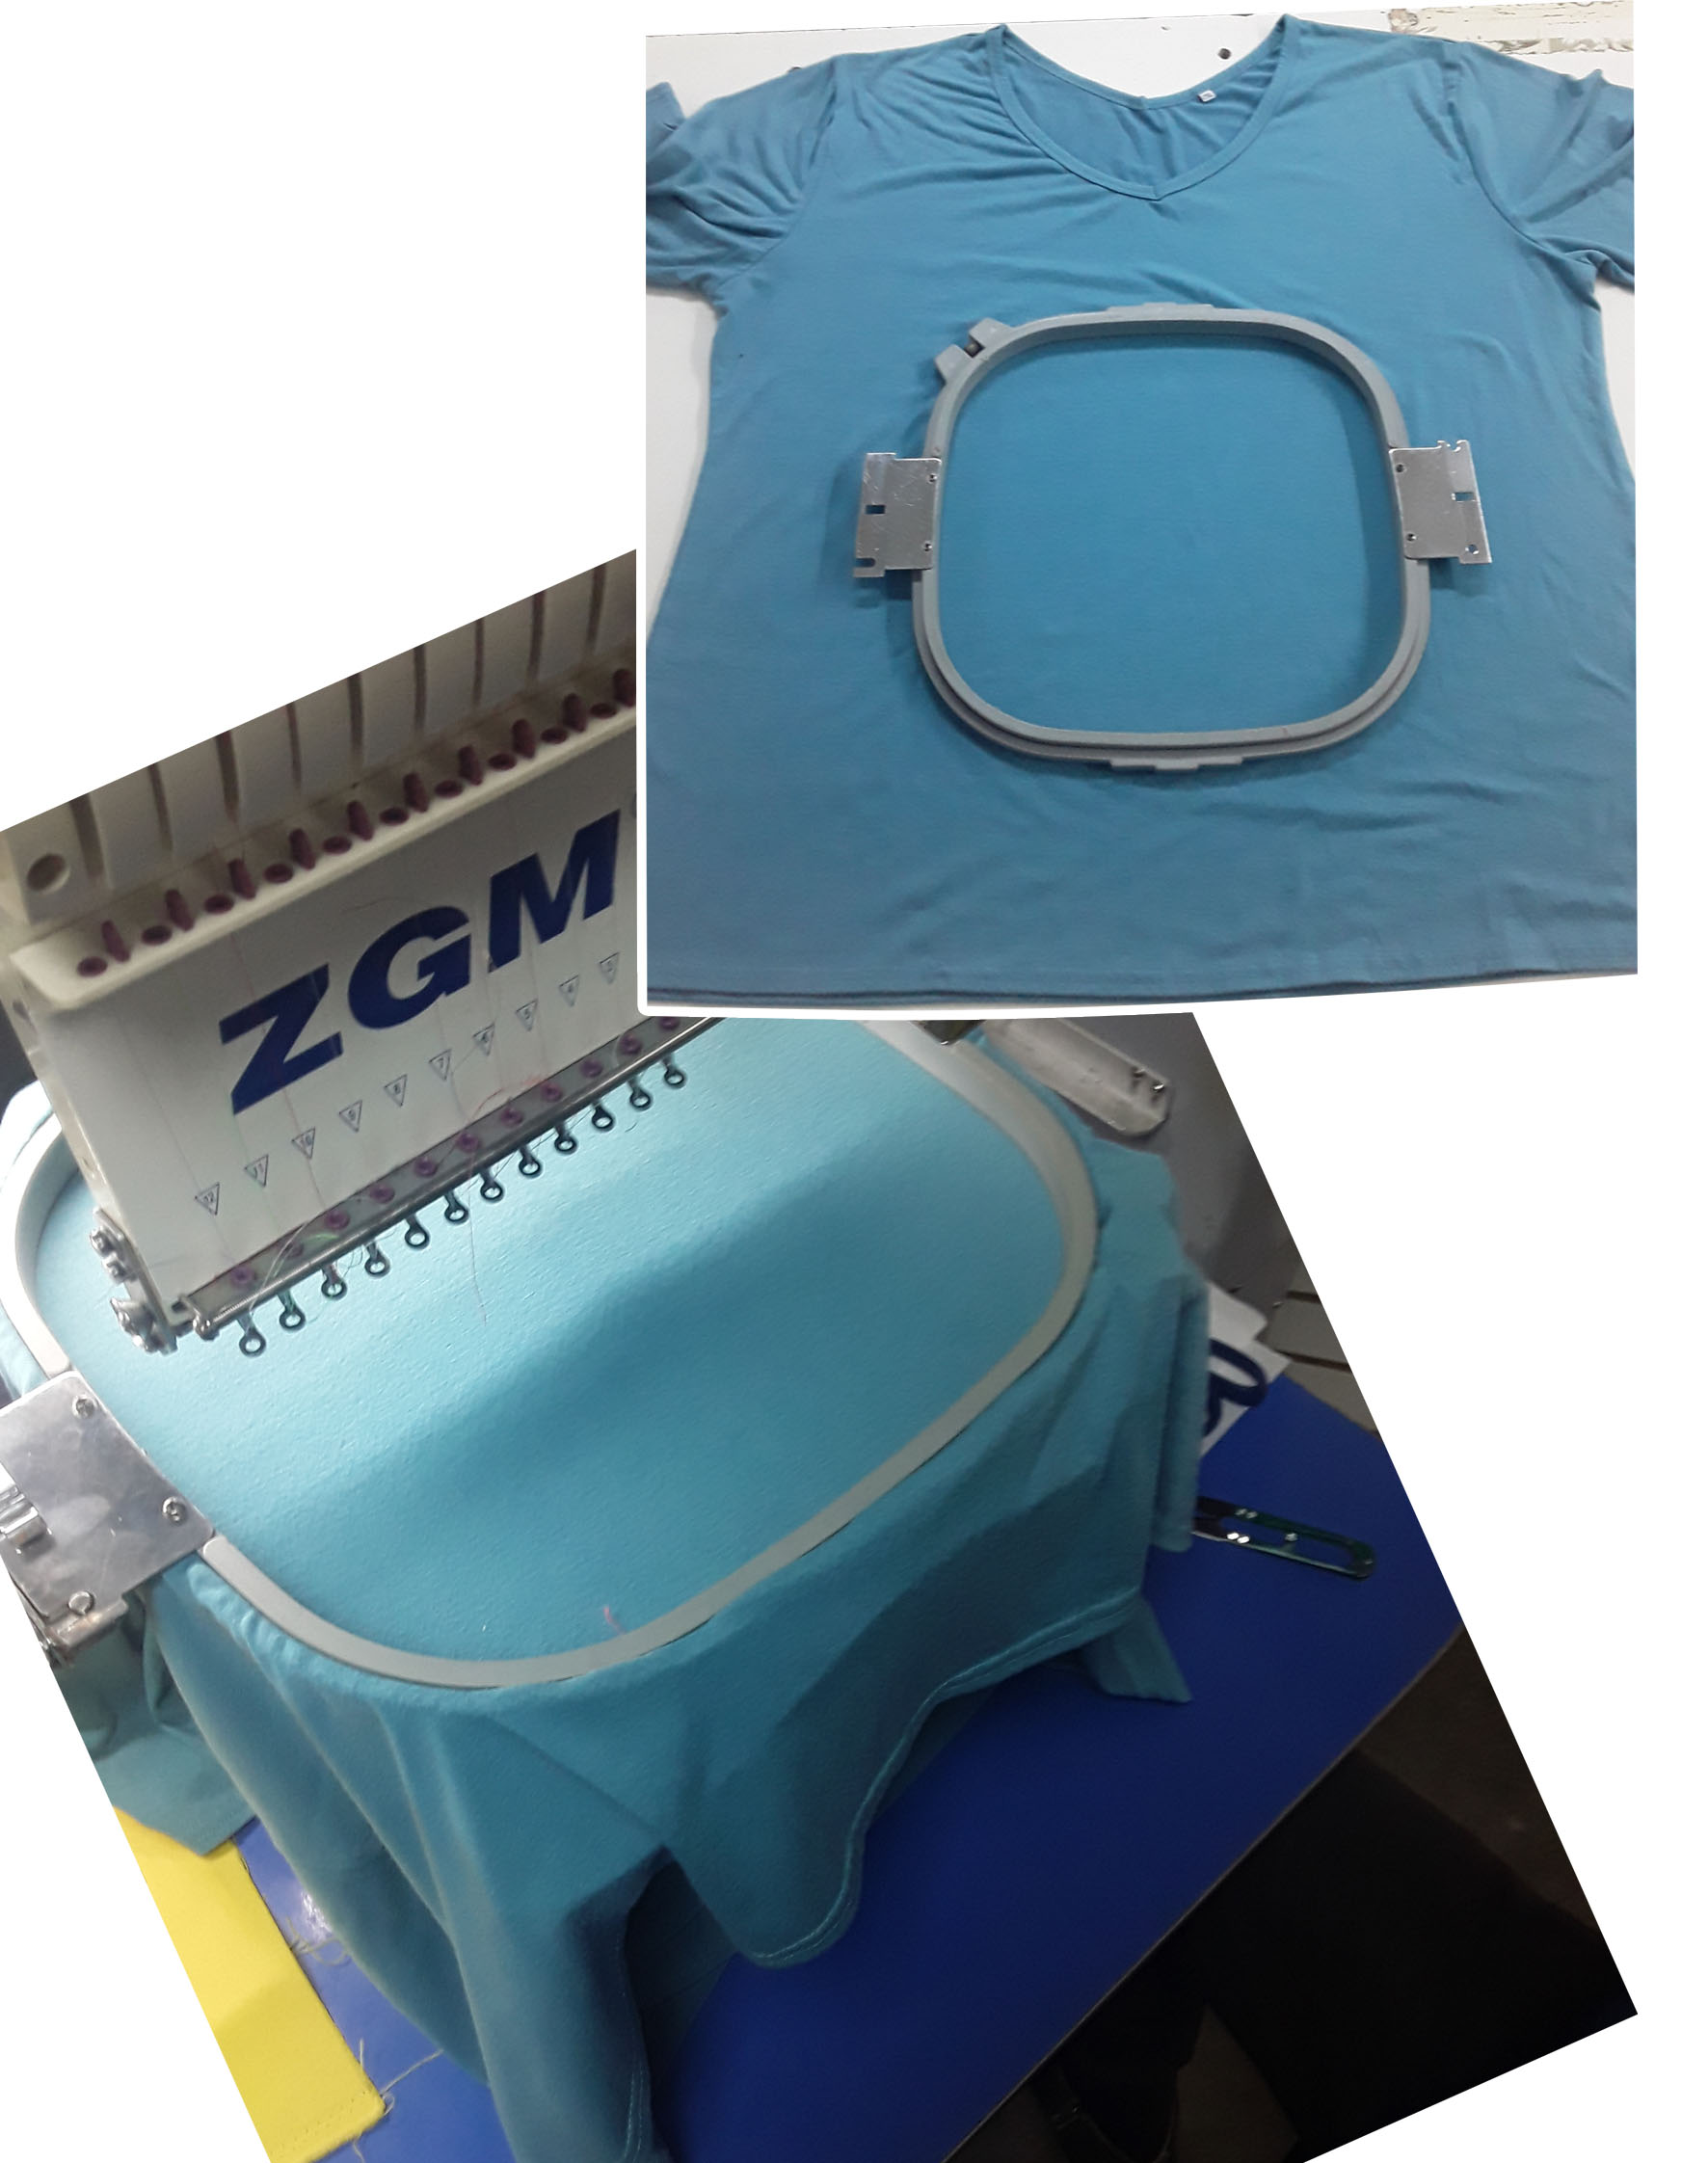
We introduce the design to the machine through a pen drive, we place the order of colors according to the design with the digital screen of the machine and it will begin to embroider by steps according to the design.
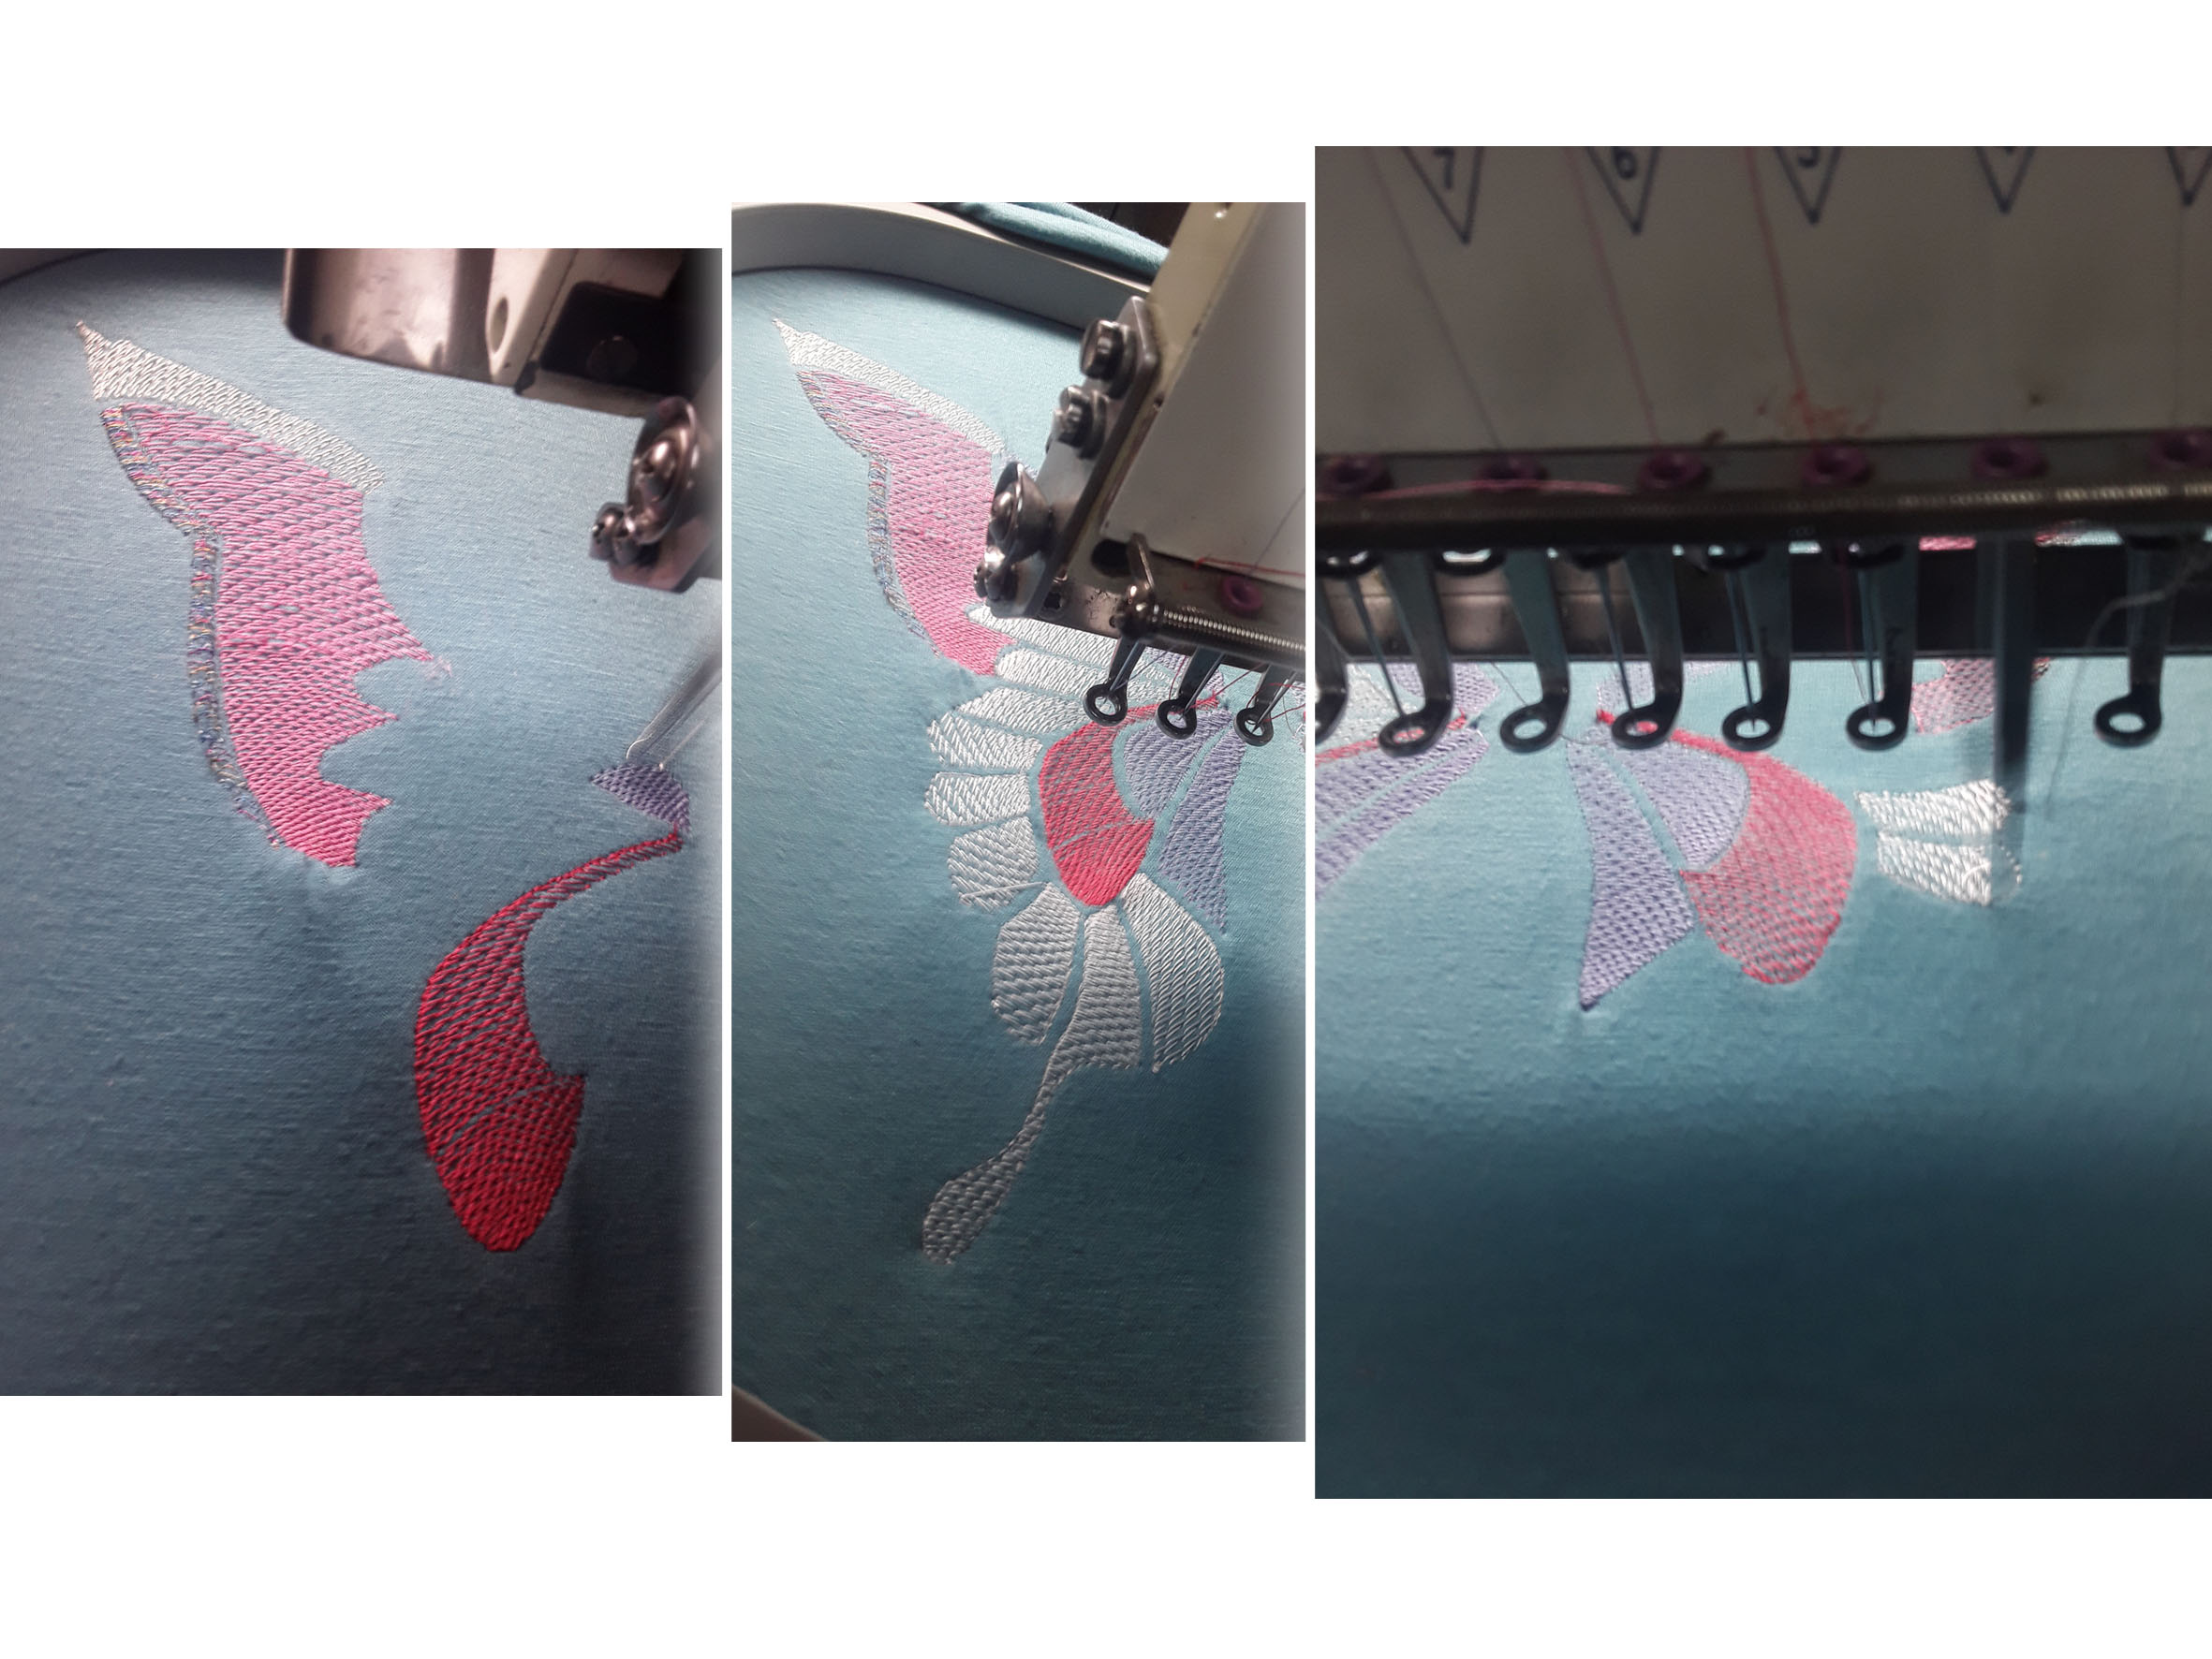
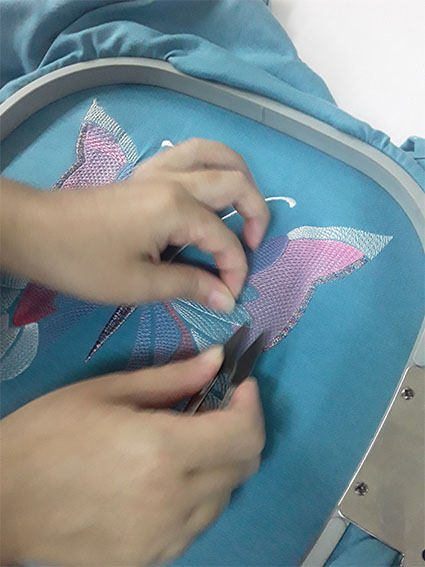
After finishing our butterfly we proceed to clean the embroidery or remove the excess threads with a pickaxe, we can see that there were no problems with our metallic thread and it met the goal of the touch of shine, then we take it out of the frame and we must begin to devise for The butterflies and leaves that will go around the big butterfly, for the next post I will be showing the culmination of my Florentine Butterfly :)