
This generation has been blessed by technology and when it comes to photographs, the luxury of having digital cameras which allows unlimited shots, sometimes this opulence has its advantages and disadvantages.
We'd often keep our photos in digital forms these days because our world has become digitized already. From posting on online websites to social media, it seems like the printed ones aren't anymore a thing.
I remember back in gradeschool and secondary years, I would travel for 30 minutes to get the photos from my point and shoot camera printed. That was an old film camera and I was given brand new film roll each time I get my photos printed. Its funny that we have no ways of reviewing the images until they are printed, it makes me excited and sometimes disappointed with my shots.
Today, I still have this urge within me to get my pictures printed. This time, not anymore from a film but from my digital raw images which I post process and then send over to Photobook for printing.
So today, I'd like to share how I layout and order them. Most of my photobooks, I paid only Php 300 and below which for me is already very affordable and is worth the price. I'd also be sharing how you can get yours in that amount.
Photobook Worldwide has three options in making layouts:
- Photobook Designer on Desktop
- Photobook App on Mobile
- Photobook Designer on Browser
Out of the three, the first option was what I used to work on since the start and that's why this is what I am going to share today. I'll make a new blog entry about the mobile and browser options.
Check this video tutorial or you can read the entire vlog:
Here are the steps:
Download and install the Photobook Designer App on your computer
From Photobook's website, download the installer: photobook designer
Notice that you need to select the correct country before downloading it.
Launch the app
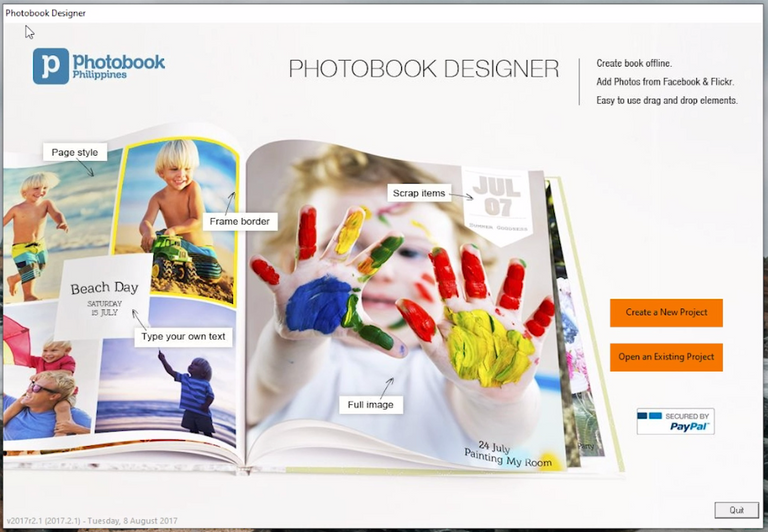
This is how the application looks like. Create a New Project to proceed.
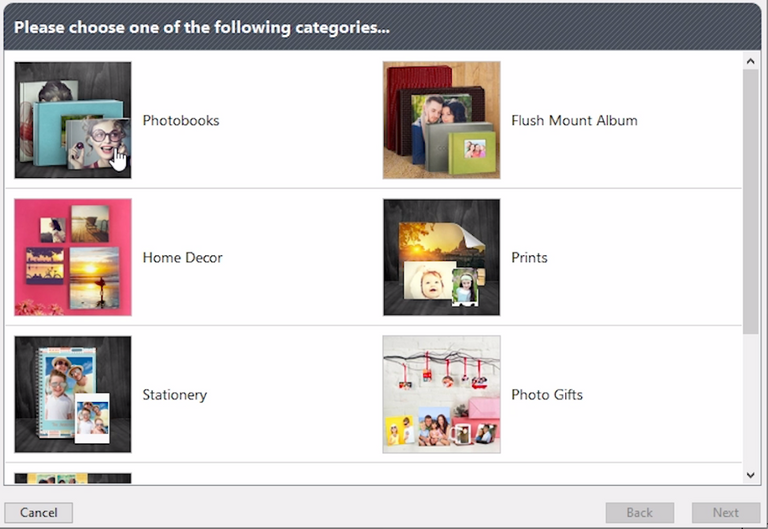
Select Photobooks Category
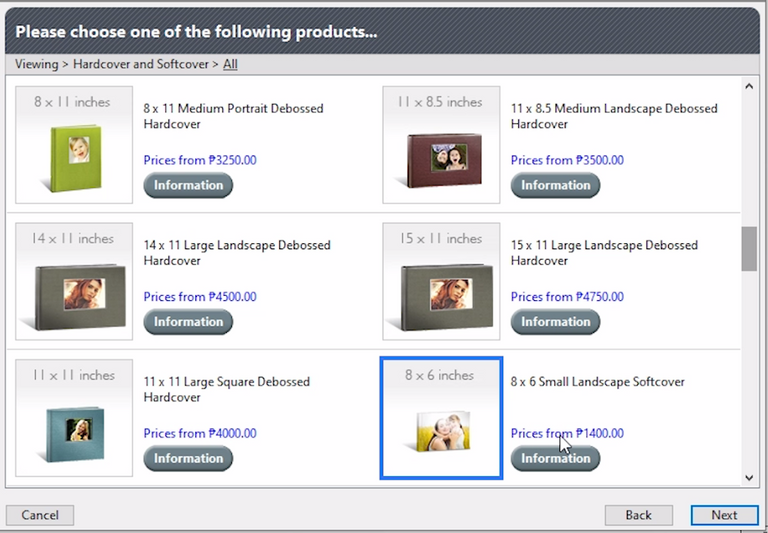
The prices for Photobooks range from Php 1200 for either softcover or hardcover photobooks. But then again, we can order this for as low as Php 20. I will show you later.
In this tutorial, we will use the 8x6 small landscape softcover product which is priced at Php 1400.
Name the project accordingly afterward then click on the create button.
Add Pictures
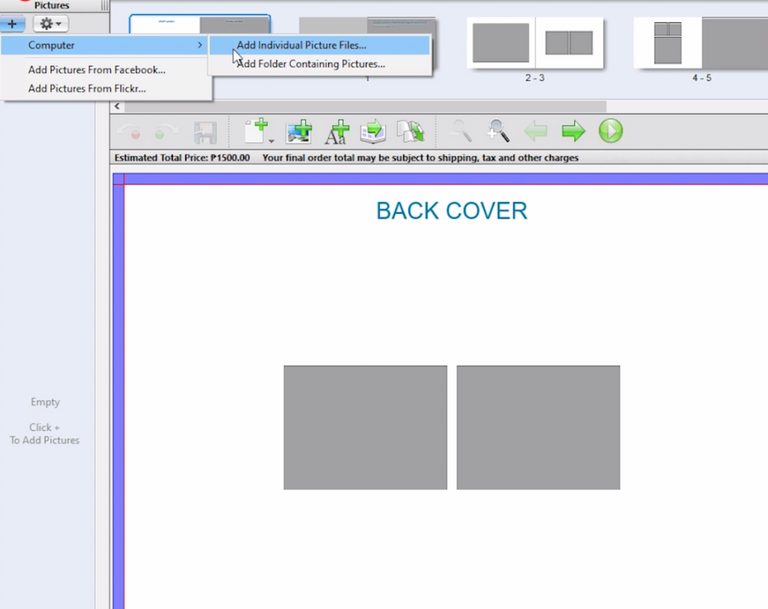
There are options to import from social media or from the local computer. I always import from the local computer. Importing can be done individually or by adding the folder which contains the pictures.
The images will show on the left side in a vertical order.
Start the Layout Process

The top section shows your photobook pages, click on each page to select them, the software already generates a random page style but you are free to change them. The bottom section shows your options such as the layout style, the software has this drag and drop feature so both your preferred layout and pictures can be dragged into the project.
Aside from pictures, you can also add texts, masks, backgrounds and scrapbook elements.
Order and Payment
The project selected here has 40 pages so upon finishing the layout, you may just proceed with selecting the Cart button and then send the order for printing.
Payment is required so the project can be submitted. Payment modes include credit or debit card or PayPal. I usually order via PayPal since its more secured and that I am used to using it.
Delivery
The printing and delivery usually take 5-7 business days but so far on my experience, it only takes a few days, less than 4 business days. In fact, my latest order which was made a few days ago has already arrived but unfortunately, I forgot to change my shipping address to our house because I usually ship my orders to my husband's office but since we are now working from home, we can't get the shipment until the end of the quarantine.
Anyway, I will be making a new photobook soon and will make sure to update the address here in the house so I can unbox it as well and make a review of the photobook.
That's it guys! Next blog will include another tutorial on how you can make a photobook using your mobile devices! Stay tuned!
!steemitworldmap 10.308633 lat 123.868616 long d3scr
Posted from my blog with SteemPress : https://stillsandmotion.blog/photography/learn-to-layout-your-photobook-with-photobook-designer-desktop-application/