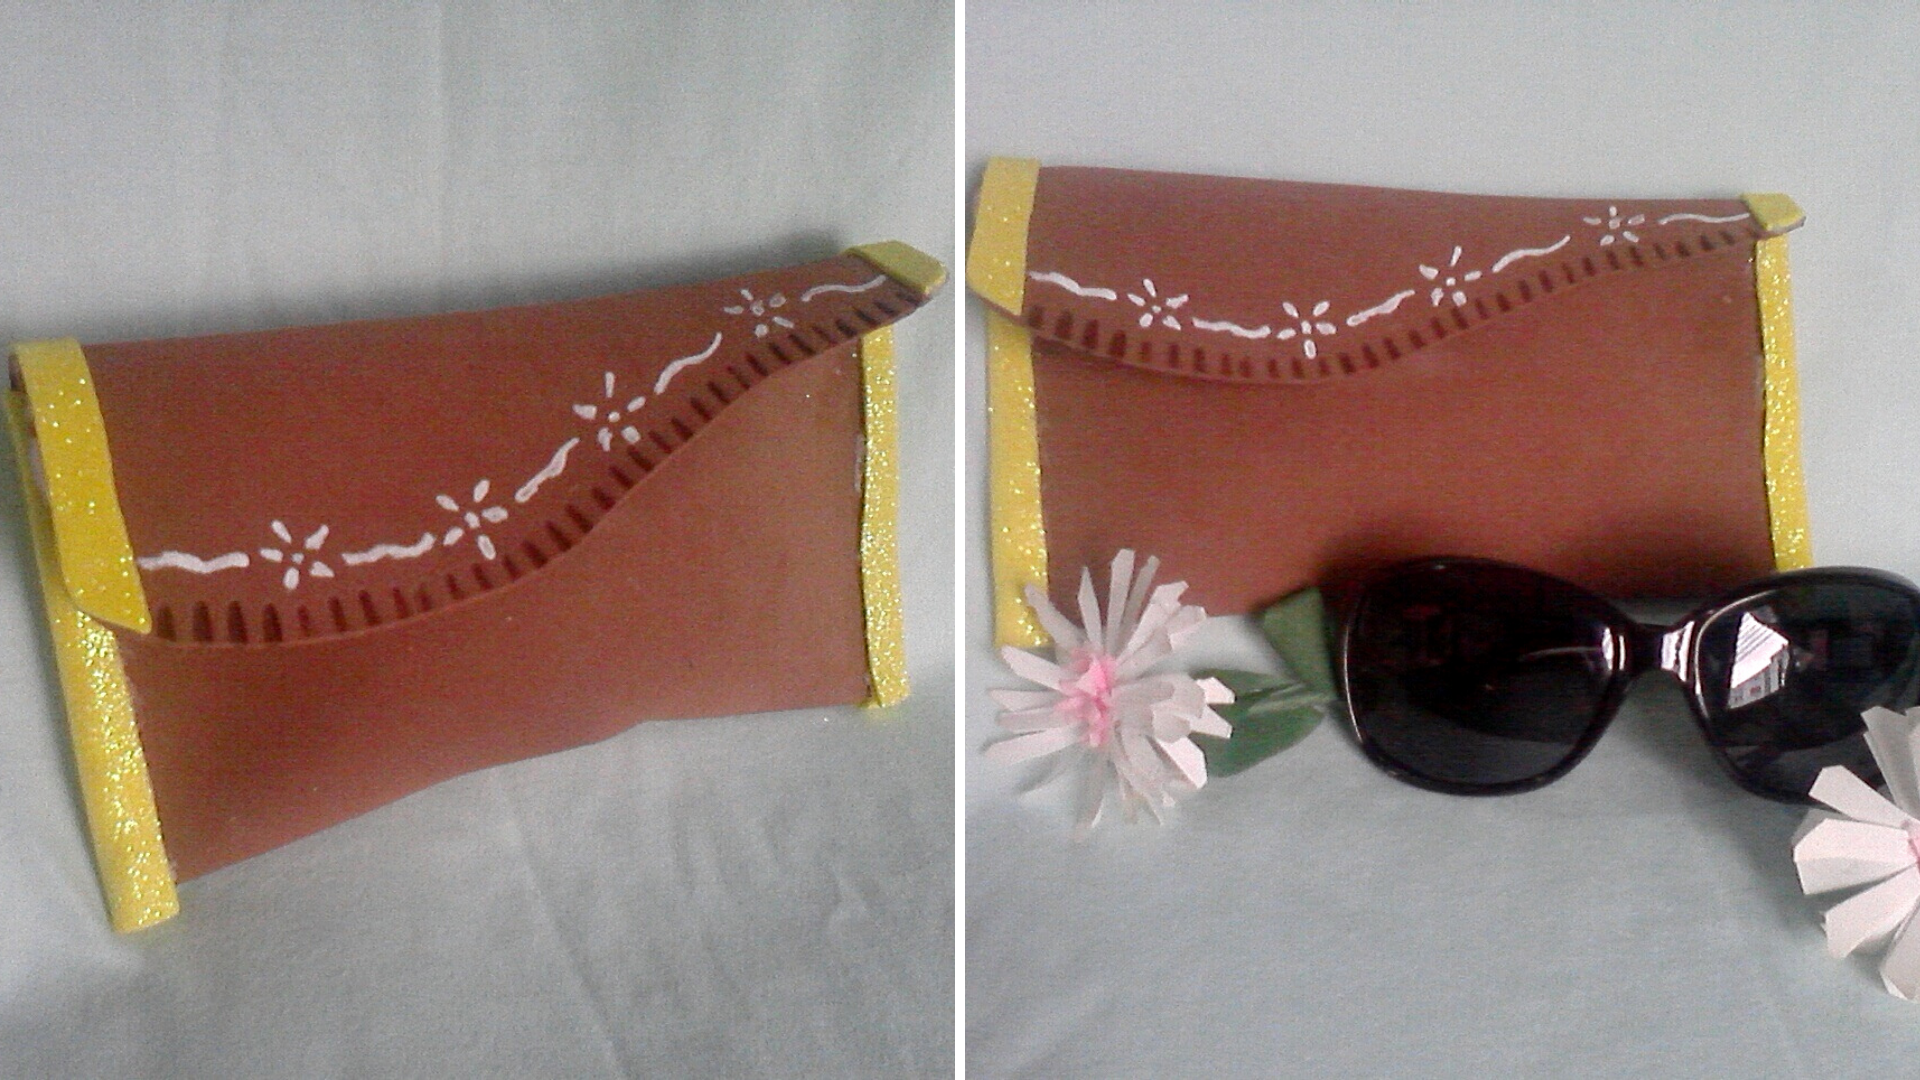
Comencemos con su elaboración.
My dear friends of Hive Diy, happy to share again in this beautiful community, I want to show you today how to make a nice and simple case to keep my sunglasses.
Let's start with its elaboration.
Español:
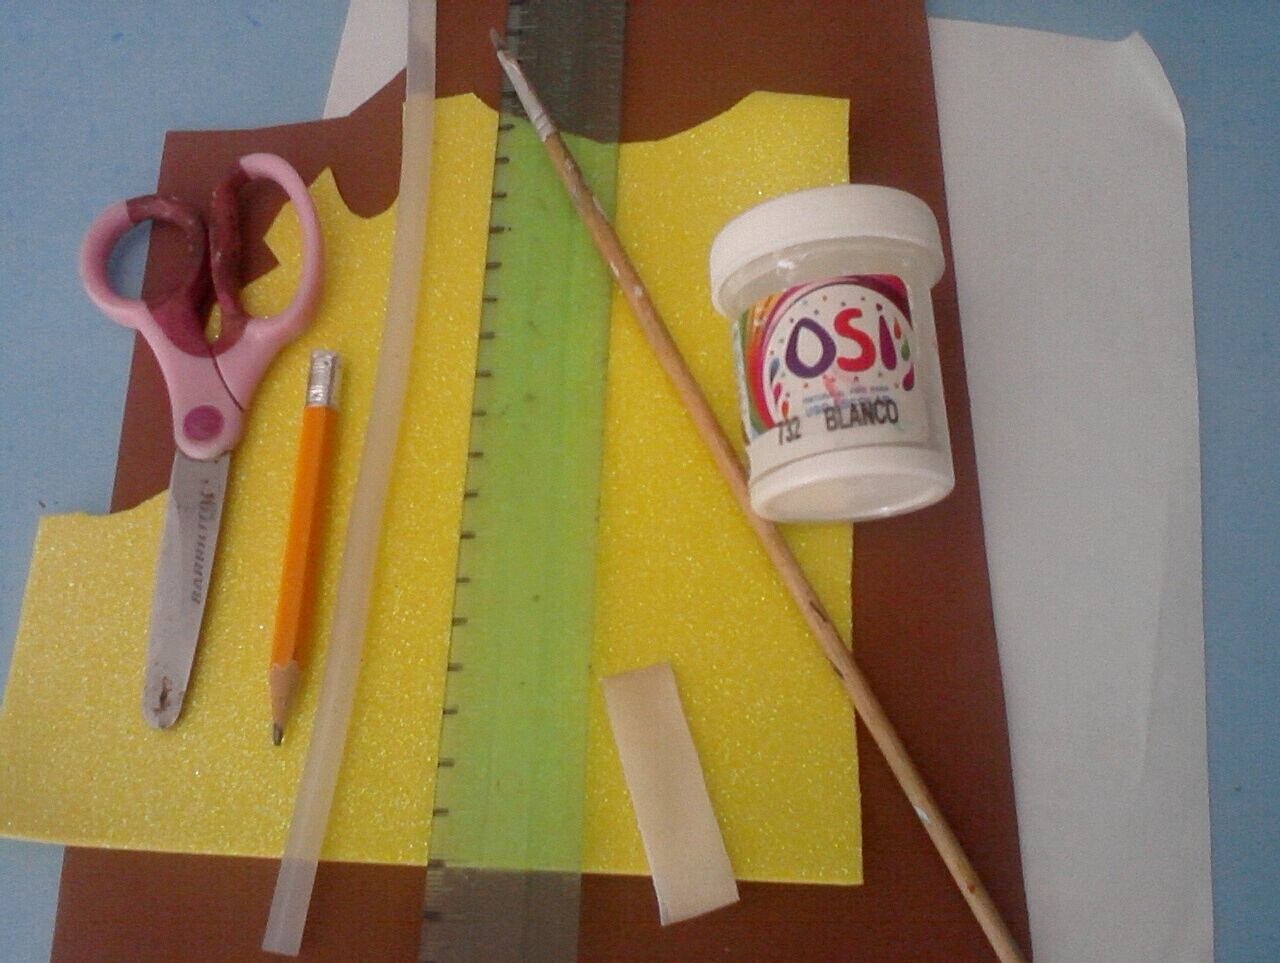
Materiales:
- Foami, (amarillo y marron).
- Pintura al frio, (blanca).
- Barra de silicon.
- Una hoja blanca.
- Cierre mágico.
- Pincel.
- Regla.
- Tijera.
- Lápiz.
English:
Materials:
- Foami, (yellow and brown).
- Cold paint, (white).
- Silicone stick.
- A white sheet.
- Magic zipper.
- Paintbrush.
- Ruler.
- Scissors.
- Pencil.


Español:
Paso 1:
- En la hoja blanca marcamos 2 lineas, quedando 3 divisiones, dos de 10 cm y una de 7 cm, para un total de 27 cm de altura, y 19 cm de ancho, luego en la división de los 7 cm recortamos en forma ondulada, teniendo ya el patrón del estuche, lo dibujamos de la misma manera en el foami marrón y procedemos a recortar; ahora en la parte de abajo de los 10 cm doblamos hacia arriba pegándola con silicon caliente en ambos lados.
English:
Step 1:
- On the white sheet we mark 2 lines, leaving 3 divisions, two of 10 cm and one of 7 cm, for a total of 27 cm in height, and 19 cm in width, then in the division of 7 cm we cut in a wavy shape, having already the pattern of the case, we draw it in the same way on the brown foami and proceed to cut it out; now at the bottom of the 10 cm we fold it upwards sticking it with hot silicone on both sides.


Español:
Paso 2:
- Después de tener el estuche marrón, lo colocamos en el foami amarillo y marcamos dos tiras juntas, una de 18 cm y la otra de 10 cm, luego la recortamos como lo muestro en la figura, luego comenzamos a pegar, por la parte de atrás del estuche, volteamos hacia la parte frontal, y pegamos primero la pestaña sobrante hacia arriba, para después pegar haciendo un dobles hacia dentro.
English:
Step 2:
- After having the brown case, we place it on the yellow foami and mark two strips together, one of 18 cm and the other of 10 cm, then we cut it as shown in the figure, then we begin to glue, from the back of the case, we turn to the front, and first glue the excess tab upwards, and then glue making a double inwards.


Español:
Paso 3:
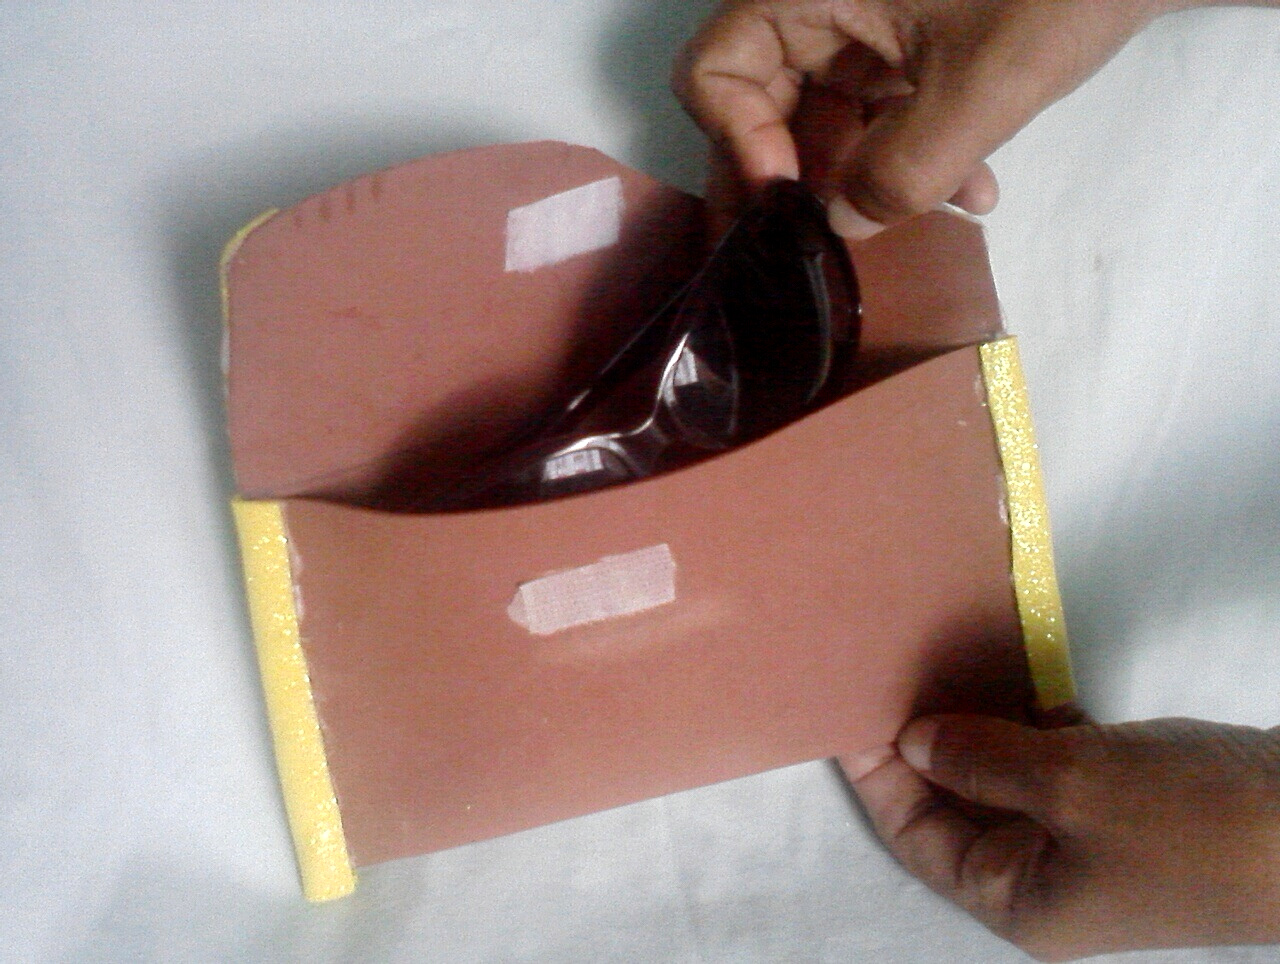
- Continuamos ahora con la decoración del estuche, con la ayuda de un cubierto caliente, le hacemos toquesitos por todo el borde de la tapa del estuche, después dibujamos florecitas con la pintura blanca; para terminar pegamos el cierre mágico.
English:
Step 3:
- We continue now with the decoration of the box, with the help of a hot cutlery, we make touches all around the edge of the lid of the box, then we draw little flowers with the white paint; to finish we glue the magic clasp.

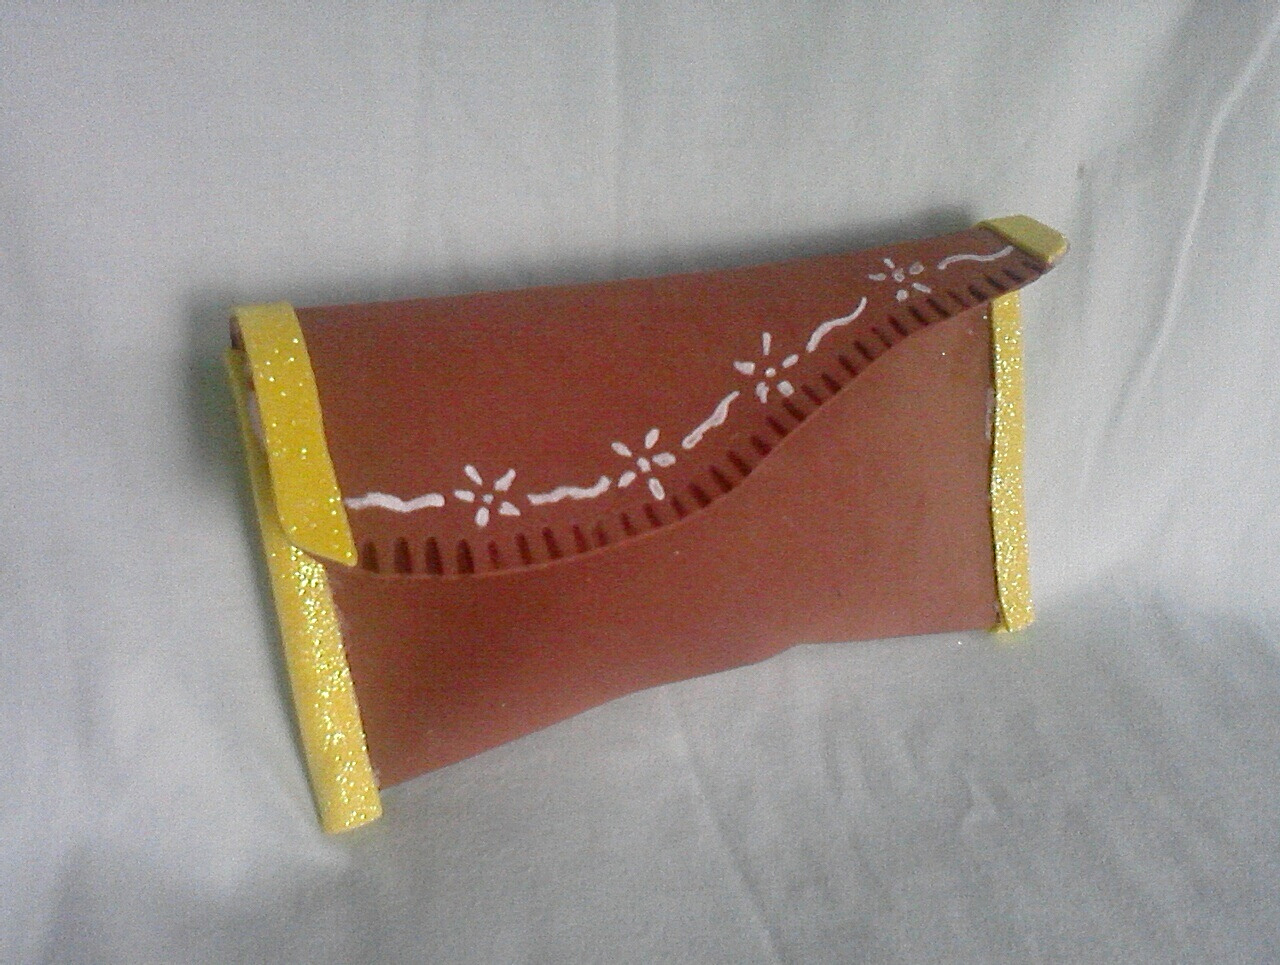
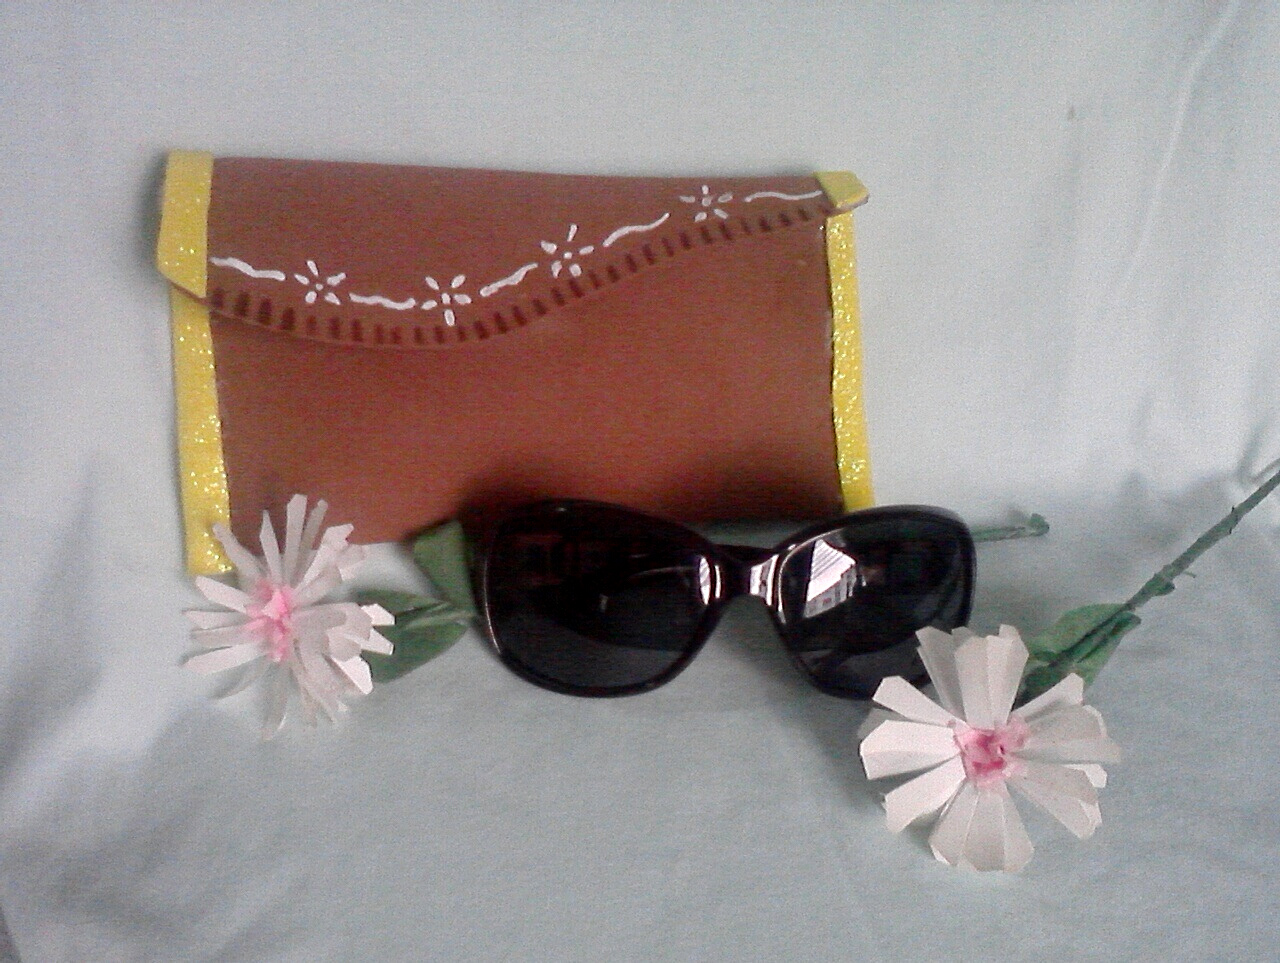
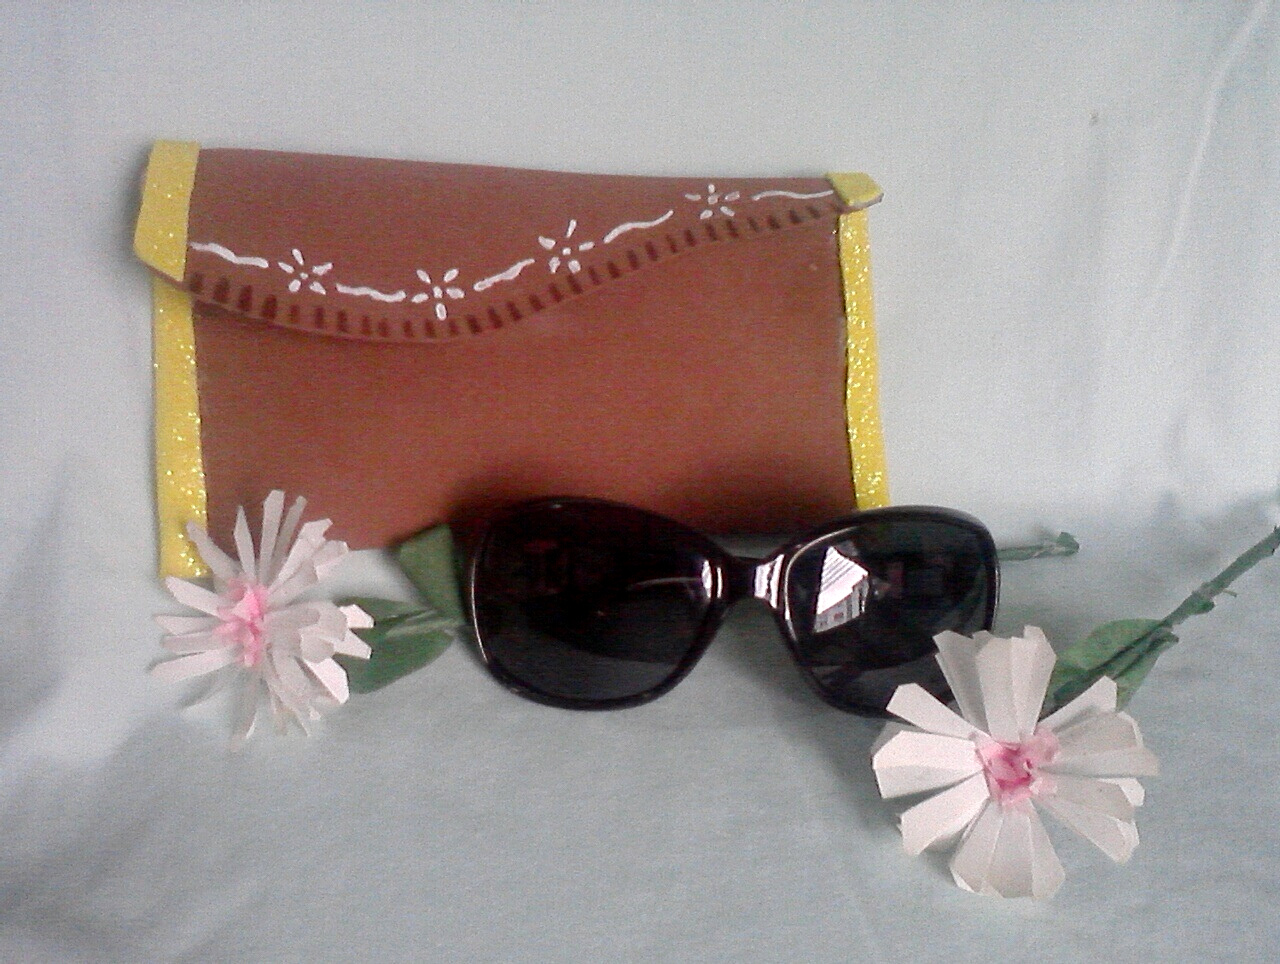
Mi resultado final, espero que les haya gustado. Saludos, hasta el próximo blog.
My final result, I hope you liked it. Greetings, see you next blog.


Todas las fotos son de mi autoria y editadas con Canva,
Traductor: DeepL Translate.
All photos are my own and edited with Canva, Translator: DeepL Translate.


Traductor: DeepL Translate.
All photos are my own and edited with Canva, Translator: DeepL Translate.


Congratulations @coromoto20! You have completed the following achievement on the Hive blockchain and have been rewarded with new badge(s):
Your next target is to reach 2500 upvotes.
You can view your badges on your board and compare yourself to others in the Ranking
If you no longer want to receive notifications, reply to this comment with the word
STOPSupport the HiveBuzz project. Vote for our proposal!