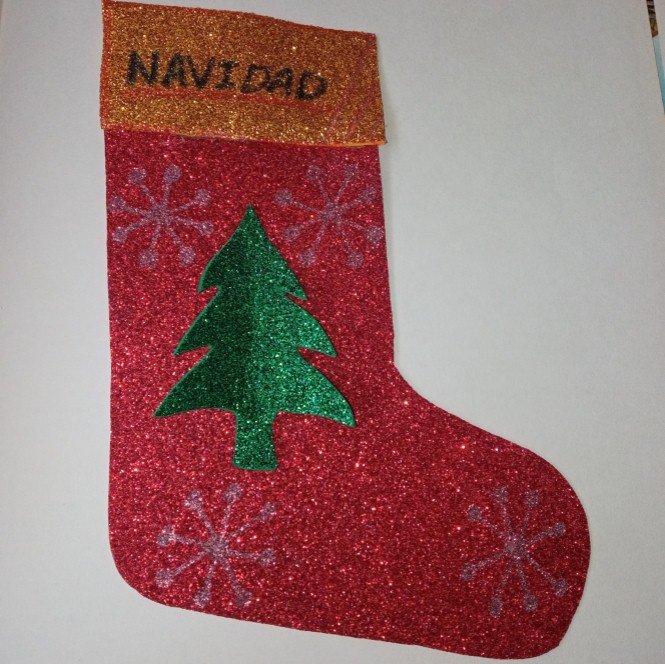
Making a beautiful Christmas boot.
Haciendo una hermosa bota de navidad.
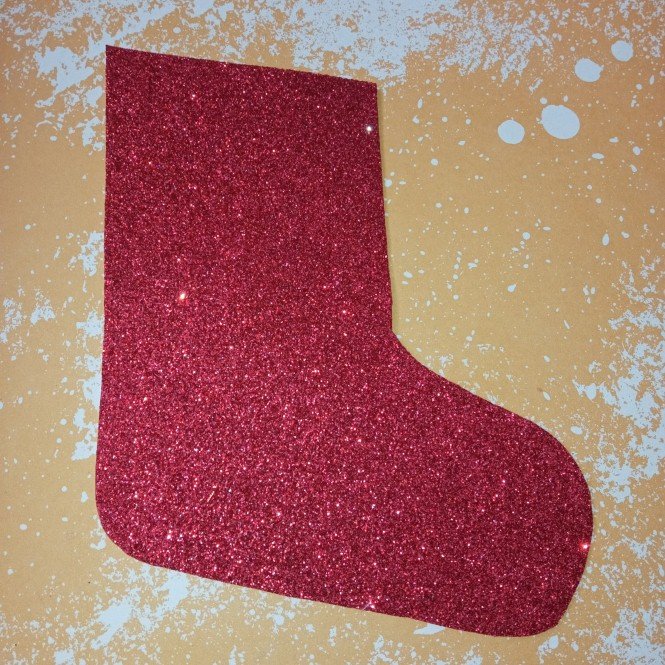
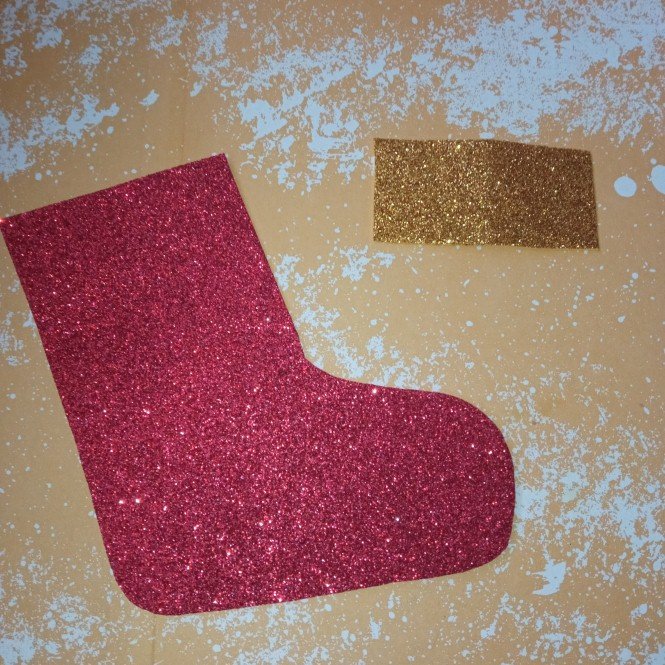
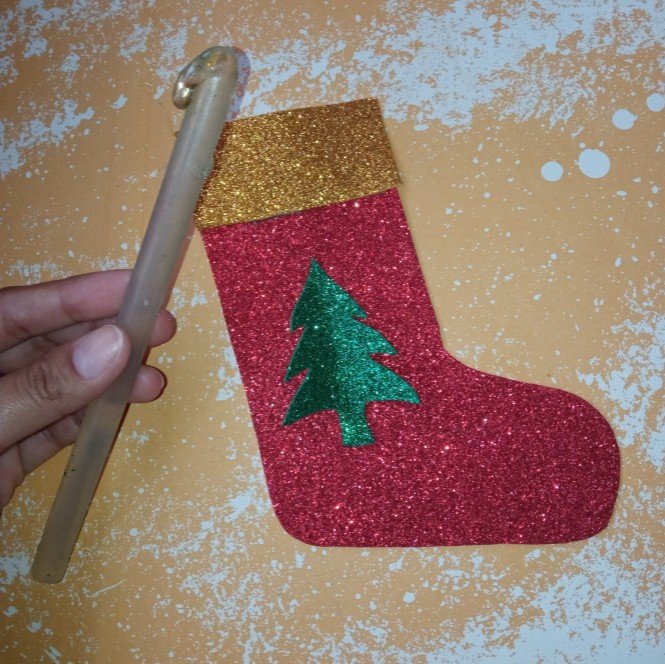
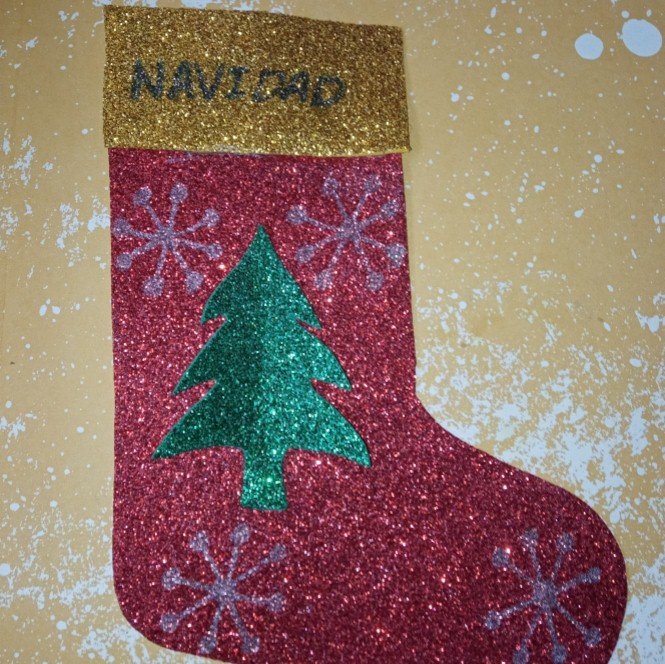
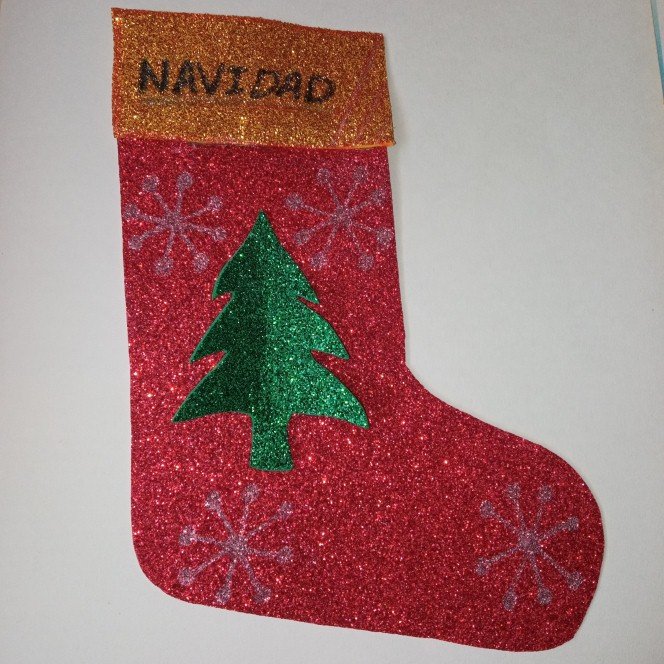
Hello friends readers, today I will be presenting a beautiful Christmas boot, very easy to make and with materials quite comfortable to find. As it is almost Christmas I am making some decorations for my home I always like to make things for me and to place them in some parts of my home, do not miss the step by step and join me until the end of the post so you can enjoy this craft as much as I enjoyed it.
Hola amigos lectores, el día de hoy les estaré presentando una hermosa bota de navidad, muy fácil de realizar y con materiales bastante cómodo de encontrar. Cómo ya casi es navidad ando realizando algunos adornos para mi hogar siempre me gusta realizar cosas por mí y poder colocarlos en algunos lados de mi hogar, no te pierdas el paso a paso y acompáñame hasta el final del post para que disfrutes de esta manualidad tanto como la disfrute yo.

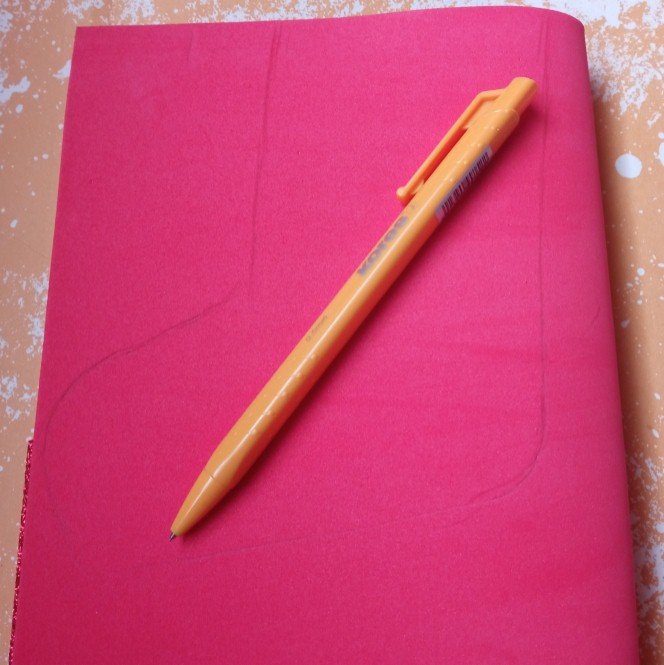
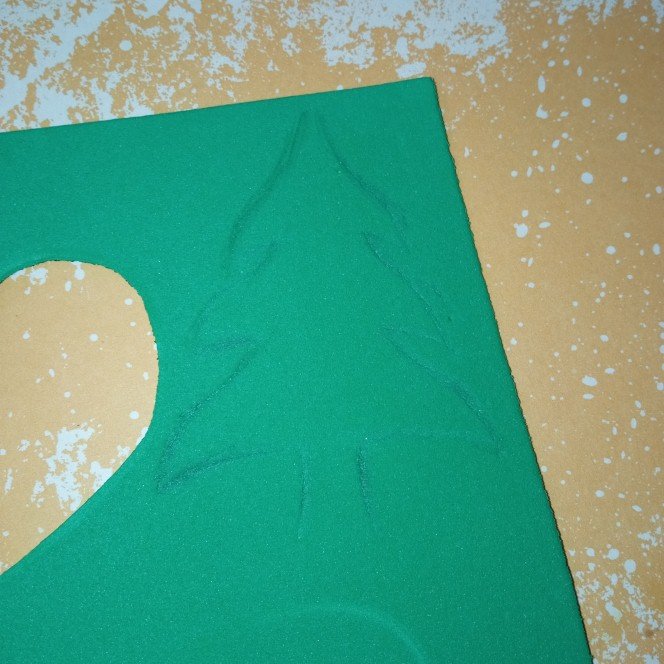
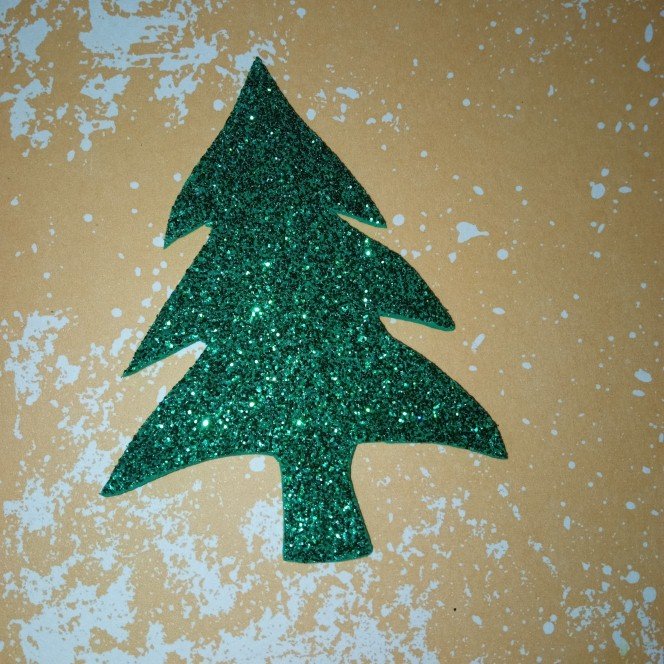
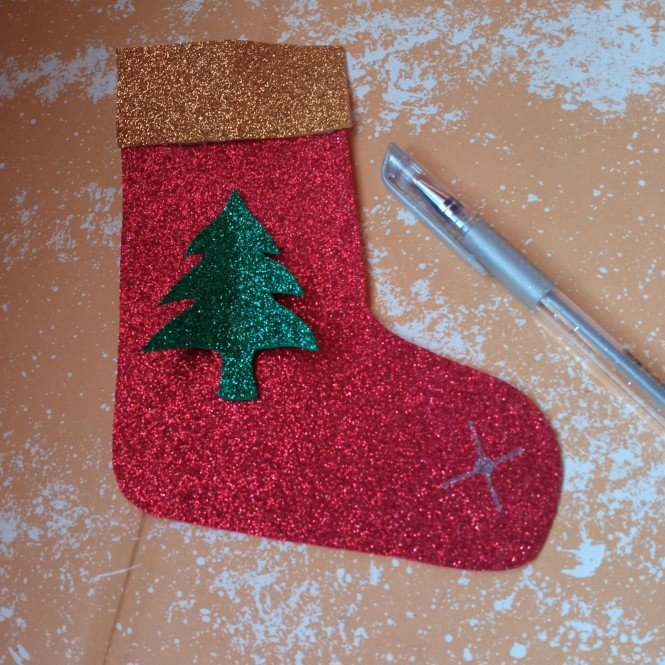
It's no secret that I love to do many different things among them crafts are always present and today I continue my excitement to make nice things for this Christmas season and I thought of making a boot that you will see in each step that I will show you in case anyone wants to make one already here I will leave a small guide.
Para nadie es secreto que me encanta realizar muchas cosas diferentes entre ellas las manualidades siempre están presente y hoy continúo mi emoción de hacer cosas lindas para esta época de navidad y se me ocurrió hacer una bota que estarán viendo en cada paso que les mostraré por si acaso alguien quiere realizar una ya aquí les dejaré una pequeña guía.

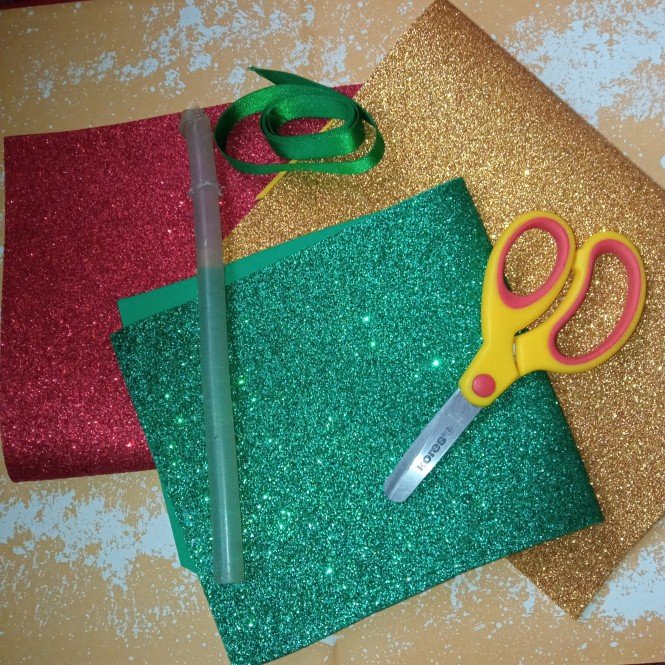
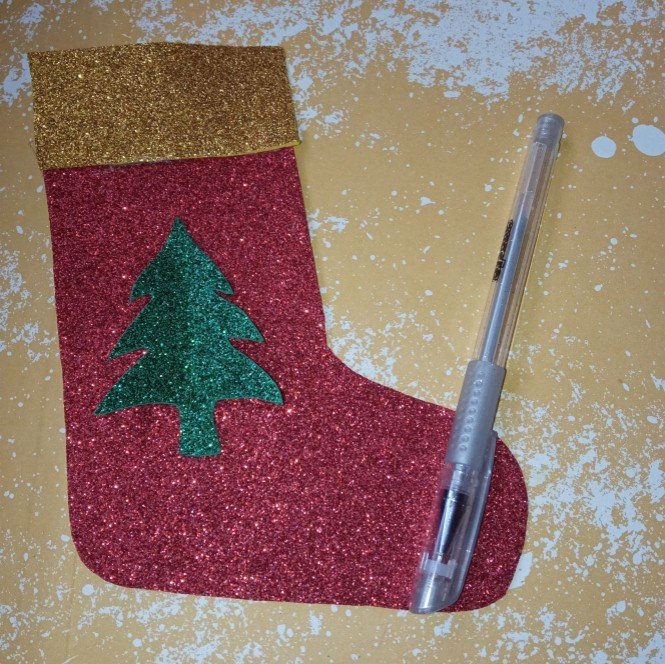
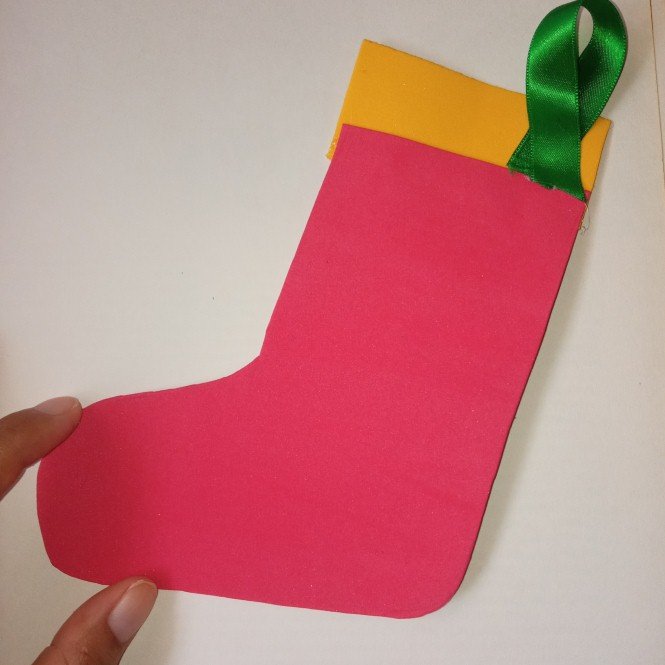
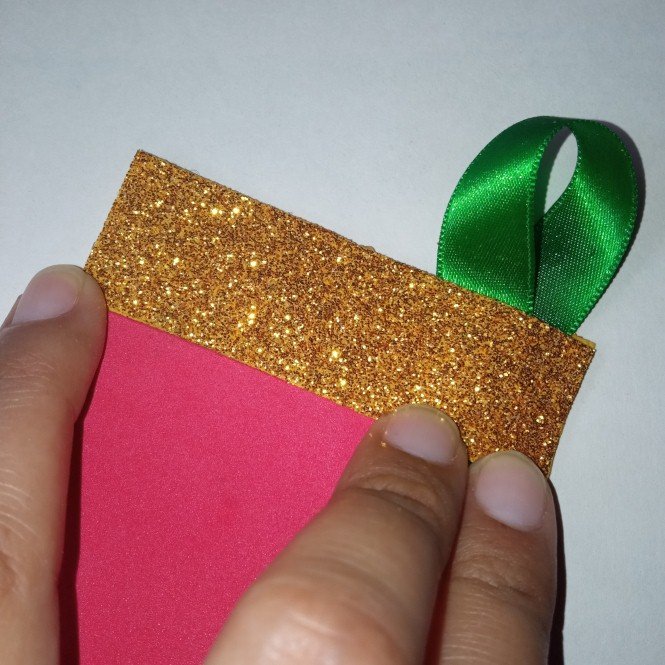
The materials I used were the following: eva rubber, scissors, silicone stick, green ribbon, frosted pens and lots of love to make this craft a beautiful Christmas piece.
Los materiales que utilice fueron los siguientes: goma eva, tijera, silicón en barra, cinta de color verde, lapiceros escarchados y mucho amor para hacer de esta manualidad una linda pieza de Navidad.

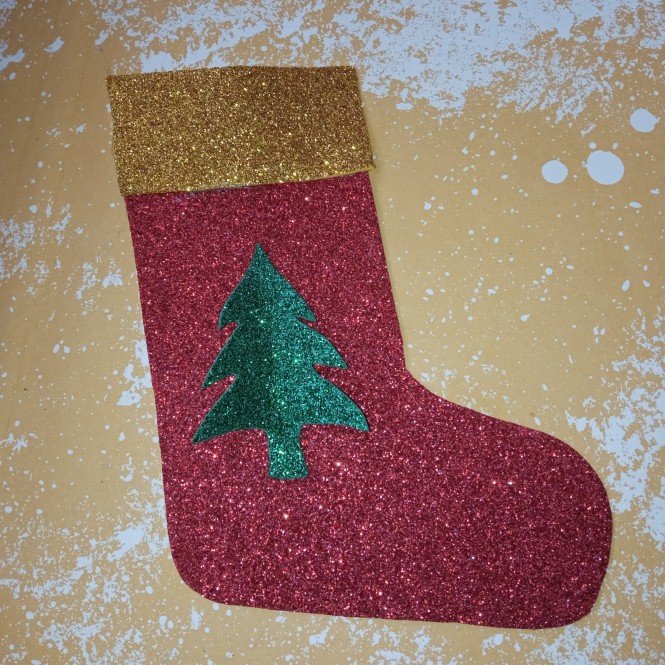


Without more to say and hoping that this craft post is to the liking of every reader I say goodbye with a big and warm hug, love you @shirahoshi. See you next time.
Sin más que decir y esperando que este post de manualidad sea del agrado de cada lector me despido con un gran y caluroso abrazo, los quiere @shirahoshi. Nos vemos en una próxima oportunidad.

The photographs are my own and were taken by me with a Redmi 9 and were edited in powerpoint.
Las fotografías son de mi autoría y fueron tomadas por mí con un Redmi 9 y se editaron en powerpoint.
The Step by Step Gif was made by me in AdobePhotoshop CC2014.
El Gif de Paso a Paso fue realizado por mi en AdobePhotoshop CC2014.
The logo was designed by me in Adobe Illustrator CC 2015 and its animated version was made in After Effects CC 2017.
El logo fue diseñado por mí en Adobe Illustrator CC 2015 y su versión animada la realice en After Effects CC 2017.
Language corrector used Deepl.