One of the regrets that I had moving in to Australia is leaving all my charms and trinkets behind. I had been here for more than a year now and, though I kept claying, I have really never gotten into making new charms for me.
Its really hard to conceptualize my charms because, I do have a preference- something not so common. To start my Australian collection, I decided to make kawaii pigs.
Another first in this post is that instead of showing you guys how to make one charm, I did 2 charms instead! Both pigs! Don't get too excited.
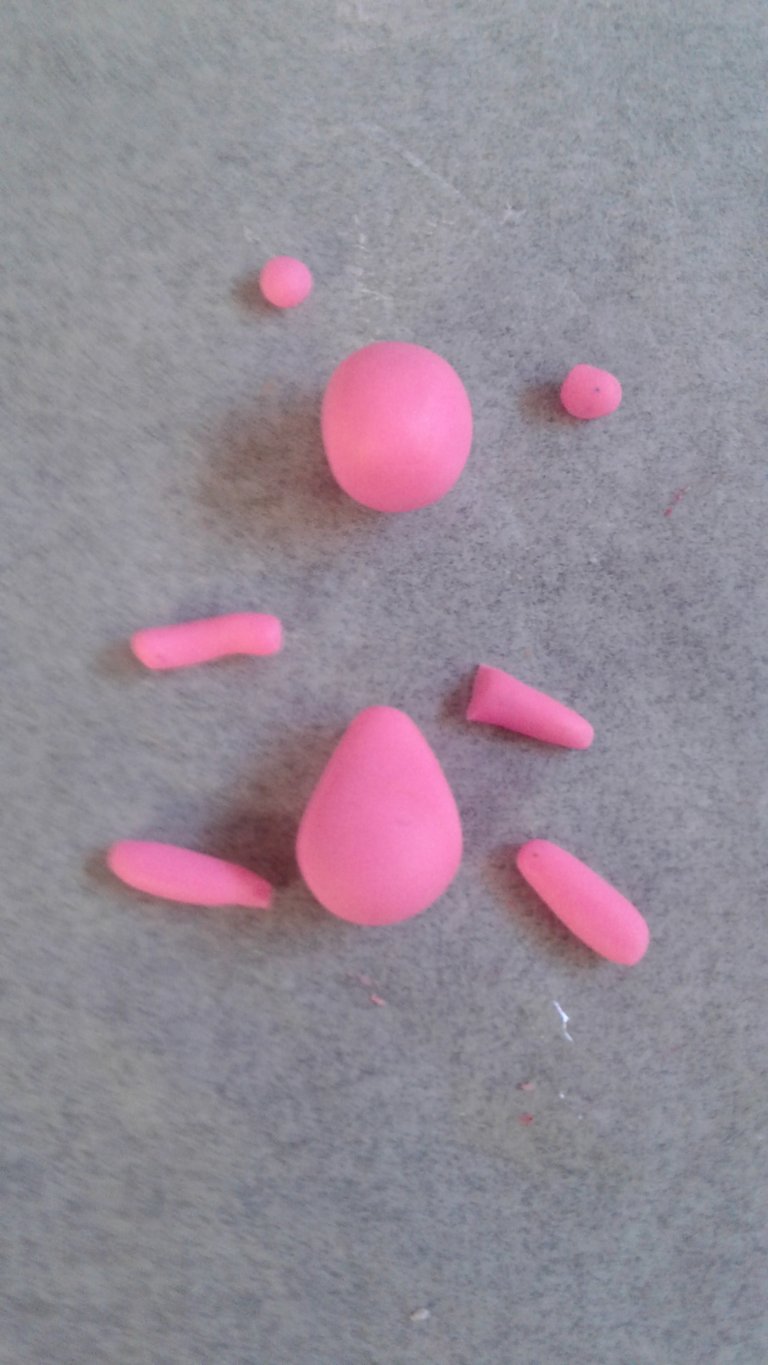
I started with these:
Attach the head and the body.
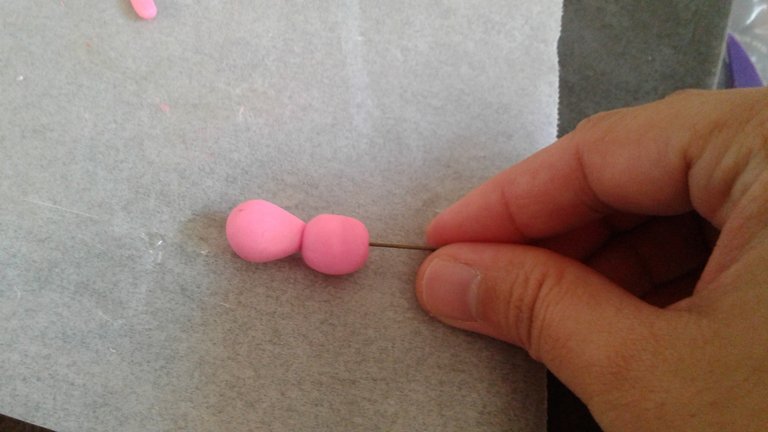
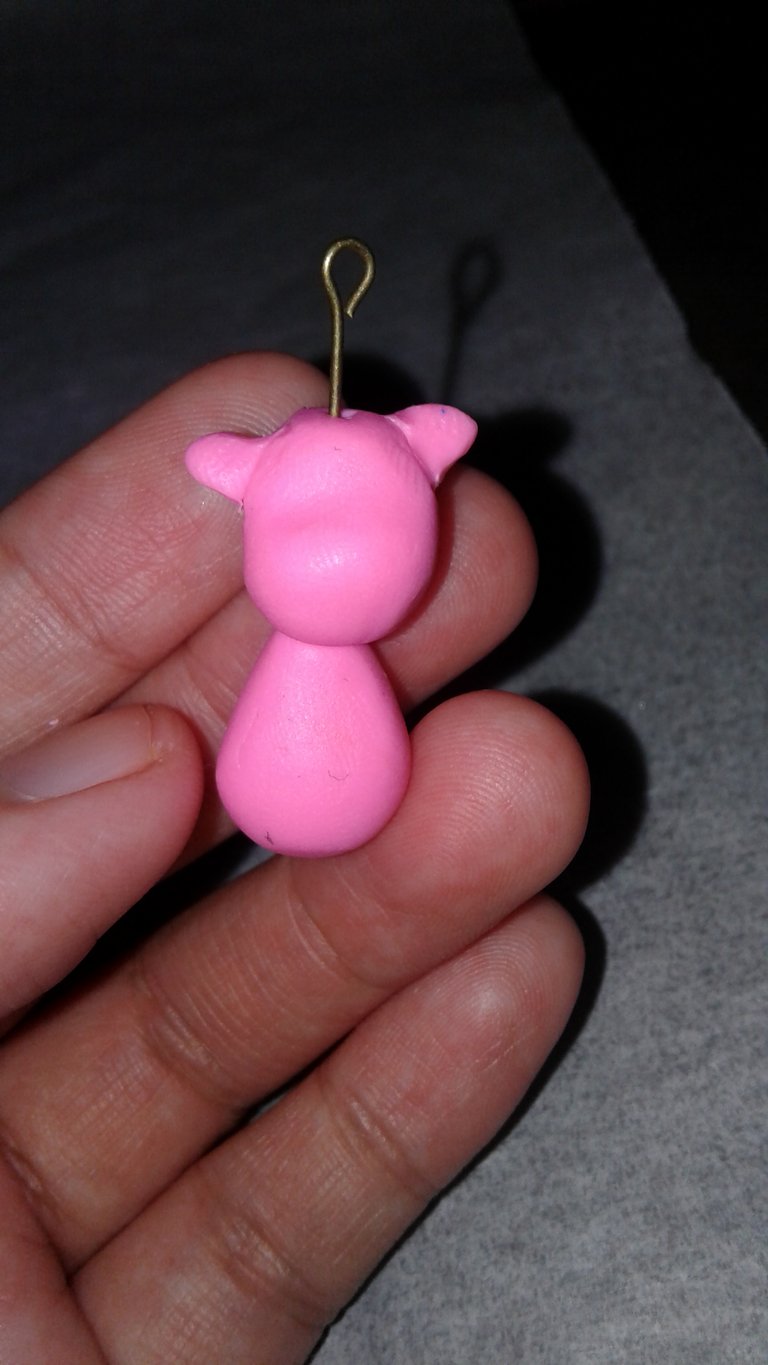
The eye pin is used as an eye pin (apparently!) and as a reinforcement to support the head and the body.
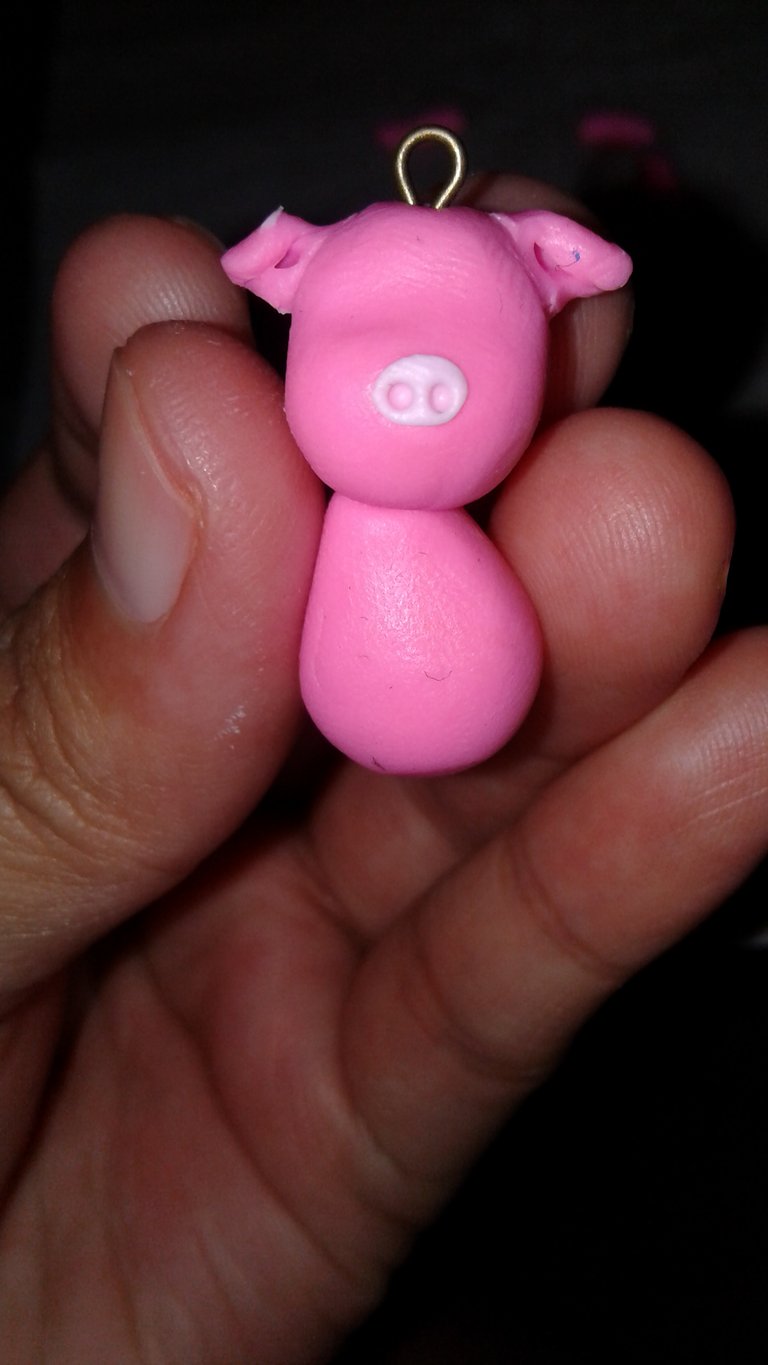
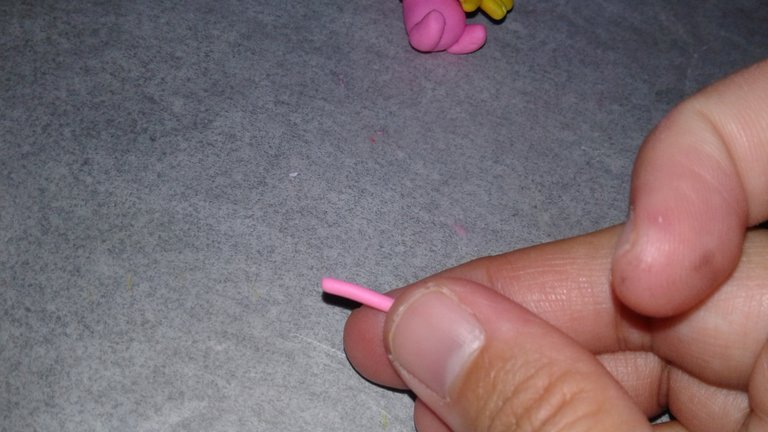
Attach the ears and snout then do some simple detailing.
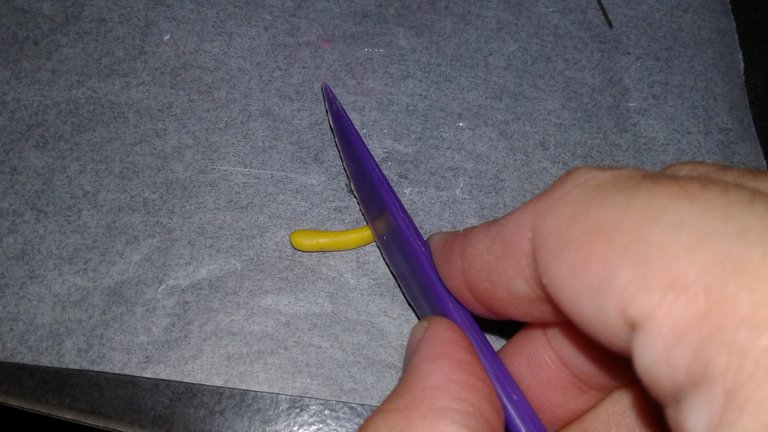
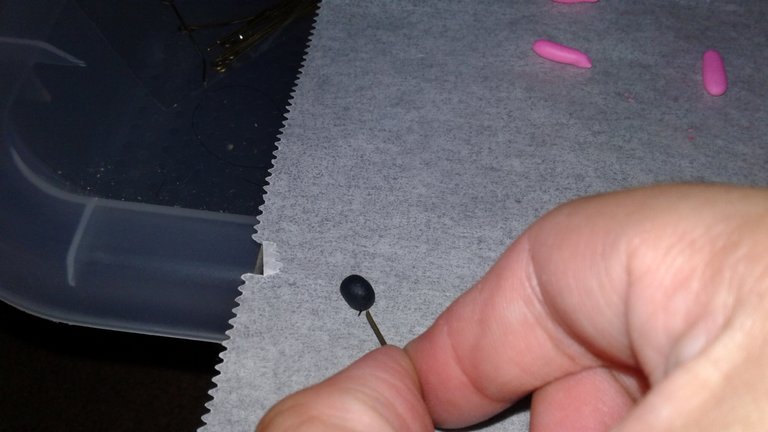
Let's start making the flower.
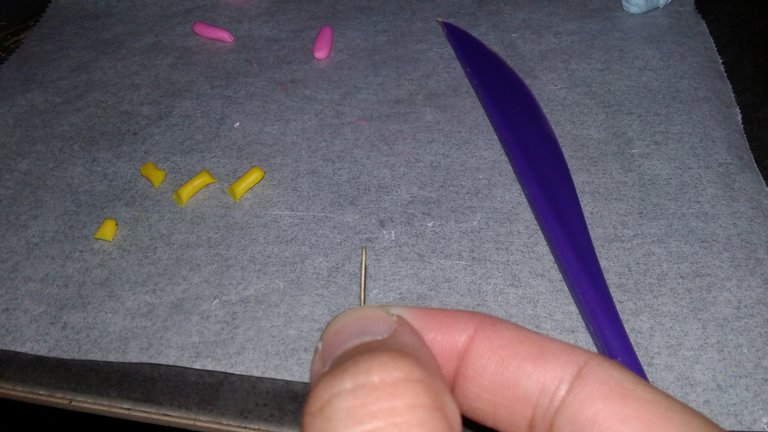

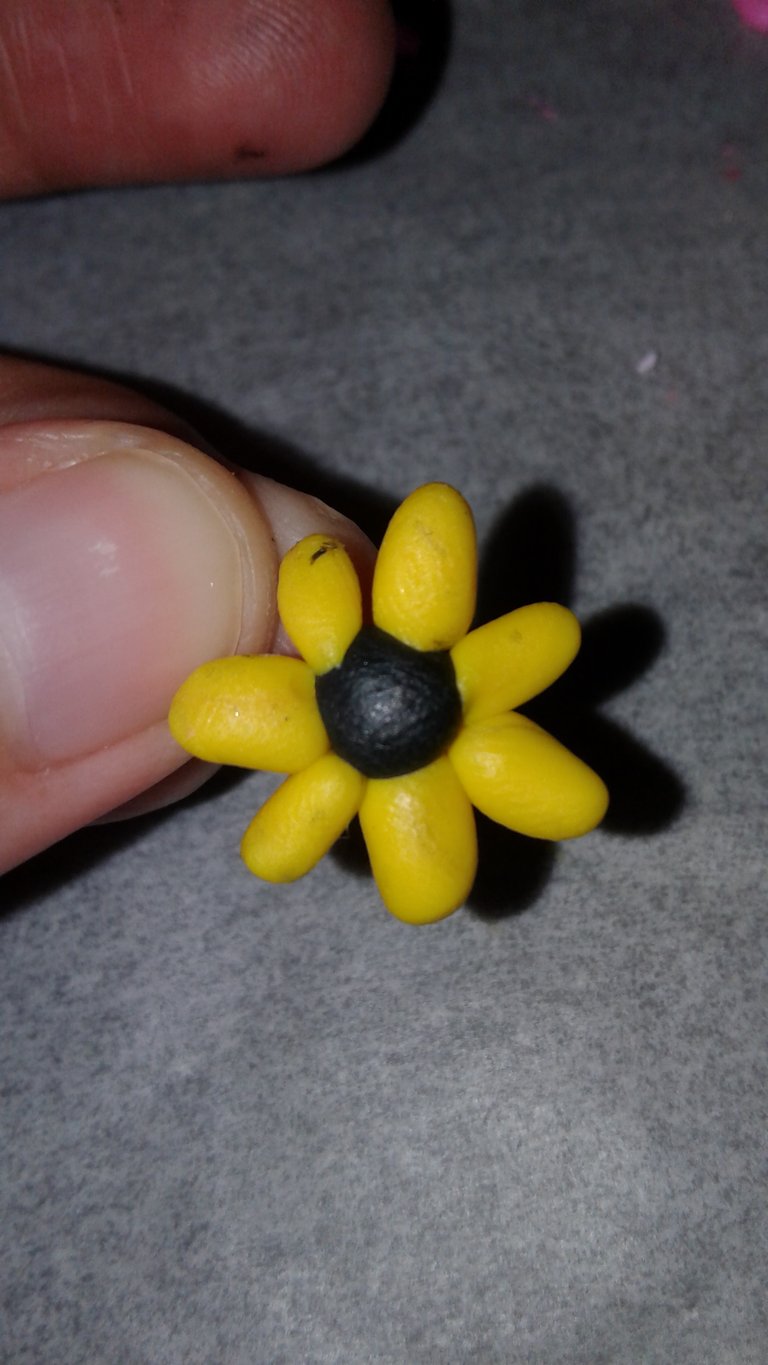
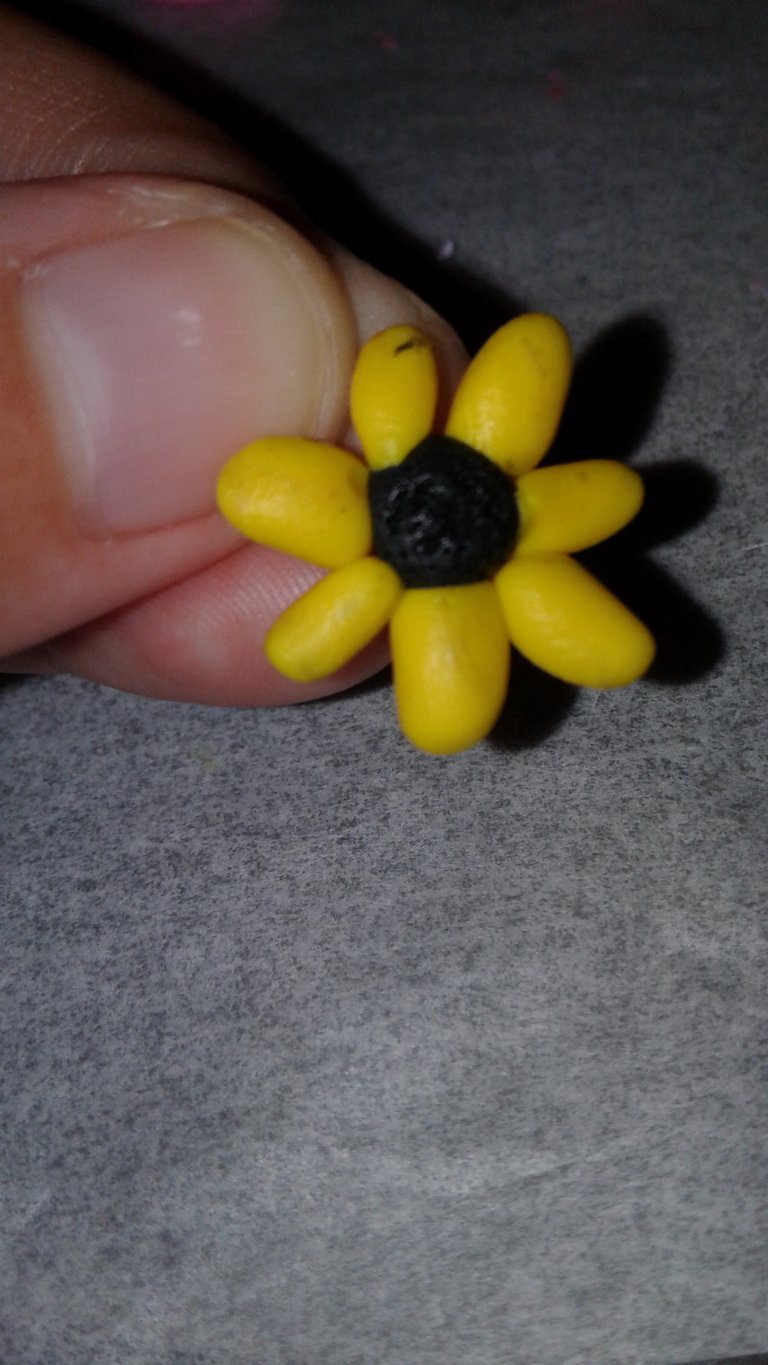
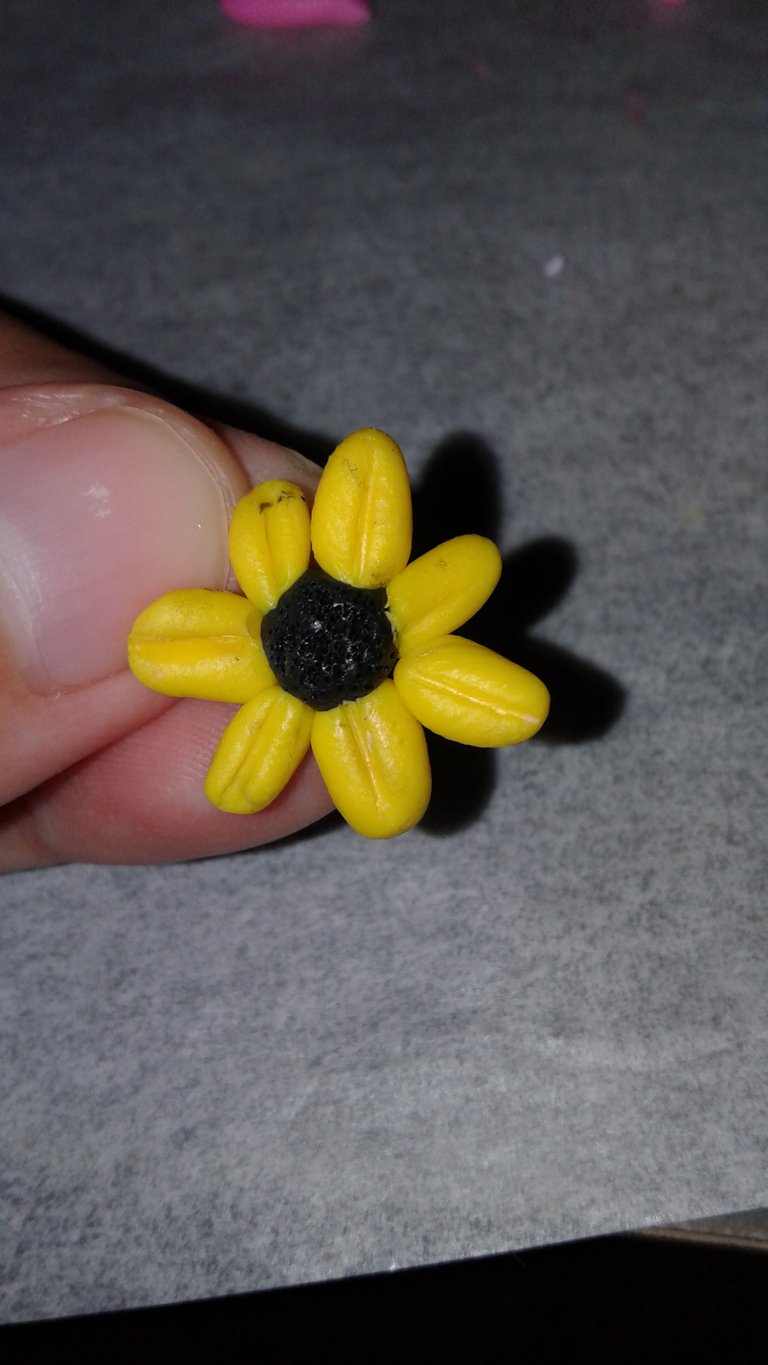
Add some detail then attach to the pig.
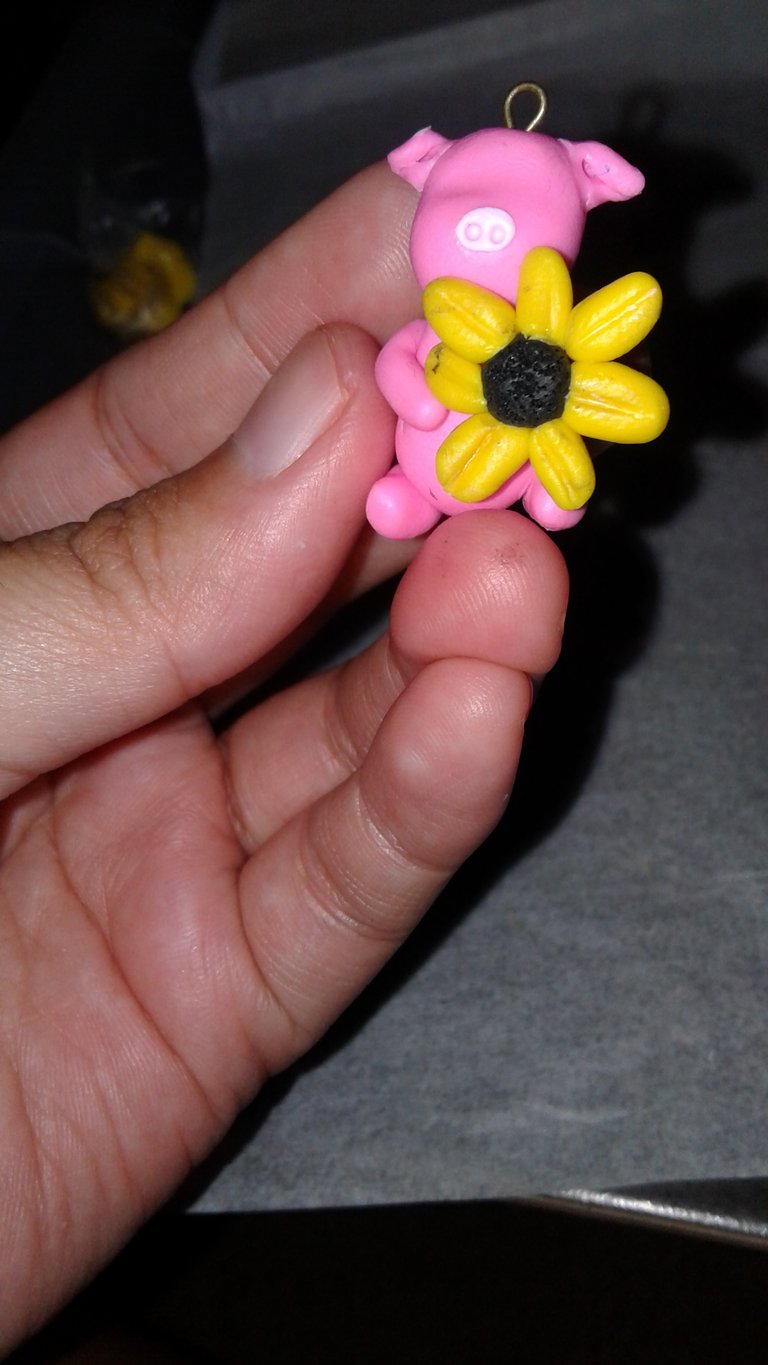
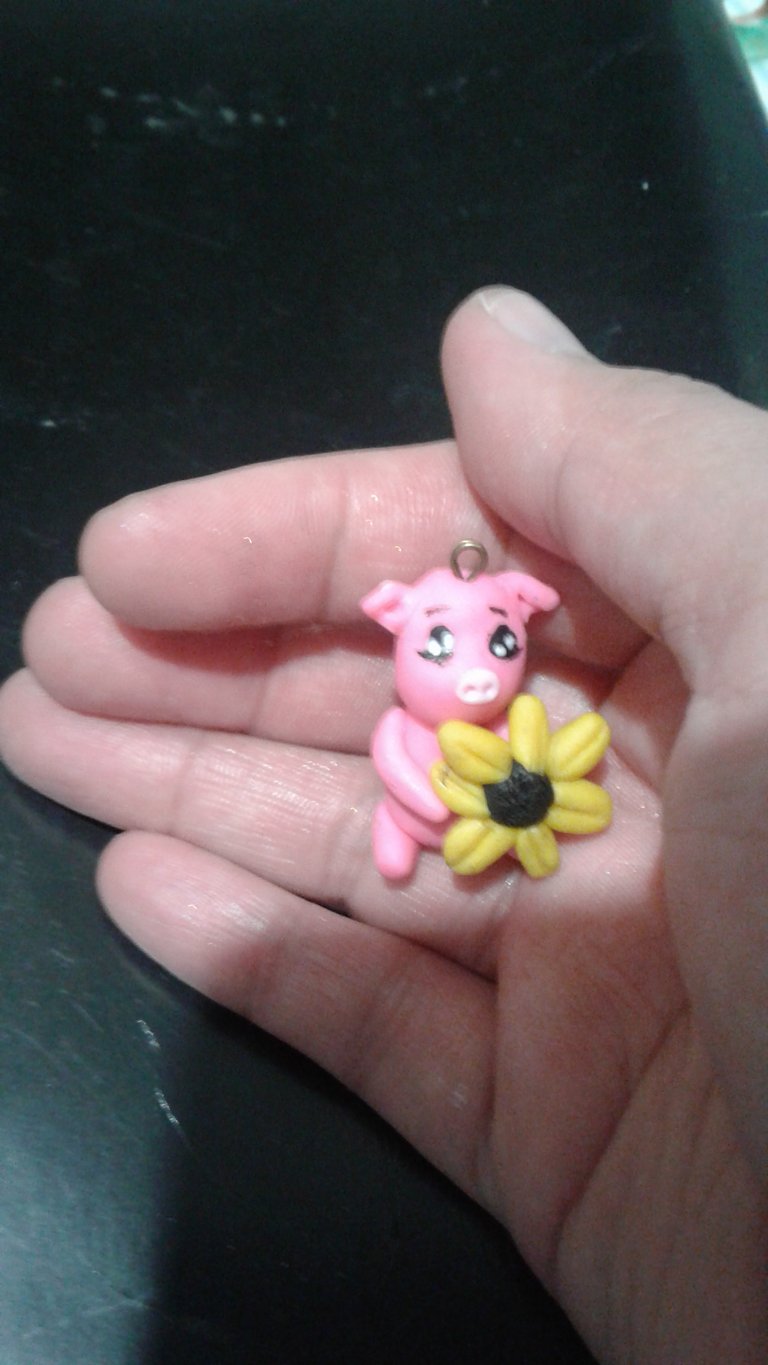
Bake. I painted the eyes. I had had enough stressing over it so, I painted it after it cooled down from the baking.
And you'll have something that looks like this.

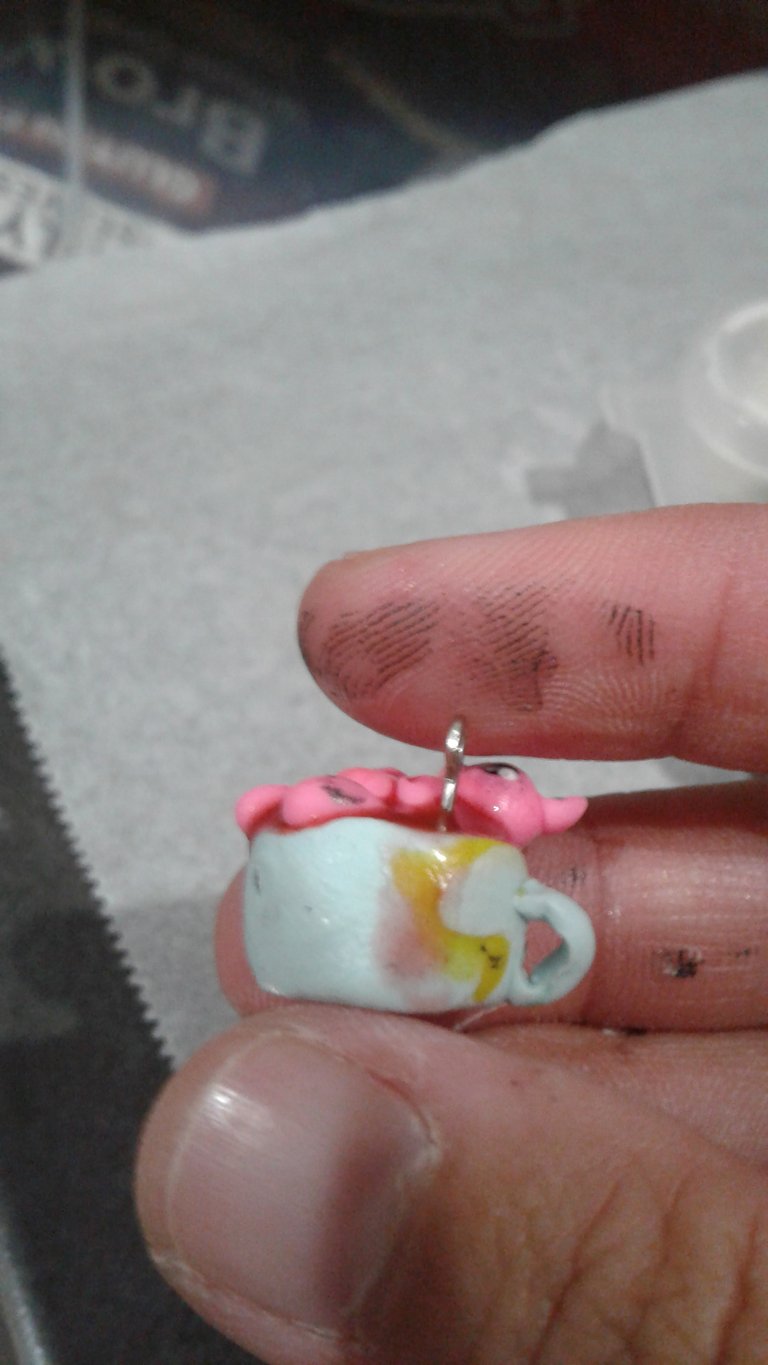
For the second pig, I just wanted to recreate something that I made before.
Here is the link folks. It also talks about the process how I made the cup.
https://steempeak.com/payitforward/@nurseanne84/naughty-cat-x-3
Basically, making pig # 2 is the same as making pig # 1 apart from the size.
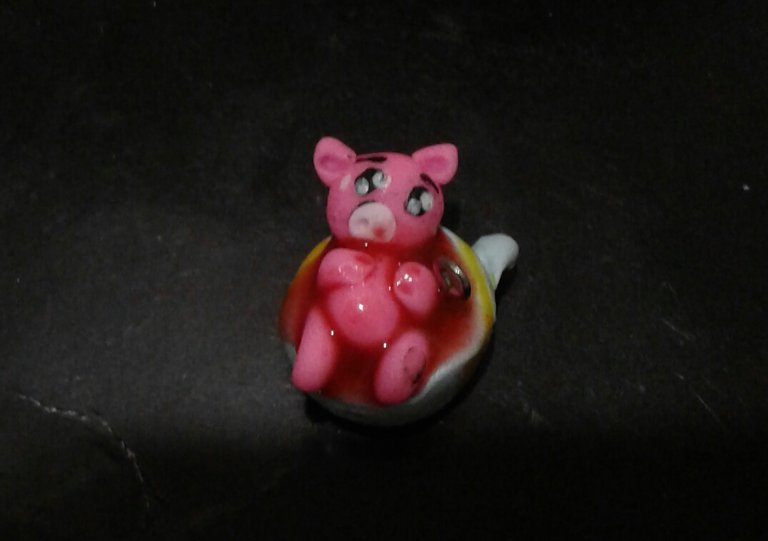
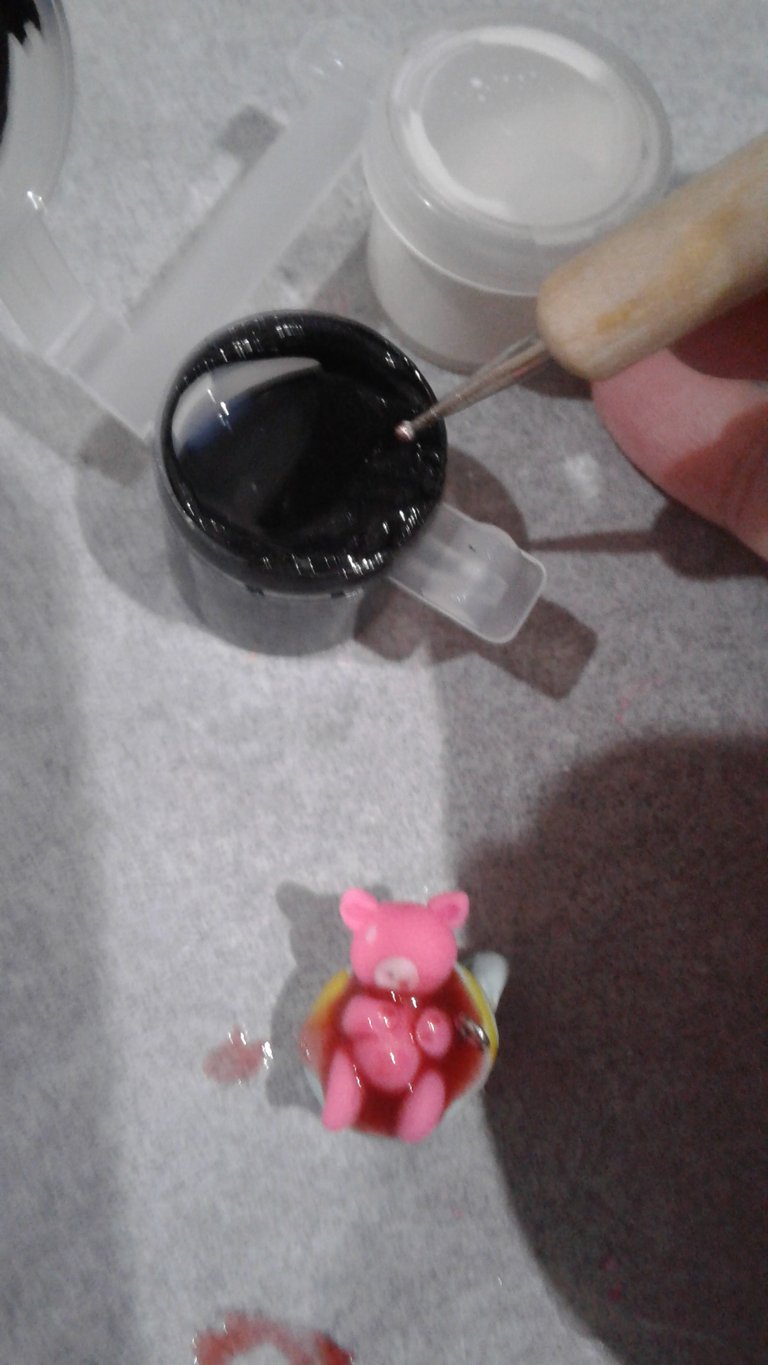
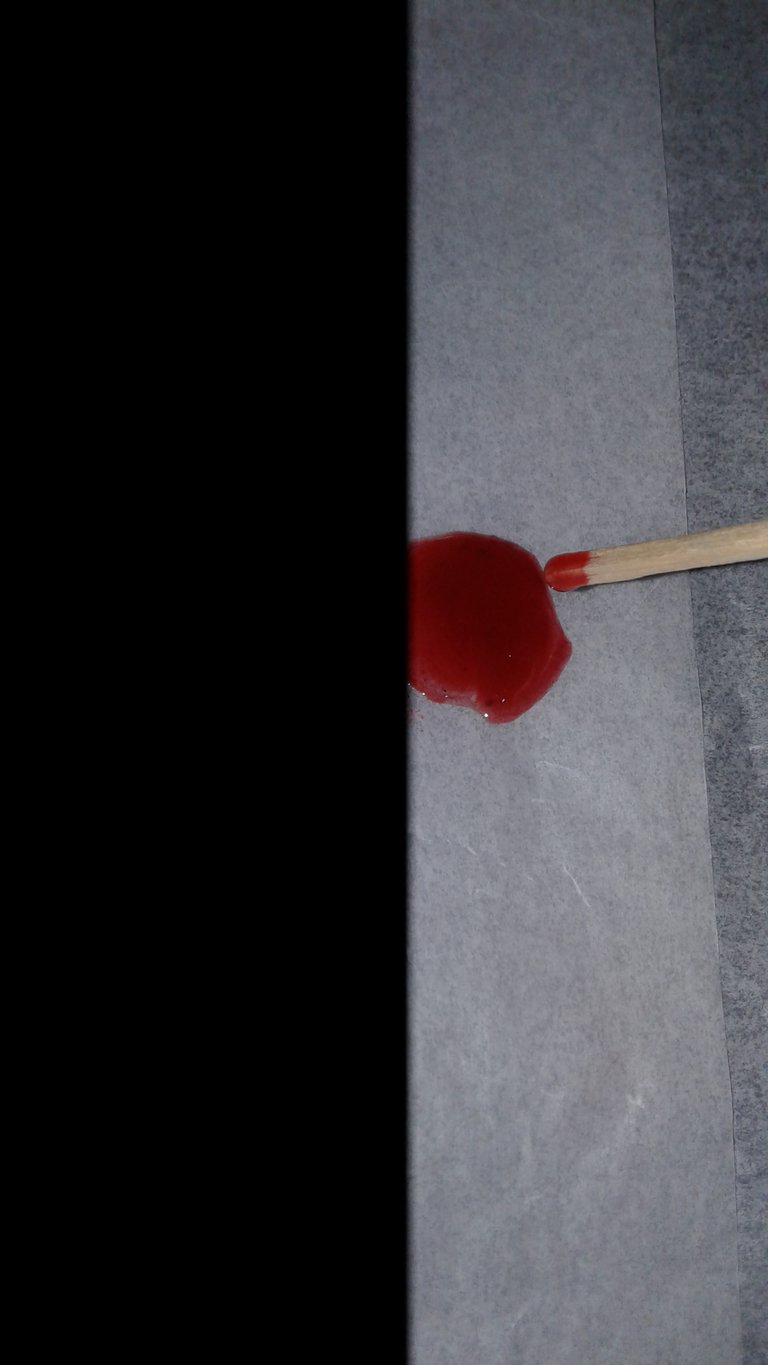
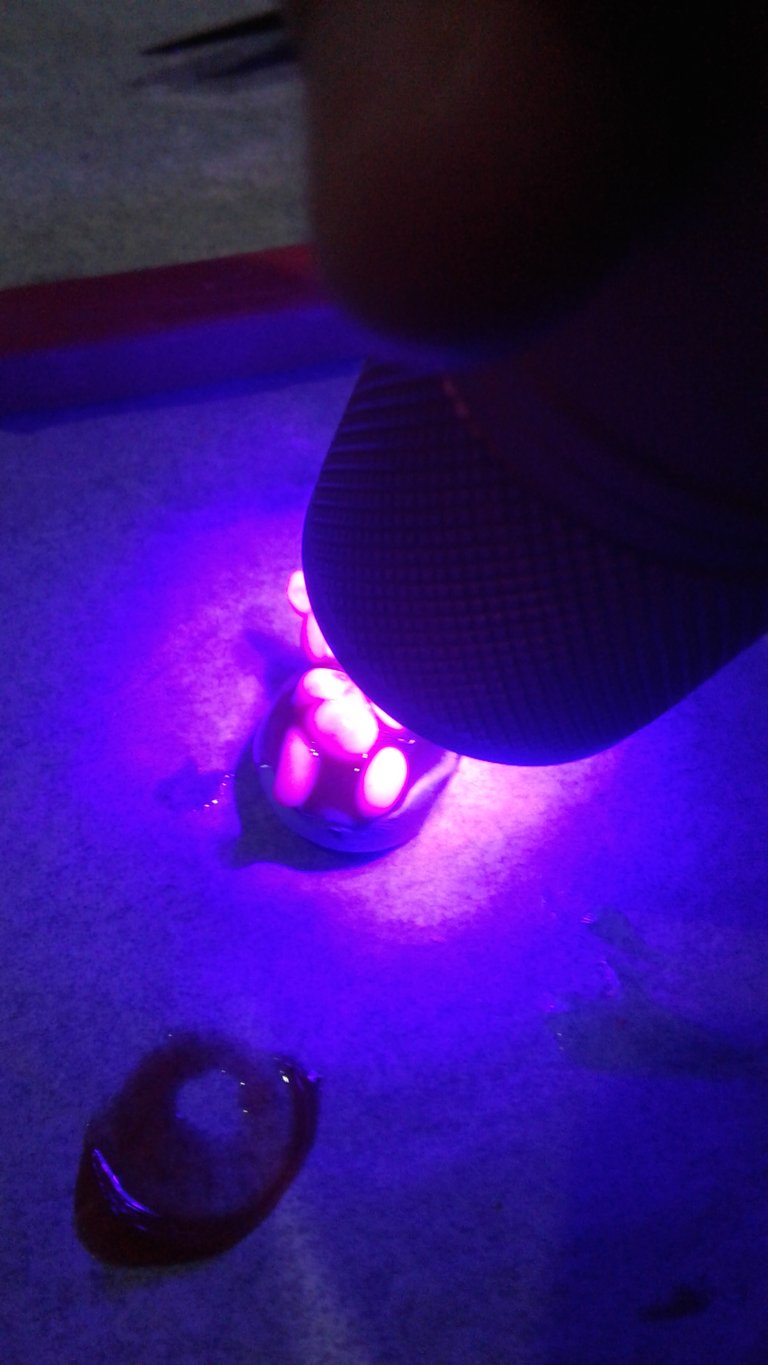
I baked piggy and I mixed UV resin with some soft brown pastel.
I cured it with my UV torch.
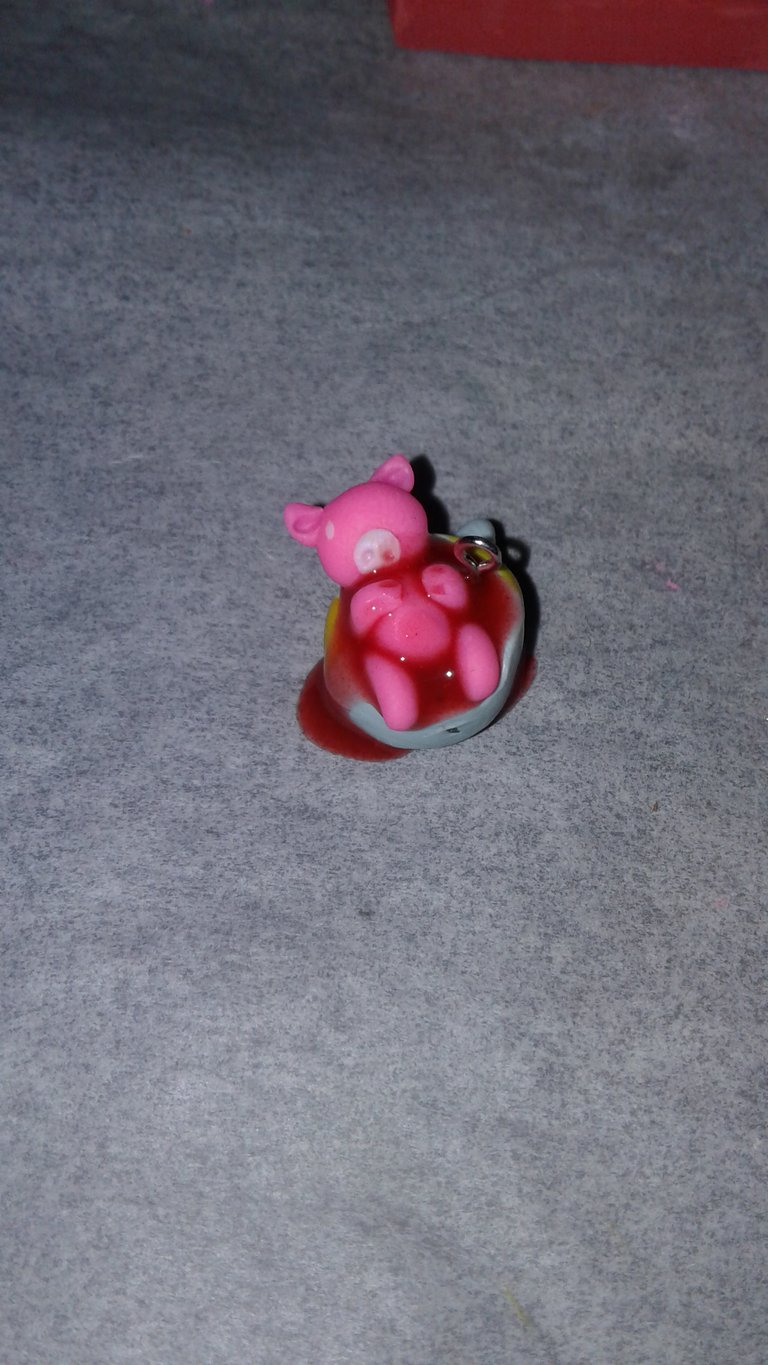
And I came up with something that looks like this.
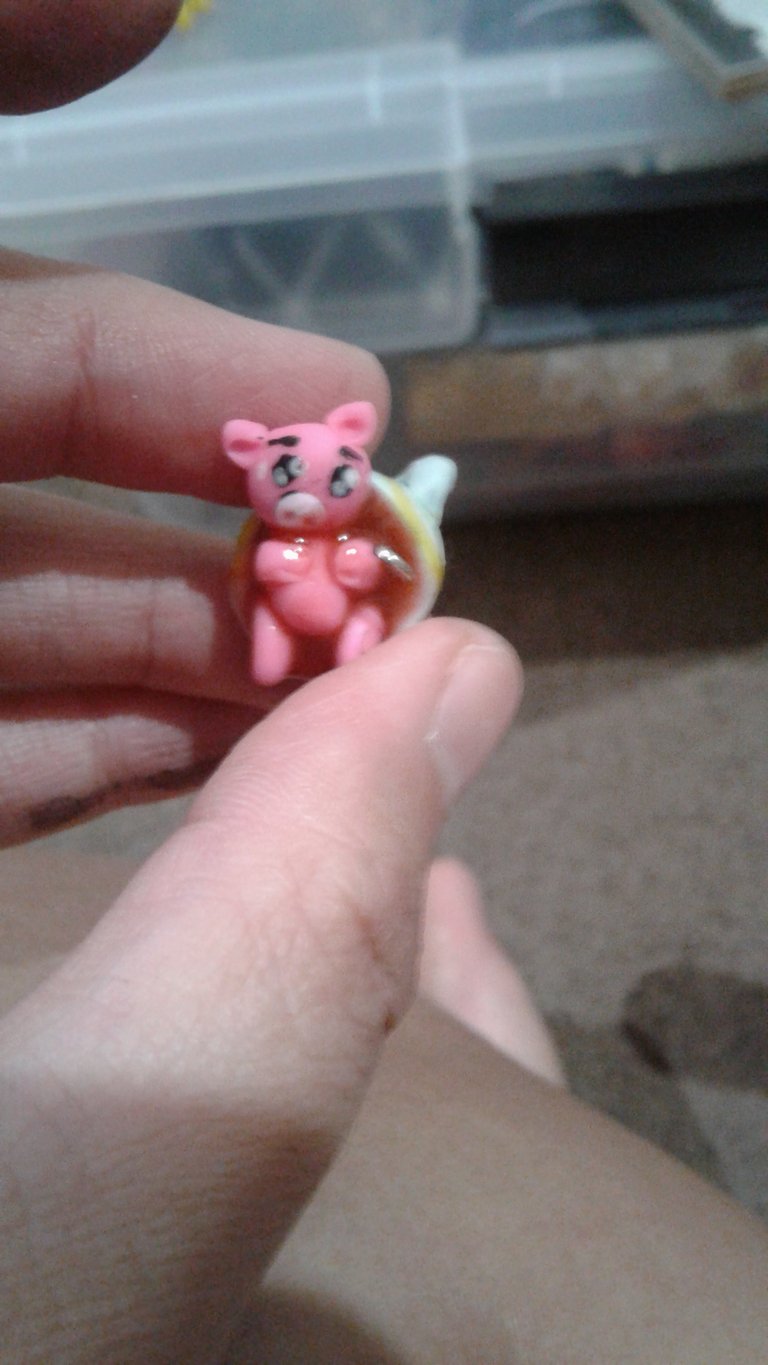
I painted the eyes to come up with this.
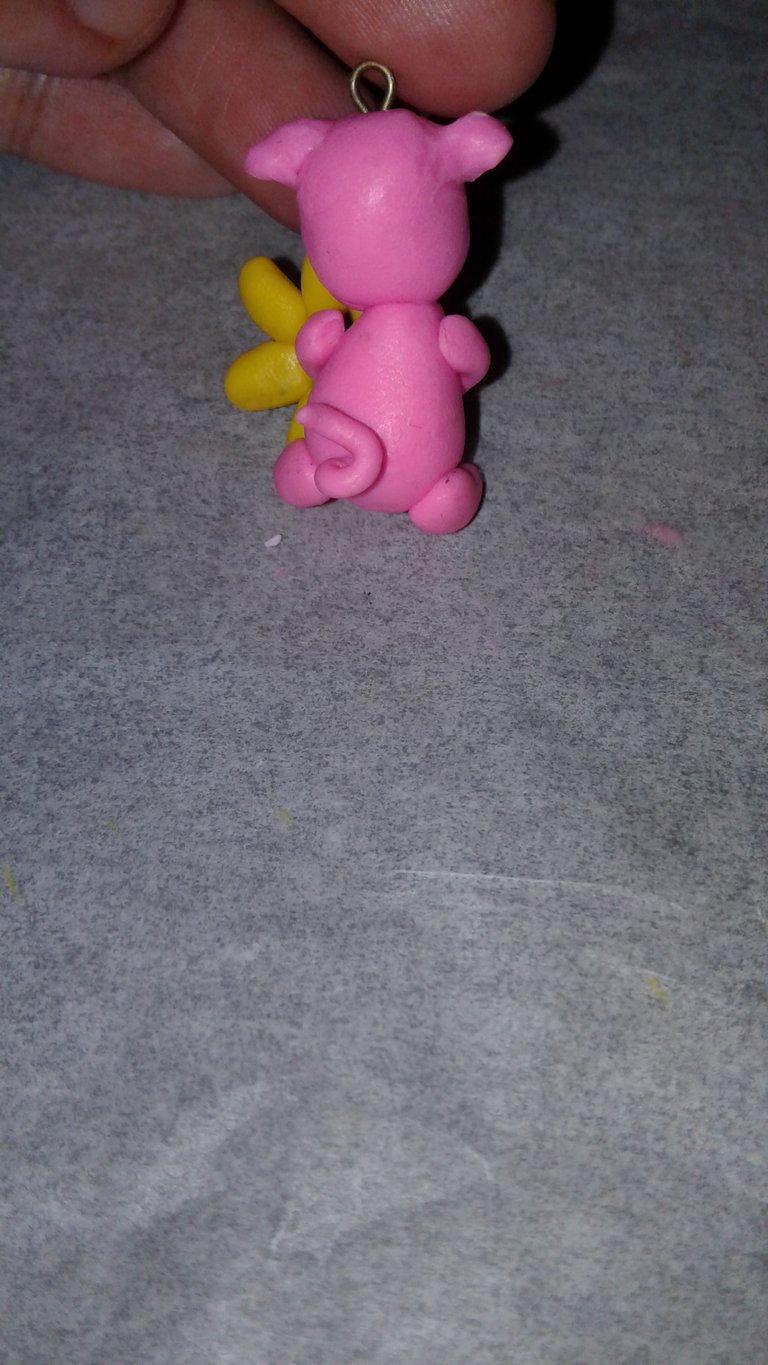
Sideways.
So there you have it folks. First official members of my Australian charm collection! More to come!
Very nice and sweet little piggies. Beautiful work, @nurseanne84! 🤗
thanks @Trincowski! You can make these into earrings/ pendants/ whatever you wanted it to...... that's what's so special about charms! hahahahha