Hello hello happy start to the weekend, happy Saturday 😊 I hope you are well. For my part, I share very delicious content and I hope you can enjoy it as much as we enjoy it.
Hola hola feliz inicio de fin de semana, feliz sábado 😊 espero que estén muy bien. Yo por mi parte comparto un contenido muy delicioso y espero puedan disfrutarlo mucho así como nosotros lo disfrutamos.
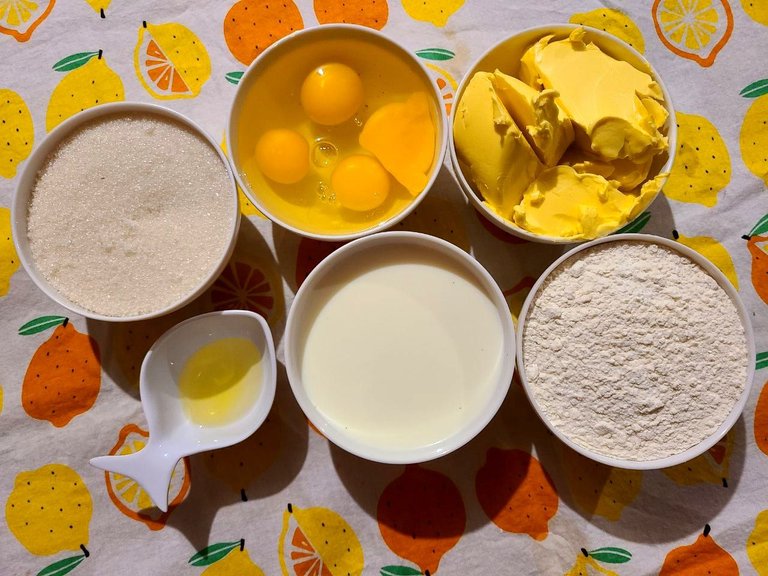
On this occasion I have made the typical classic vanilla flavored cake and for this the ingredients used have been:
✓250 gr of margarine.
✓500 gr of sugar.
✓4 eggs.
✓Vanilla.
✓500 gr of wheat flour.
✓2 cups of liquid milk.
✓Baking powders.
✓Mold.
✓Arequipe and Chispas.
En esta ocasión he elaborado el típico ponqué clásico sabor a vainilla y para esto los ingredientes utilizados han sido:
✓250 gr de margarina.
✓500 gr de azúcar.
✓4 huevos.
✓Vainilla.
✓500 gr de harina de trigo.
✓2 tazas de leche liquida.
✓Polvos para hornear.
✓Molde.
✓Arequipe y Chispas.
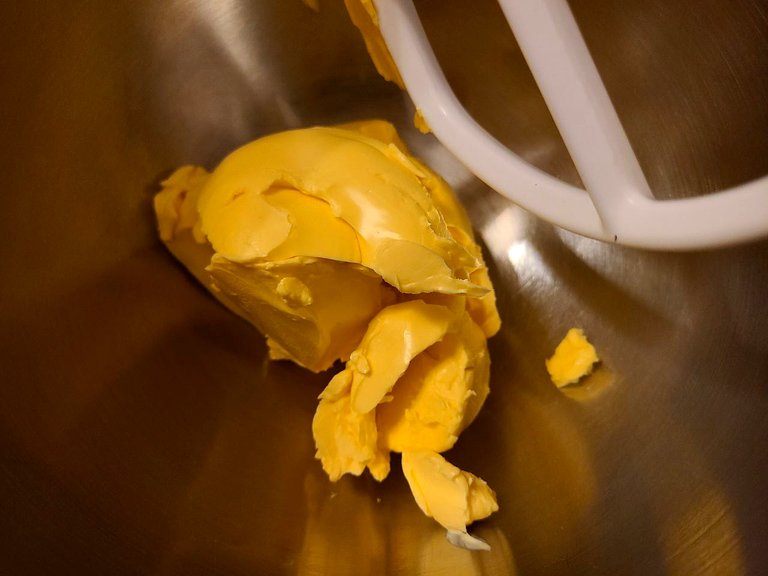
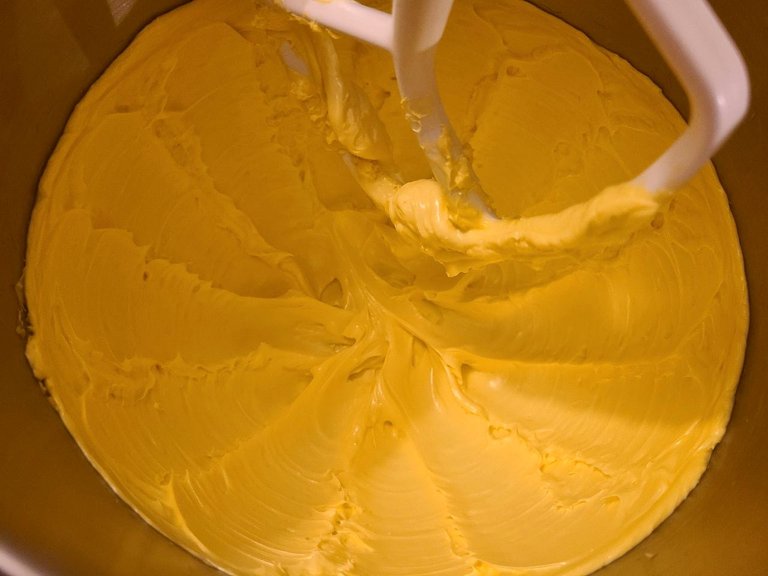
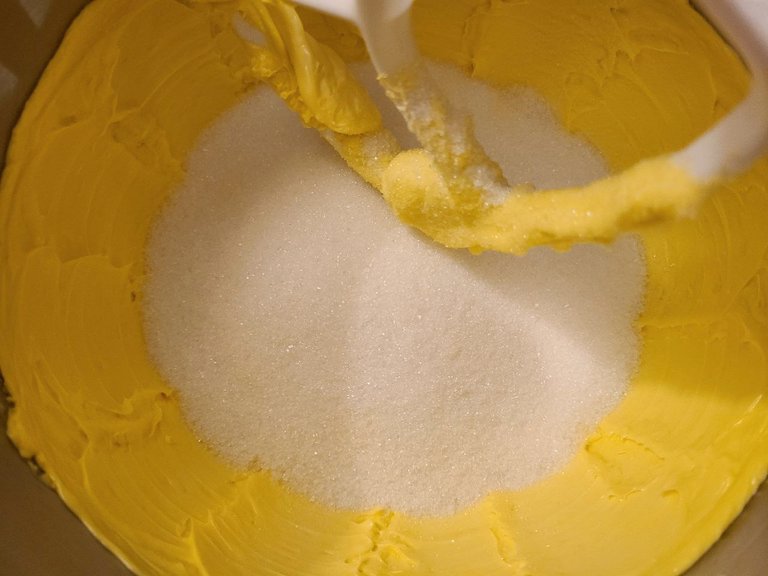
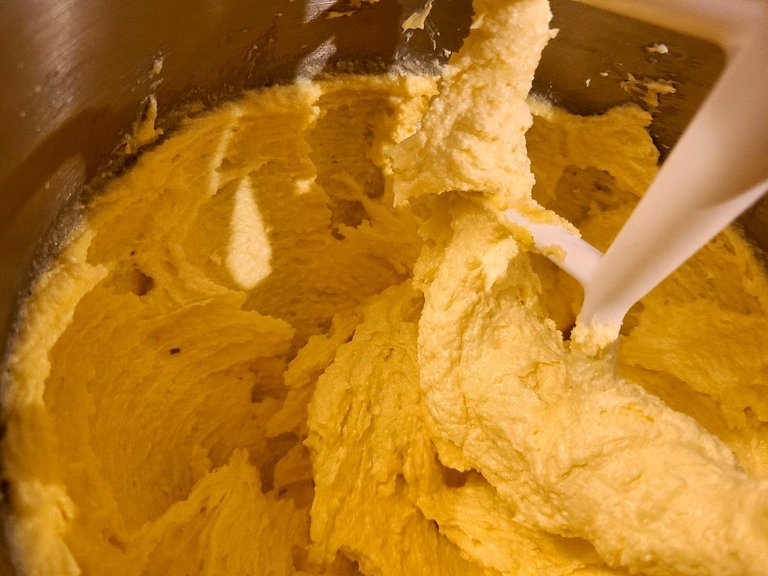
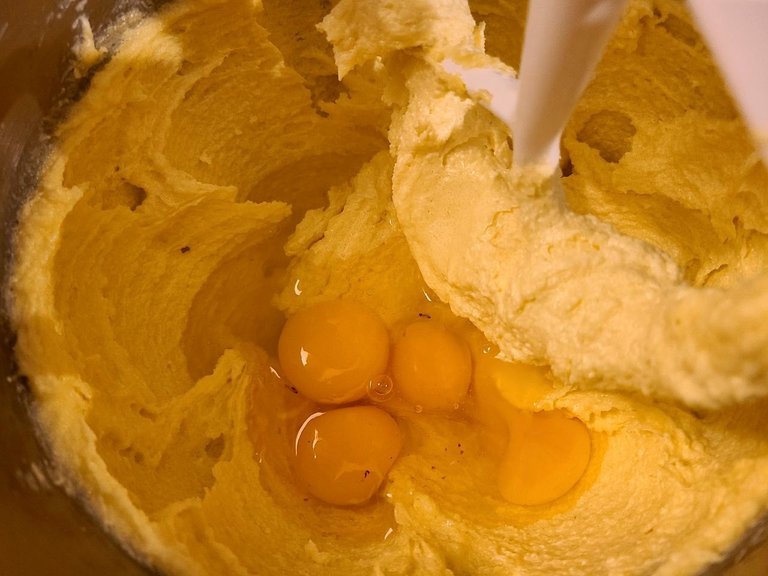
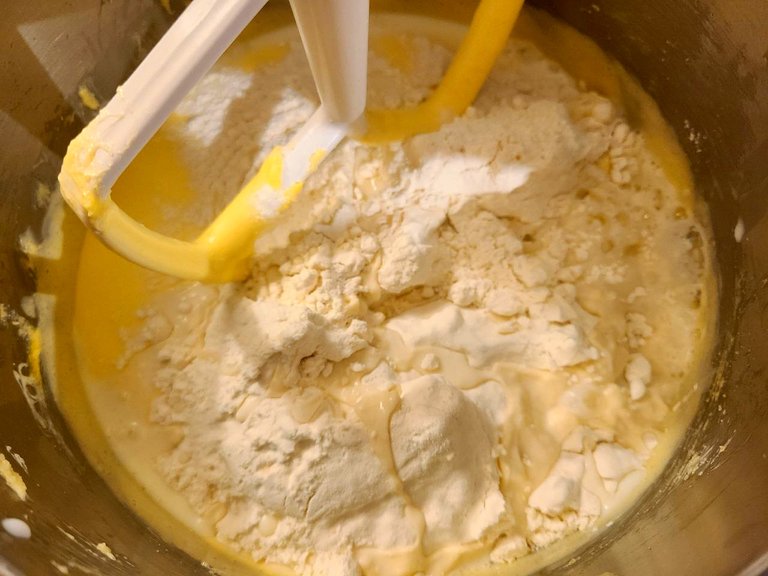
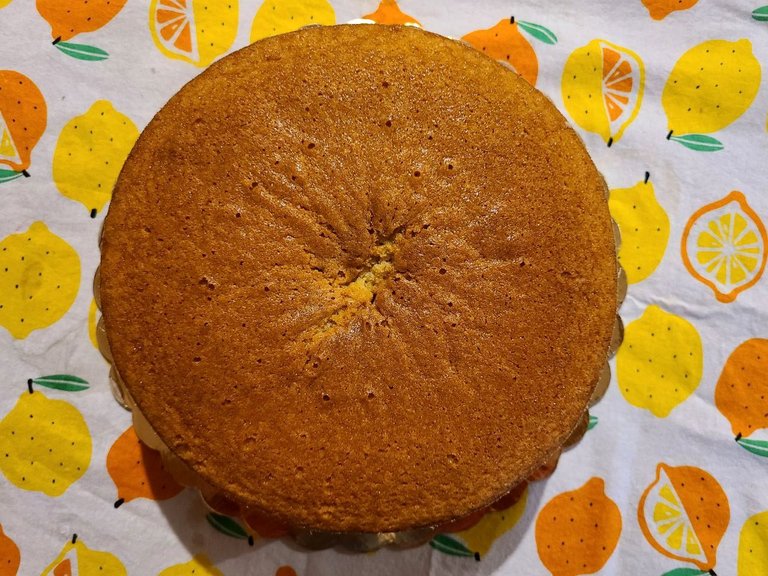
🌈 Step 1: As a first step, I prepared the cake for our cake, for this I proceed to mix the ingredients in the mixer starting with the margarine which I am going to beat until creamy, added the sugar and beat until I no longer feel lumps. of this 👩🍳 followed by this I add the eggs along with the Vanilla essence and continue mixing but now at a medium speed.
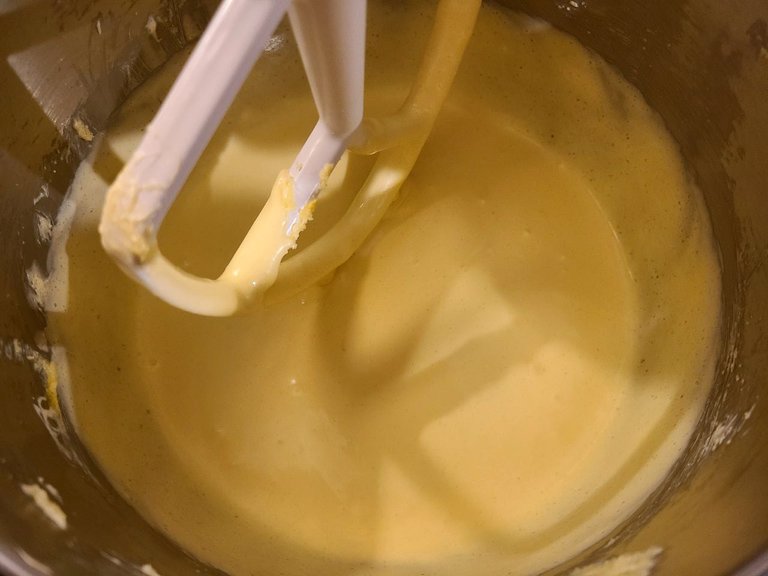
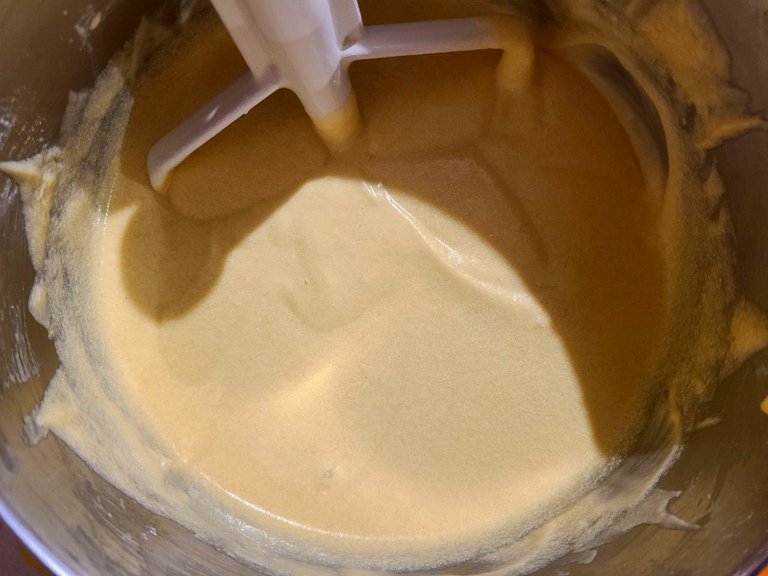
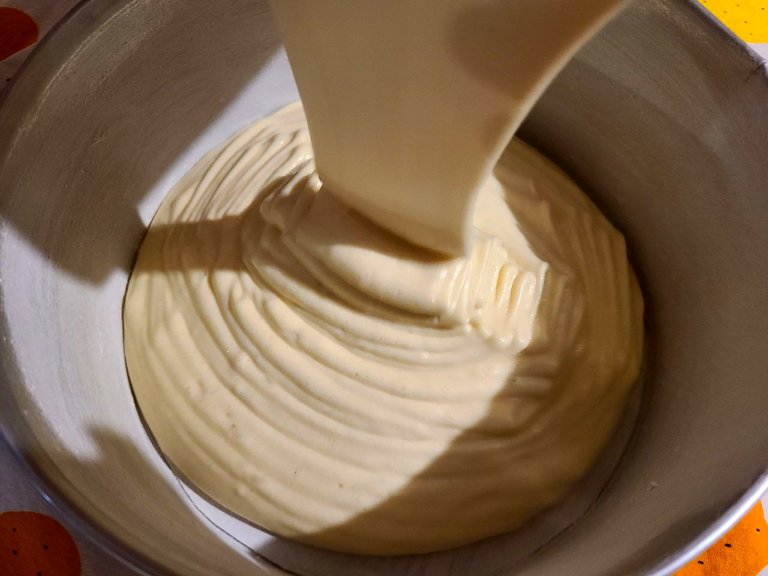
🌈 Step 2: Now the next thing will be to add the wheat flour together with the baking powders and milk alternately (with the flour and powders previously sifted in order to eliminate the impurity in them) continue mixing until obtain our cake mixture which we place in the mold and place in the oven at a temperature of 300 degrees Celsius for approximately 1 1/2, although this will depend a lot on the strength of the gas in your home.
🌈 Paso 1: Como primer paso preparó el ponque de nuestro pastel, para esto procedo a mezclar los ingredientes en la batidora comenzando por la margarina la cual voy a batir hasta cremar, agregó el azúcar y bato hasta ya no sentir grumos de esta 👩🍳 seguido de esto agrego los huevos junto con la esencia de Vainilla y continuo mezclando pero ahora a una velocidad media.
🌈 Paso 2: Ahora lo siguiente será agregar la harina de trigo juntos con los polvos de hornear y la leche de forma alternada (estando la harina y los polvos previamente cernidos para así eliminar la impureza en ellos) continuar mezclando hasta obtener la mezcla de nuestro ponque la cual colocamos en el molde y llevamos al horno a una temperatura de 300 grados centigrados por aproximadamente 1 1/2 aunque eso dependerá mucho de la fuerza de gas en tu hogar.

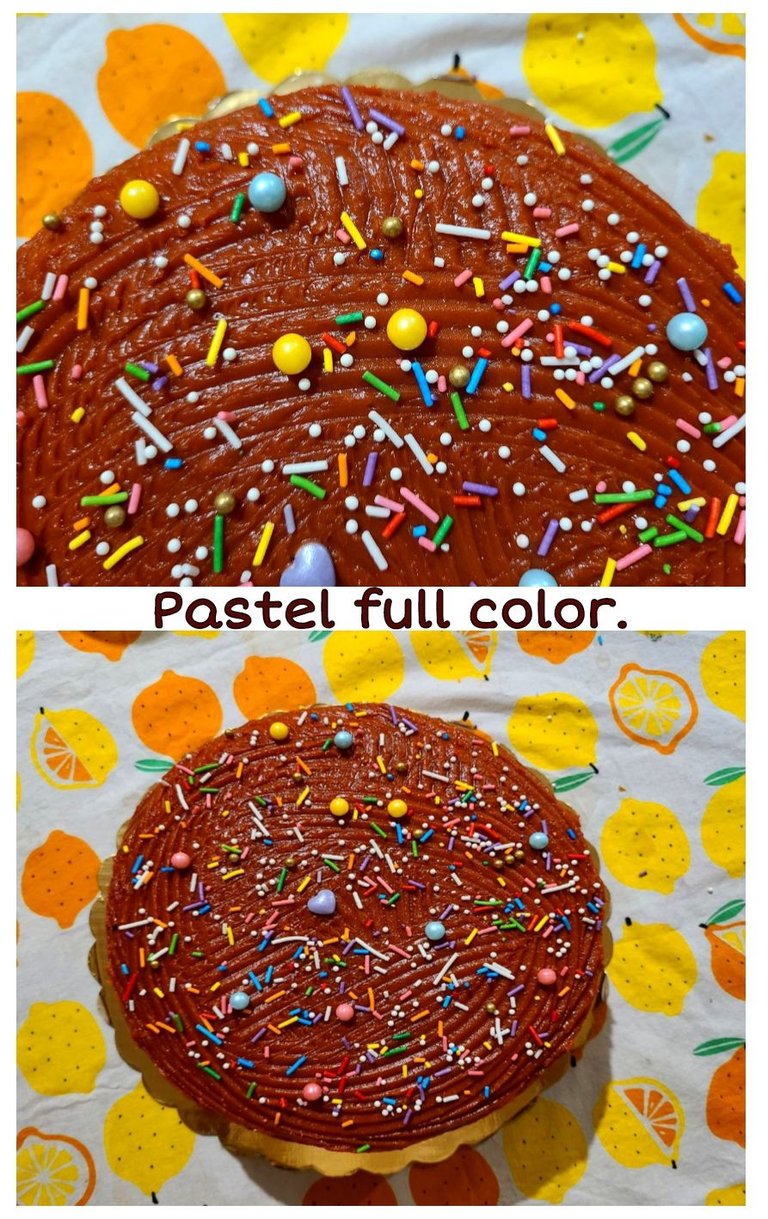
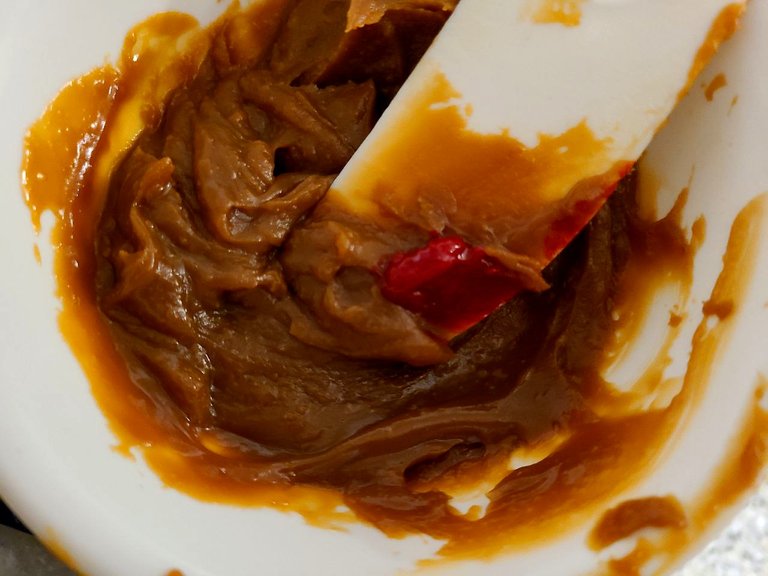
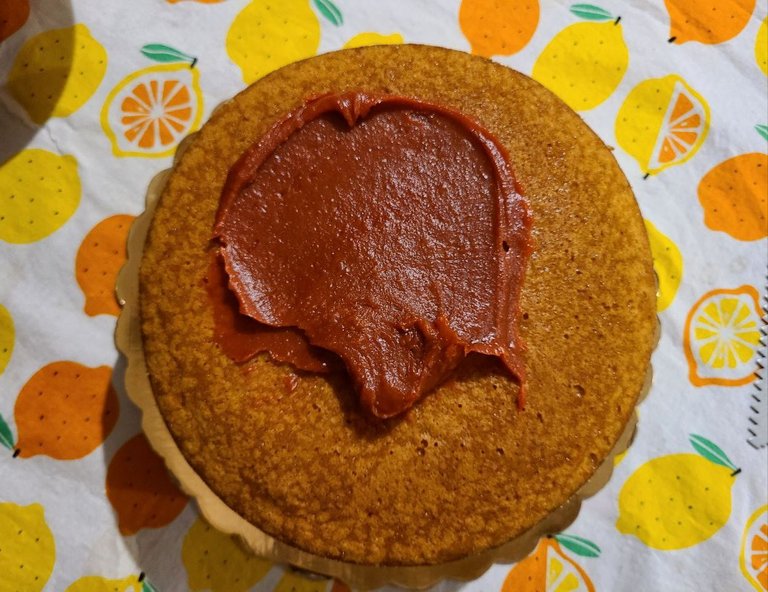
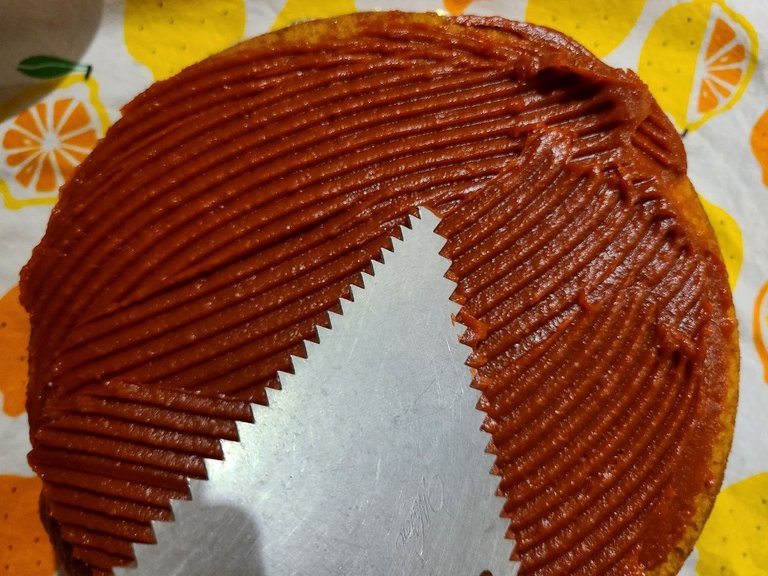
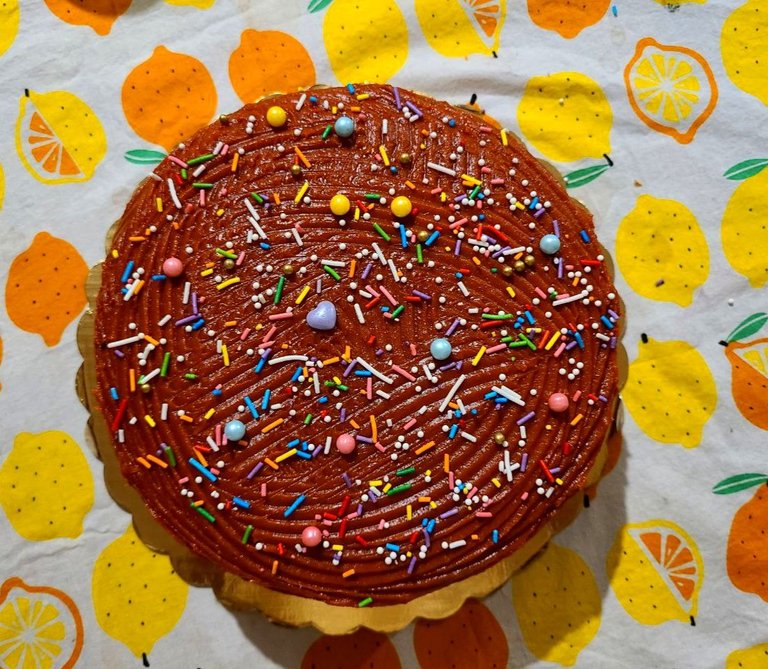
🌈 Step 3: For the decoration I use arequipe but I add pink coloring so that it has a nice color, I thought it would be pink but I forgot that the base color of the arequipe is brown so the color obtained was red 🤣 but it was a very pretty red in fact.
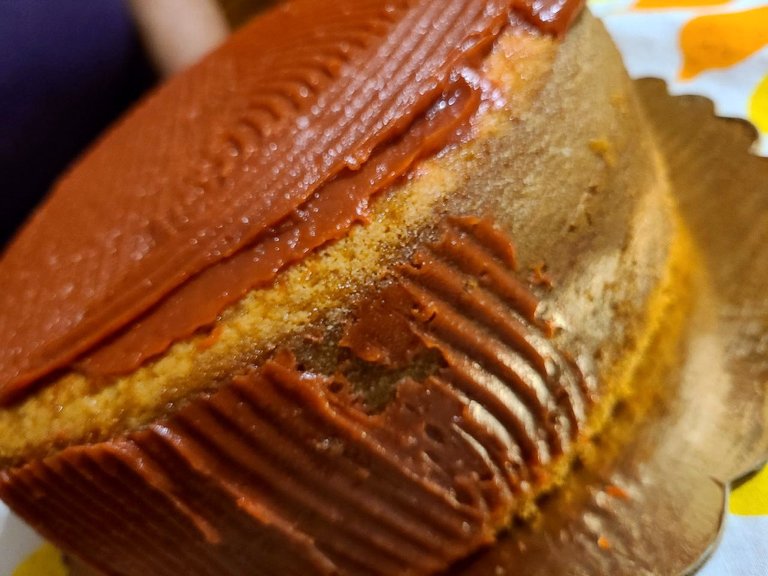
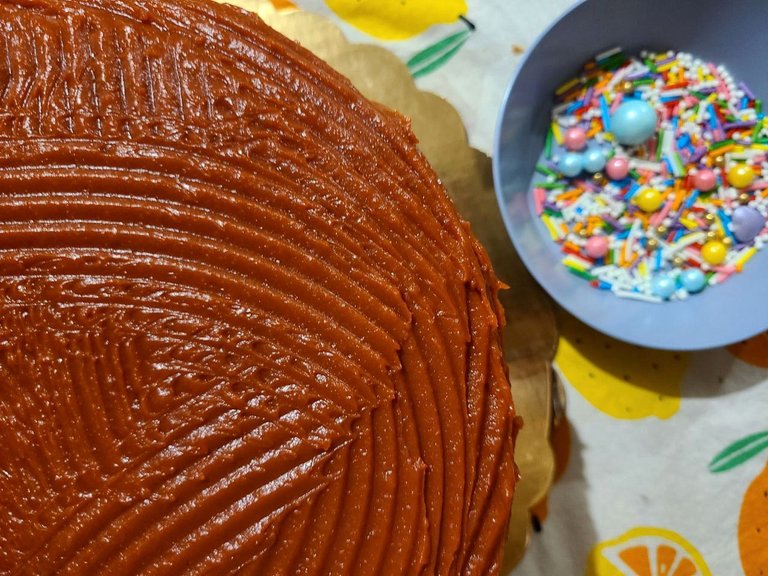
🌈 Step 4: I proceed to cover the entire cake with the arequipe. For this, I use a (pastry) comb and begin to sweep all the edges until I cover it completely.
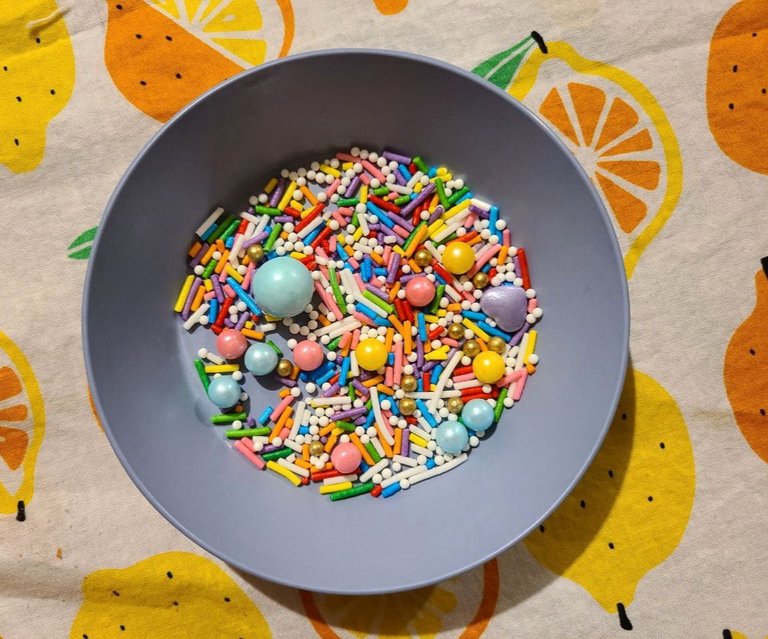
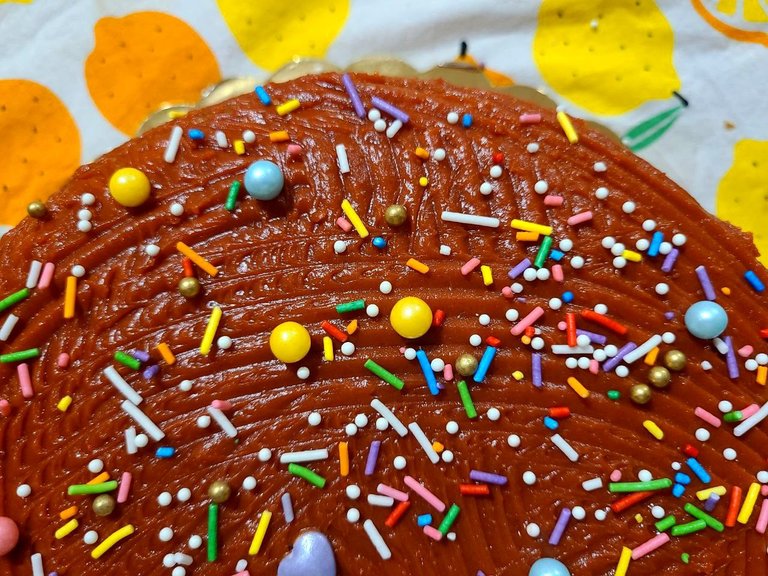
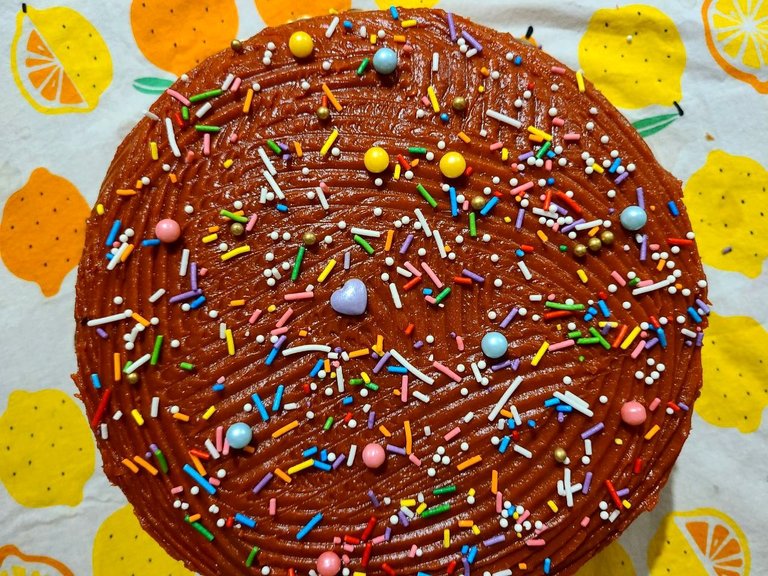
🌈 Step 5: How to leave it this way is very basic to decide to add some colors to the top and these were the ones that I found most appropriate and looked divine.
🌈 Paso 3: Para la decoración utilizo arequipe pero le agrego colorante rosado pata que tenga un color agradable, pensé que quedaría rosado pero olvide que el color base del arequipe es marrón así que el color obtenido ha sido rojo 🤣 pero fue un rojo muy lindo de hecho.
🌈 Paso 4: Procedo a cubrir todo el ponque con el arequipe para esto utilizo un peine (de reposteria) y comienzo a barrer todos los bordes hasta cubrilo en su totalidad.
🌈 Paso 5: Como dejarlo de esta manera es muy básico decidir agregar algunos colores en su parte superior y estos fueron los que encontré más acorde y quedo divina.

Finally obtaining a delicious and beautiful cake I also made this delight for my dear aunt's birthday so she could enjoy different cakes, they all turned out divine and super pretty and the best of all is that she enjoyed them to the fullest just like us also.
Obteniendo finalmente un delicioso y hermoso pastel 🧁 esta delicia también la elabore para el cumpleaños de mi querida tía para que pudiera disfrutar de diferentes pasteles, todos quedaron divinos y super bonitos y lo mejor de todo es que ella los disfruto al máximo al igual que nosotros también.
The photographs are of my authorship taken with my Samsung Galaxy s20 cell phone and edited with the Instagram application, the translation of the text is done using this medium: Deepl. You can reach me through my account
Instagram
Las fotografías son de mi autoría tomadas con mi celular Samsung Galaxy s20 y editadas con la aplicación Instagram la traducción del texto la realice utilizando este medio: Deepl. Pueden ubicarme por medio de mi cuenta de
🤤 Excelente receta y un resultado que se ve muy rico.
🤤 Excellent recipe and a result that looks very tasty.
Que rica y linda se ve esa torta Dani, las chispitas de colores siempre le dan un toque único a los postres 😍
se ve muy rico y sabroso lleno de color.