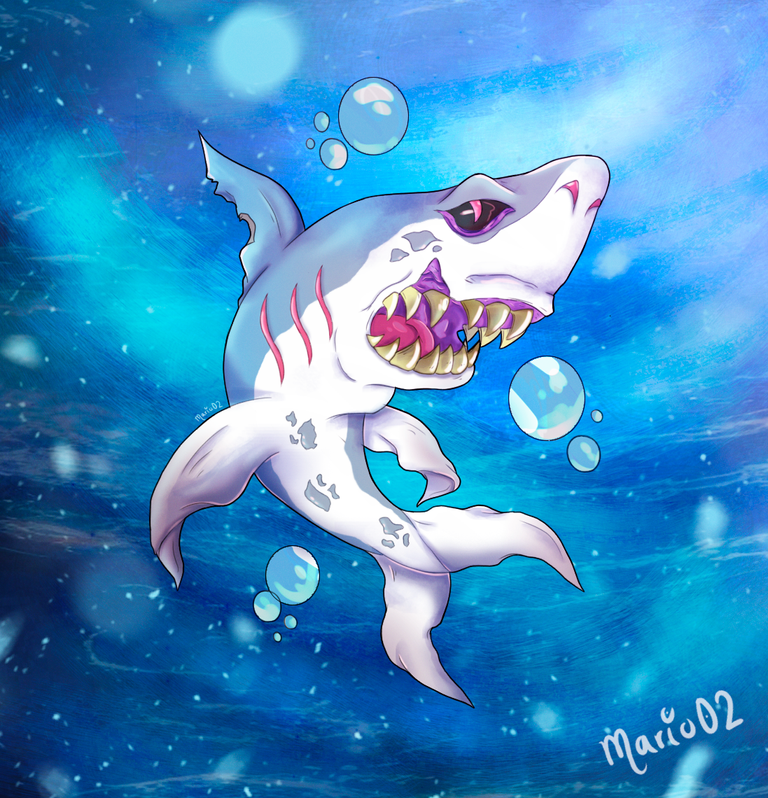
Sabre Shark! 🌊
Greetings to the whole community! I hope you are all well. 💪
This time I want to show you my entry for the @splinterlands art contest.
Again I'm experimenting with my art, I'm trying to make compositions a bit more "realistic" in terms of anatomy and improving my colouring technique.
For this participation I chose Sabre Shark as a character, this seemed to me a good option to make this practice.
I hope you like this version of the character and then I present the whole process. 😁
¡Saludos a toda la comunidad! Espero se encuentren bien todos ustedes. 💪
En esta ocasión quiero mostrarles mi participación para el concurso de arte de @splinterlands.
Nuevamente me encuentro experimentando en mi arte, estoy tratando de hacer composiciones un poco más "realistas" en cuanto a anatomía y mejorando un poco mi técnica de coloreado.
Para esta participación elegí como personaje a Sabre Shark, este me pareció una buena opción para realizar dicha practica.
Espero les guste esta versión del personaje y a continuación les presento todo el proceso. 😁
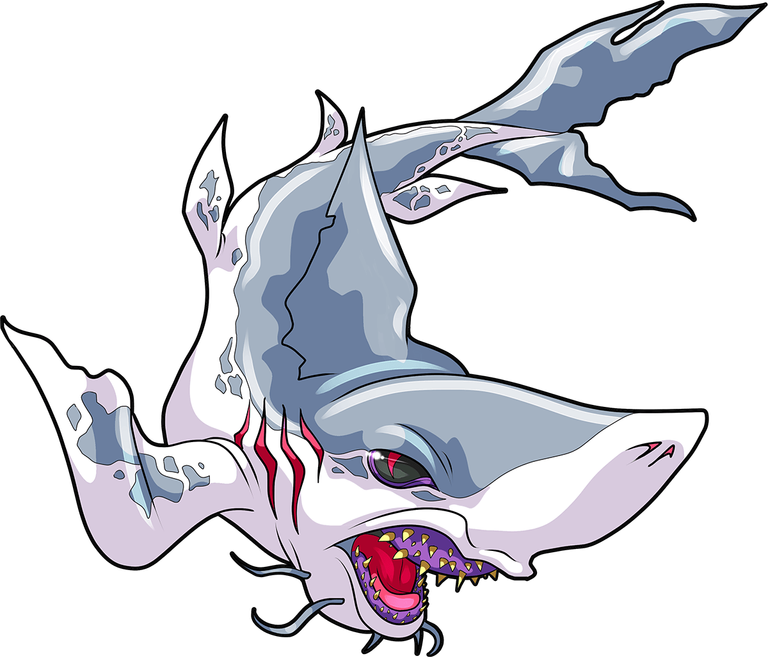
REFERENCE
Creative Process | Proceso Creativo💡
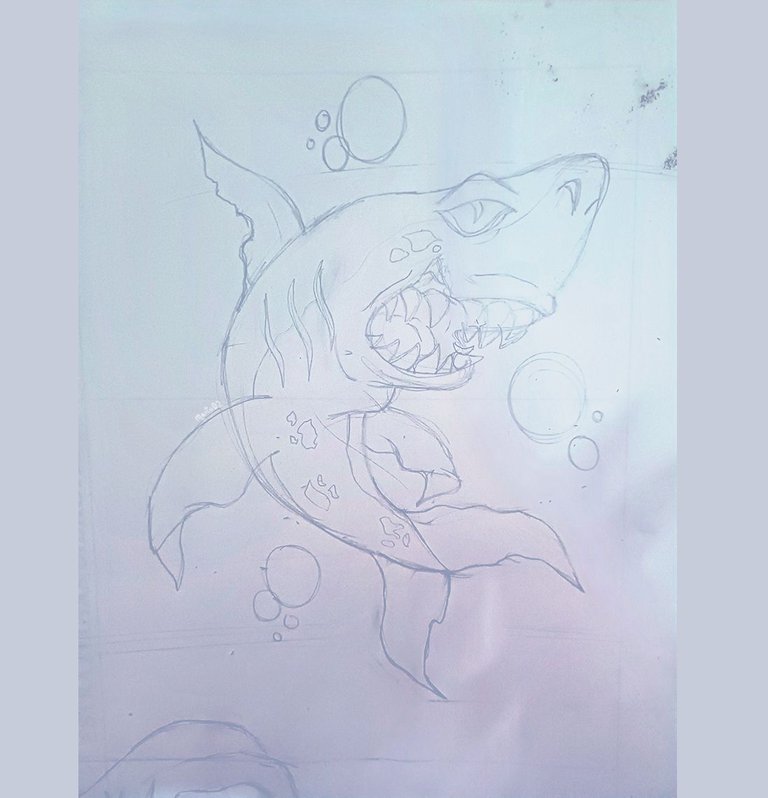
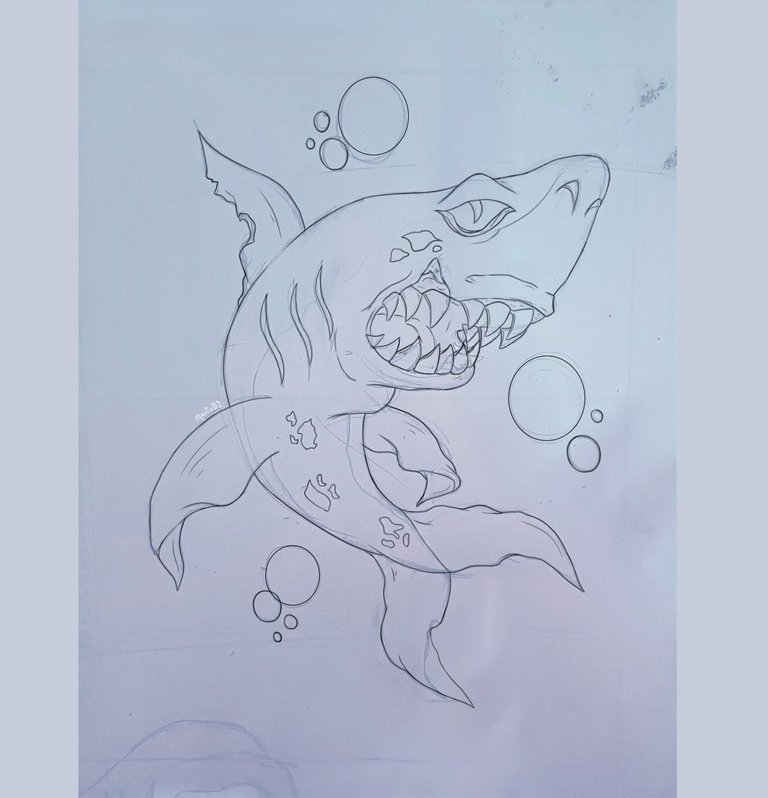
I started making the sketch of the character, in this step I used this reference for the pose. I really liked this one for being dynamic and versatile to represent the character. For this sketch I chose to do it on paper in a traditional way, which allowed me to achieve a more controlled and fluid stroke which I liked a lot. After I had the sketch ready I took a picture of it and then I started with the digital lineart. Here I used a thin line brush, and although it took me some time, I really liked the final result.
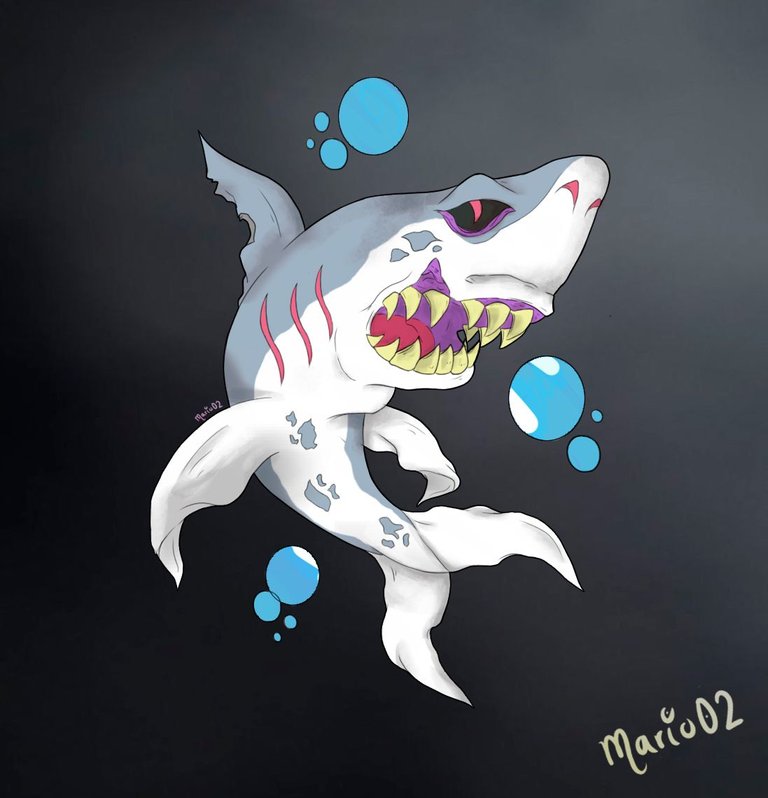
Once the sketch is finished, move on to placing the base colours of the character. Use the colour palette of the reference and adjust the saturation of some tones. Organise these colours in separate layers to have more order when making changes. Then I applied a gradient in grey tones to the background and with a soft brush I started to draw the first shadows to give volume to the character.
I continued adding details and an additional layer of more intense shadows to the character to generate a bit more contrast. I started to colour the background with blue tones, using textured brushes, at this point I got a bit carried away and decided to trust the process. I worked on the character and the background at the same time, luckily the background finish was to my liking and with some blending modes I made adjustments to the colours. I also added the highlights to the character and bubbles, using some soft brushes.
Comencé realizando el boceto del personaje, en este paso utilice esta referencia para la pose. Esta me gusto mucho por ser algo dinámica y versátil para representar al personaje. Para este boceto opte hacerlo en papel de manera tradicional, lo que me permitió lograr un trazo mas controlado y fluido lo cual me gusto mucho. Después de tener el boceto listo pase a tomarle una foto y seguido comencé con el lineart digital. Aquí utilice una pincel de línea delgada, que aunque me tomo algo de tiempo el resultado final me gusto muchísimo.
Una vez finalizado el boceto pase a colocar los colores base del personaje. Utilice la paleta de colores de la referencia y ajuste la saturación de algunos tonos. Organice estos colores en capas separadas para tener mayor orden a la hora de hacer algún cambio. Luego aplique un degradado en tonos grises al fondo y con un pincel suave comencé a dibujar las primeras sombras para darle volumen al personaje.
Seguí añadiendo detalles y una capa adicional de sombras mas intensas al personaje para generar un poco mas de contraste. Empecé a dar color al fondo con tonos azules, utilizando pinceles texturizados, en este punto me deje llevar un poco y decidí confiar en el proceso. Trabaje en el personaje y el fondo al mismo tiempo, por suerte el acabado del fondo fue de mi agrado y con algunos modos de fusión hice ajustes en los colores. También agregue las iluminaciones al personaje y burbujas, utilizando algunos pinceles suaves.


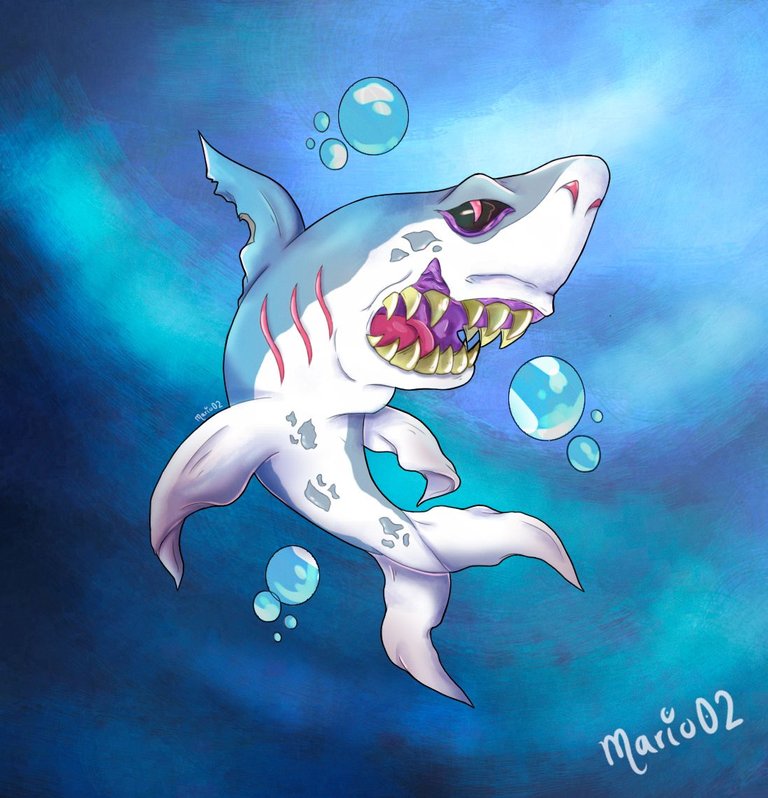
To finish the illustration I added some additional highlights, also with the help of textured brushes I tried to give a more sea-like finish with some scattered particles in some areas of the background.
Thanks so much for watching and see you next time! 🙏
Para finalizar la ilustración agregue algunas iluminaciones adicionales, también con ayuda de pinceles texturizados trate de dar un acabado mas similar al mar con algunas partículas dispersas en algunas áreas del fondo.
¡Muchas gracias por ver y hasta la próxima! 🙏
Tools Used | Herramientas Utilizadas:
- Photoshop CC versión 64 bits
- Tablet Huion H610 PRO V2

The illustration and separators used in the post are my property.
Translated with DeepL (free versión)
Delegate Tokens and HP to Fallen Angels to earn weekly rewards!
Delegate | Join to the guild
Thank you for the support!
Congratulations @mario02! You have completed the following achievement on the Hive blockchain And have been rewarded with New badge(s)
Your next payout target is 5000 HP.
The unit is Hive Power equivalent because post and comment rewards can be split into HP and HBD
You can view your badges on your board and compare yourself to others in the Ranking
If you no longer want to receive notifications, reply to this comment with the word
STOPCheck out our last posts: