Hello, DIY community, I welcome everyone to my blog, and it feels great sharing another DIY project of mine.
Discovering how to make paper cane has inspired a lot of projects in my head, and it's really fun trying out this particular project you are going to learn about below. This is very easy as long as you can be patient enough to make enough paper cane because you need quite a lot of them.
The materials used are:
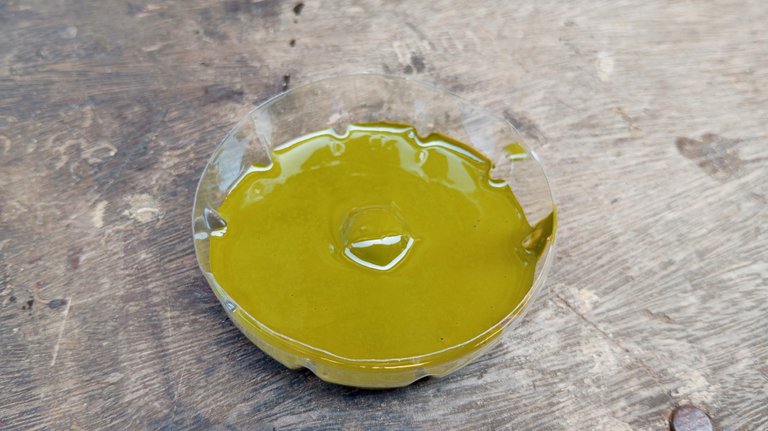
Glue
Old papers
Gloss paint.
Scissors
Paint brush
Actually, I didn't spend a dime on this project because I have all these materials at home.
Procedure;
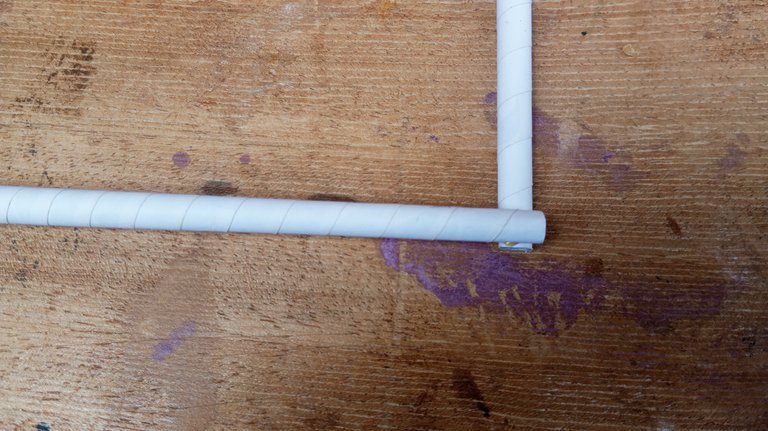
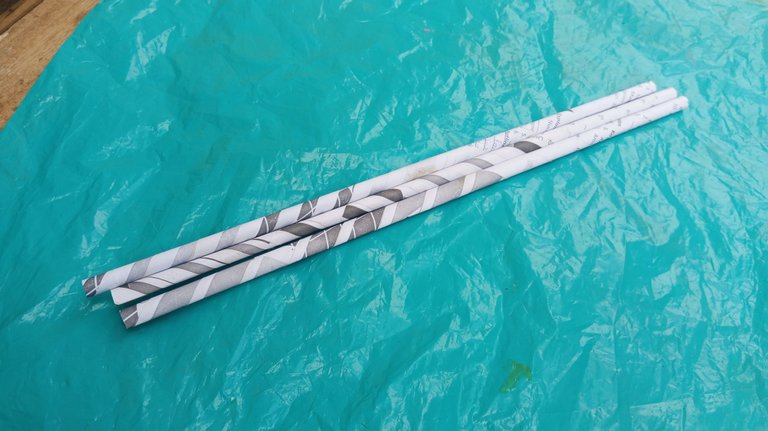
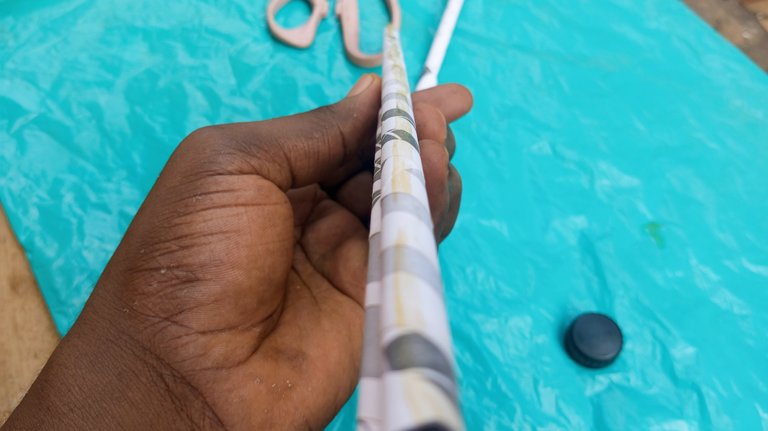
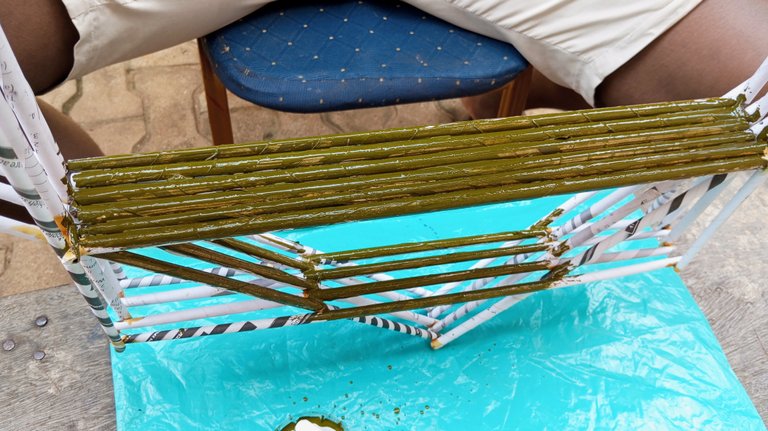
- I started by making the paper canes first, and it's simple. Place a broomstick at the tip of the paper edge and roll it slowly until you reach the end of the opposite edge.
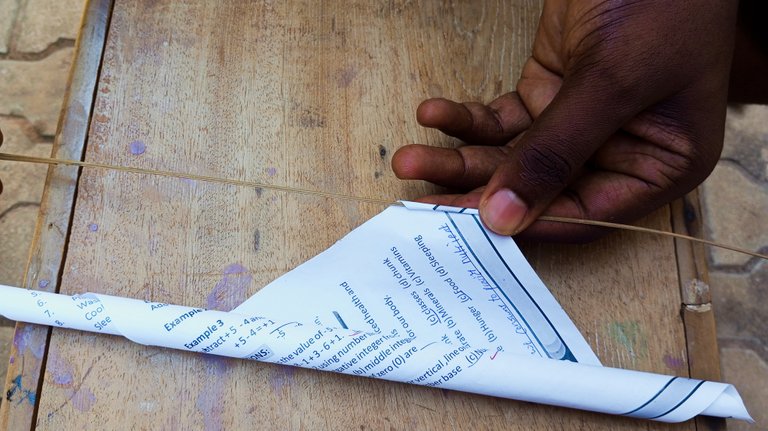
- Apply glue to the edge of the opposite end and roll it up. I ensure it has stuck well before putting it down to prevent the paper cane from losing its shape.

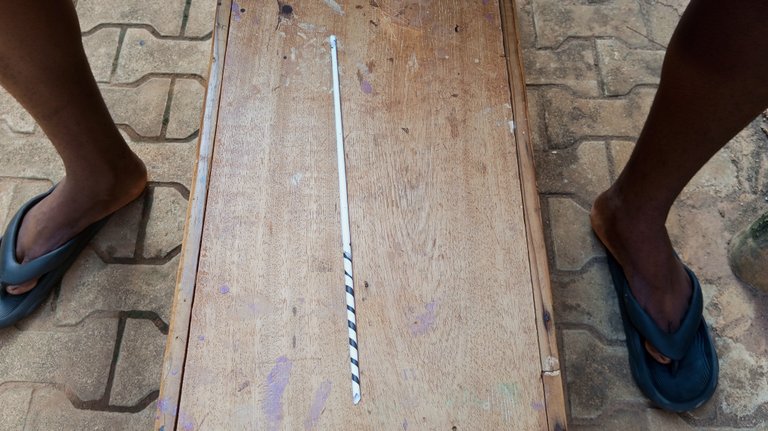
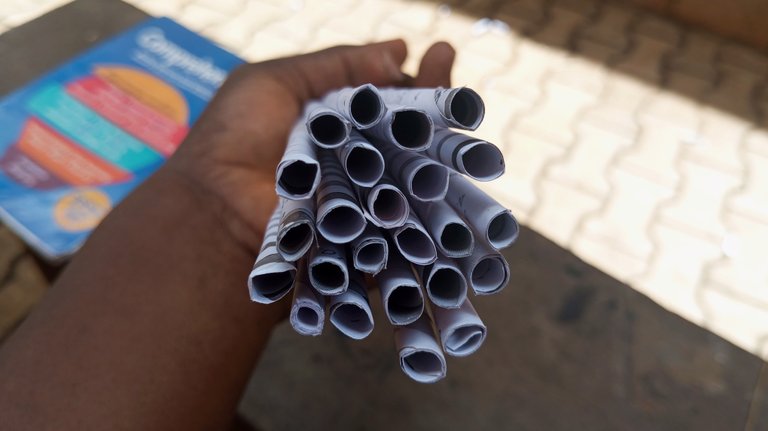
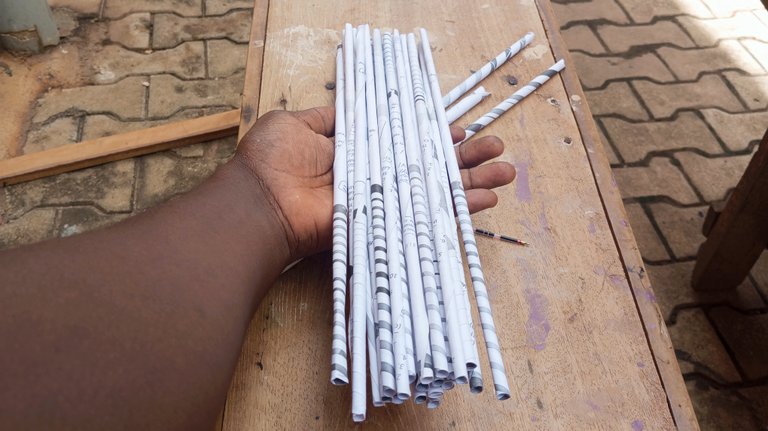
- I repeated the process until I made enough paper cane that would be needed for this beautiful wall shelf.
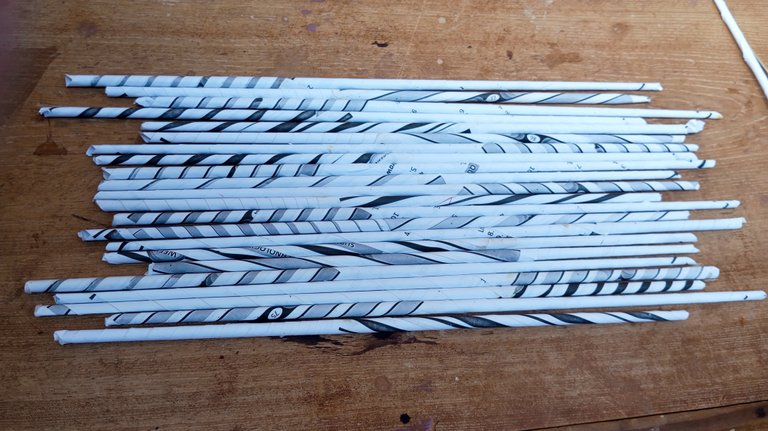
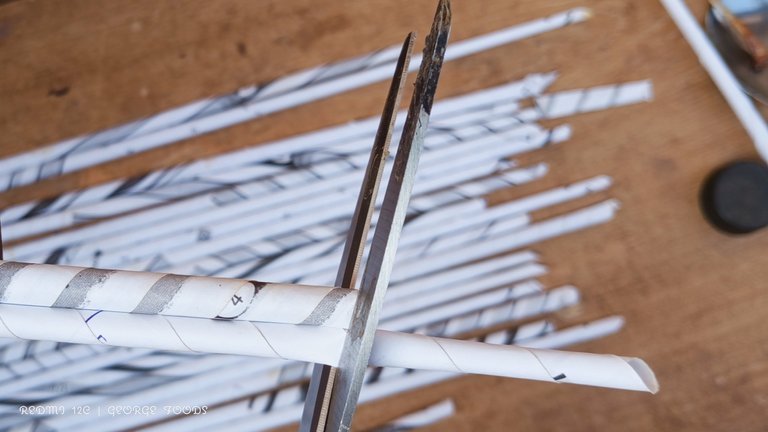
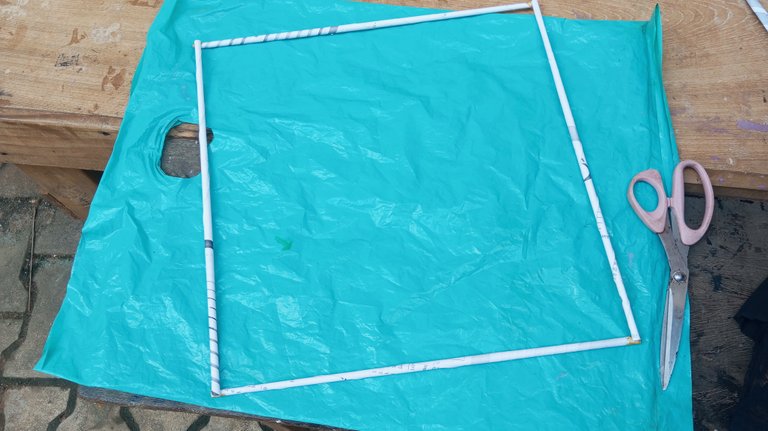
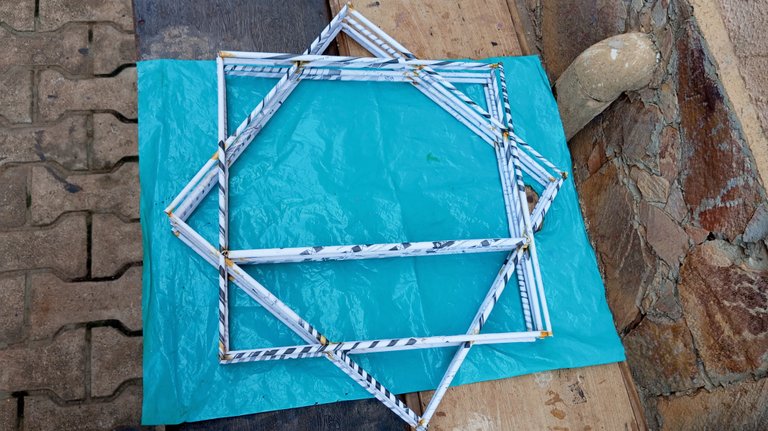
- After making all the canes, I cut them into equal sizes since I would make squares with them.
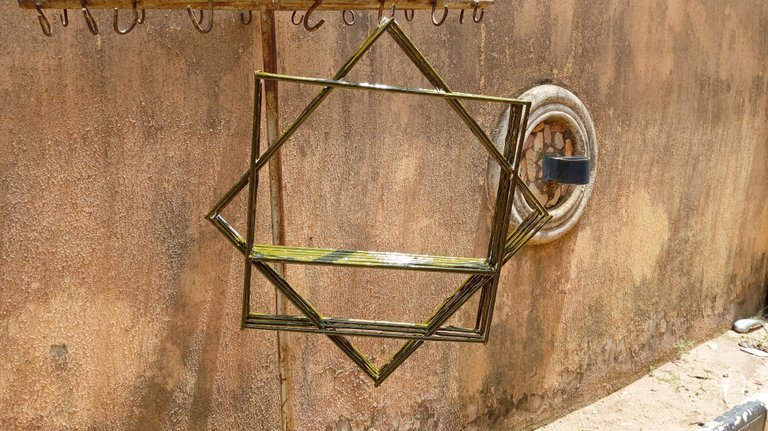
- I made the squares by arranging the paper cane and applying glue at each edge. I allowed the glue to dry to prevent the canes from falling off later.
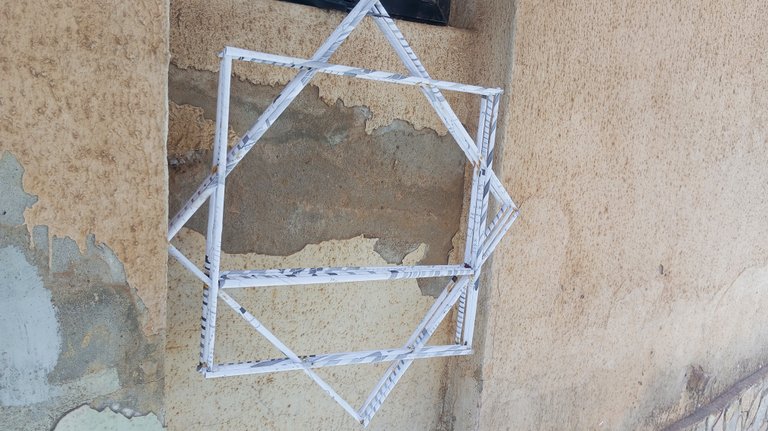
- I started arranging the squares in the order below.
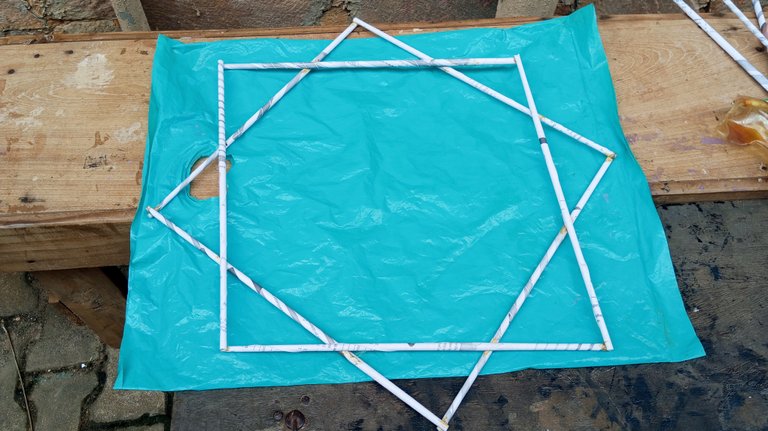
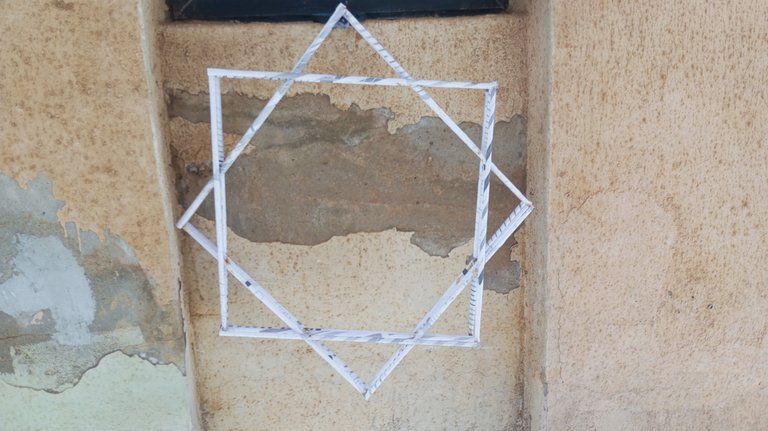
- I repeated the arrangement until I exhausted the squares I made, so I had equal square & rhombus. Of course, I applied glue to the points where the square and rhombus arrangements intersect.
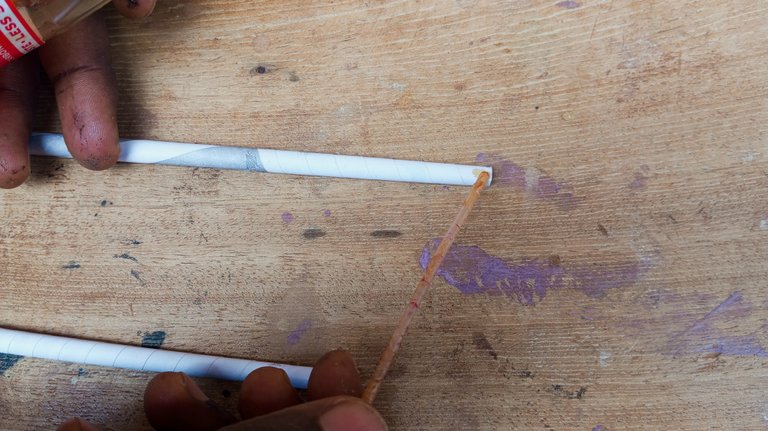
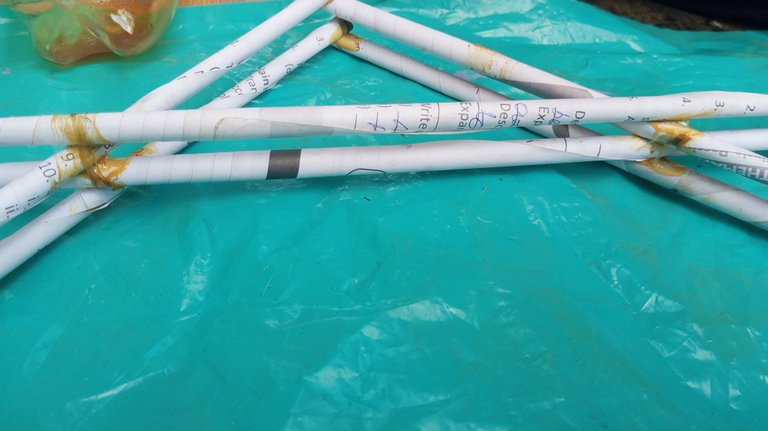
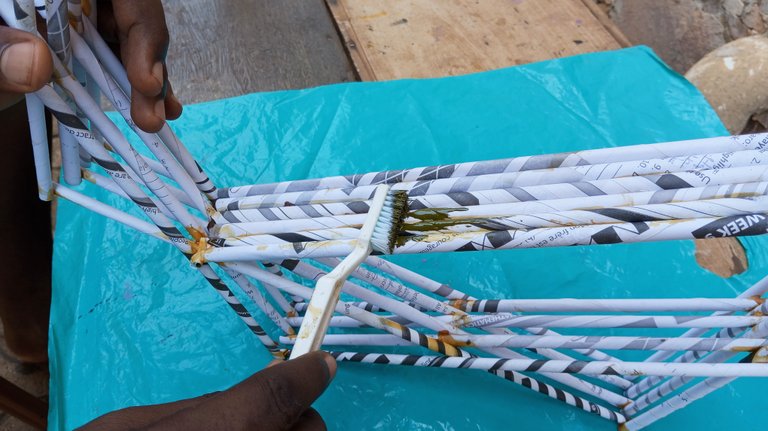
- Next, I joined some paper canes with glue. I didn't make any shapes and just joined them side by side.
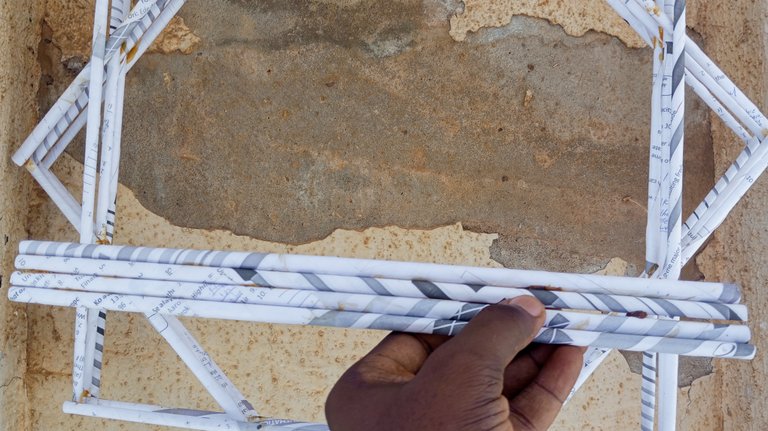
- I applied glue at the end of the joined paper cane and placed it on each end of the bottom interceptions.
- I left it to dry and finally painted the wall shelf. A spray would have been perfect, but the price has tripled at my end here, so I had to settle for glossy paint.
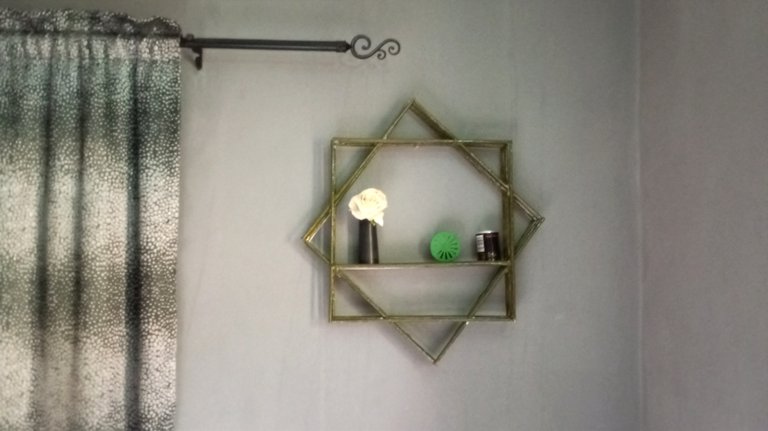
- I placed it in the sun after painting, and the outcome was good.
- I couldn't wait to hang it in my bedroom, and it will be the new spot for a small picture frame, flower, and air freshener.
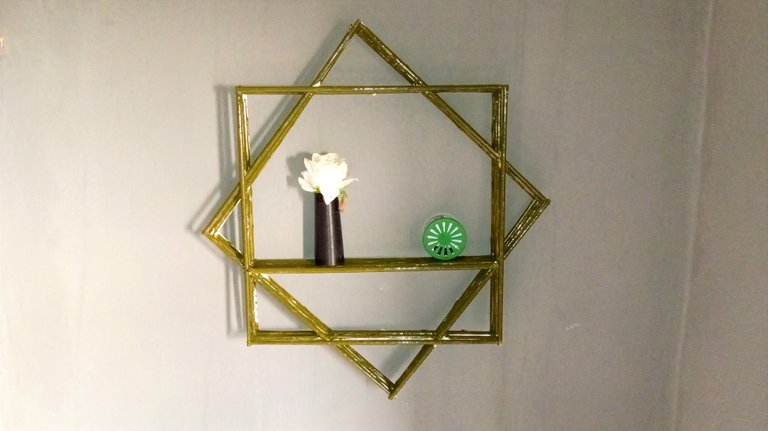
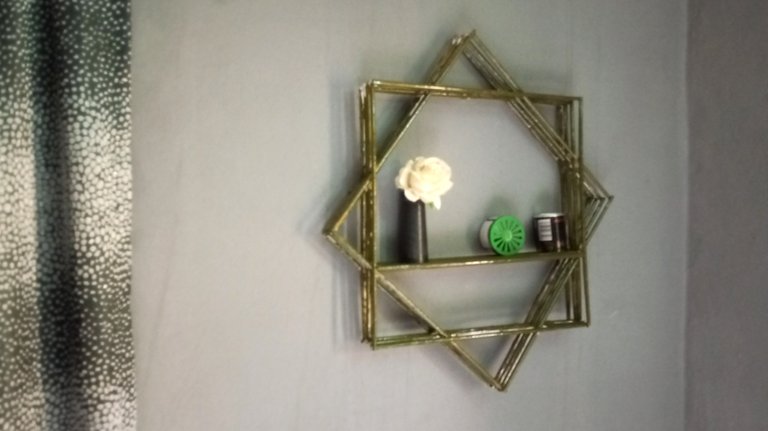
I hope you love the wall shelf. Share your thoughts about this little DIY project in the comment section. Cheers to a beautiful day! ***
Please note that all images belong to me.
muy bonito el poder usar materiales reciclables es genial!
very nice to be able to use recyclable materials is great!
I enjoy recycling and it's really cool. It's better spending time to reuse items than letting them waste.
This is an impressive work. Well covered and placed. Looks so natural. Nice work
Thanks a lot, I fell in love with the outcome as well. Cheers to a beautiful weekend.
Congratulations @george-dee! You have completed the following achievement on the Hive blockchain And have been rewarded with New badge(s)
Your next target is to reach 14000 replies.
You can view your badges on your board and compare yourself to others in the Ranking
If you no longer want to receive notifications, reply to this comment with the word
STOPCheck out our last posts:
Congratulations, you received an ecency upvote through the curator @sahi1. Keep spreading love through ecency
Thanks for the curation, I really appreciate it. Cheers to a beautiful weekend.
Impressive George, you are truly creative
Thanks sis, I am glad you love my craft as well.
Wow nice work
@tipu curate
Upvoted 👌 (Mana: 39/59) Liquid rewards.
This is amazing, and it beautifies the wall 🥰