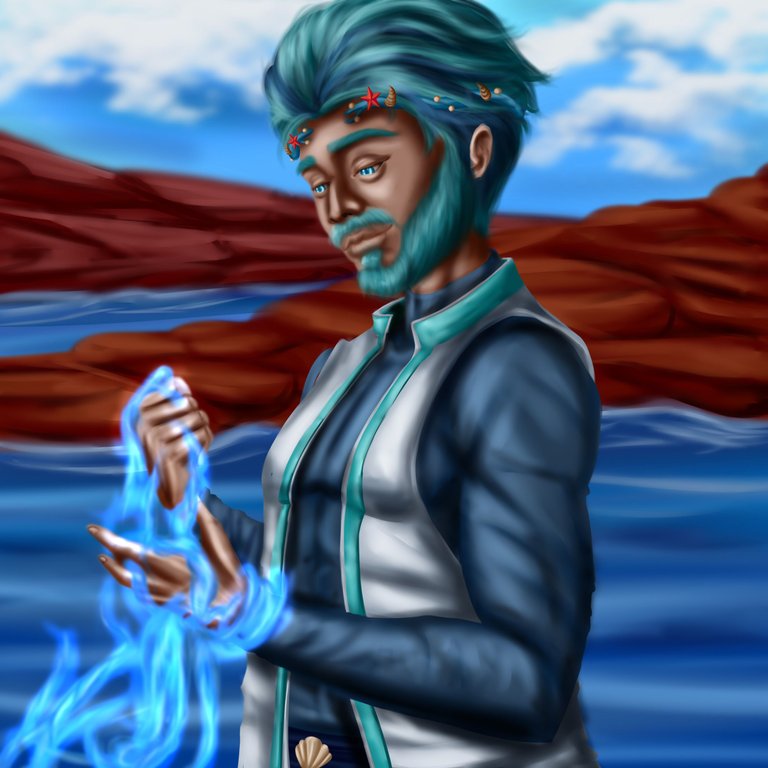
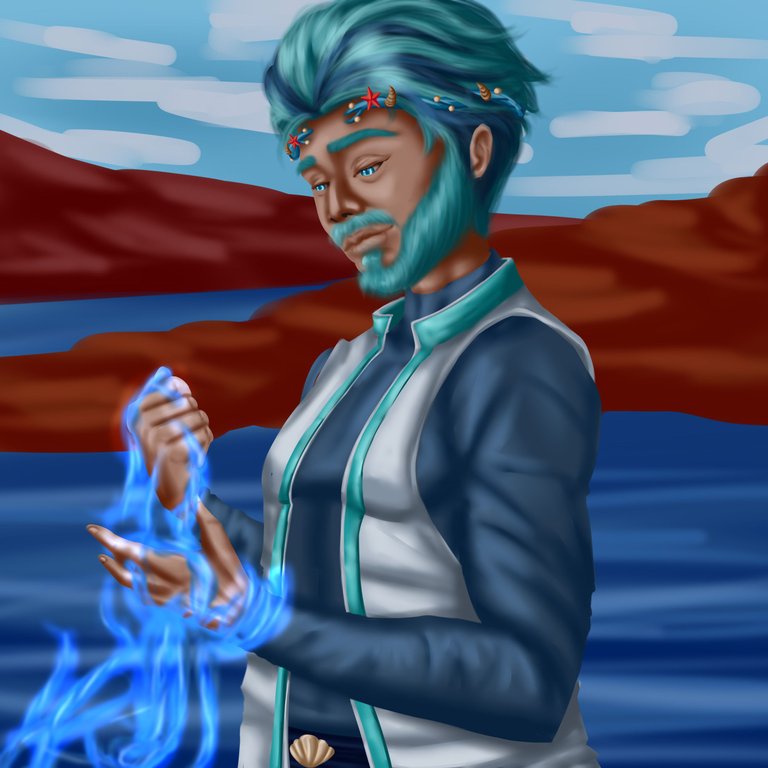
Hello my dearest people of the artistic community, I'm Manuel and as always it is a pleasure to have you here again on my blog, this time I come to present a new work or rather a new fan art for the community of Holozing, this time I wanted to keep a little in the theme of the Healers, but illustrating one of the male healers of which I have only drawn one several weeks ago; the Healer chosen for my drawing today is none other than the Ocean Healer, which as many already know and as its name indicates is a character that has a great relationship and affinity with the seas and oceans, besides having good complement with the creatures of Ice and Water. Something that particularly pushed me to draw this character is that I wanted to give him a more mature and rough appearance, that's why I came up with the idea of making small changes in his clothing, and also add a bushy and bushy beard on his face in the style of fishermen or pirates; without anything else to say, I leave you with the process of painting and creation and I hope you like it:
Hola mi queridísima gente de la comunidad artística, so soy Manuel y como siempre es un gustazo tenerlos por aquí de nuevo por mi blog, en esta oportunidad vengo a presentarles una nueva obra o mejor dicho un nuevo fan art para la comunidad de Holozing, esta vez quise mantenerme un poco en la temática de los Sanadores, pero ilustrando a uno de los sanadores masculinos de los cuales solo he dibujado uno hace ya varias semanas; el Sanador elegido para mi dibujo de hoy no es otro que el Sanador del Océano, el cual como muchos ya sabrán y como su nombre nos lo indica es un personaje que tiene una gran relación y afinidad con los mares y océanos, además de tener buen complemento con las criaturas de Hielo y Agua. Algo que particularmente me impulso a dibujar este personaje es que quería darle una apariencia un poco mas madura y ruda, es por ello que se me ocurrió la idea de hacer pequeños cambios en su vestimenta, y además agregarle una frondosa y poblada barba en su rostro muy al estilo de los pescadores o piratas; sin nada mas que decir, los dejo con el proceso de pintado y creación y ojala les guste:
REFERENCE

PROCESS / PROCESO
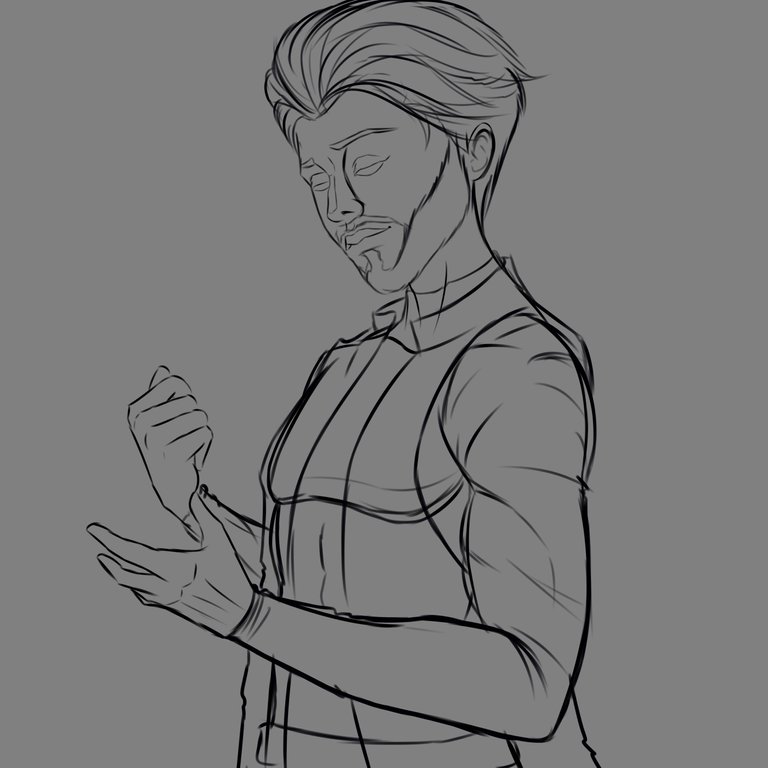
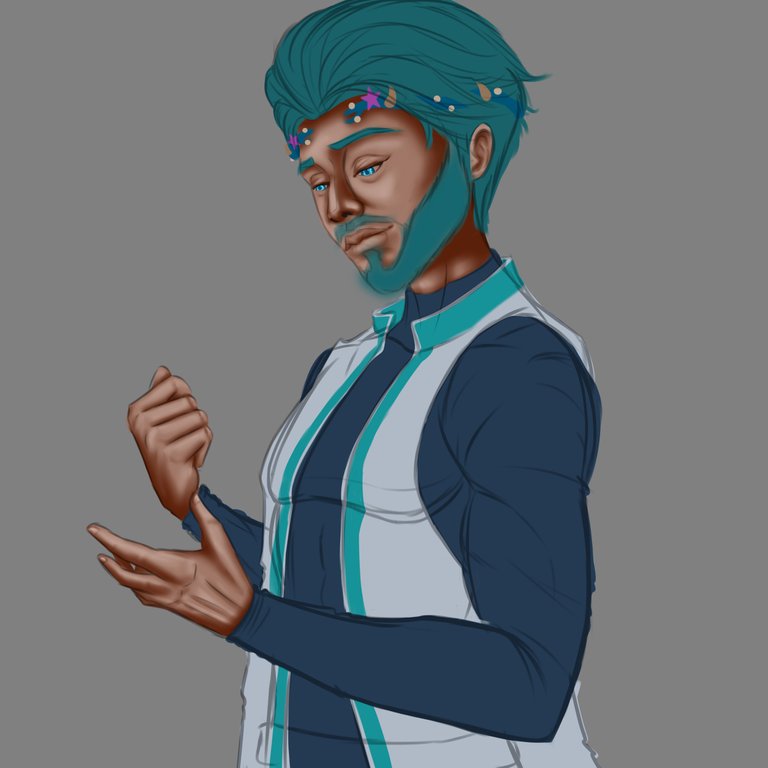
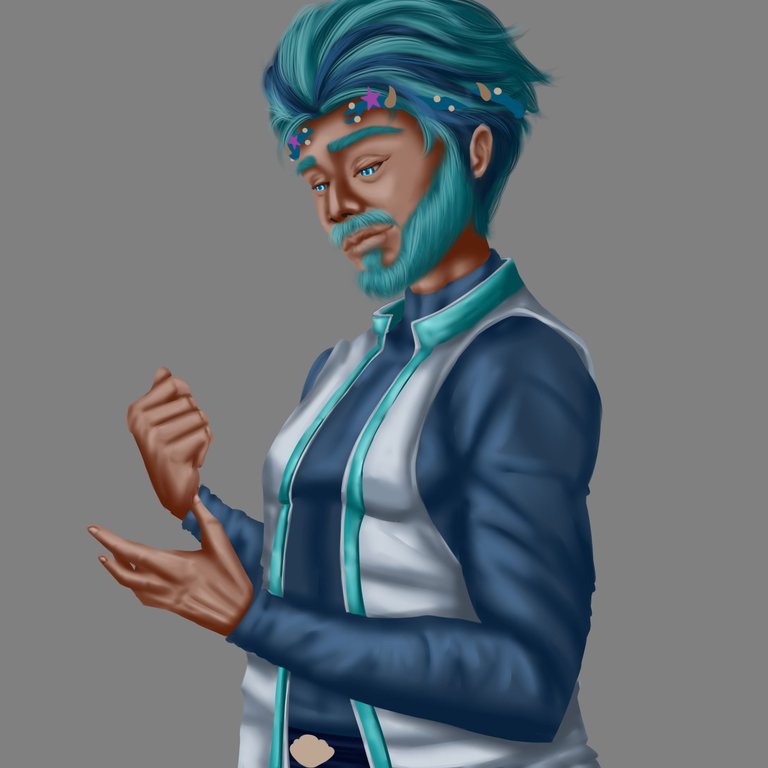
The idea I had for my base sketch of this drawing was of the Ocean Healer with his hands slightly raised in front of him while the ocean water rises and moves through his hands as with a life of its own, I gave slight changes to the clothing with respect to the original character, I created the classic jacket of the Healers with a sleeveless style since I liked it much more this way and I drew his hairstyle a little more voluminous and backwards; in the choice of colors I took a little more freedom and chose from my color palette some more saturated tones for the skin. With the skin I like to work in several parts and layers, first I create a little soft airbrush texture and then in a top layer I defined well the features of the nose, cheekbones and so on; once the skin was finished the next thing I did was to create the expression of the eyes, in the case of the eyes I painted them slightly closed and just inside I created the iris and pupil varying a lot with blues like light blue, medium, navy blue and a little white in a uniform way.
La idea que tuve para mi boceto base de este dibujo fue de el Sanador del Océano con sus manos levemente elevadas frente a el mientas el agua del océano sube y se mueve a través de sus manos como con vida propia, le di ligeros cambios a la vestimenta con respecto al personaje original, cree la chaqueta o chamarra clásica de los Sanadores con un estilo sin mangas ya que me gusto mucho mas de esta forma y dibuje su peinado algo mas voluminoso y hacia atrás; en la elección de los colores me tome un poco mas de libertad y escogí de mi paleta de colores algunos tonos un poco mas saturados para la piel. Con la piel me gusta trabajar en varias partes y capas, primero plasmo un poco de textura suave de aerógrafo y luego en una capa superior definí bien los rasgos de la nariz, pómulos y demás; una vez terminada la piel lo siguiente que hice fue crear la expresión de los ojos, en el caso de los ojos los pinte levemente cerrados y justo dentro cree el iris y pupila variando mucho con azules como el celeste, medio, azul marino y un poco de blanco de manera uniforme.
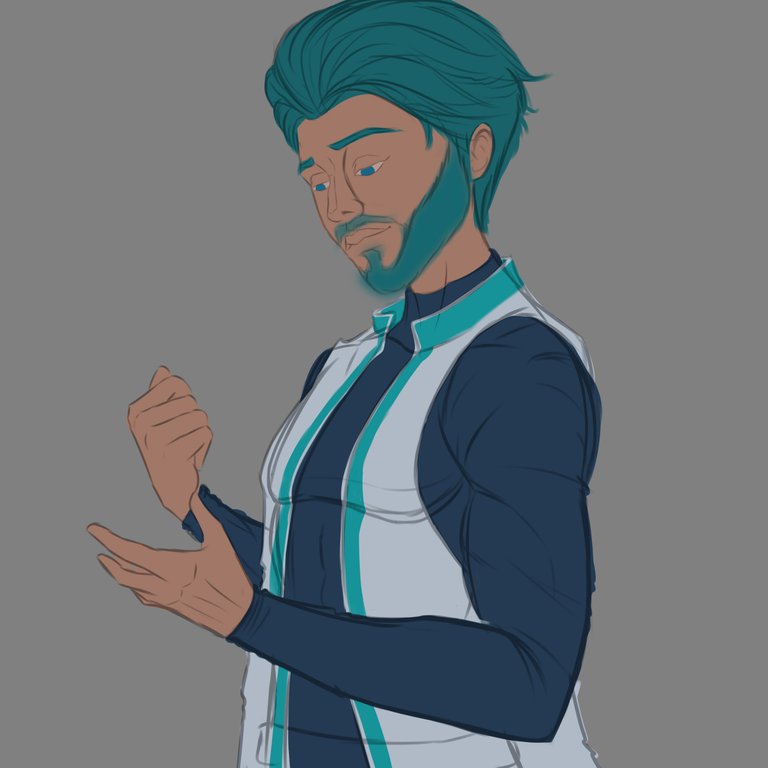
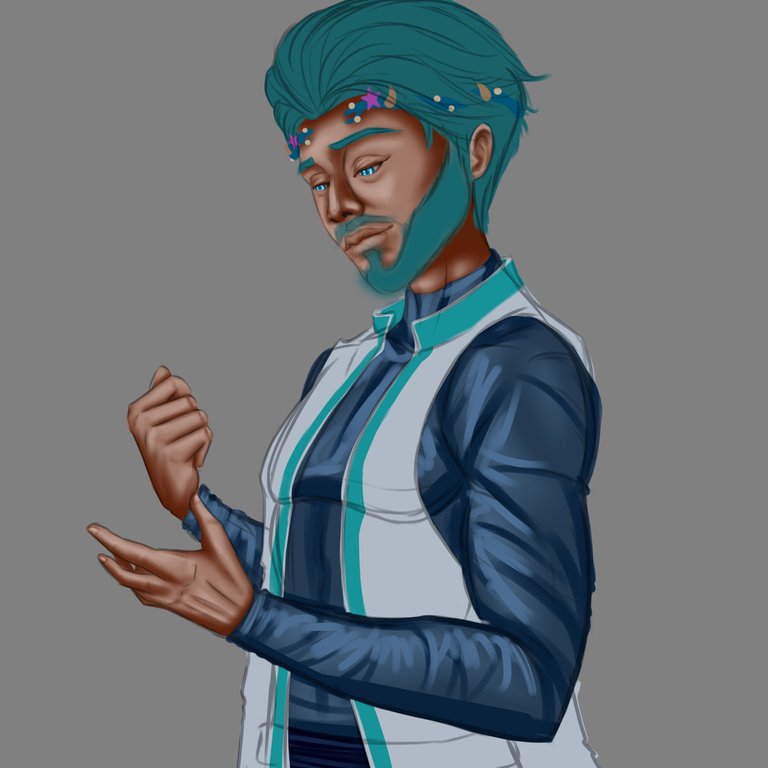
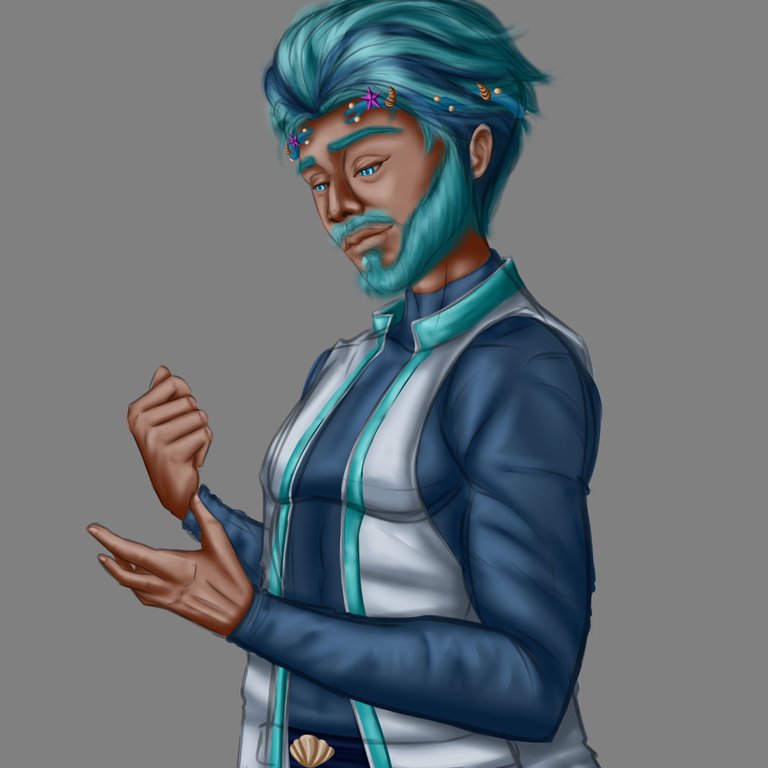
In the 2nd step of the painting I dedicated myself entirely to the construction of the garment, for the part of the suit or tight-fitting shirt I used a soft navy blue color that I liked a lot and I focused on creating a texture a little more diffuse with small glitters in the folds and edges; as I had mentioned previously I wanted to make a small change with the jacket to sleeveless style and I began to shape it with intermediate gray tones mixing a little with dark grays for the shadow areas and very light grays where the ambient light bounces on the clothes. With the jacket almost finished the next thing I had to do was to create the blue details on the edges of the collar, in this case I decided to use a quite watery and bright blue color to make the details more noticeable; another thing I decided to add on the edges of the collar was a small shiny effect to make it look like a different texture to the jacket and much more elegant.
En el 2do paso del pintado me dedique enteramente a la construcción de la vestimenta, para la parte del traje o camiseta ajustada al cuerpo use un color azul marino suave que me gusto mucho y me enfoque en crear una textura un poco mas difusa con pequeños brillos en los pliegues y bordes; como les había comentado previamente quise hacer un pequeño cambio con la chaqueta a estilo sin mangas y comencé a darle forma con tonos grises intermedios mezclando un poco con grises oscuros para las zonas de sombra y grises muy claros donde la luz ambiental rebota en la ropa. Ya con la chaqueta casi terminada los siguiente que me quedaba por hacer era crearlos los detalles en color azul en los bordes del cuello, es este caso me decidí por usar un color azul bastante acuoso y brillante para que se notaran mejor los detalles; otra cosa que decidí agregar en los bordes del cuello fue un pequeño efecto brillante para que se viese como una textura diferente a la de la chaqueta y mucho más elegante.

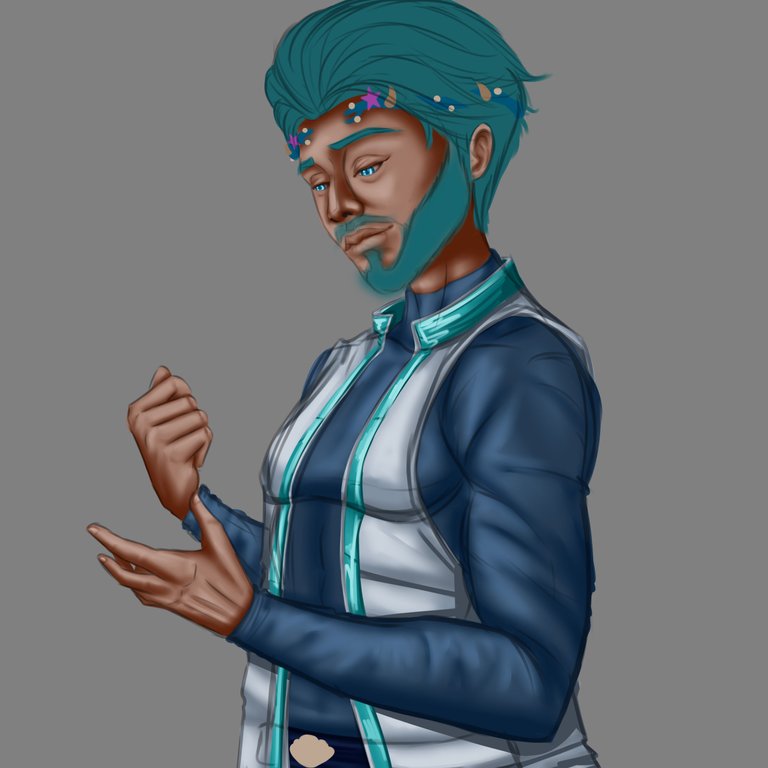
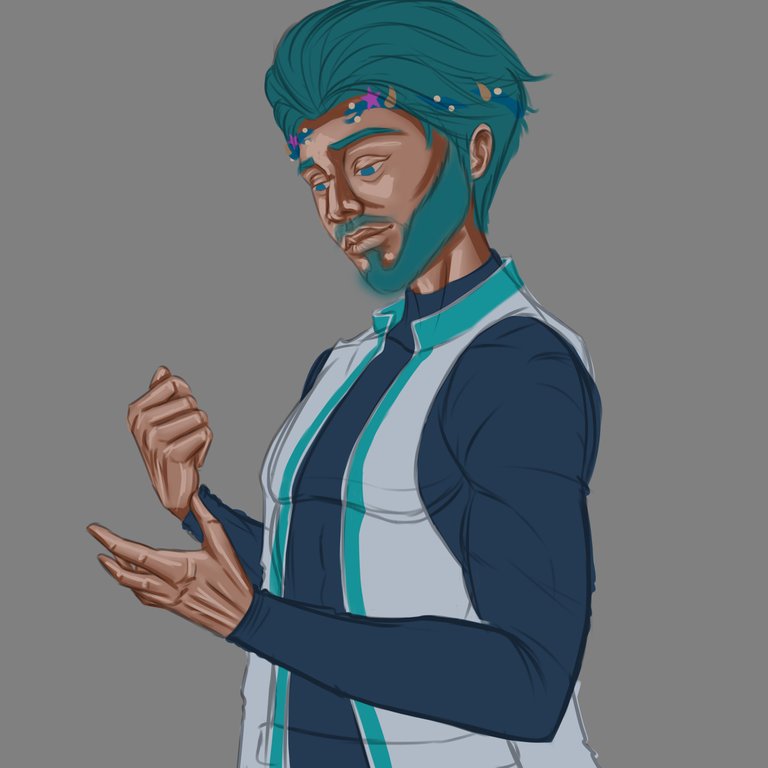
In step 3 I focused on giving good shape to the hairstyle of my character, here I also changed a little the style of the hair to adapt it better to my own style, instead of creating the hair upwards I decided to create it in a backwards direction and I also added a large or populated blue bard, in the case of the hair I painted a solid base with flat brushes and a little texture of strands of hair backwards alternating light blue tones with navy blue for the dark strands. Once the hair was finished I continued with the construction of the beard, unlike the hair with the beard I decided to work the base with airbrush to have a much softer texture and with my 3-tip brush at an opacity of 40% I created the texture of small hairs in the lower part of the beard and the neck; also around the hair I painted a kind of land or crown of marine objects like stars, corals and white pearls.
En el paso 3 me centre en darle buena forma al peinado de mi personaje, aquí también cambie un poco el estilo del cabello para adaptarlo mejor a mi estilo propio, el lugar de crear el pelo hacia arriba decidí mejor crearlo en dirección hacia atrás y además le agregue una gran o poblada barde de color azulada, en el caso del cabello pinte una base solida con pinceles planos y un poco de textura de mechones de pelo hacia atrás alternando los tonos azules claros con azules marinos para los mechones oscuros. Terminado el cabello continúe con la construcción de la barba, a diferencia del pelo con la barba decidí trabajar la base con aerógrafo para tener una textura mucho mas suave y con mi pincel de 3 puntas a una opacidad de 40% fui creando la textura de pequeños pelos en la parte baja de la barba y el cuello; también alrededor del cabello pinté una especie de tierra o corona de objetos marinos como estrellas, corales y perlas blancas.
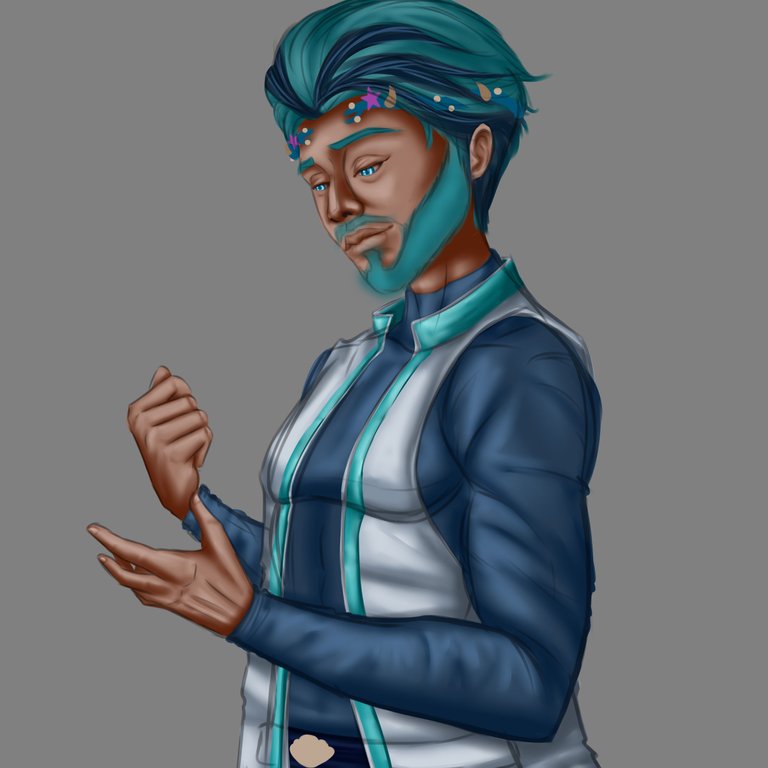
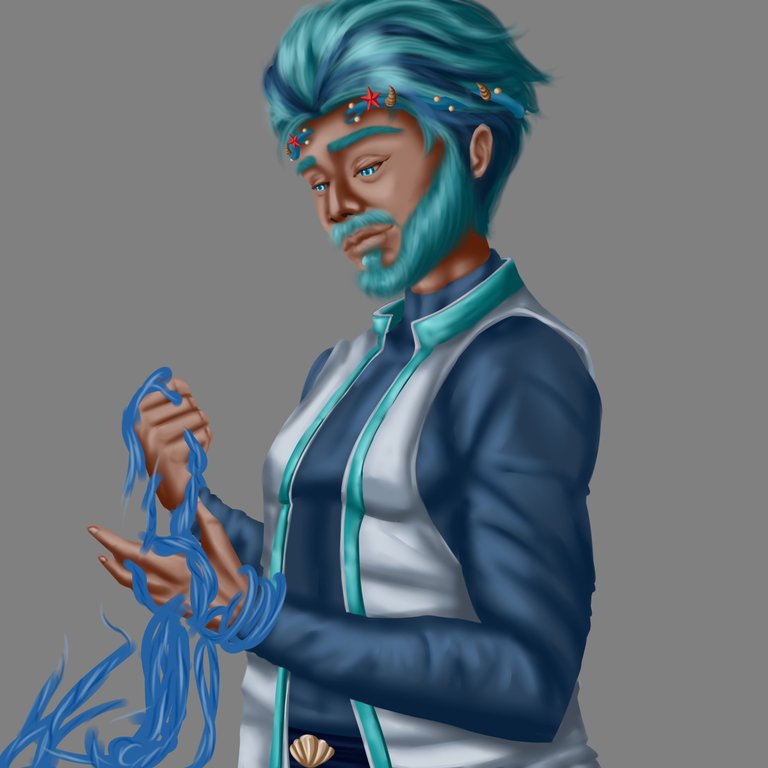
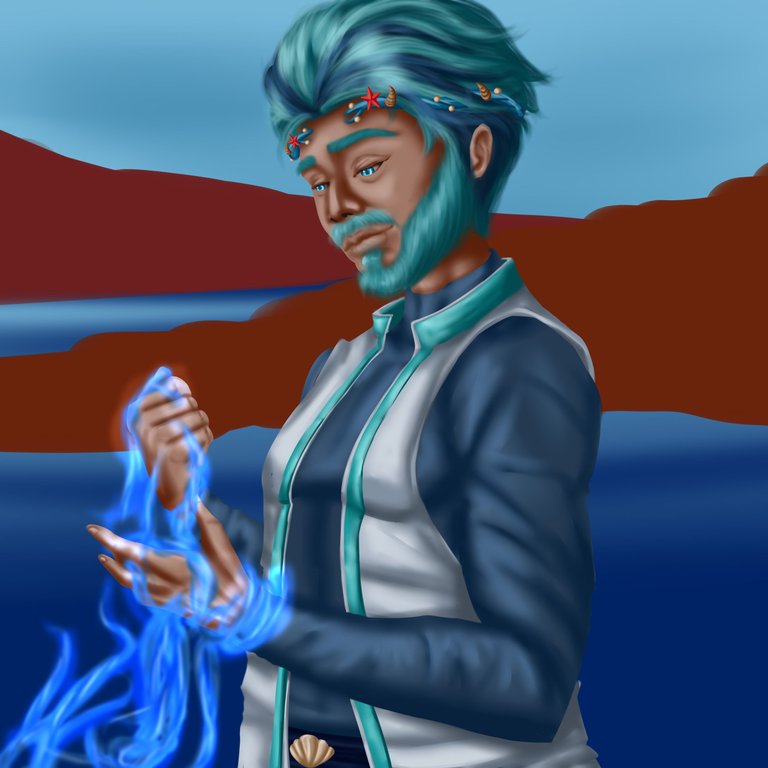
In the final part I proposed to create a trail of sea water rising through the hands of the Healer to give a better essence to his connection with the Ocean, to shape the water first take a flat brush and create the liquid with an electric blue without too much pressure then with a mixture of light blue with white I was giving shape and a little volume to the water as I blurred slightly; finally to give the water the appearance that I wanted I created 2 more layers, in one I duplicated and mixed everything and applied a layer effect (shine) to achieve transparency, and in the other I created a small blue glow effect on the edges. At the end to set the scene of my drawing what I did was to paint a kind of beach background, with blue marine colors I was texturing little by little the water of the beach trying to form that effect of waves and water movement; then with varied brown colors I created a small channel of rocks that connected the beach with the ocean in the background, here I mixed textures of flat brushes with watercolor to give better realism to the rocks.
En la parte final me propuse crear una estela de agua marina subiendo por las manos del Sanador para darle una mejor esencia a su conexión con el Océano, para darle forma al agua primero tome un pincel plano y cree el liquido con un azul eléctrico sin demasiada presión luego con una mezcla de azules claros con blanco fui dándole forma y un poco de volumen al agua a medida que difuminaba ligeramente; finalmente para que el agua tuviese la apariencia que yo quería cree 2 capas más, en una duplique y mezcle todo y le aplique un efecto de capa (shine) para lograr transparencia, y en la otra cree un pequeño efecto de brillo azul en los bordes. Al final para ambientar el escenario de mi dibujo lo que hice fue pintar una especie de fondo de playa, con colores azules marinos fui texturizando poco a poco el agua de la playa tratando de formar ese efecto de olas y movimiento del agua; luego con colores marrones variado cree un pequeño canal de rocas que conectara la playa con el océano muy en el fondo, aquí mezcle texturas de pinceles planos con acuarela para darle mejor realismo a las rocas.

MATERIALS / MATERIALES
- Sai Paint Tool Program
- Huion inspiroy h610 v2 tablet
- Programa Paint Tool Sai
- Tableta Huion inspiroy h610 v2
That was all for today, thank you very much for coming here and for watching the process of my drawing, I really hope you liked it a lot, and if you did please let me know in the comments. Without more to add I send you all a big greeting and I will see you again in the next post...see you later!🤓🖖🏽.
Esto fue todo por el día de hoy, muchísimas gracias por haber llegado hasta aquí y por ver el proceso de mi dibujo, espero realmente que les haya gustado mucho, y si fue así por favor háganmelo saber en los comentarios. Sin mas que agregar les mando un gran saludo a todos y nos volveremos a ver en un siguiente post…hasta luego!🤓🖖🏽.