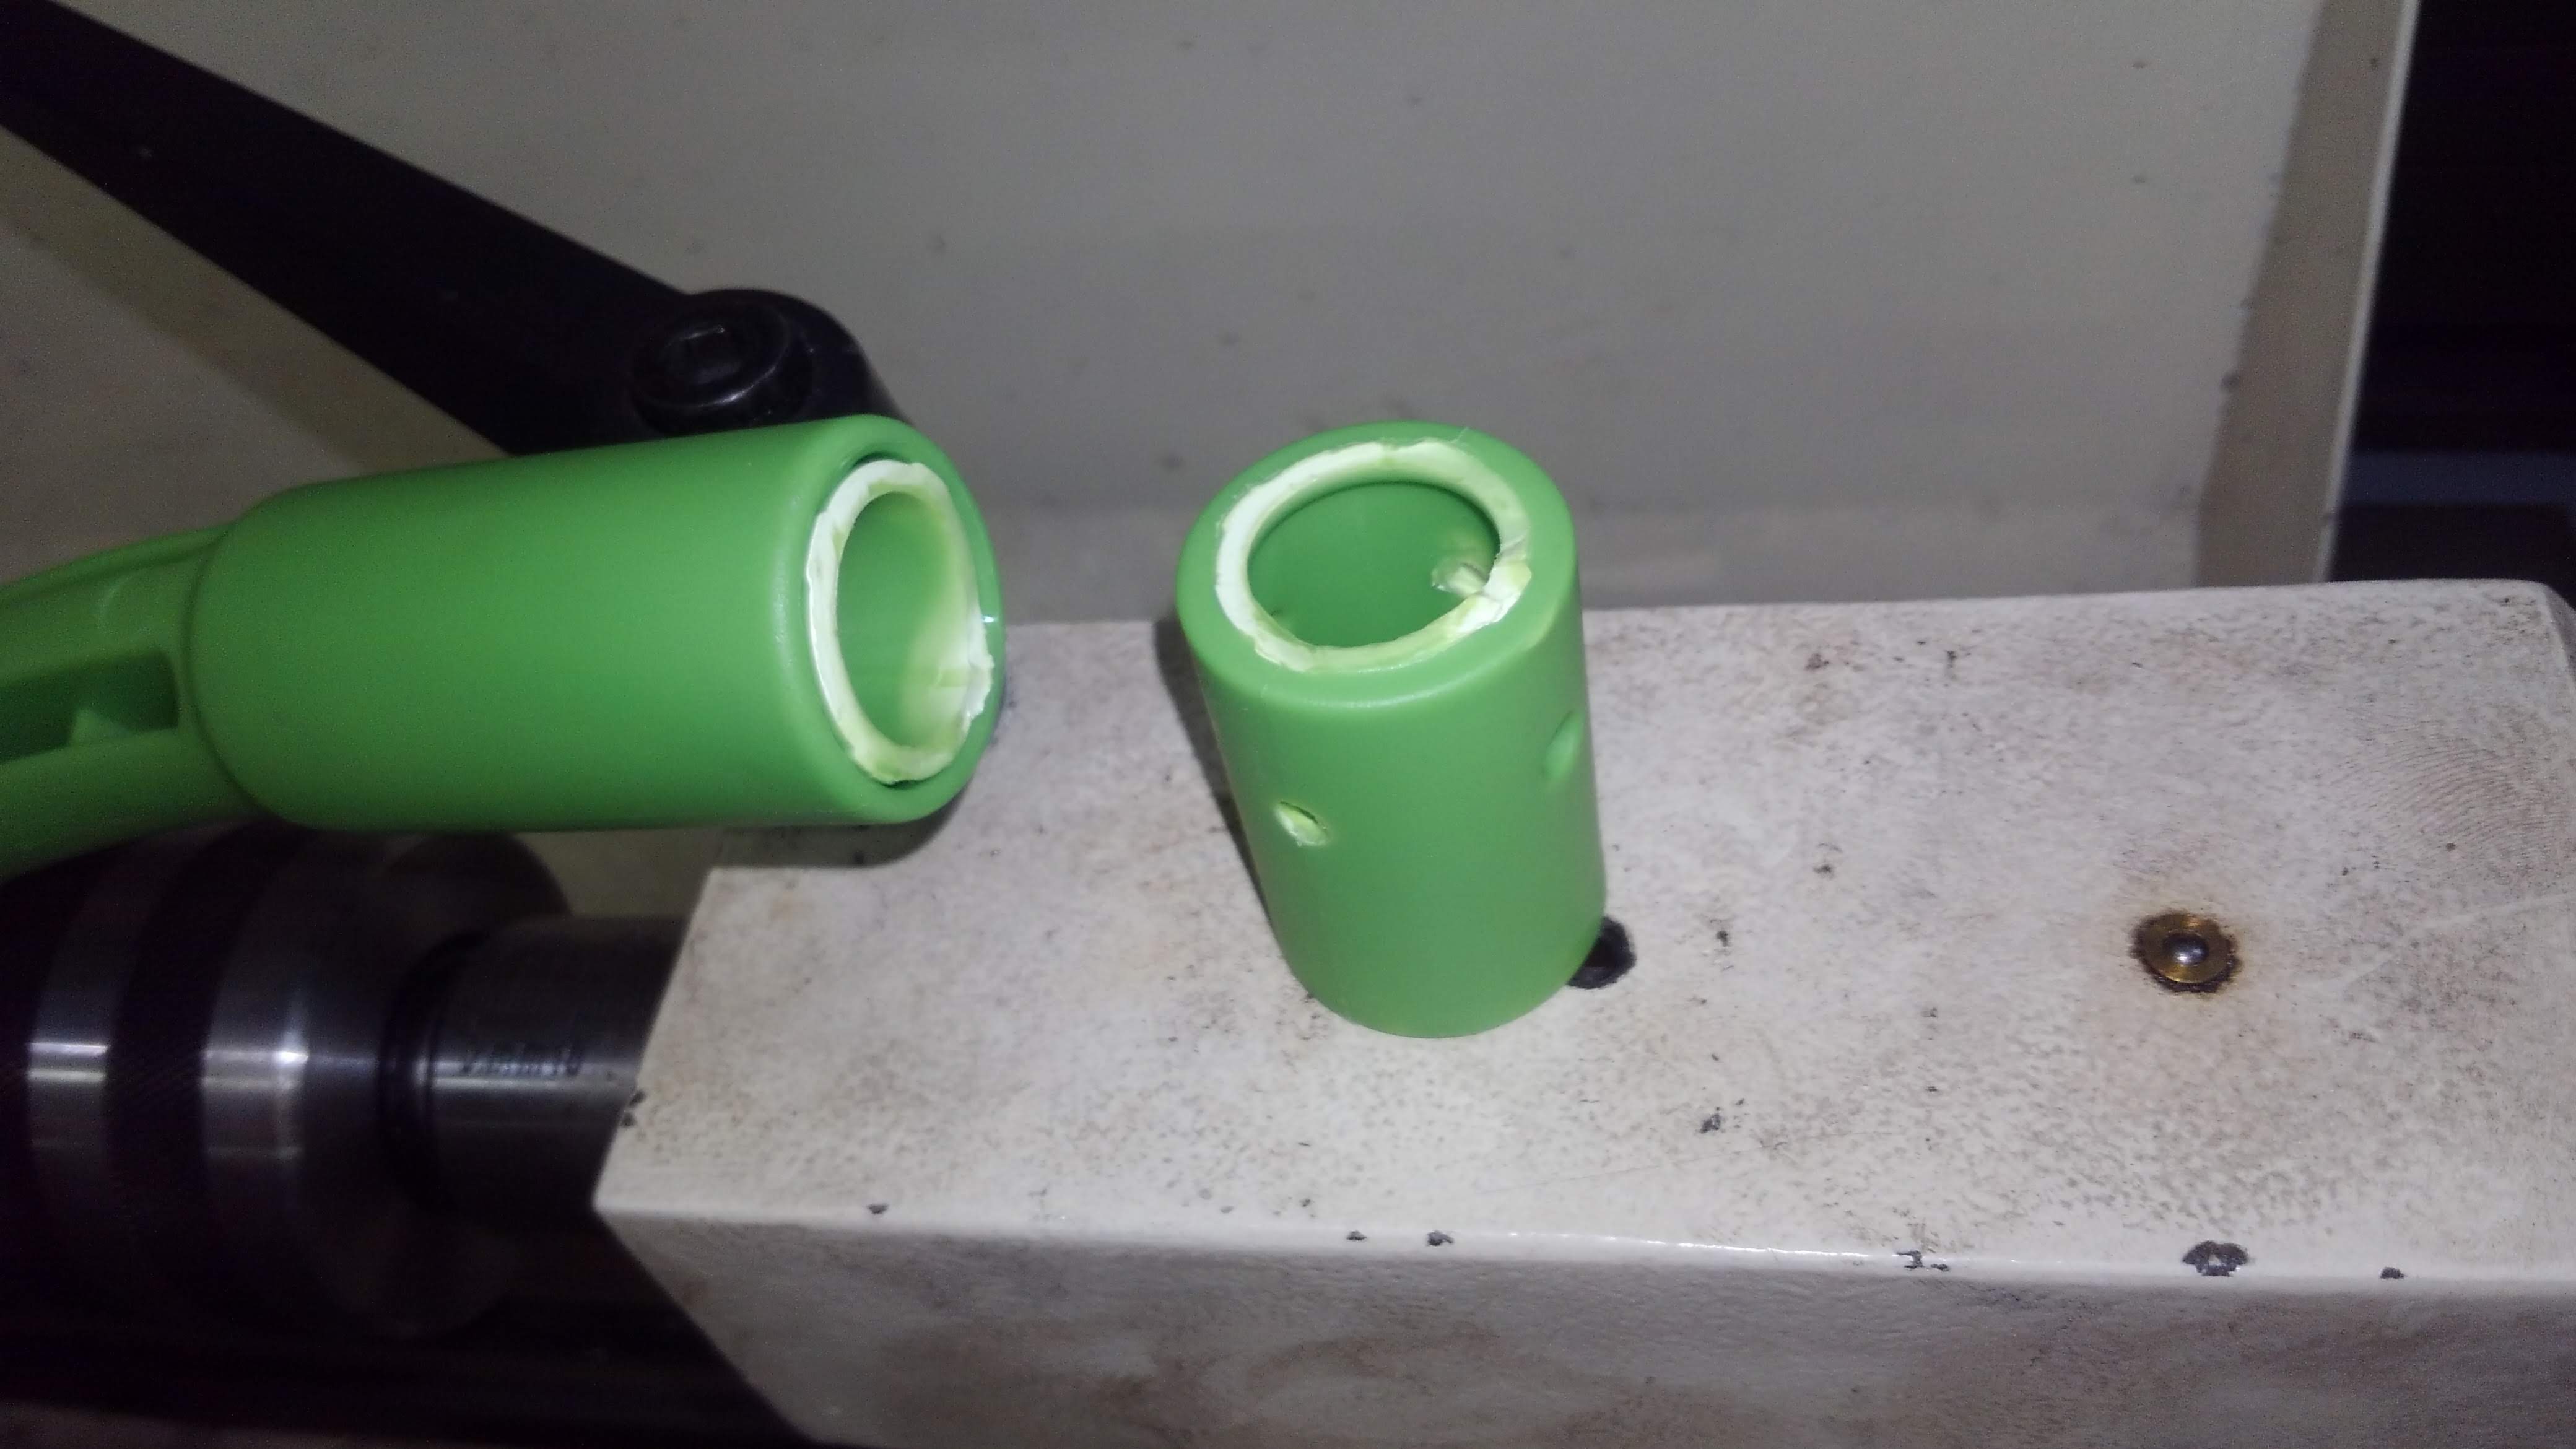
So we recently got this neat little jungle gym for our newest addition to the family. Our baby boy started walking and is climbing on everything he can, so we figured why not get him something that he can use to learn climbing skills without getting up too high to where if he falls, he doesn't get injured. We actually had a version of this toy for our other two kids, but the ball pit fabric was all torn up and it was pretty beat up, and we decided to give it away on Buy Nothing when we left California. So anyway, not 4 days into assembling this thing and my 4-year-old boy decides that he wants to use one of the more fragile hand-holds as a gymnastic high bar, and of course it snaps at the base.
I take a look at the broken piece and I figure, I've got a lathe, I've got some scrap lengths of PVC lying around, let's make a new one. I'm sure the manufacturer would replace it at no cost, but how long would that take? Probably weeks. I know from past experience that once they start, kids learn to walk and climb really fast. Since his first steps, it's only been about 2 weeks and the baby is already running when he gets really excited. Lots of face plants and wobbles still, but you get the picture. He needed this thing right away, so I just spent the 2 hours and fixed it.
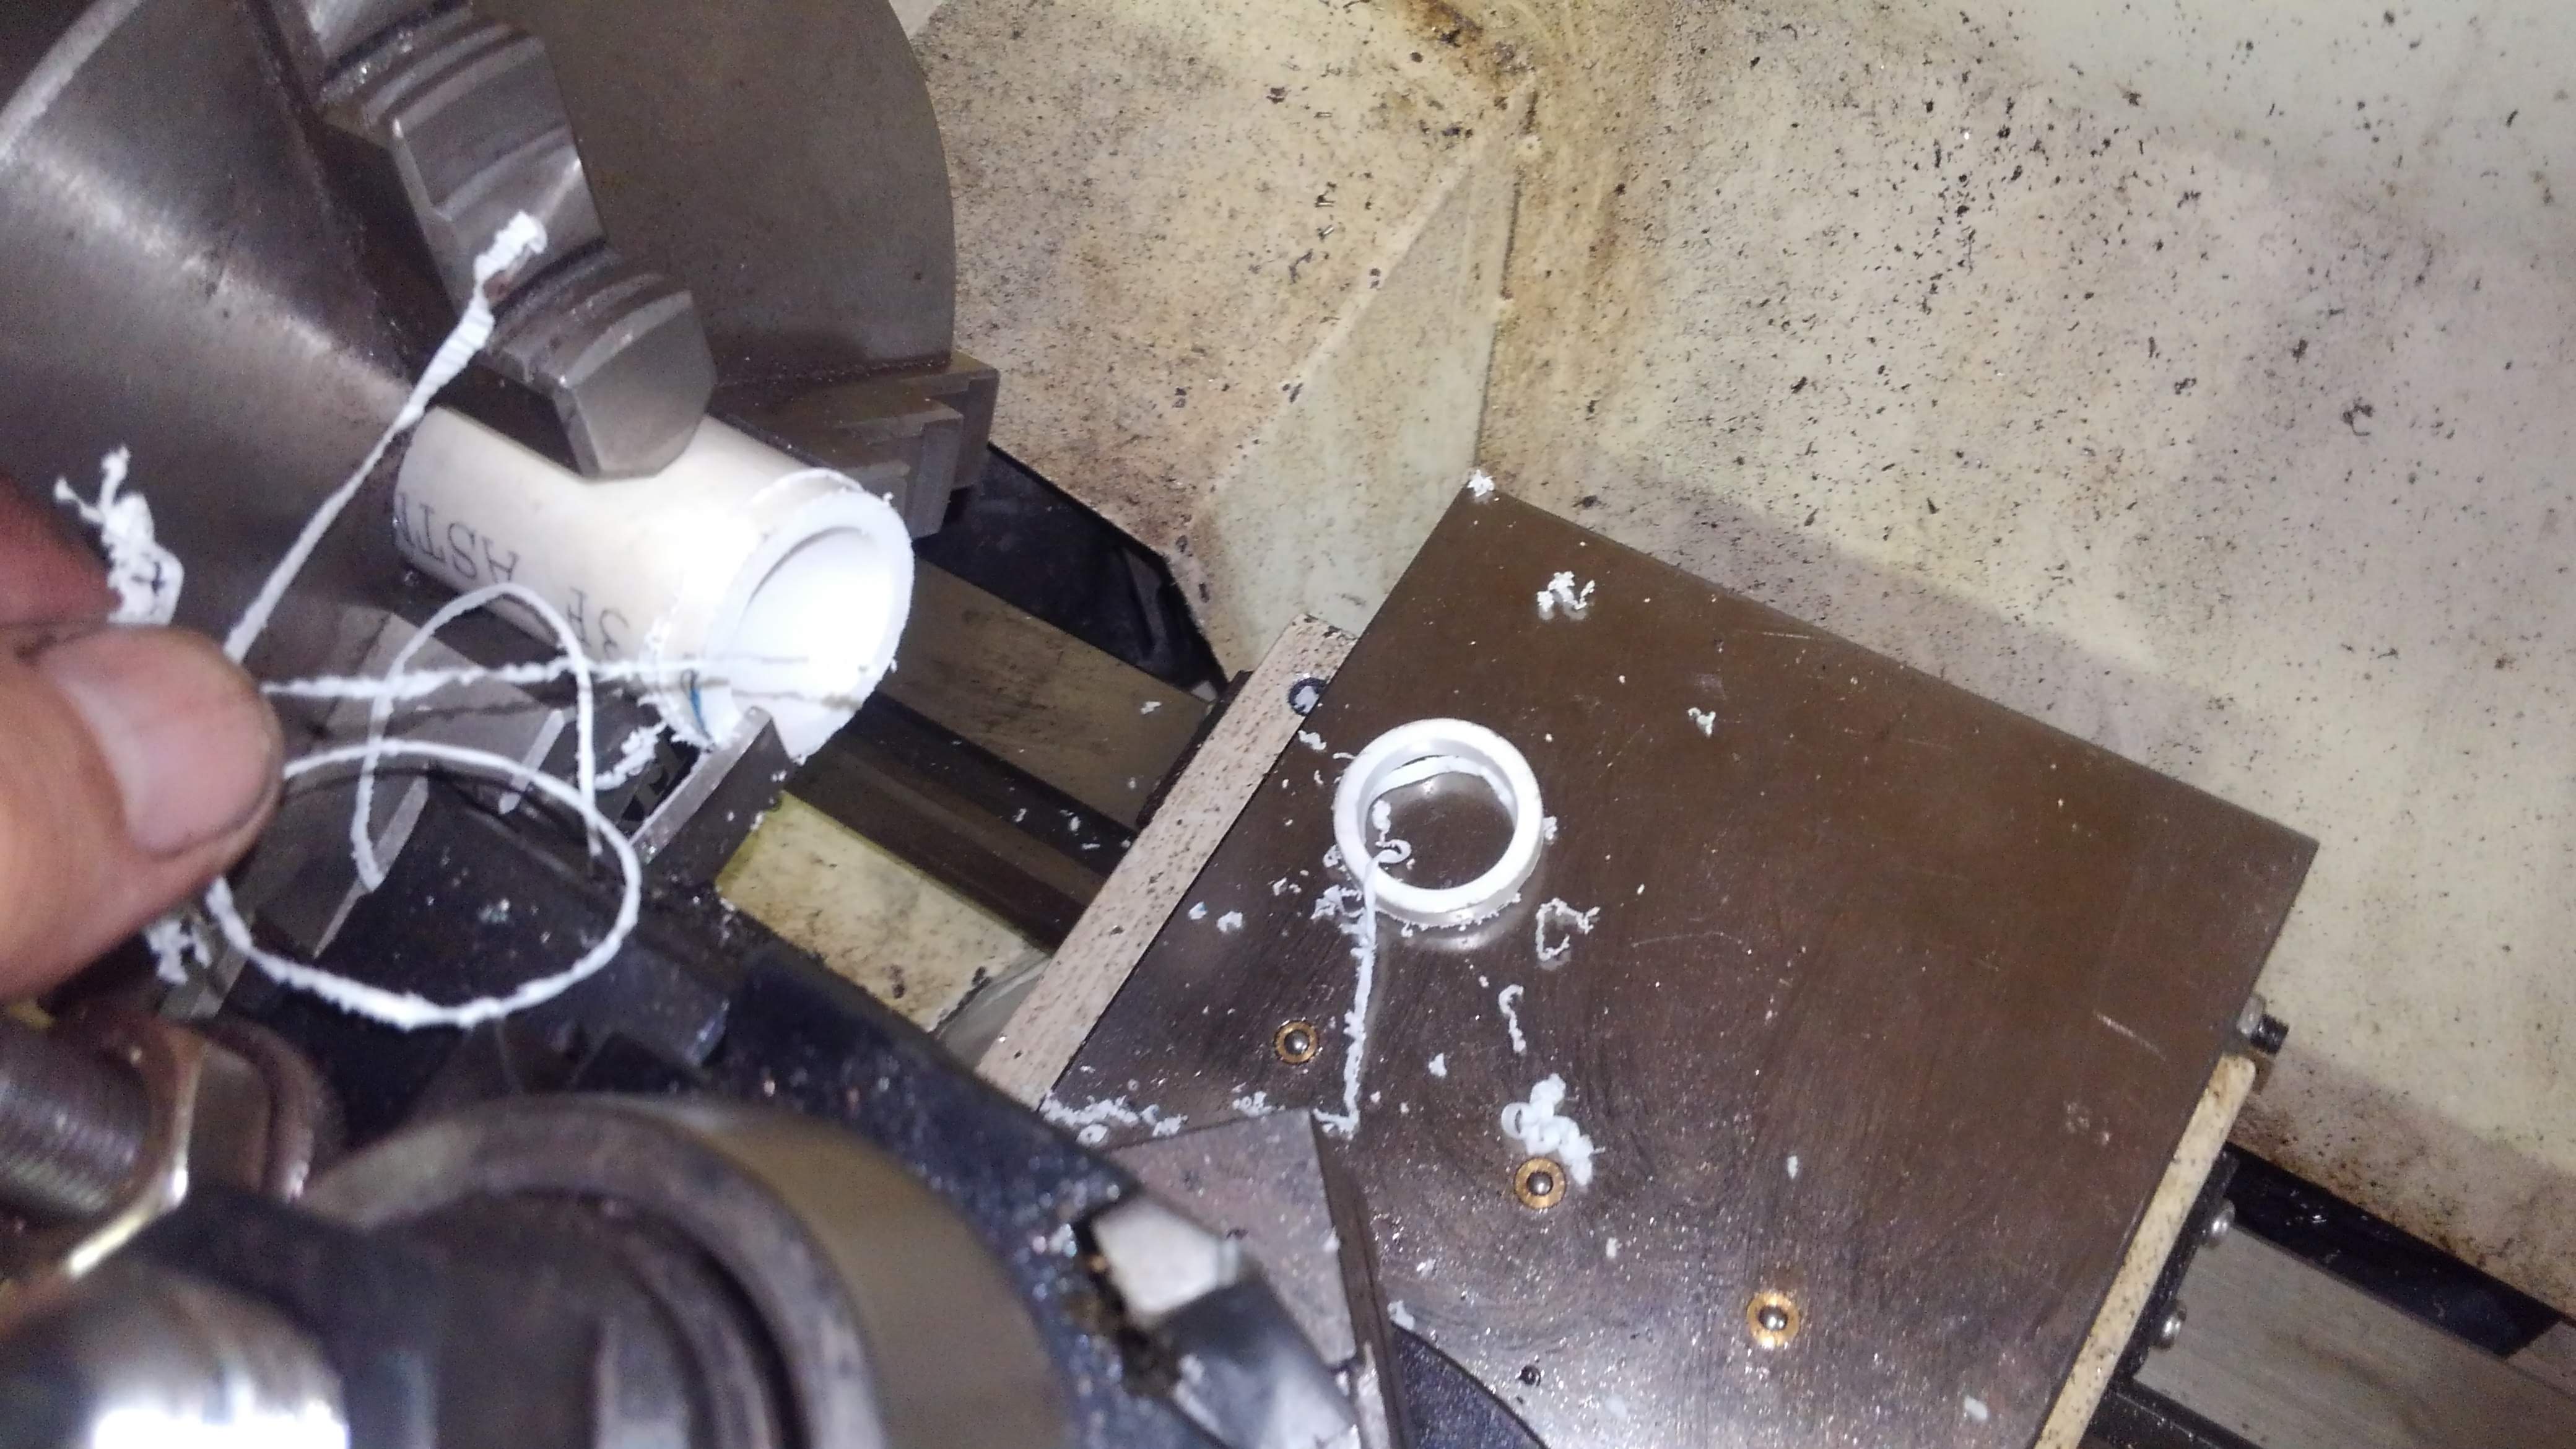
Here we are with the parting tool cutting off a little bit from the end of the scrap piece of schedule 40 3/4" PVC pipe to square the end.
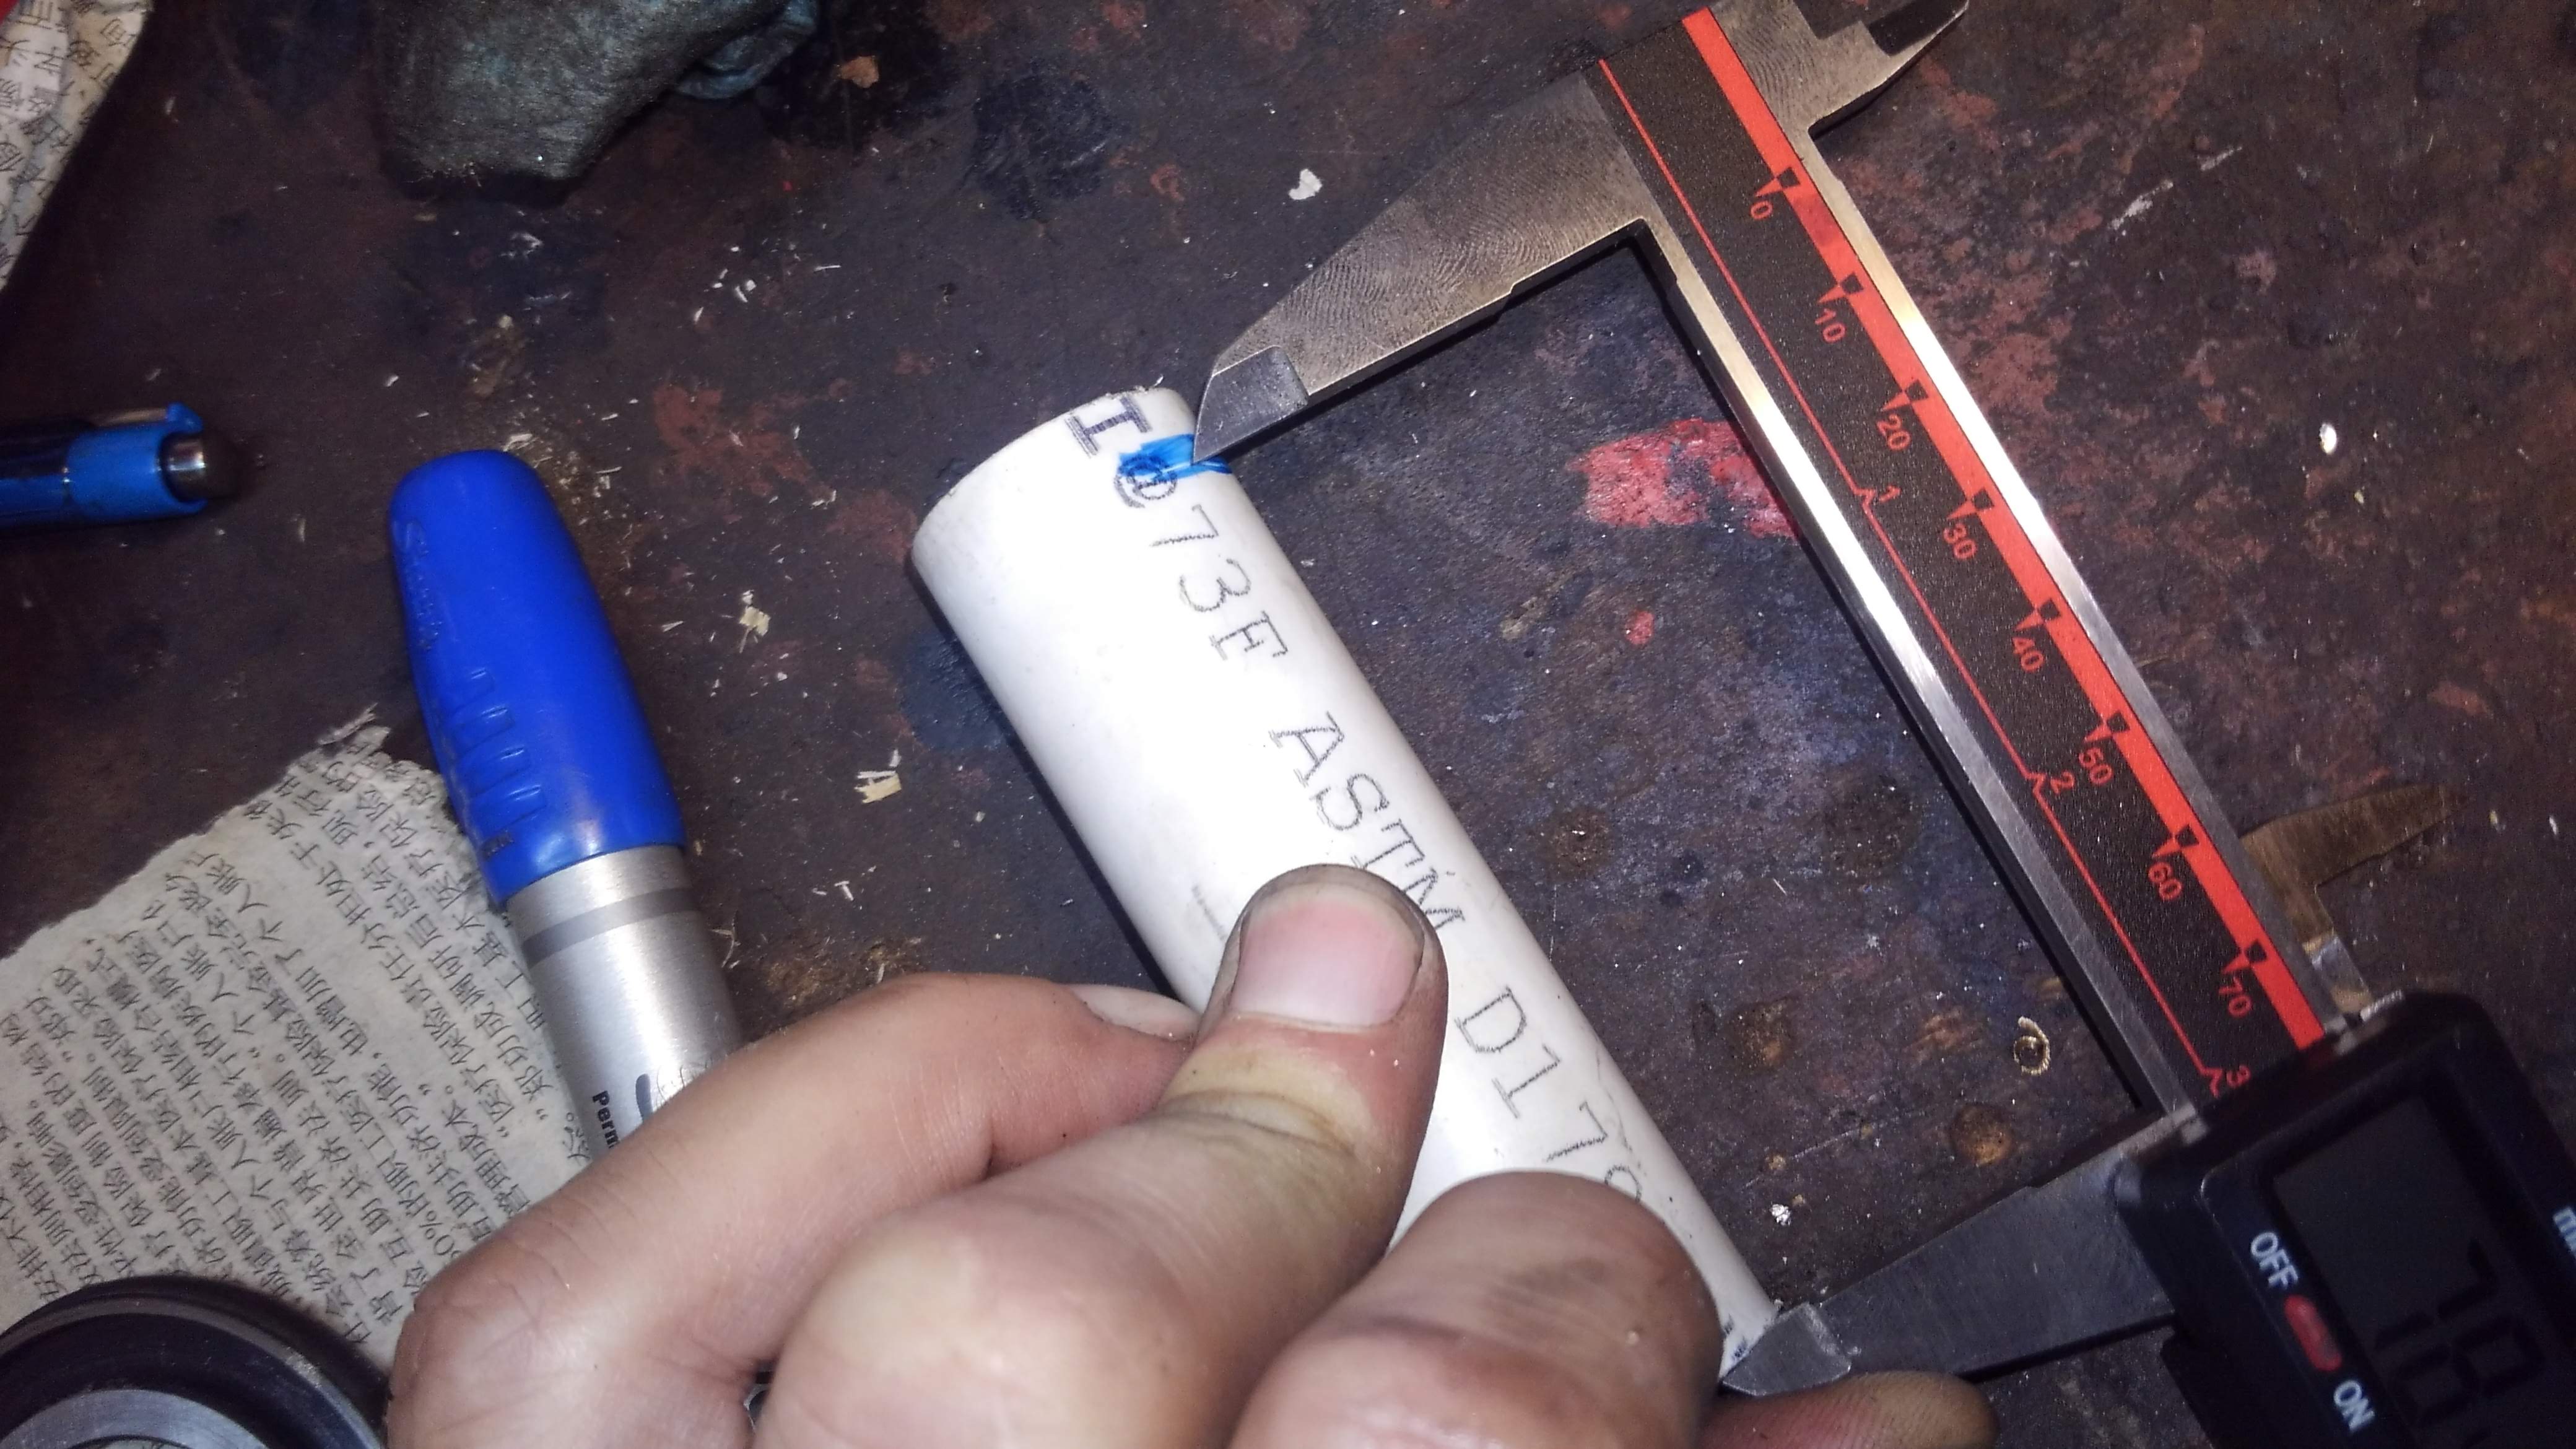
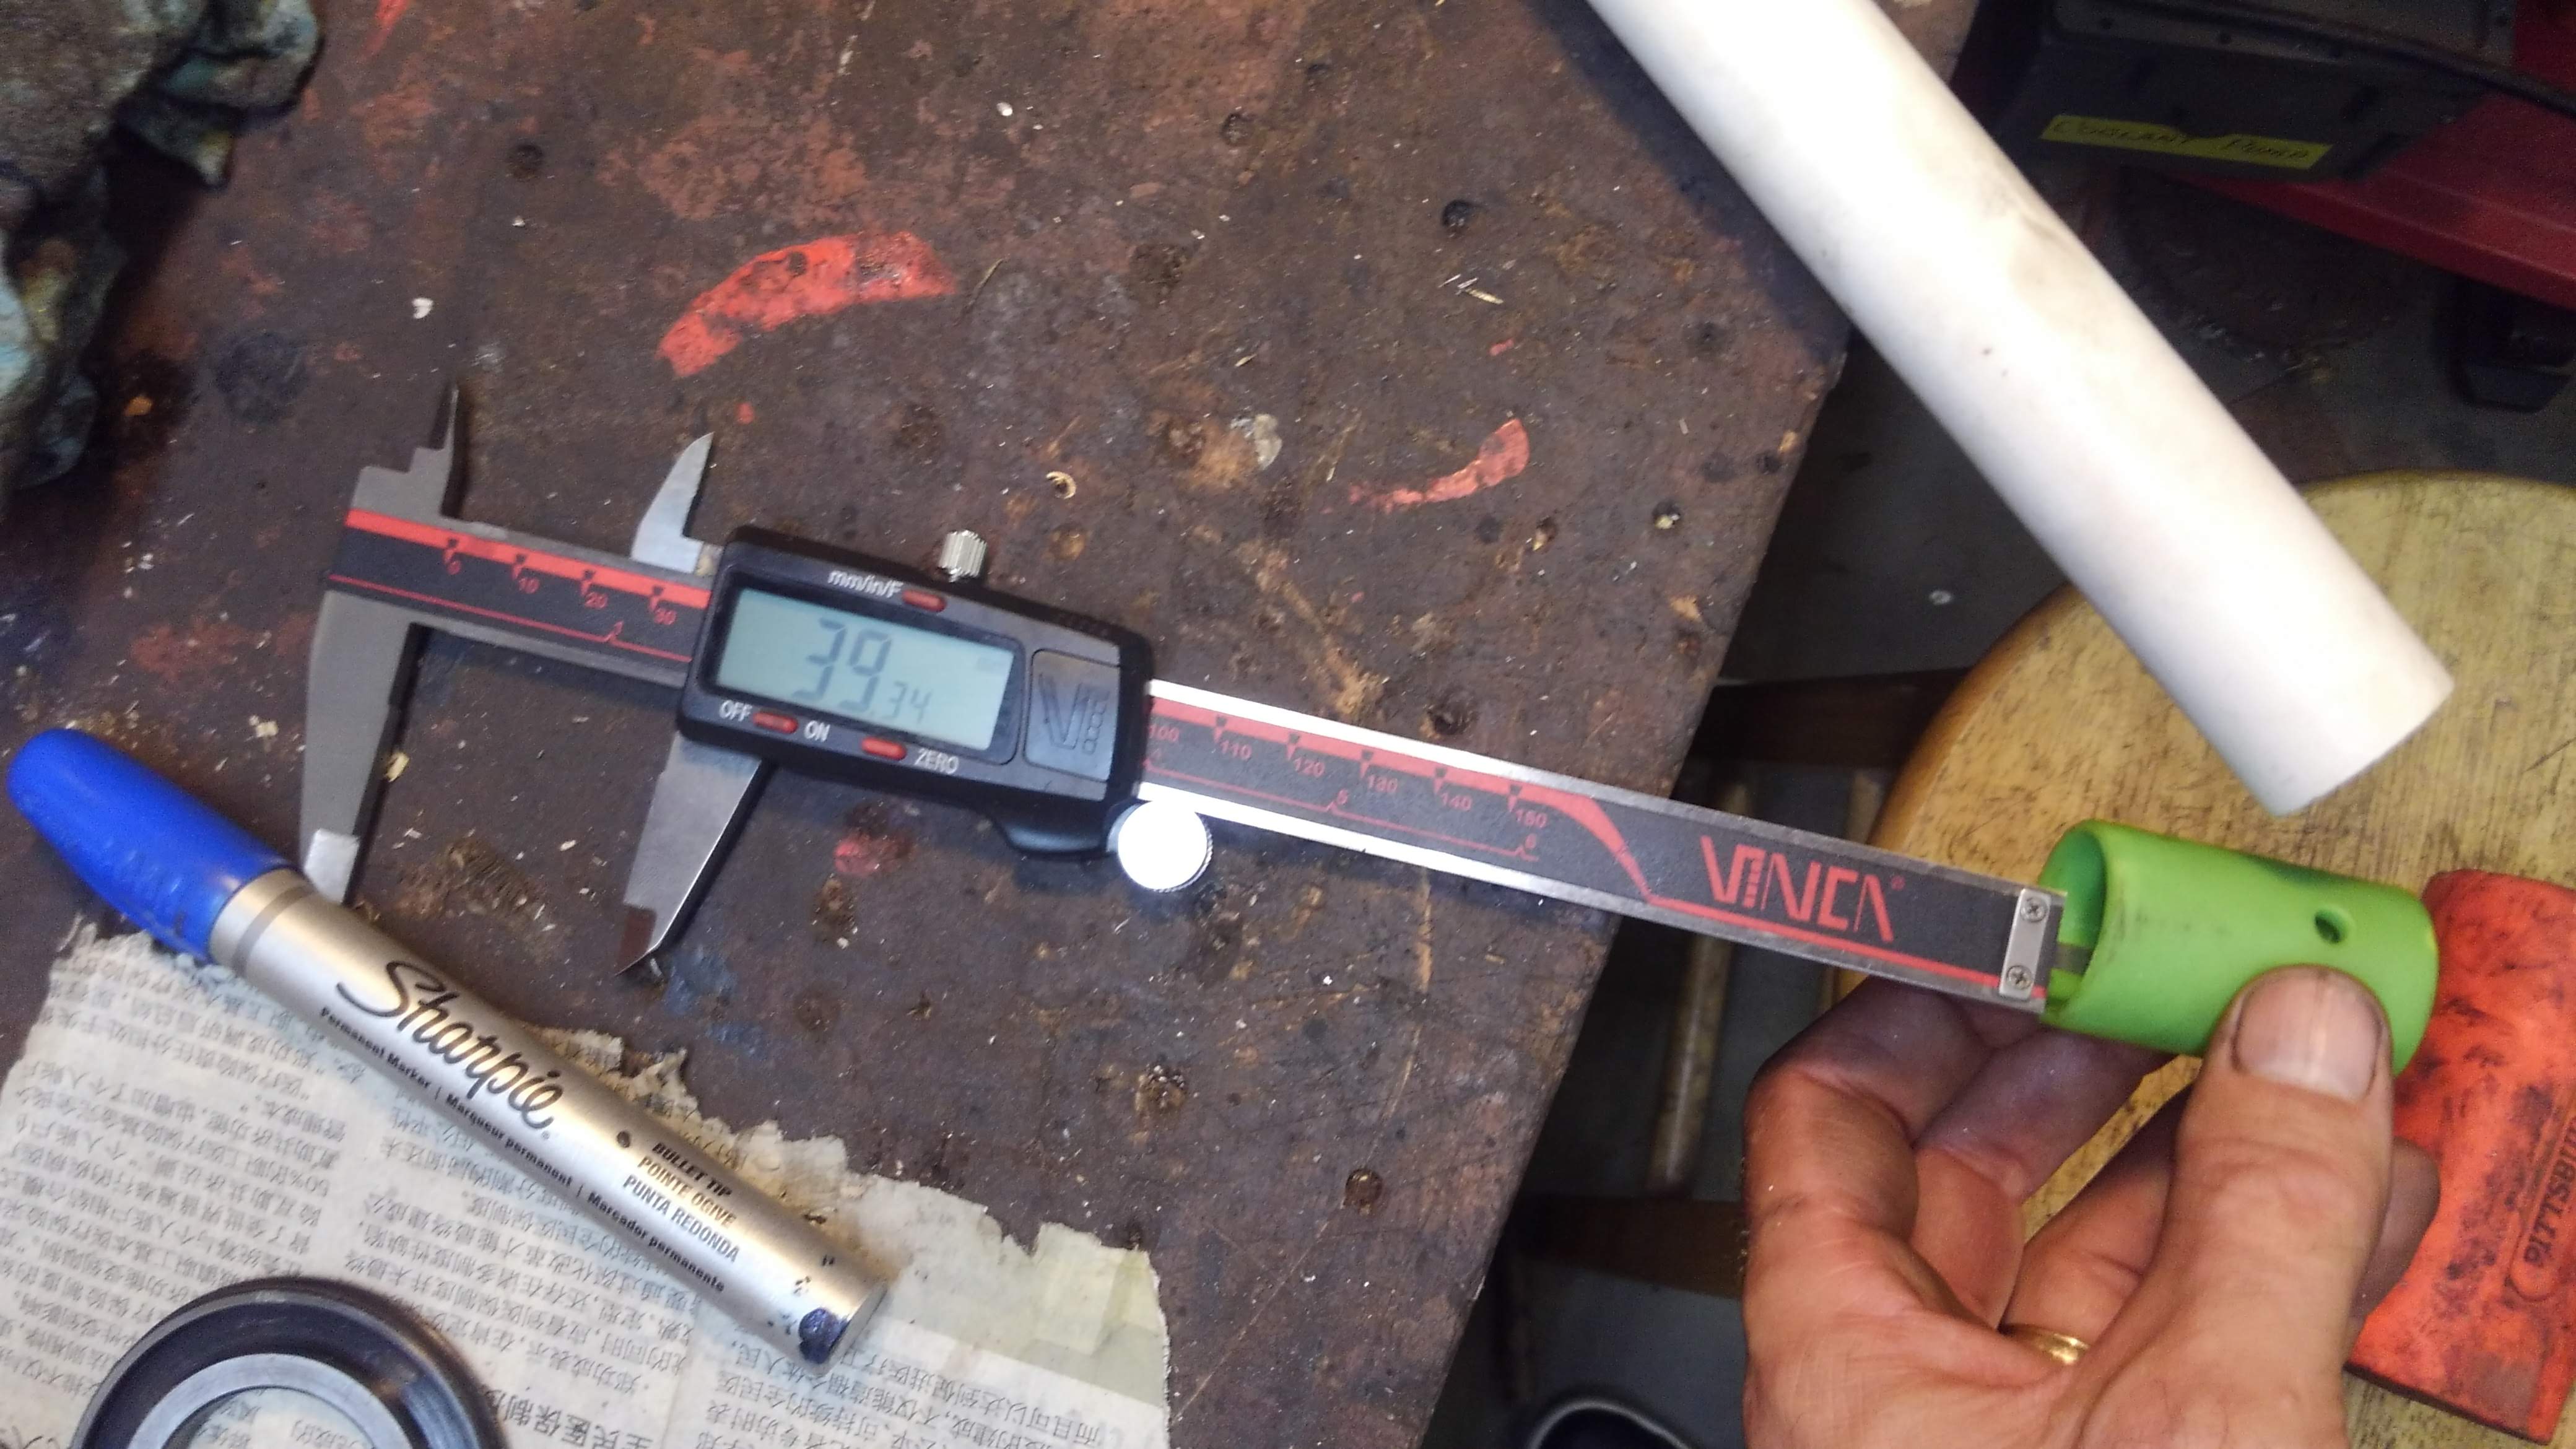
This is measuring for length. I took the calipers and locked them in to the measured length of the two broken halves put back together. A little machinist's trick I picked up from vlogs of pro machinists, you put some blue sharpie marker on the rough area you're measuring, then you score the blue dye off with your caliper point to give a more precise visual reference. Not a huge deal to be super accurate on a part like this, so this visual is more than adequate for parting. Then it's parted off just like during the squaring step above.
Next step is chamfering all the edges on the parted end. As AvE says, the softest material in the shop is human flesh. PVC is a pretty soft material, but it can still be sharpened enough to cut your skin, and my kids are going to play with this part, so extra important step here.
Getting a measurement for the depth of the bore on the female side of this coupling. The internal diameter was measured as well.
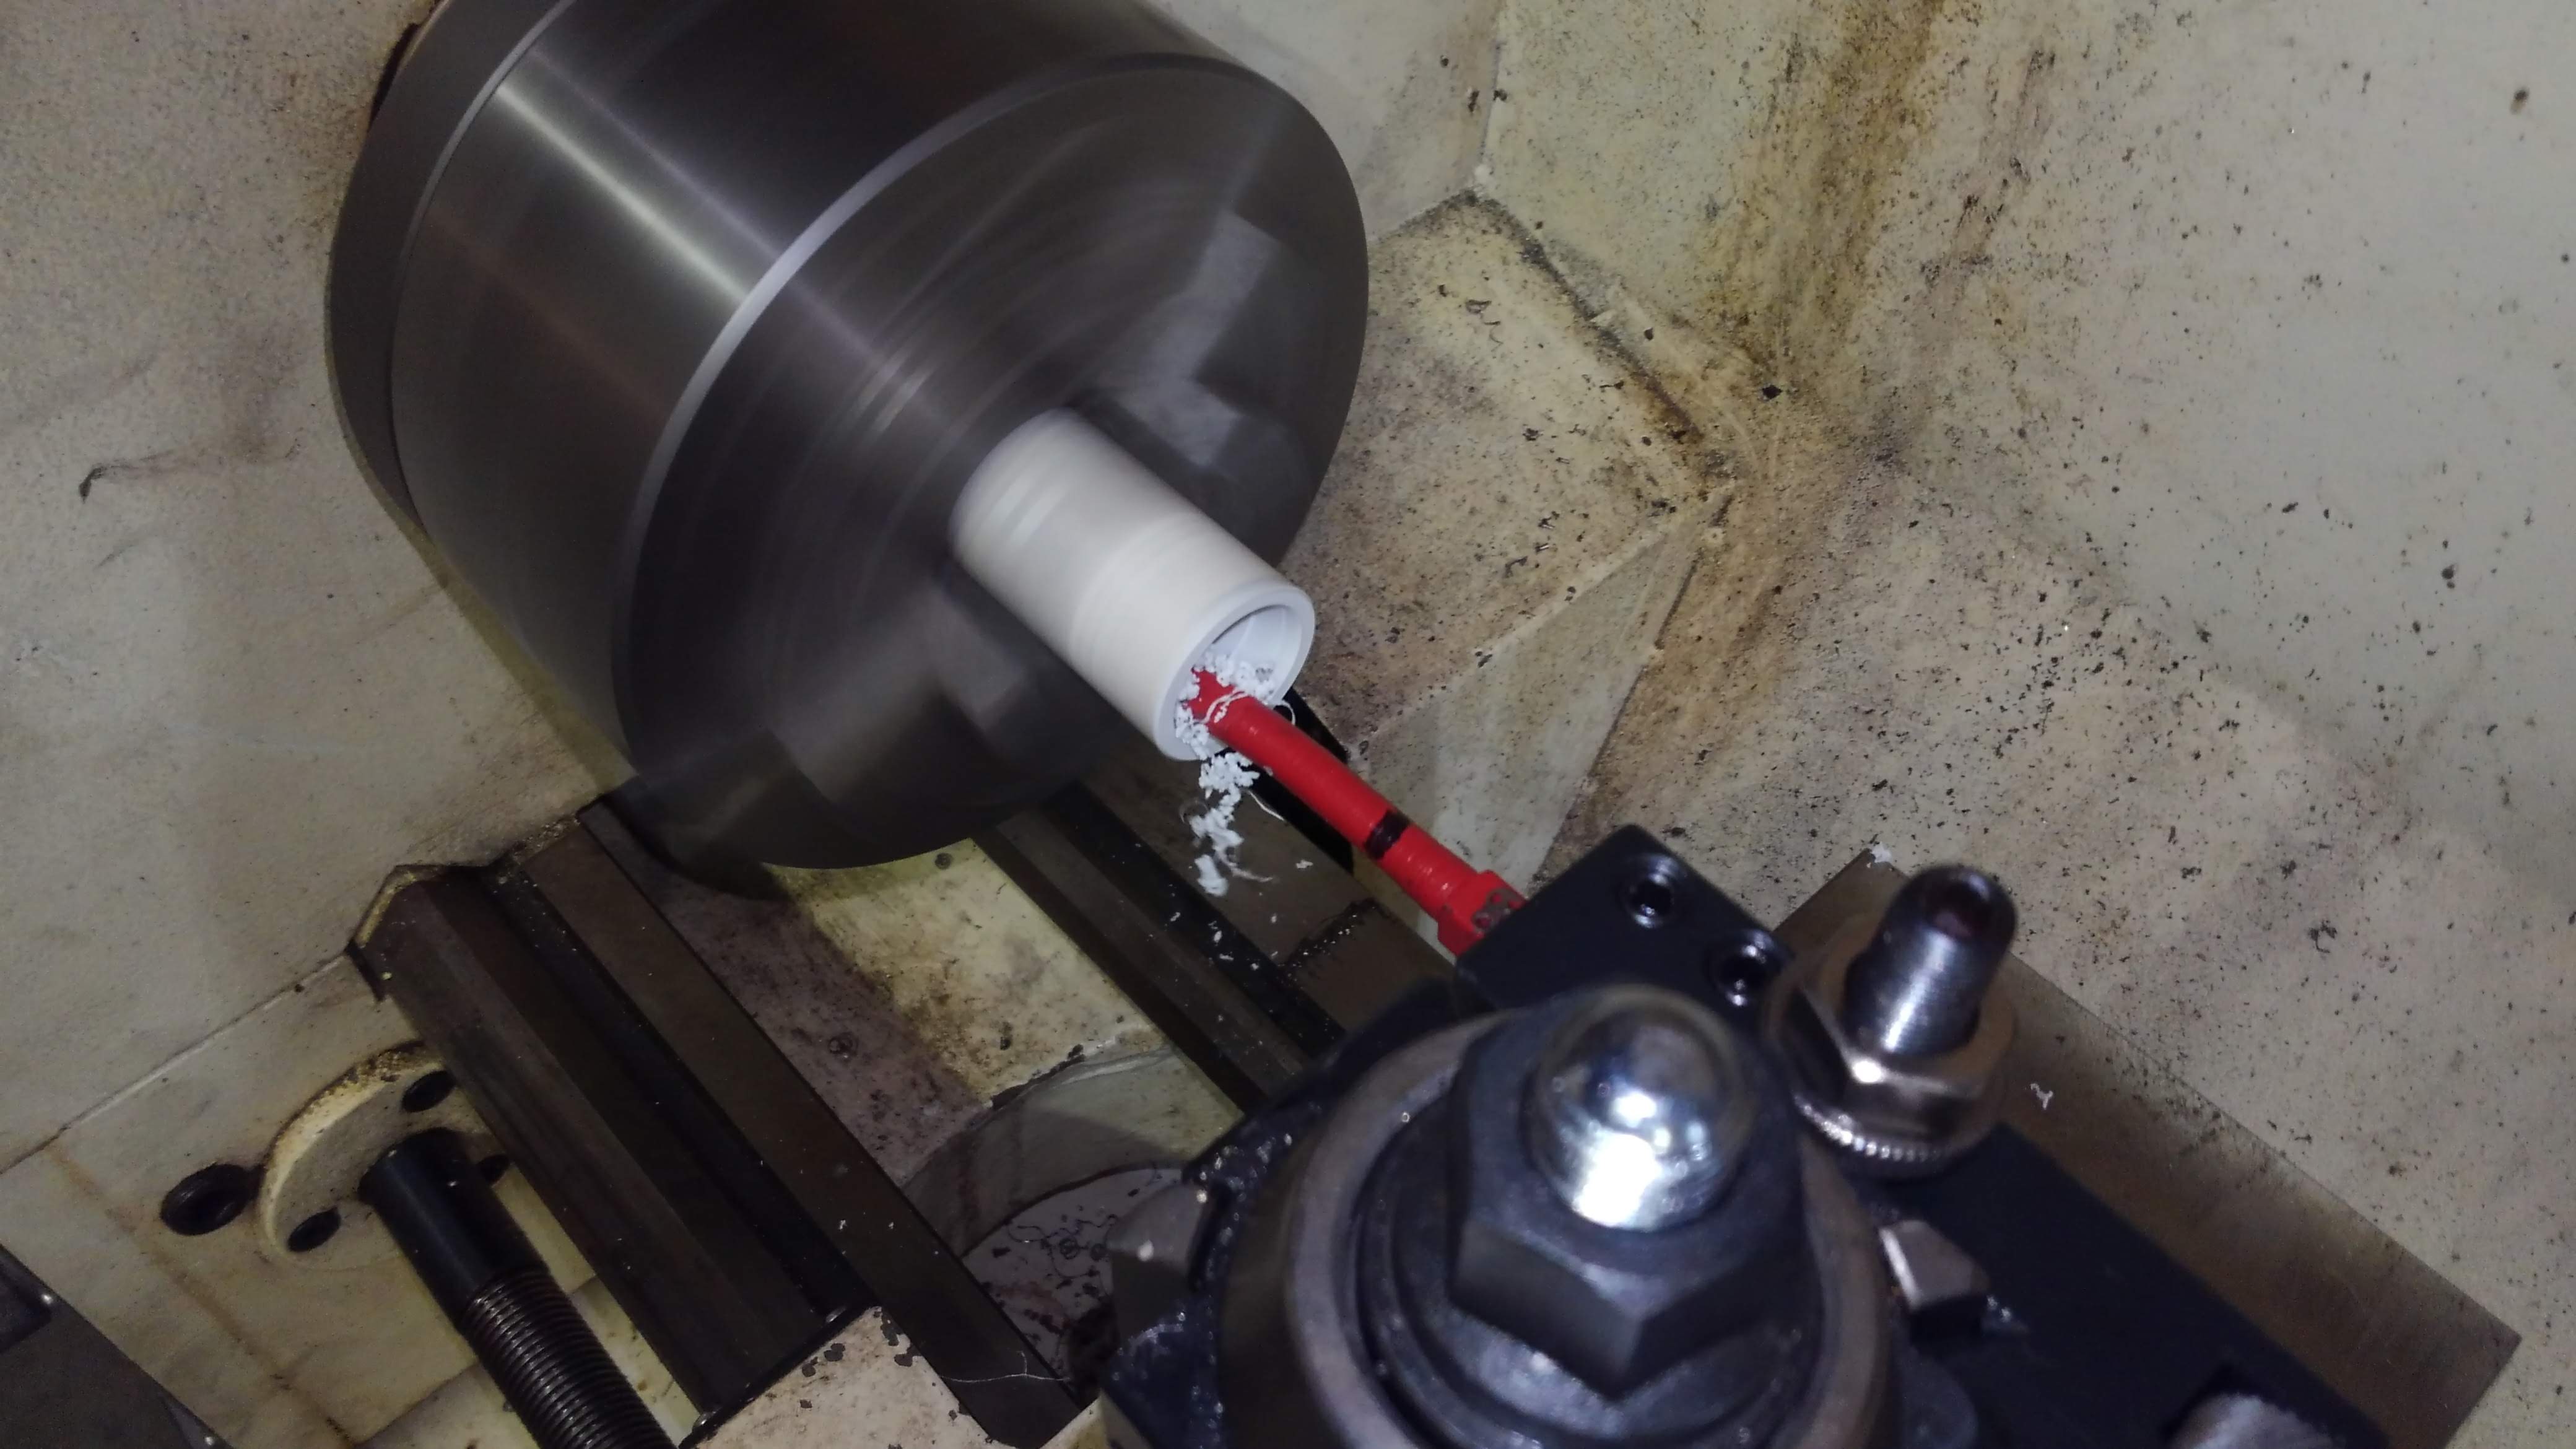
Cutting the bore to the desired ID. I noticed while doing this that PVC grows a lot more than metals when it gets warm and makes it hard to get an accurate dimension while making cuts. A steady stream of air at the cut from the air compressor hose nozzle functioned as my cooling fluid to keep that under control.

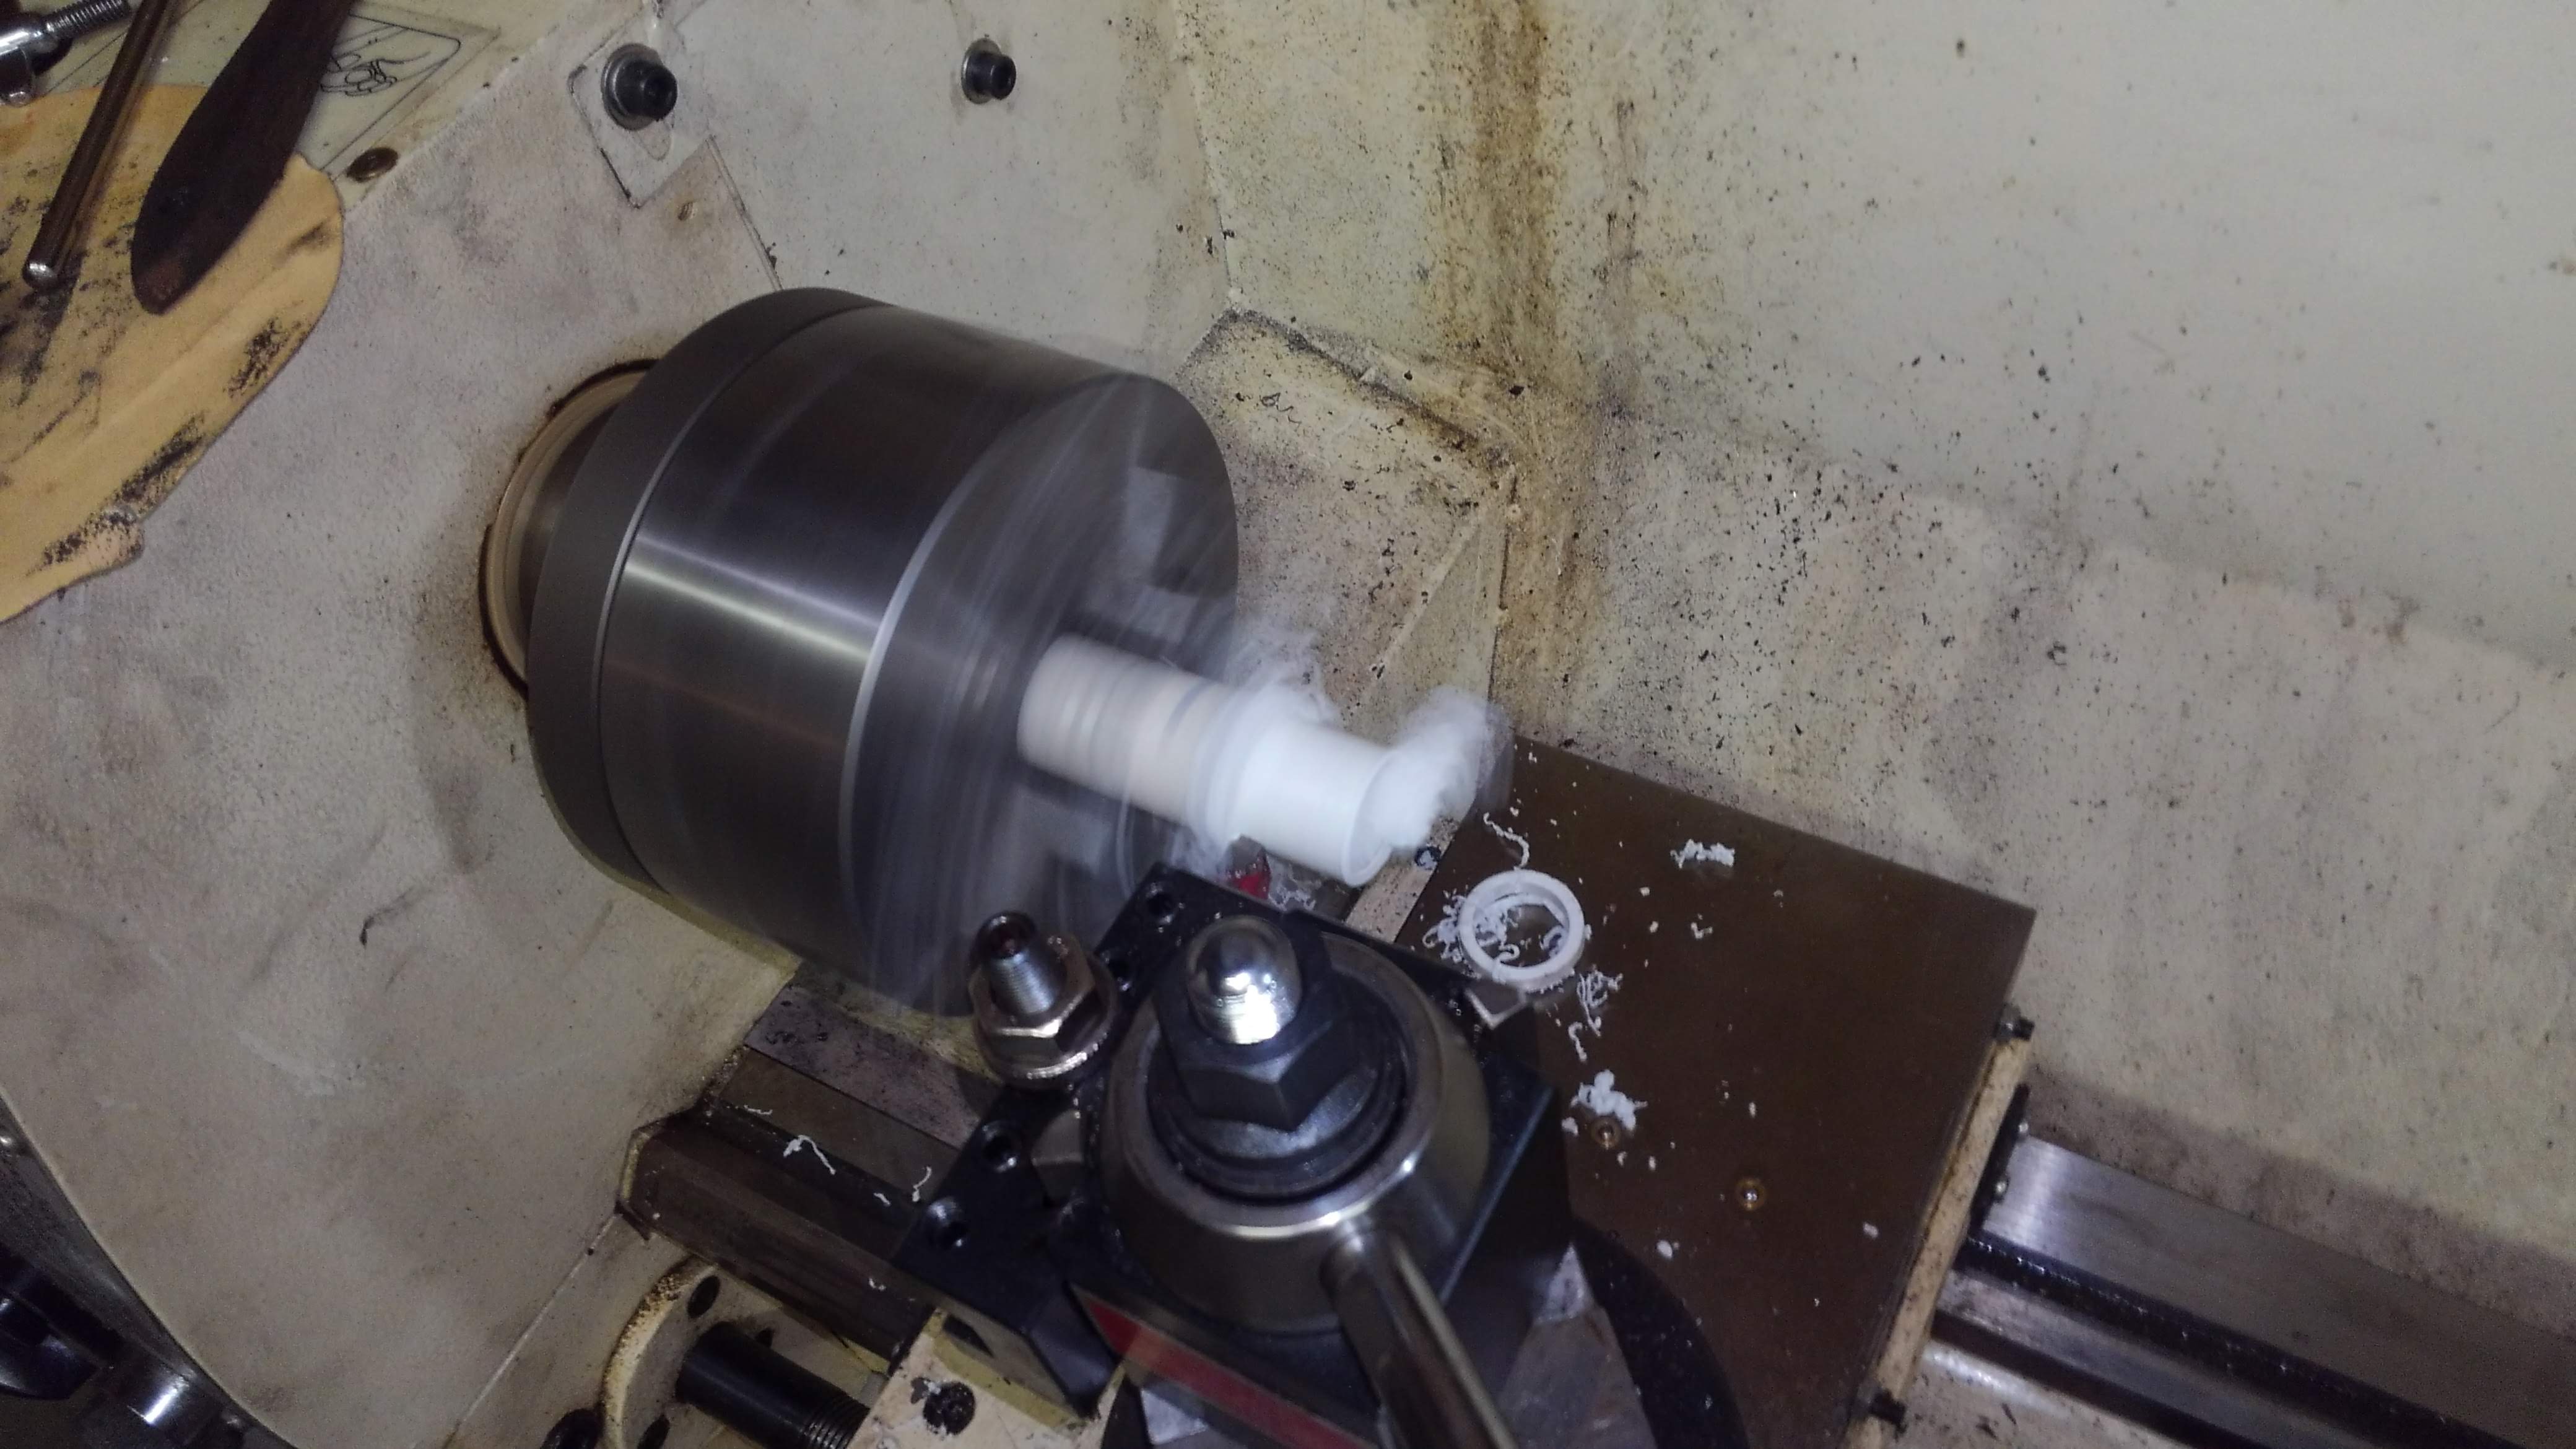
Test fit of the male side in the bored female duplicate. Perfect fit.
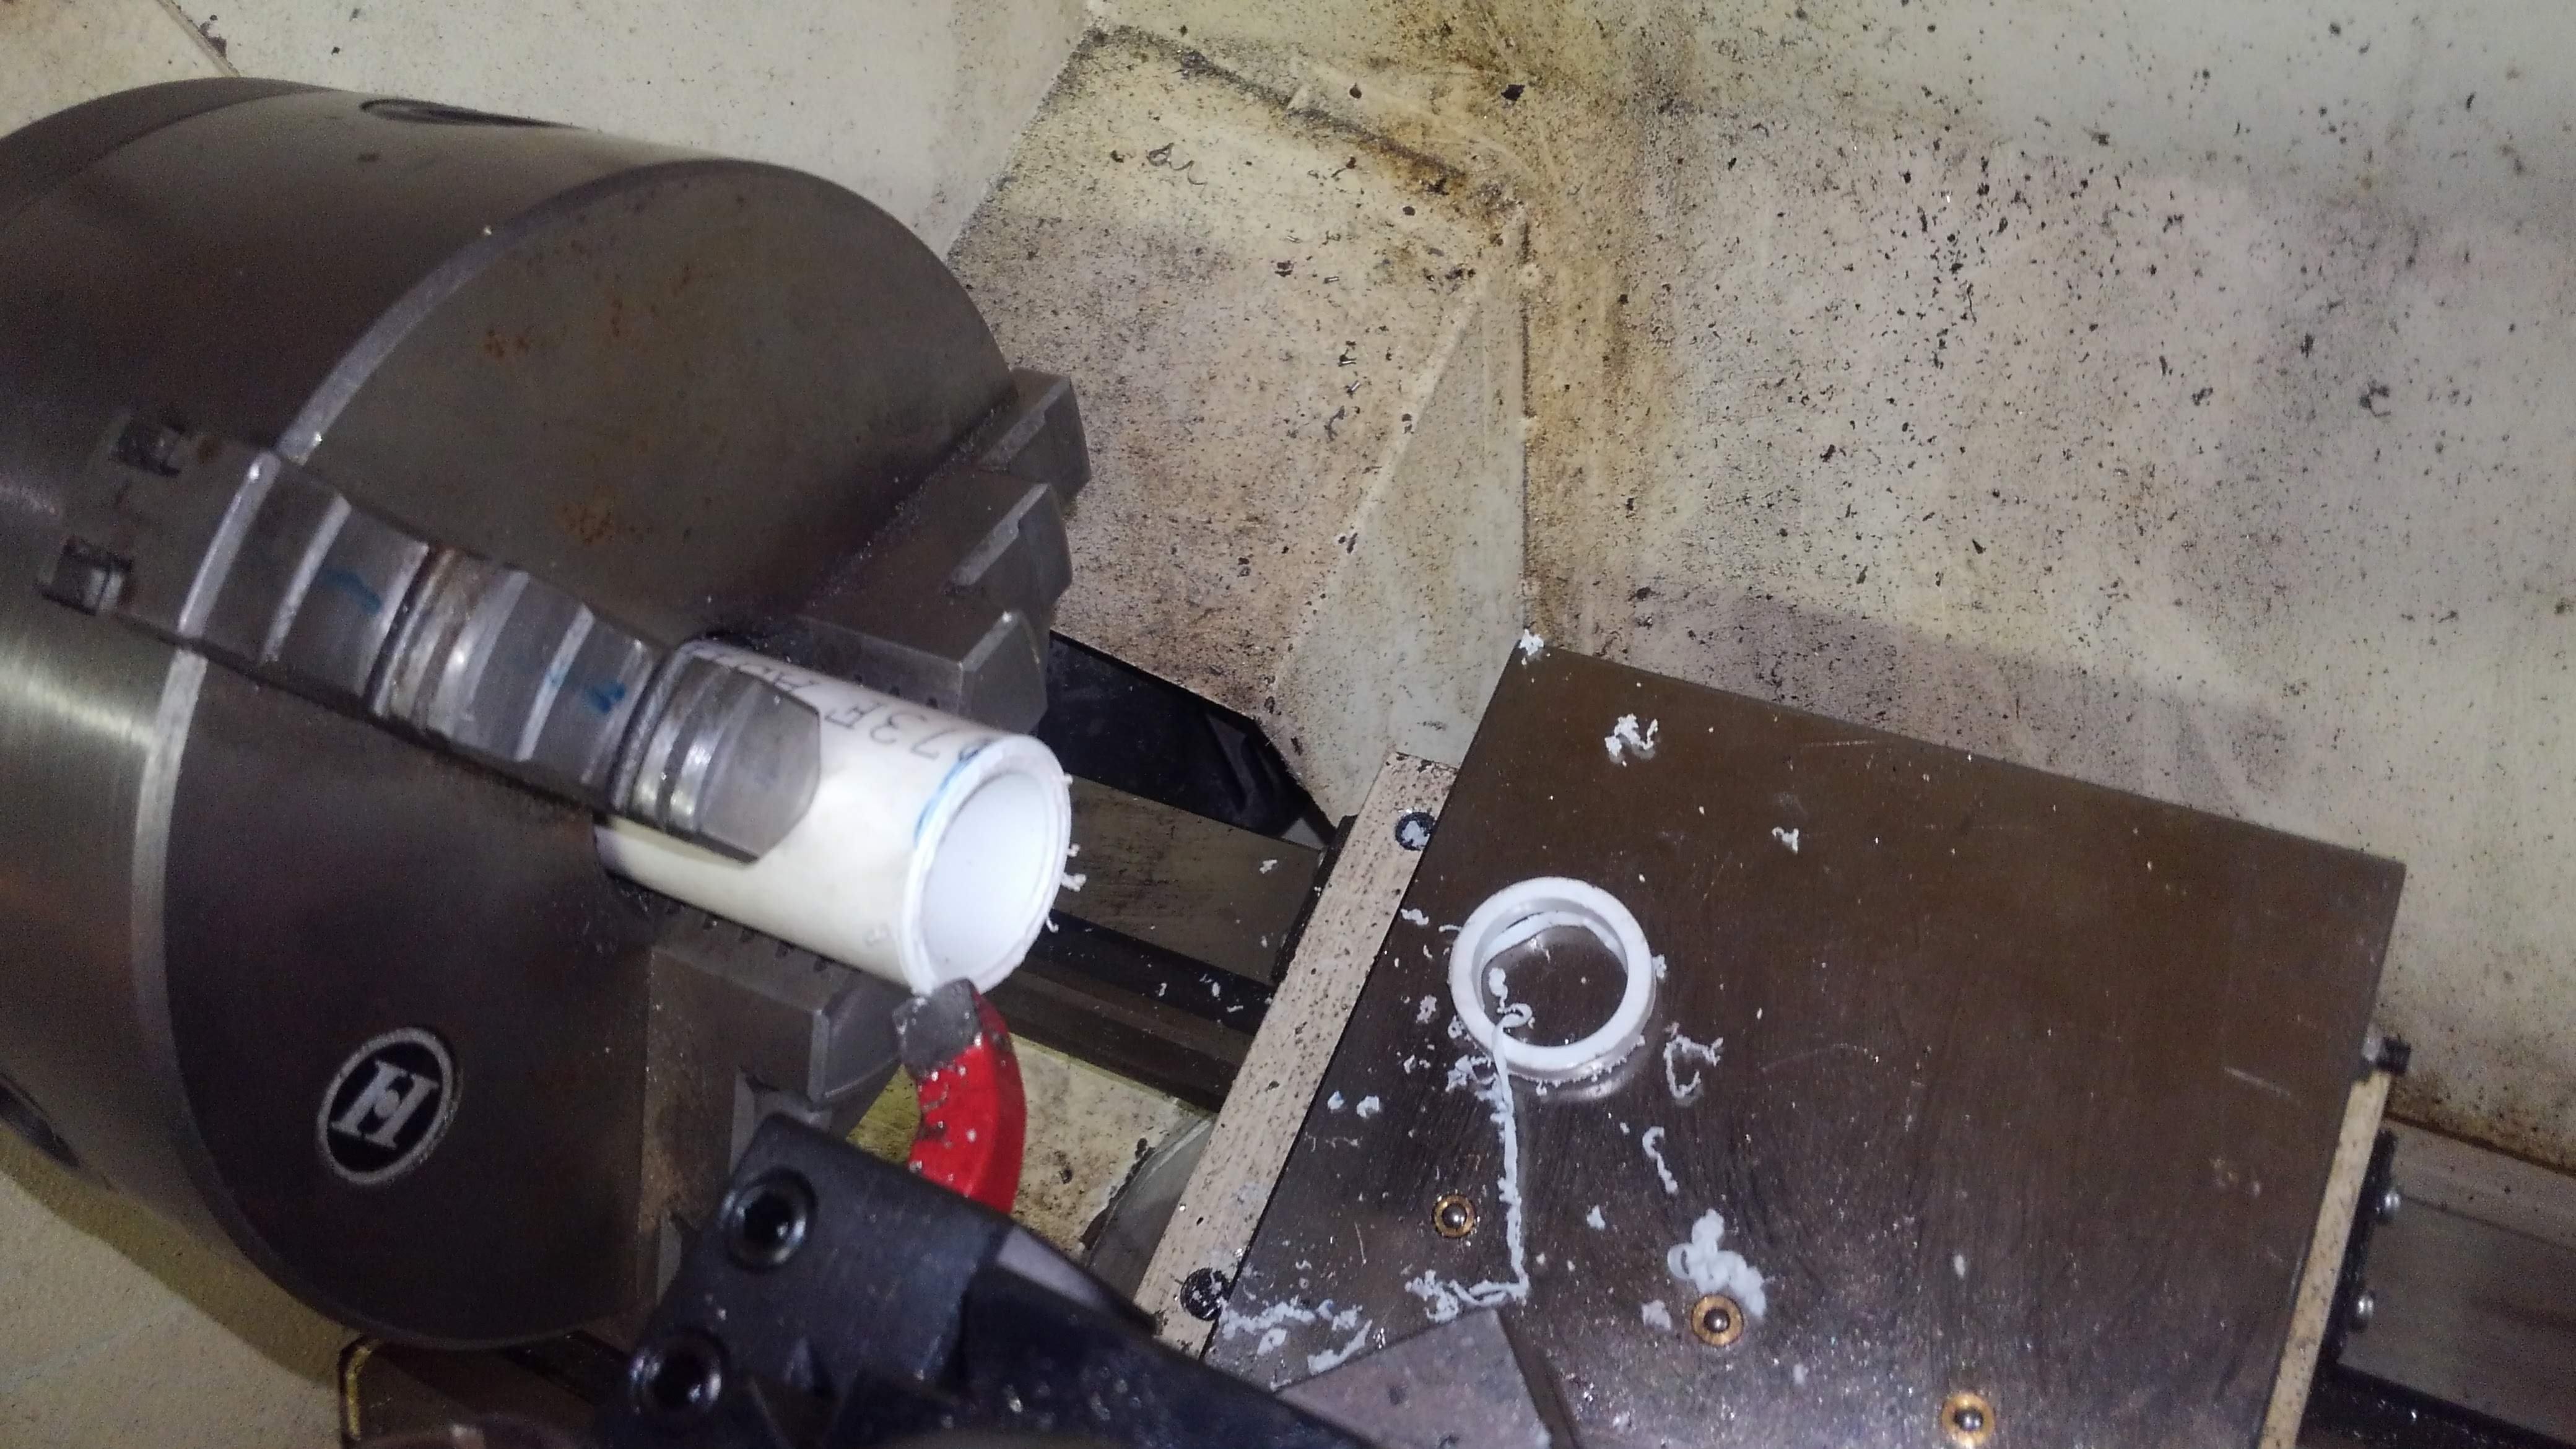
The final step was to cut the outside diameter of the male end of this coupling. This was pretty straightforward except for the mess of that one continuous plastic chip keeping me from seeing where the stop mark was. I ended up overshooting the cut a bit, but not enough to be a problem.
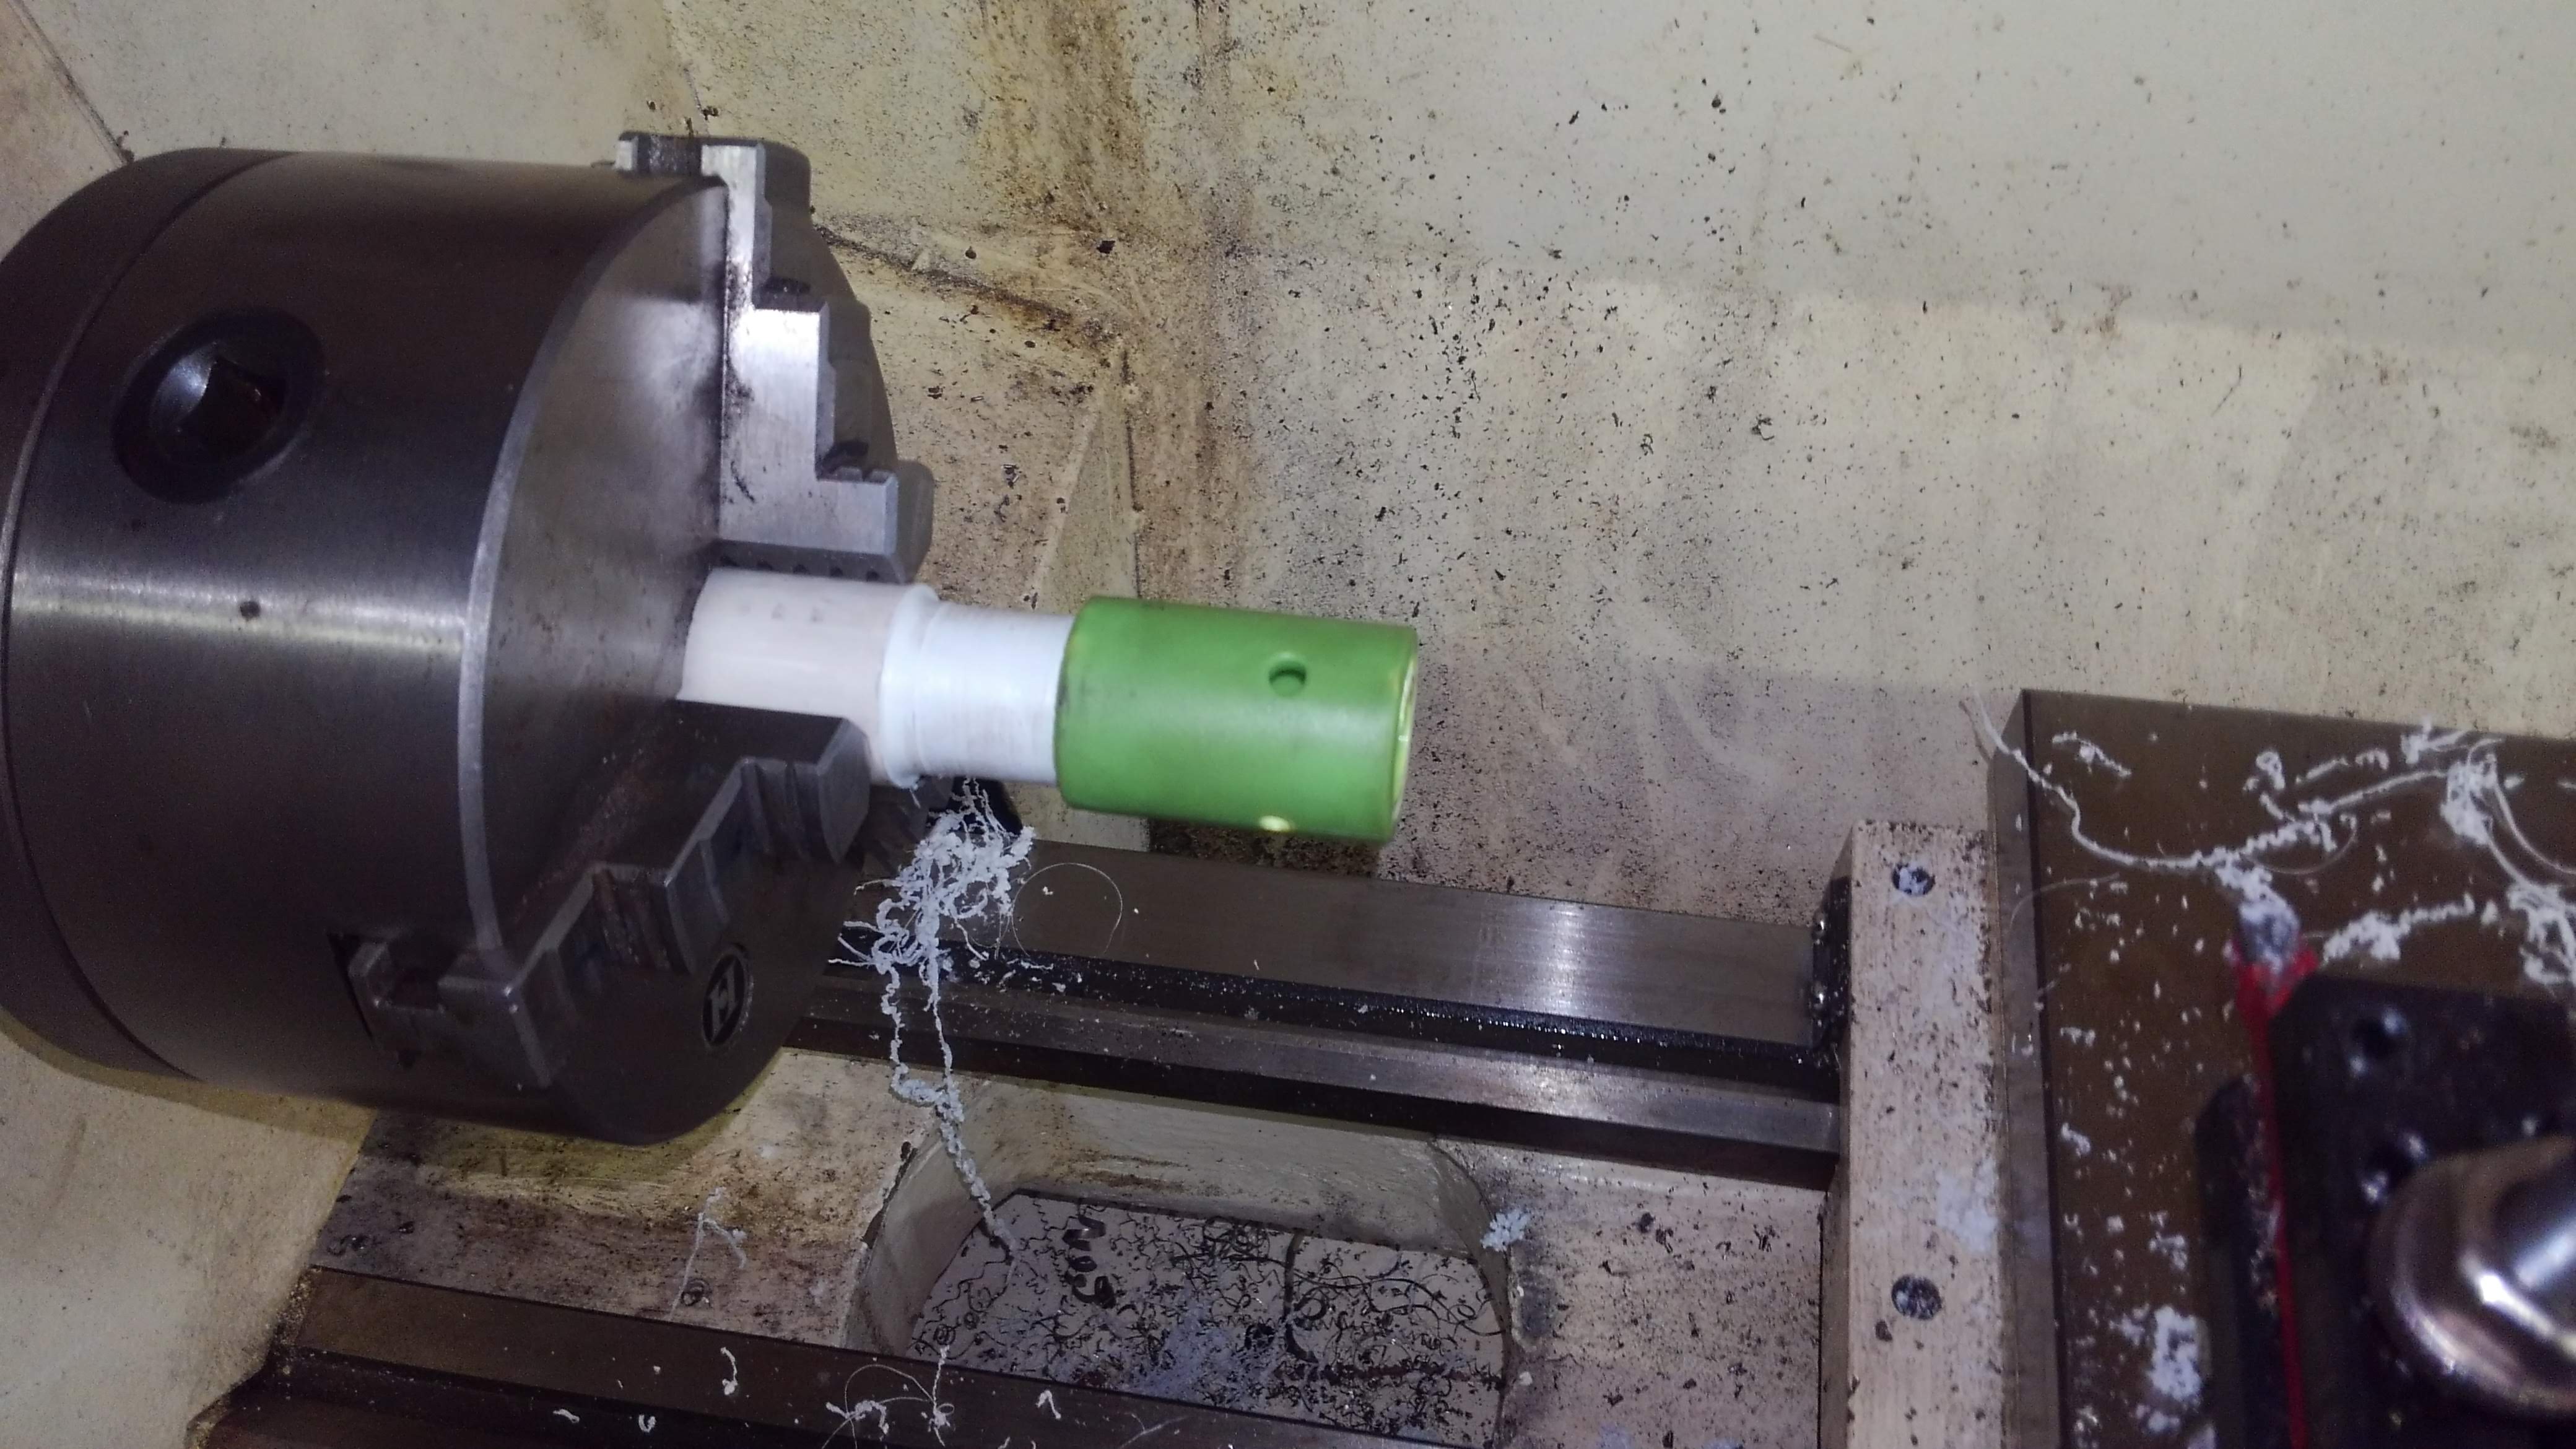
Final test fit. I made the ID and OD on the male and female parts identical in this case. Normally with metal you'd want to leave a little space between them, but I figured with plastic being flexible that in order to get a good interference fit I'd need to make them the same size. I was right in that I needed to compensate for the flexibility of the plastic, but I found that it still ended up not being super tight. It's serviceable at this point, but next time I make a PVC part like this that needs an interference fit, I'm going to make the female part a bit smaller on the ID than the OD of the male counterpart.
I didn't get pics of the next step because my hands were full and I was pressed for time, but the holes were drilled in the male part by sliding the broken female piece all the way into place and drilling the right sized holes right through its existing holes as pilots. The holes through the male side I just eyeballed by holding the piece up next to it and marking with the sharpie.
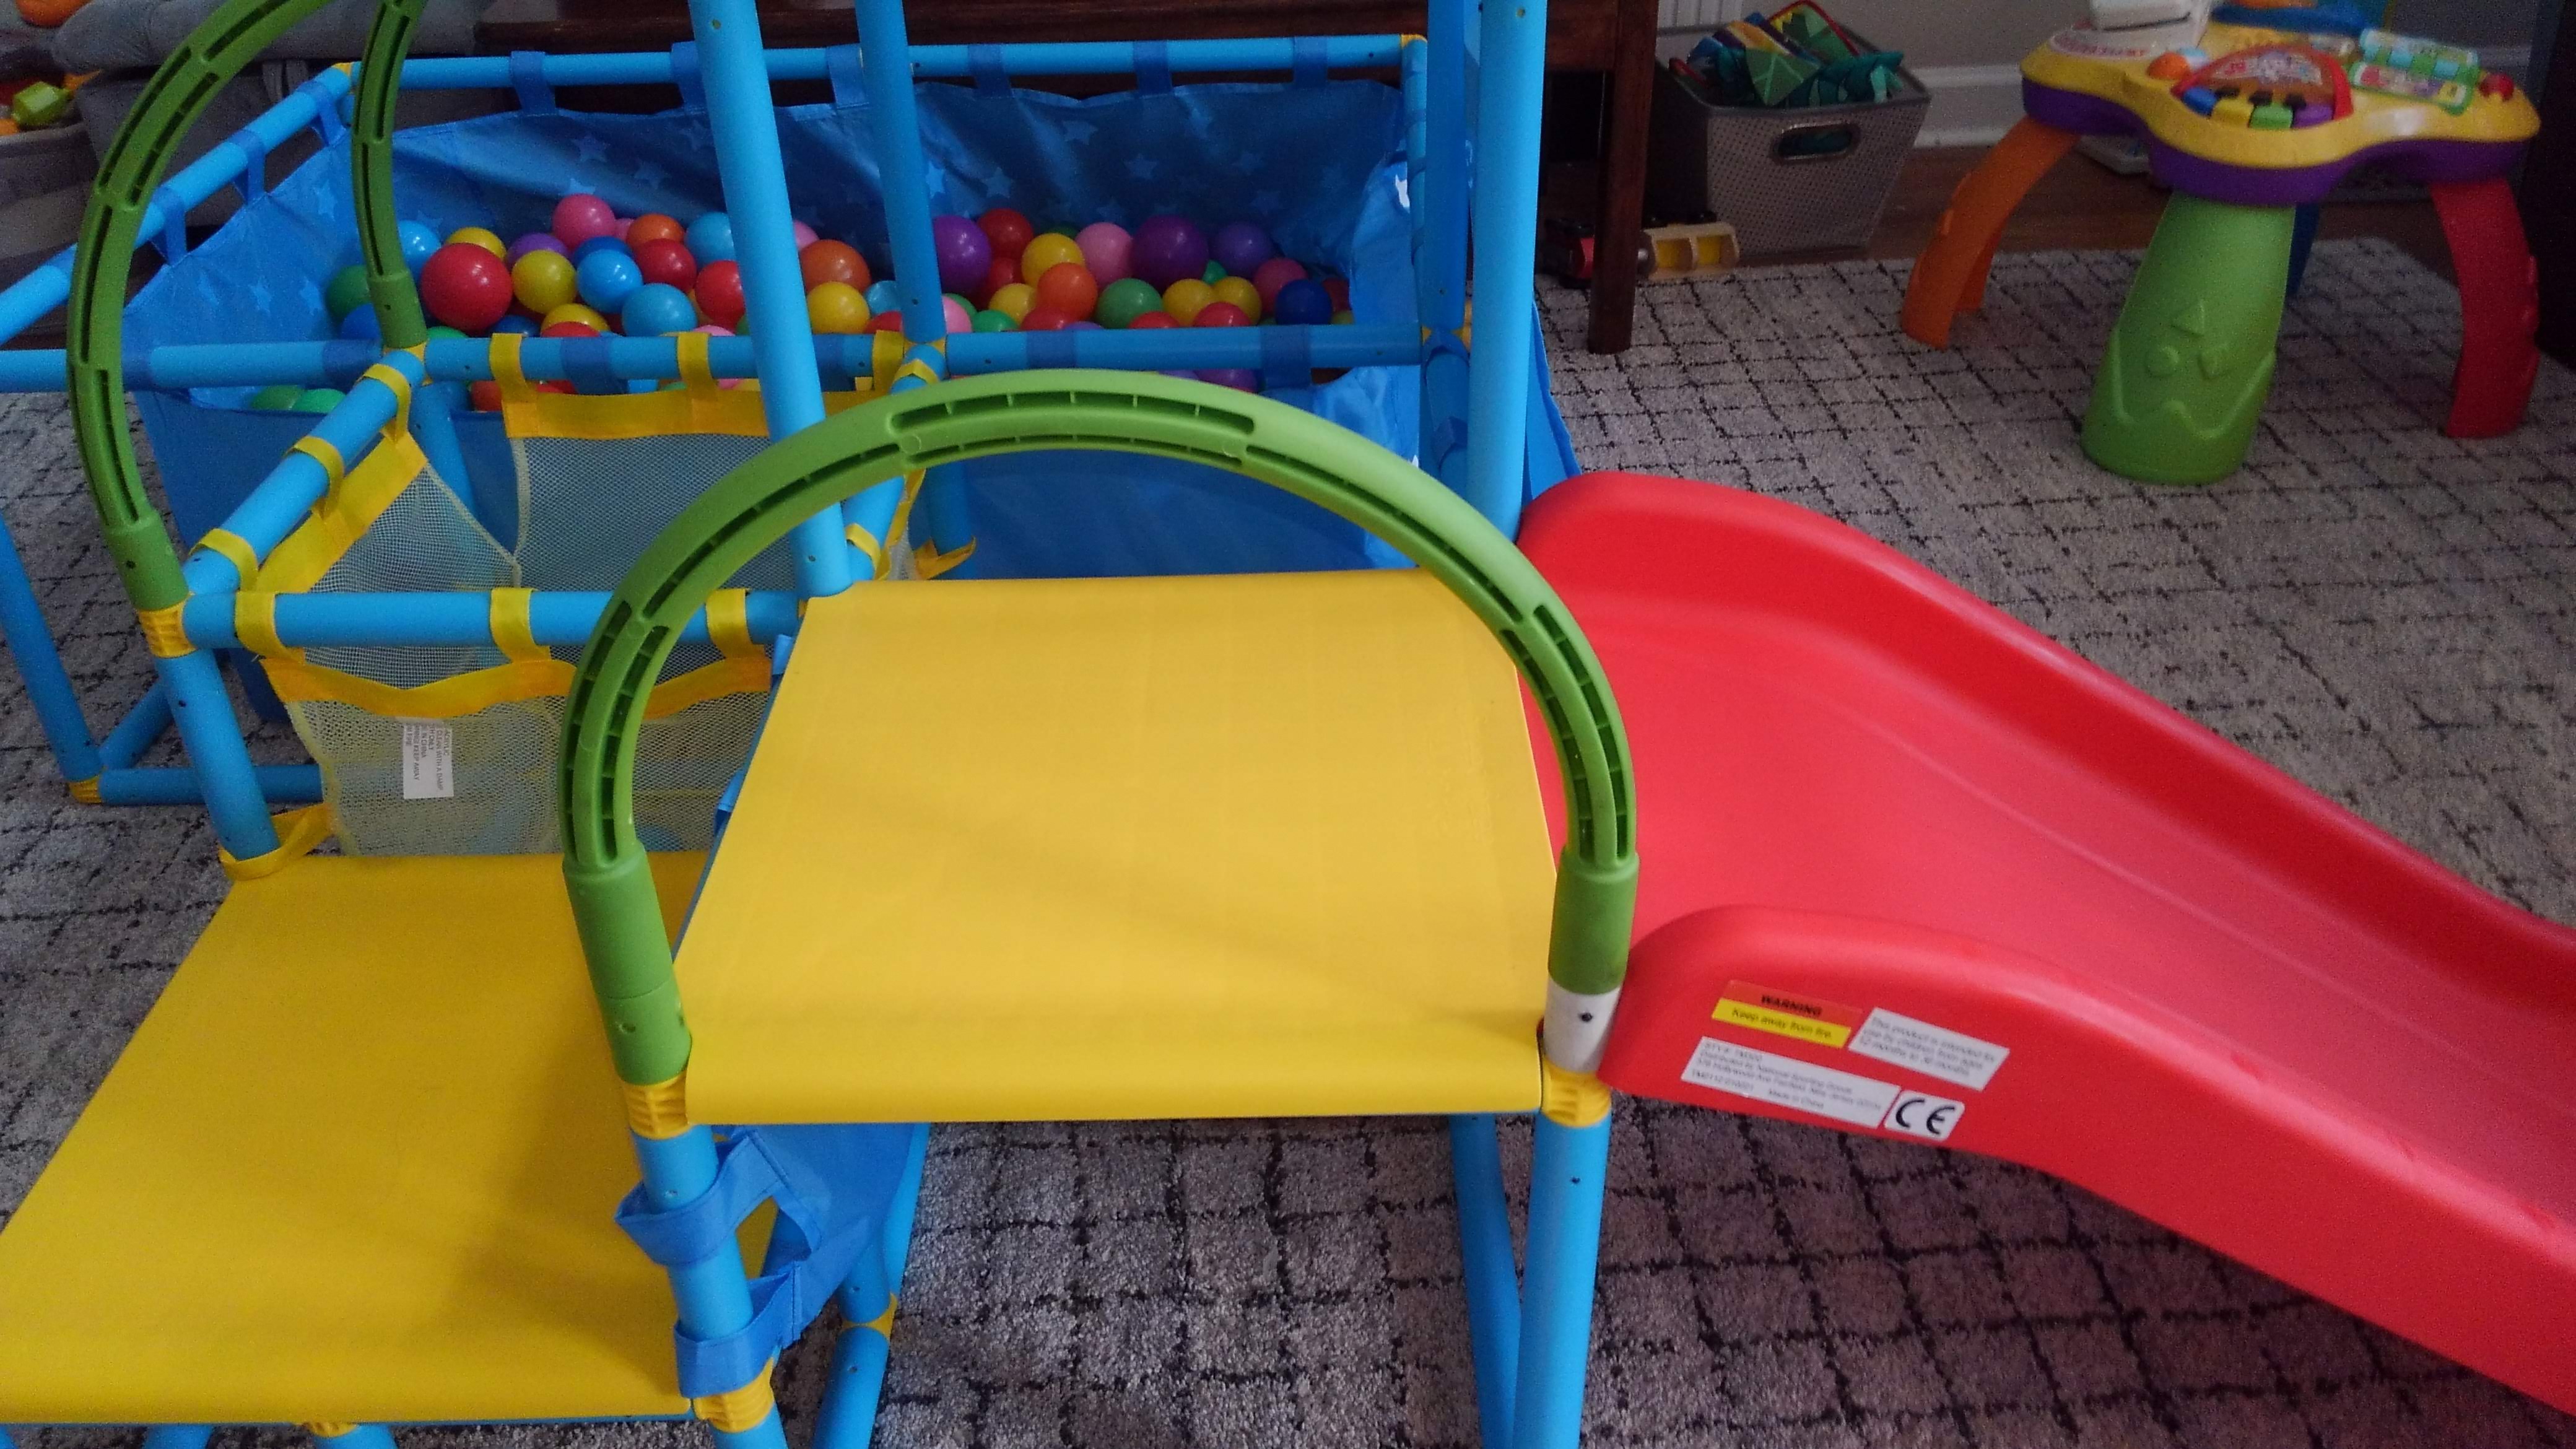
Here it is with the piece on the toy. It feels plenty rigid in its installed location and other than a bit of grease staining I couldn't quite wipe off from the mottled surface of the green plastic and the white color of the PVC replacement part, you can hardly tell it was repaired. Hopefully number one son doesn't decide to climb on top of it again any time soon.
Interference versus clearance fit for different materials and purposes is always hard to guess on the fly. Looks like you got something functional regardless.
Yeah, if this was a steel part I would have had to press the two pieces together. With the plastics they just slid together with little resistance. Not a big deal. I think this part will still snap in half like the other one before it comes apart.
Congratulations @randr10! You received a personal badge!
You can view your badges on your board and compare yourself to others in the Ranking
Thanks!
You're welcome @randr10, that's a pleasure to count you as a member 😊👍
#posh
The rewards earned on this comment will go directly to the person sharing the post on Twitter as long as they are registered with @poshtoken. Sign up at https://hiveposh.com.