

¡Hola Chicos!
Como les he prometido en un post anterior, hoy voy a compartirles una de las dos recetas que tengo pendientes por publicar de mis últimas clases de panadería.
Ya la semana que viene comenzamos de nuevo y me gustaría salir de todas las viejas recetas para compartirles las nuevas. Hay muchas cosas deliciosas que estaremos haciendo así que pendientes.
Aún no quedan unas 7 semanas de clases y por supuesto, como siempre les estaré trayendo todos los pormenores para que podamos juntos aprender de este maravilloso mundo de la panadería.
La receta que les voy a compartir, aunque es sencilla, es la base de muchísimas recetas deliciosas. No es más que el pan pita o pan árabe como lo conocemos acá.
Es una receta que lleva un tiempo leve de preparación y que además rinde mucho. Se utilizan pocos ingredientes y la dificultad es baja.
Así que no se diga más y mejor vayamos con los ingredientes y el paso a paso.
Hello Guys!
As I promised you in a previous post, today I'm going to share with you one of the two recipes I have pending to publish from my last baking classes.
Already next week we are starting again and I would like to get out all the old recipes to share with you the new ones. There are lots of delicious things we will be making so stay tuned.
There are still about 7 weeks left of classes and of course, as always I will be bringing you all the details so that we can learn together about this wonderful world of baking.
The recipe I am going to share with you, although simple, is the basis of many delicious recipes. It is nothing more than pita bread or Arabic bread as we know it here.
It is a recipe that takes very little time to prepare and is also very yielding. Few ingredients are used and the difficulty is low.
So let's say no more and let's go through the ingredients and the step-by-step.
INGREDIENTES || INGREDIENTS
- 1 kg de harina de trigo todo uso
- 550 gr de agua
- 15 ml de aceite
- 8 gr de levadura
- 12 gr de sal
- 1 kg all-purpose flour
- 550 g water
- 15 ml oil
- 8 g yeast
- 12 g salt
Como primer paso vamos a hidratar la levadura en el agua. Una vez disuelta la agregaremos al centro de la harina, la cual hemos cernido previamente.
Luego agregamos el aceite (nosotros lo agregamos desde una olla porque era el único recipiente disponible 😅, no es que estaba caliente o algo por el estilo).
The first step is to hydrate the yeast in the water. Once dissolved, add it to the centre of the flour, which we have previously sifted.
Then add the oil (we added it from a pot because it was the only container available 😅 not that it was hot or anything like that).
Luego se comienzan a integrar todos los ingredientes con la harina. Se agrega la sal y se continua amasando hasta formar la masa.

Then begin to integrate all the ingredients with the flour. Add the salt and continue kneading until the dough is formed.

Si llegamos a notar que la masa está algo seca, podemos agregar un chorrito de aceite hasta lograr el punto ideal.
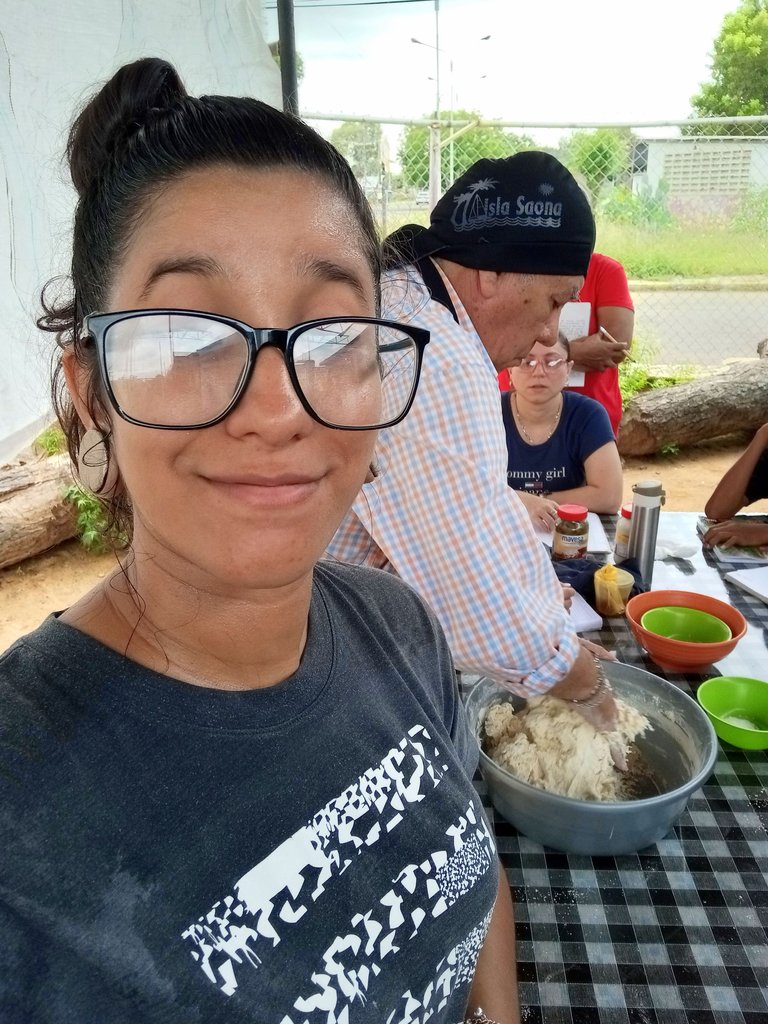
Ese día había muchísimo calor, yo estaba sufriendo un montón por como verán en esta foto que me tomé.
If we notice that the dough is a little dry, we can add a little oil until we reach the ideal point.
That day it was very hot, I was suffering a lot as you can see in this photo I took.
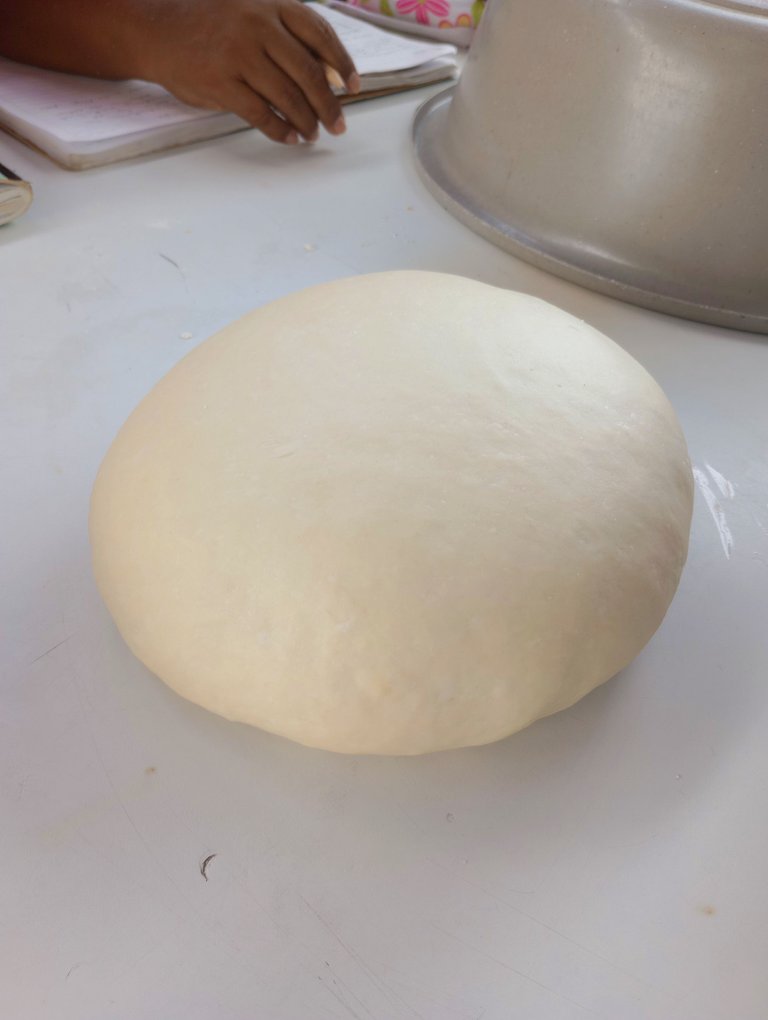
Dejamos reposar la masa unos 20 minutos bien tapadita y transcurrido este tiempo la vamos a desgasificar y hacer las porciones.
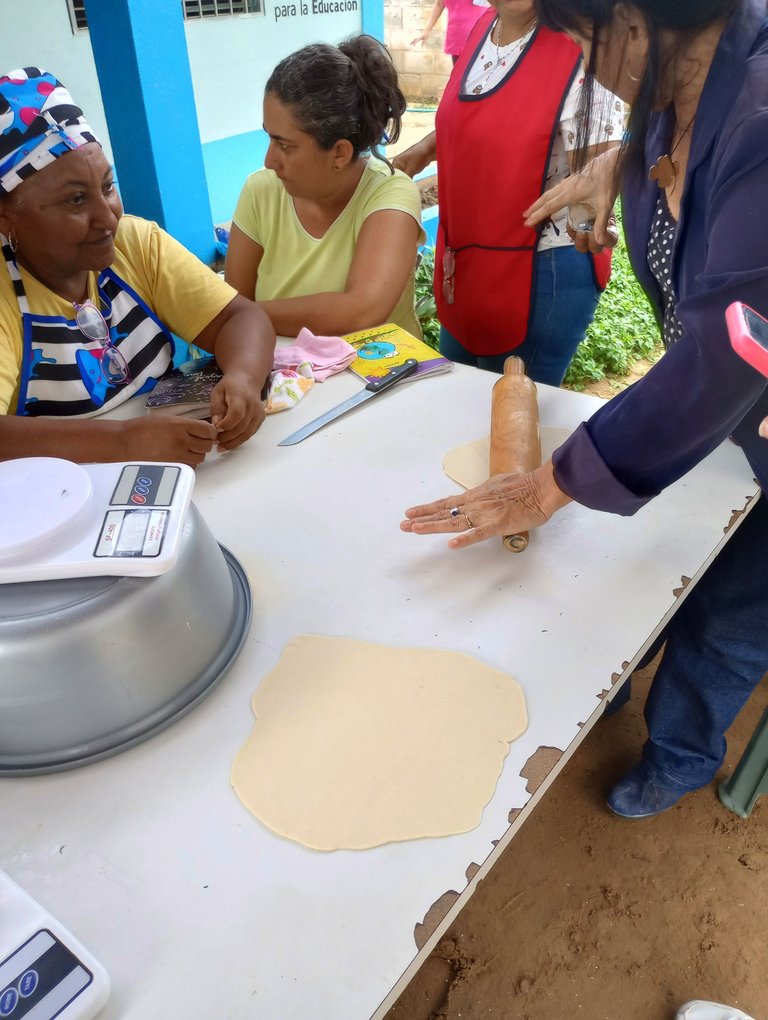
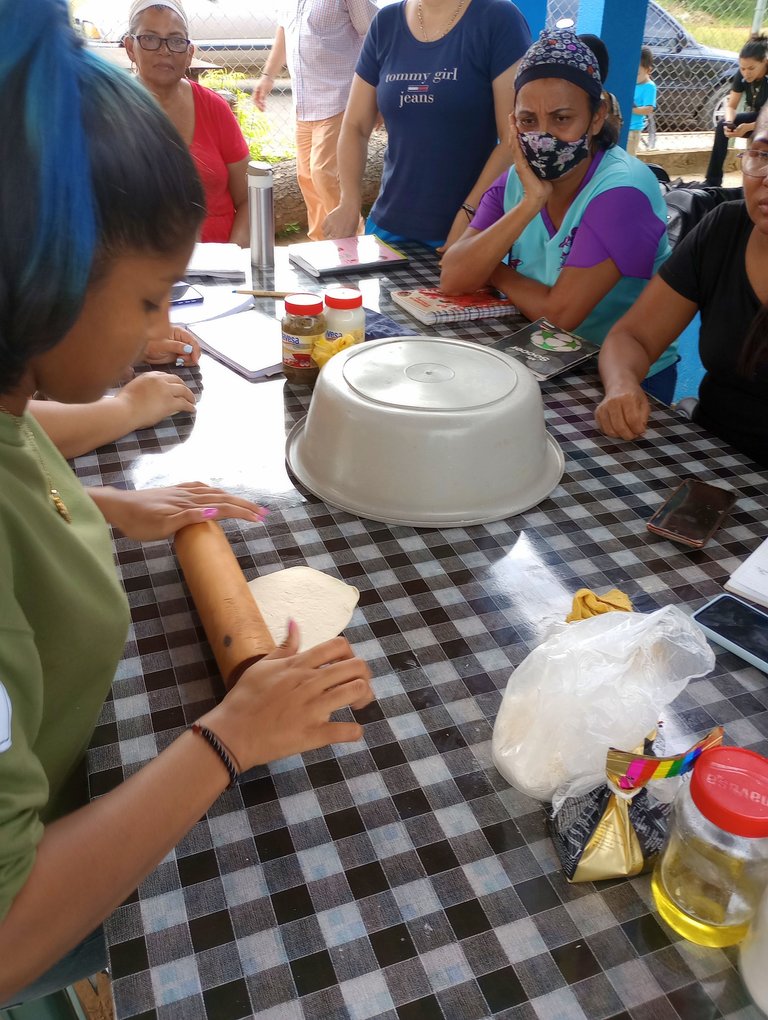
En nuestro caso hicimos unas bolitas de 70 gramos que luego estiramos con un rodillo con forma lo más redondeada posible.
Leave the dough to rest for about 20 minutes, well covered, and after this time we are going to degas it and make the portions.
In our case we made 70 gram balls which we then rolled out with a rolling pin in as round a shape as possible.
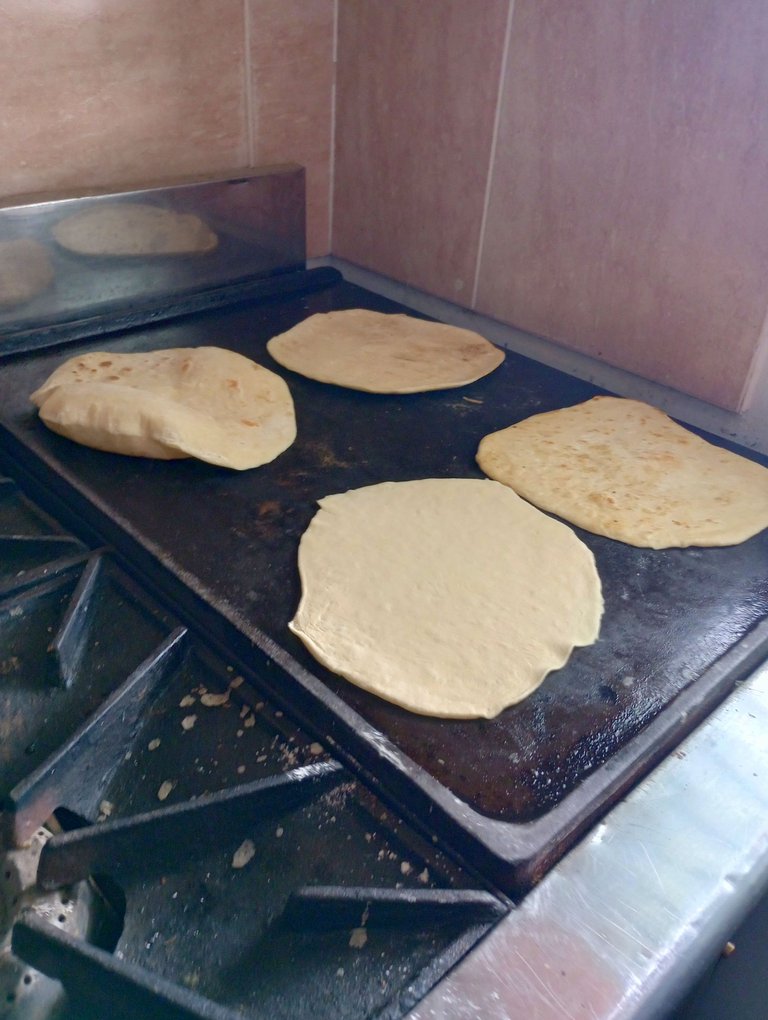
El pan pita se debe cocinar sobre una plancha precalentada, Al colocarlo sobre ella notaremos como se inflan poco a poco.
Así sabremos que se están cocinando correctamente. Debemos tener cuidado porque en su interior están llenos de vapor caliente y podemos quemarnos.
Le damos vuelta al estar infladitos para que se cocinen bien por ambos lados. Esto se hace en cuestión de minutos, unos 2 minutos de cada lado.
Así haremos con el resto de la masa. Al sacarlos de la plancha los colocamos sobre un paño de cocina a que se enfríen, así evitaremos que se humedezcan.
The pita bread should be cooked on a preheated griddle. When you place it on the griddle, you will notice how they gradually puff up.
This is how we will know that they are cooking correctly. We must be careful because inside they are full of hot steam and we can burn ourselves.
We turn them when they are puffed up so that they cook well on both sides. This is done in a matter of minutes, about 2 minutes on each side.
We will do the same with the rest of the dough. Remove them from the griddle and place them on a kitchen towel to cool, so that they don't get wet.
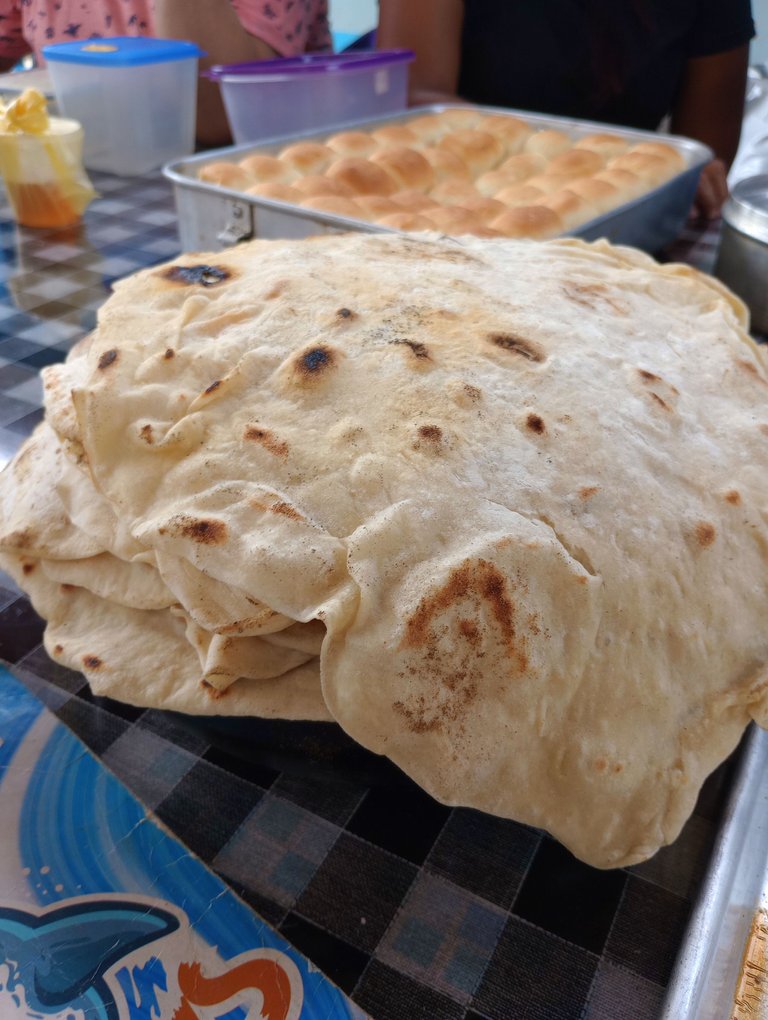
Y ya estamos listos para disfrutar de nuestros pan pita. Estos panes son súper versátiles y se pueden combinar con infinidad de ingredientes.
No es la primera vez que yo los hago pero la verdad es que esta receta me encantó.
Espero que a ustedes también les haya gustado. Nos leemos en la próxima receta ♥
And now we are ready to enjoy our pita bread. These breads are super versatile and can be combined with an infinite number of ingredients.
It's not the first time I've made them, but I really loved this recipe.
I hope you liked it too. See you in the next recipe ♥

Espero haya sido de tu agrado y provecho.
Un gran abrazo a todos, y nos leemos en un próximo post
• Lakrearte en Hive •
Att: Estefania Garcia ♥

Imágenes y separadores de mi autoría
Portada editada en Canva
Fotografías tomadas con un Moto G31
Texto traducido en Google ImTranslate v.14.27
Este pan me encanta y se puede acompañar con lo que sea. Gracias por traer tu experiencia y compartir la receta, en esta aventura de panadería.