Feliz tarde a mi querida familia de #hive-motors
Tenía tiempo sin publicar porque el carrito estado funcionando sin problemas.
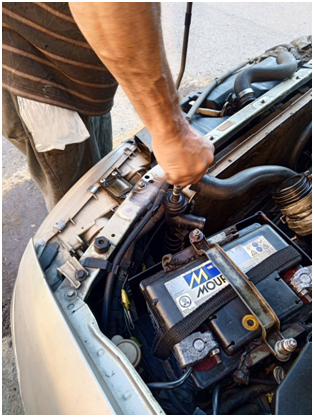
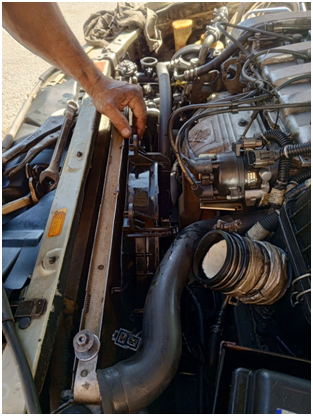
Predio y el carro y prendio normal, lo termino de estacionar y me dijo, vamos a esperar que se enfríe para meterme por debajo. Lo hizo y no había ninguna manguera suelta.
Me dijo que había que sacar el radiador y llevarlo al mecánico que lo chequeara.
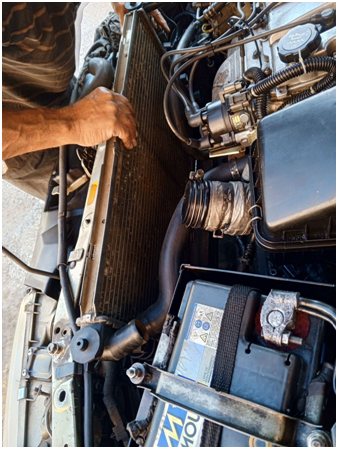
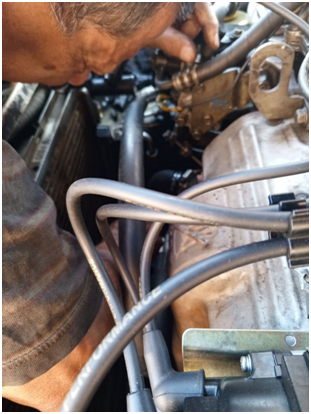
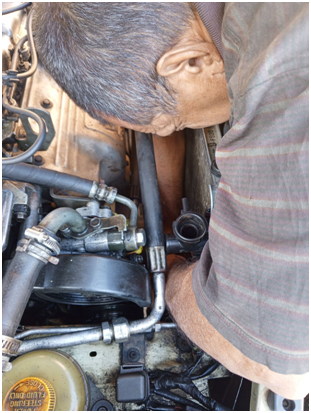
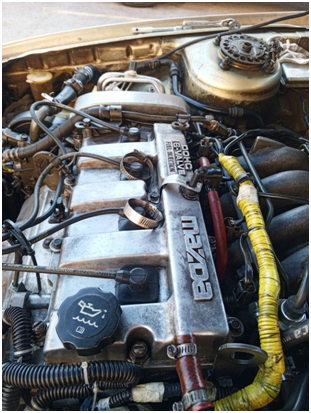
Enseguida subió al apartamento para cambiarse y sacar el radiador.
Listo el radiador lo sacó y no encontró ninguna manguera suelta ni abrazaderas partida.
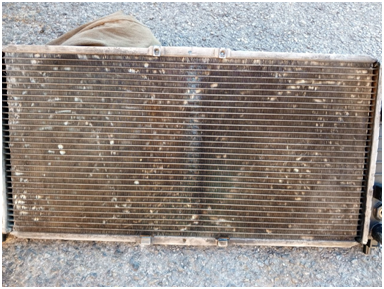
Nos fuimos en autobús para donde el mecánico experto en radiadores y nos dijo que era el Tanque que estaba partido.
Un Radiador se compone por Tanque, Colmena y Serpentín
Lo dejamos y nos dijo que nos llamaba cuando estuviera listo
Al radiador se le dañó, fue el Tanque, que ahora lo hacen de plástico y se le colando una costura. Como saben por ahí pasa el agua a alta temperatura, y ya la calidad de los plásticos de estas piezas no son tan fuerte como los de antes que eran hechos aleación de sin con cobre o latón y mucha gente lo mandan hacer de aluminio y Cuando se dañaban lo mandaban a soldar. Pero los que se usan ahora son de plástico.
Lo fuimos a buscar.
Nos explicó que se tardó para entregarlo porque tuvo que esperar que le trajeran el Tanque nuevo.
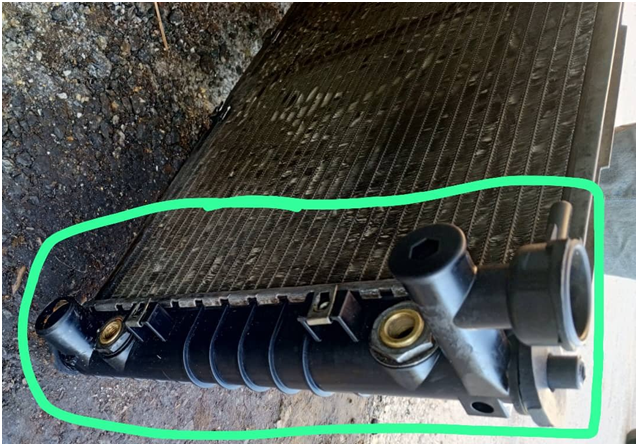
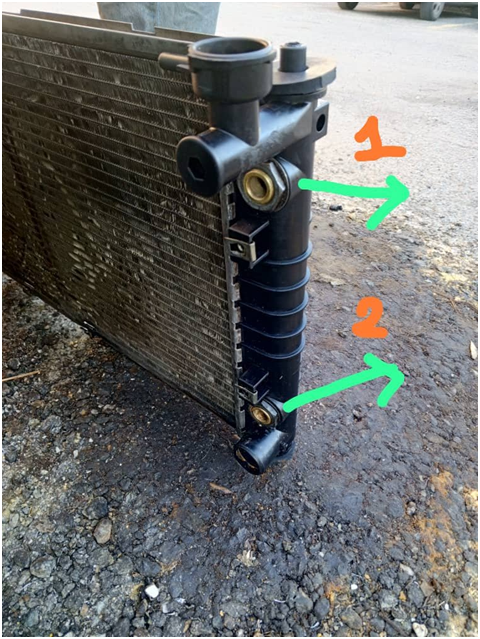
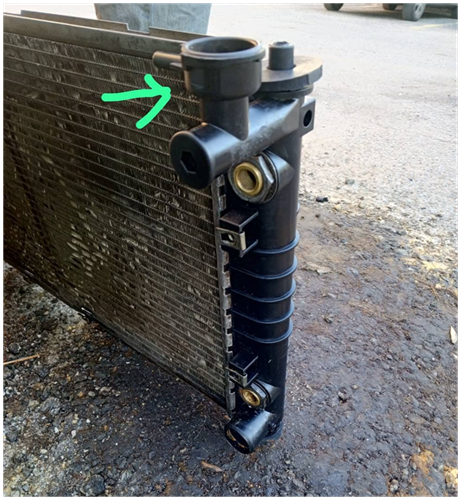
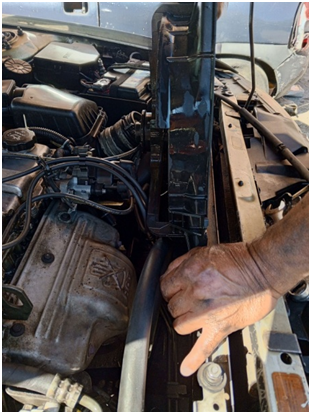
En esta foto vemos ya el tanque nuevo en el radiador, como se lo señalo en la foto.
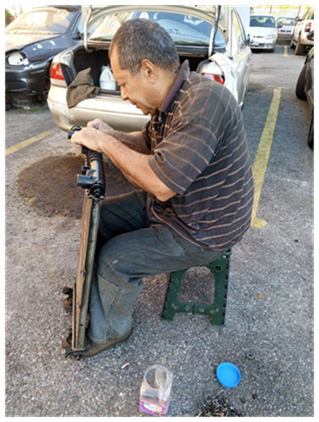
Tuvo que ponerse a buscar y medir tornillos por
que le botaron uno
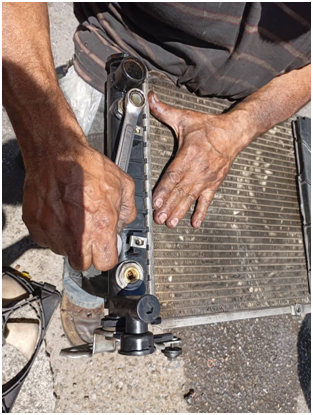
Comenzó a ponerle los tornillos al Tanque nuevo.
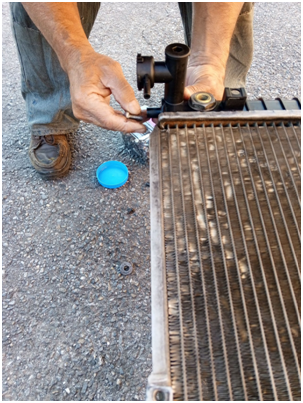
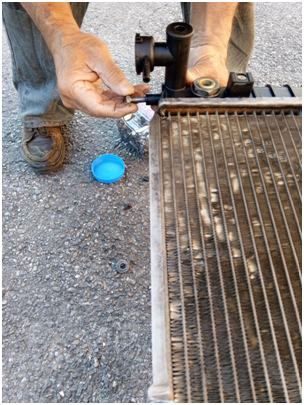
Se le van a poner los 2 tornillos que lleva el Tanque, como ven en la foto
Consiguió el tornillo y ya comenzó apretarlos
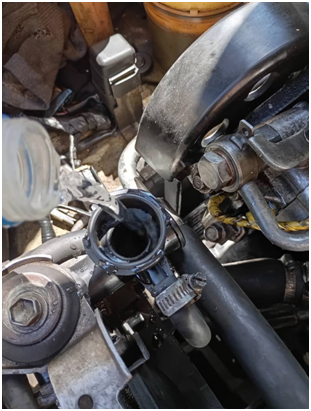
Esta es la boca donde va la tapa del radiador, por donde se le echa el agua.
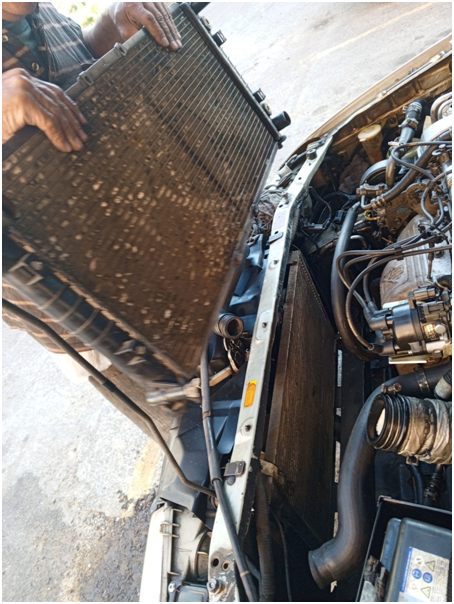
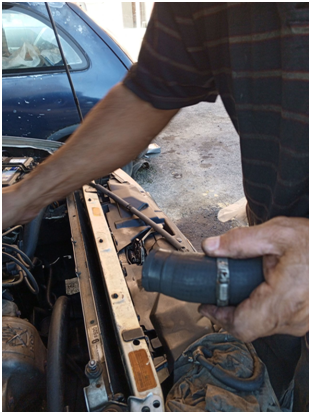
Seguidamente, se prepara para volver a poner el radiador en su lugar
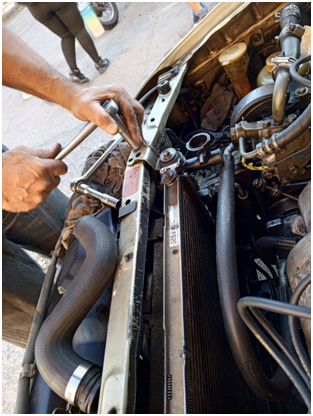
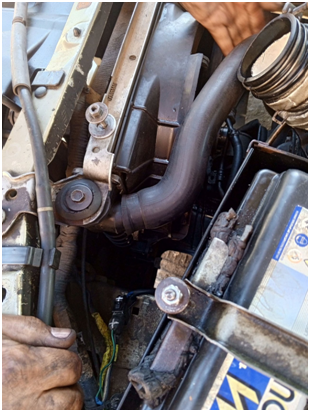
Se comenzó apretar los tornillos que agarran el radiador de la carrocería del lado derecho y del izquierdo
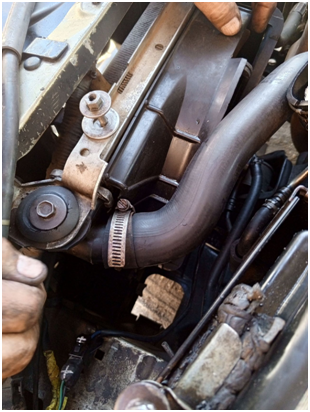
Y ahora se van a montar las mangueras de abajo
Se monta el electro ventilador, que su función es extraerlo lo caliente para que el agua del radiador se enfríe.
Aquí las abrazaderas de las mangueras de arriba que se van a montar.
Ya listo se le montó las abrazaderas
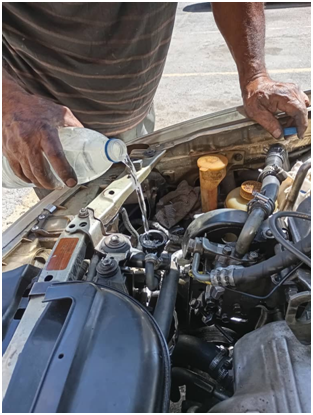
Ahora ya listo se le va hecha el agua en la boca del radiador
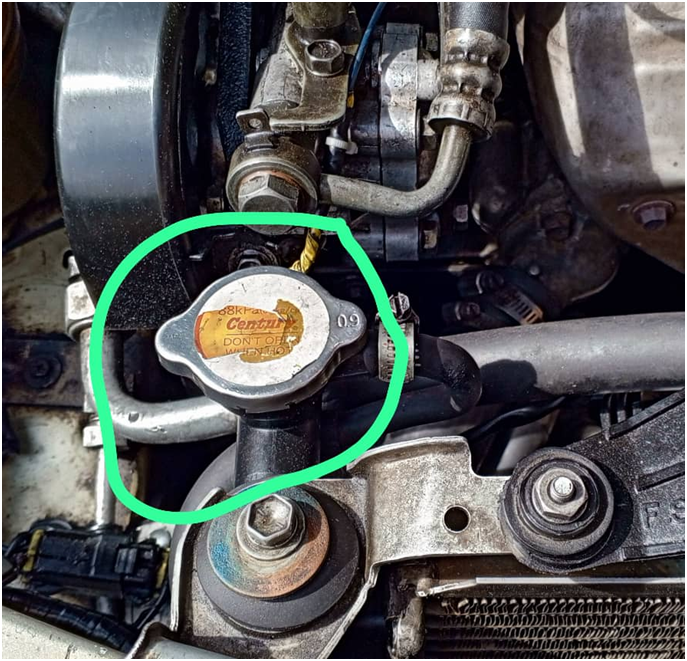
Ahora si listo se le monta la tapa al radiador
Listo montando todo lo que se quitó al carro para poder sacar el radiador.

/////////////////////////////////////////////////////////////////////////////////////////////////////////////////////////////////////////////
/////////////////////////////////////////////////////////////////////////////////////////////////////////////////////////////////////////////
Happy afternoon to my dear hive-motors family.
I had time without posting because the cart been running smoothly.
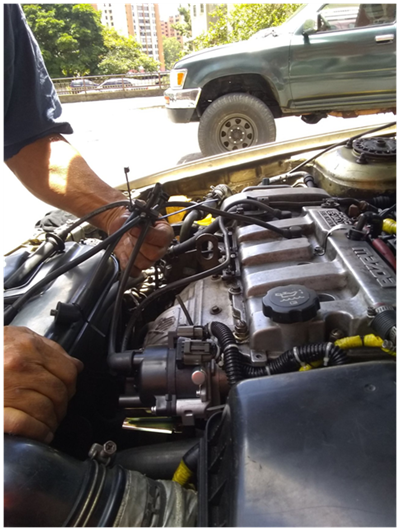
A week ago after doing some shopping in the center arriving at the parking lot of our building, when I was going to block well I threw the cart forward, just something loud as if something had exploded. And the car started spraying water from underneath. My husband went down to see what happened when I called him and he saw that it was water from the radiator, but it was coming out, on one side, it was not from the radiator cap and no. He could not see what was going on. He also said it could be a hose that had a clamp burst and water was leaking out of it. He is looking for an answer to what was going on.
He parked it and said, let's wait for it to cool down and get underneath it. He did and there was no loose hose.
He told me that the radiator had to be taken out and taken to the mechanic to be checked.
He immediately went up to the apartment to change and remove the radiator.
He took the radiator out and found no loose hoses or split clamps.
We went by bus to the radiator expert mechanic and he told us that it was the tank that was cracked.
A radiator consists of a tank, a hive and a coil.
We left it and he told us that he would call us when it was ready.
The radiator was damaged, it was the tank, which is now made of plastic and a seam was leaking. As you know the water passes through there at high temperature, and the quality of the plastics of these parts are not as strong as those of before that were made of alloy without copper or brass and many people had them made of aluminum and when they were damaged they sent them to be welded. But the ones that are used now are made of plastic.
We went to pick it up.
He explained that it took him a long time to deliver it because he had to wait for the new tank to be delivered.
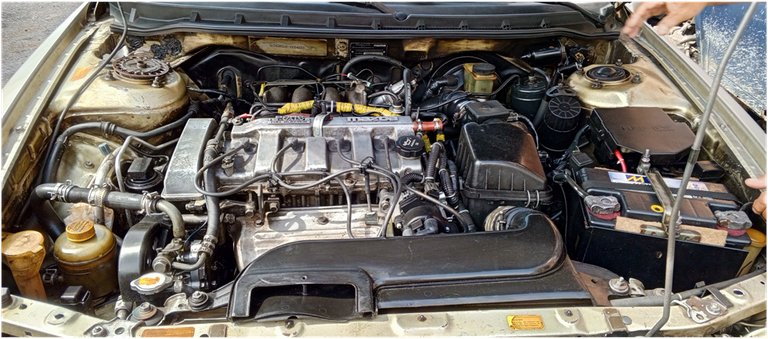
In this picture we see the new tank already on the radiator, as I point it out in the picture.
He had to start looking for and measuring screws because he
he dropped one
He started to put the screws in the new tank.
He is going to put the 2 screws that the tank has, as you can see in the picture.
It got the screw and already began to tighten them.
This is the mouth where the radiator cap goes, where the water is poured in.
Next, he prepares to put the radiator back in place.
You begin to tighten the screws that hold the radiator to the right and left side of the body.
And now we are going to mount the hoses from below
The electro fan is mounted, which its function is to extract the hot fan so that the water in the radiator cools down.
Here the clamps of the top hoses to be mounted.
Now the clamps are mounted
Now ready, the water is poured into the radiator mouth.
Now ready to mount the radiator cap.
Ready mounting everything that was removed from the car to remove the radiator


Saludos @jaci11 bienvenida a #hivemotors gracias por compartir su experiencia, que bueno que los desafíos que presentaron al cambiar el tanque del radiador pudieron superarlos, lo único que me extrañó que su mecánico no le sugirió cambiar la tapa del radiador, o lo hizo pero lo no menciona por acá, sería muy positivo hacerlo.
Le invito a participar activamente en nuestra comunidad, no deje de compartir sus experiencias de reparación de su vehículo, no tiene que ser una experta, hágalo desde su perspectiva, es totalmente válido.
No deje de comentar otras publicaciones de los demás miembros de la comunidad, para nosotros es muy valioso la interacción entre todos. Estos y otros detalles puede conocerlos en la publicación fijada al principio en la comunidad.
Hola. @danielcarrerag. Yo que te da la bienvenida a #hivemotors. Gracias por leerme. El mecánico es mi esposo. Siempre trato de ayudarlo, pasándole la llave o buscando algo que se le cae o tenemos en el apto es así, pero siempre juntos. De verdad que él lo comentó, pero económicamente estamos apretados y por eso no lo cambiamos. En cuanto podamos él dirá si lo amerite. Gracias por tu sugerencia, comentario y nuevamente bienvenido.
!LADY
View or trade
LOHtokens.@jaci11, you successfully shared 0.1000 LOH with @danielcarrerag and you earned 0.1000 LOH as tips. (1/2 calls)
Use !LADY command to share LOH! More details available in this post.
Ah gracias por dame la bienvenida 😅
Le comenté a mi esposo lo que me dijiste de la tapa del radiador. Y me dijo que el técnico del radiador, la reviso y dijo que estaba bueno. Todas maneras lo tendremos presente. Nuevamente gracias.