After a couple winters trekking up the hill every day to take the un-frozen water to the chickens, I started thinking that it was time to build another chicken coop closer to the house. After losing my entire flock to a variety of predators, my mind was made up!
On the back side of my house, I'd previously had an enclosure that was sometimes used for cats or dogs. I wanted to make this enclosure a little smaller, because the path between it and my middle pond was a tight fit for the 3 wheeler.
Chickens don't really need a lot of space to sleep and lay eggs, so it seemed like a perfect spot for a new chicken coop!
(Actually, Hedge Witch hated this idea, saying it would stink too much this close to the house. I pointed out to her that the back deck, where she spends most of her time, already smells like a chicken coop, because she feeds them treats out there all day long, and she relented.)
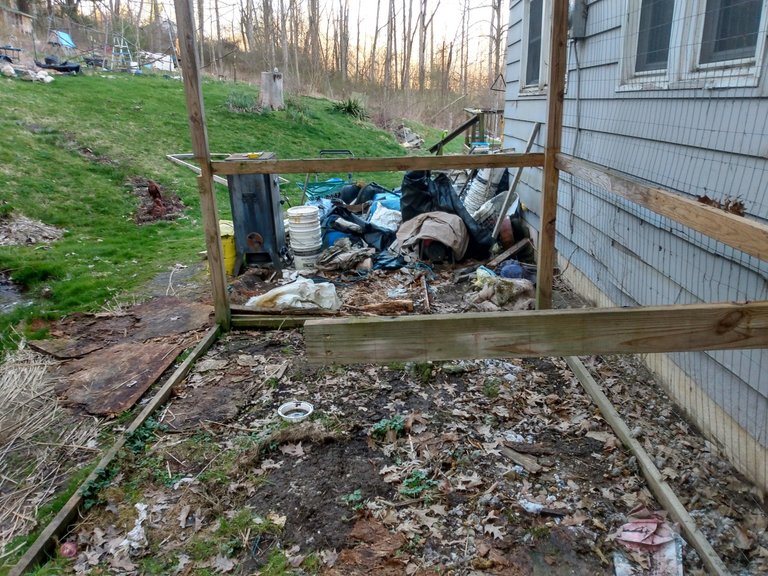
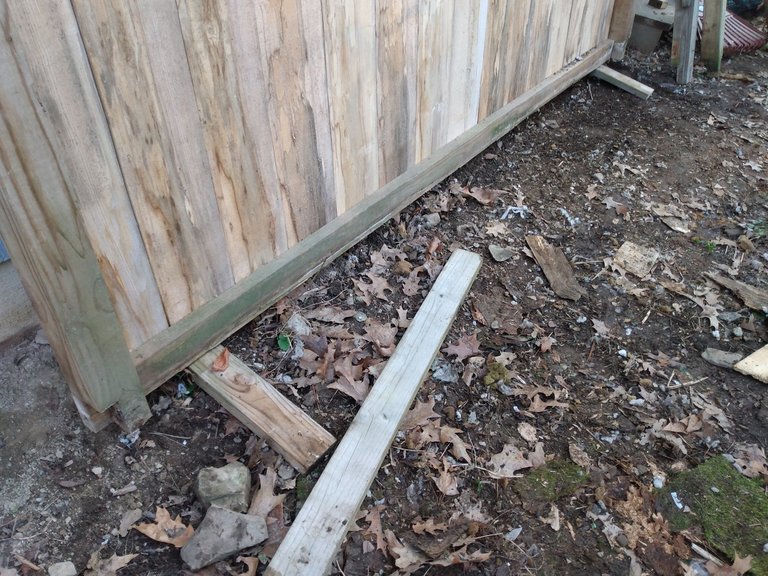
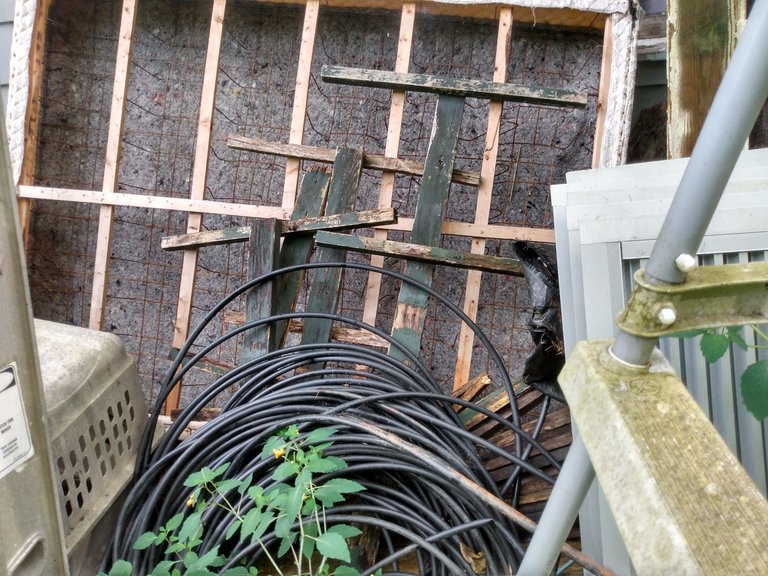
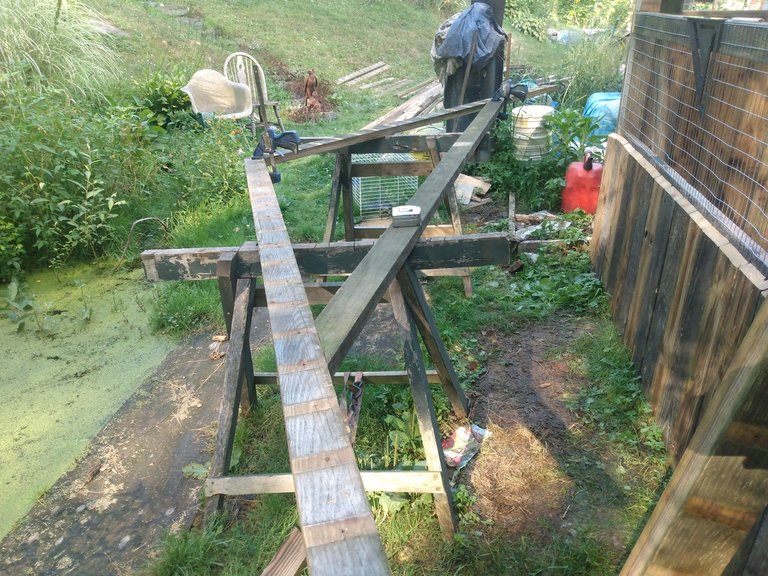
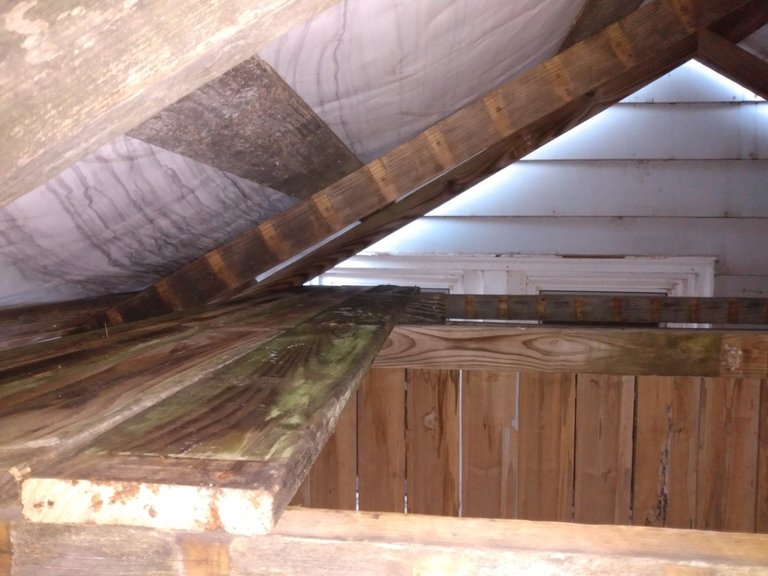
In the picture above, you can see the frame of the old enclosure, nearly dismantled. The old space was 8'W x 10'L x 8'H, my plan was to cut the width down to 6', which would give me an extra 2' for my access path. This path is the little space covered in brown grass and plywood just to the left of the enclosure frame. Everything that comes to the upper property currently must be brought across this path, and it can get VERY slippery.
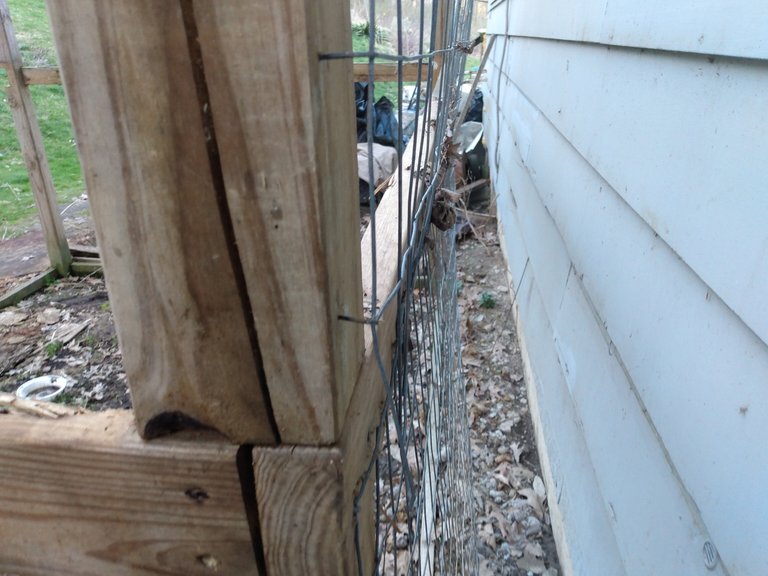
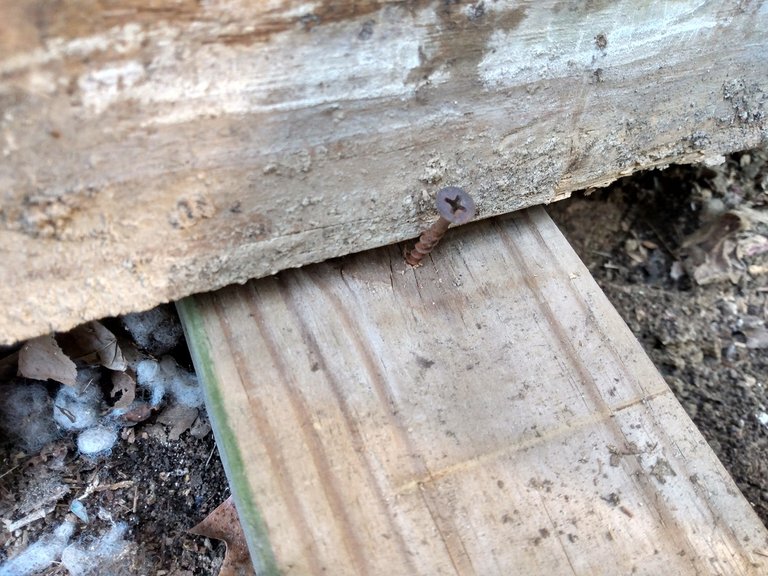
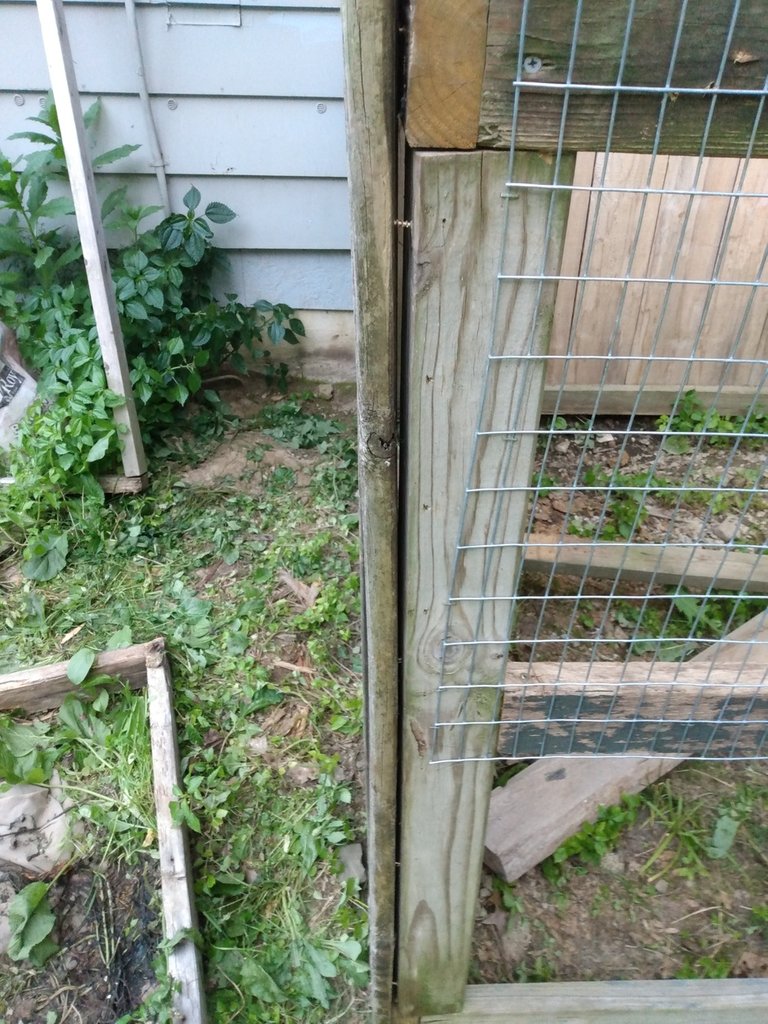
Below, you can see a detail of my clever solution for fastening this wire fence to the wooden frame (back when I first built this). I didn't have enough staples for the project, so I bent the cut ends of the fence 90° and hammered them into the wood like nails.
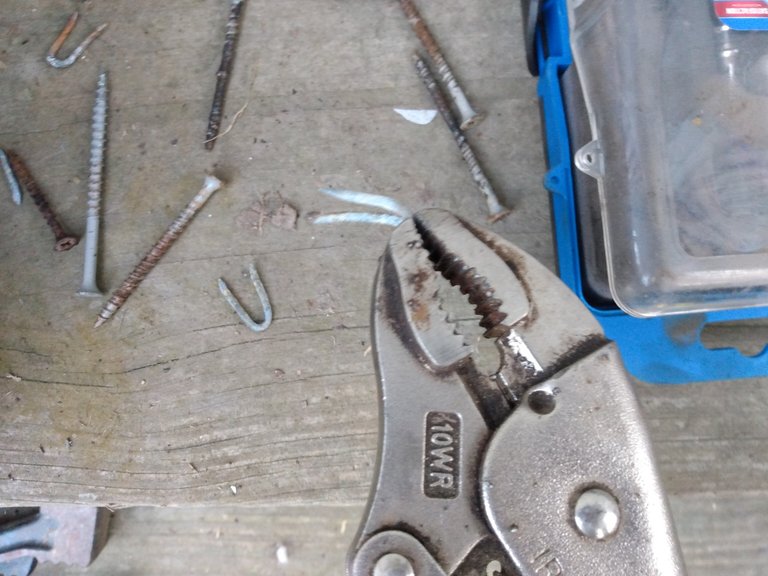
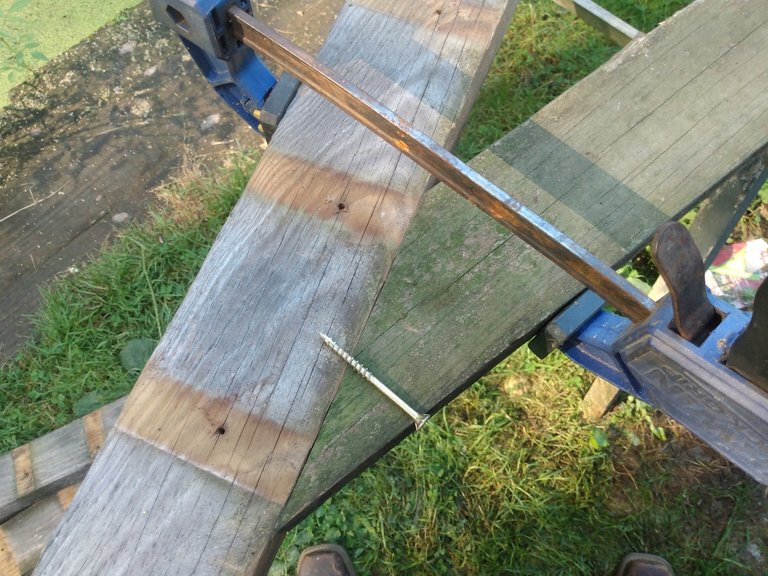
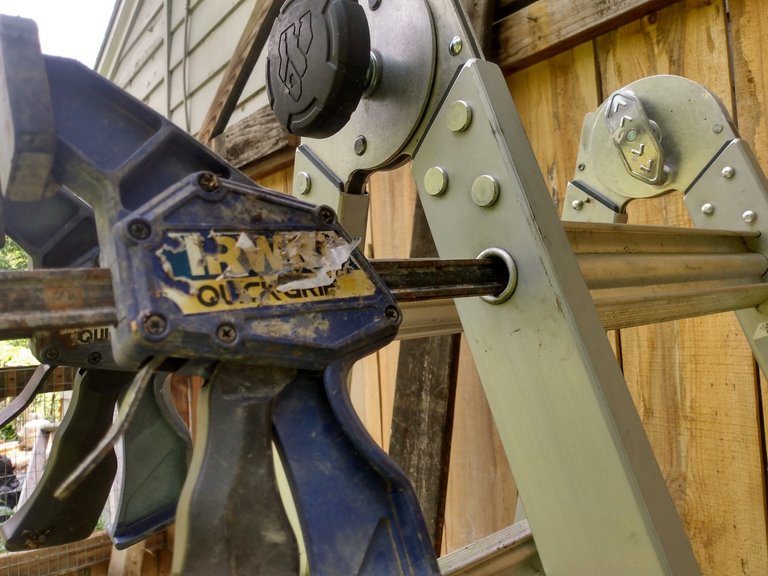
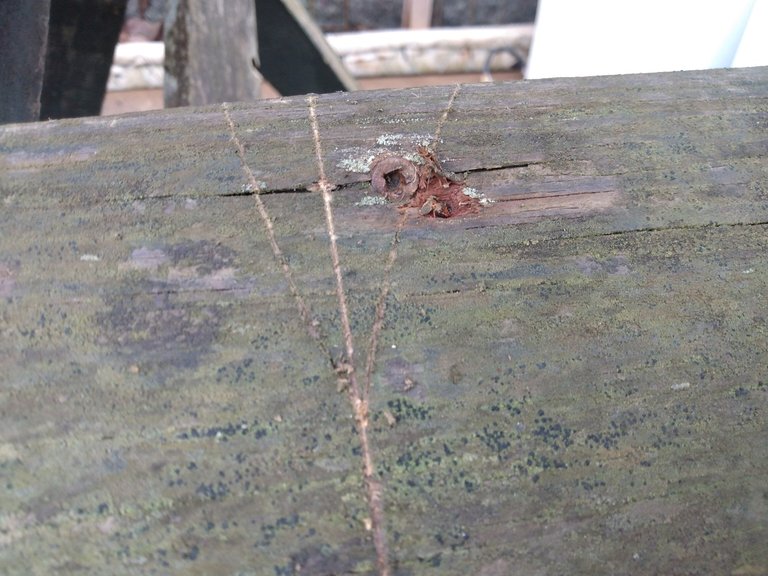
Those bent fence ends mostly came out pretty easy, but the wire staples, seen in the picture below, put up quite a fight! It took a while, but eventually I found out that these vise grips were the best tool for pulling them. I just clamped on to the staple, as shown in the picture, then pried them right out. I won't be needing the staples again on this project, but I'll save the usable ones for something else. As you can see, the screws from the old frame were also in okay shape, and I reused the ones I could.
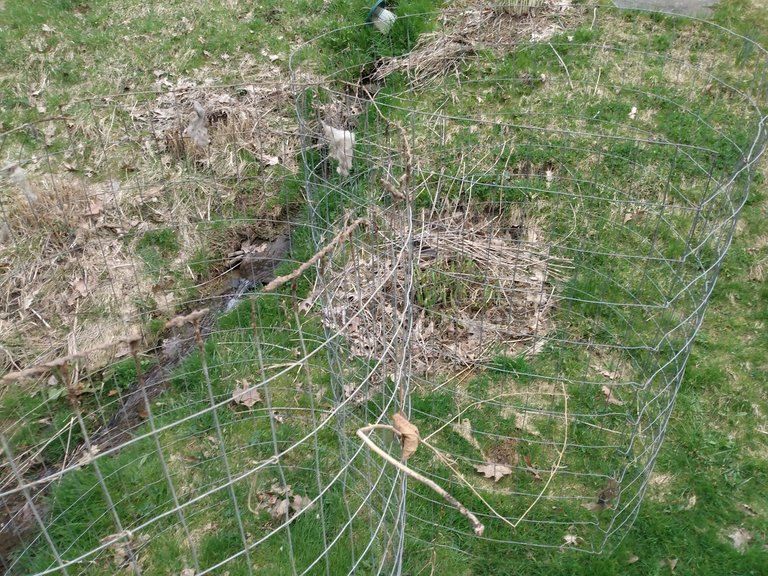
All of the fence from the old enclosure will also get reused elsewhere, probably as plant trellises. For the moment, I just took these loose rolls of old fence into the woods and set them up to obstruct the deer paths leading to the house. It will usually keep them out of the yard for a month or so, until they push a new path through the thickets.
Below you can see a pile of lumber that I cut with my sawmill. This spalted ash is pretty, but not particularly strong. I want to get an idea of how useful it would be as siding, so I decided to try some out on the chicken coop.
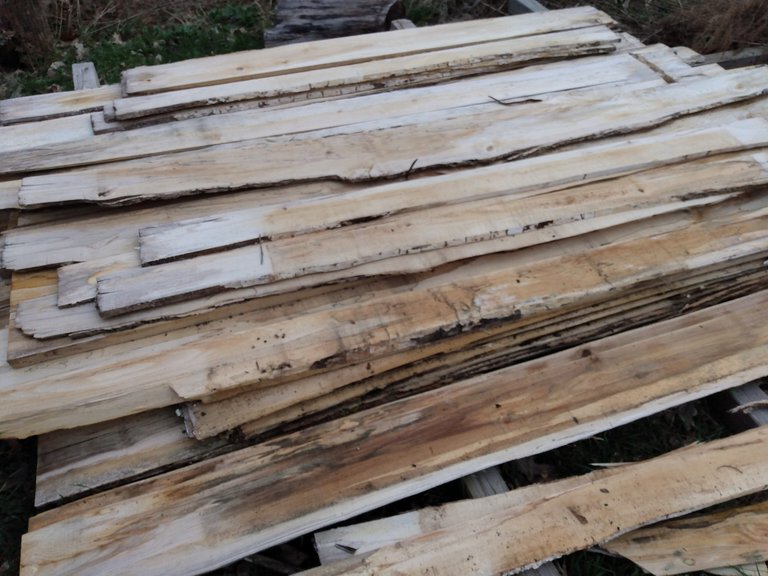
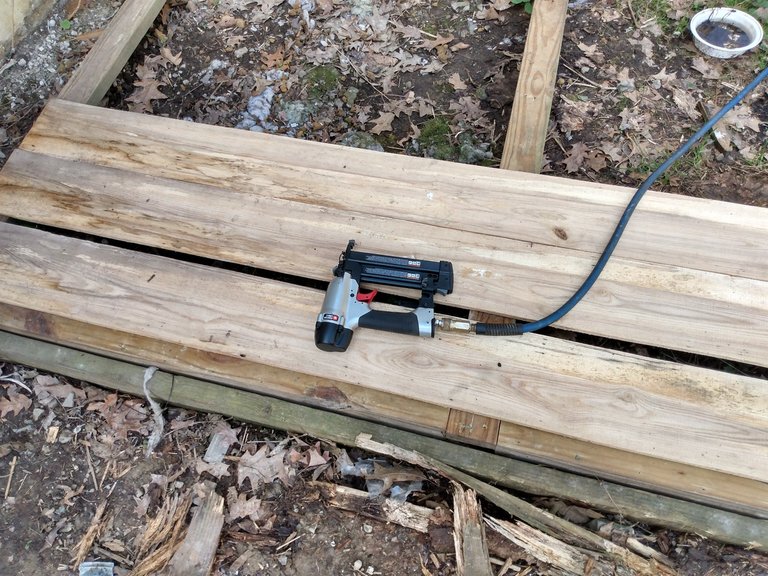
The back wall of the new chicken coop will be very close to the house, out of the water and the sun. I know that the spalted lumber will not hold up very well if it's constantly getting wet, so this is where I wanted to try it out. I used my pneumatic brad nailer to fasten them to the back part of the frame.
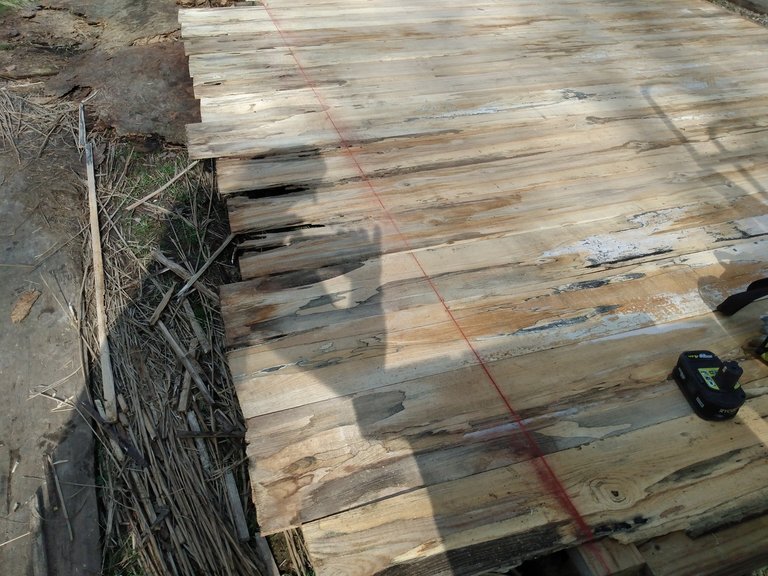
To speed things along, I aligned the boards at one end, but let the excess length just hang over the other end.

Once I had the frame covered, I snapped a line on the overhanging ends and cut them off with the circular saw.
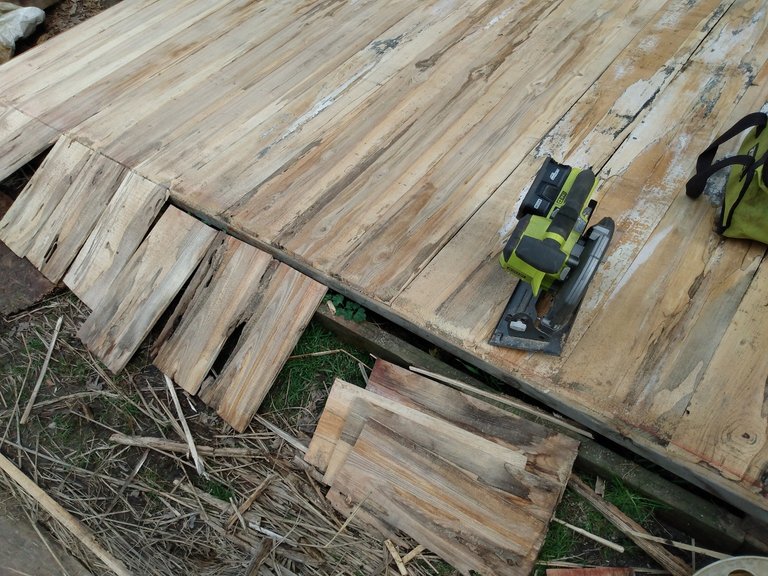
In the photo below you can see I cut a slight bevel on the end. I told myself that this will help them shed water, but really it was just practice doing bevel cuts with the saw.
Once my back wall was all assembled, I moved it into place. The finished assembly was much heavier than I expected, and took some time to move by myself.
In the photo above, you can see I place the wall assembly on some pieces of 2x4. I don't want the wood of my enclosure resting directly on the ground, so these blocks of wood will help keep it out of the dirt, and they will allow me to level the wall against the uneven ground.
Once I have the wall in the position I want it, I put some screws into the blocks to hold it in place. I don't have to put the screws into my wall... the weight of it will hold things in place. Later, when I replace these wooden blocks with stone or concrete, I won't have to pull the screws out.
With the back wall in place, I can assemble and level the rest of the frame. The old pool ladder I used to do the tops is really handy for projects like this. It's very lightweight, and self levels on slightly uneven ground, so it's easy to move around, which saves a lot of time when I'm doing things like this by myself.
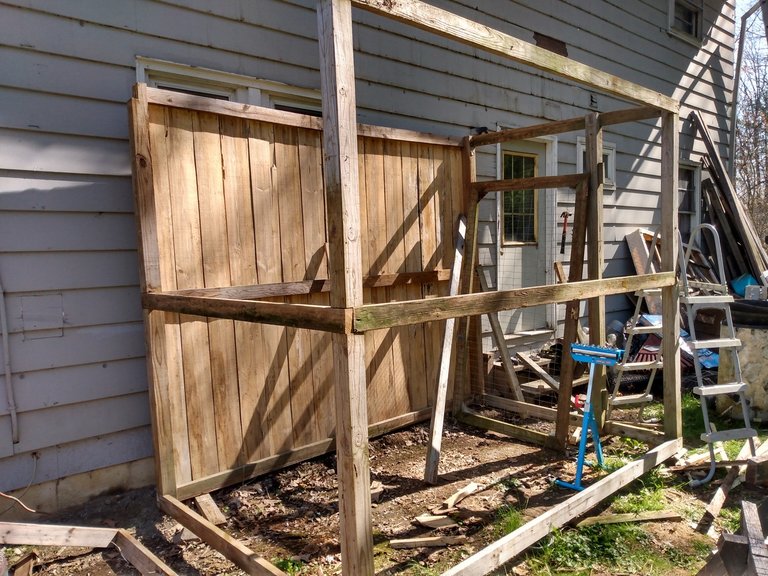
I have had a deck on the front of the house that's needed to come down for a couple years, and this project finally motivated me to take care of that project, so I could use the old deck boards for siding.
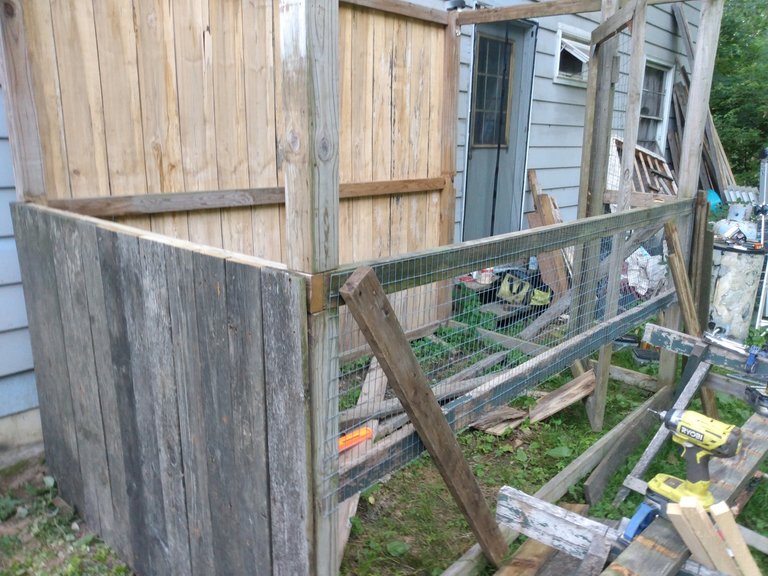
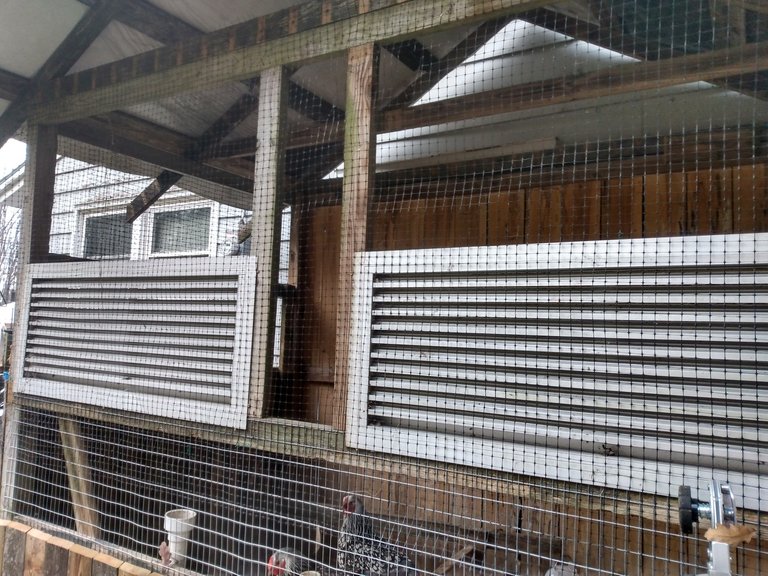
I wanted something sturdier than the spalted lumber for the outer walls of the new coop, and these old deck boards worked perfectly. Much of this old lumber has some warp and twist to it, so things don't always fit together perfectly, as you can see in the photo below. As long as no chickens can squeeze out, and no weasels can squeeze in, this will be close enough!
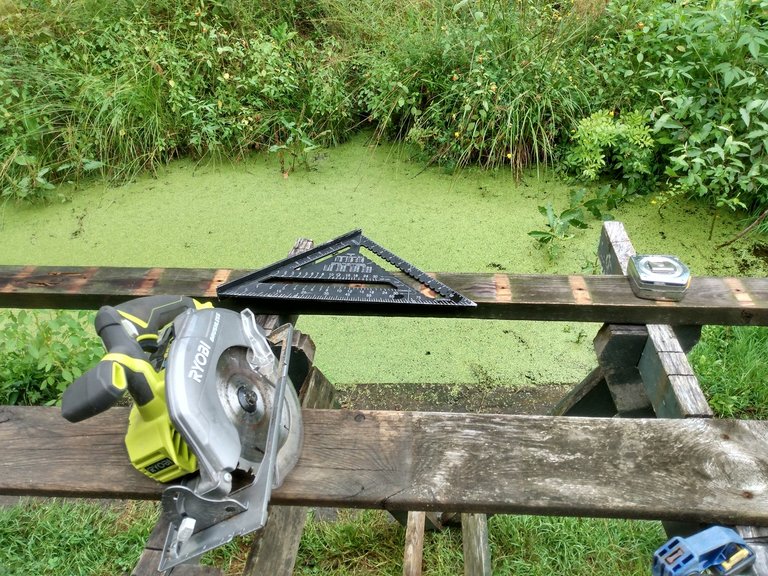
Unlike the spalted lumber that I used on the back, these boards were easier to cut to length before I screwed them into place. I set up a cutting station on my newly widened path, and as you can see, it's still pretty close to the frog pond.
The work is slow going, and many of the days were hot and muggy, but it's hard to feel down about when I'm surrounded by so much lush green growth!
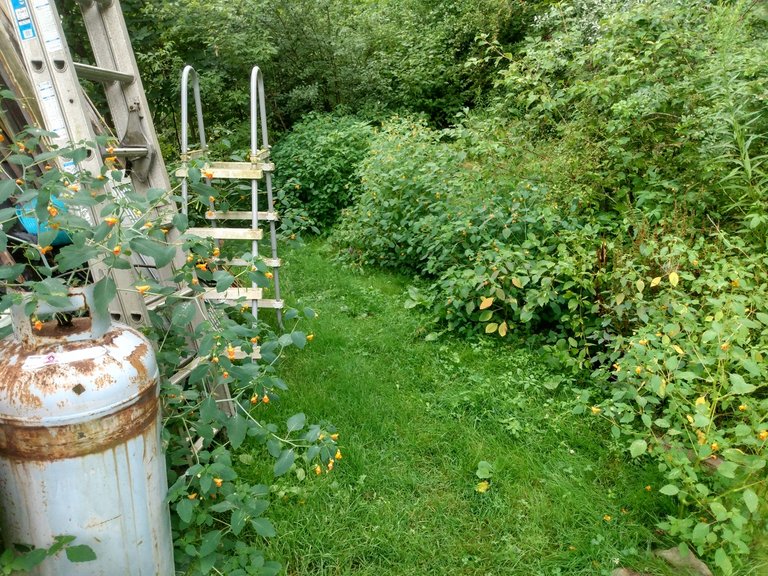
Of course, when I walk just a little further, I can see one of my many piles of project materials, still waiting to be put to use. These cause me a little bit of anxiety, but knowing that I'm using some materials on one of my big projects right now helps keep me going!
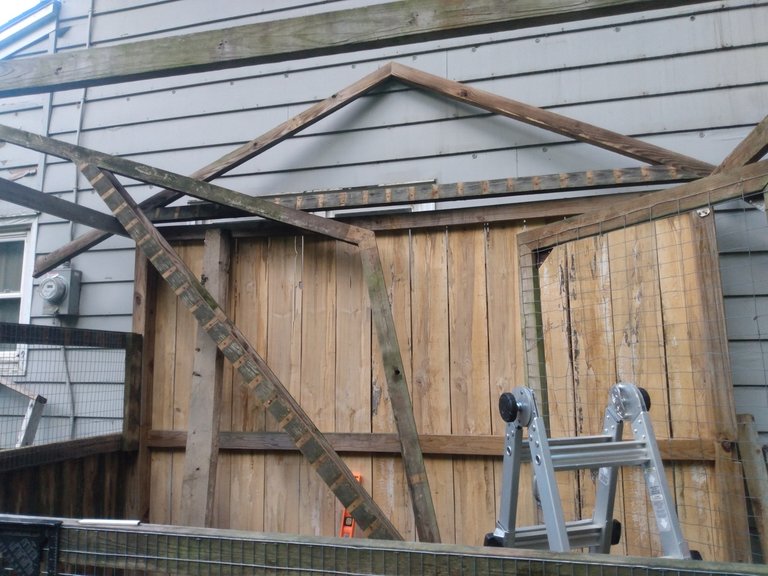
Enough digressing, back to the build! Most of my buildings for the animals have simple sloped roofs, but for this chicken coop I wanted an actual peaked roof with 'attic' space, so I build some trusses.
They won't need to support much weight, so I didn't make them very robust. They're just 3 boards with some angles cut into the ends of them, assembled with 2" construction screws.
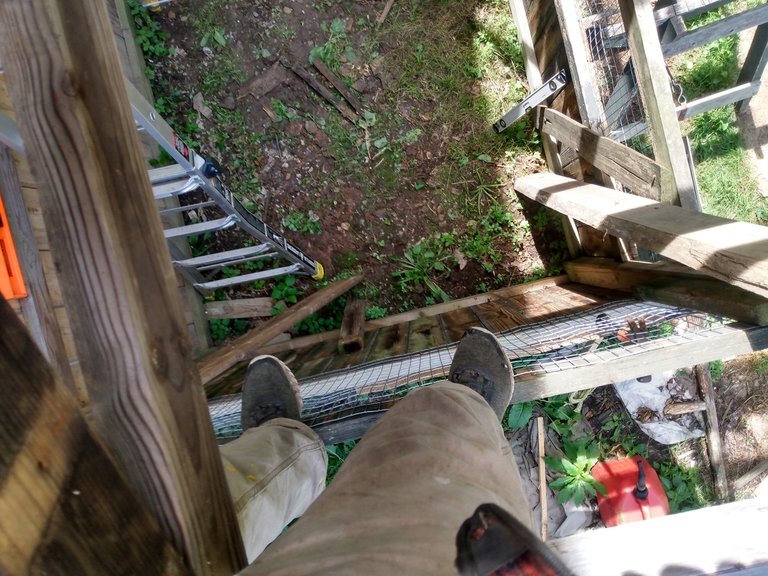
Getting the trusses into place was another chore, and I need to get a sturdier ladder for the task. The Gorilla ladder you see in the pic below can be configured many different ways and heights, and has a weight capacity of 300 lbs... more than sturdy enough for this heavier lifting.
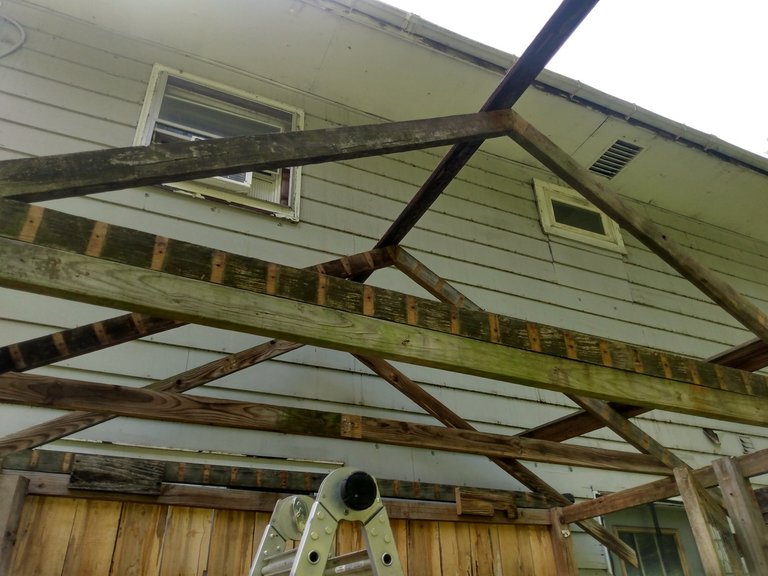
The rungs of this ladder have hollow tubes through the middle, and they were just the right size for my quick clamps. These clamps have been my extra set of hands on more projects than I can count!
Of course, some of the work had to be done from more precarious positions, as you can see in the photo below. This picture is the kind of thing that I can't show my mother without her getting emotional and trying to find a way to chain me to the ground!
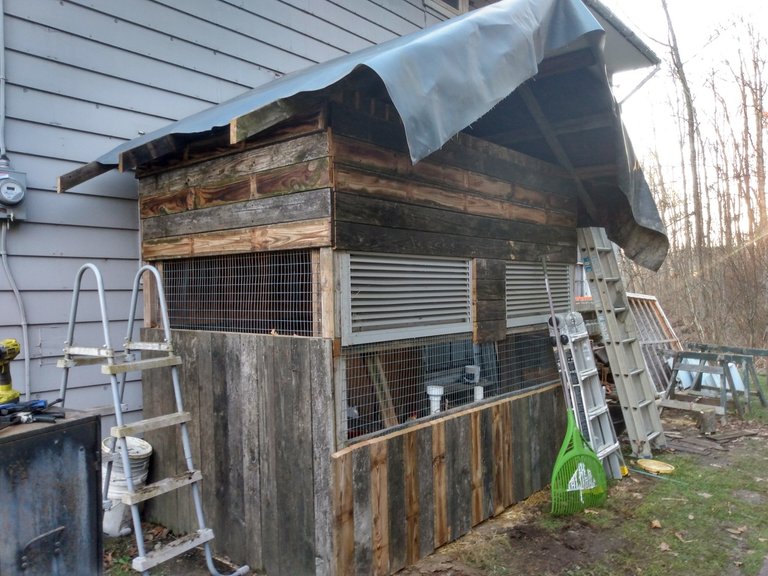
I covered the new coop with some old rubber roofing I've had for now, but eventually I want to cover this (and just about every other roof around here) with metal roofing.

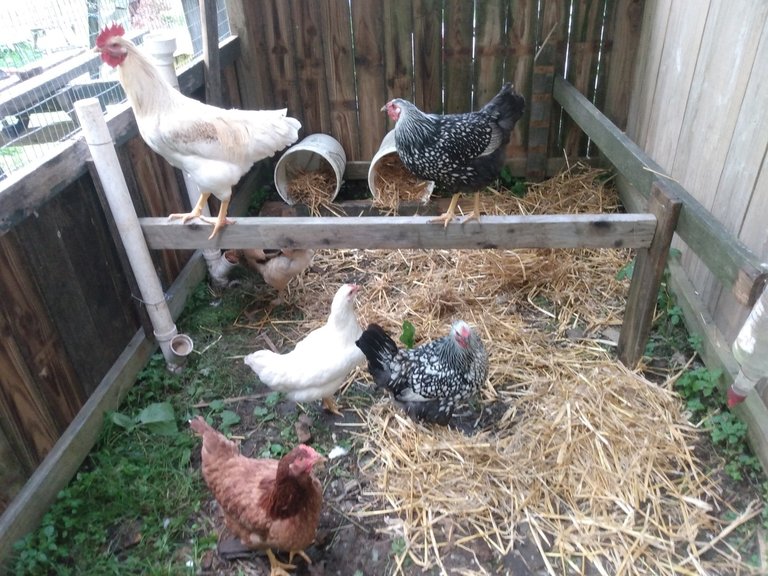
I threw together some quick perches for the chickens, and moved the hens and one rooster into the new coop as soon as I could. The new chicken tractor was getting a bit too cramped for everybody, now that they're all grown up.
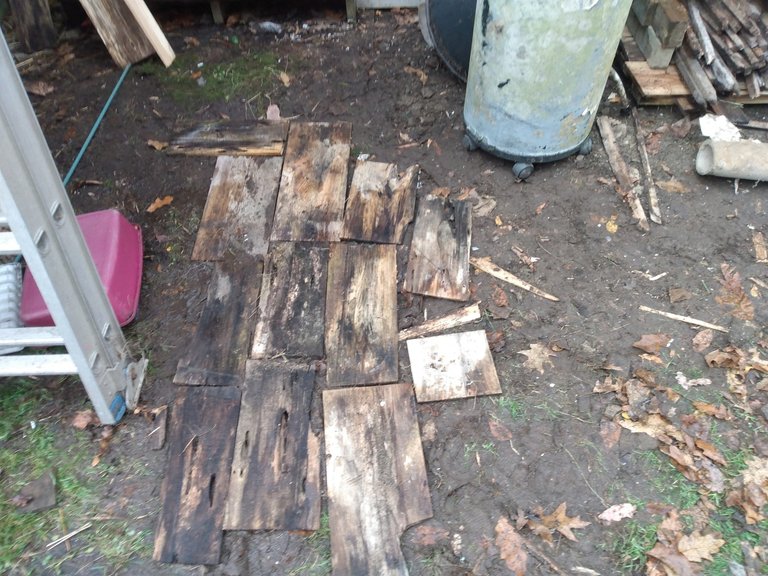
I used some cut off board ends as flooring for the muddy parts of my path. Once I'm done stomping around here with this new construction, I'll be able to pull these back up and let the grass grow back.
When I first moved the chickens in, I covered much of the new coop with this plastic fencing. This was very temporary, just to keep them in while I finished building. I learned last year that chickens can peck themselves a hole right through this stuff!
I got all the screws that I could out of the old deck boards, but a few of them had the heads break right off. If it didn't interfere with where I had to make my cuts, I just left these in place.
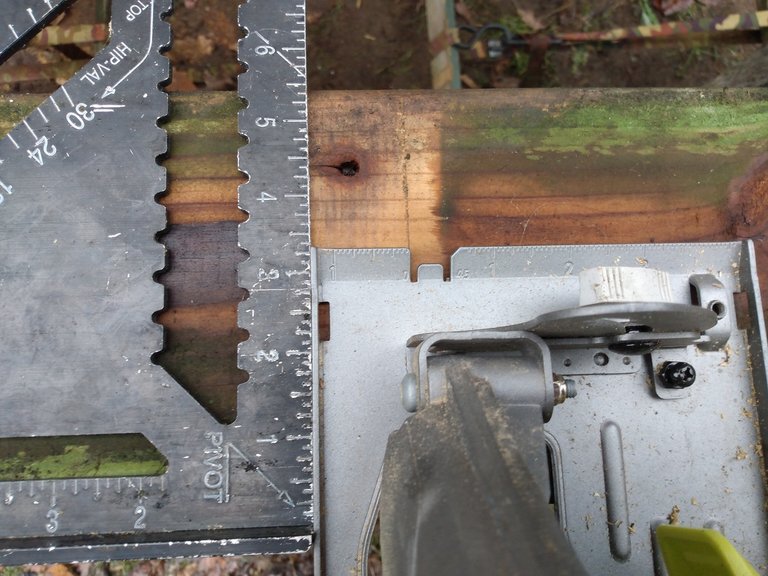
I use my roofing square to quickly line up cuts with the circular saw. By lining up my cut guide on the front of the saw with my mark and holding the roofing square firmly in place with my hand, I can quickly make make cuts with miter saw accuracy.
After getting the outside covered, it finally looks like a small building!
I put a floor across the bottoms of the trusses, both to keep the chickens from flying out of the roof (which one did), and to create some 'attic' storage space above the coop.
I use this space to keep my weed trimmers and attachments, live catch traps, extra plastic, and the bale of straw I use as bedding for the chickens.
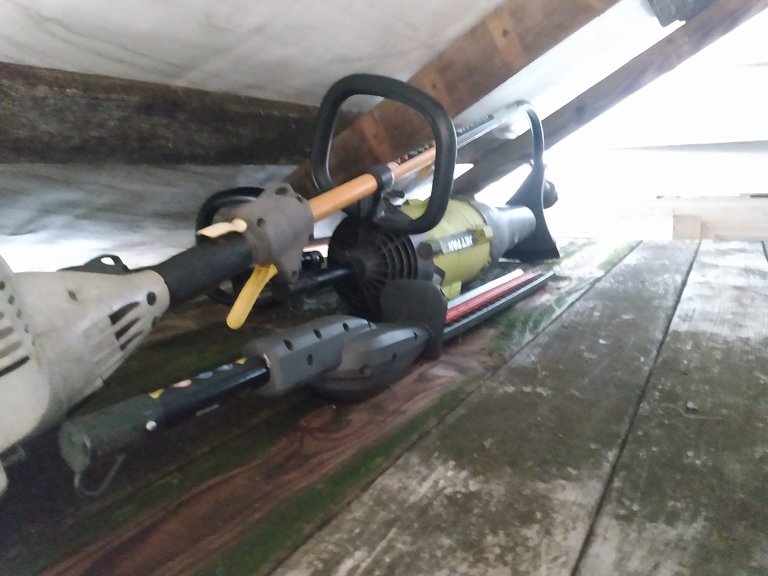
I also put some screws into the outside of the short wall to hang other lawn tools. This is also a temporary storage situation... eventually this side of the coop will have an addition built for bunnies.
I did a bit more work on the inside, building the chickens some better nesting boxes. I'll show more of that in a future post. Eventually, I plan to build a run for the chickens that goes over the frog pond and connects to a fenced in area in the hammock village. This will allow them to have a good sized area to range in where I won't have to worry about them destroying the gardens.
I hope you liked journeying through this little construction project with me! Although this coop took me months to build, a few hours at a time after work, the build itself seemed to go faster than this post did!
I'm trying to get this to post into multiple communities, without cross-posting, so if that ends up messing things up for anybody, my apologies. Hopefully, it works out well. Aside from this post, my comedy posts on my alt account, and some auto repair posts on this account, I've also been slowly working on some new graphics. Like everything else, it took too long to dust off the old GIMP skills, but I did eventually get my memory in gear.

Still needs some touch-up, I know, but at least I have SOMETHING started! Next, I need to dust off my Blender skills and get some animations going...

Hope you all enjoyed, look forward to seeing you (a little sooner!) next time!
This is awesome!
If you want to neutralize unpleasant chicken smell, you can sprinkle ash (if you have) that absorbs odors.
I personally don't mind the smell of chickens, as long as they don't get wet. Now that they're closer to the house, it's a lot easier for me to clean them regularly, and so far Hedge Witch has had no complaints. She spends most of her time on the other side of the house, so with the doors closed, she doesn't even hear the rooster when he crows.
I really do want to try the ash on the spots where I've left the chicken tractor for too long. These areas get smelly sometimes, especially when it rains. I have quite a bit of wood of ash that I saved when I was operating the rocket stove.
Ouch yikes wet chicken really have weird odor. 🤢
Try it out, besides smell neutralization it helps with desinfection, less chances for diseases.
I really like to eat chicken.
https://leofinance.io/threads/@paradoxtma/re-leothreads-7nqeuo
The rewards earned on this comment will go directly to the people ( @paradoxtma ) sharing the post on LeoThreads.
The rewards earned on this comment will go directly to the people sharing the post on Twitter as long as they are registered with @poshtoken. Sign up at https://hiveposh.com.