Hi needleworkers, how was February? I'm in production. Soon I have a meeting between enterprising friends and I am making several details to sell. However, recently I thought 'what artist do I want to become and see? And, I said to myself: I want to see my name more, maybe it's that now I start to see my crafts as a serious business and no longer as a hobby.
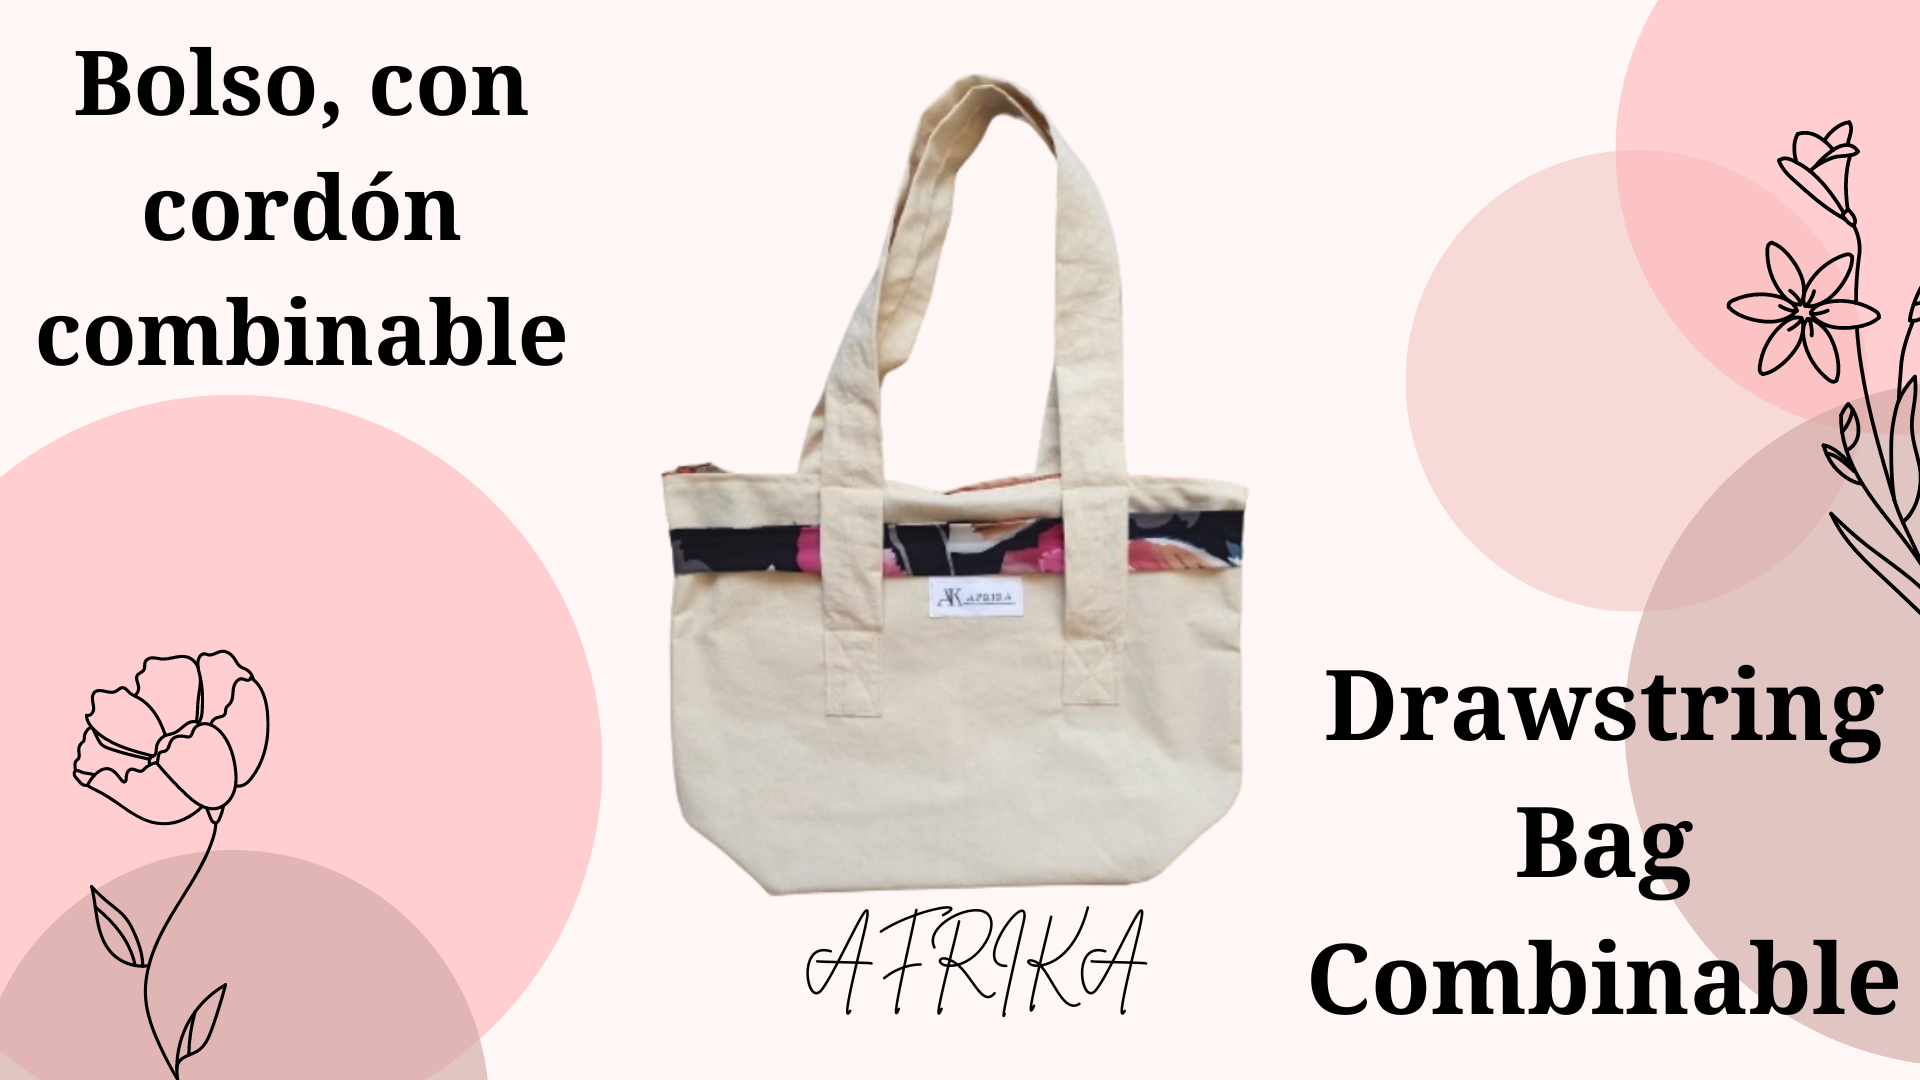
That's why I'm thinking about what more things in series I can make, that's where today's tutorial comes from. A bag, with a combinable drawstring. To start with the materials I used were: 1m of raw fabric, a 40 cm zipper, measuring tape, marking soap, scissors, needle, pins, thread, sewing machine.

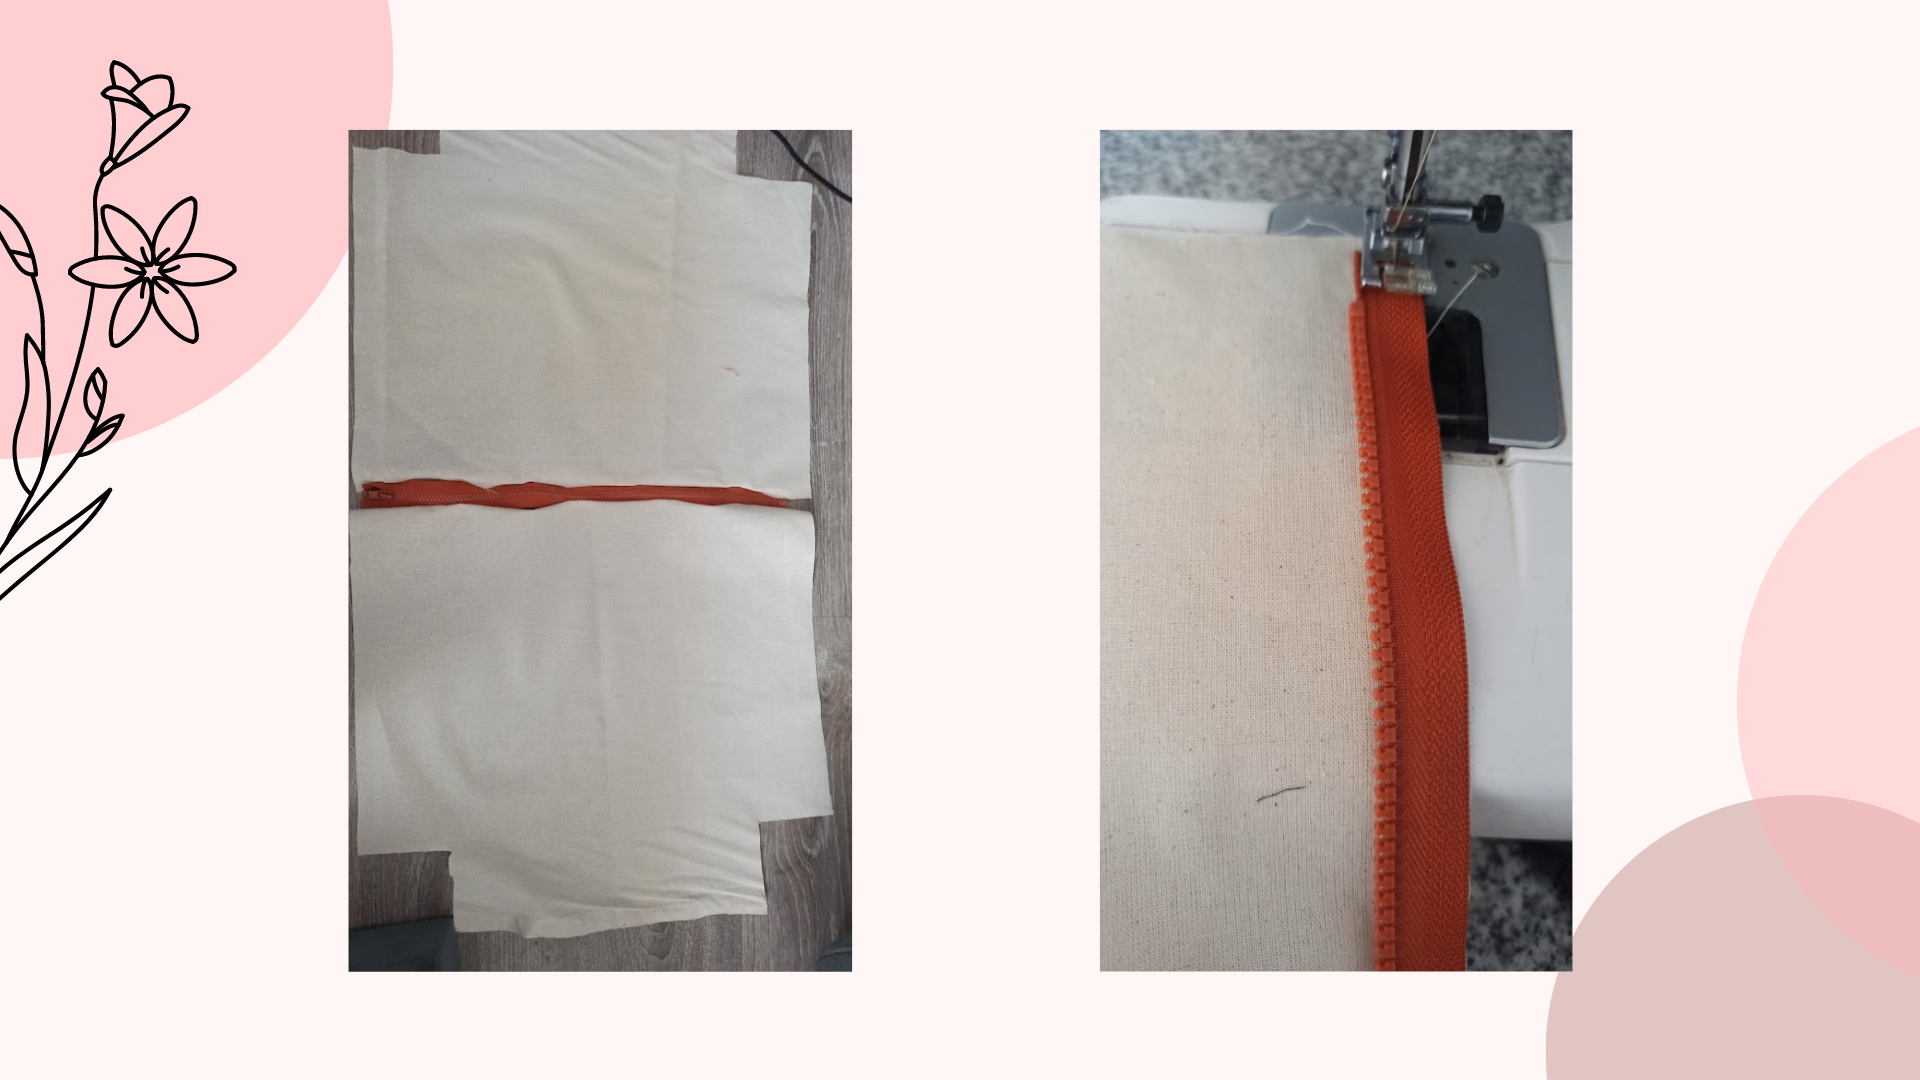
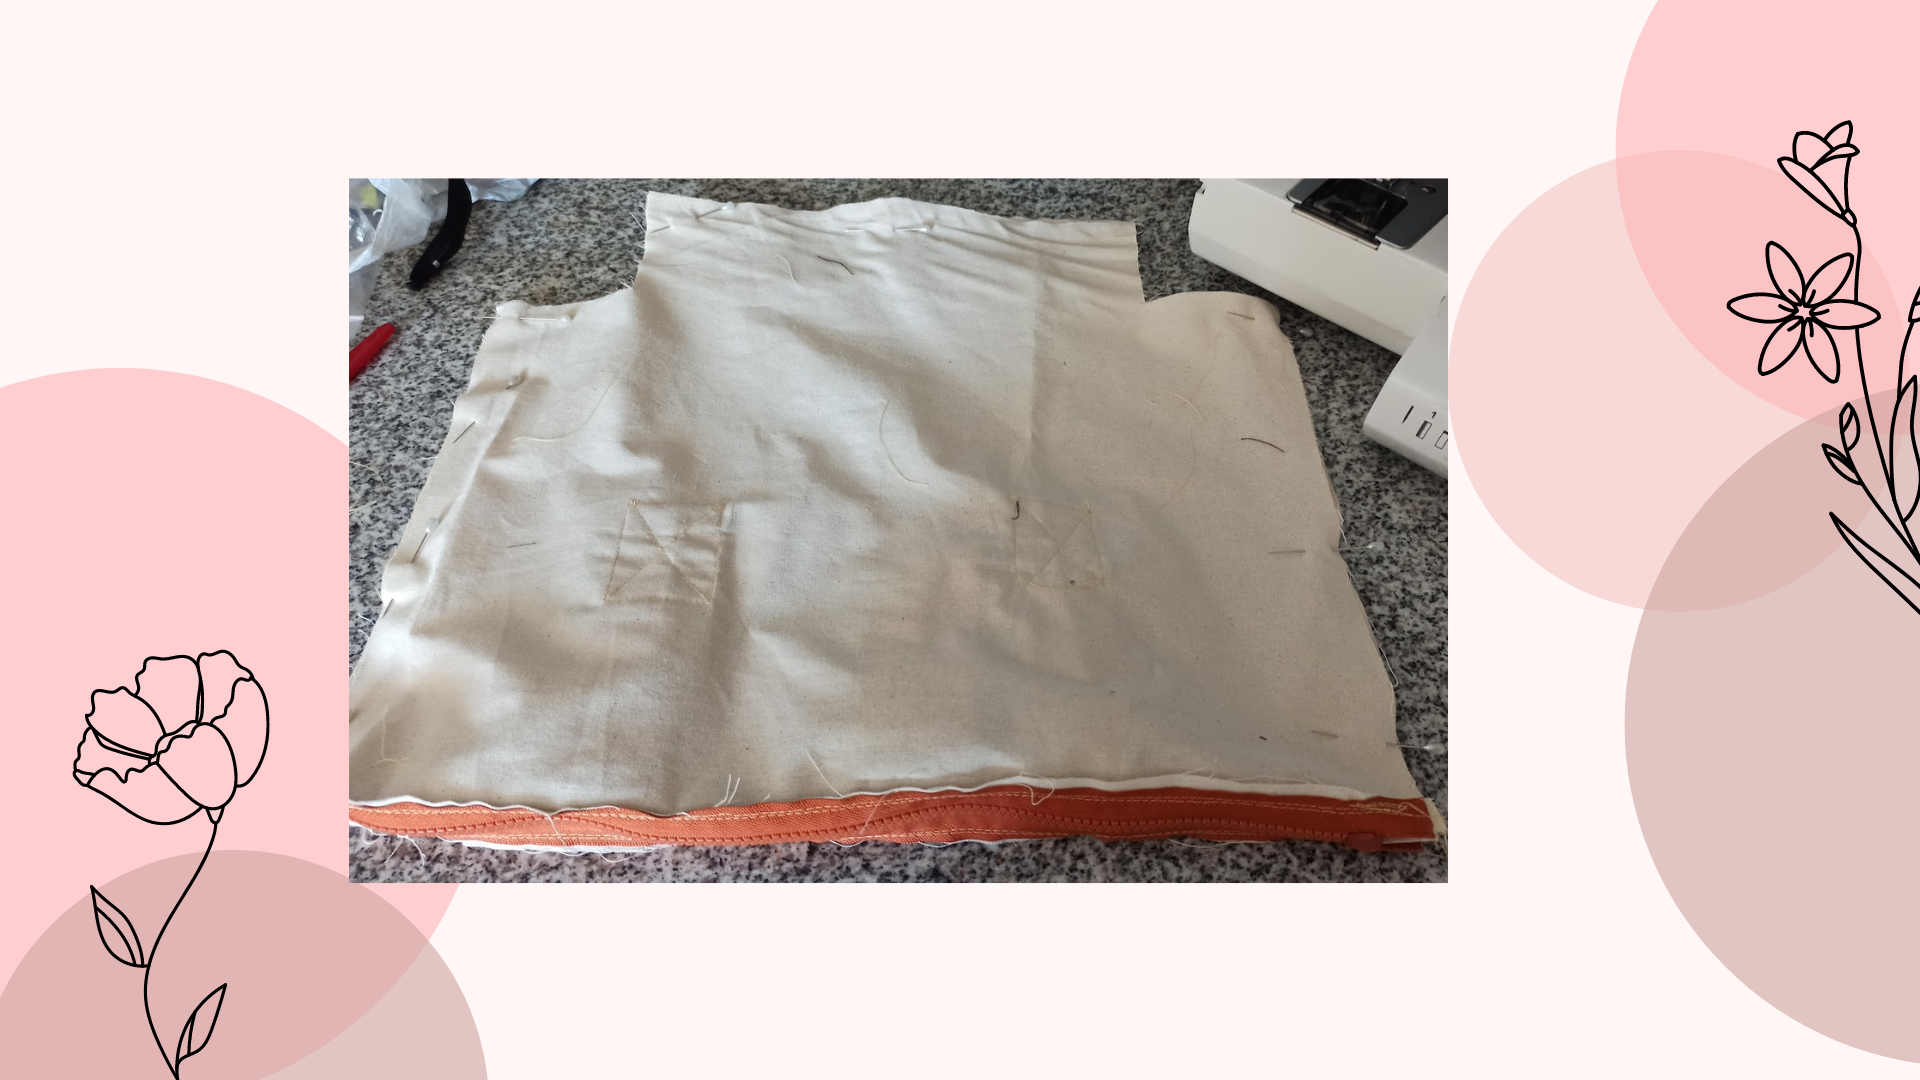
Then, I marked the pattern by folding the fabric in half, making 2 squares of 40 cm, at the bottom corners, I cut out 4 squares of 8 cm, this is the cut that will give it the smooth shape below. Then cut out 2 handles of about 70 cm by 10 cm each, which I folded and sewed straight and zig zag. Then I turned it over, before continuing, I ironed all the pieces a little bit.
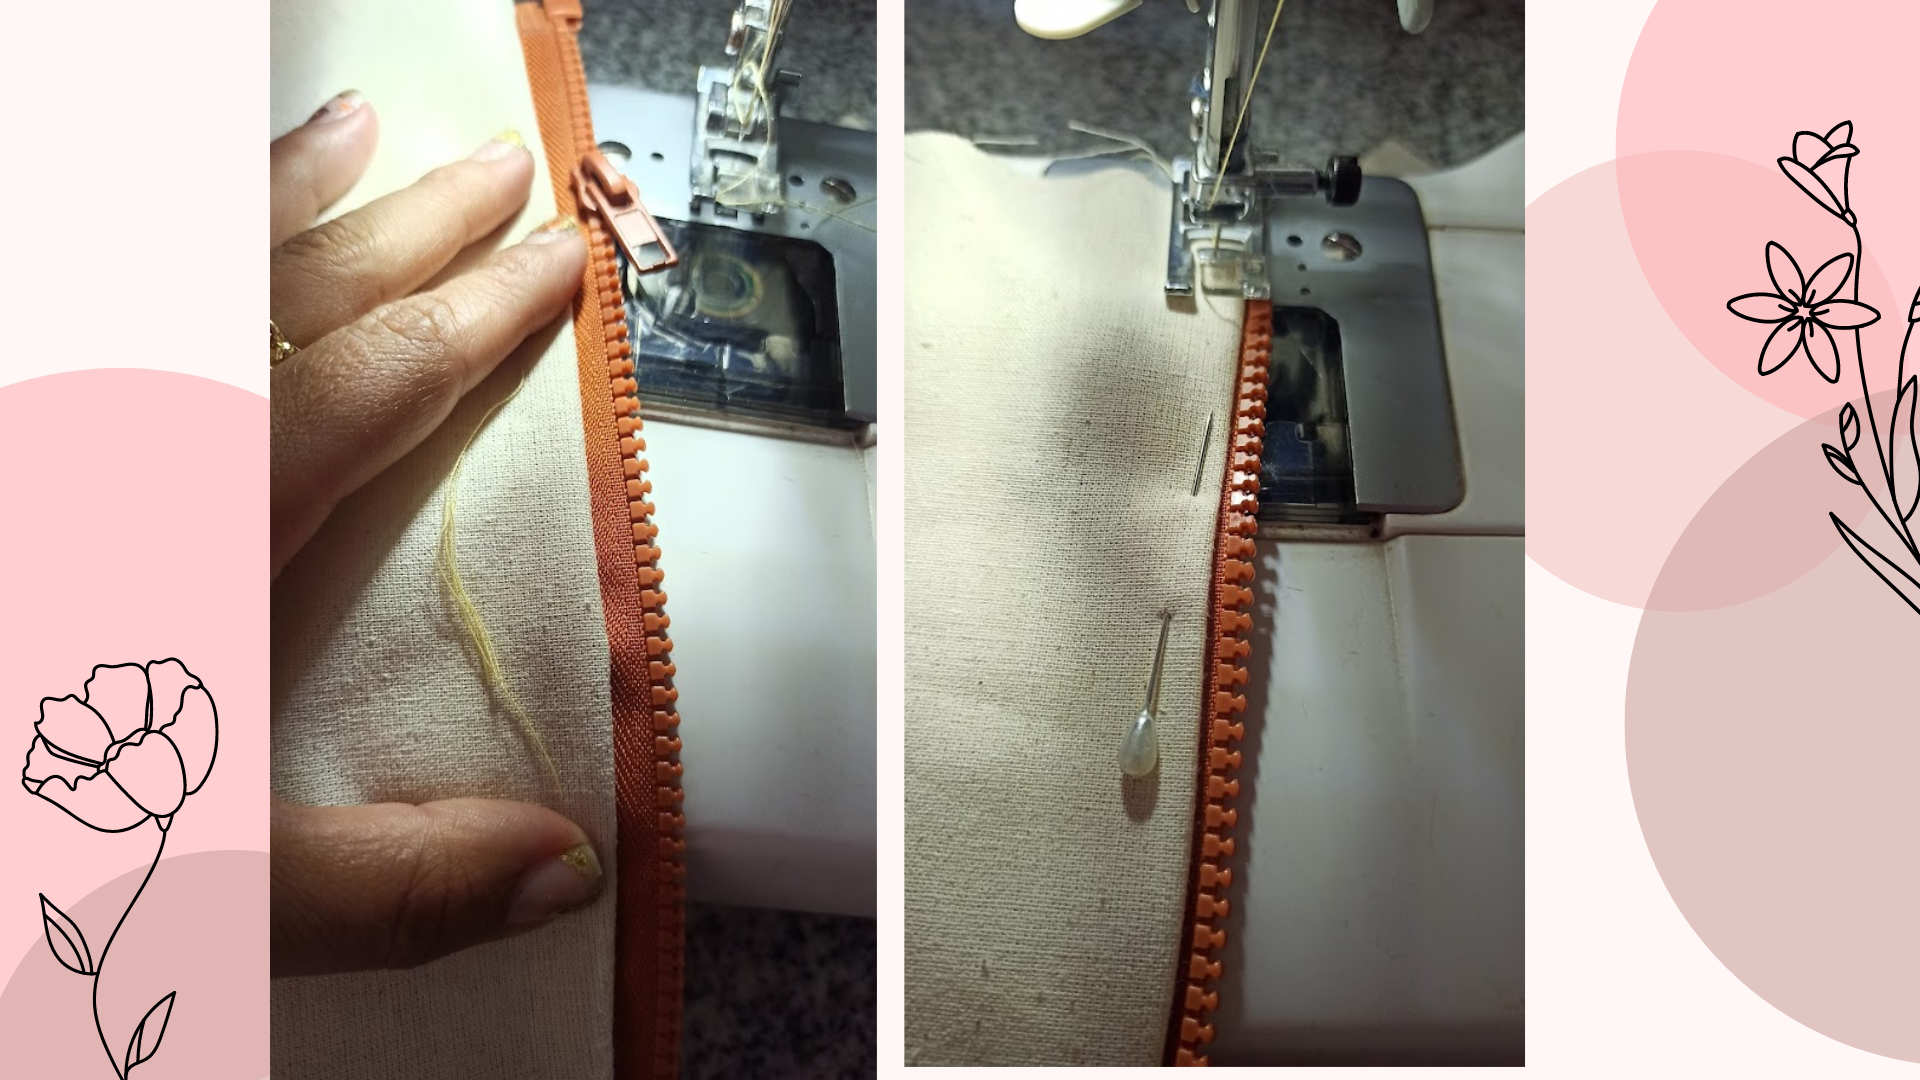
In this part on the upper edges, facing the right sides and with the help of pins, I fastened the zipper, joining the two parts, but to sew more comfortably, I opened the zipper, so I sewed first on the back side and then on the right side, sewing with a straight seam to fix the union.
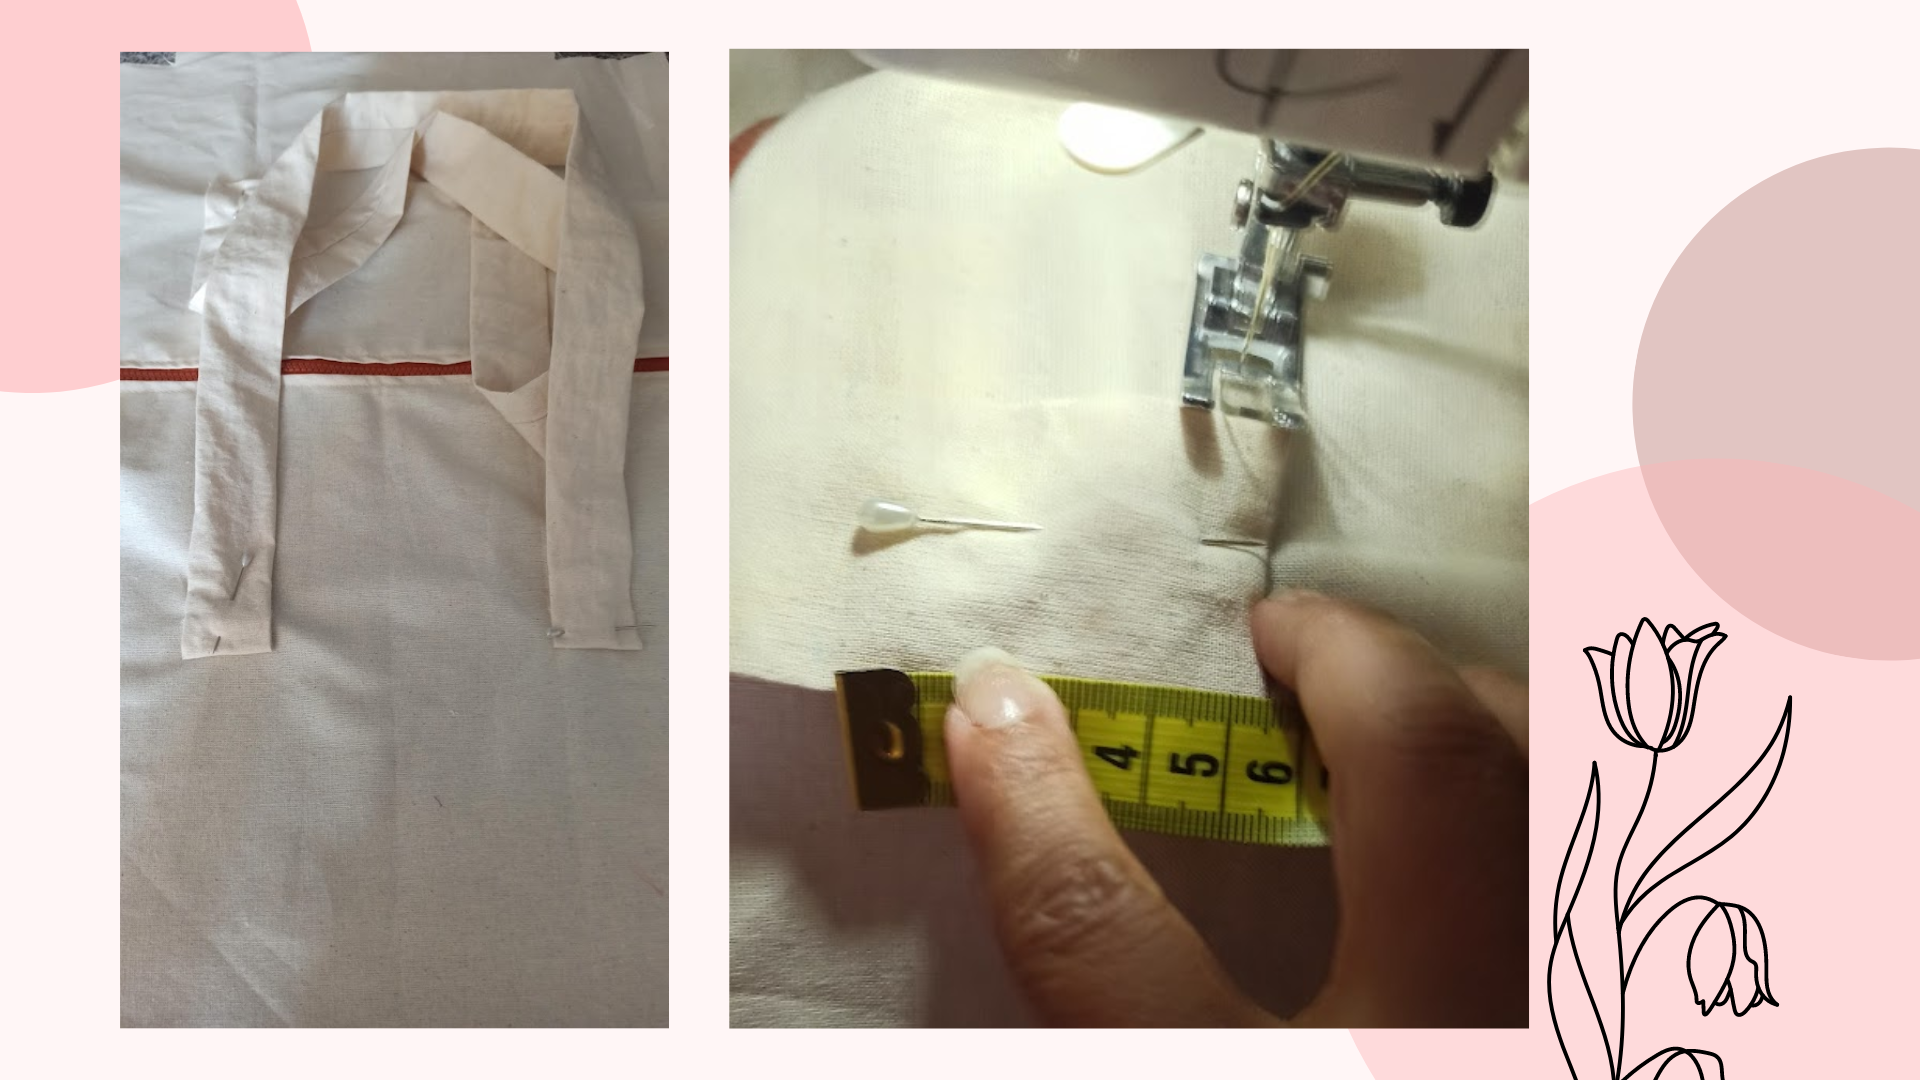

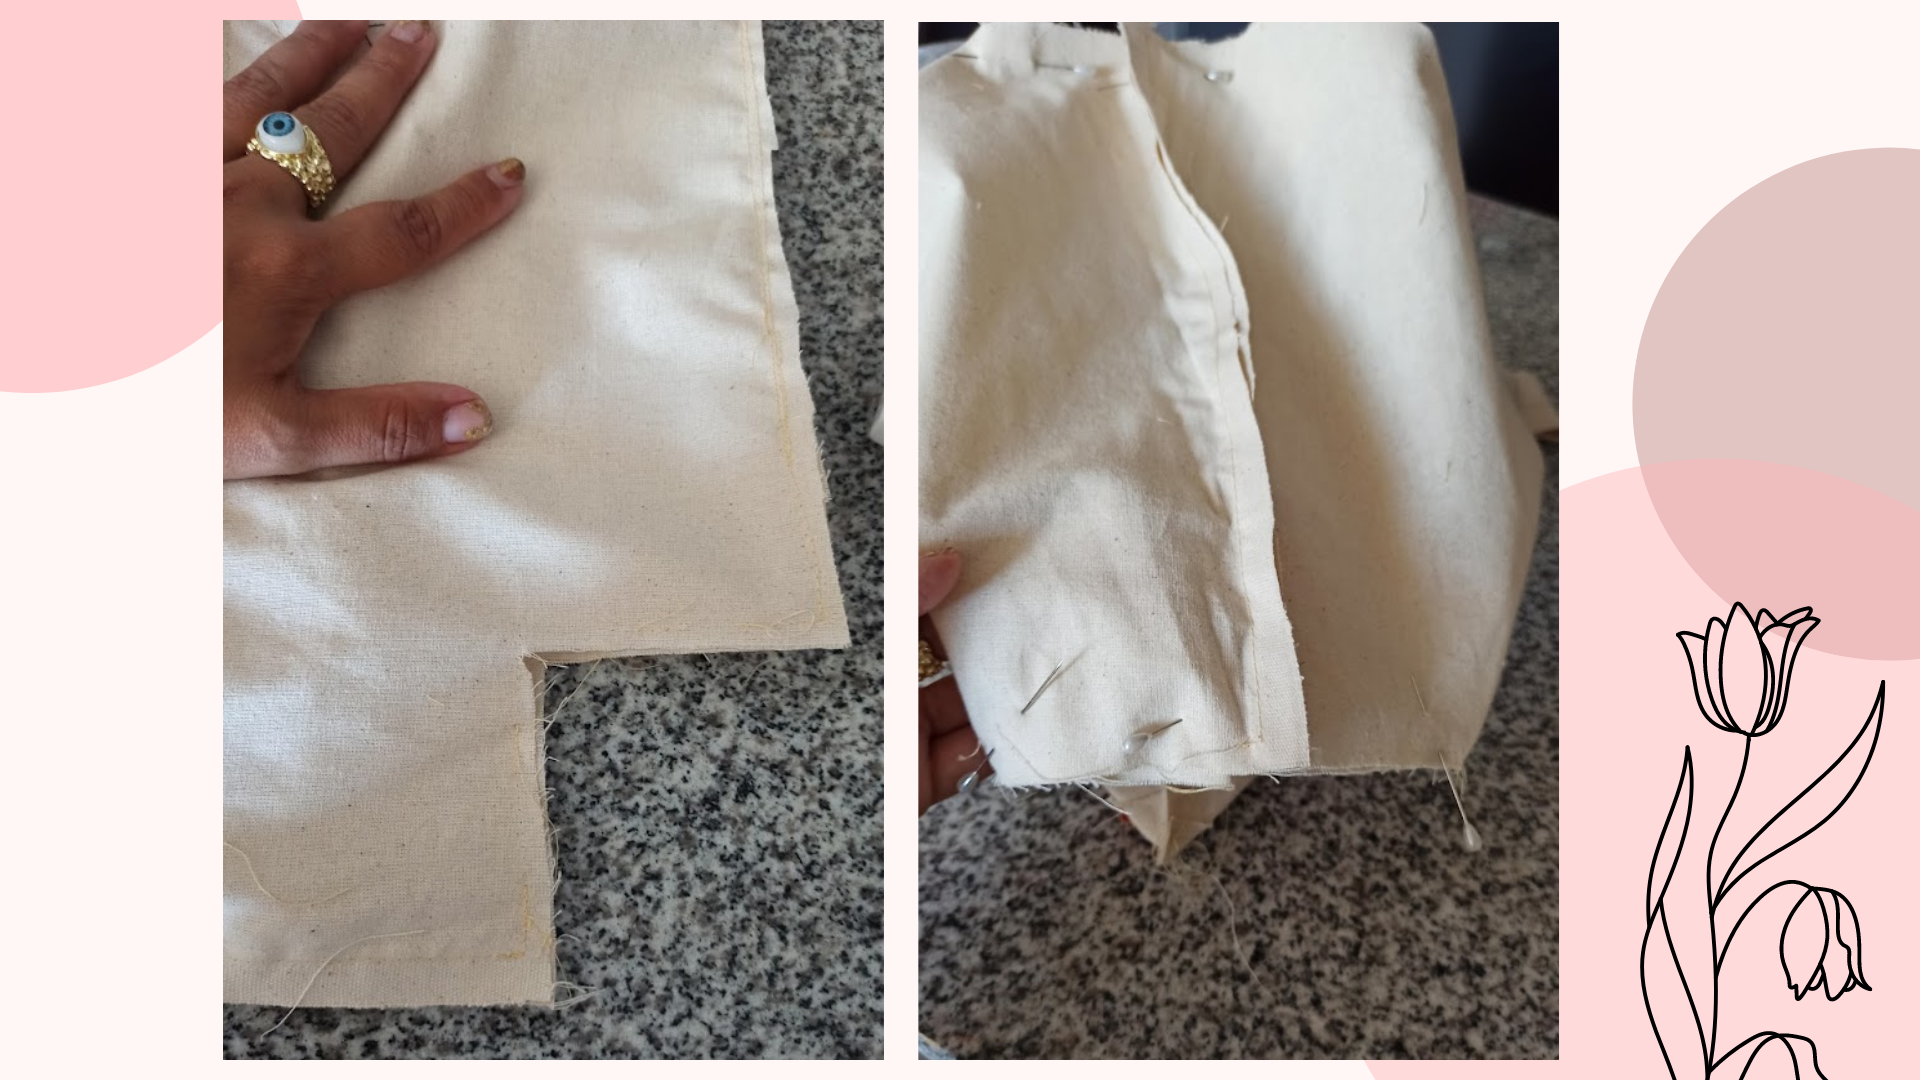
Now, with the help of the small soap, I marked the height where the handles will go, on the right side of the bag, then I pinned and sewed the handles in the shape of a cross, then I kept them, leaving the back side on the outside, to join everything together. In this way, I sewed the sides and the base, leaving the small squares open.
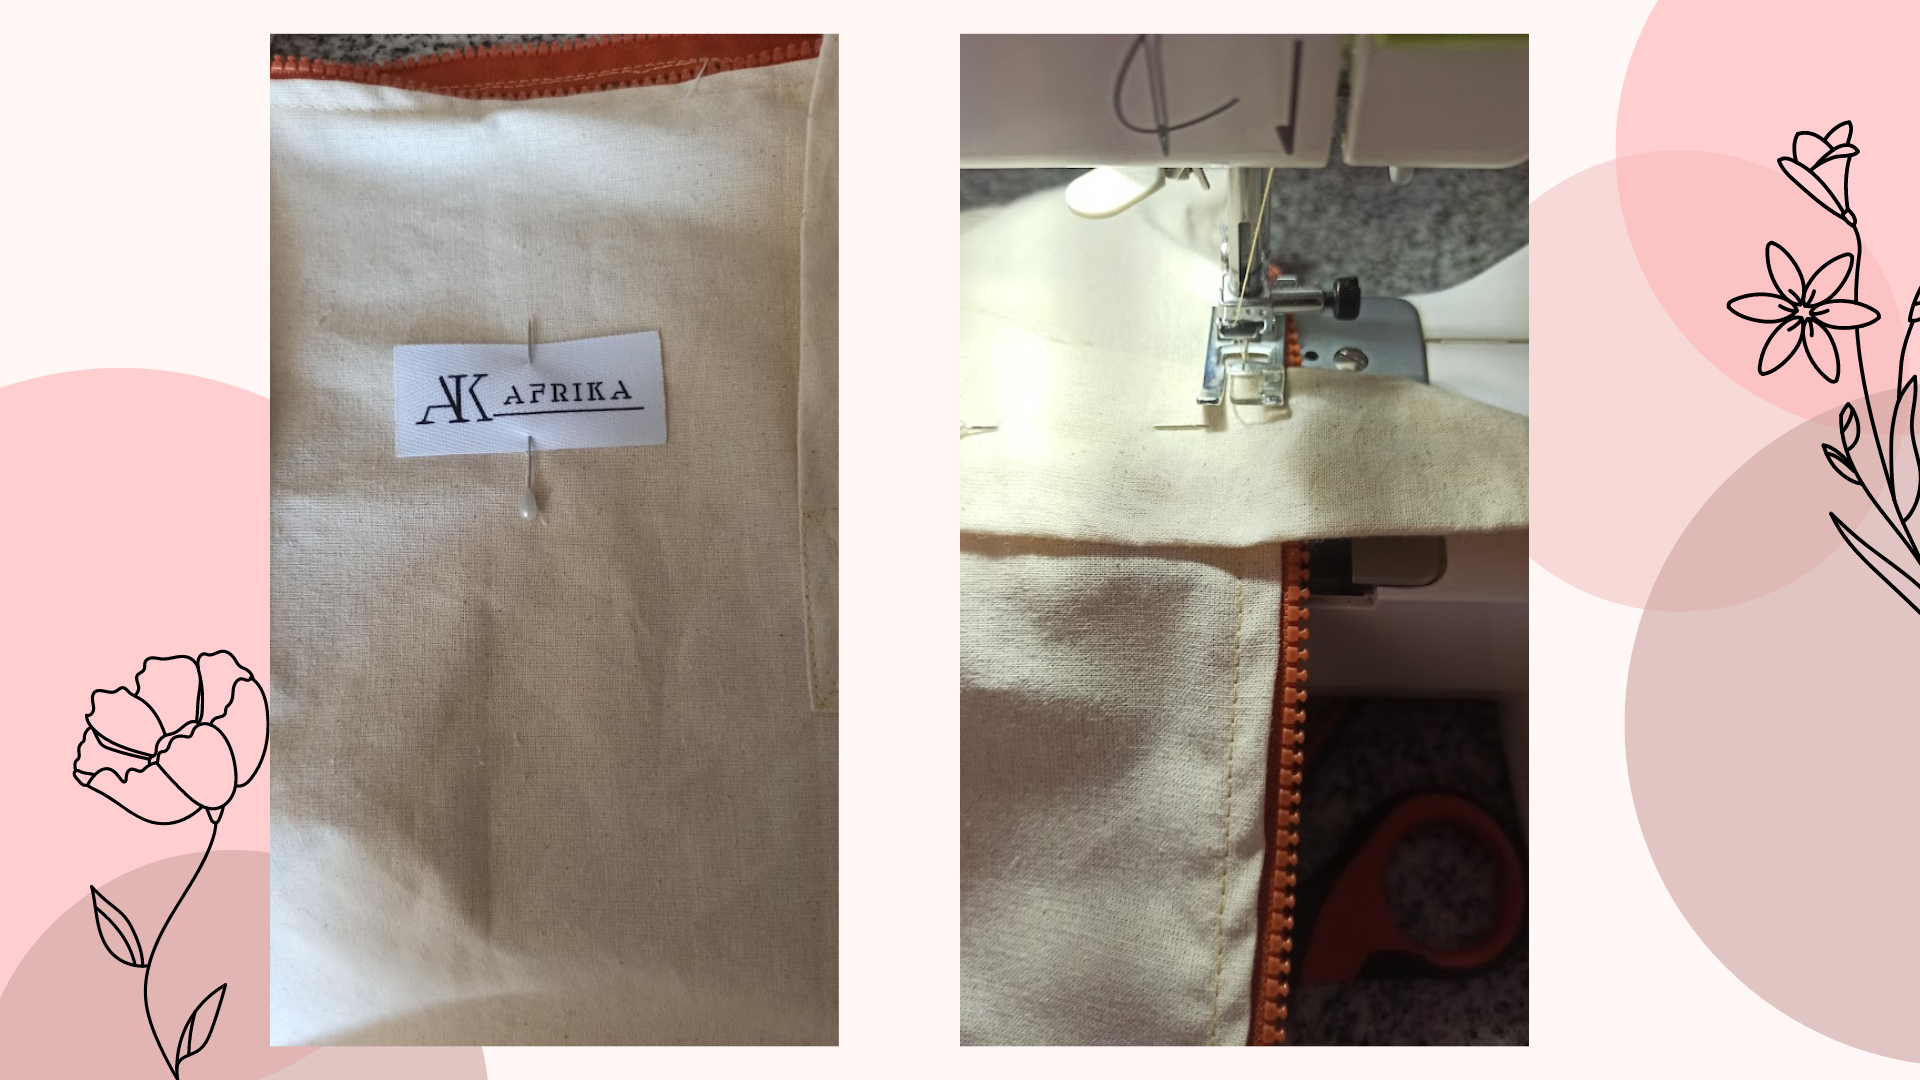
Then I opened the base, joining the corners to close them, there I sewed a straight seam and then a zig zag seam to secure. There I cleaned the excess threads and fabrics, to turn it over, for the final touch, first I adjusted the handles near the closure, leaving a space, like a channel, then, I sewed my name tag, to finally give it the final touch, crossing a strap of flowered fabric through the channel.
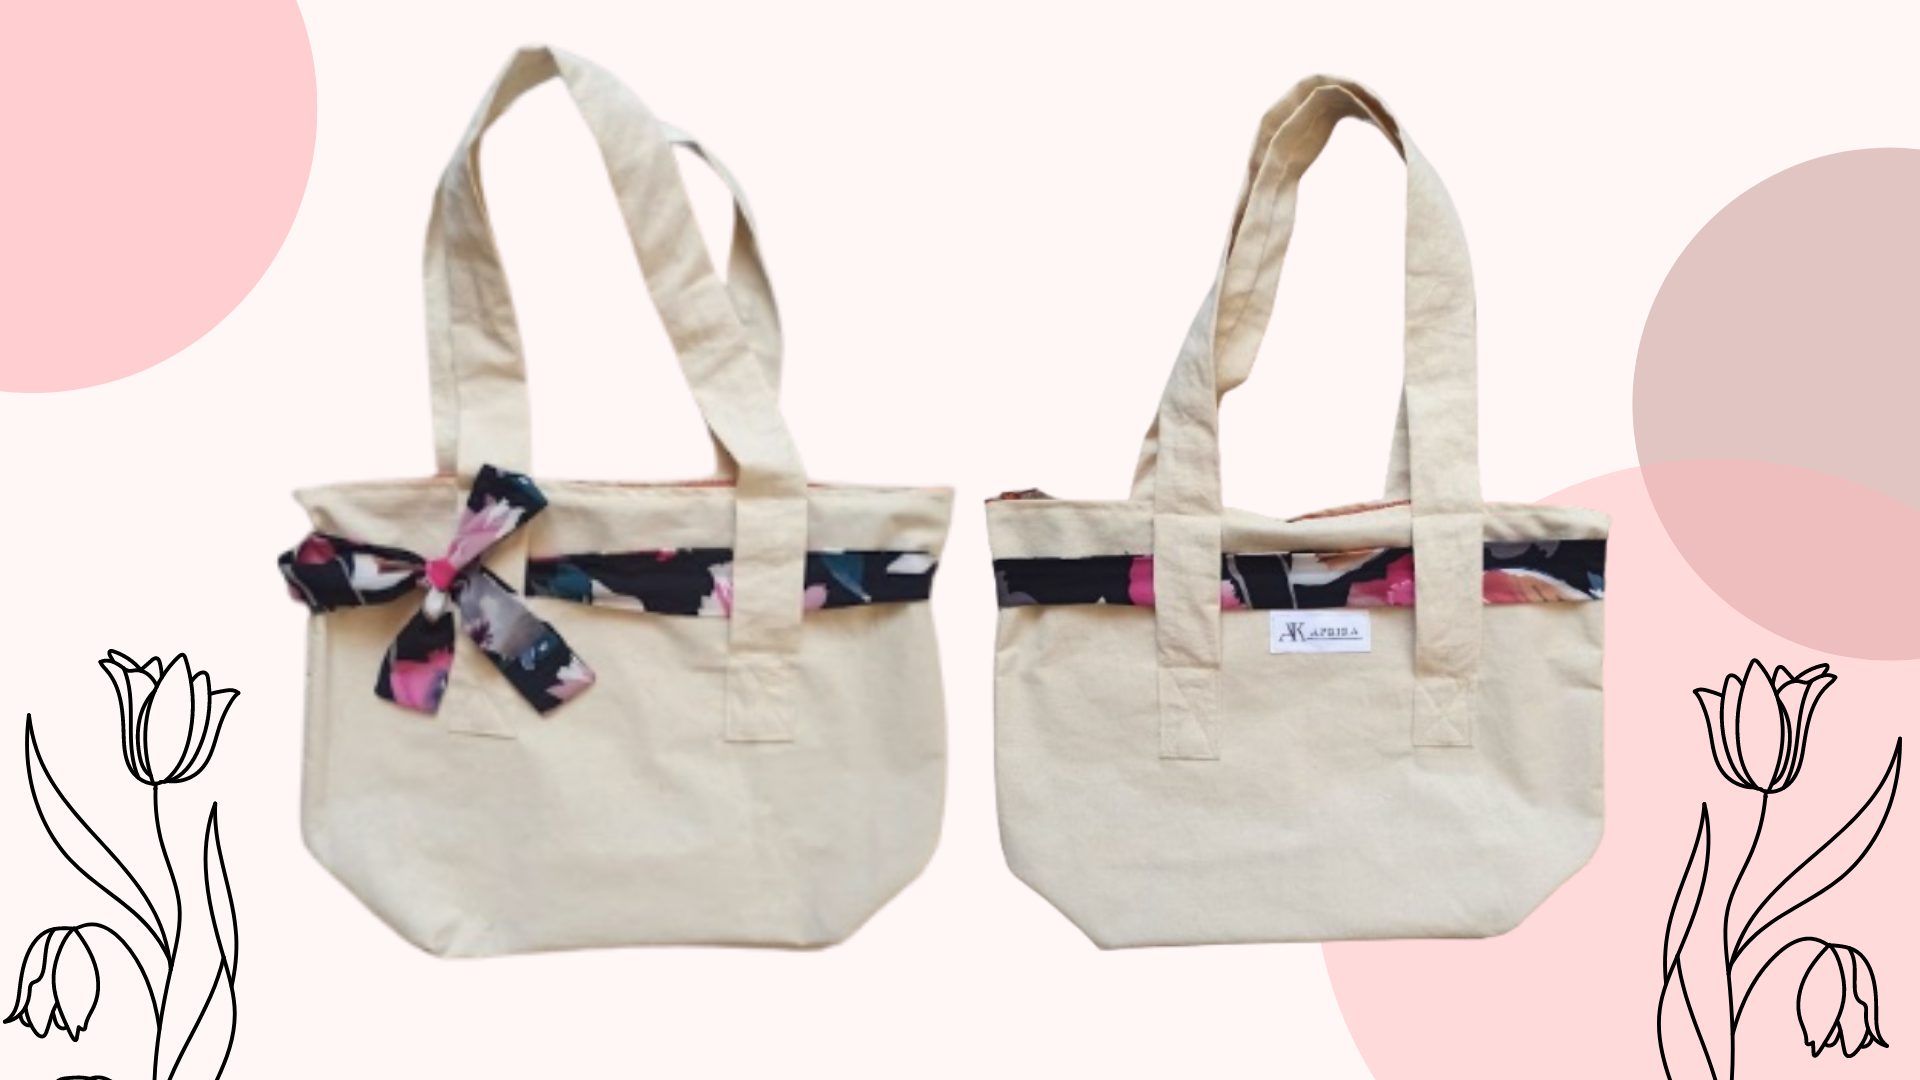
So finally the drawstring bag is ready, because you can use endless straps to decorate it. What do you think? With it I will go to the meeting with my friends. Thanks hivers and needleworkers. I'll be waiting for you in the comments, the photos are personal record and edited in canva.
Hola @afrikablr, que maravilla encontrarme con este post, hace semanas que me quiero hacer un bolso de este estilo, sin embargo no he conseguido una tela similar a la tela cruda. Tu idea me gusta mucho. Te deseo mucho éxito en todo lo que emprendas. Un abrazo. 🤗
Hola Katty, gracias. Yo me he dado cuenta que las de tapicería son mejores para estos trabajos🌟
First of I like how you used both zip and drawstring for the bag
That’s awesome creative at its peak
I love the bag and I’ll try and follow your simple tutorial to make mine.
I hope to see it, thanks a lot.