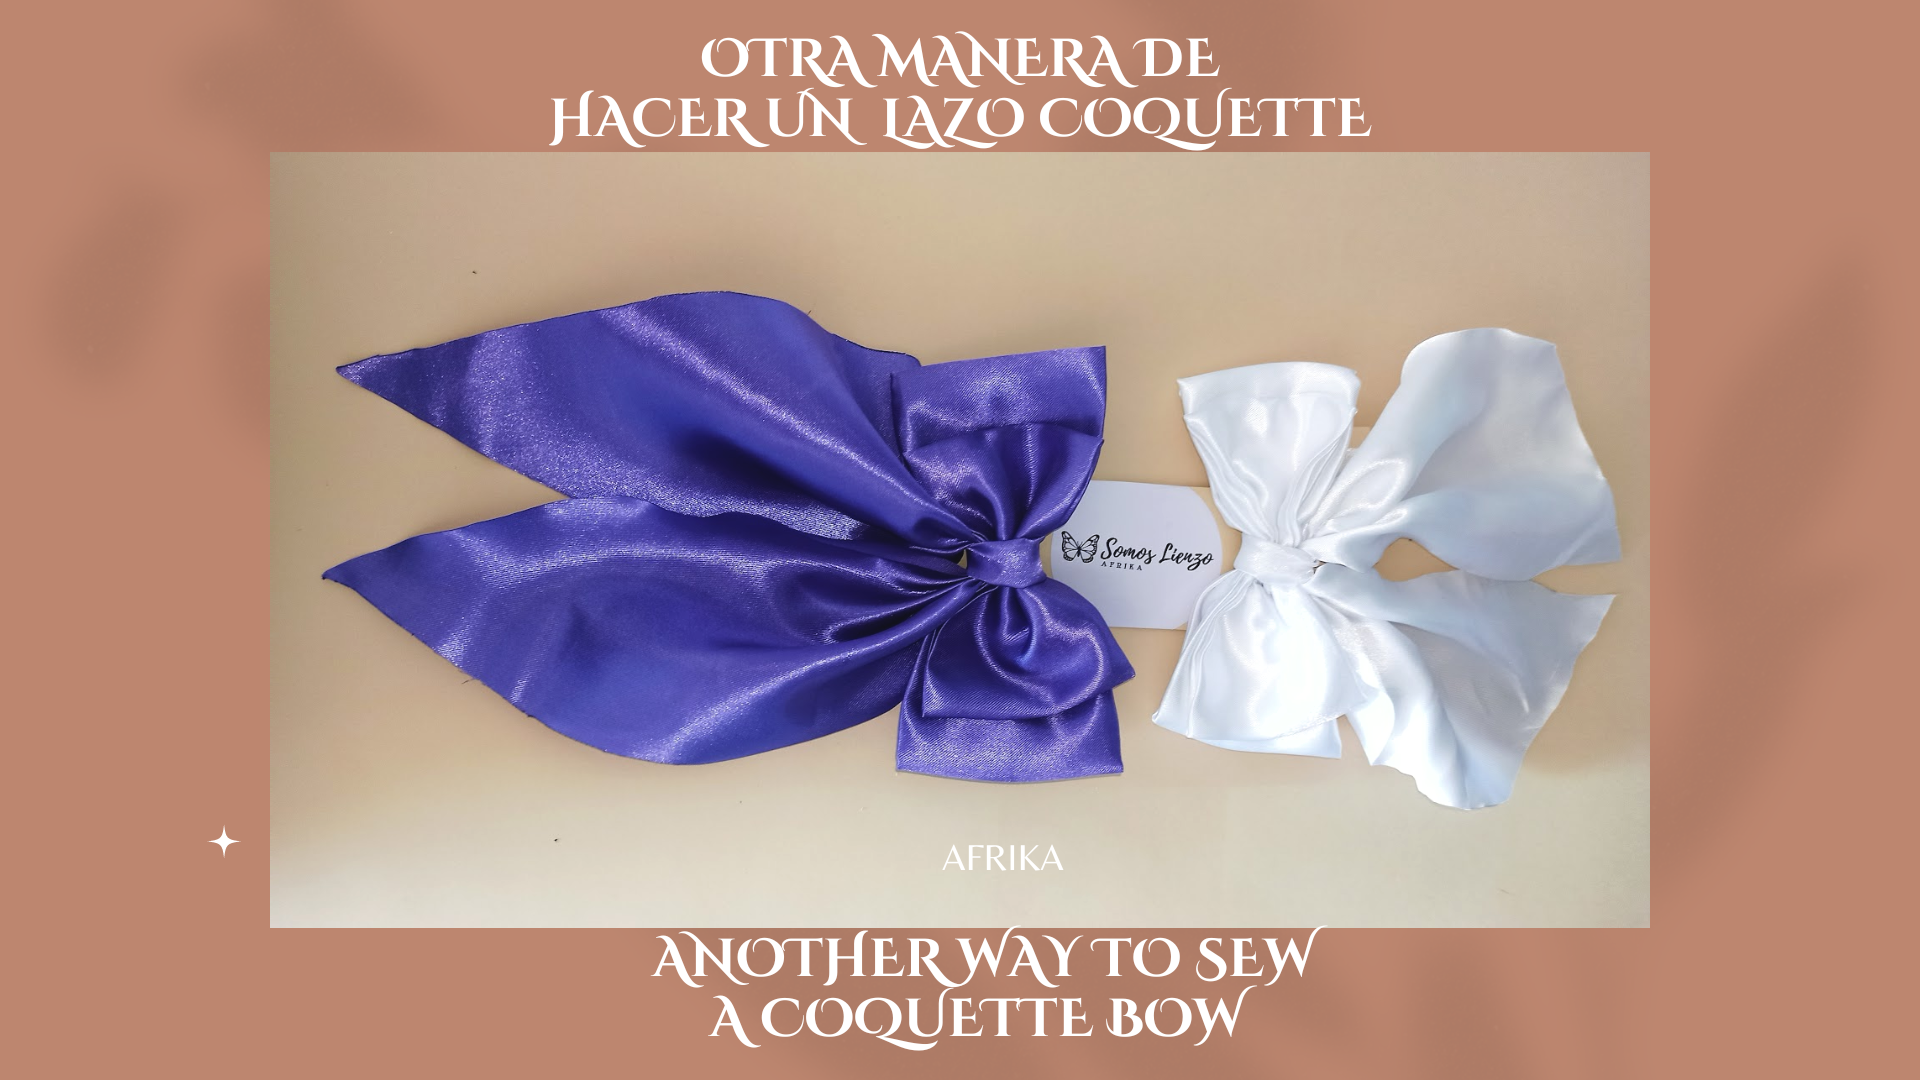
Hola needleworkers, paso a paso por este lado estoy retomando la costura con más constancia. Y, esta moda coquette creo ha sido determinante en la disciplina, pues cada día veo más contenido relacionado en cómo hacer múltiples lazos. Esta vez les traigo un tutorial de como hacer el moño doble de una forma más sencilla y rápida, si estás pensando en comercializarlos.
Hello needleworkers, step by step on this side I am taking up sewing with more constancy. And, this coquette fashion I think has been determinant in the discipline, because every day I see more content related to how to make multiple bows. This time I bring you a tutorial on how to make the double bow in a simpler and faster way, if you are thinking of marketing them.
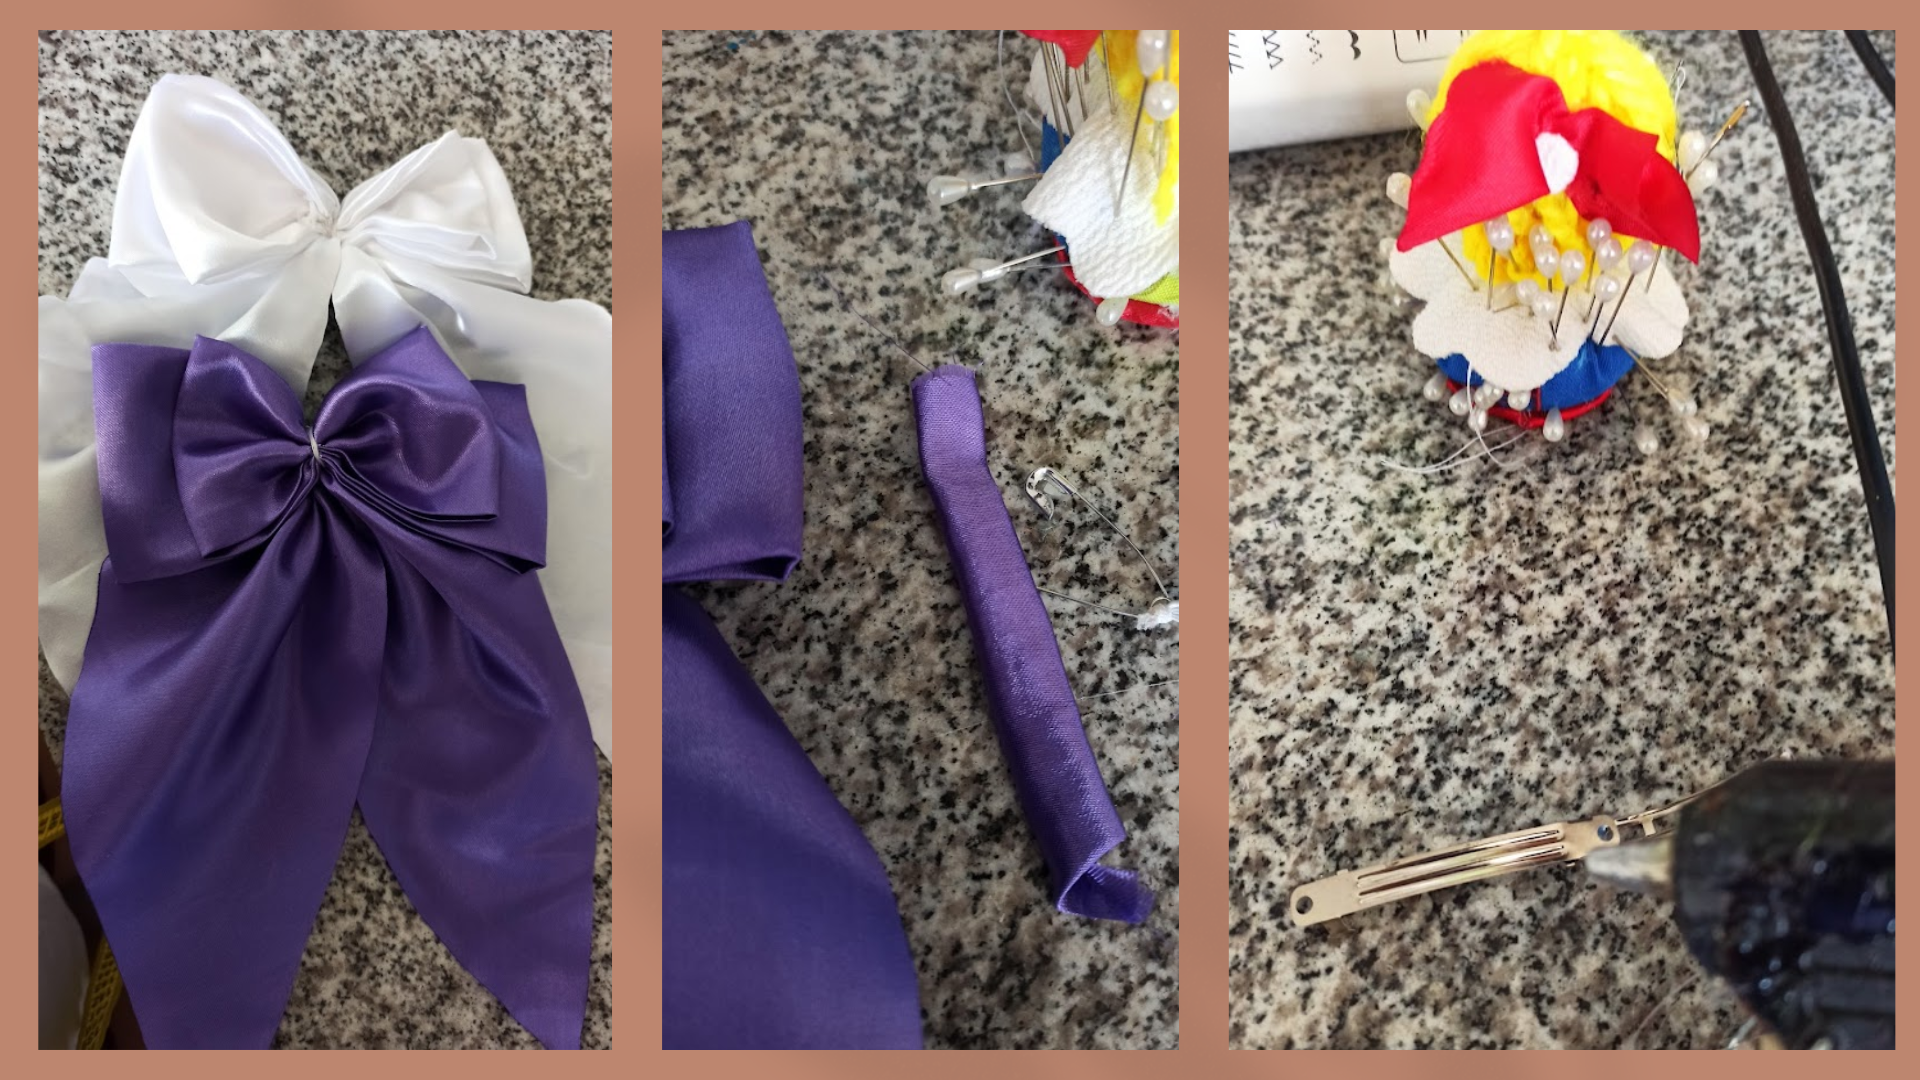
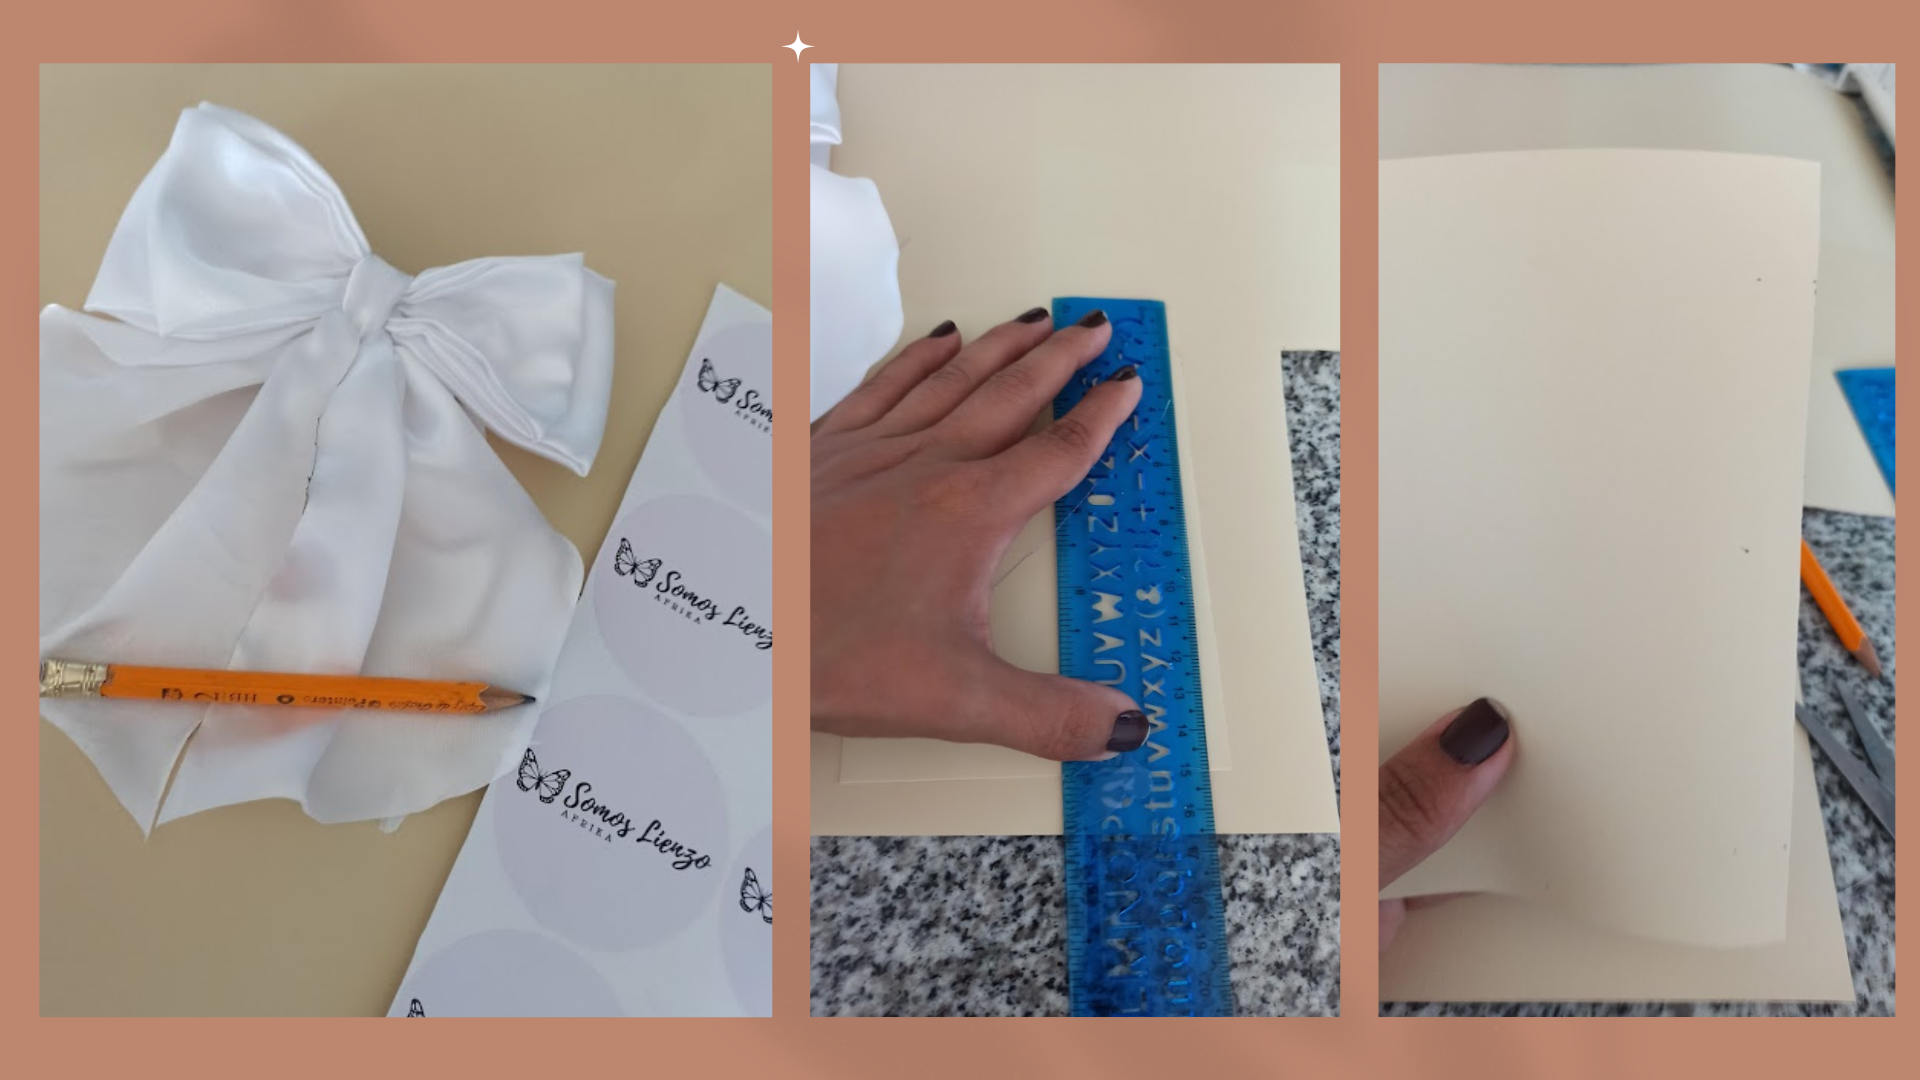
Para hacerlos, yo estoy usando tela razo y santín, cinta métrica, tijeras, silicón caliente, la hebilla donde va sujeto el moño, hilos, alfileres, máquina de coser y la plancha, porque definitivamente es lo que le da el acabado profesional a las prendas. Antes de medir y cortar, lo primero fue estirar las telas y plancharlas.
To make them, I am using razo and santin fabric, measuring tape, scissors, hot silicone, the buckle where the bow is attached, threads, pins, sewing machine and iron, because it is definitely what gives the professional finish to the garments. Before measuring and cutting, the first thing to do was to stretch the fabrics and iron them.
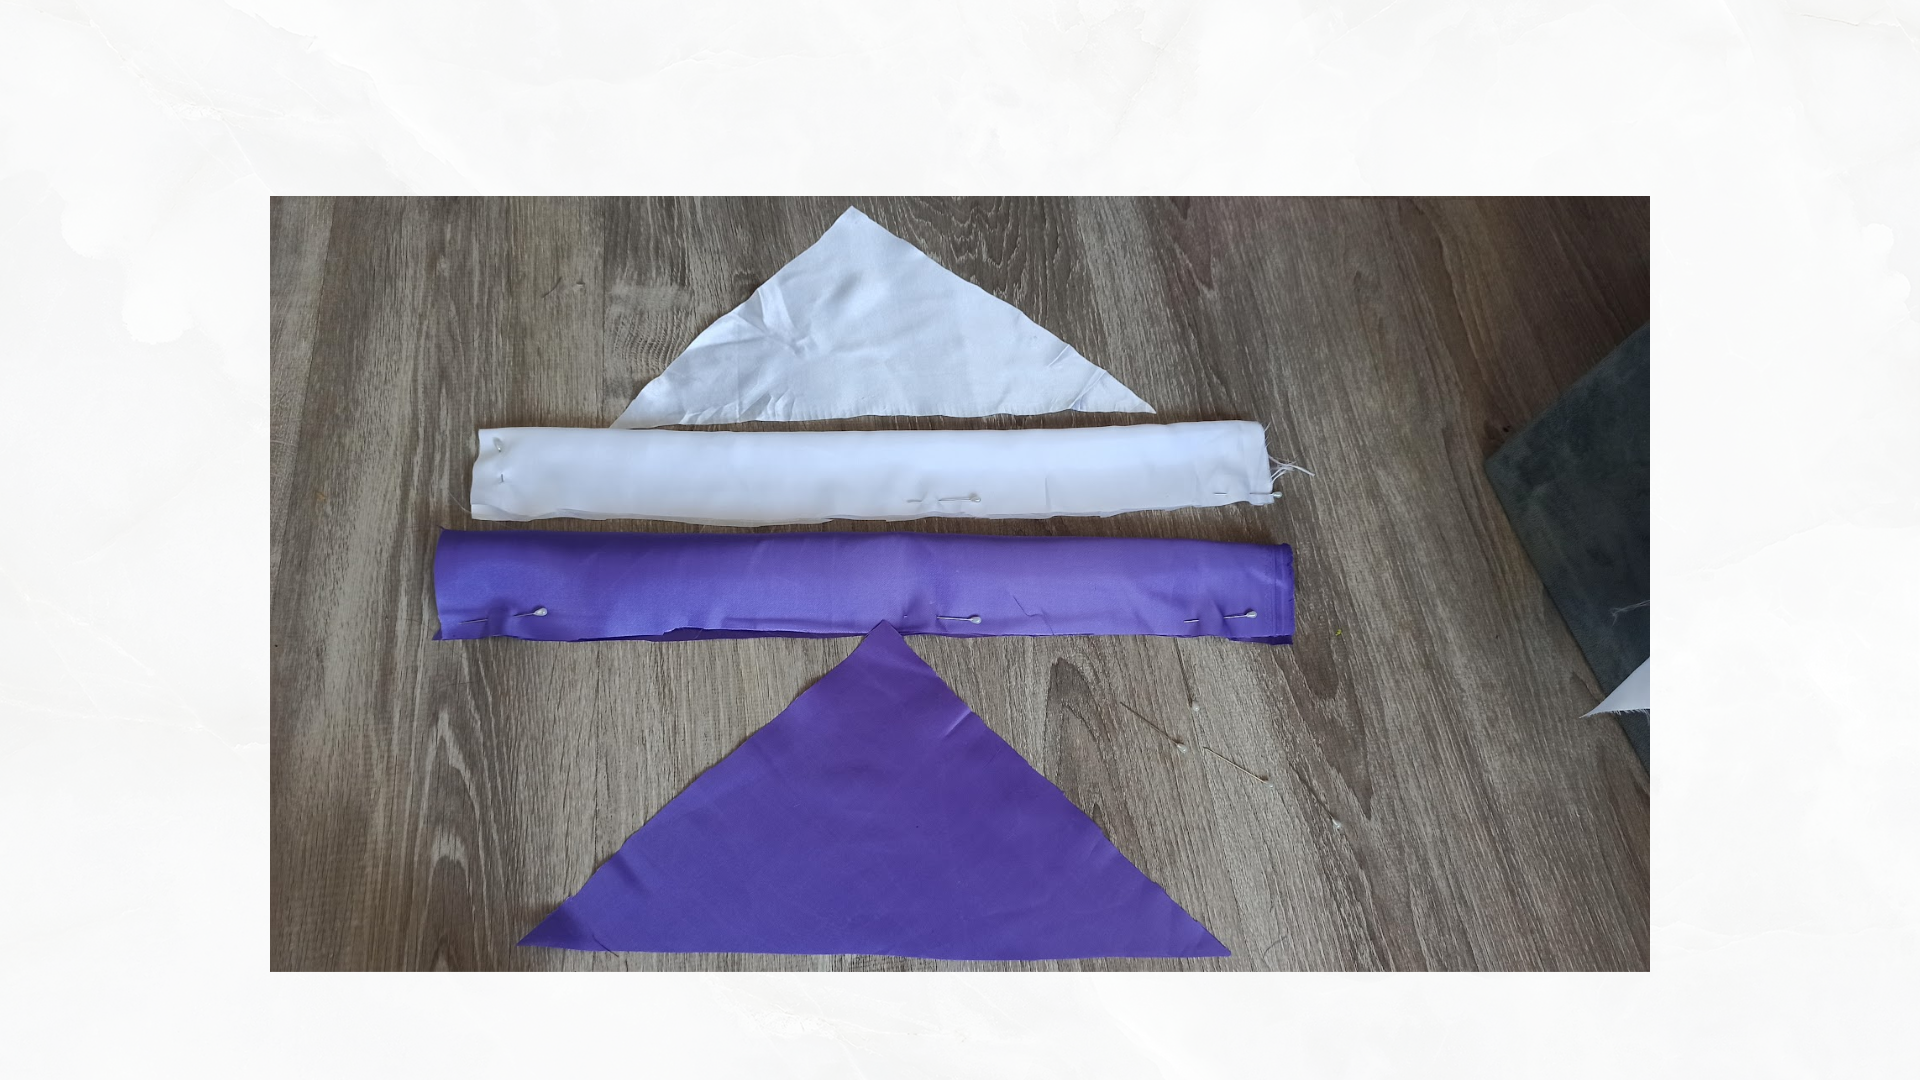
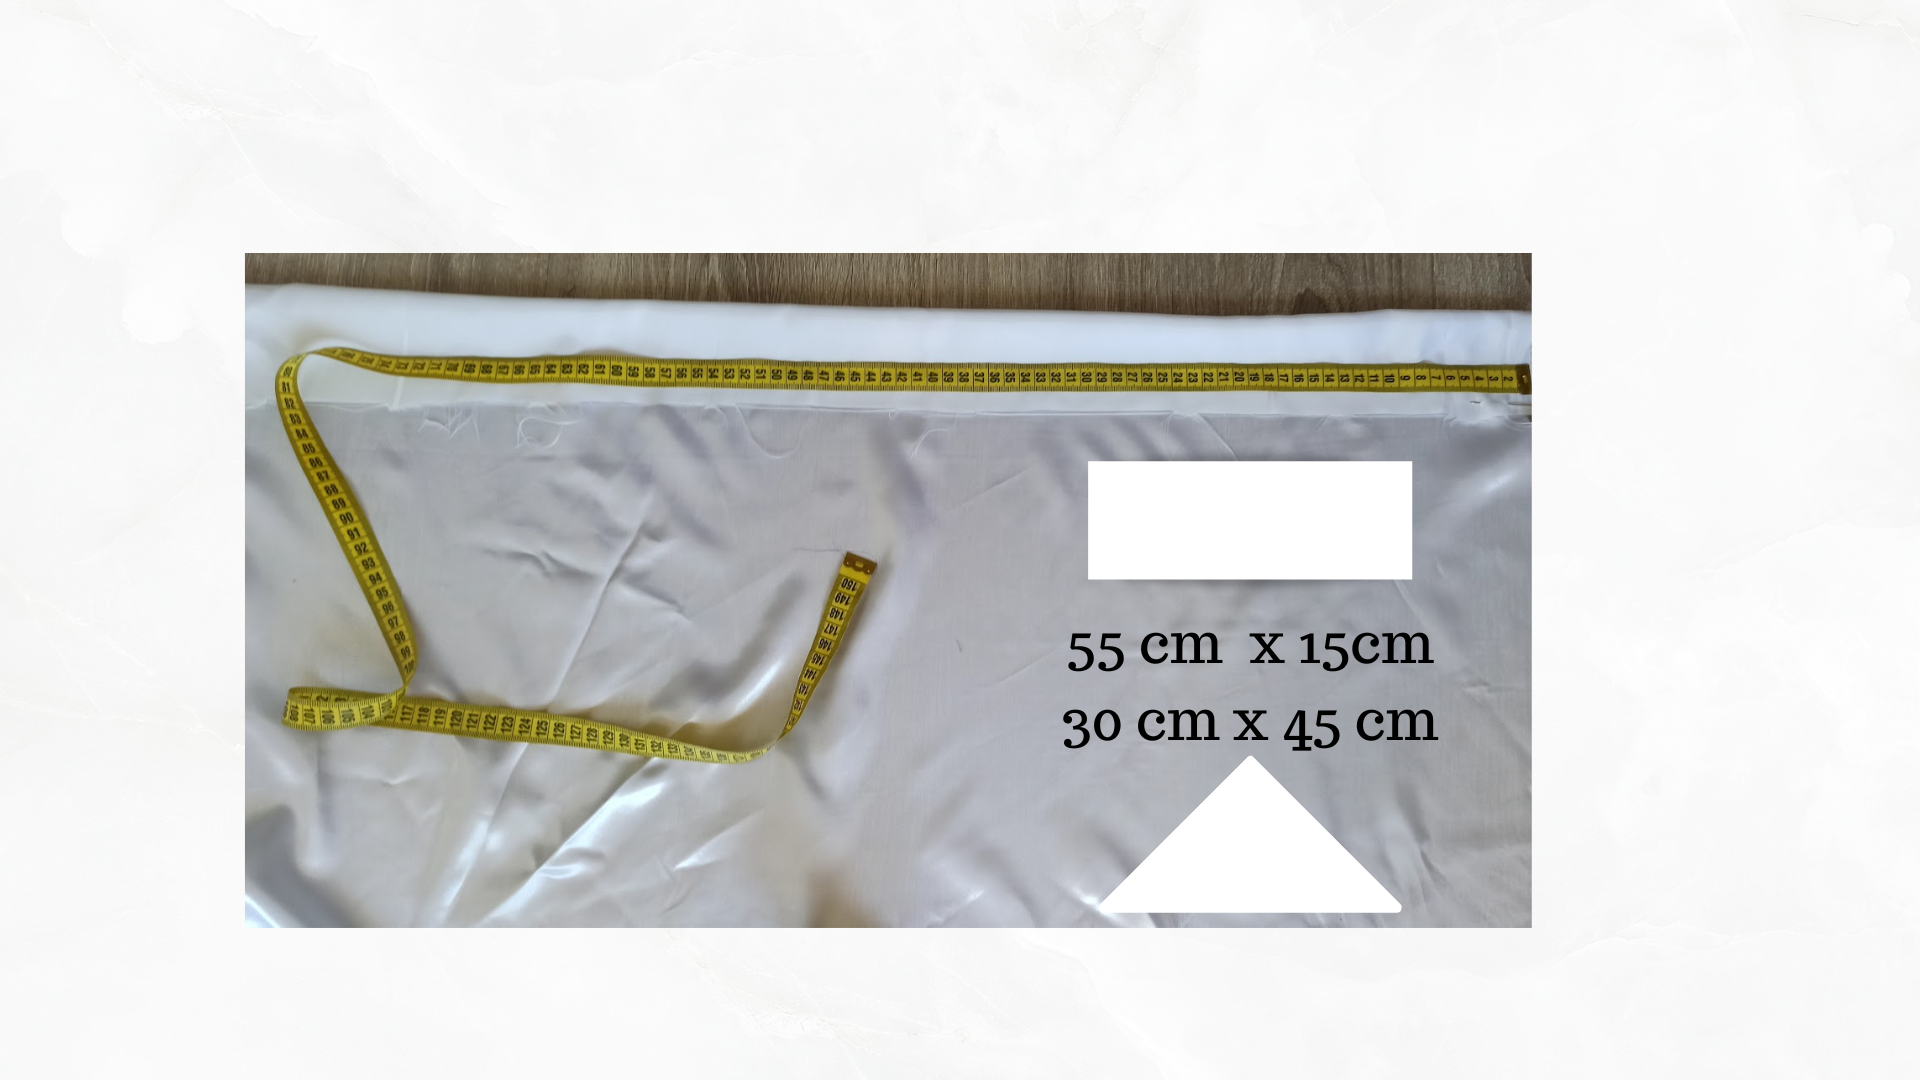
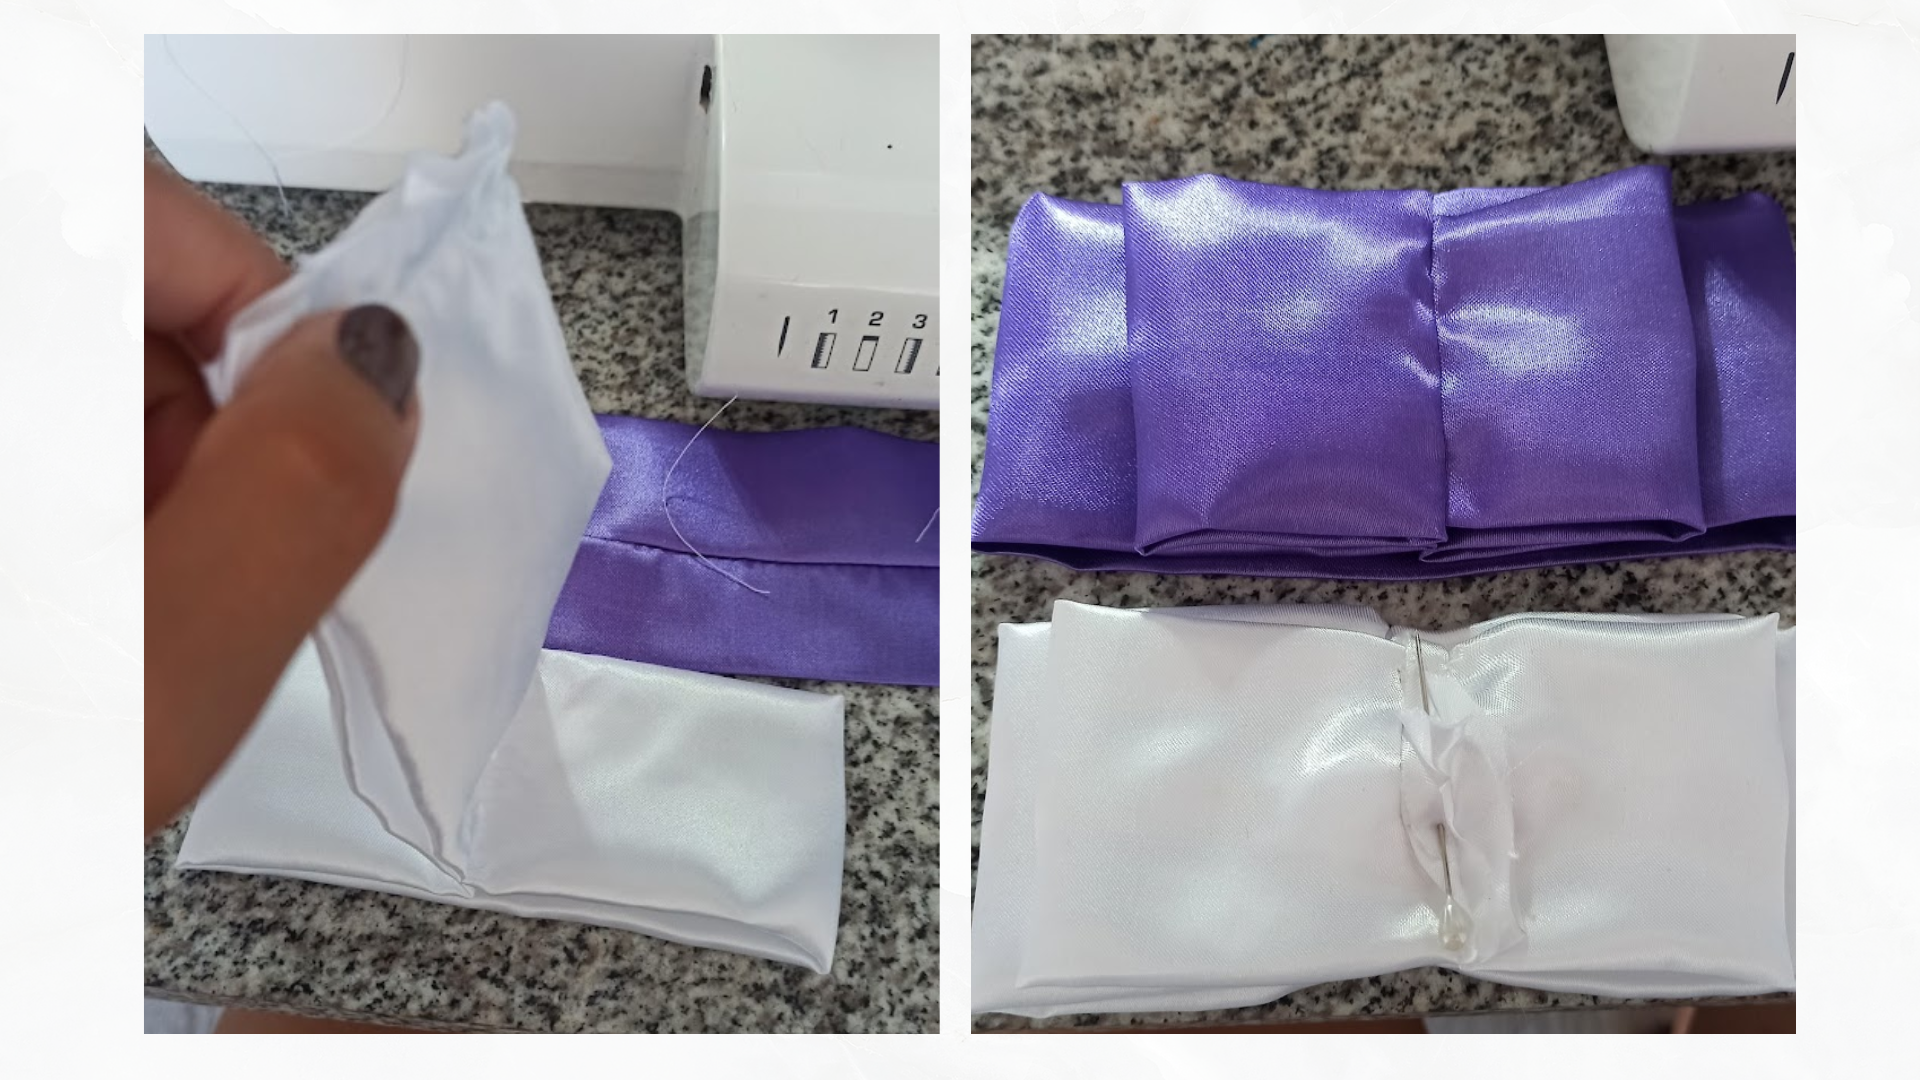
Una vez toda estirada bien la tela, corto 1 rectángulo de 55 cm de largo y 15 cm de ancho, un triángulo de base 30 cm y 45 cm de altura, sujeté todo con alfileres, enfrentando los derechos, le pasé una costura recta a los rectángulos, luego le di la vuelta, dejando la línea de la costura en el medio, le pasé una plancha.
Once all the fabric is well stretched, I cut 1 rectangle of 55 cm long and 15 cm wide, a triangle of 30 cm base and 45 cm height, I pinned everything with pins, facing the rights, I passed a straight seam to the rectangles, then I turned it over, leaving the line of the seam in the middle, I passed an iron.
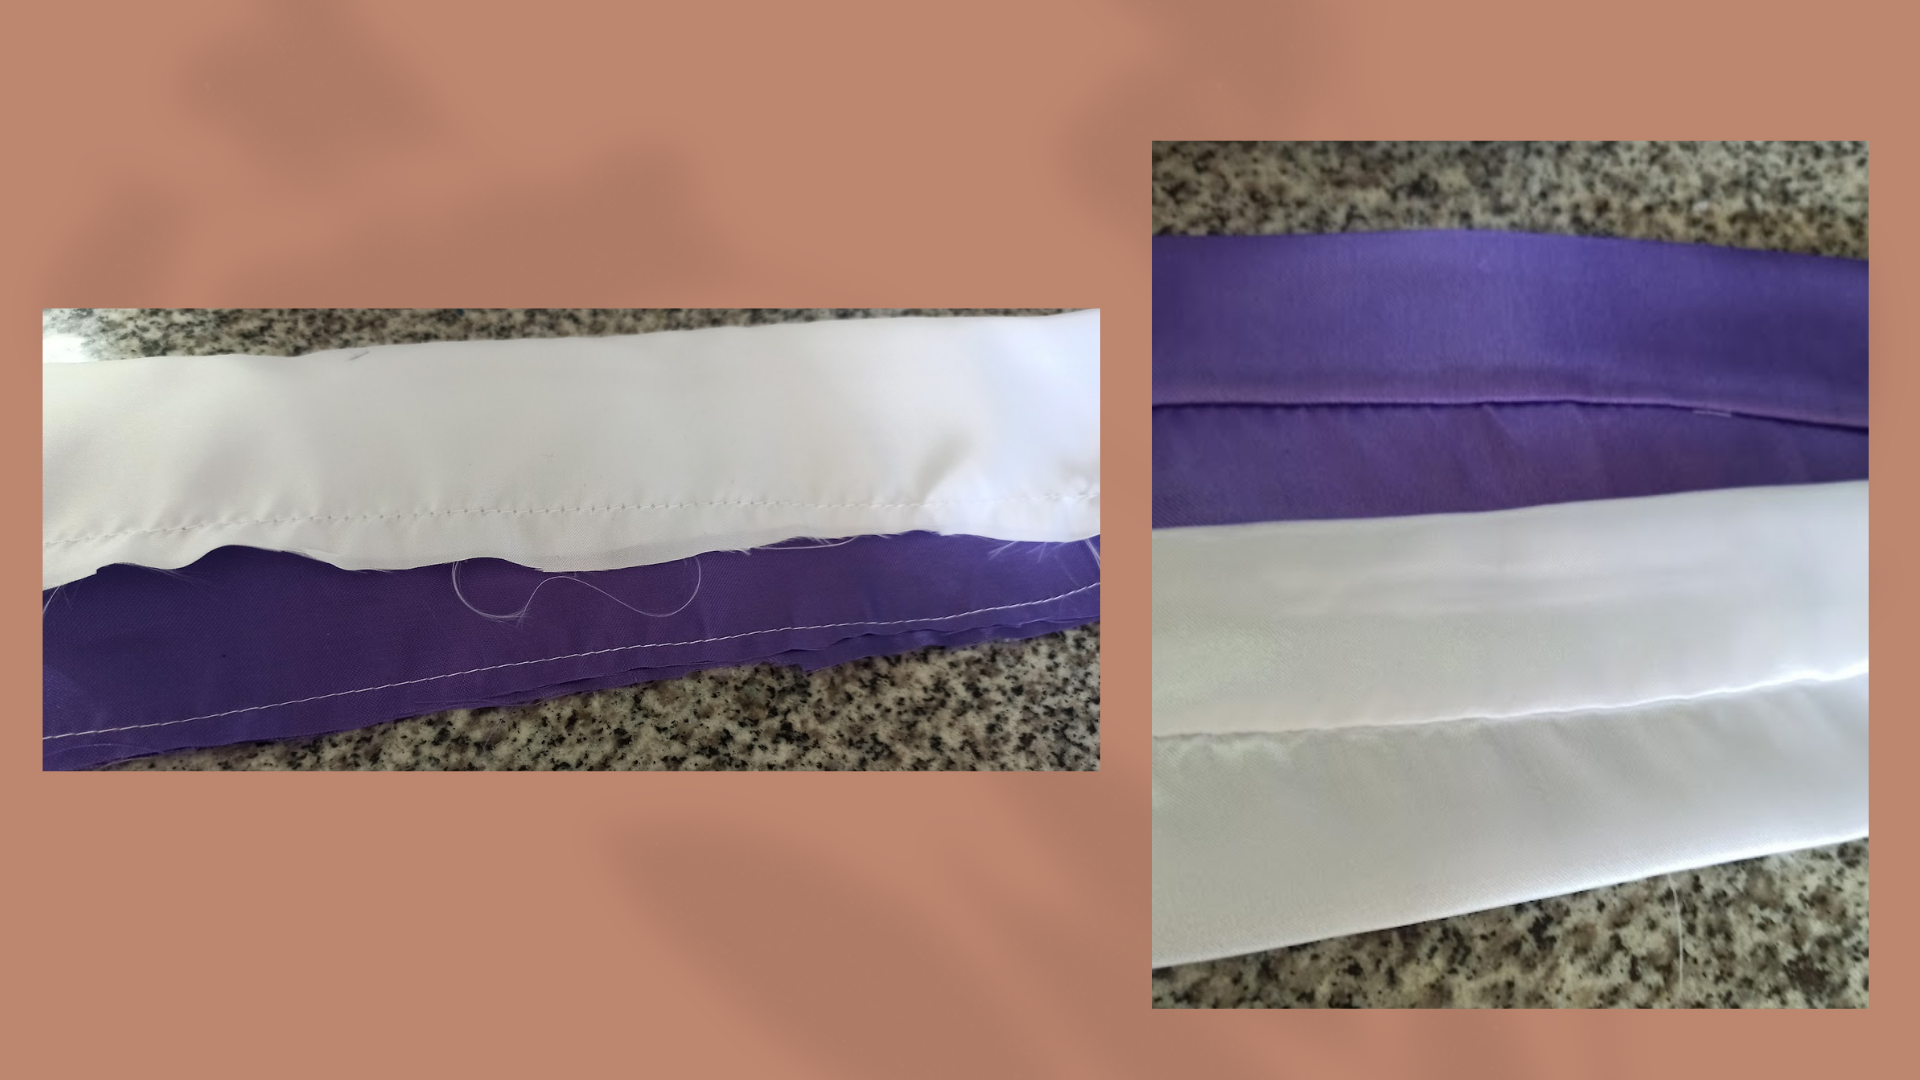
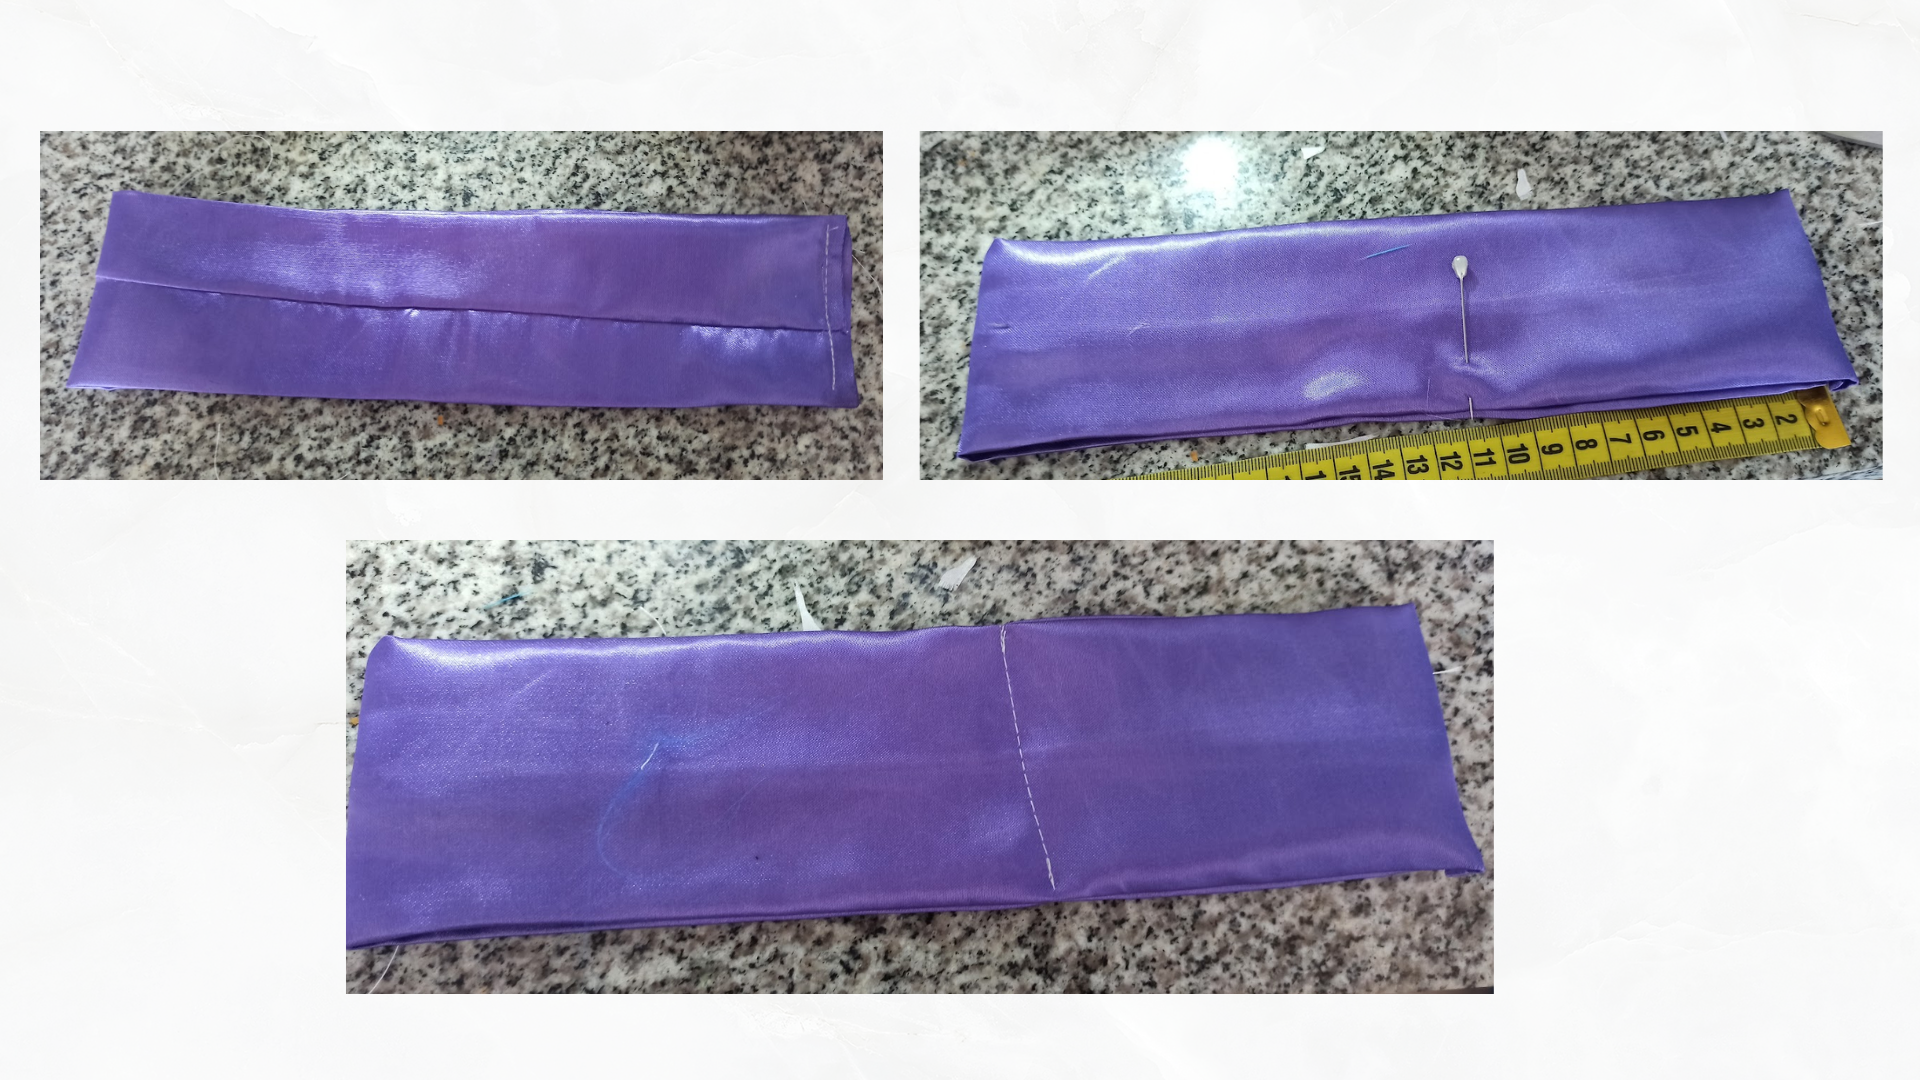
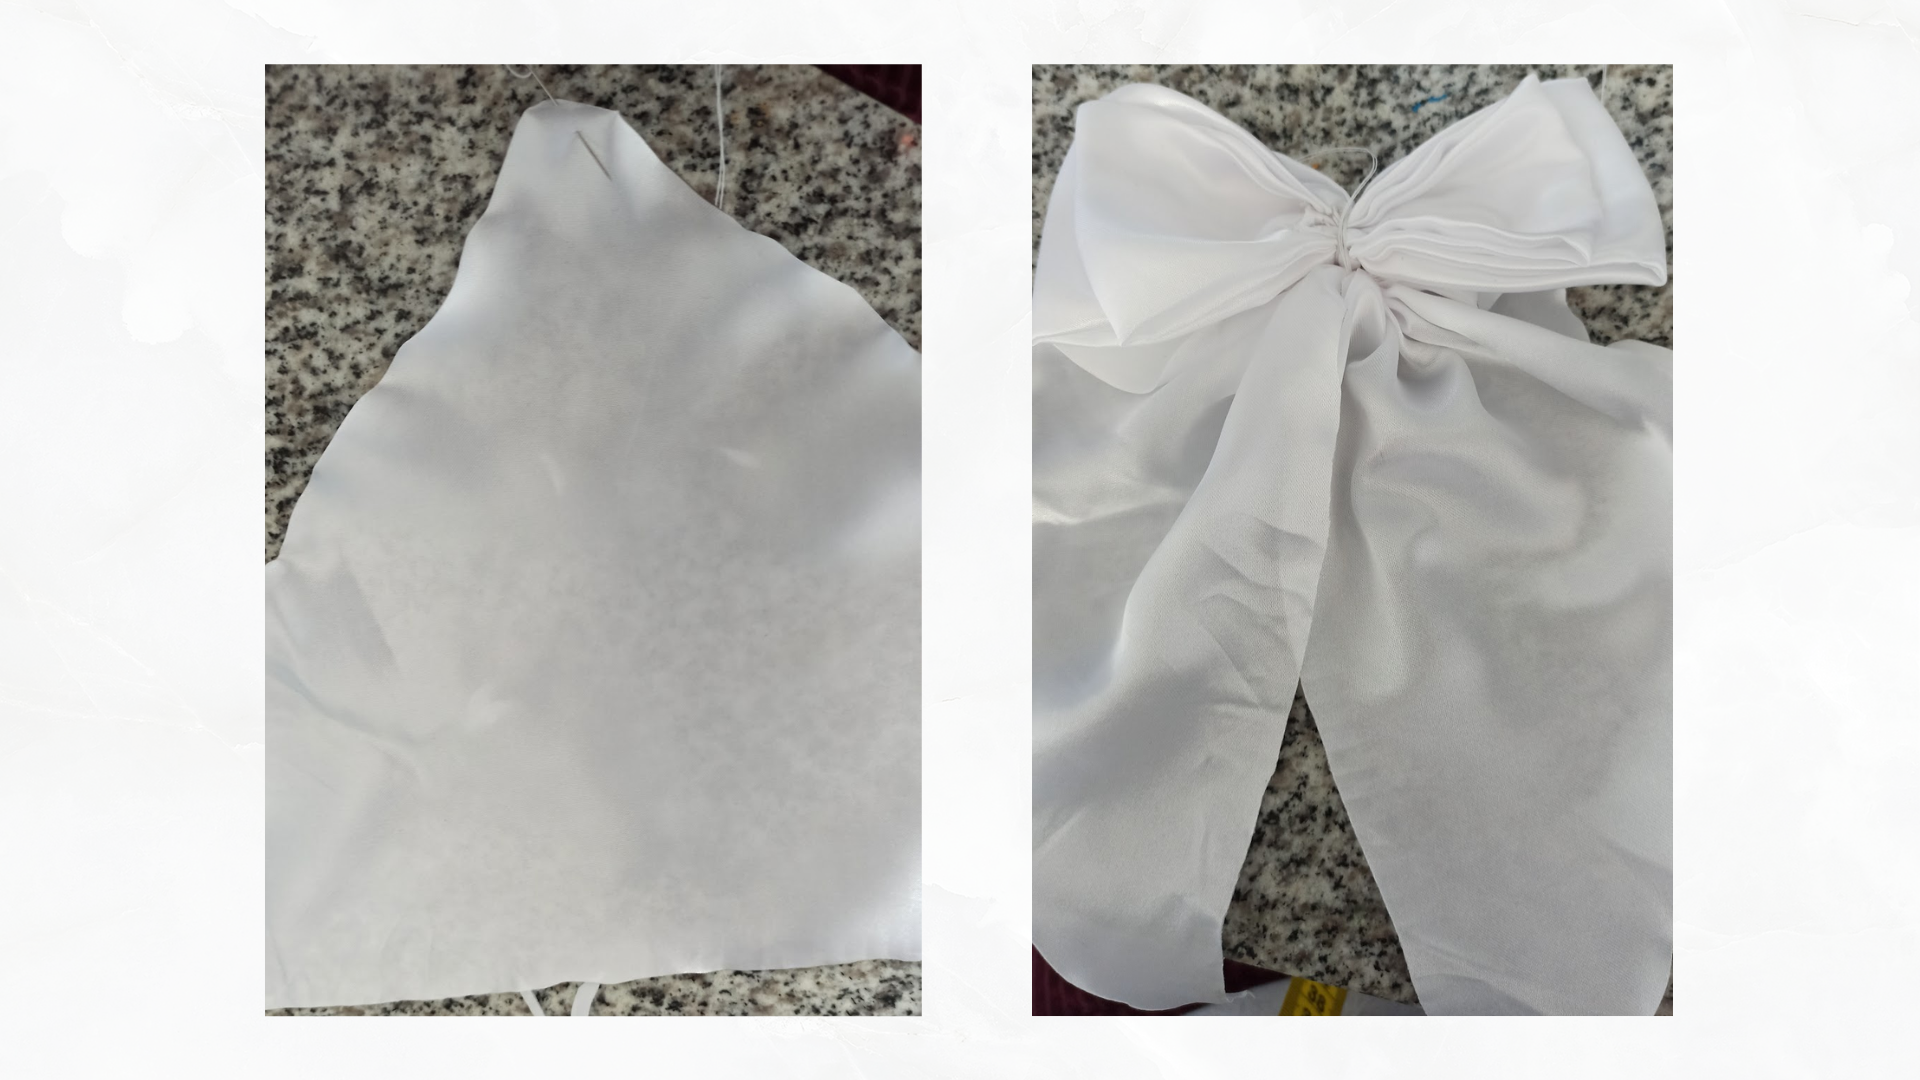
Luego, uní el rectángulo por los bordes y le doy la vuelta, una vez así, mido unos 11 cm para luego pasar una costura recta. Como indica la imagen, centro las costuras, abriendo los mini rectángulos que surgen al unir el grande. Allí con costura a mano se arruga el centro, luego hice un rectángulo más pequeño para el centro.
Then, I joined the rectangle by the edges and turn it over, once this way, I measure about 11 cm and then pass a straight seam. As shown in the picture, I center the seams, opening the mini rectangles that arise when joining the large one. There with hand stitching the center is wrinkled, then I made a smaller rectangle for the center.
Antes de unir el centro al moño, arrugue el triángulo desde el centro de la punta y le queme las orillas, y con la misma puntada uni la cola al moño. Después, le eche silicón caliente a la hebilla, para luego pegar el lazo justo en el centro, con la hebilla abierta, atravesé el rectángulo del centro entre el moño y la hebilla.
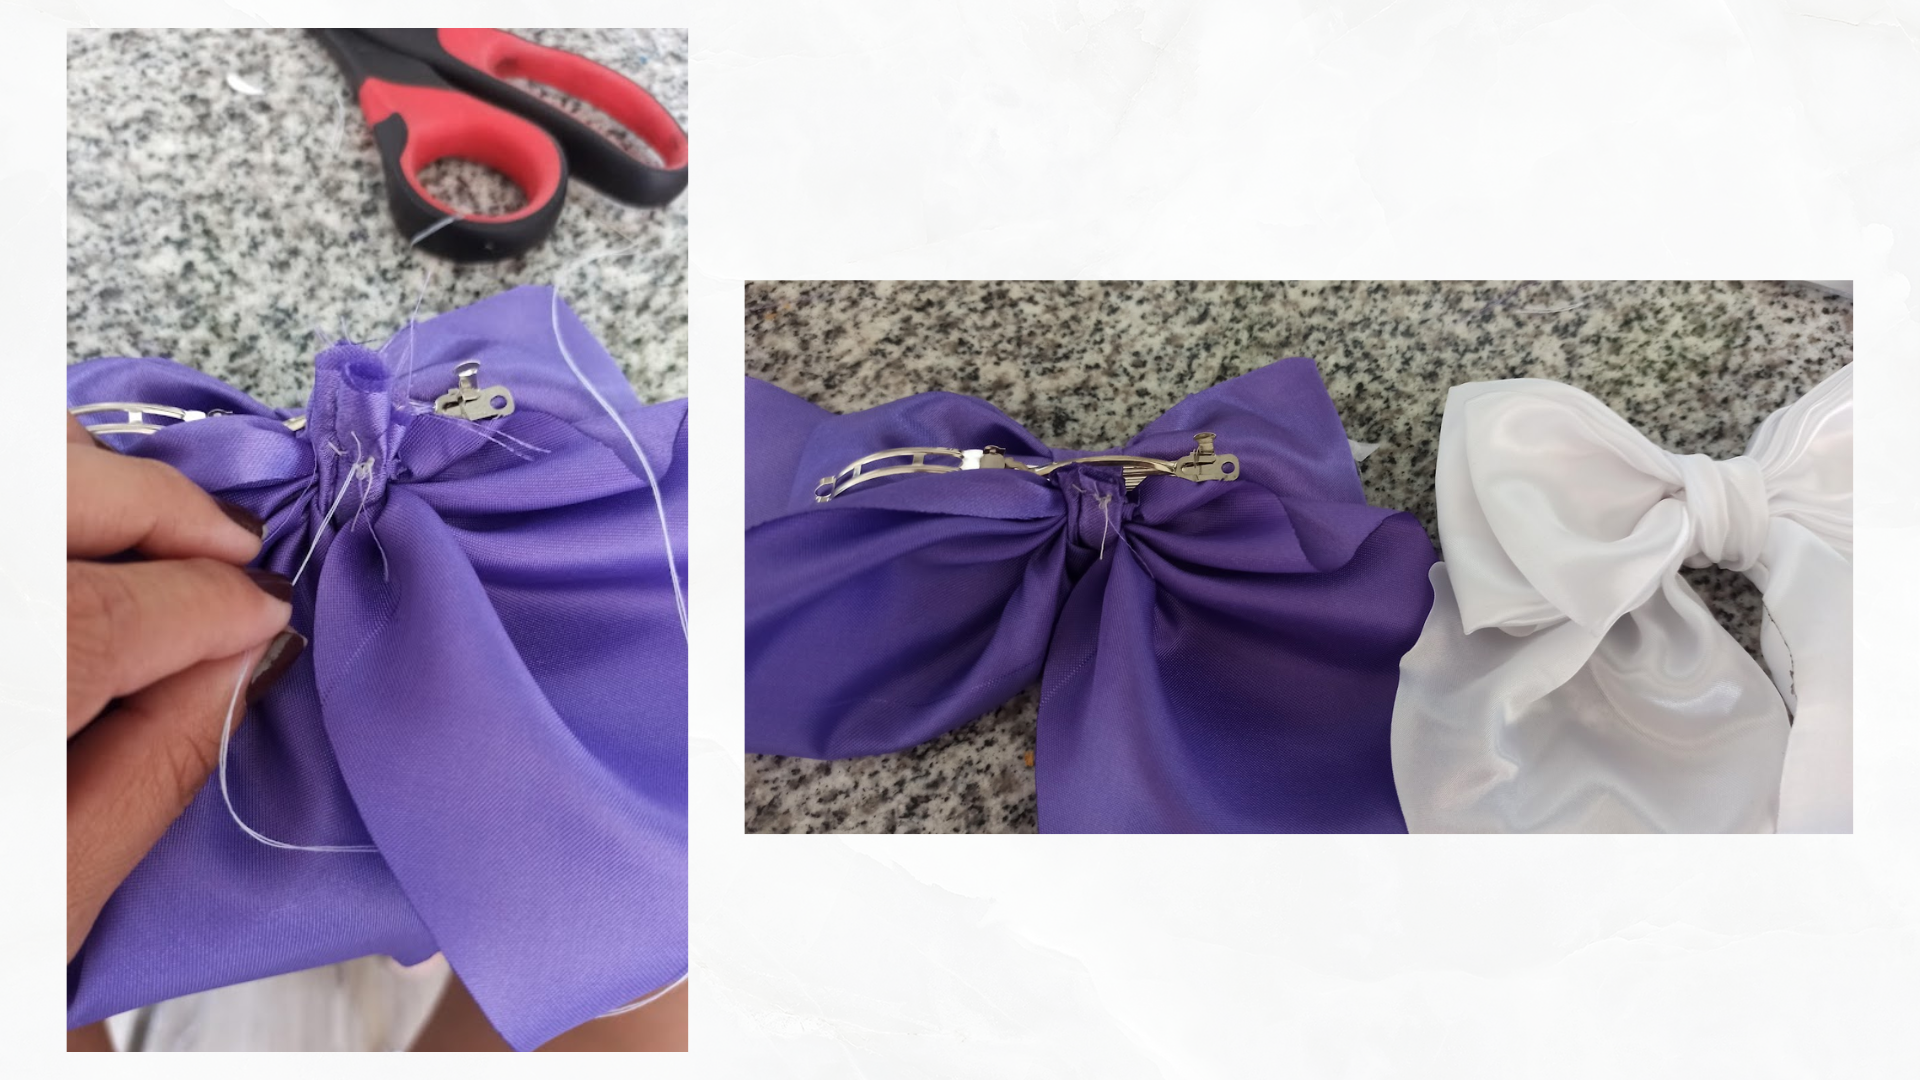
Before attaching the center to the bow, I crumpled the triangle from the center of the tip and burned the edges, and with the same stitch I attached the tail to the bow. Next, I applied hot silicone to the buckle, and then glued the bow right in the center, with the buckle open, I went through the rectangle in the center between the bow and the buckle.
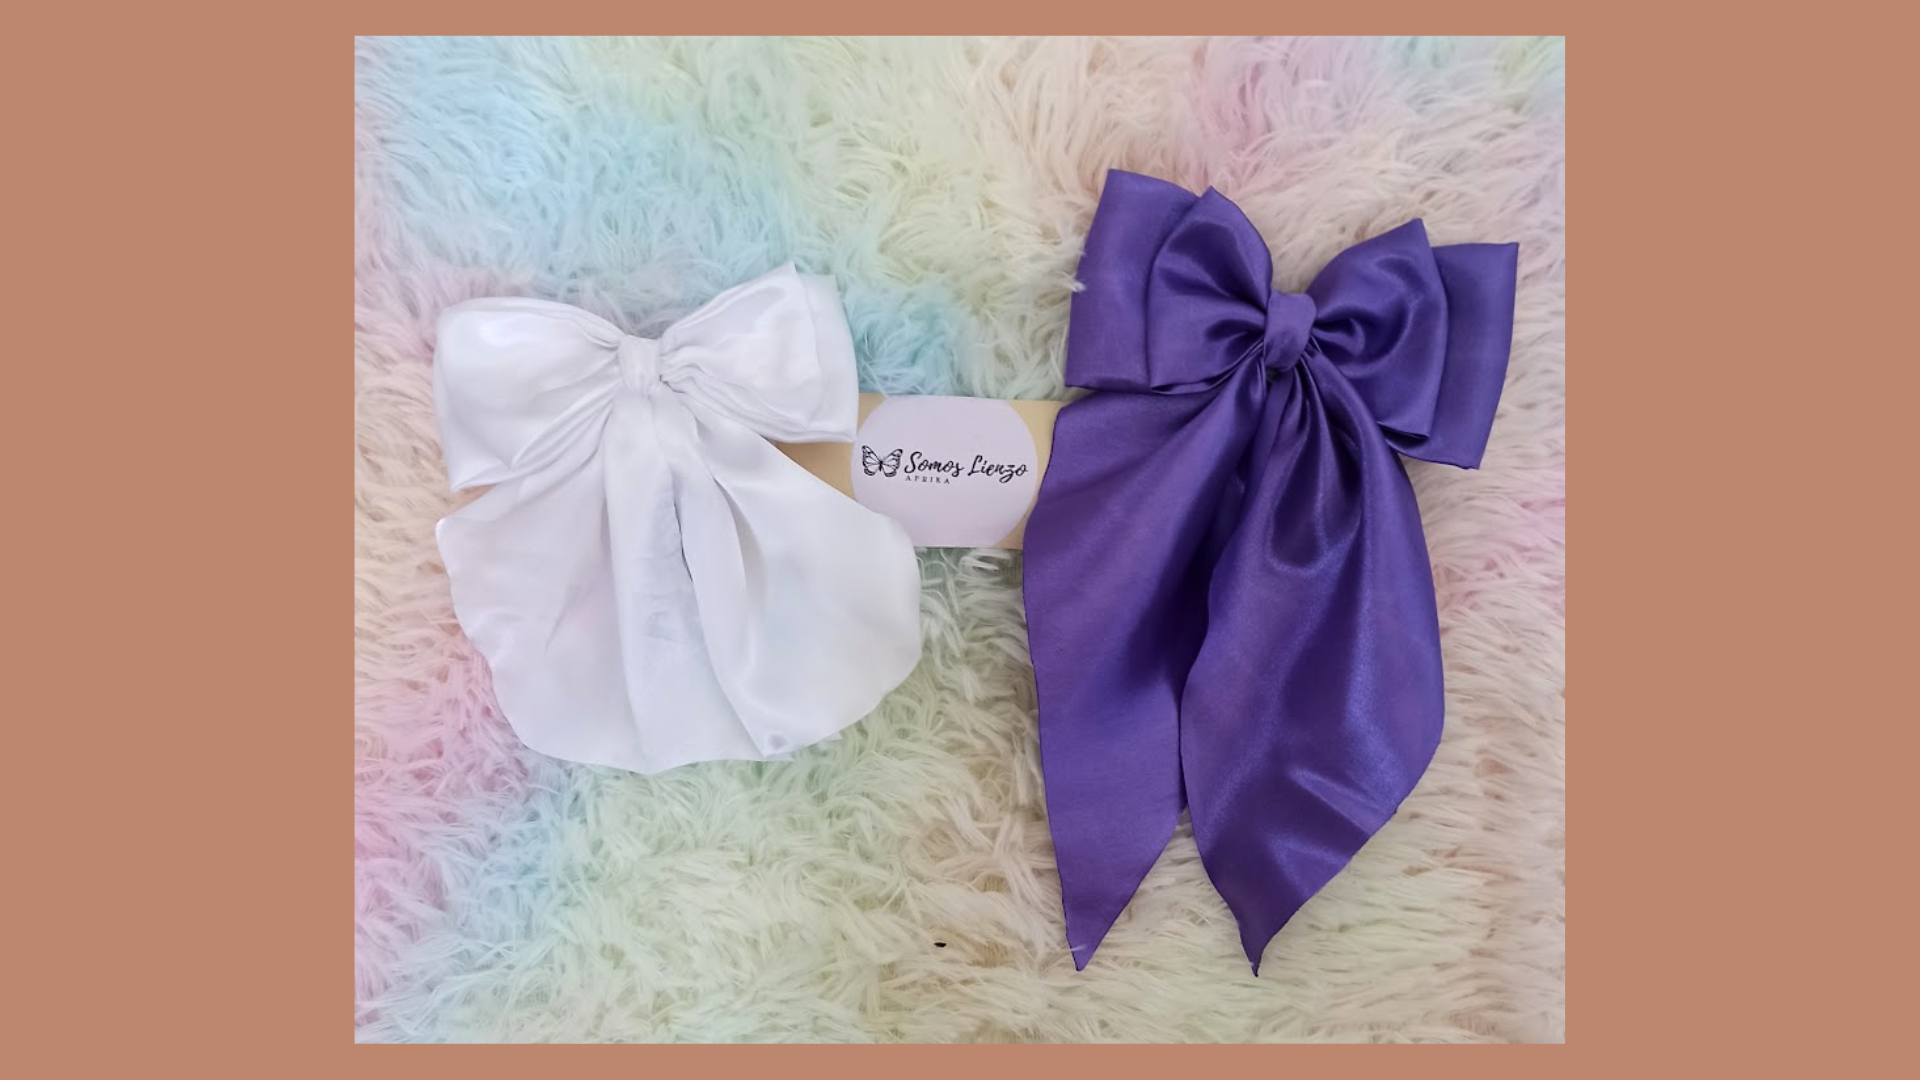
Con puntadas a mano, uní todo, una vez bien sujeto le di la vuelta guardando la costura, también le eche unos puntos de silicón caliente, para dejarlo bien firma, también aproveché de planchar un poco las colas, limpiar el exceso de hilos, tela y silicón. Tambien con cartulina, hice el soporte de exhibición junto a mi etiqueta.Listo needleworkers, el tutorial de otra formas de hacer un lazo para la tendencia coquette ¿Qué les pareció? Los espero en los comentarios. Las fotos son registro personal editadas en canva.
With hand stitches, I joined everything together, once it was well fastened I turned it around keeping the seam, I also put some hot silicone stitches, to leave it well signed, I also took the opportunity to iron the tails a little, clean the excess of threads, fabric and silicone. Also with cardboard, I made the display stand next to my label. Ready needleworkers, the tutorial of another way to make a bow for the coquette trend, what did you think? I'll be waiting for you in the comments. The photos are personal records edited in canva.
Que moños tan divinos. Está tendencia es súper linda, delicada, femenina y muy romántica.
Hermoso trabajo
Siii, totalmente. Muchas gracias 😊
This is another easy way of making bows
I love the purple color too.
Even though you used hand stitches to join them together but it still came out so cool.
Oh, thanks hun. You are great.
It is stylish and beautiful. Good to see how you made this. Thank you for sharing this.
Thanks For your support.
Gracias por mostrarnos esta forma tan sencilla de elaborar estos lindos lazos. Pronto estaré haciendo algunos para mis sobrinas. Saludos 🤗
Quiero verlos siiiii.