
Hola mis queridos amigos de Hive, feliz martes para todos. Ya que comienza una nueva semana y les traigo un nuevo proyecto que no podía dejar de compartir.
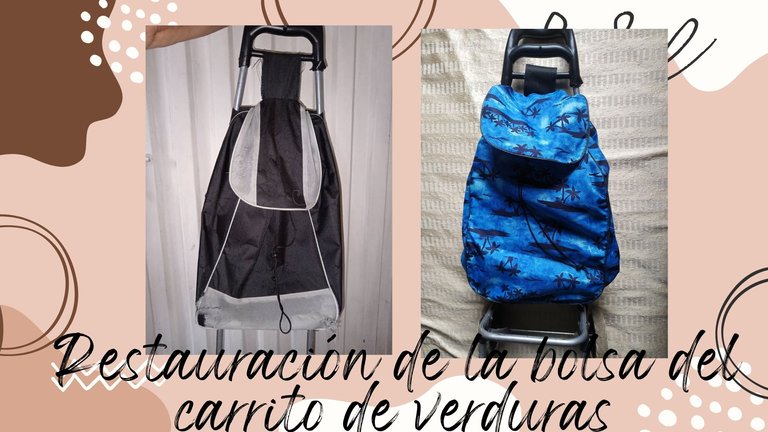
Se trata de la remodelación o restauración se la bolsa de un carrito de verduras, estos carritos son bastante prácticos para trasladar mercado, verduras de una manera más eficaz.
Ya desde hace un tiempo necesitaba remodelarlo, ya que la tela del mismo estaba un poco vieja y ya dañada por el uso, y era necesario cambiarlo. Es por ello que decidí intentar restaurarlo y el resultado fue mucho mejor de lo que esperaba. Aquí les dejo el paso a paso de ello.

- Lona.
- Tijeras.
- Hilo.
- Cinta métrica.
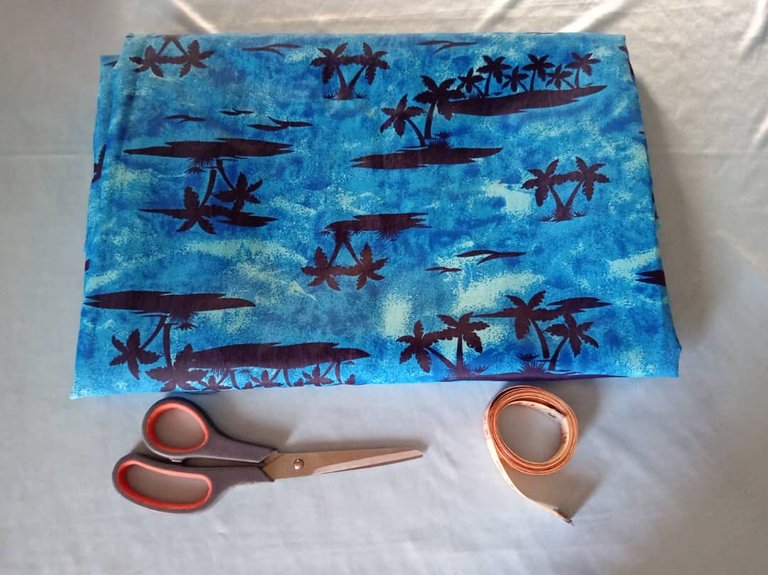

Para hacer este proyecto, utilicé Lona estampada pero también pueden utilizar cualquier tipo de tela rígida que sea de tapicería.
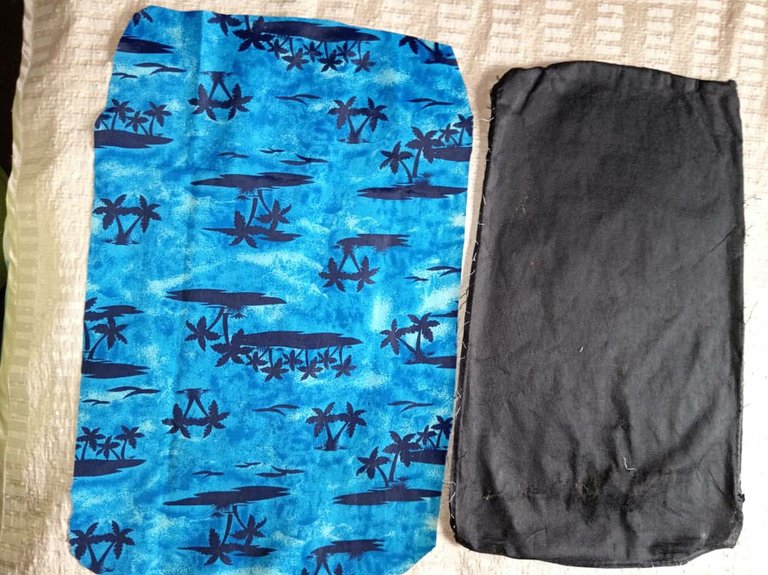
De la bolsa anterior que estaba deteriorada, le saque todas las partes, es decir, se cortaron donde estaban las costuras y esas piezas que se obtuvieron, me sirvieron de patrón para confeccionar la nueva bolsa.
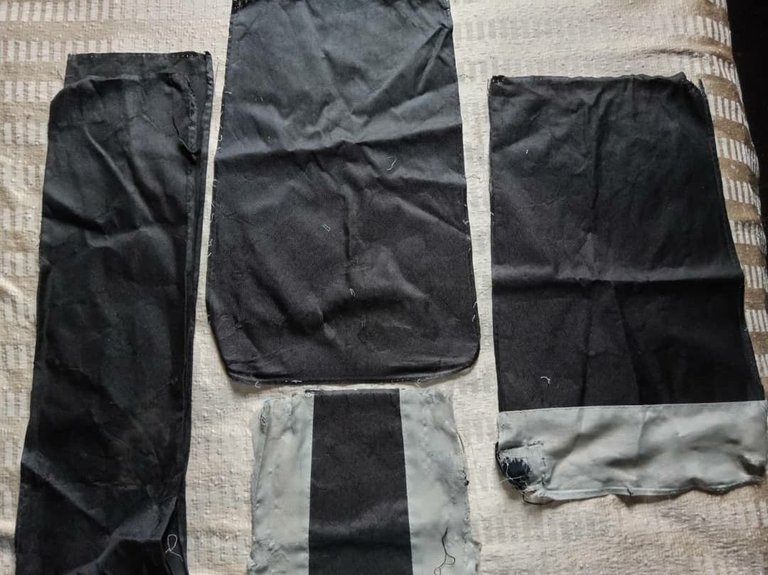
La diferencia con la bolsa anterior es que estas piezas las saqué doble para que no se vieran las costuras y para reforzar dicha bolsa o sea que quedará más fuerte y estable.
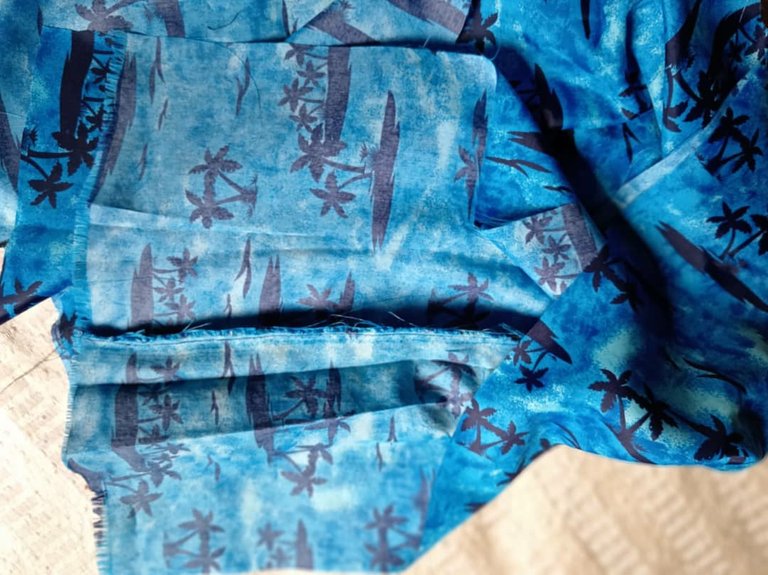
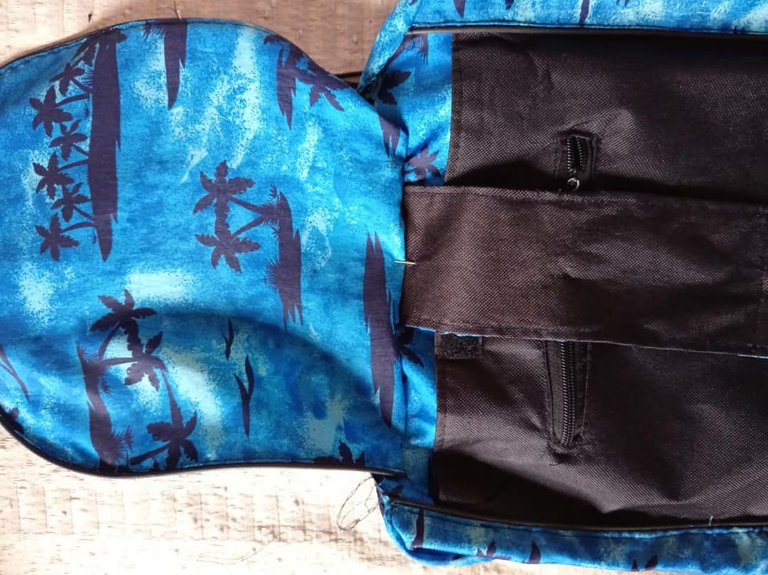
Luego de cortar las piezas, empecé a unir de forma que las costuras quedarán escondidas y tener un resultado más prolijo.
Primero se unieron los delanteros con el lateral que es la parte más larga de los lados de la bolsa.
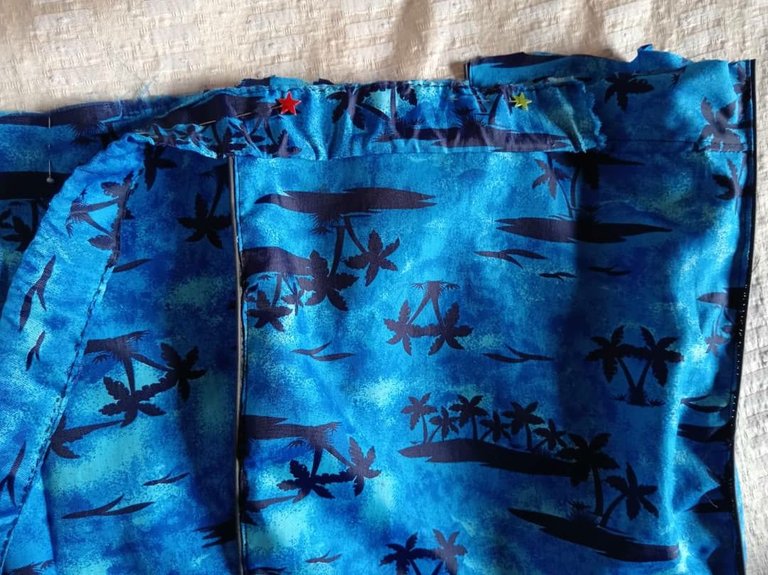
Luego se procede a coser la parte trasera siguiendo el mismo patrón de la bolsa anterior.
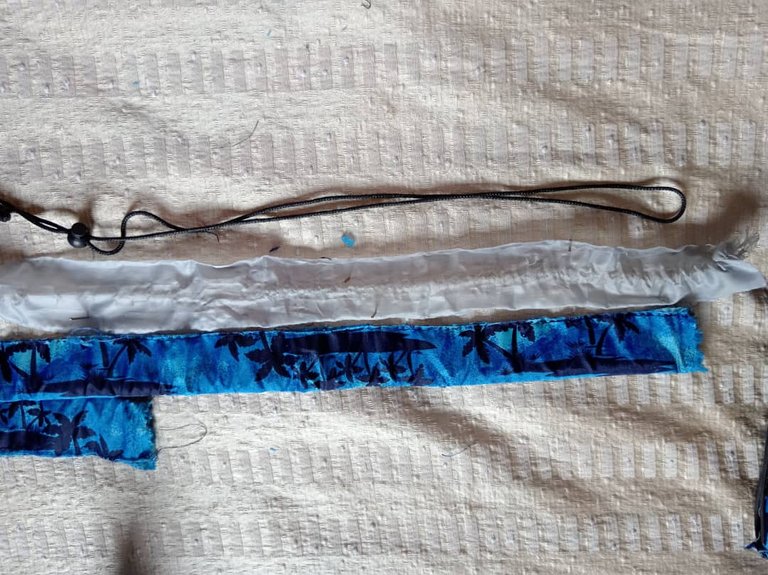
En la parte de la boca o abertura de la bolsa se hace un rectángulo o tira del ancho deseado y se une (Este rectángulo es por donde va a pasar el cordón de cerrar la bolsa) también se pega la parte de la tapa y por último cosemos.
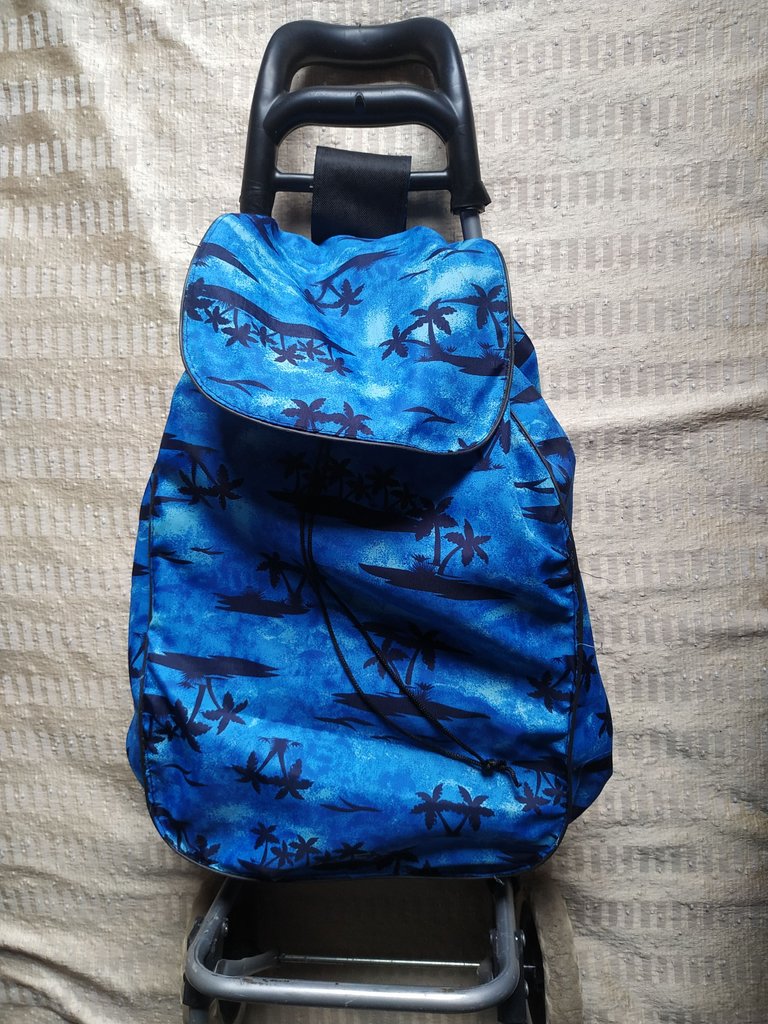
Ya terminada la bolsa se le coloca al carrito (la estructura metálica) y con esto estaría lista la bolsa.
Al final y al cambiar la bolsa, quedó como nuevo el carro y se ve muy bien , debo decir que es muy práctico y podemos cambiar las piezas cuando se deseen, mientras las partes del carro esté en buen estado.
Hasta aquí mi publicación del día de hoy, espero que les haya gustado este pequeño tutorial, espero leer sus opiniones en los comentarios. Saludos, que tengan un feliz día y noche.

Hello my dear friends of Hive, happy Tuesday to all. As a new week begins and I bring you a new project that I could not fail to share.
This is the remodeling or restoration of the bag of a vegetable cart, these carts are quite practical to move market, vegetables in a more efficient way.
For some time I needed to remodel it, since the fabric of it was a little old and already damaged by the use, and it was necessary to change it. That is why I decided to try to restore it and the result was much better than I expected. Here I leave you the step by step of it.
- Canvas.
- Scissors.
- Thread.
- Tape measure.
To make this project, I used printed canvas, but you can also use any type of rigid upholstery fabric.
From the previous bag that was deteriorated, I took out all the parts, that is, I cut where the seams were and those pieces that were obtained, served me as a pattern to make the new bag.
The difference with the previous bag is that these pieces were taken out double so that the seams were not visible and to reinforce the bag, which means that it will be stronger and more stable.
After cutting the pieces, I started to join them so that the seams would be hidden and have a neater result.
First I joined the front with the side, which is the longest part of the sides of the bag.
Then I proceeded to sew the back following the same pattern of the previous bag.
In the part of the mouth or opening of the bag, a rectangle or strip of the desired width is made and joined (this rectangle is where the drawstring will pass through to close the bag), the part of the lid is also glued and finally we sew.
Once the bag is finished, it is placed to the cart (the metallic structure) and with this the bag is ready.
In the end and after changing the bag, the cart was like new and looks very good, I must say that it is very practical and we can change the parts whenever we want, as long as the cart parts are in good condition.
So far my post today, I hope you liked this little tutorial, I hope to read your opinions in the comments. Greetings, have a happy day and night.

That’s a really great upgrade
Wow the bag looks really nice and definitely something that could even be a best seller.
I like the outcome of the bag and fabric makes it so nice
It looks great. Good to see how you did this. Well done! Thank you for sharing this.
Te felicito quedó muy hermosa tu bolsa del carro, muy original , feliz día