Hola amigos amantes de la costura ¿Cómo están?
Hello friends who love sewing, how are you?
.png)
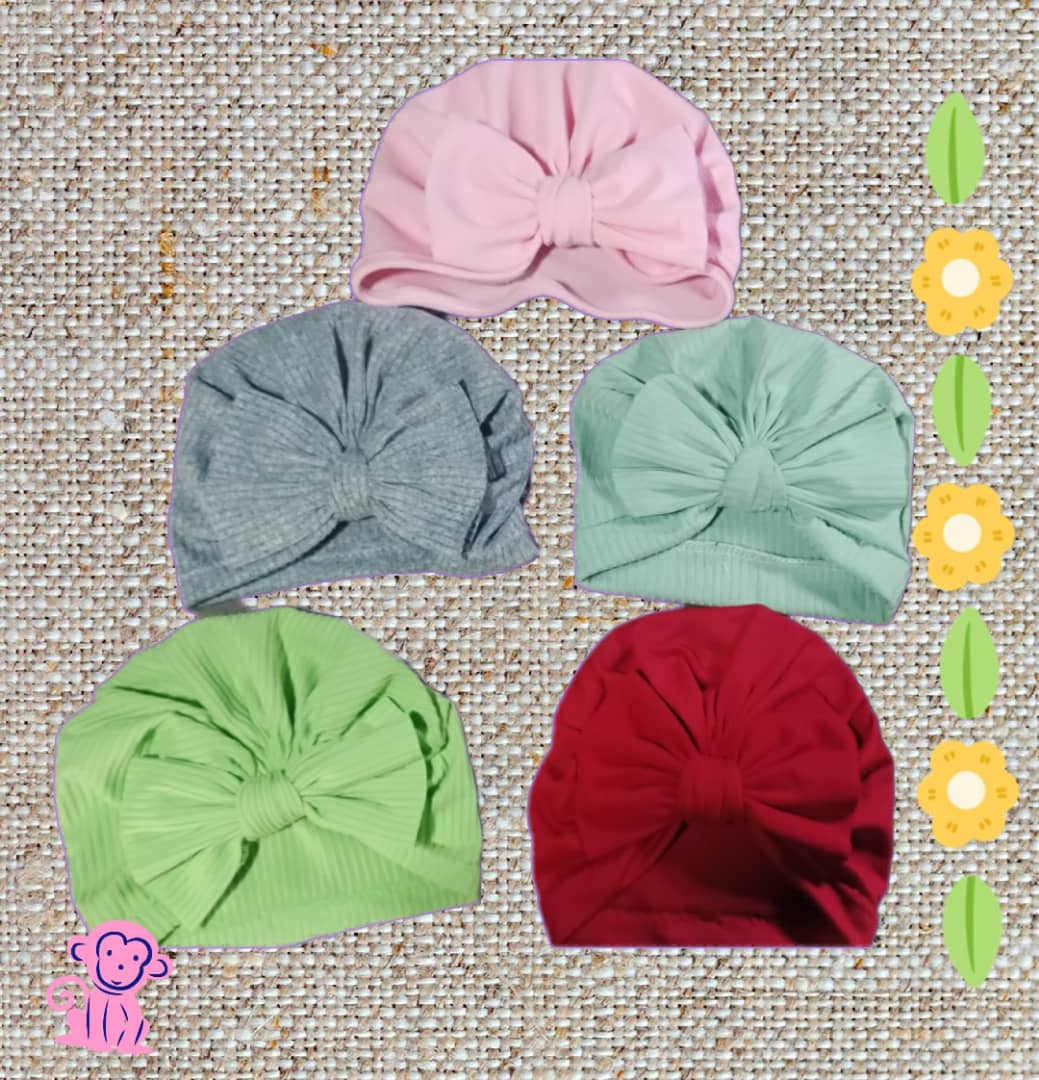
Estuve investigando como hacer los gorritos que usan los bebés de mejor manera ya que vi en Instagram unos modelos espectaculares y por medio de reels vi estos modelos que quedaron super espectaculares y poco a poco fui viendo mas y mas y investigue para enseñarles paso a paso cómo hacer gorros para bebes tipo turbante.
I was investigating how to make the hats that babies use in the best way since I saw some spectacular models on Instagram and through reels I saw these models that were super spectacular and little by little I was seeing more and more and I investigated to teach them step by step how make turban-type hats for babies.
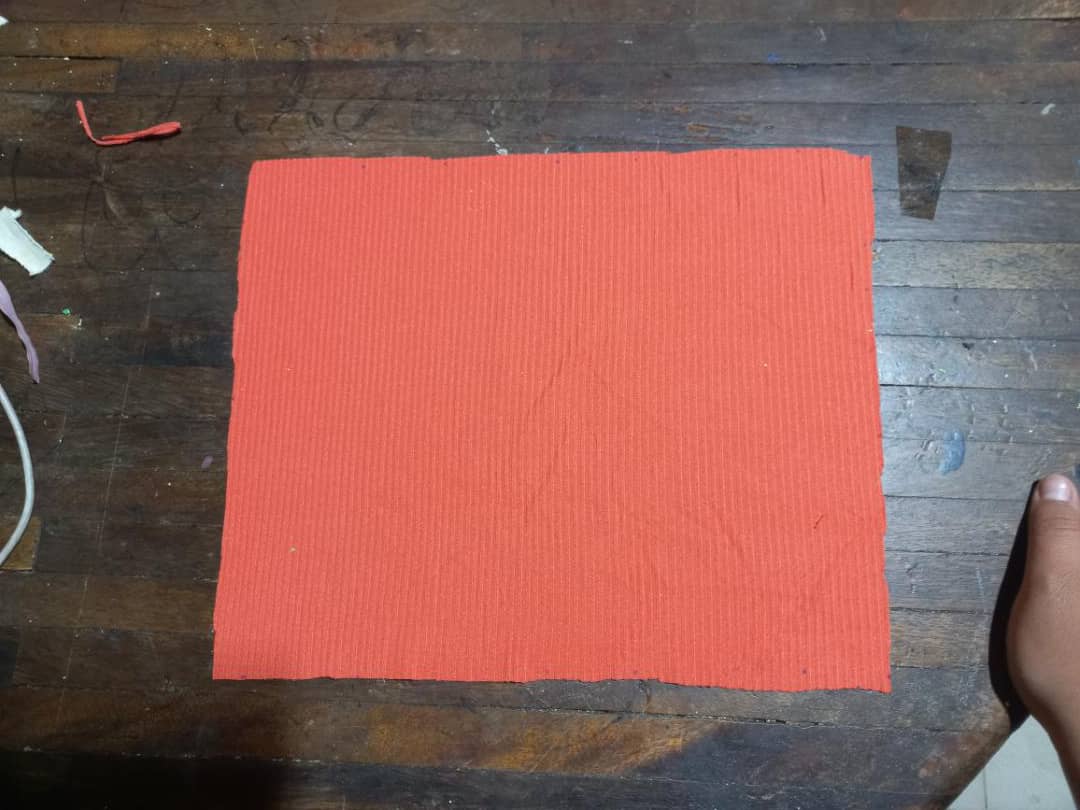
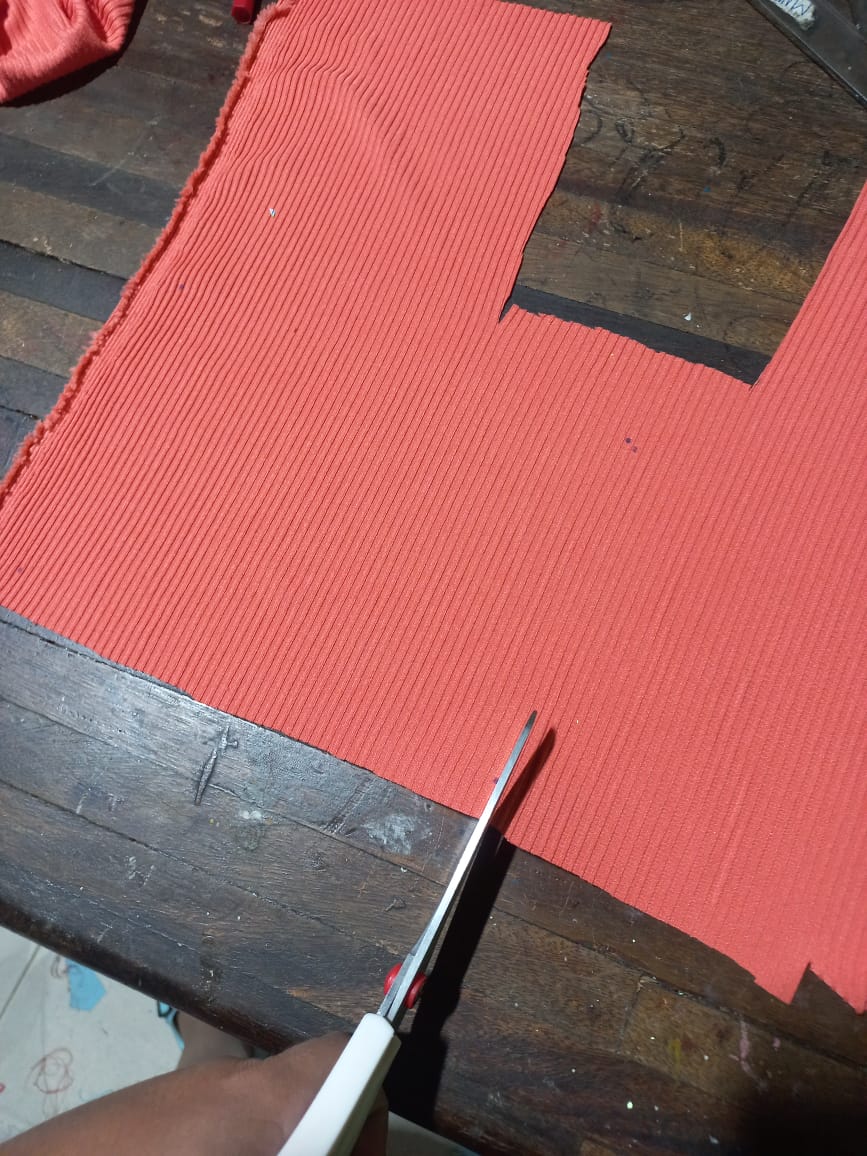
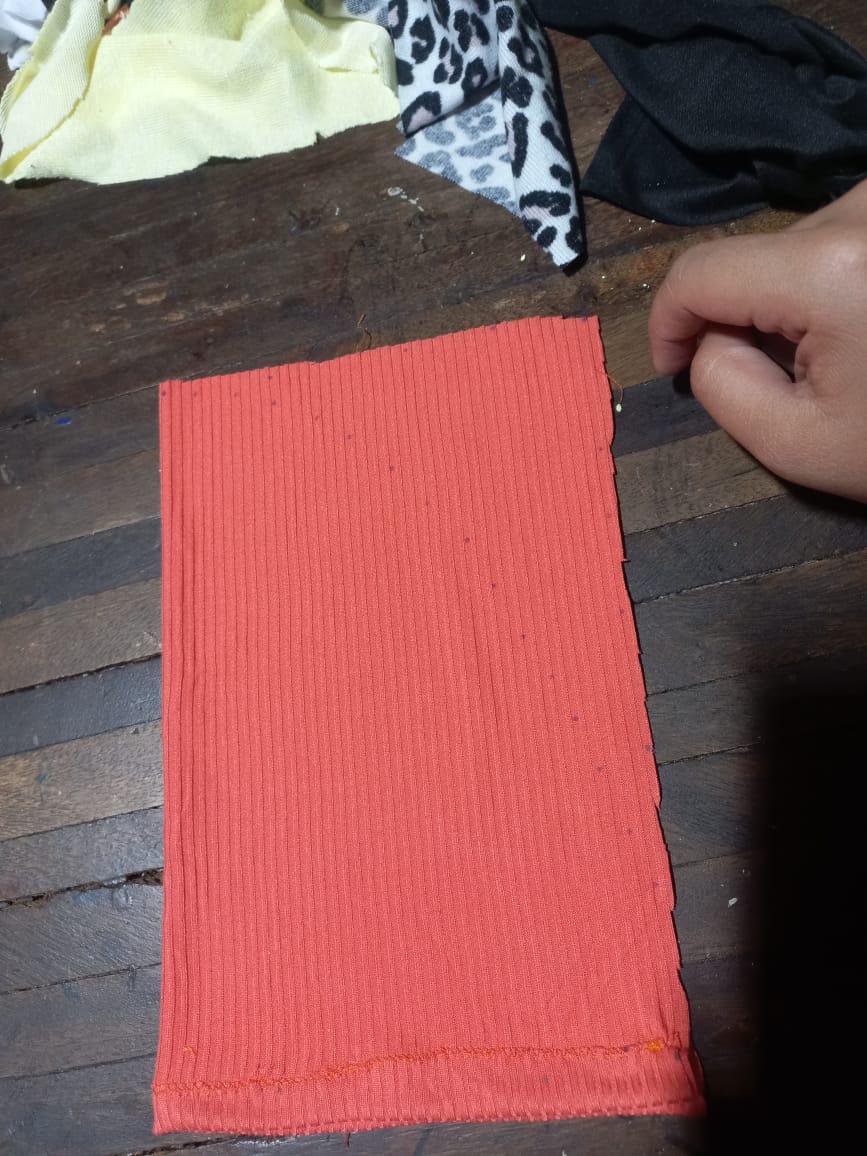
-Para comenzar en este caso lo haré para una bebe recién nacida entonces este que haremos será de 0-3 meses las medidas que usaremos son 32 centímetros de ancho y 25 cm de largo ósea prácticamente un rectángulo lo marcamos en nuestra tela y lo recortamos.
-To start, in this case, I will do it for a newborn baby, so this one that we will do will be from 0-3 months. The measurements that we will use are 32 centimeters wide and 25 cm long, that is, practically a rectangle, we mark it on our fabric and cut it out.
(Un consejo es usar telas suaves preferiblemente que sean de algodón).
(A tip is to use soft fabrics, preferably cotton).
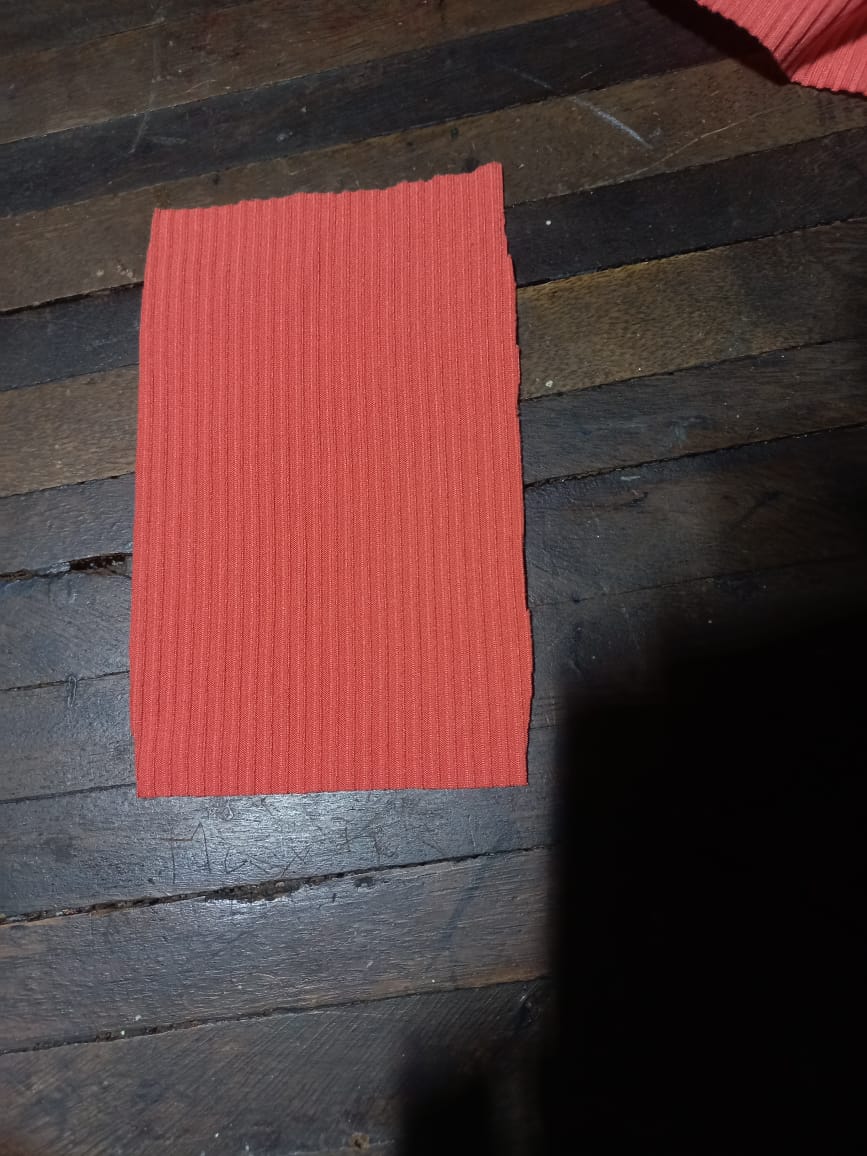
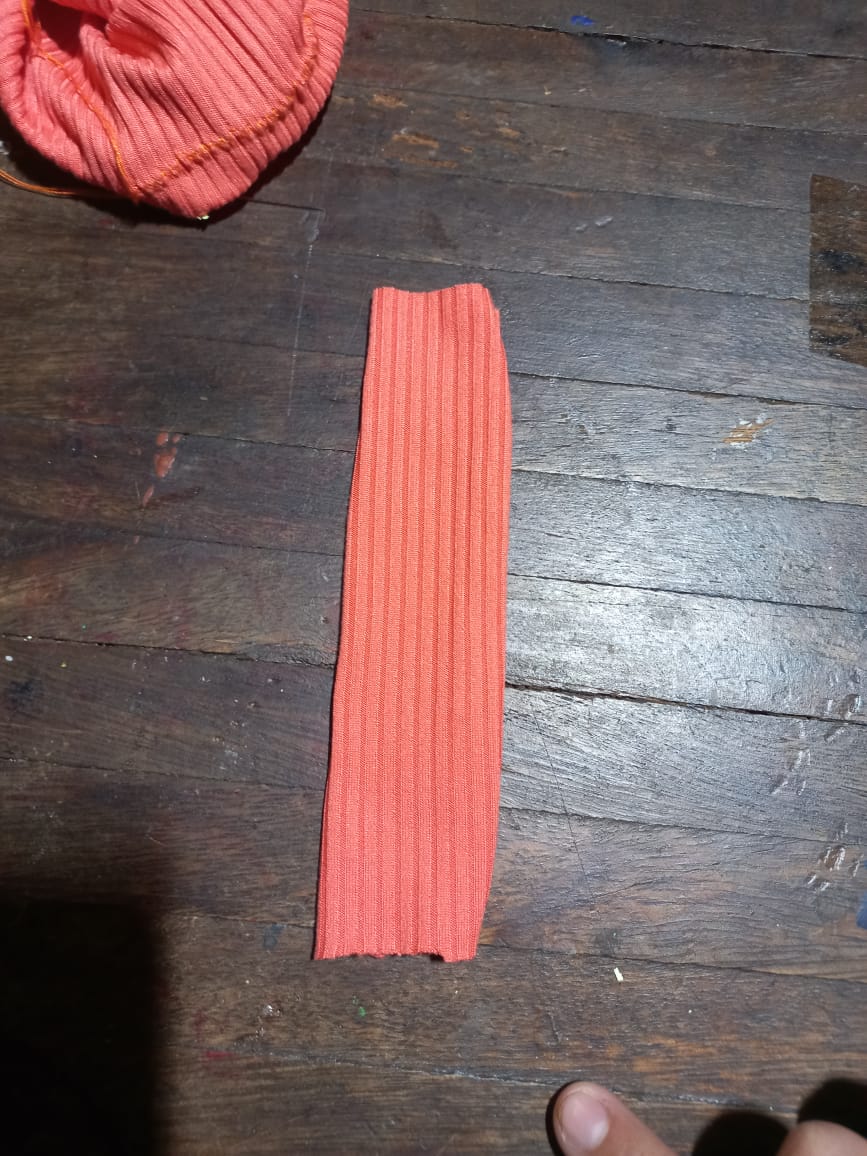
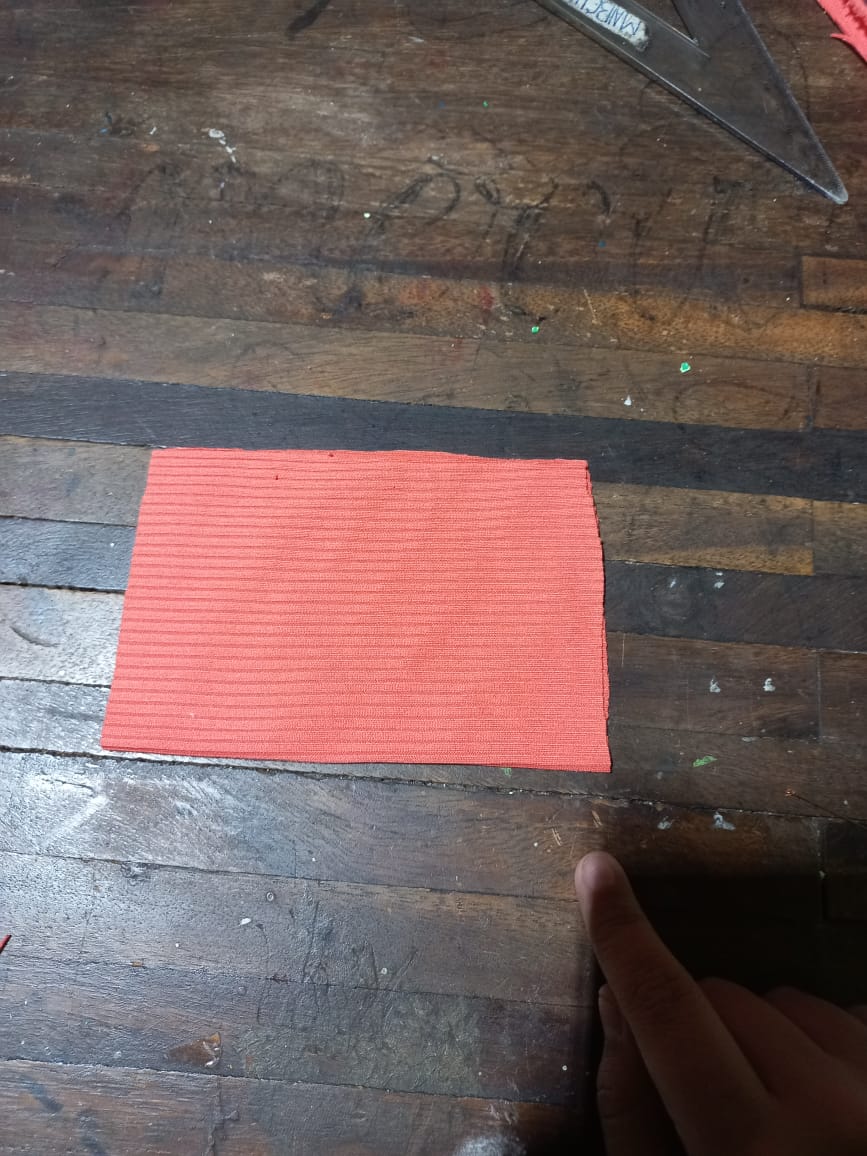
-Luego para hacer una parte de nuestro listón cortamos un rectángulo de 9cm de ancho por 13 cm de largo, lo coseremos a lo largo por la parte de adentro.
-Then to make a part of our ribbon we cut a rectangle 9 cm wide by 13 cm long, we will sew it along the inside.
.jpeg)
-Para nuestro lazo específicamente cortamos un rectángulo de 13 centímetros de ancho por 19 centímetros de largo y lo doblaremos por lo ancho a la mitad y coseremos por la parte de adentro.
-For our bow specifically, we cut a rectangle 13 centimeters wide by 19 centimeters long and we will fold it in half across the width and sew on the inside.
Parte principal del gorrito:
Main part of the hat:
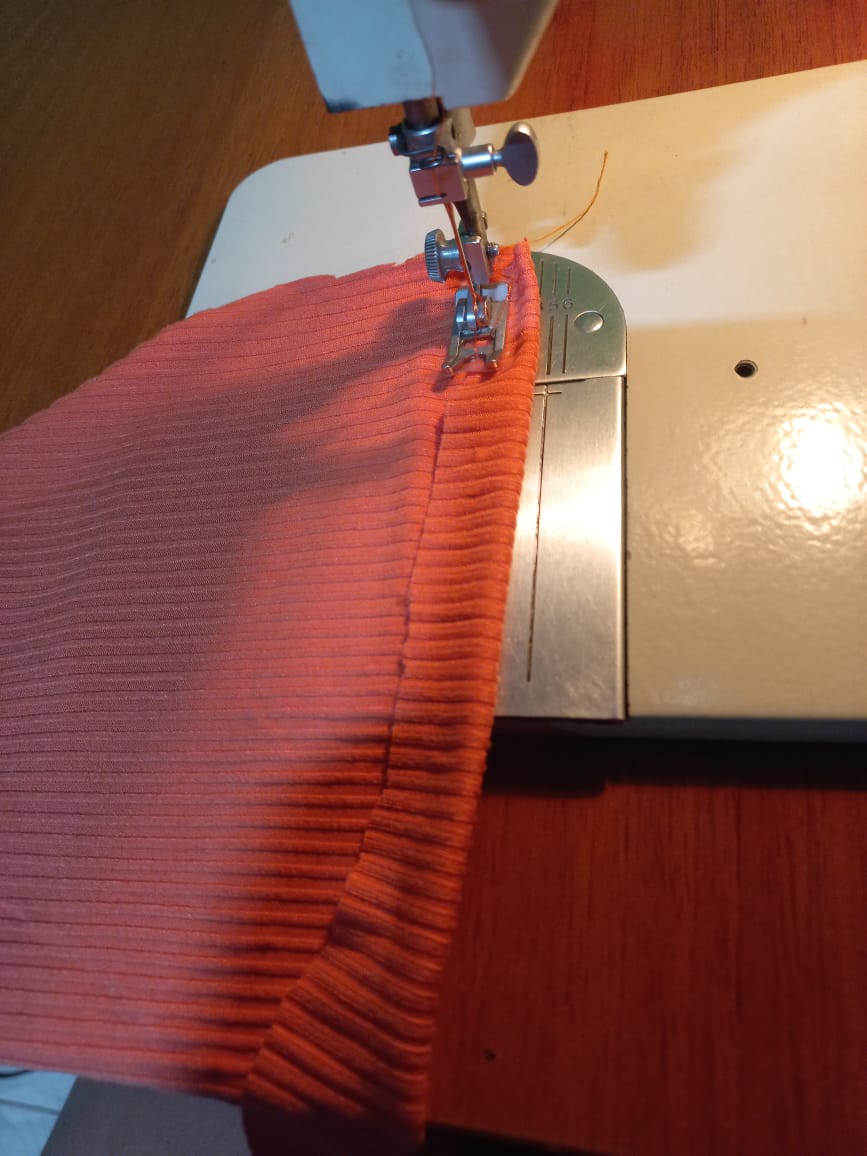
-Al tener estas tres piezas comenzamos a trabajar con la primera en la parte inferior de nuestro rectángulo doblaremos la tela 1,5 cm y lo coseremos en zig zag para hacer el doblez de nuestro gorrito .
-When we have these three pieces, we begin to work with the first one in the lower part of our rectangle, we will fold the fabric 1.5 cm and we will sew it in a zig zag pattern to make the fold of our hat.

.jpeg)
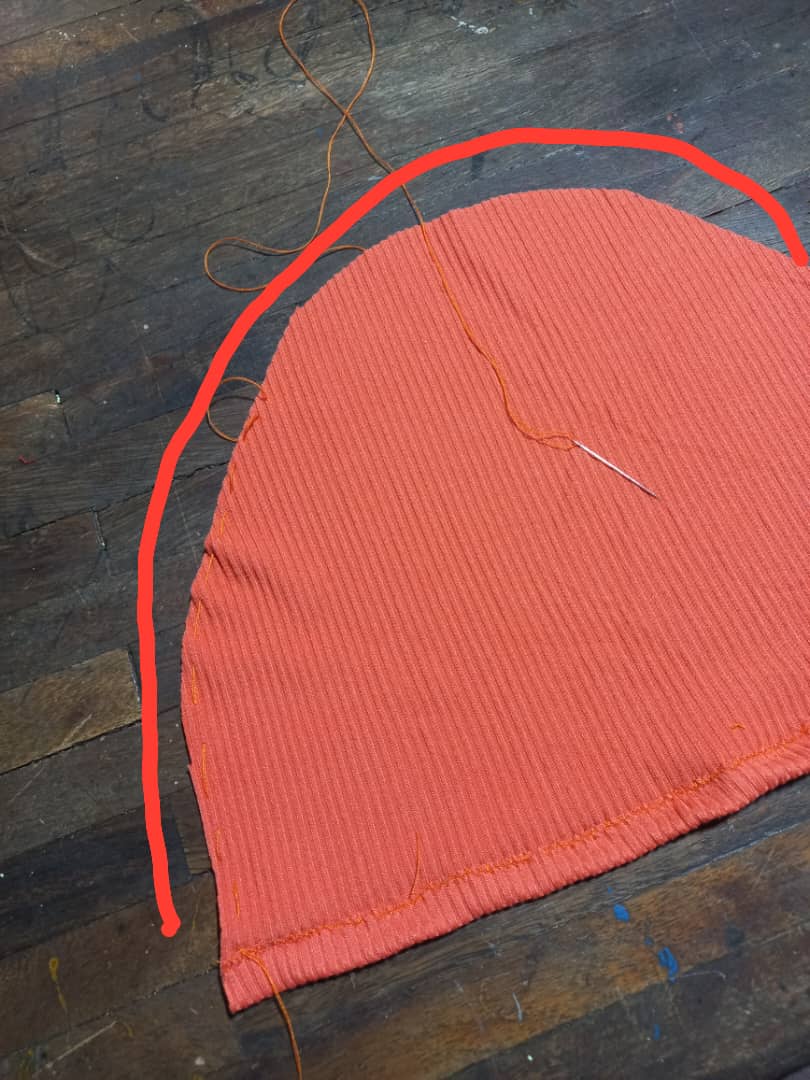
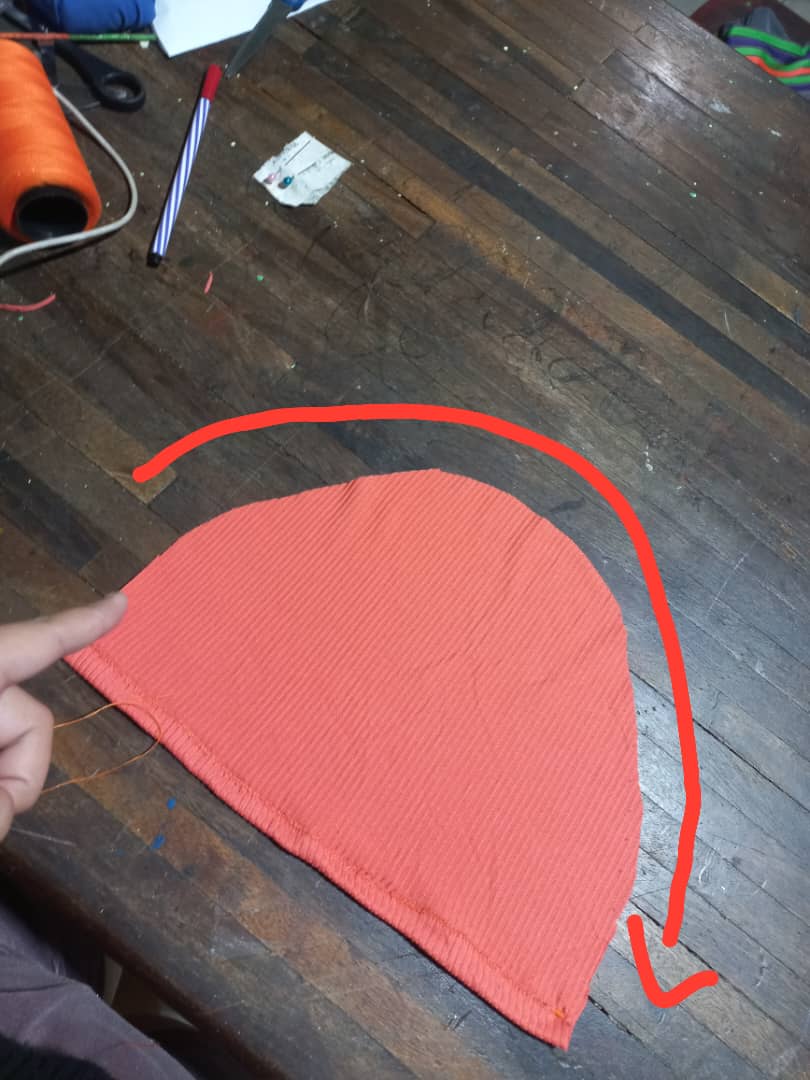
-Luego doblamos nuestra tela y con un patrón normal de gorro o a pulso vamos a trazar lo redondo del gordito de esta manera:
-Then we fold our fabric and with a normal hat pattern or a pulse we are going to trace the roundness of the chubby in this way:
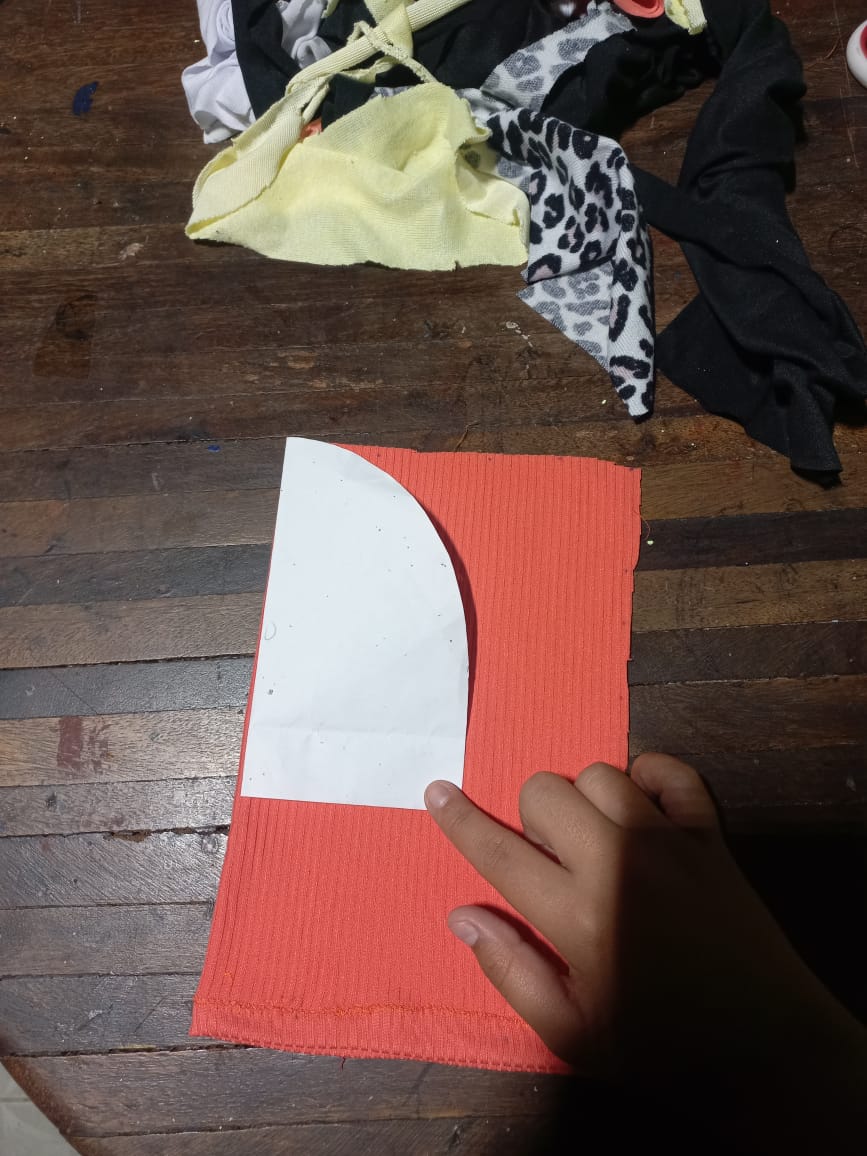
Y lo cortamos:
And we cut it:
.jpeg)
.jpeg)
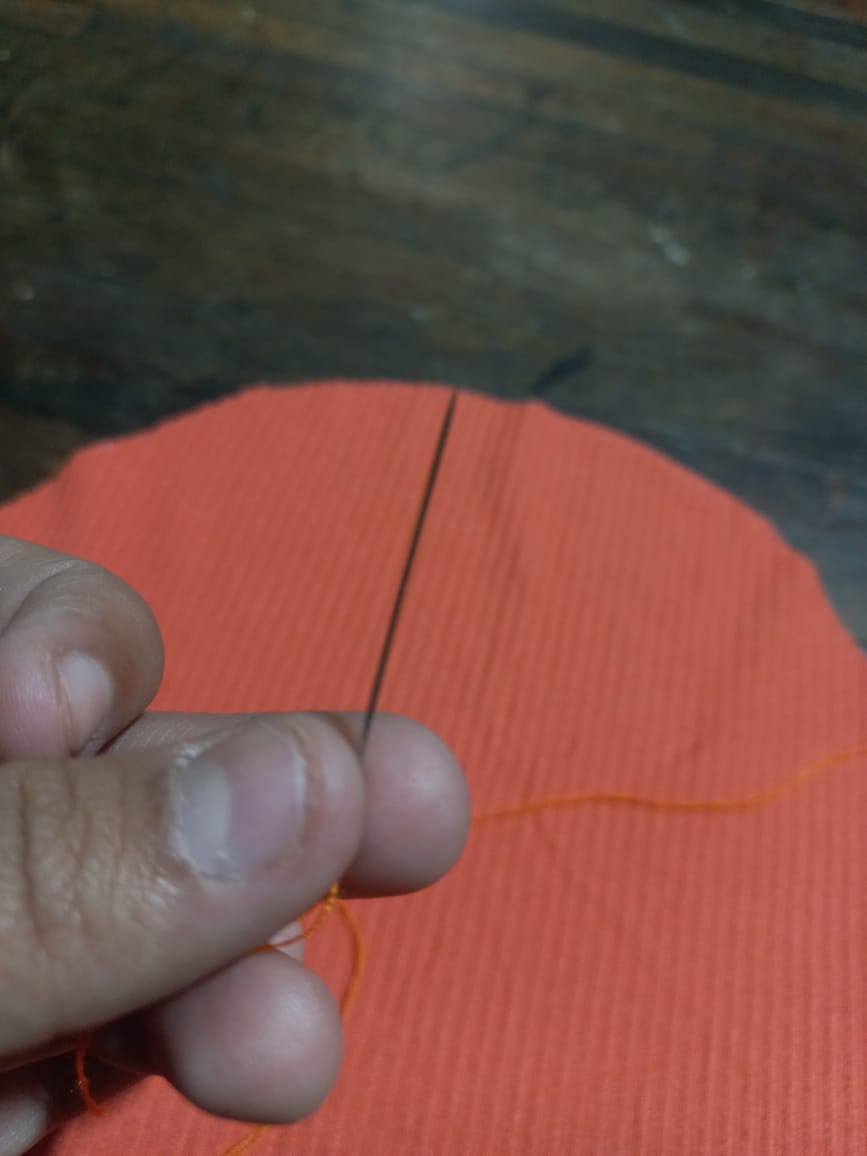
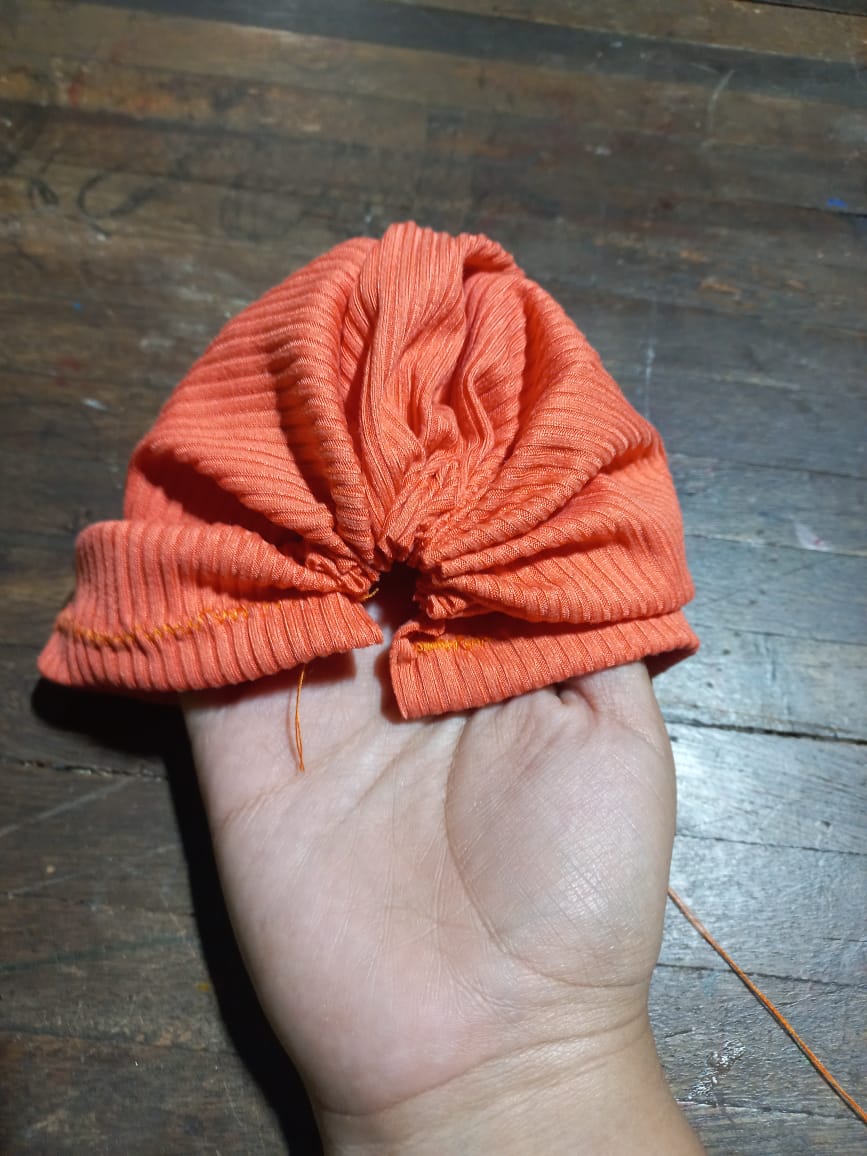
-Al obtener este resultado con bastante hilo y una aguja vamos a dar pequeñas puntadas después del doblez que hicimos anteriormente por toda la orilla de nuestro gorro.
-Once we obtain this result with a lot of thread and a needle, we are going to make small stitches after the fold that we made previously all over the edge of our hat.
.jpeg)
-Entonces jalaremos y esto provocará pequeños ruches que formarán un gorrito.
-Then we will pull and this will cause small ruches that will form a hat.
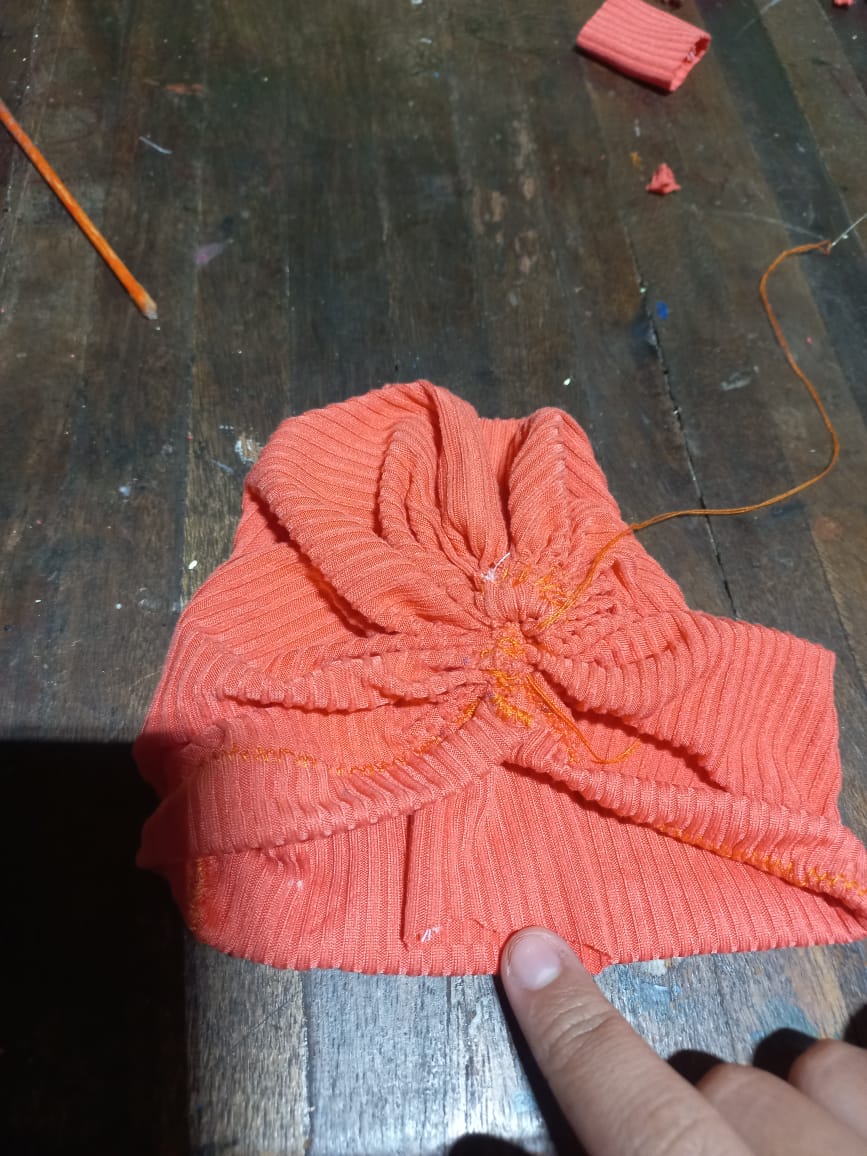
-Con el mismo hilo que estamos utilizando para arruchar sin cortarlo nos iremos a la parte de adentro del gorro y empezaremos a cerrarlo desde ahí hasta abajo y luego subimos.
-With the same thread that we are using to crumple without cutting it, we will go to the inside of the hat and begin to close it from there to the bottom and then go up.
.jpeg)
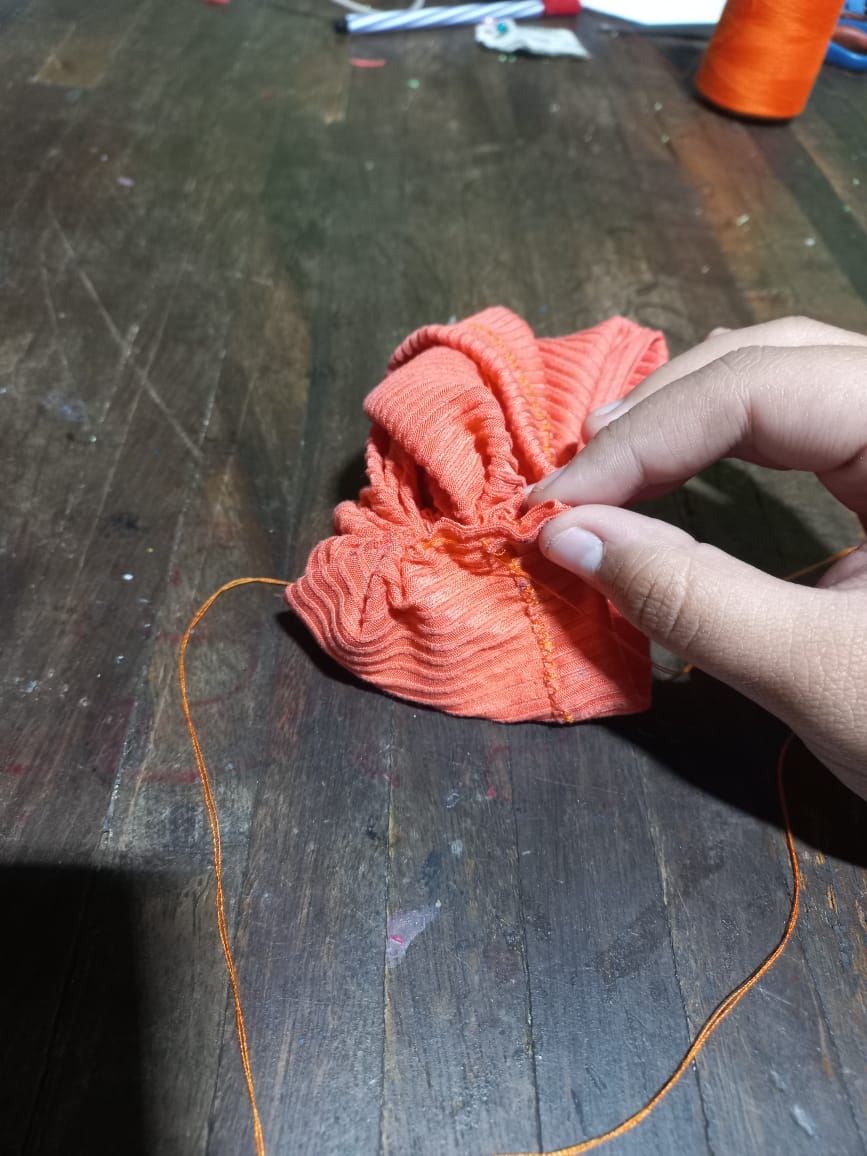

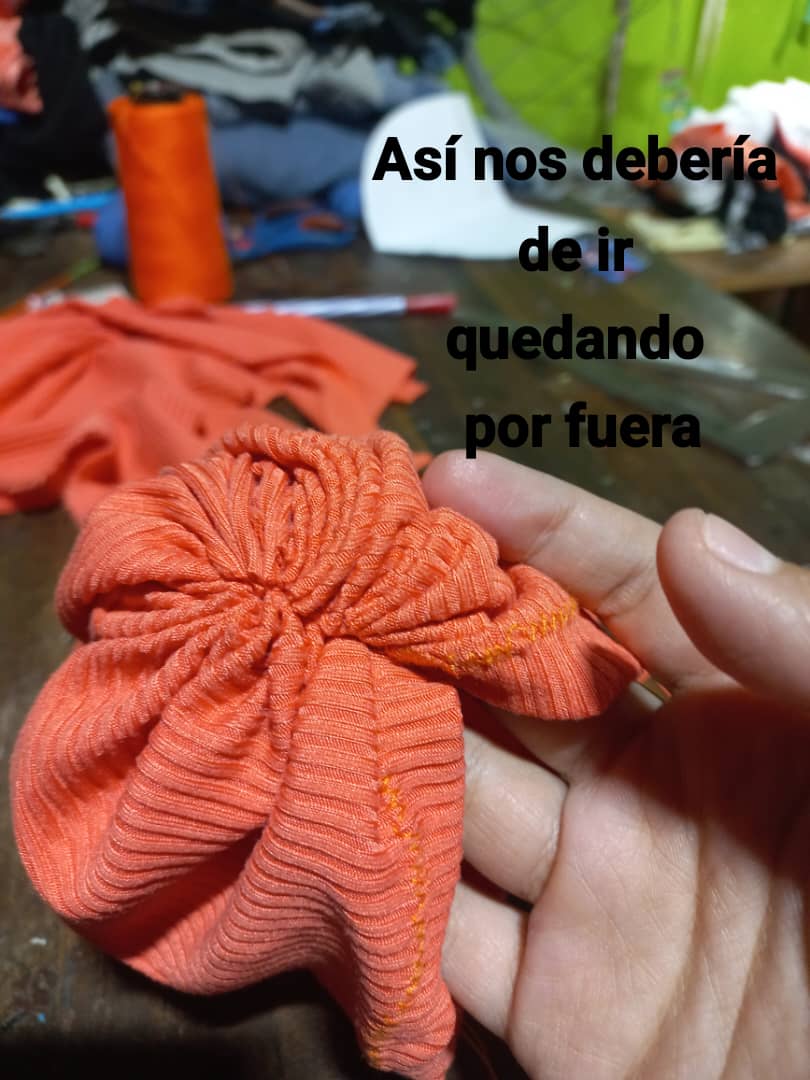
OJO: cuando subamos veremos los arruchados y empezaremos a coser de un lado a otro como venimos desde abajo pero tenemos que revisar que ningún arruchado quede por fuera o que se vea por la parte de adelante de nuestro gorro, en este paso siempre tenemos que ir apretando.
NOTE: when we go up we will see the ruffles and we will begin to sew from one side to the other as we come from below but we have to check that no ruffles are left on the outside or that it is visible from the front of our hat, in this step we always have to go
.jpeg)
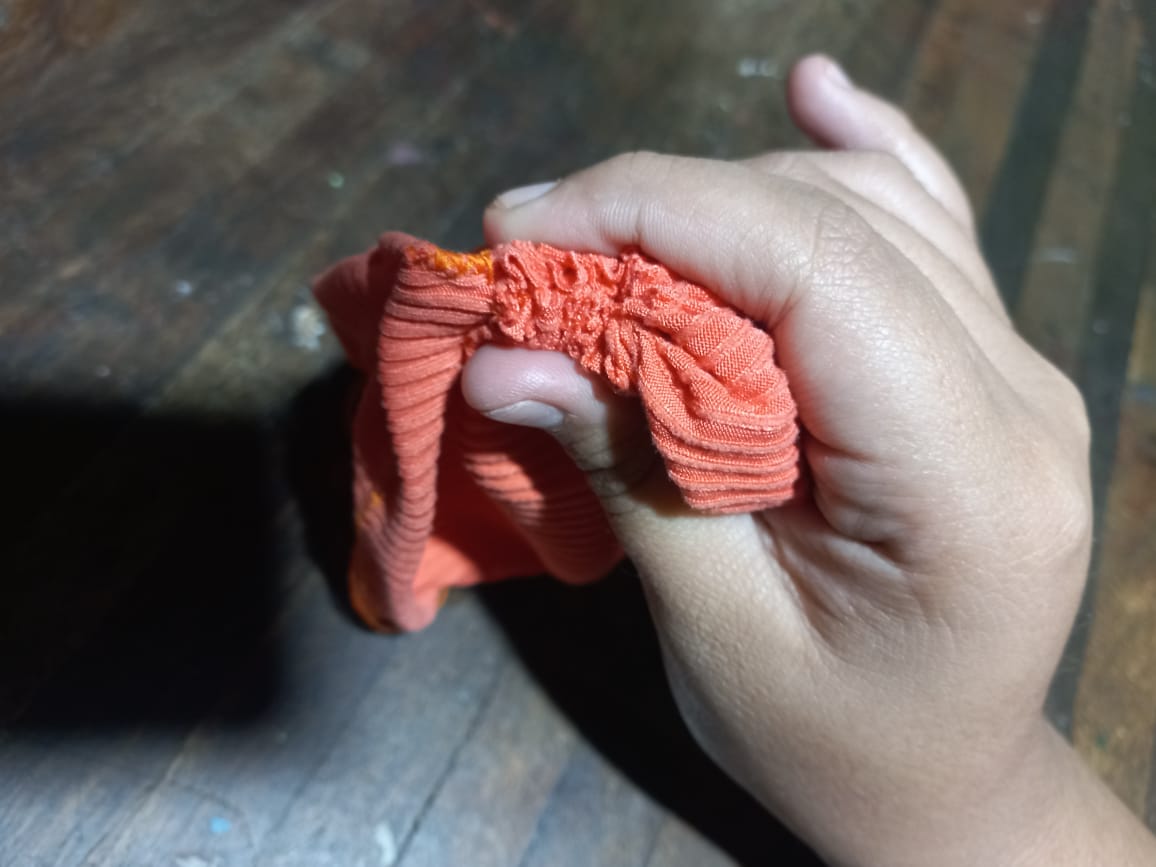
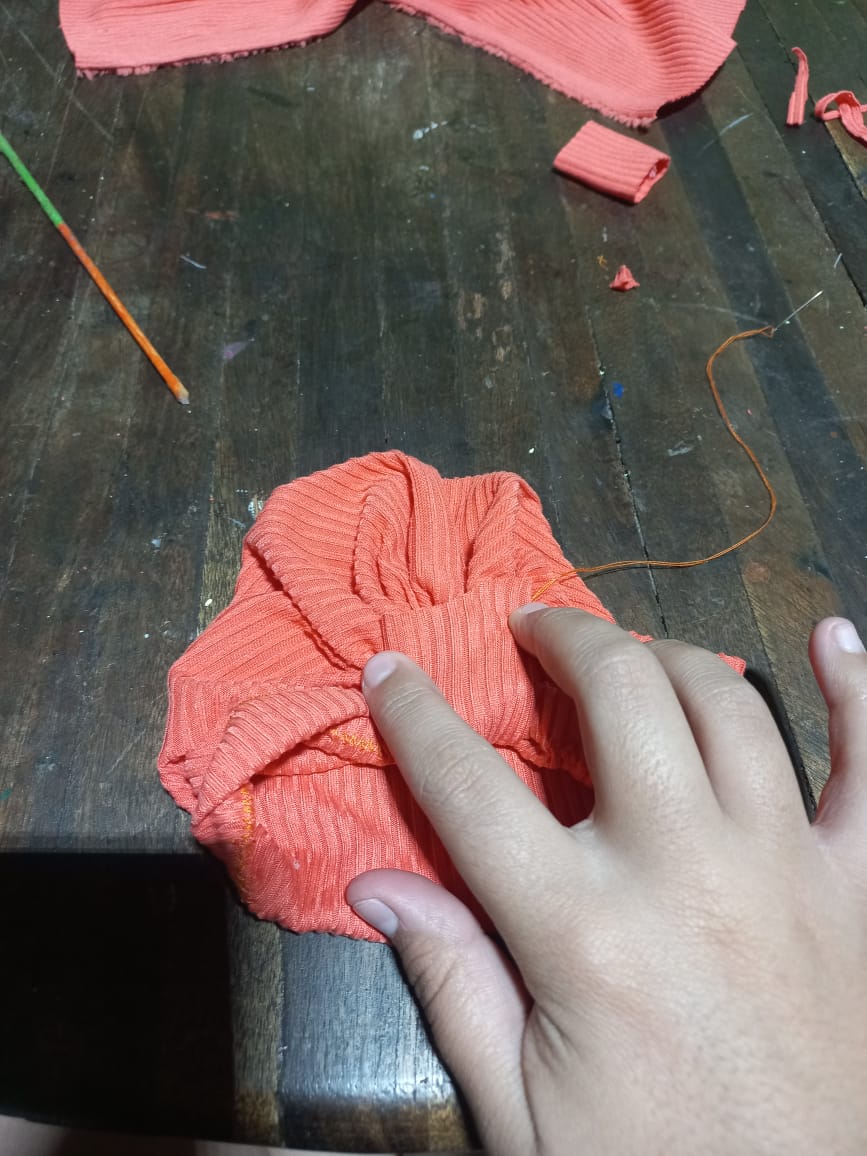
-Antes de cerrar completamente nuestro gorro dejamos un orificio por donde meteremos la segunda pieza que hicimos, con un palito desde la parte de afuera haremos presión para que entre por el orificio y solo dejaremos entrar un poquito.
-Before completely closing our hat, we leave a hole through which we will put the second piece we made, with a stick from the outside we will press it so that it enters through the hole and we will only let a little bit in.
-Con ese poquito terminaremos de cerrar nuestro gorro usando el mismo hilo iremos cociendo hasta cerrar completamente nuestro gorro.
-With that little we will finish closing our hat using the same thread we will cook until we completely close our hat. )
)
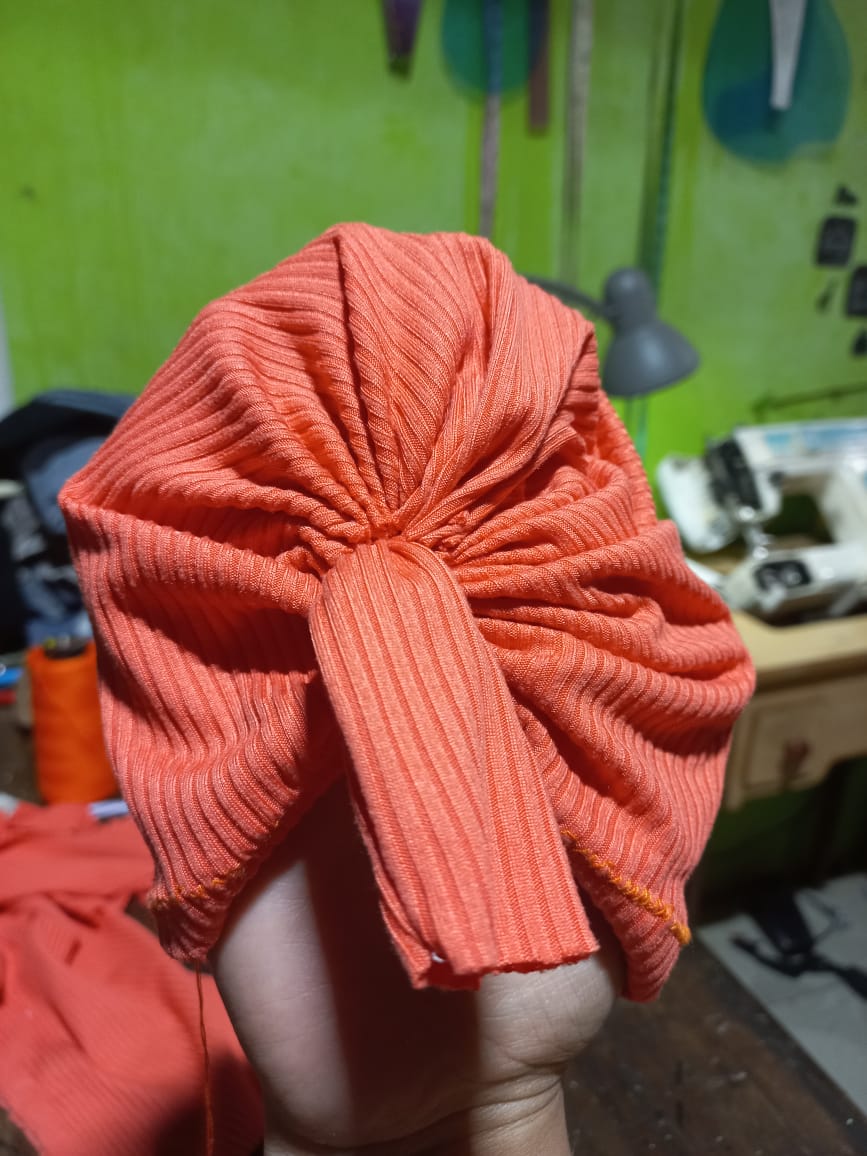
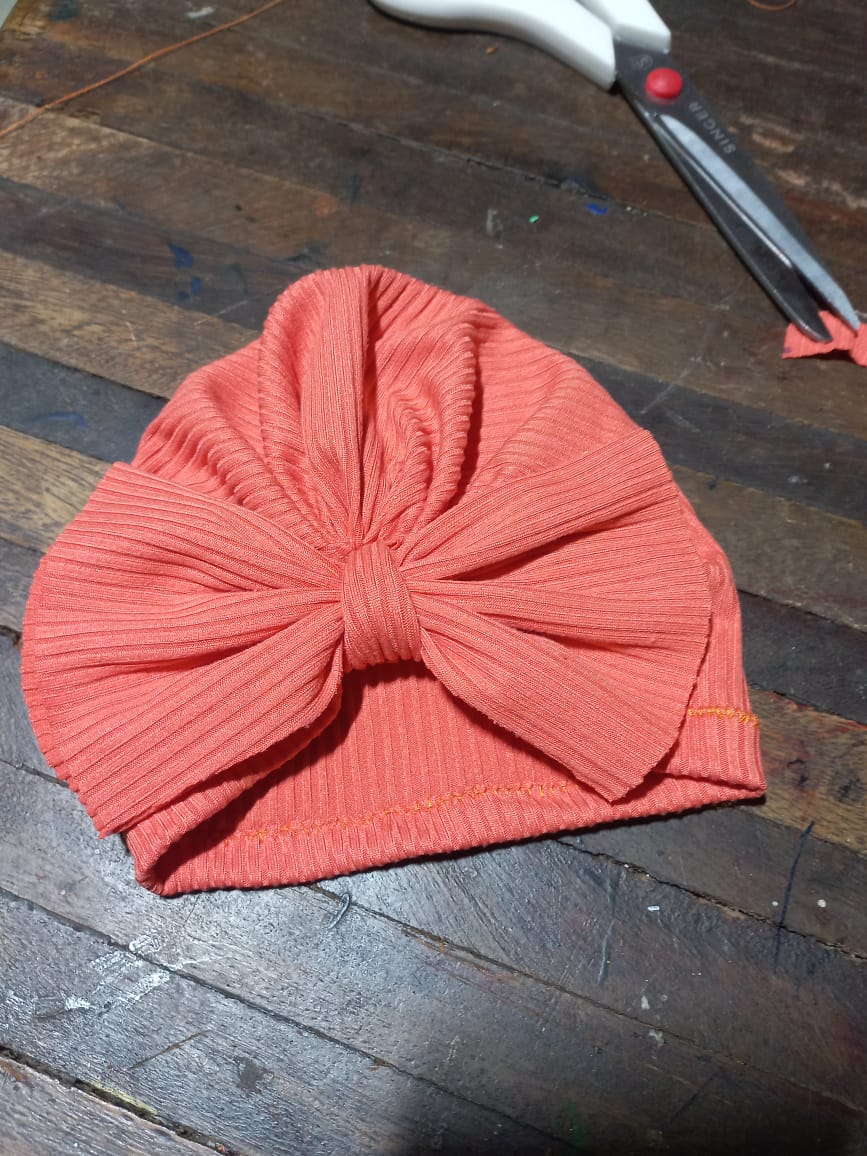
-Al tener todo nuestro gorrito sellado como en la imagen de arriba, la tira que nos quedó por fuera el sobrante lo jalamos hacia la parte de adentro que quede bastante estirado hasta donde cocimos lo que entró por el orificio lo que sobre se corta, y esto lo coseremos, si notan eso tapara todo el trabajo que hicimos por dentro.
-When we have our whole hat sealed as in the image above, we pull the strip that was left on the outside, the excess towards the inside so that it is quite stretched up to where we sewed what entered through the hole, what is left over is cut, and We will sew this, if you notice that it will cover all the work we did on the inside.
.jpeg)
EL LAZO-THE LOOP:
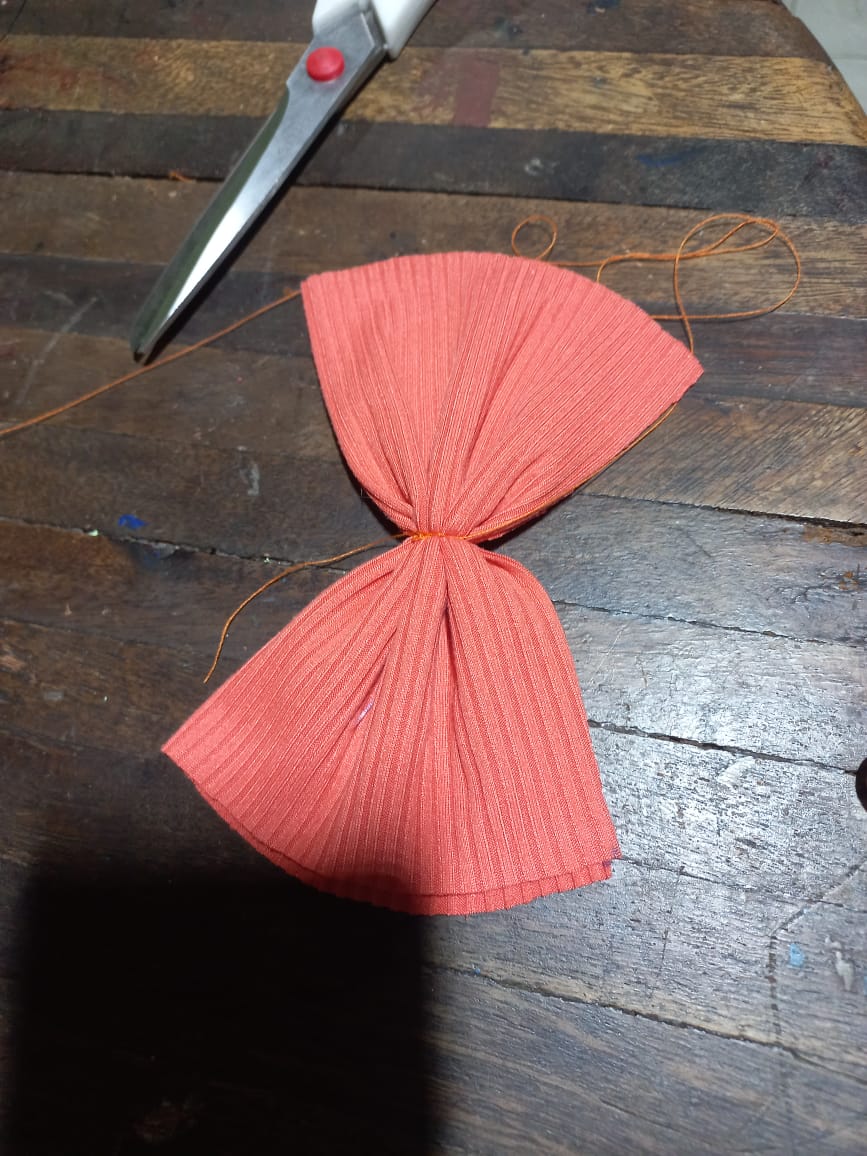
-Para el lazo agarramos el rectángulo que ya cosimos y en la mitad de este con los dedos arrucharemos, con hilo se lo pasaremos varias veces apretando y le haremos un nudito.
-For the loop we grab the rectangle that we already sewed and in the middle of it we will crumple it with our fingers, with thread we will pass it several times squeezing and we will make a little knot.
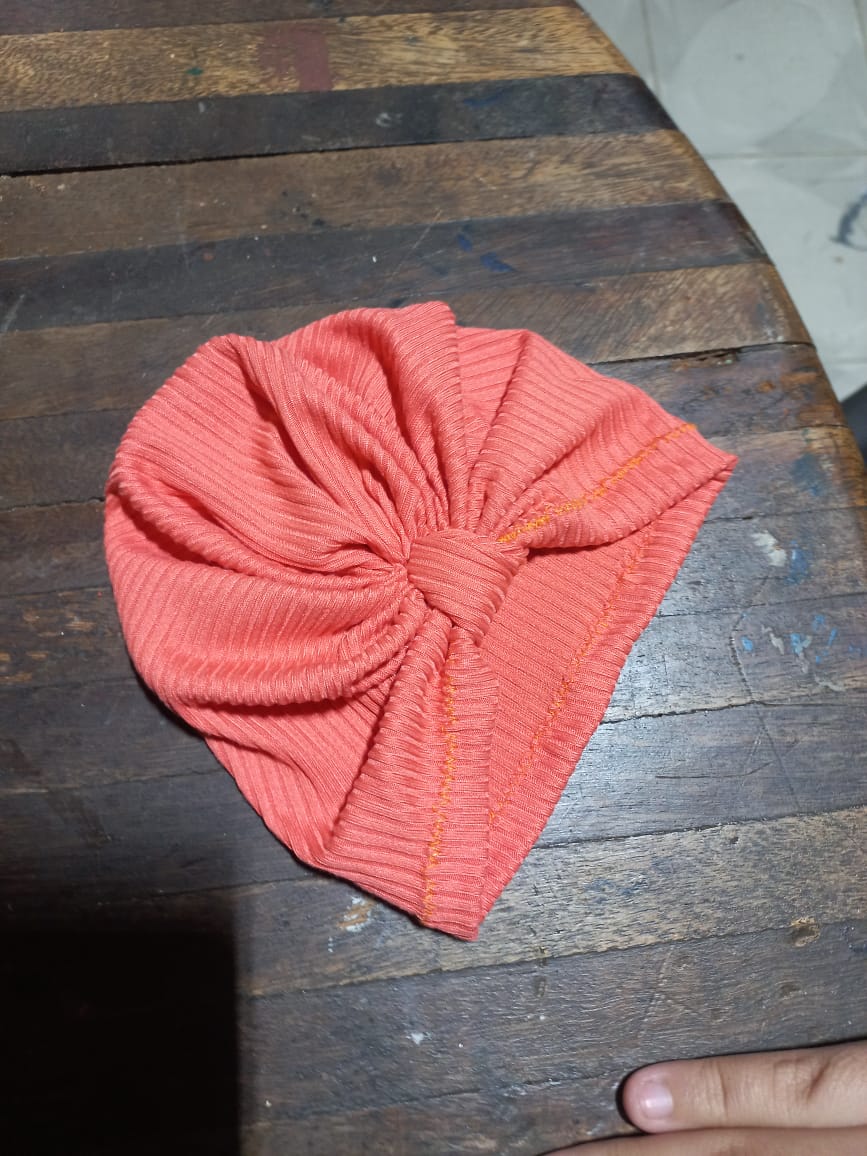
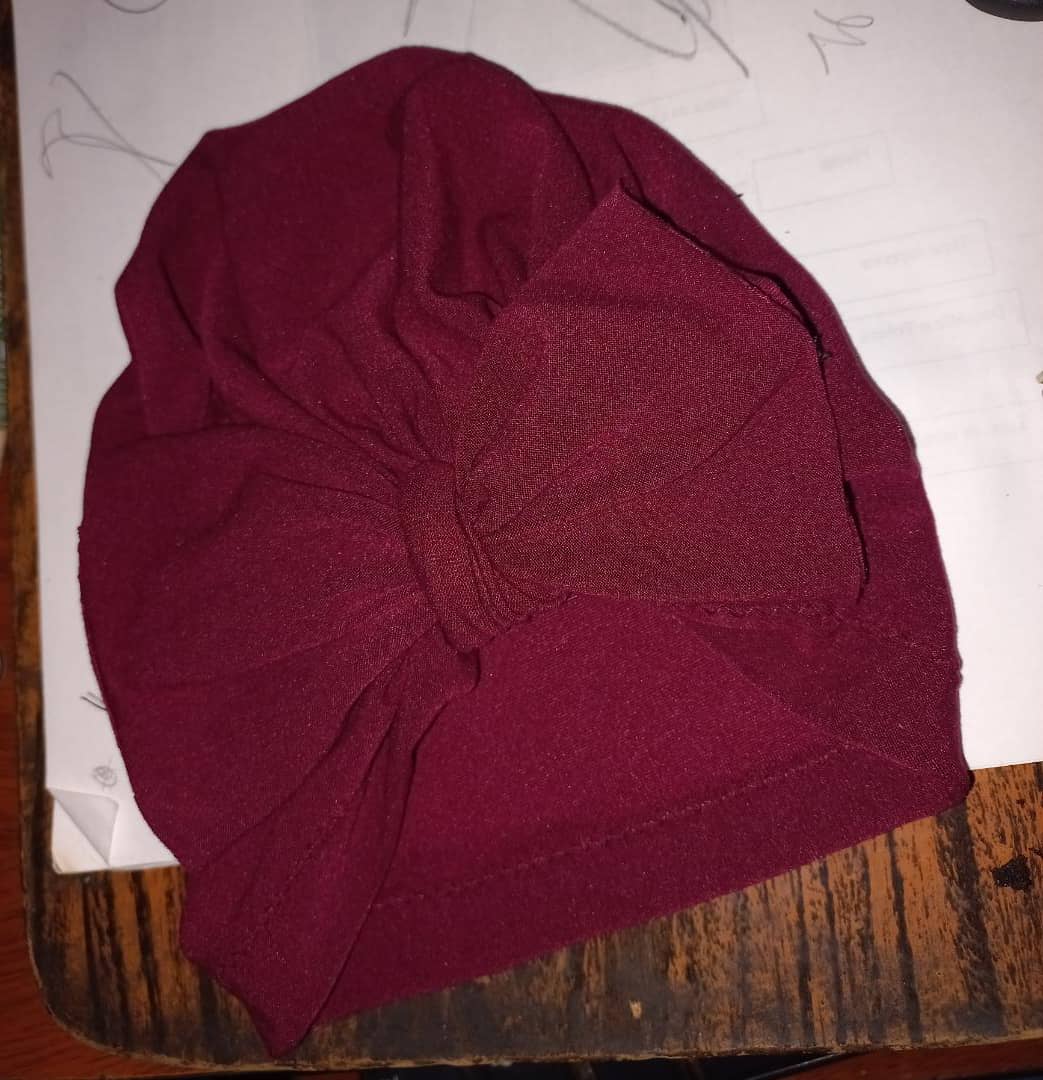
-Para finalizar pasaremos el lazo por el orificio que quedó en la en la segunda pieza que hicimos de nuestro gorro lo arreglamos y listo.
-To finish we will pass the loop through the hole that was left in the second piece we made of our hat, we fix it and that's it.
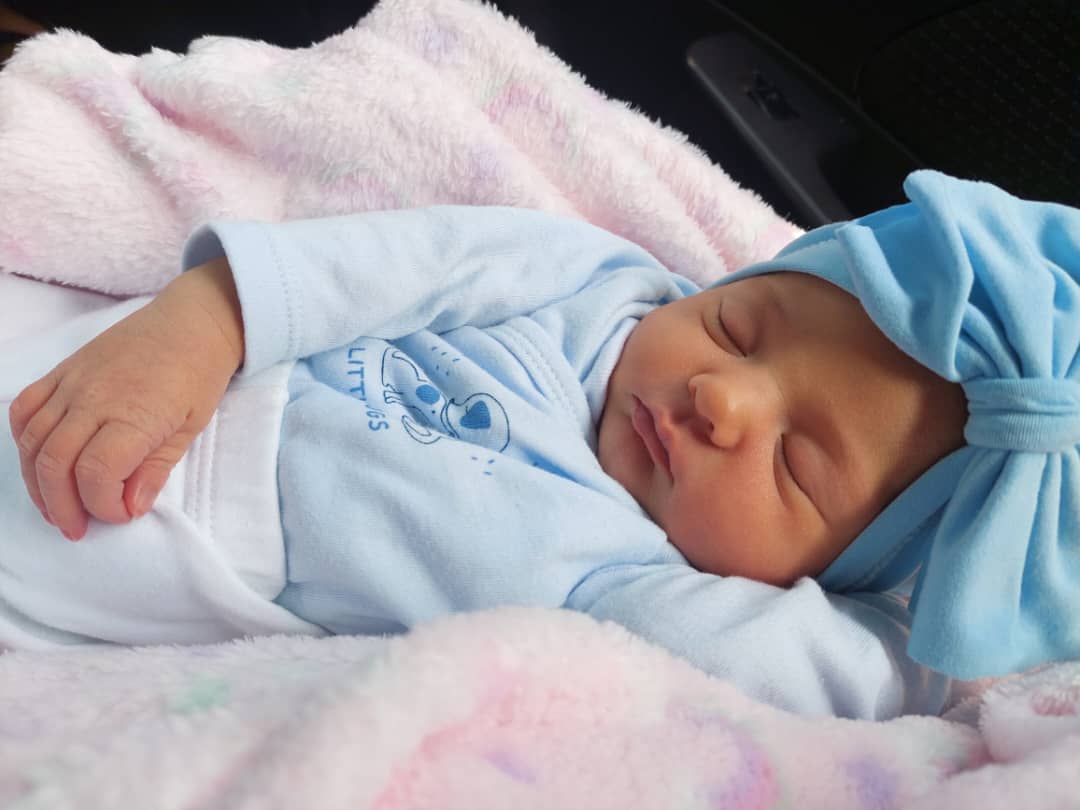
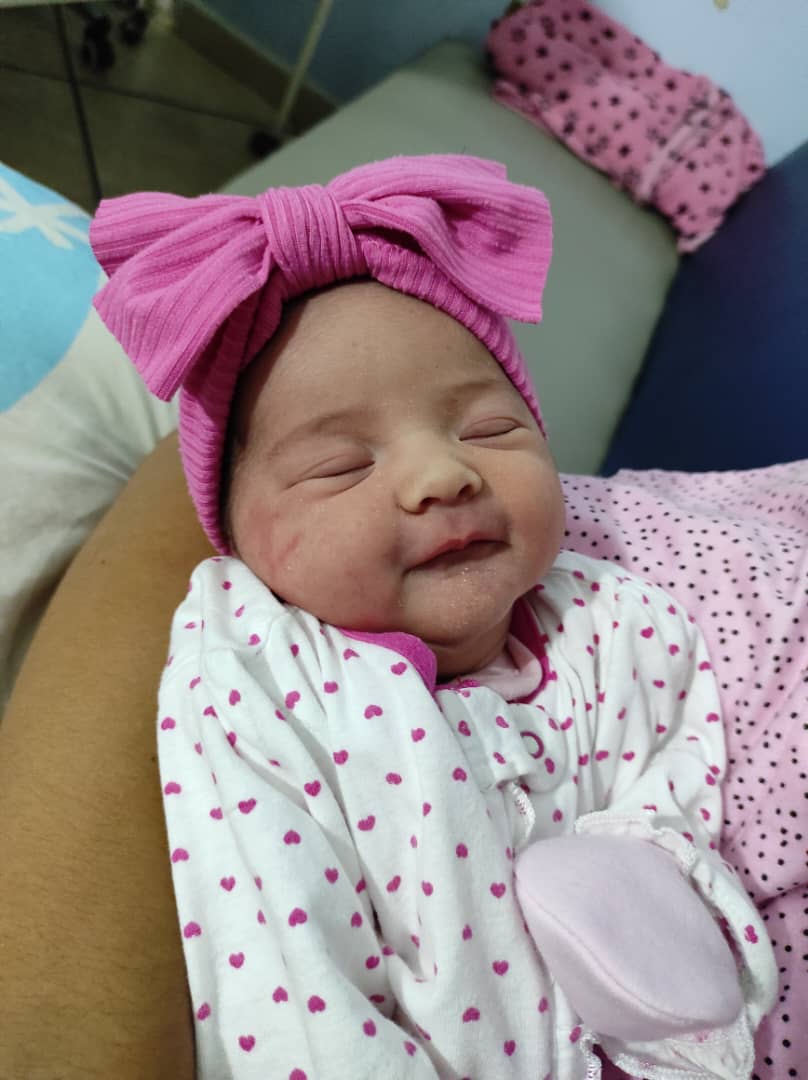
Creo que para empezar un pequeño emprendimiento esta es una de las mejores opciones ya que quedan más elegantes y mucho más elaborados por aquí les dejaré fotos de mi pequeña modelo Emma que por cierto después que los aprendí a hacer de este modo lo hice como 10 jajaja.
I think that to start a small venture this is one of the best options since they are more elegant and much more elaborate. Here I will leave you photos of my little model Emma, which by the way, after I learned to do it this way, I did it for about 10 ha ha ha.
.jpeg)
.jpeg)
Bueno amigos eso es todo por este post gracias por estar aquí si les quedo dudas no duden en escribirme y si tienen algo que aportar también me lo pueden decir para ir mejorando con ustedes.
Well, friends, that's all for this post, thanks for being here. If you have any doubts, don't hesitate to write to me and if you have something to contribute, you can also tell me so that I can improve with you.
.png)
The rewards earned on this comment will go directly to the people sharing the post on Twitter as long as they are registered with @poshtoken. Sign up at https://hiveposh.com.
Has sido votado por
PROYECTO ENLACE
'Conectando Ideas y Comunidades'
PROYECTO ENLACE es un proyecto de curación de habla hispana enfocado en recompensar contenido de calidad y apoyar autores en su proceso de crecimiento en HIVE.
Creemos y apostamos por el futuro de esta gran plataforma, y estamos muy emocionados de poder hacerla crecer junto a esta comunidad. Así que te invitamos a publicar en nuestra COMUNIDAD y estar atento a todas las actividades que tenemos preparadas y que estaremos publicando en breve.
¿QUIERES AUTOMATIZAR TUS GANANCIAS DE CURACIÓN? SE PARTE DEL PROYECTO ENLACE APOYANDO A NUESTRO TRAIL EN HIVE.VOTE INGRESA AQUÍ PARA CONOCER LOS DETALLES.
¿QUIERES INVERTIR ENLACE? DESCUBRE COMO HACERLO Y GENERAR INGRESOS DE FORMA SEMANAL MEDIANTE TU DELEGACIÓN DE HP AQUÍ TE EXPLICAMOS COMO.
Te invitamos a participar en nuestro servidor de Discord: https://discord.gg/3S9y7BbWfS
Atentamente
EQUIPO ENLACE 2023
Beautiful ❤️ Baby 💕
This is really Cute 🥰
Keep up the good work 👍👍
thanks for your nice words 💕
thanks for your nice words 💕
Congratulations your publication has been chosen among the best of the day.
KEEP CREATING GOOD CONTENT.
Que tierno, te quedo hermoso.
Graciasss un saludo
Simplemente hermosos. Excelente trabajo, me encantan las cosas de bebes y niñas en general y este gorro te ha quedado muy bien. Gracias por compartir. saludos.
A mi también poco a poco aprendo mas a realizar prendas para niños en general. Un saludo me alegra que te guste.
Wow this is really beautiful, I love the very tutorial, I will make sure I do this for my unborn baby. Thanks for sharing this