.png)
Saludos a toda la comunidad de Hive Diy.
Hoy les traigo un lindo proyecto de aros bordados en un mini bastidor.
Se me ocurrio la idea ya que en mi jardín están creciendo pequeñas flores que son muy lindas y quise retratarlas. Siempre me han gustado los productos mini ahora quería aprovechar estos cutes bastidores. 🥰
Greetings to all the Hive Diy community.
Today I bring you a cute project of embroidered hoops on a mini frame.
I came up with the idea because in my garden are growing small flowers that are very cute and I wanted to portray them. I have always loved mini products now I wanted to take advantage of these cutesy frames. 🥰
Materiales / Materials
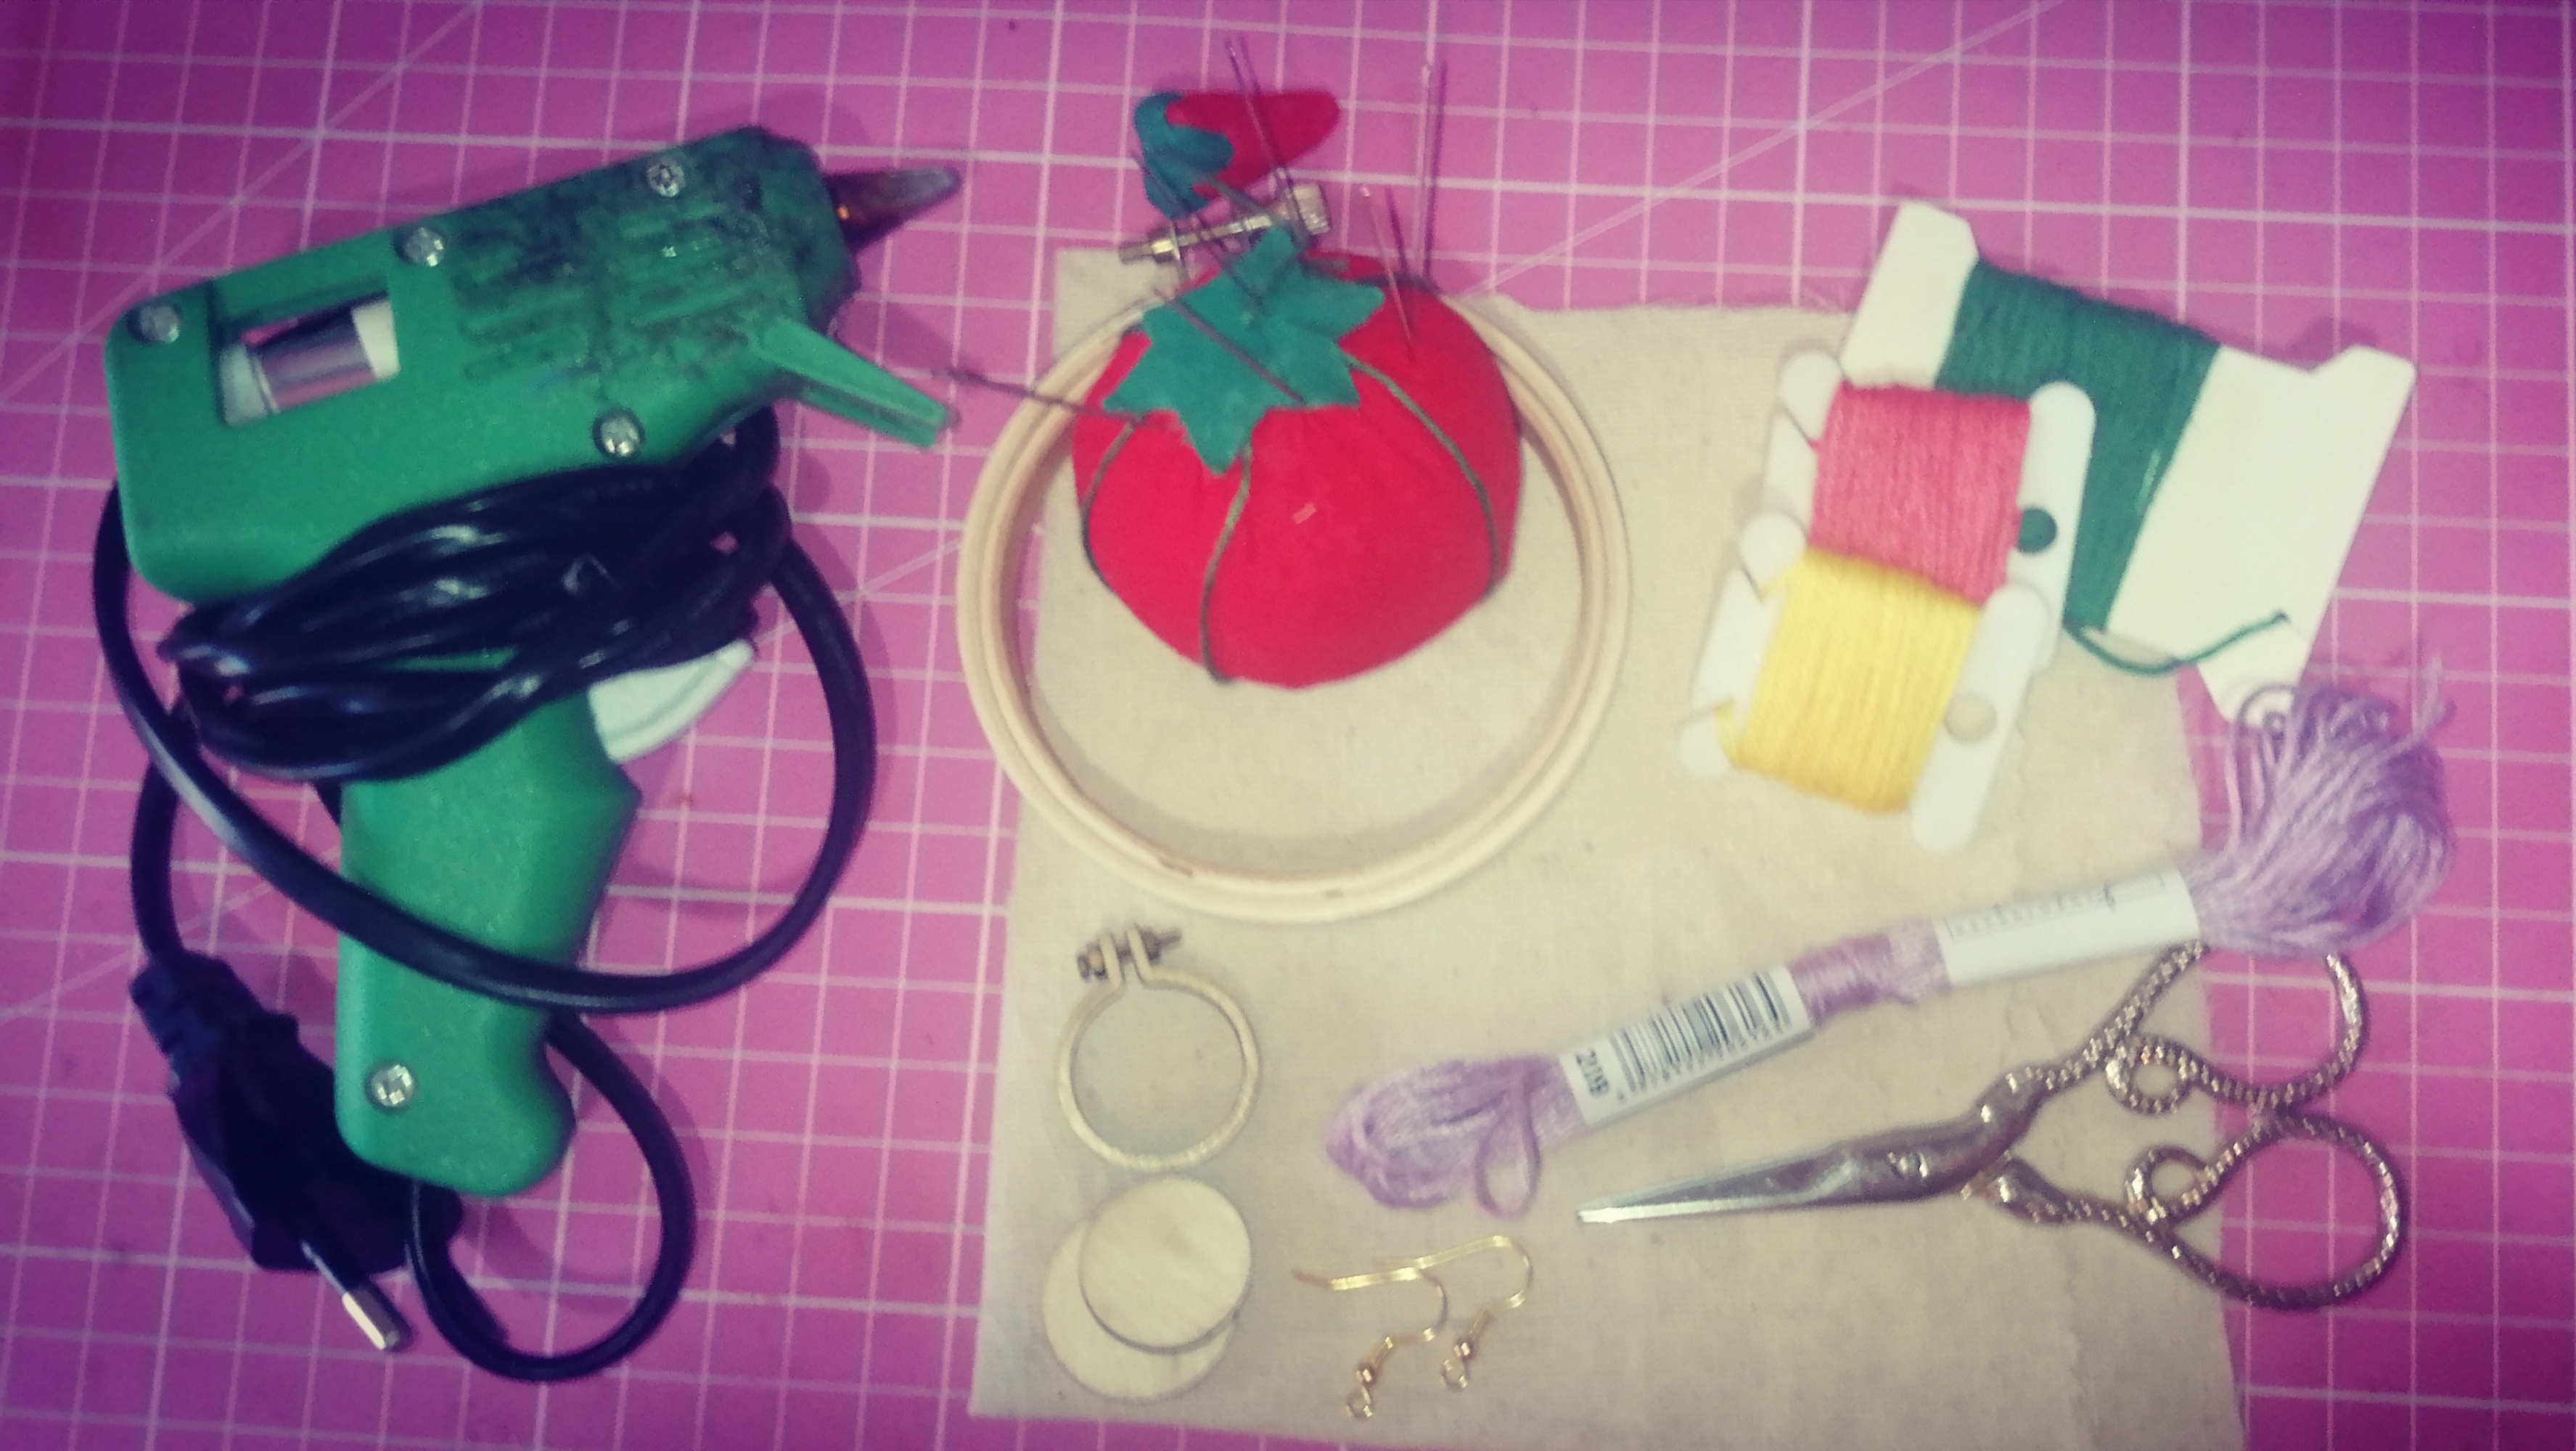
- Tela crea o tela manta
- 1 Bastidor de 7 cm y 2 mini bastidor
- Hilos de bordar diferentes tonos
- Agujas
- Lapiz de tinta termosensible (se borran con calor)
- Pegamento
- Tijera
- Plancha
- 2 Ganchillo de pendientes
- Creates or blanket fabric
- 1 frame of 7 cm and 2 mini frames
- Embroidery threads in different shades
- Needles
- Thermosensitive ink pencil (can be erased with heat)
- Glue
- Scissors
- Iron
- 2 Earrings crochet hook
Empezamos poniendo el bastidor de 7 cm arriba de la tela. Los mini bastidores traen dos círculos de madera usamos el mas pequeño y lo pones dentro del bastidor de 7, marcando los dos circulos para crear nuestro patron.
Dibujamos 3 circulos y 3 hojas pequeñas.
En los circulos hacemos un punto en medio y dibujamos 5 líneas rectas con un espacio similar. Teniendo esto listo ponemos la tela en el bastidor y empezamos a bordar!!
We start by placing the 7 cm frame on top of the fabric. The mini frames come with two wooden circles, we use the smaller one and put it inside the 7 cm frame, marking the two circles to create our pattern.
We draw 3 circles and 3 small leaves.
On the circles we make a dot in the middle and draw 5 straight lines with similar spacing. With this ready we put the fabric in the frame and start embroidering!

|

|

|

|

|

|

|
|

|

|
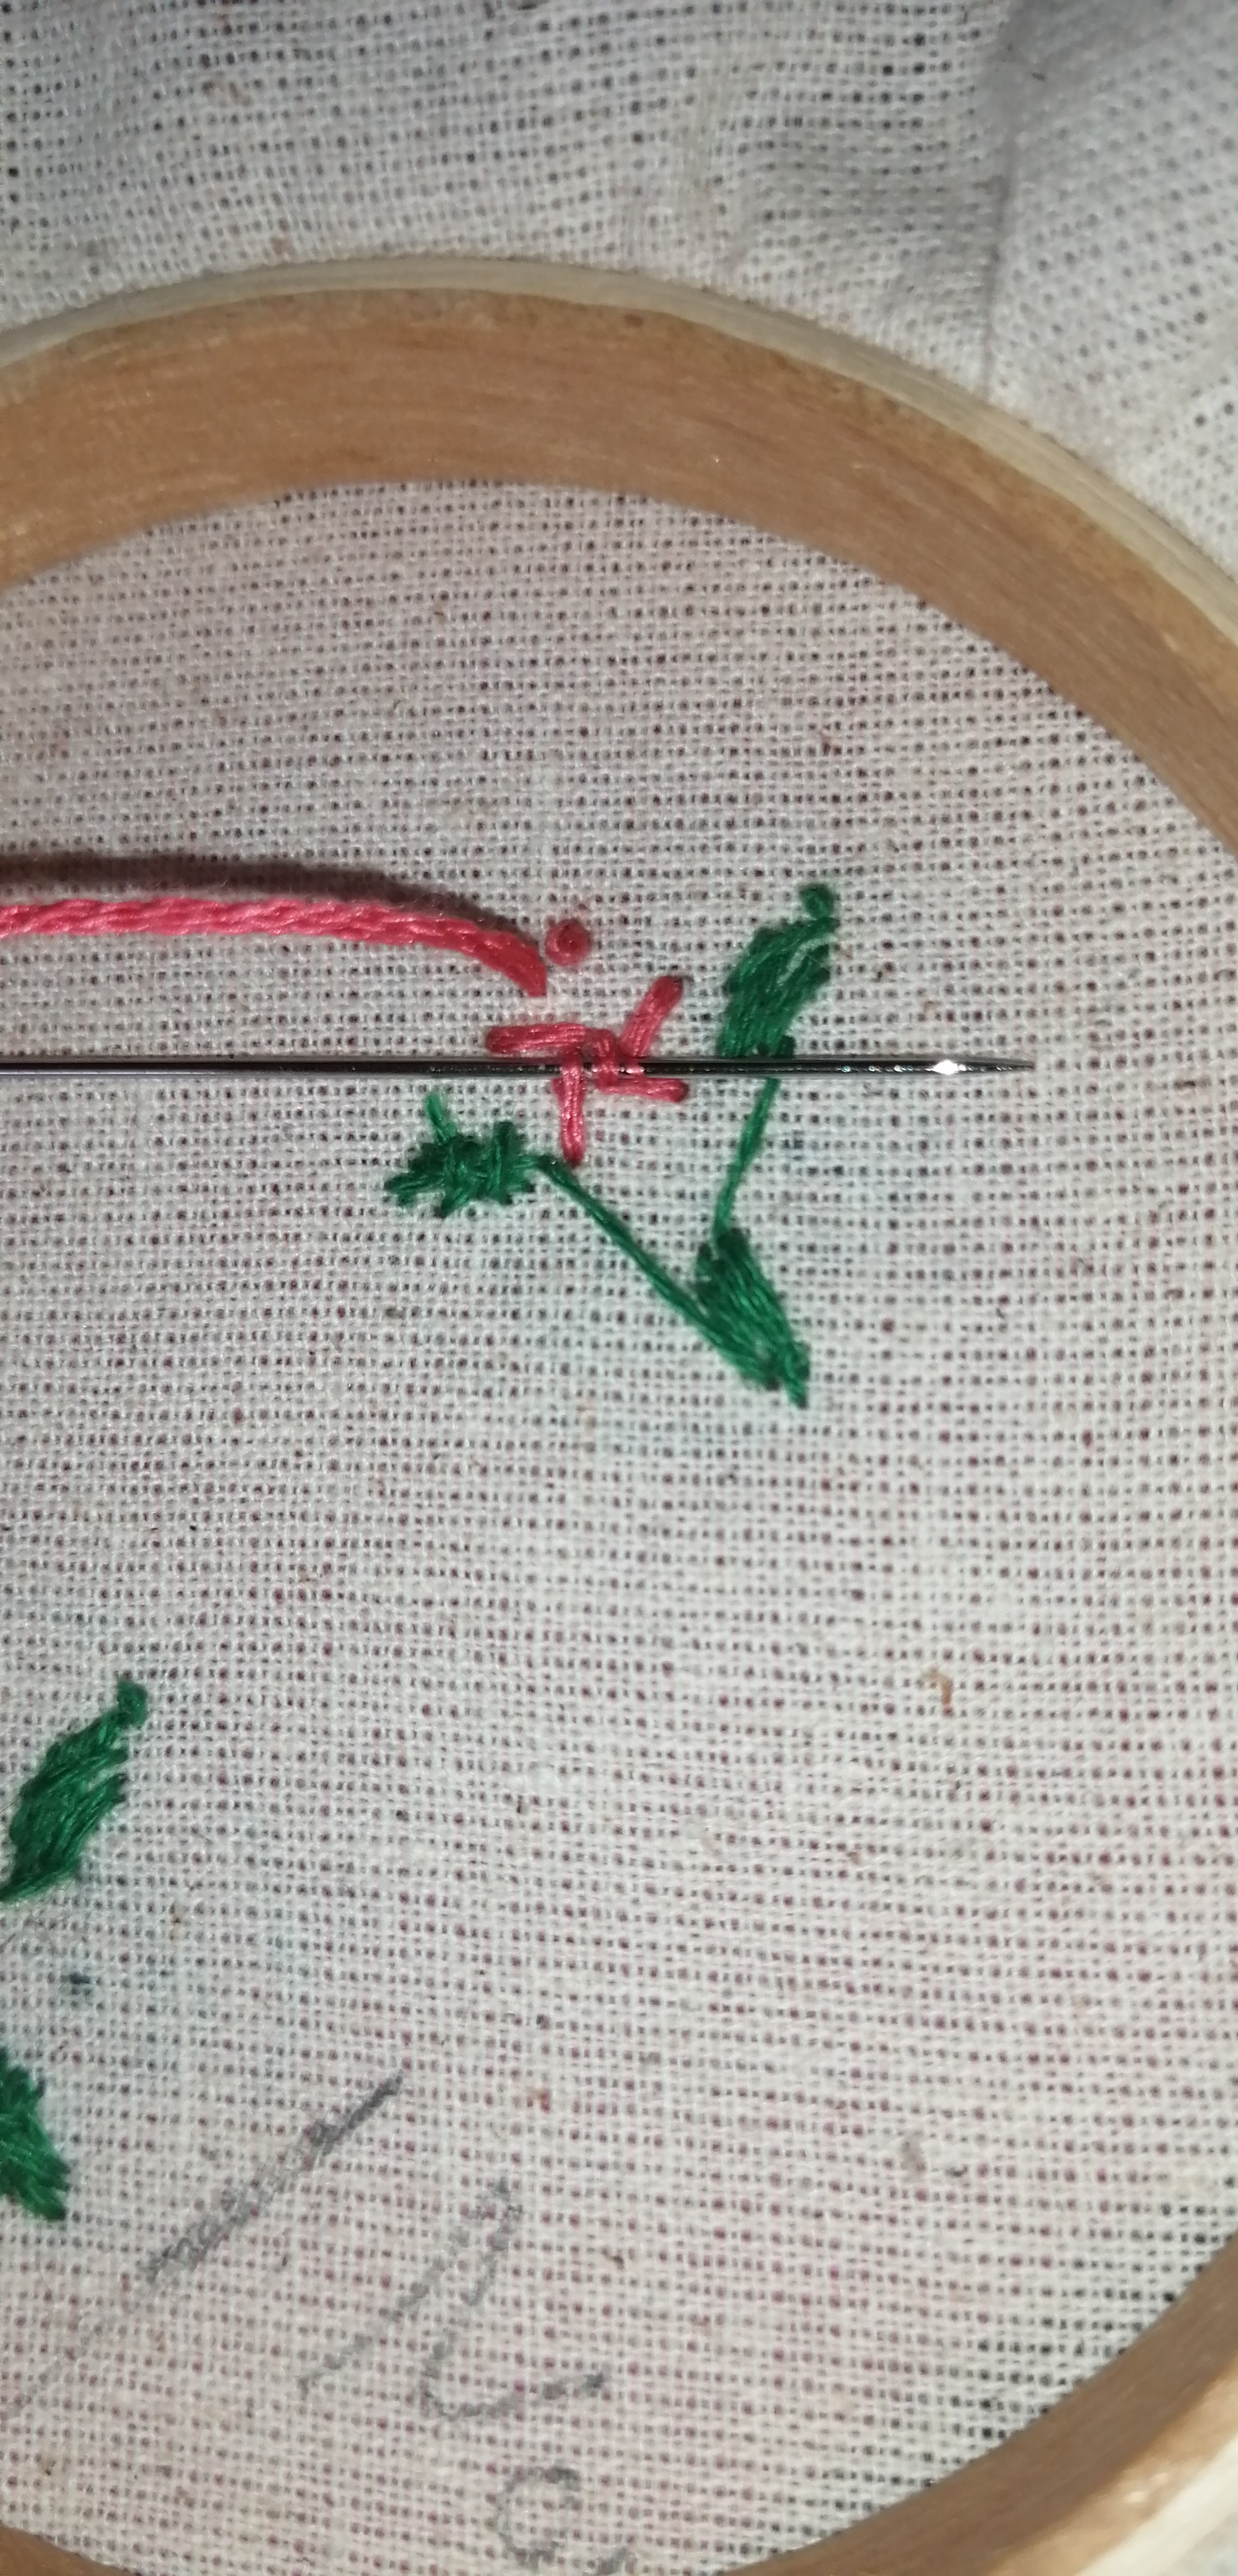
Comenzamos con las hojas, enhebrar la aguja con hilo verde sacamos cuatro hebras y deben quedarte solo dos hebras, hacemos un nudo, la primera puntada se hace en la punta de la hoja hacia la flor así continuar hasta rellenar por completo el dibujo, repetimos el proceso en las siguientes hojitas.
En la flor necesitamos 4 hebras de hilo, enebramos y empezamos bordando con el punto TELA DE ARAÑA, avanzamos con la primera línea desde afuera hacia el punto, pero sin tapar el punto por completo, hay que dejar un pequeño espacio ya que ahí ira otra puntada.
Cuando marquemos todas las lineas el ultimo punto entrará por en medio de cualquiera de los espacios de la flor, y este ira por debajo de la linea, la siguiente puntada sera por arriba, luego por abajo y así sucesivamente hadta que se pierdan de vista todas las lineas rectas. Algo importante que se debe destacar es que los hilos no deben ir tensados para que asi parescan petalos de flores. Repetir el proceso con las siguientes flores.
Un tips para que no se hagan tantos nudos al final del bordado cuando termines una flor, por la parte de atrás solo debes entrelazar los hilos esto hara que el hilo quede firme y no se salga.
We start with the leaves, thread the needle with green thread, we take out four strands and you should have only two strands left, we make a knot, the first stitch is made at the tip of the leaf towards the flower and continue until the drawing is completely filled, we repeat the process in the following leaves.
In the flower we need 4 strands of thread, we thread and start embroidering with the spider web stitch, we advance with the first line from the outside towards the stitch, but without covering the stitch completely, we must leave a small space because there will be another stitch.
When we mark all the lines the last stitch will enter in the middle of any of the spaces of the flower, and this will go below the line, the next stitch will be above, then below and so on until you lose sight of all the straight lines. An important thing to note is that the threads should not be taut so that they look like flower petals. Repeat the process with the following flowers.
A tip to avoid making so many knots at the end of the embroidery when you finish a flower, on the back side you only have to interlace the threads so that the thread remains firm and does not come out.
Cuando esten listas las flores nos quedara el espacio en donde iba el punto alli haremos el punto NUDO FRANCÉS. Que se explica en la imagen.
Teniendo las flores listas, cortamos al rededor del circulo dejando un poco más de tela. Luego borramos las lineas con calor, yo lo hice con un secador que es mas rapido y práctico.
Tomamos el círculo pequeño del mini bastidor y ponemos el bordado arriba, por atras pegamos con el pegamento a elección yo utilicé silicon caliente.
Luego colocamos el bastidor en medio ponemos el ganchillo de pendiente, con el tornillo quedará todo bien ajustado, terminando pegamos el circulo grande que tapa atrás.
When the flowers are ready, we will have the space where the stitch was, there we will knit the FRENCH KNOT. This is explained in the image.
Having the flowers ready, we cut around the circle leaving a little more fabric. Then we erase the lines with heat, I did it with a hairdryer which is faster and more practical.
Take the small circle of the mini frame and put the embroidery on top, glue the back with the glue of your choice, I used hot silicon.
Then we place the frame in the middle and put the earring crochet, with the screw everything will be well adjusted, finishing we glue the big circle that covers the back.
Y ya estan listos nuestros pendientes 🤗🌼🌿
And now our earrings are ready.
Gracias por leerme espero les guste este proyecto simple pero lindo.
Fotografías de mi autoria.
Traducido en deepl.
Thank you for reading me, I hope you like this simple but nice project.
Photographs of my authorship.
Translated in deepl.


Que lindos aritos, me gustaría unos de mi flor favorita, "Orquídeas". 🤗
Que idea tan hermosa y creativa, el resultado es demasiado lindo 💐🌷🌹
It's so beautiful. I love it's flowery theme😍
Congratulations @alejandralita! You have completed the following achievement on the Hive blockchain And have been rewarded with New badge(s)
Your next target is to reach 2000 upvotes.
You can view your badges on your board and compare yourself to others in the Ranking
If you no longer want to receive notifications, reply to this comment with the word
STOPCheck out our last posts:
Wonderful! They are amazing
Son bonitos y singulares, felicidades por tu buen trabajo.
It is so beautiful. Love its design and color combination! Nice work!
Demasiado lindos 😍 me encantaron, sin duda alguna un hermoso trabajo 😊👍