
Saludos a toda la comunidad de Hive Diy.
Hace tiempo he estado mirando patrones para crear muñecos de tela bordados, pero no me habia atrevido a hacer ninguno jasta hoy 🤗 en la mañana me di el tiempo y pense en crear un osito tierno y además que en sus manitas lleve mi flor favorita que es una hortensia azul.
Espero que al igual que yo les guste el resultado.
Vamos a ver el paso a paso!
Greetings to the entire Hive Diy community. For some time now I have been looking at patterns to create embroidered fabric dolls, but I had not dared to make any until today 🤗 in the morning I took the time and thought about creating a tender bear and also having my favorite flower in its hands, which is a blue hydrangea. I hope that, like me, you like the result. Let's see the step by step!
Materiales / Materials

- Tela crea blanca o tela manta
- 1 Bastidor de 7 cm
- Hilos de bordar negro, blanco, verde, cafe y azul claro y oscuro
- Agujas
- Lapiz de tinta termosensible (se borran con calor)
- Tijera
- Plancha
- Tableta digital
- Creates or blanket fabric
- 1 frame of 10cm
- Black Embroidery threads
- Needles
- White fabric or blanket fabric
- 1 7 cm frame
- Black, white, green, brown and light and dark blue embroidery threads
- Needles
- Thermosensitive ink pen (erases with heat)
- Scissors
- Iron
- Digital tablet

Empezamos abriendo el programa de dibujo que tengas en tu tableta, yo use Sketchbook y cree un patron simple de muñeco este será un osito, el circulo que esta entre sus manos sera una flor de hortensia.
Tu puedes dibujar el diseño que quieras deja volar tu imaginación hay muchas opciones para bordar eso es lo lindo de esto cada quien tiene su estilo y su forma de crear.
We start by opening the drawing program that you have on your tablet, I used Sketchbook and created a simple doll pattern, this will be a bear, the circle that is between his hands will be a hydrangea flower. You can draw the design you want, let your imagination fly, there are many options for birding, that's the beauty of it, everyone has their own style and way of creating.

|

|

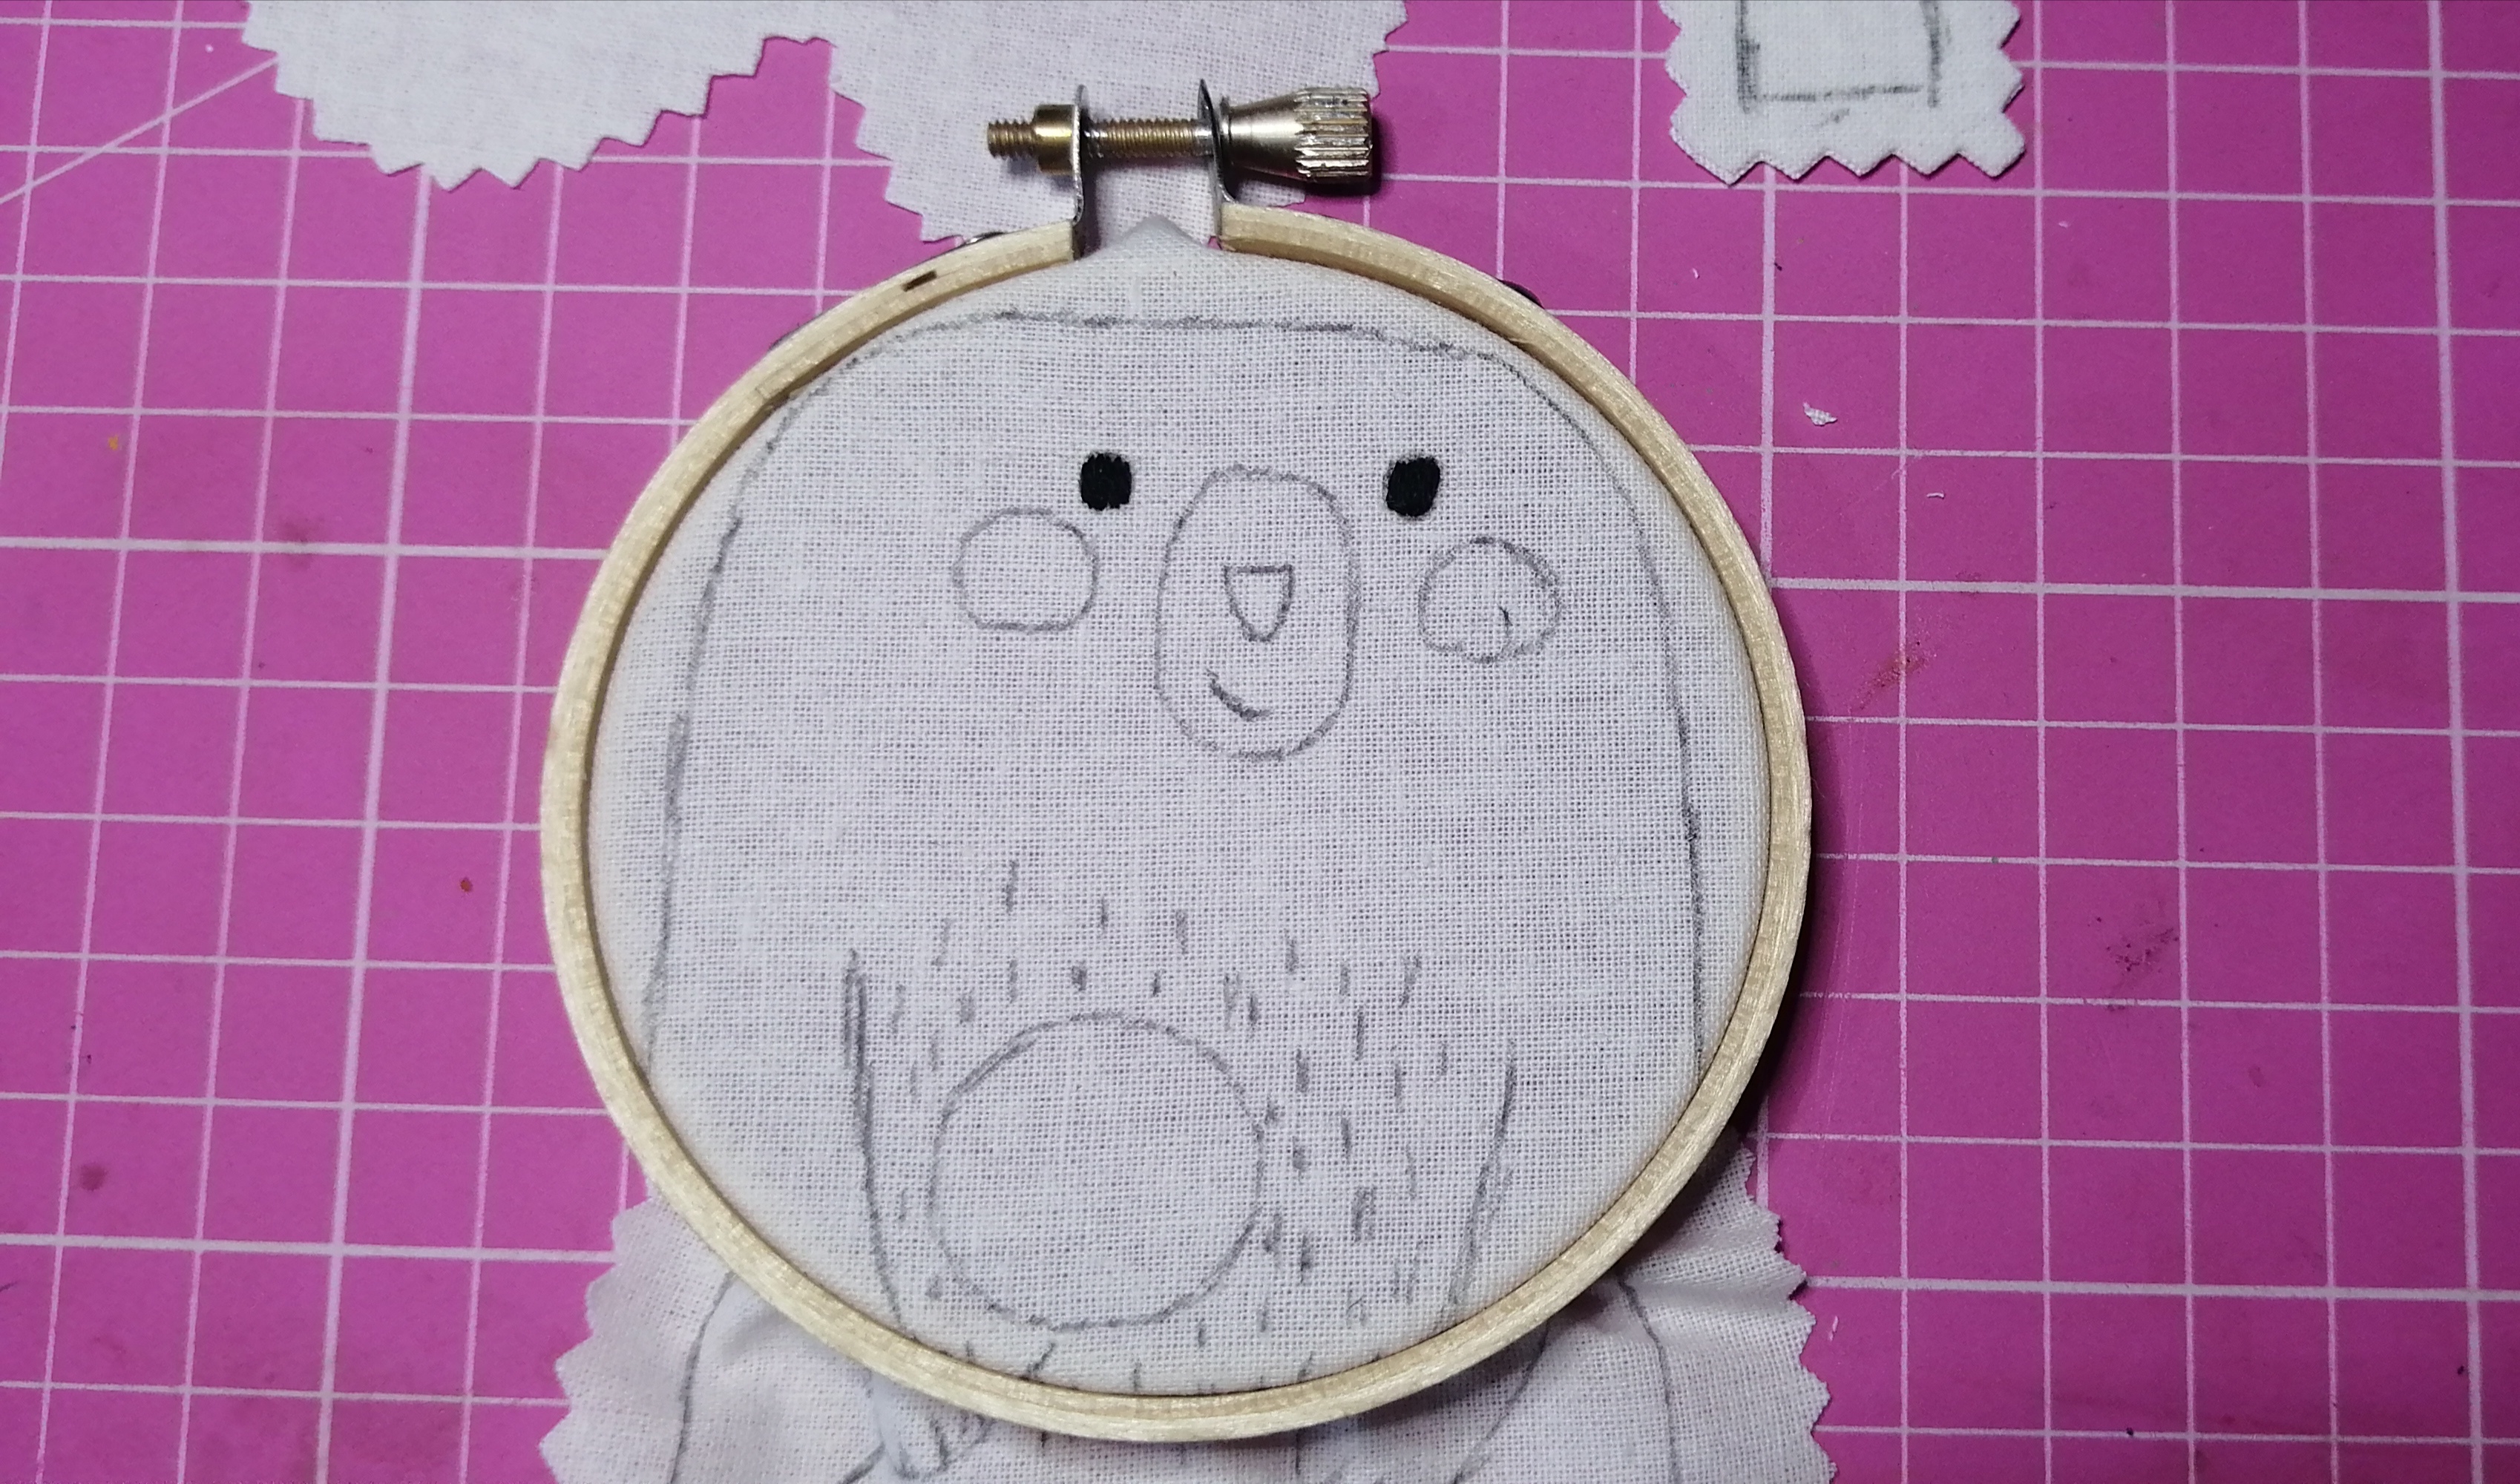
Ya estamos listos, ahora ponemos la tela arriba de la tableta y empezamos a calcar el diseño lentamente. Cuando ya este listo el dibujo,doblamos la tela y cortamos el diseño con la tijera de triángulo para que no se creen muchas hilachas.
We are ready, now we put the fabric on top of the tablet and begin to trace the design slowly. When the drawing is ready, we fold the fabric and cut the design with triangle scissors so that many threads are not created.

|
|
|
|
|
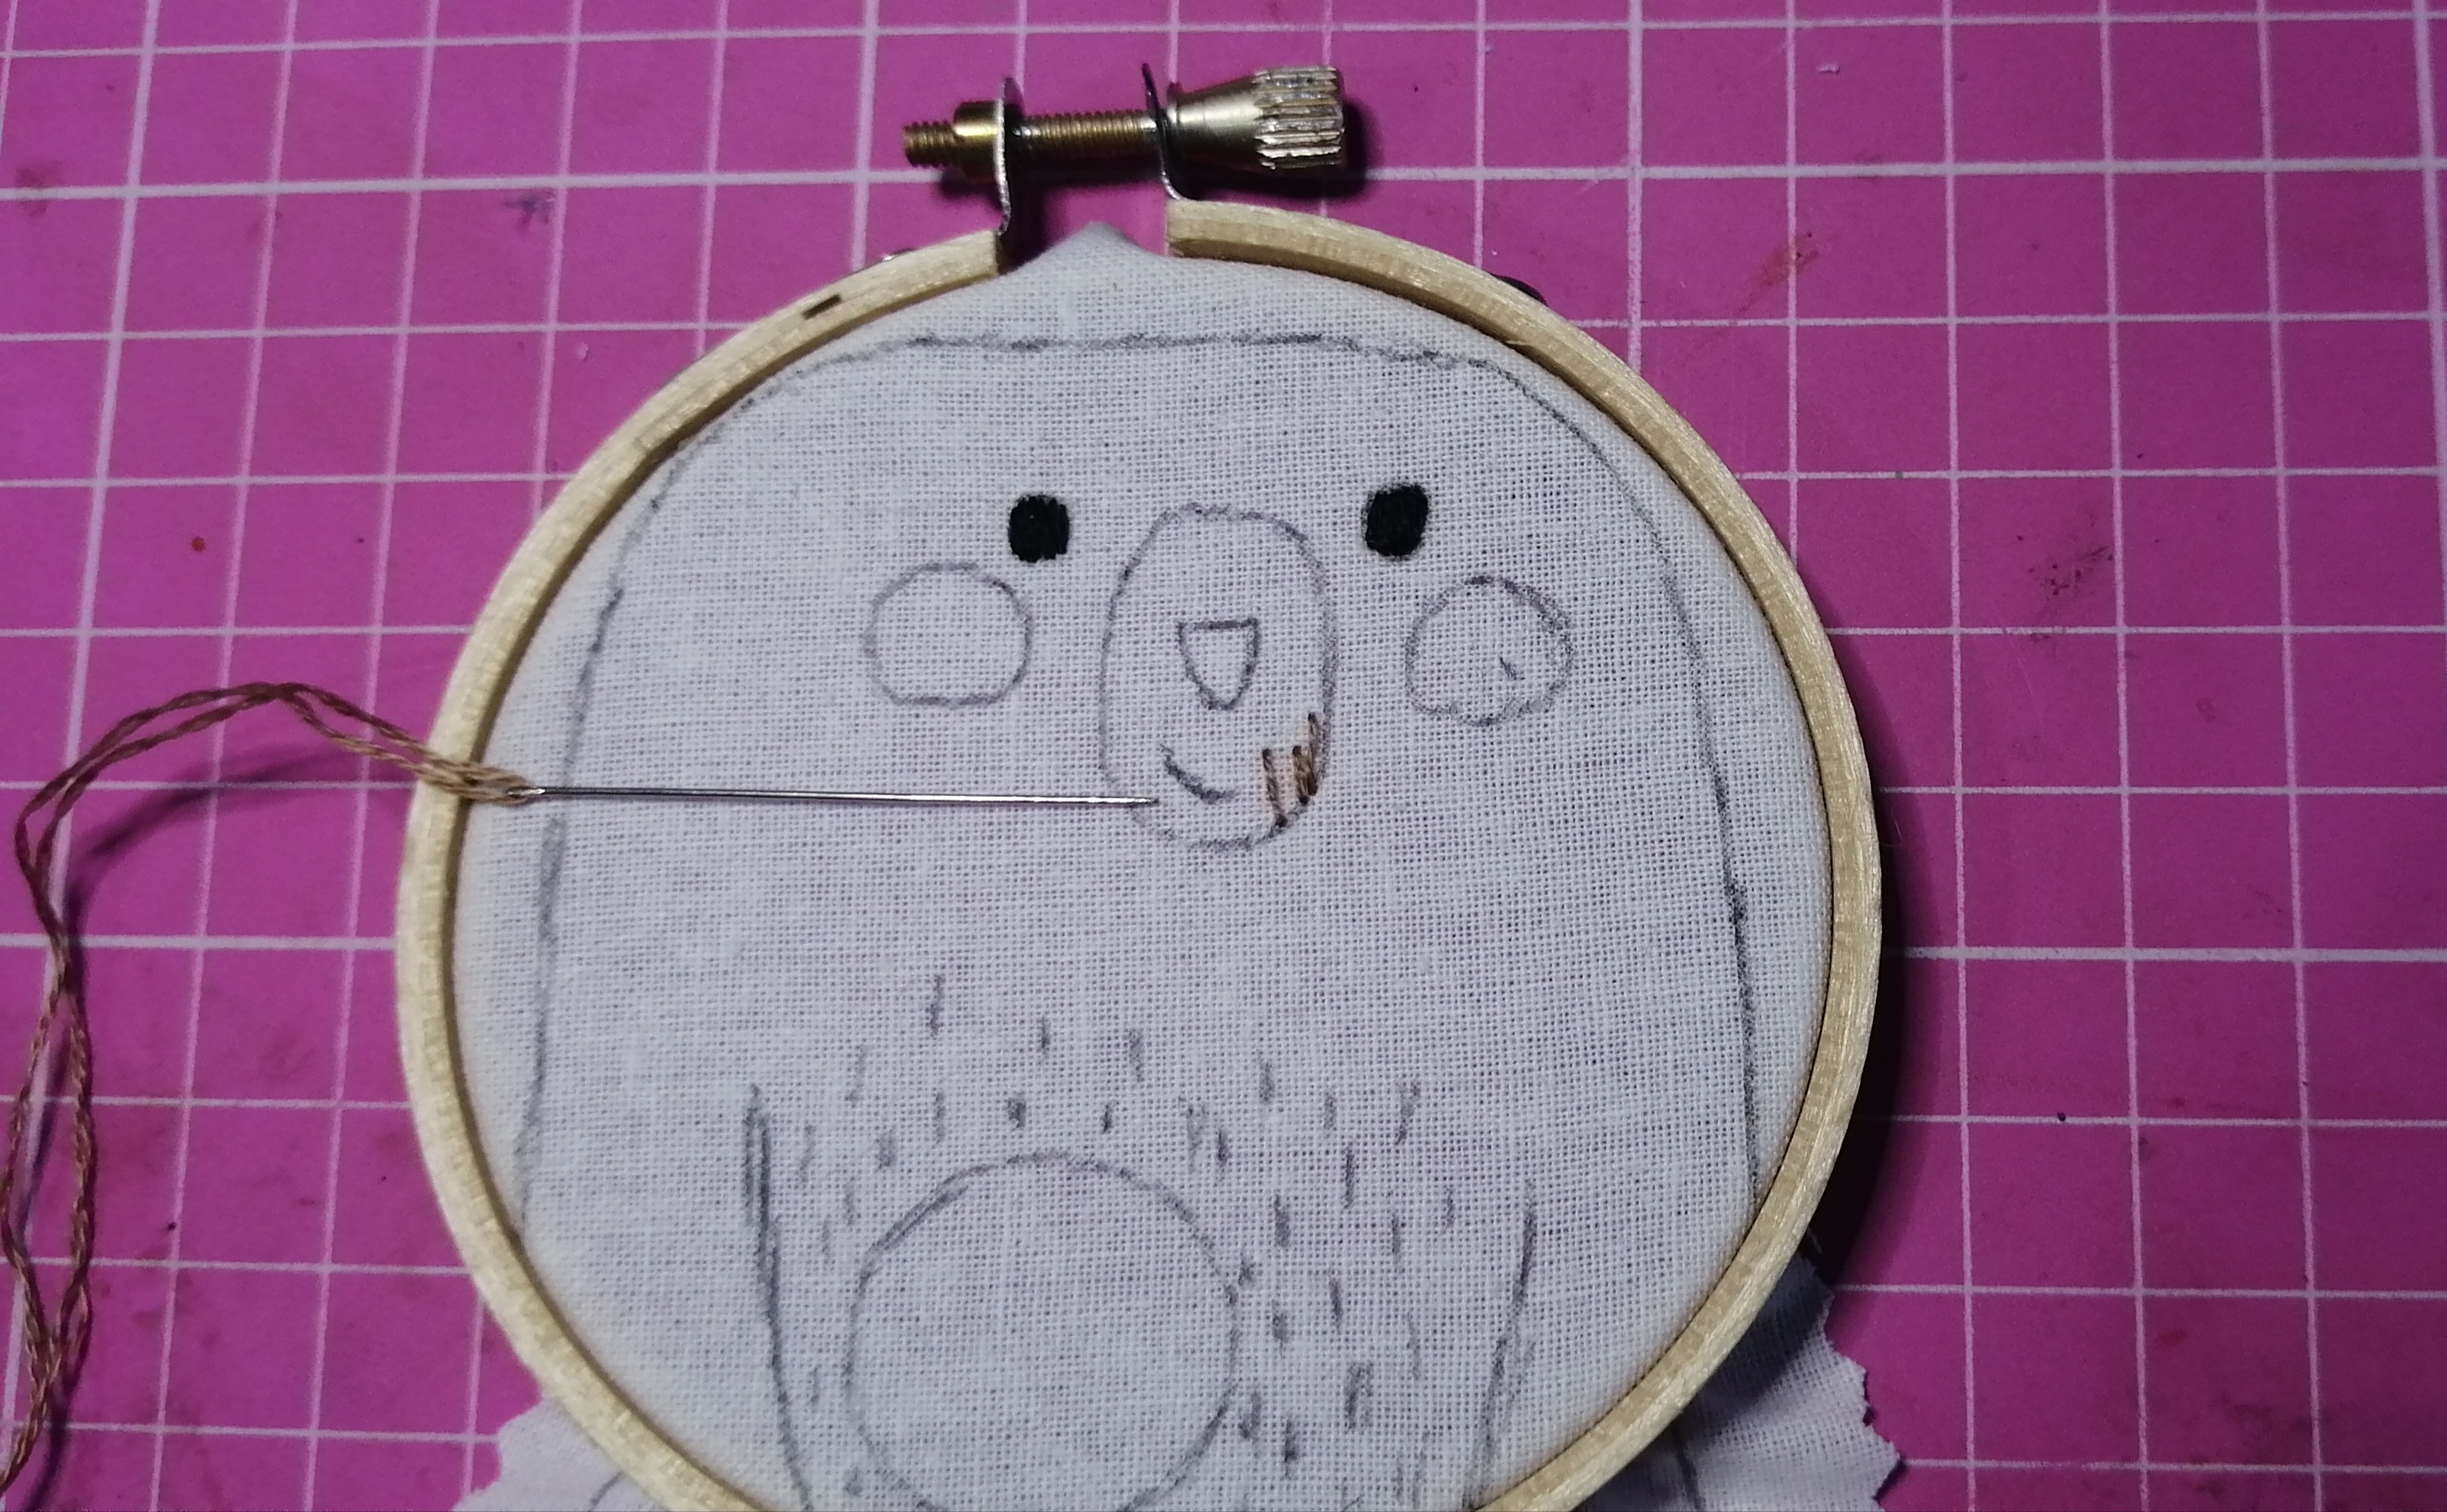
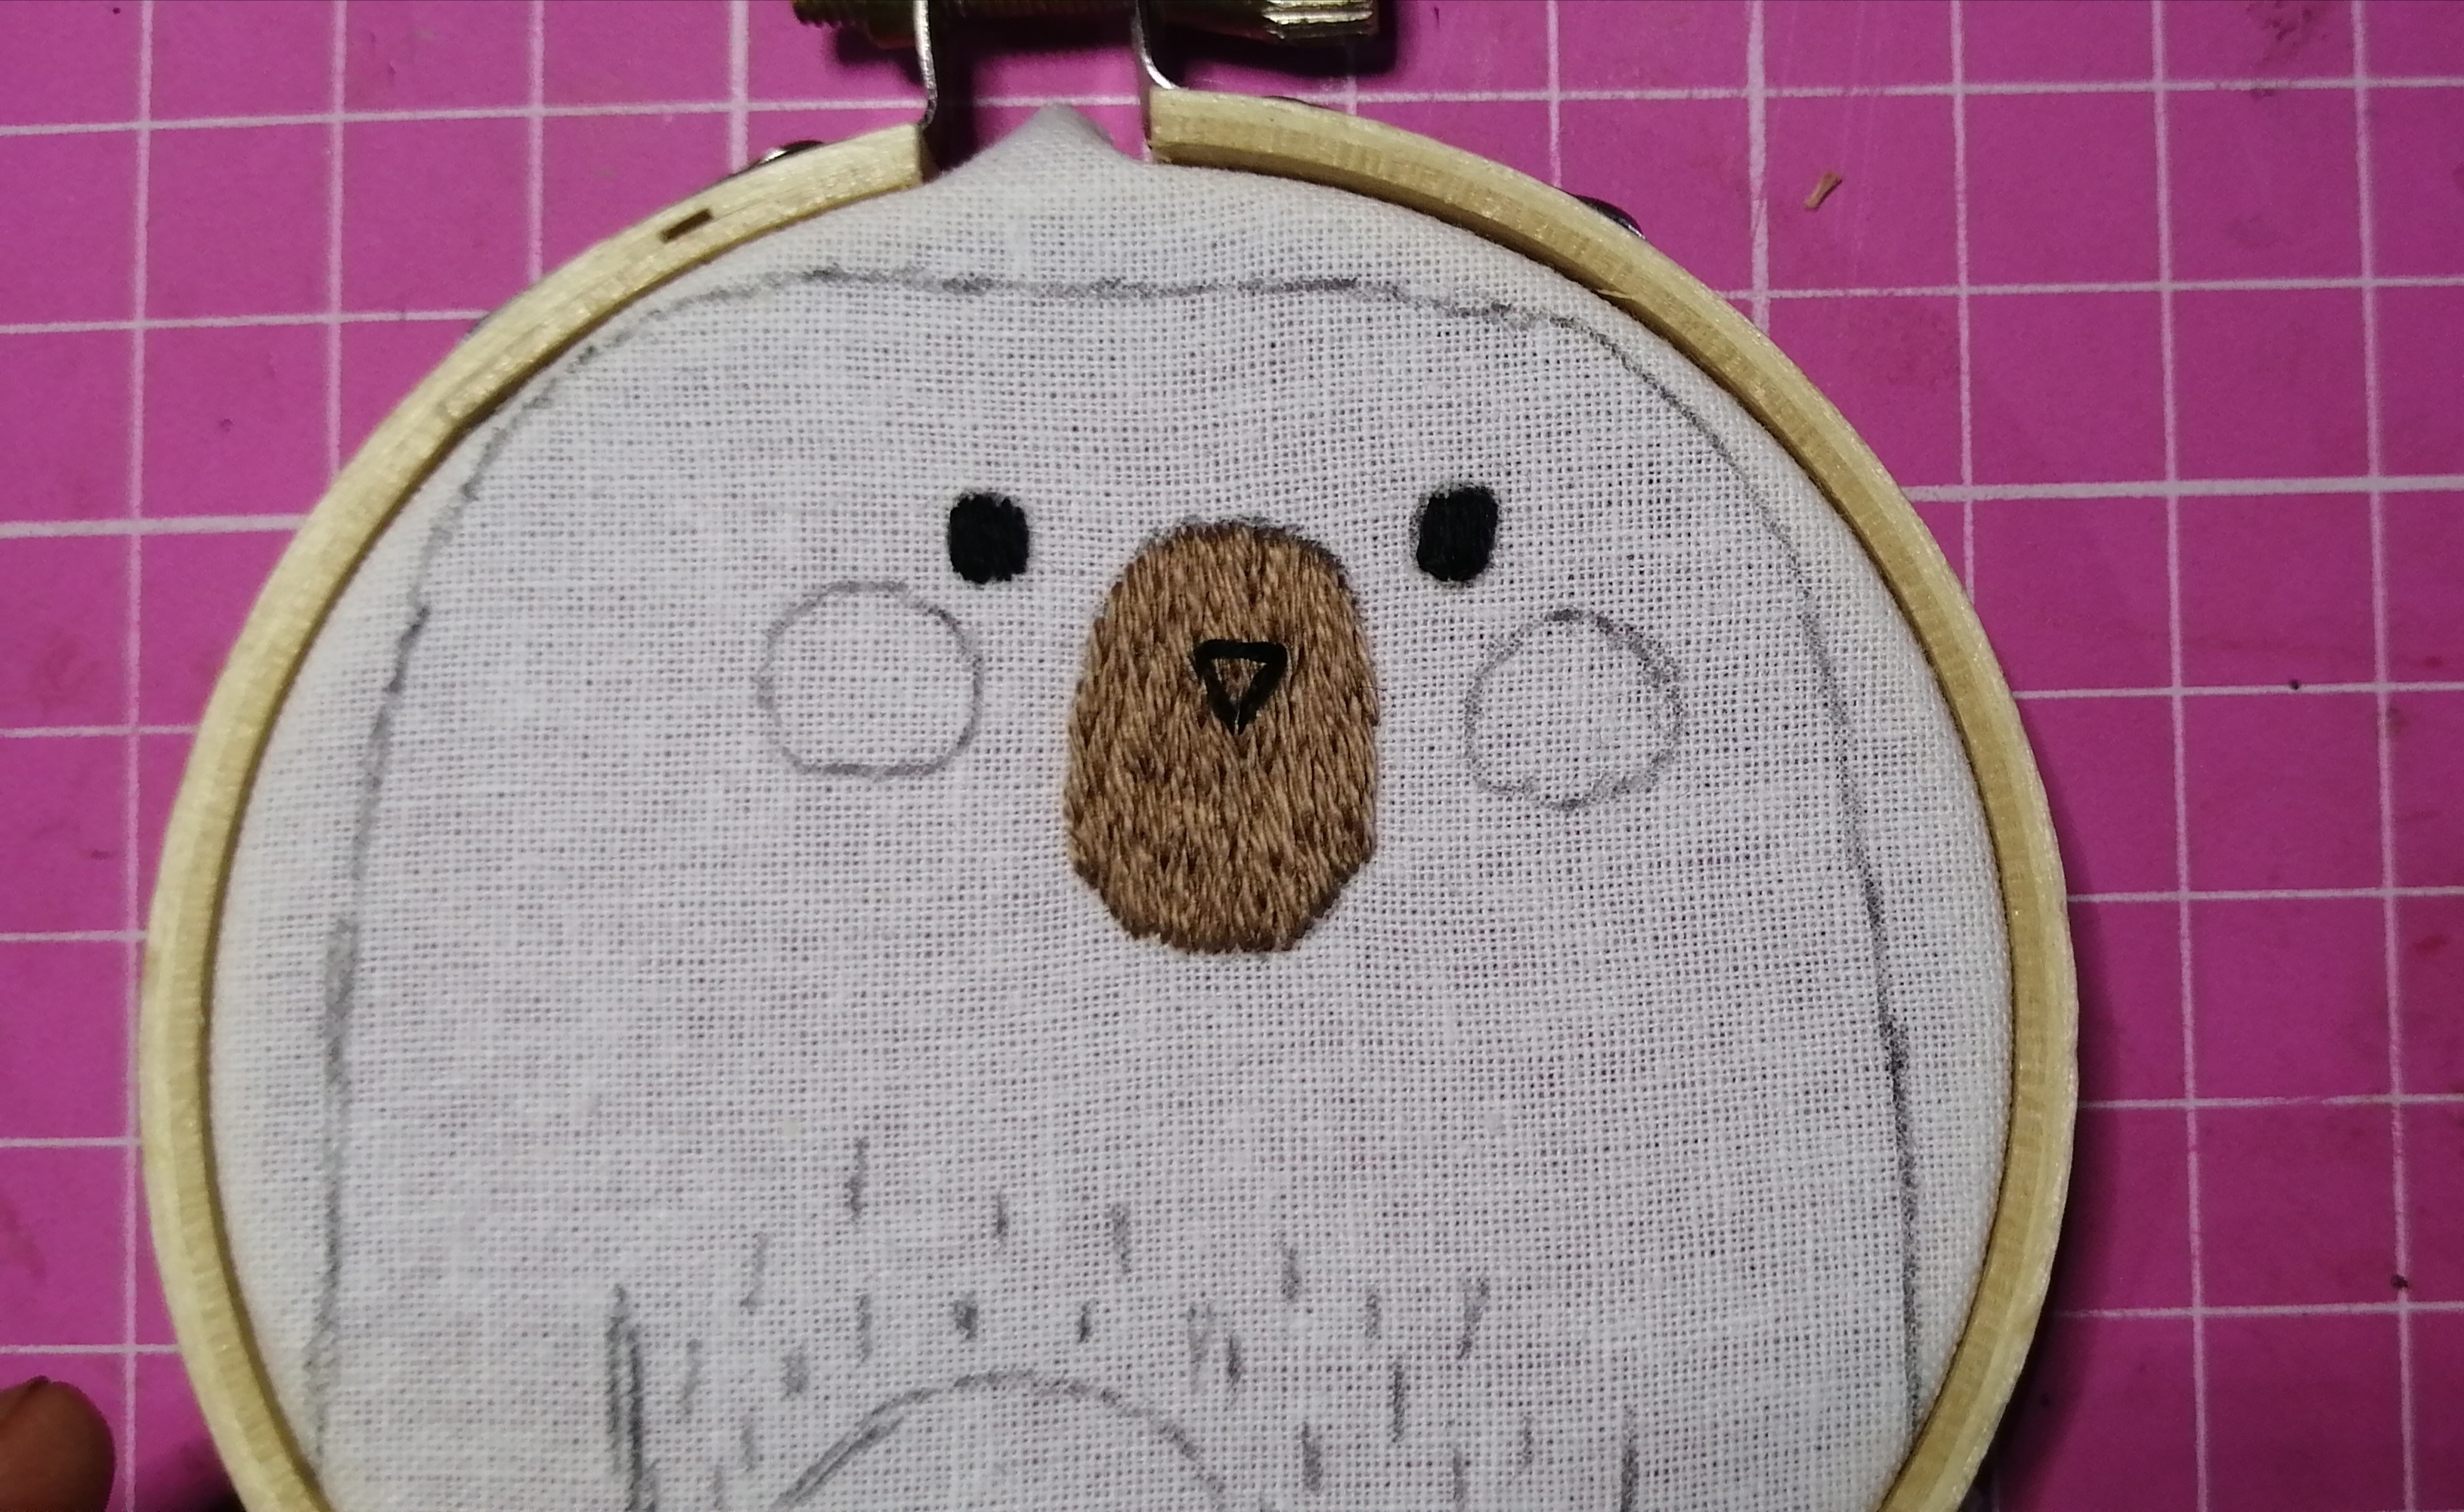
Ahora ponemos la tela en el bastidor y empezamos a bordar los ojitos, en todo el bordado usaremos solo una hebra para que quede estilizado. Para rellenar el bozal lo haremos con punto relleno.
Luego seguimos con la nariz y la boquita.
Now we put the fabric in the hoop and start embroidering the eyes. Throughout the embroidery we will use only one strand so that it is stylized. To fill the muzzle we will do it with a filled stitch. Then we continue with the nose and the mouth.

|

|
Ahora seguimos con el proceso de sus manitas lo hacemos con punto simple, continuamos con el pelito en su panzita, es un punto simple de arriba y abajo lo repetimos hasta que nos aburramos jajaja
Now we continue with the process of his little hands, we do it with a simple stitch, we continue with the hair on his tummy, it is a simple stitch up and down, we repeat it until we get bored hahaha
Un tips para que no se hagan tantos nudos al final del bordado cuando termines tu puntada, por la parte de atrás solo debes entrelazar los hilos esto hara que el hilo quede firme y no se salga.
A tip to avoid making so many knots at the end of the embroidery when you finish a flower, on the back side you only have to interlace the threads so that the thread remains firm and does not come out.

|

|

|

|

Y ya esta listo! nos queda por hacer nuestra flor de hortensia, esta se hace con pequeñas florecitas con diferentes tonos como lo muestra la imagen.
Y bordamos el tallo verde con tres hebras.
Ahora nos toca cocer las orejitas, cuando esten listas cortamos por alrededor para que así al darlo vuelta queden bien formada la forma redondeada.
Antes de pintar sus cachetitos probamos el tono correcto en otra tela, cuando encuentres el tono correcto puedes pintar.
And it's ready! We still have to make our hydrangea flower, this is made with small flowers with different tones as the image shows. And we approach the green stem with three strands. Now we have to cook the ears, when they are ready we cut around them so that when we turn them over, the rounded shape is well formed. Before painting their cheeks we test the correct tone on another fabric, when you find the correct tone you can paint.

|

|

|
|

|

|
Ahora hacemos dos puntaditas para afirmar las orejitas y ya que terminamos damos vuelta la tela y marcamos nuevamente para saber por donde coser.
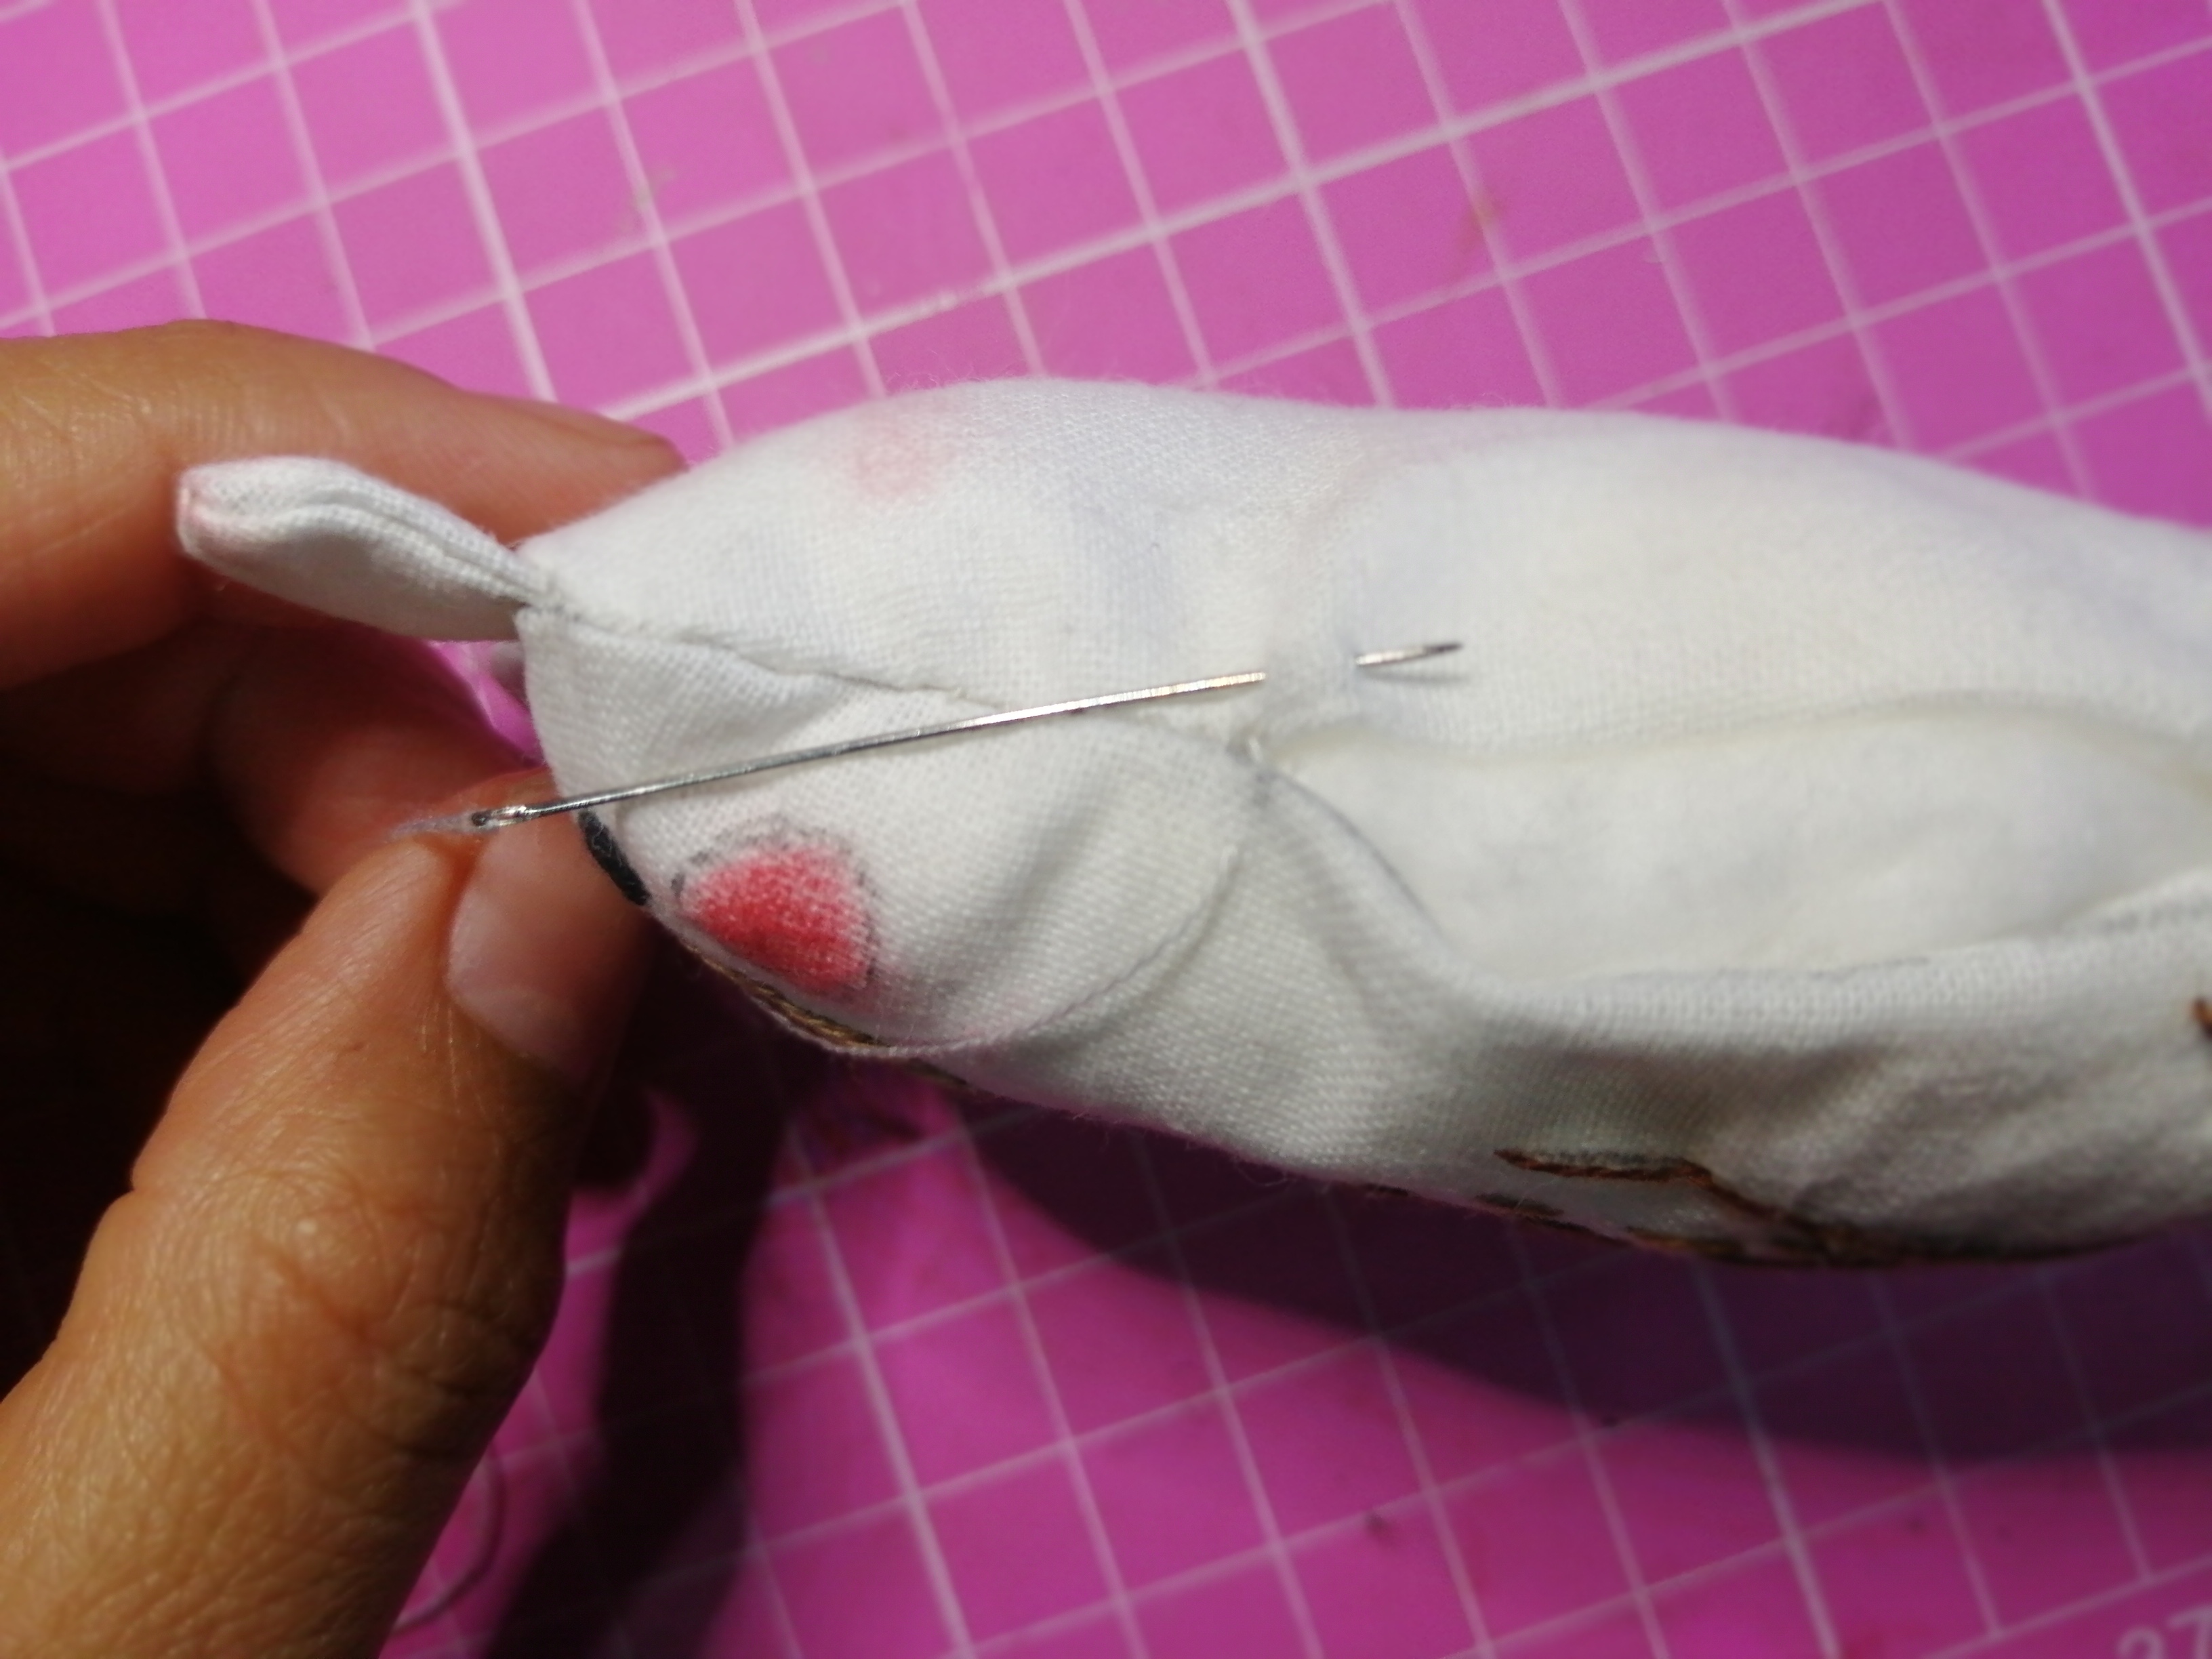
Juntamos las telas y cosemos todo alrededor pero sin olvidar de dejar una parte abierta por donde meteremos el algodón. Ya estando listo damos vuelta y rellenamos 😊 cerramos con una puntada invisible, aunque con la tela que elegí no quedo tan invisible 🤭
Now we make two stitches to secure the ears and once we finish, we turn the fabric over and mark again to know where to sew. We put the fabrics together and sew everything around but without forgetting to leave an open area where we will put the cotton. Once it is ready, we turn and fill 😊 we close with an invisible stitch, although with the fabric I chose it is not so invisible 🤭
Ahora solo nos queda pasar la plancha y sacar las rayas de el bolígrafo.
Y estamos listos!!
Miren que belleza de osito 🤗
Now we just have to iron it and remove the lines from the pen. And we are ready!! Look what a beautiful bear 🤗


**Todas las Imágenes son de mi autoria.
Traducido al inglés con Google traductor.
Translated into english with google traslator.
All images are my own.
that is the cutest bear ever. Nice worl
Está re lindo, me ha encantado 🤗
Me gustaría uno de un orangután para mí cumpleaños. 😁
Mmmm lo pensaré 🤭
Muchas gracias 😊
Congratulations @alejandralita! You have completed the following achievement on the Hive blockchain And have been rewarded with New badge(s)
Your next target is to reach 2750 upvotes.
You can view your badges on your board and compare yourself to others in the Ranking
If you no longer want to receive notifications, reply to this comment with the word
STOPEstaba tan concentrada en el paso a paso que no me habia dado cuenta de lo chiquitito que es hasta que vi tu foto final 😍 nuuuu es muy lindo, ya me gustaba y viendo que es asi de pequeño me gusto mas, en miniatura me gustan mas las cositas jaja no se por que, debe ser porque se ven mas tiernas y adorables 😂
Es muy bonito, me encanta el rostro alegre y simpatico que tiene ❤️
Saludos bella 🌹
Jajaja me pasa lo mismo, entre más pequeño es más tierno 🤗 por eso lo hice así. Haré trabajitos más mini aún así q espero me sigas visitando 🤭saludos 🌹