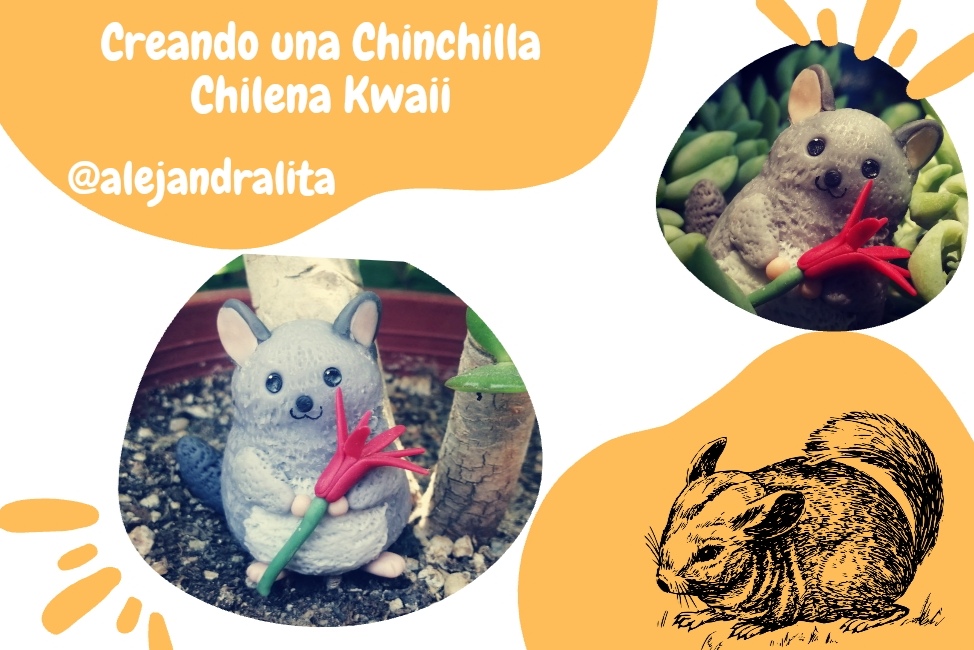
Saludos a toda la comunidad de Hive Diy.
Hace unos días atrás me puse a leer un artículo en donde hablaban del descubrimiento de una gran familia de chinchilla chilena que encontraron en la región donde vivo,estos animalitos aman acostarse al sol, su rostro parece realmente a un peluche son realmente tiernos y asustadizos son gorditos y una colita muy peluda. Específicamente la colonia fue hallada en el desierto de Atacama.
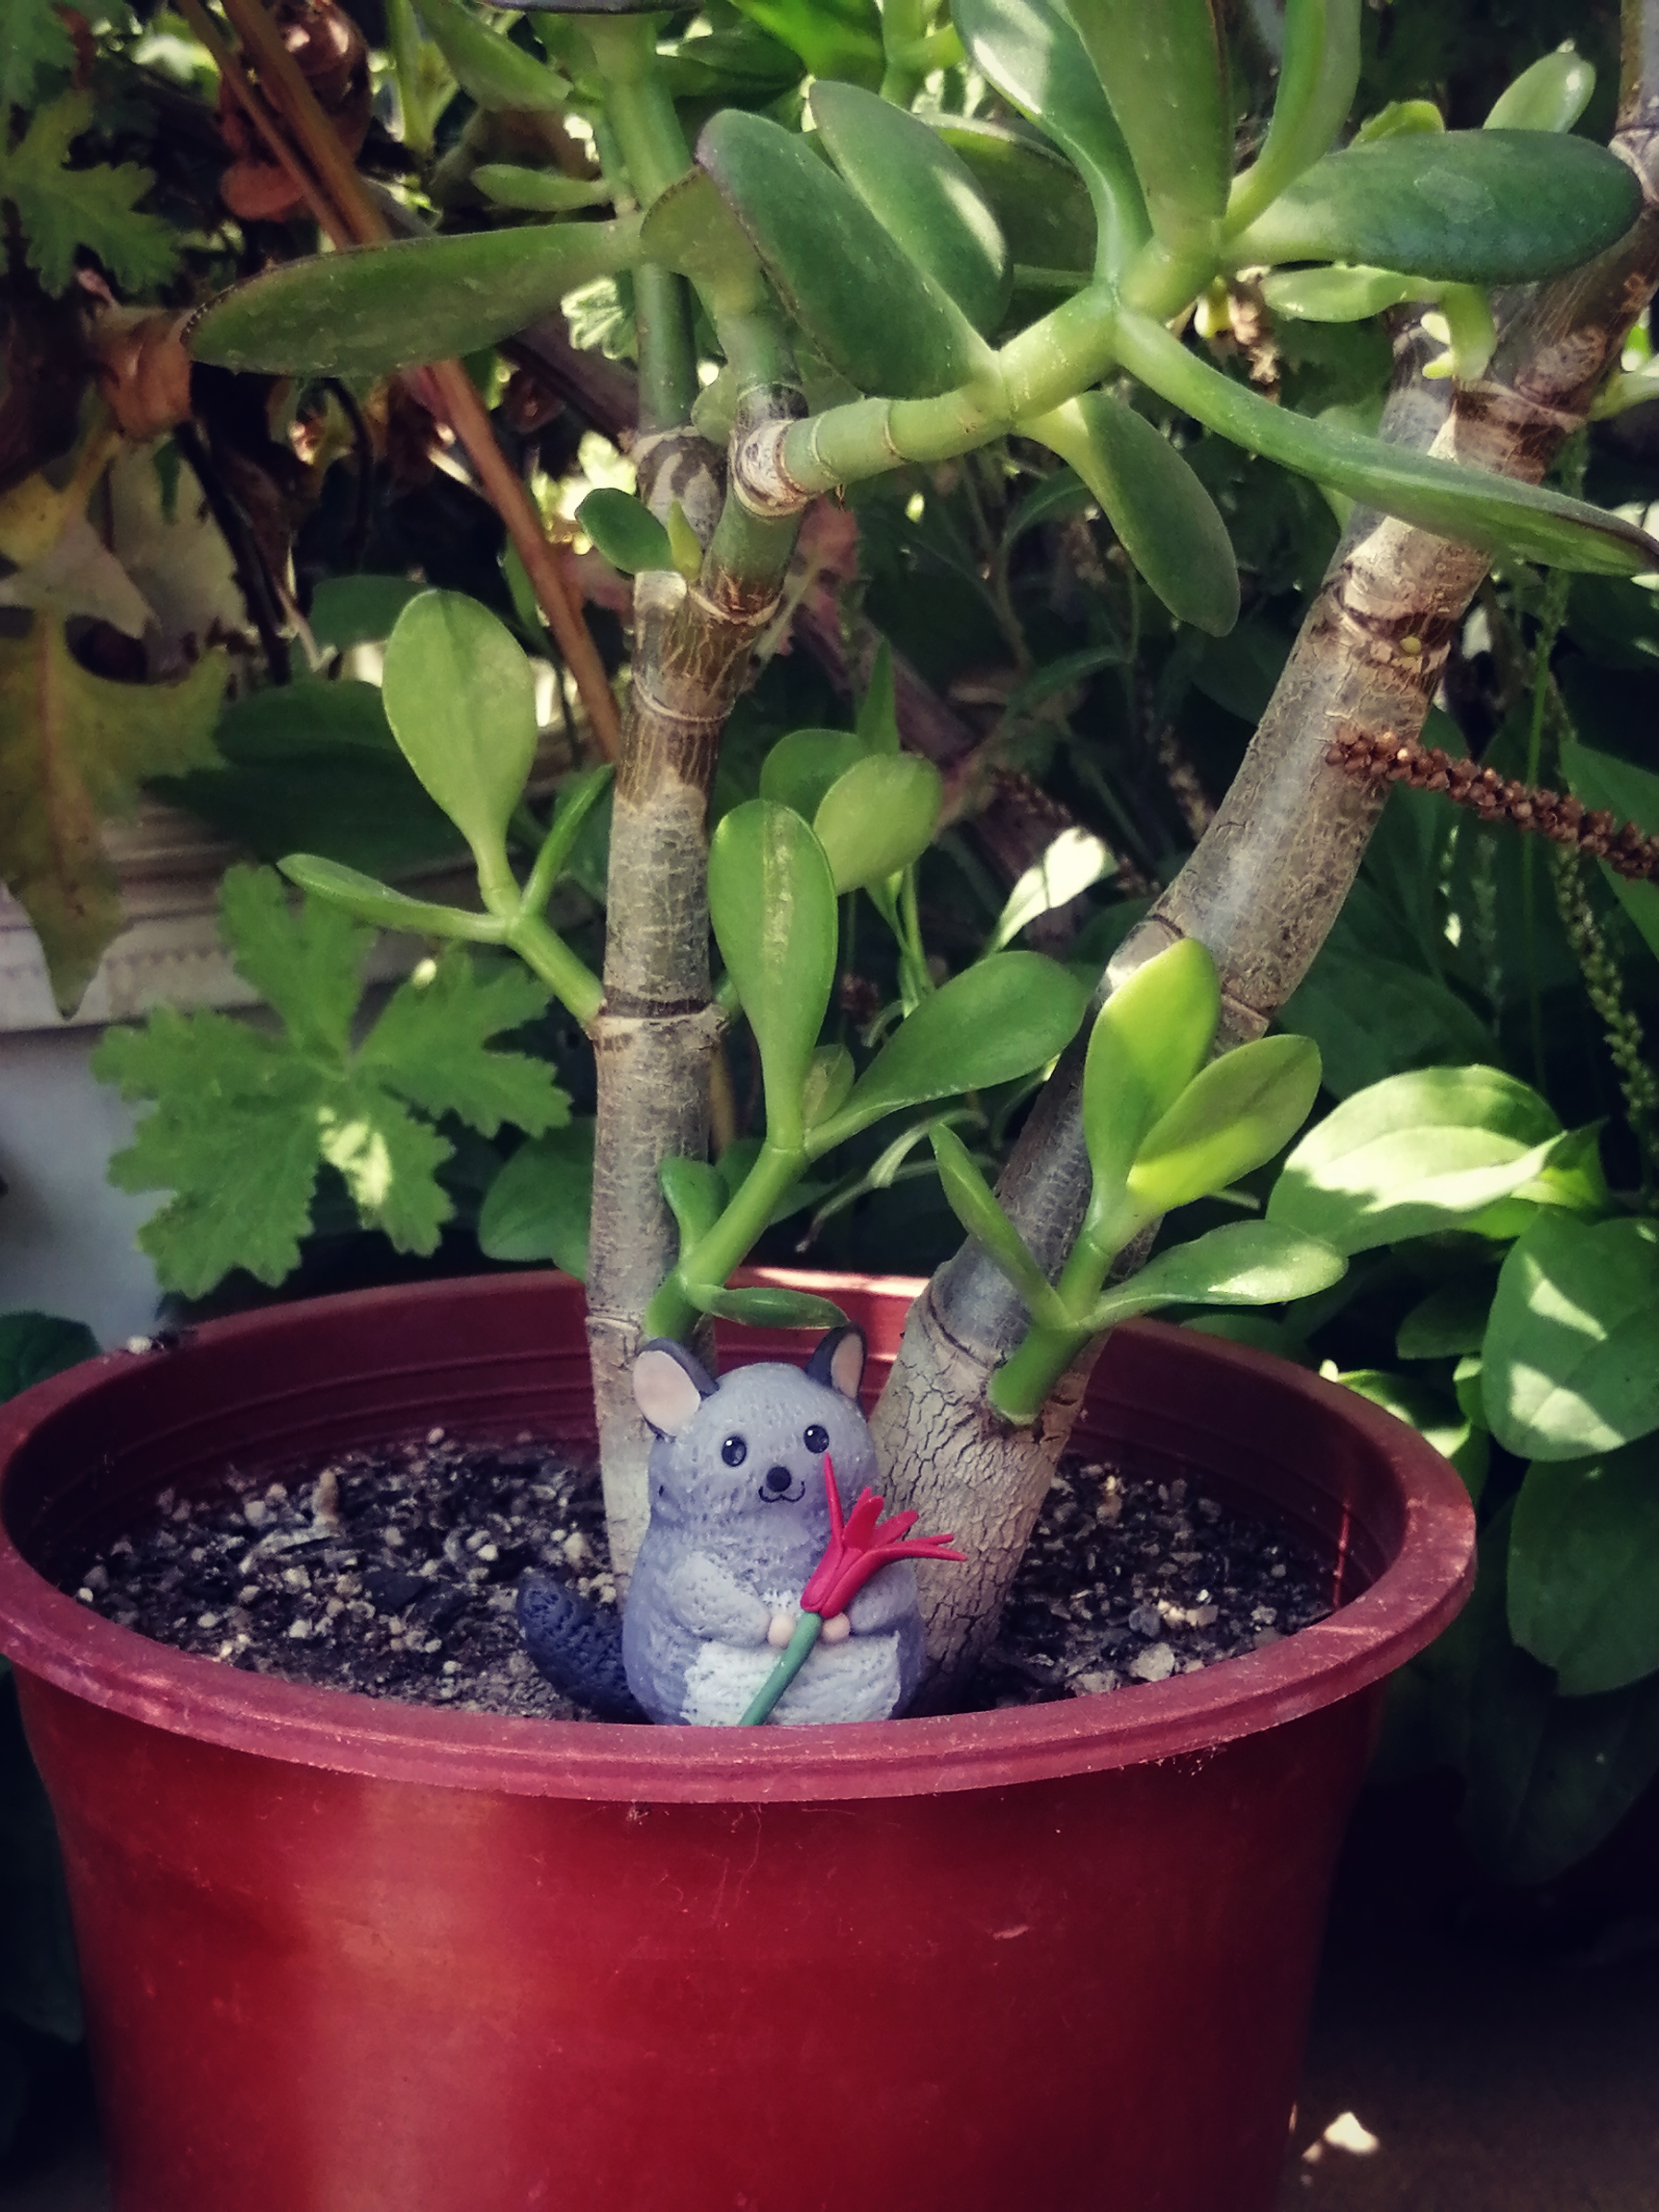
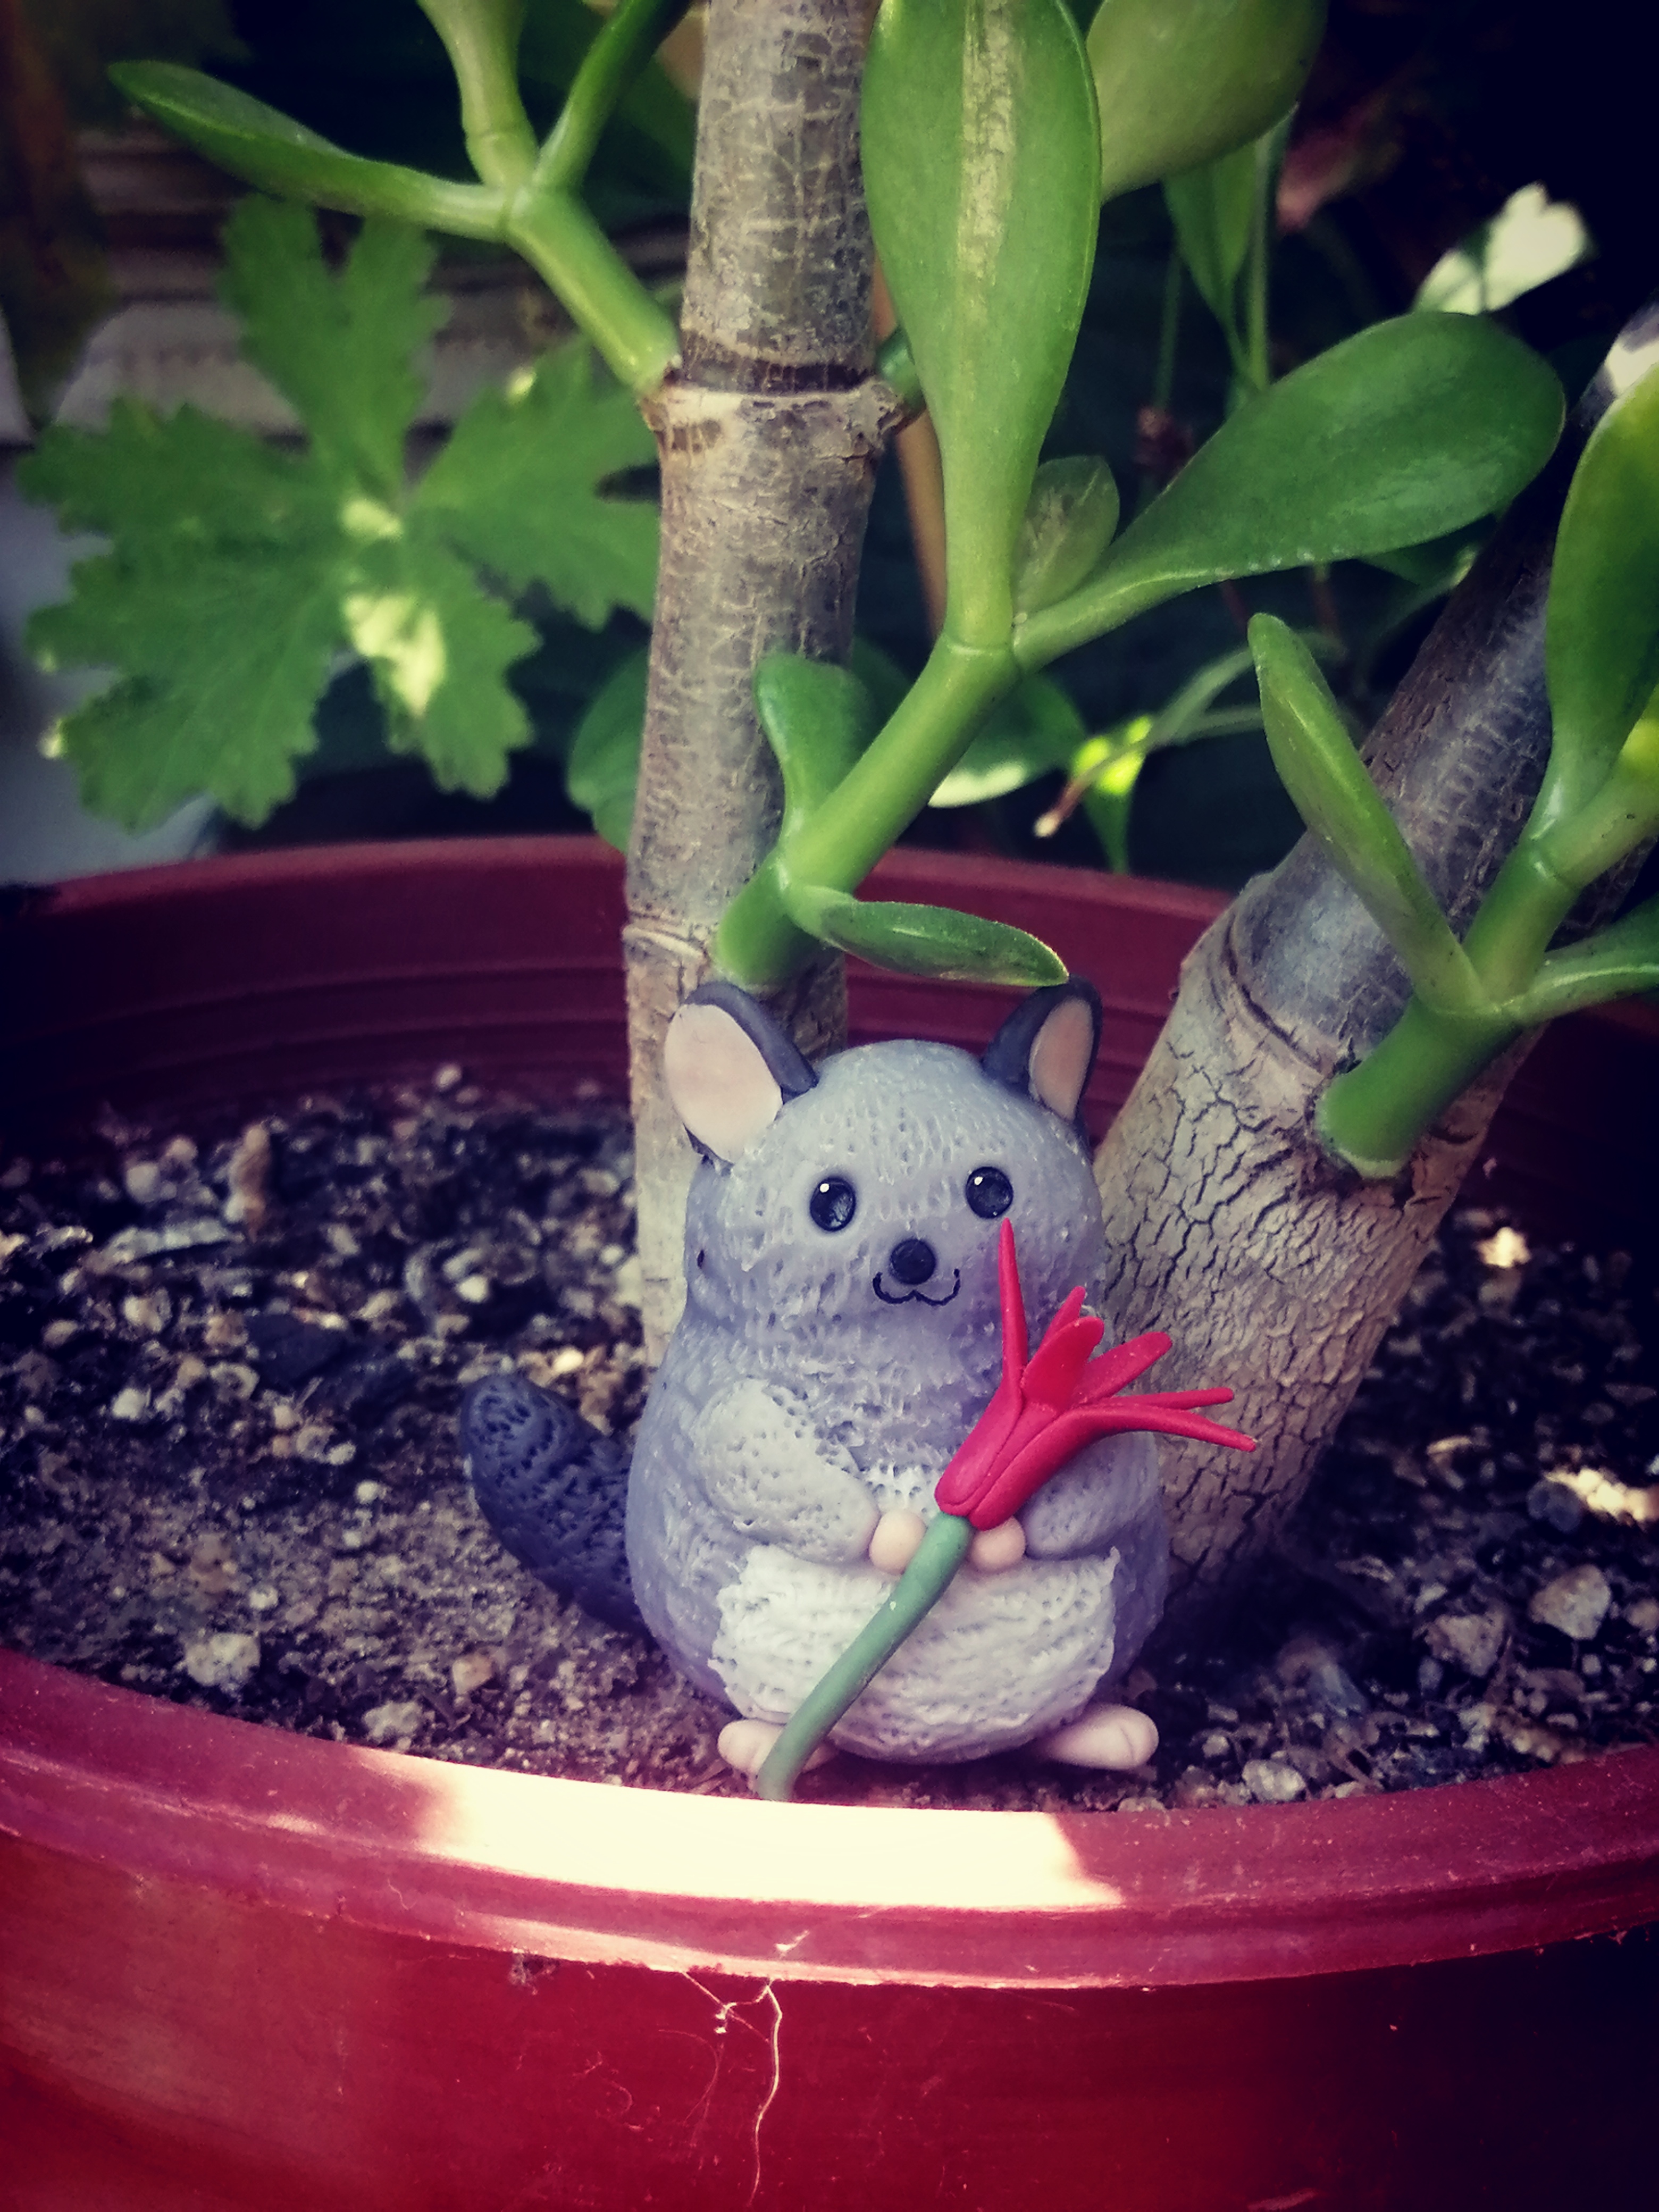
Y se me ocurrió crear una chinchilla kawaii con una añañuca en sus manos una flor tipica del desierto 🌸 espero les guste mi proyecto.
Comencemos!
Greetings to the entire Hive Diy community. A few days ago I started reading an article where they talked about the discovery of a large family of Chilean chinchillas that they found in the region where I live. These animals love to lie down in the sun, their face really looks like a stuffed animal, they are cute and scared, they are chubby. and a very hairy tail. Specifically, the colony was found in the Atacama Desert. And it occurred to me to create a kawaii chinchilla with an añañuca in her hands, a typical desert flower 🌸 I hope you like my project. Let's start!
Materiales / Materials
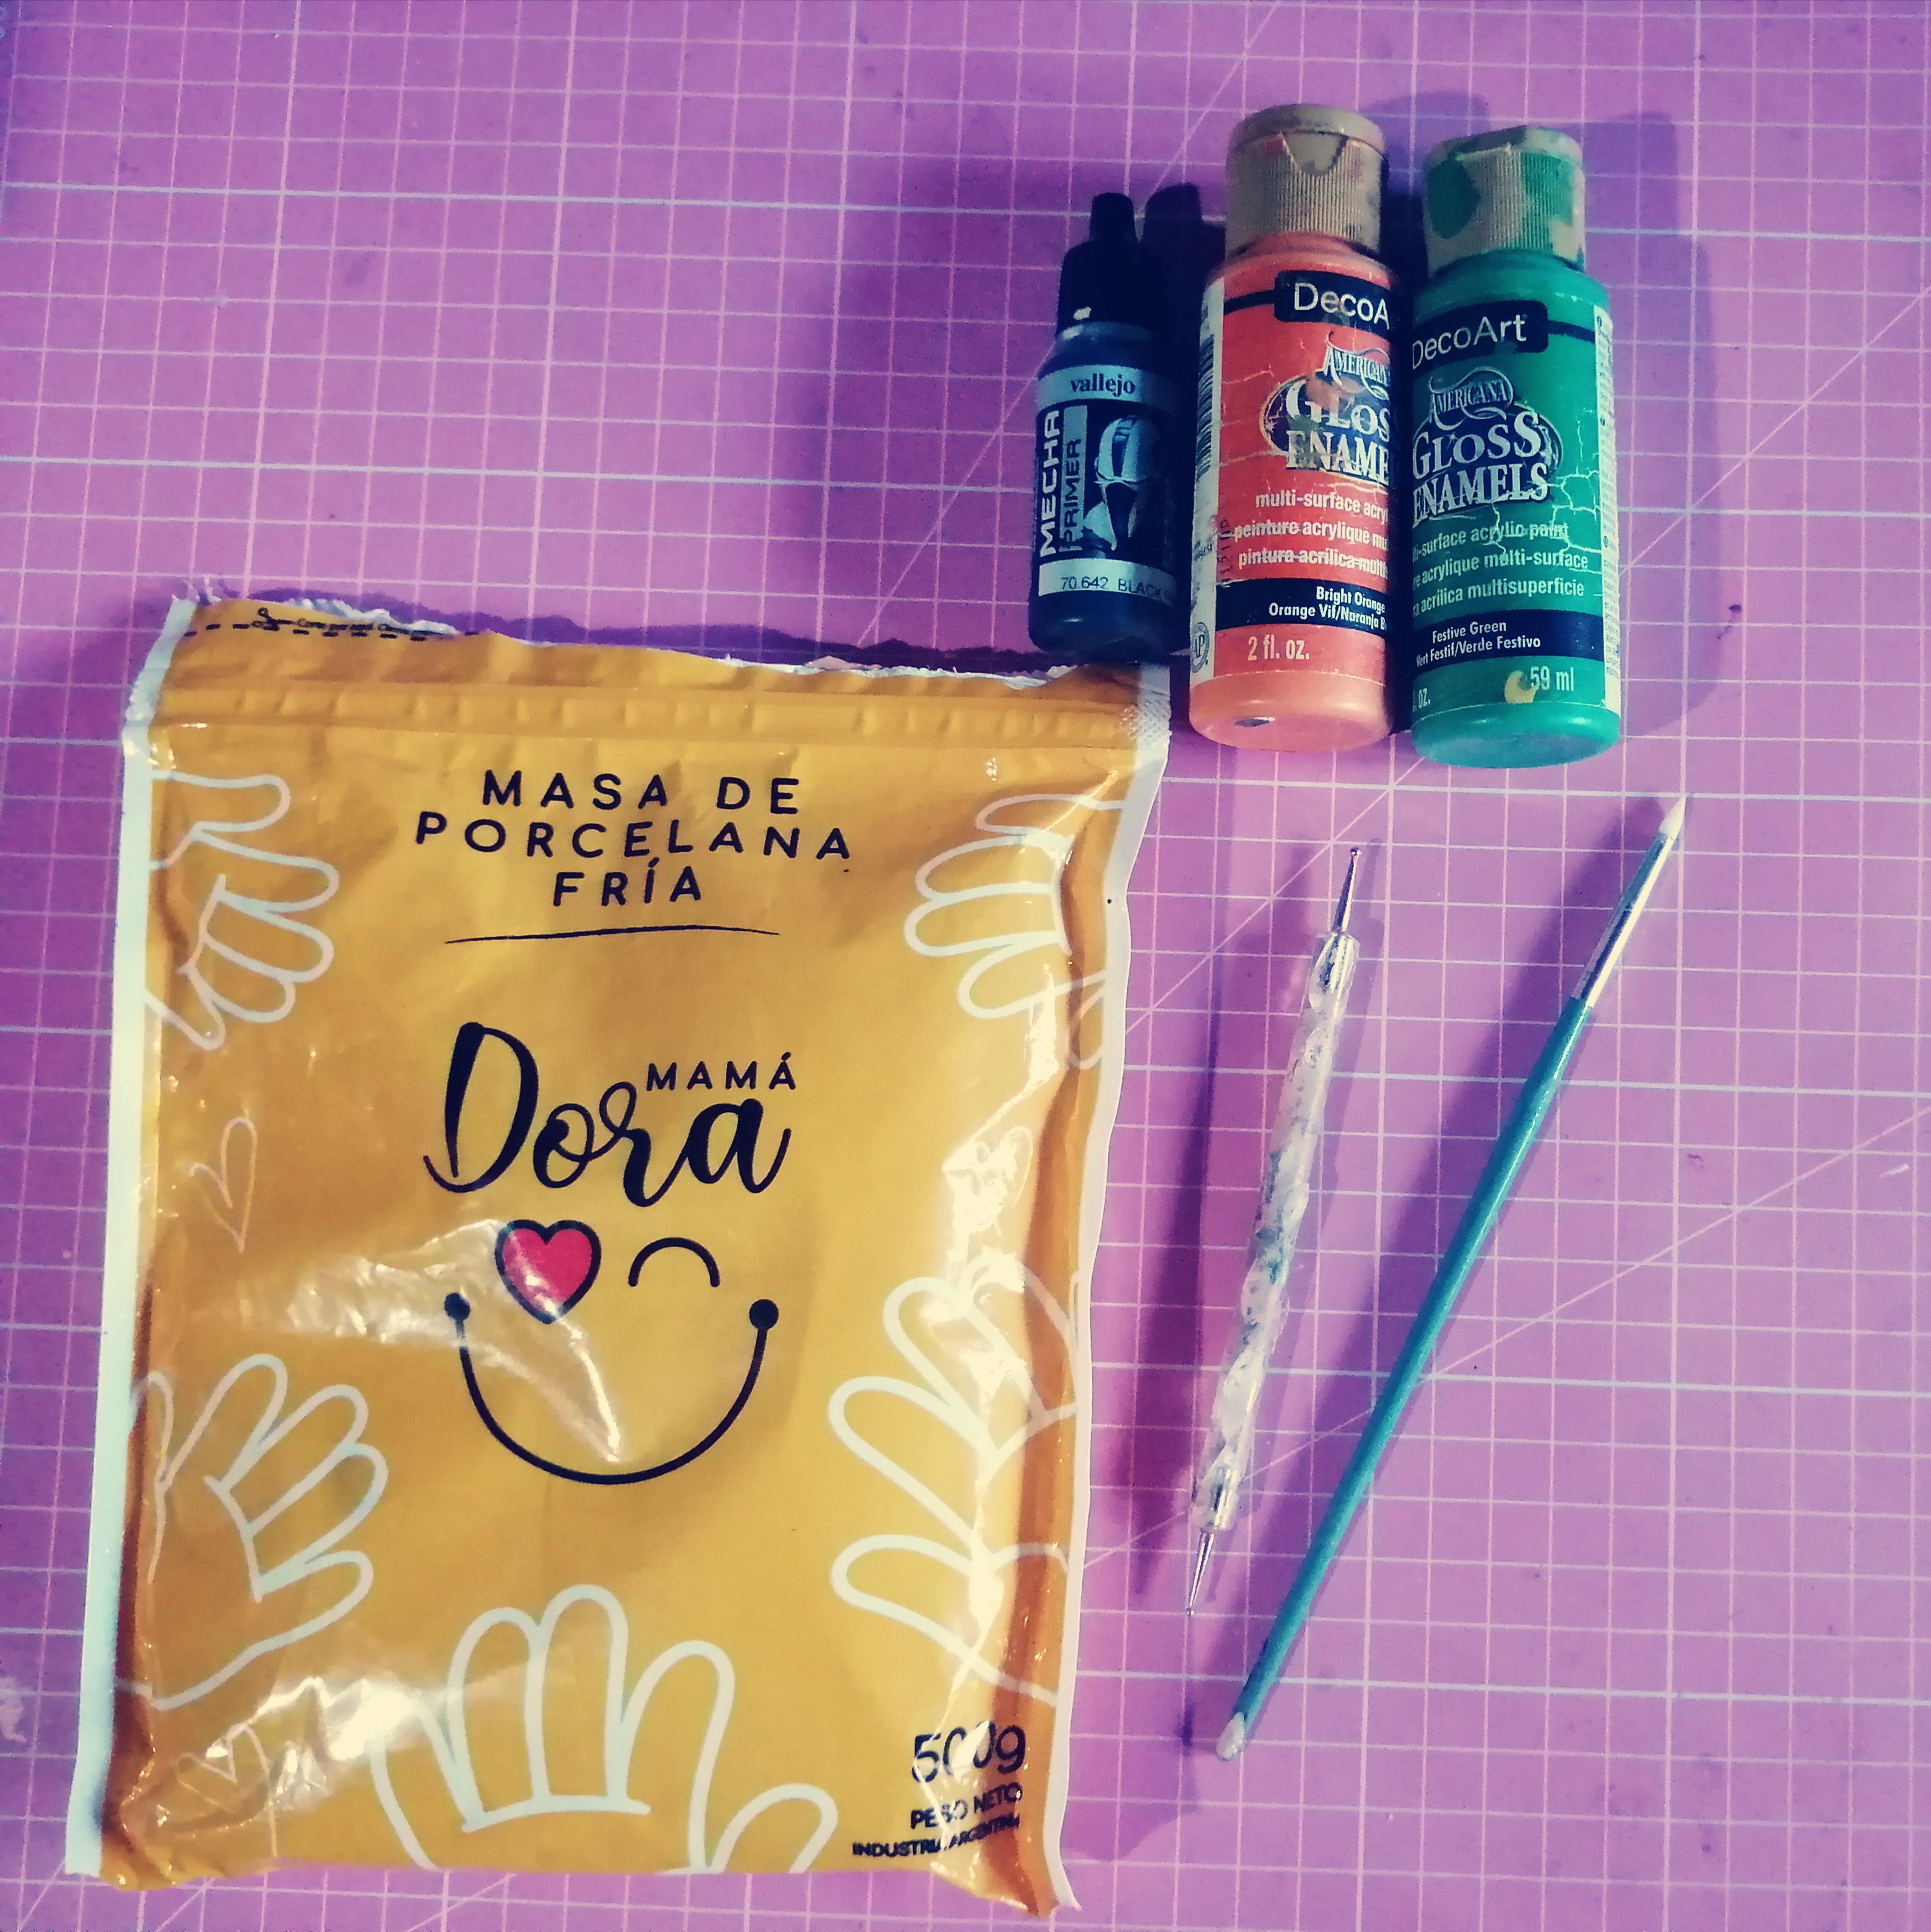
- Porcelana fría
- Pigmentos o acrilicos de color negro, blanco, rojo, verde y naranja
- Papel de aluminio es el papel que se usa en la cocina.
- Pincel de uñas que por un lado es de goma y por el otro con una punta redonda
- Cold porcelain
- Black, white, red, green and orange pigments or acrylics
- Aluminum foil is the paper used in the kitchen
- Nail brush that is made of rubber on one side and a round tip on the other
|
|
|
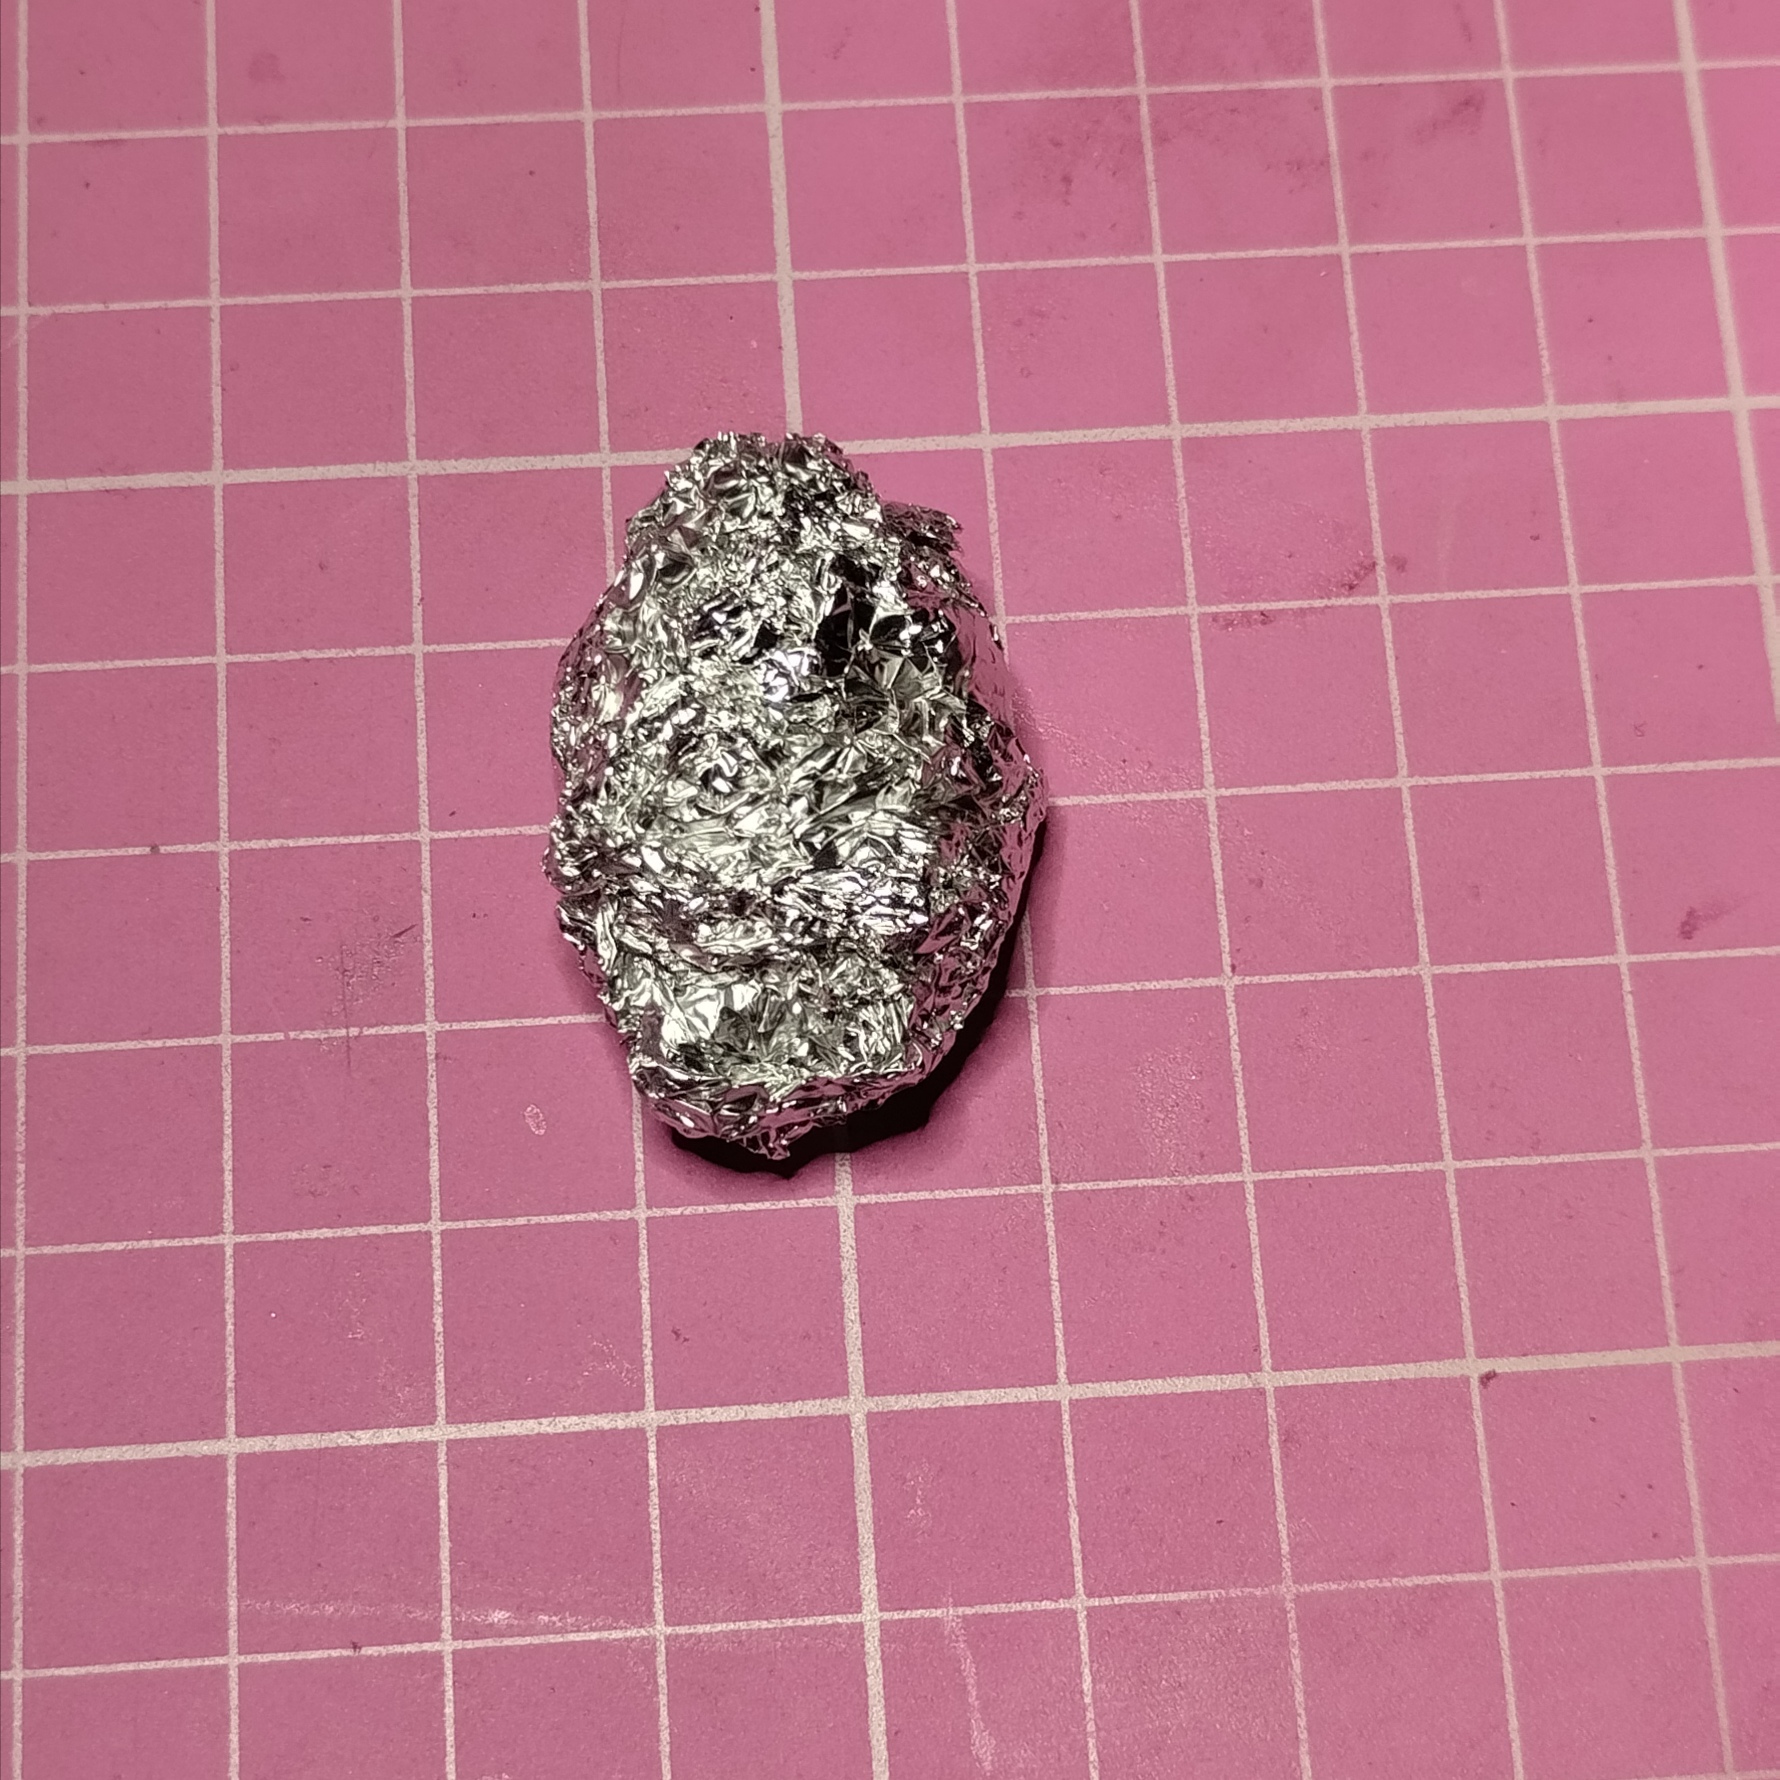

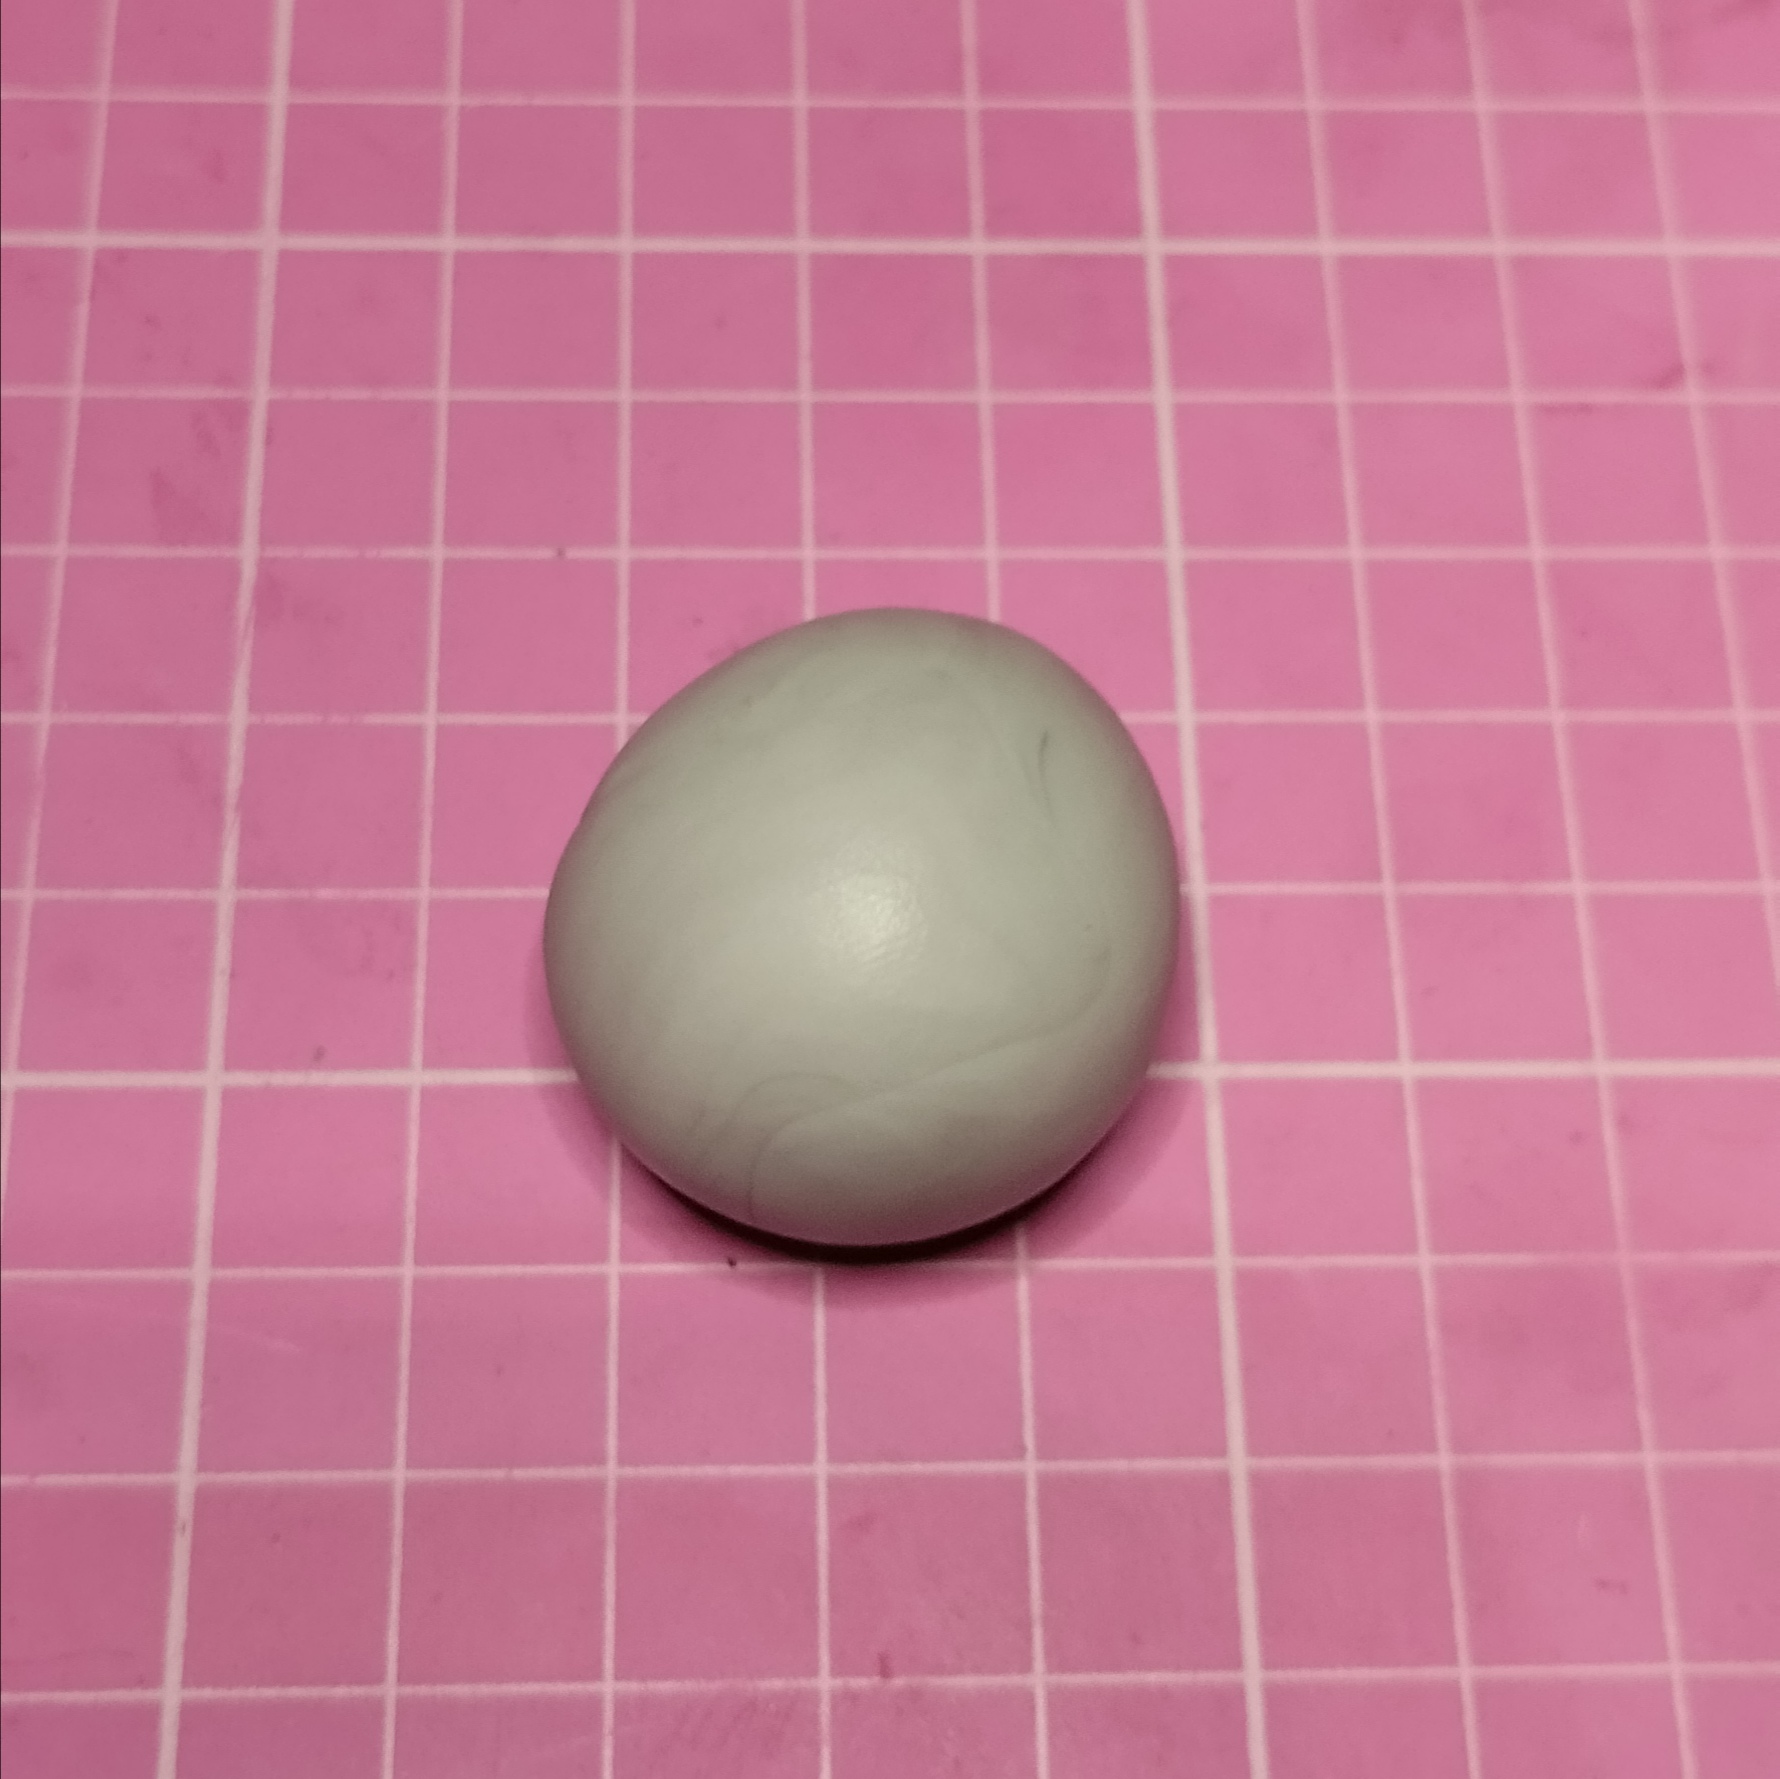
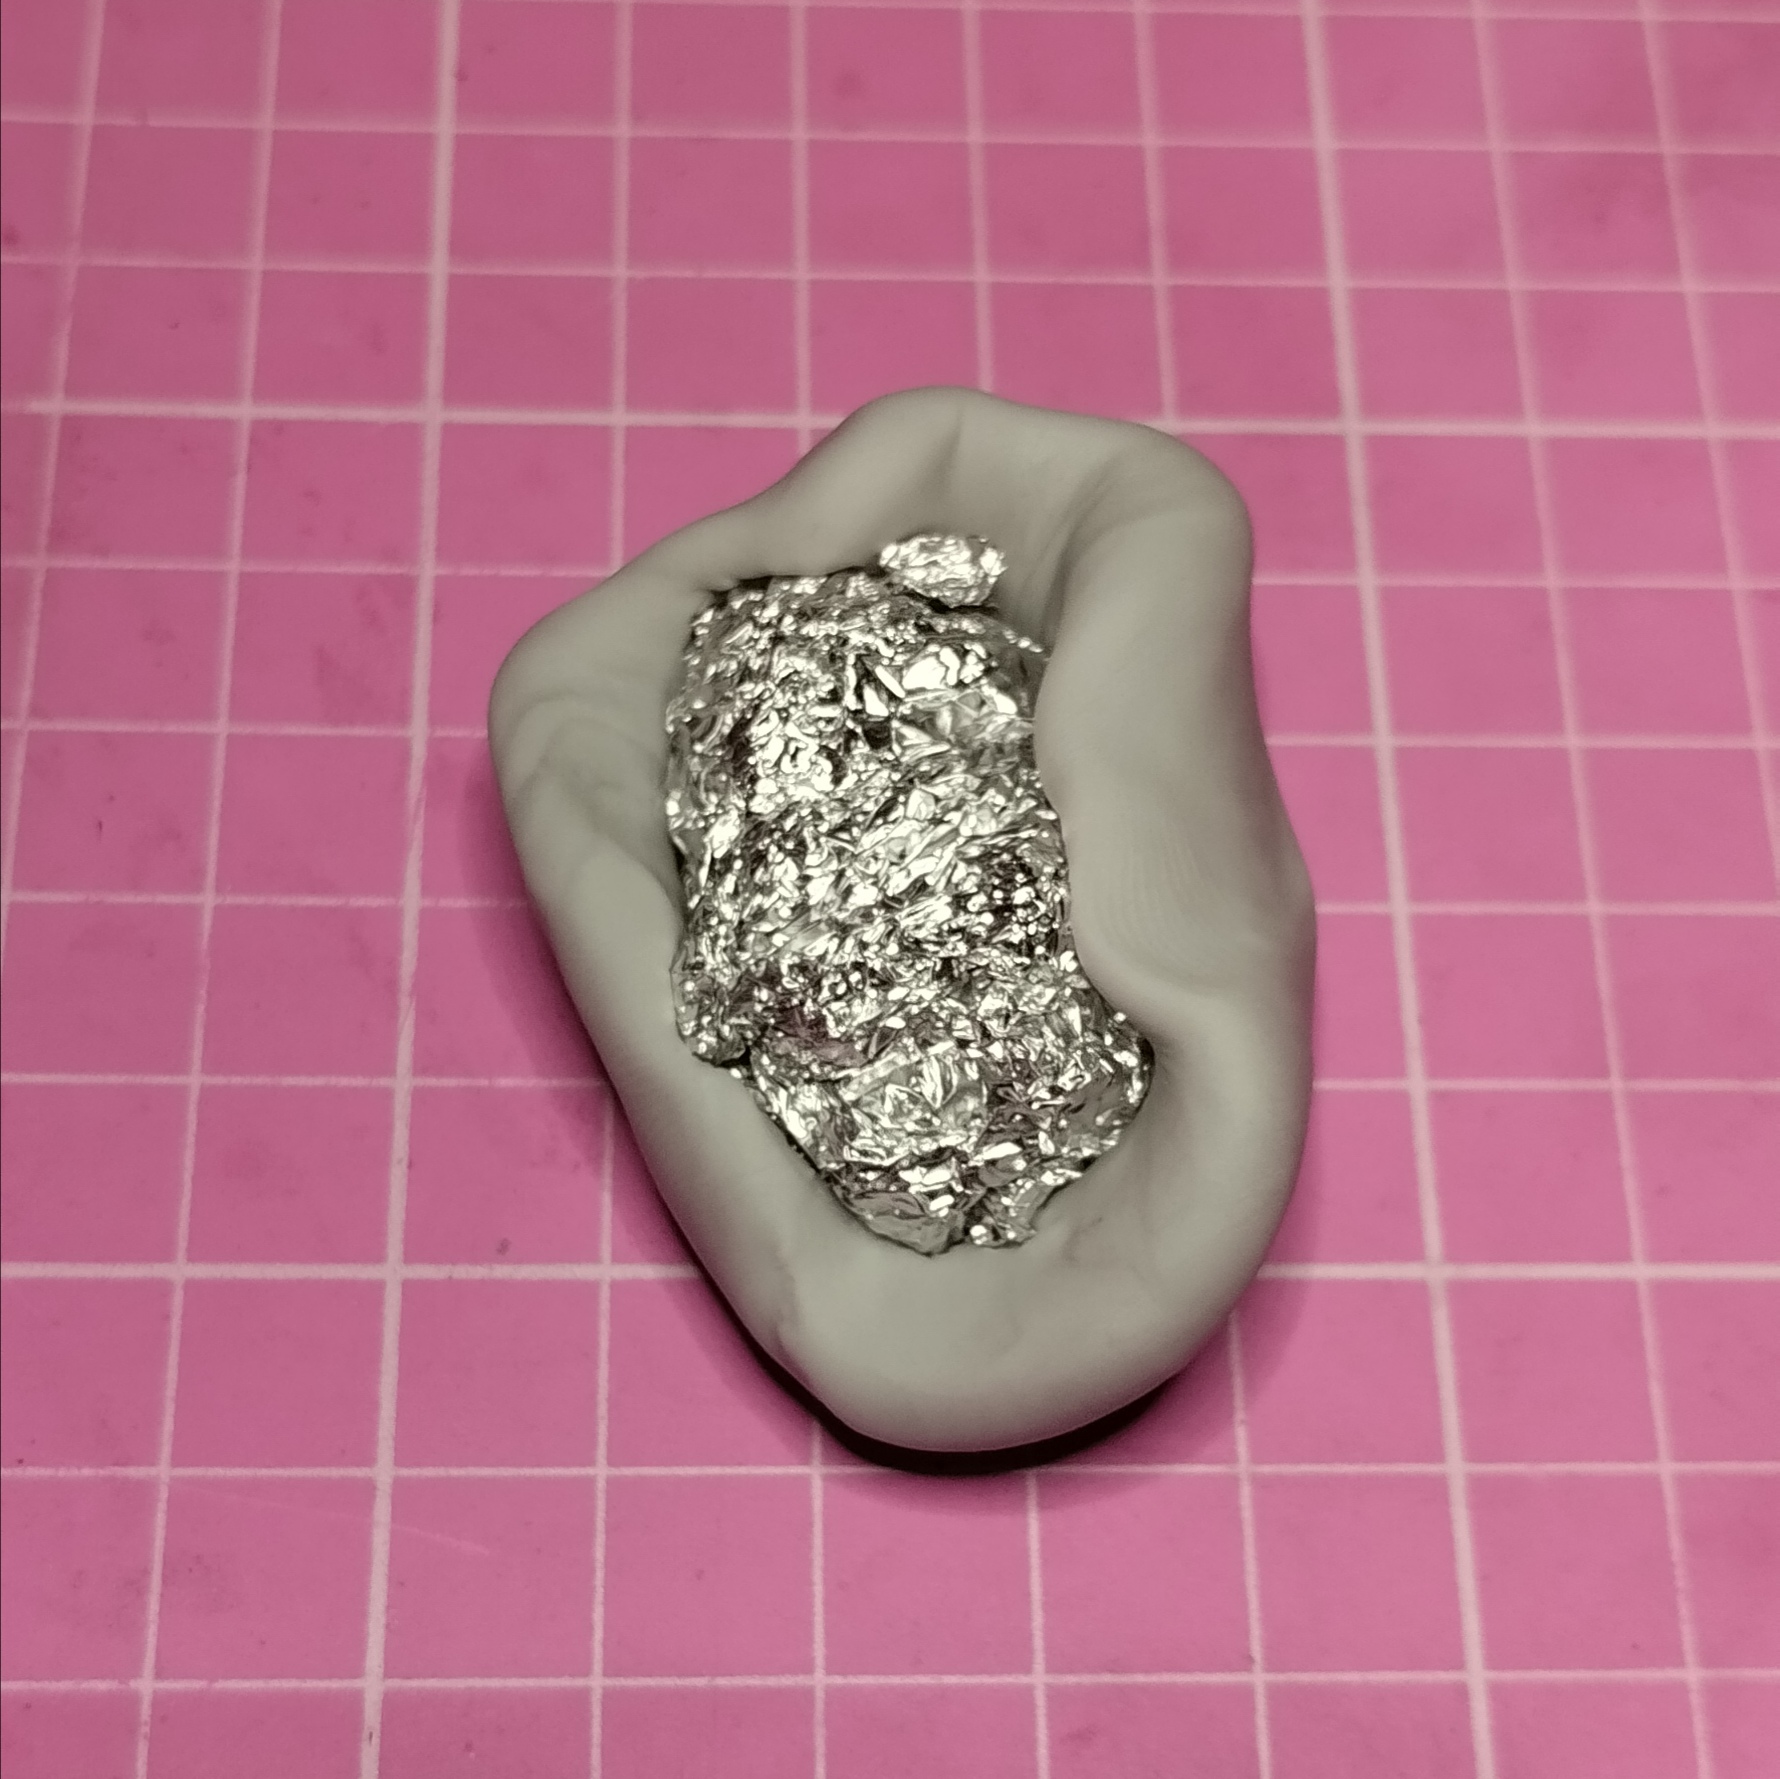
Lo primero que haremos es sacar un pedacito del papel de aluminio y hacer una bola ovalada, luego sacar un pedazo de porcelana fría y teñir con un poco de color negro para que quede un tono gris claro. Mezclamos bien para que la masa quede homogénea y el color gris quede del mismo tono en toda la masa. No importa que te demores amasando, lo primordial es que quede perfecta 😉
The first thing we will do is take out a small piece of aluminum foil and make an oval ball, then take out a piece of cold porcelain and dye it with a little black so that it remains a light gray tone. We mix well so that the mass is homogeneous and the gray color remains the same tone throughout the mass. It doesn't matter if you take time kneading, the most important thing is that it is perfect 😉
|
|
|
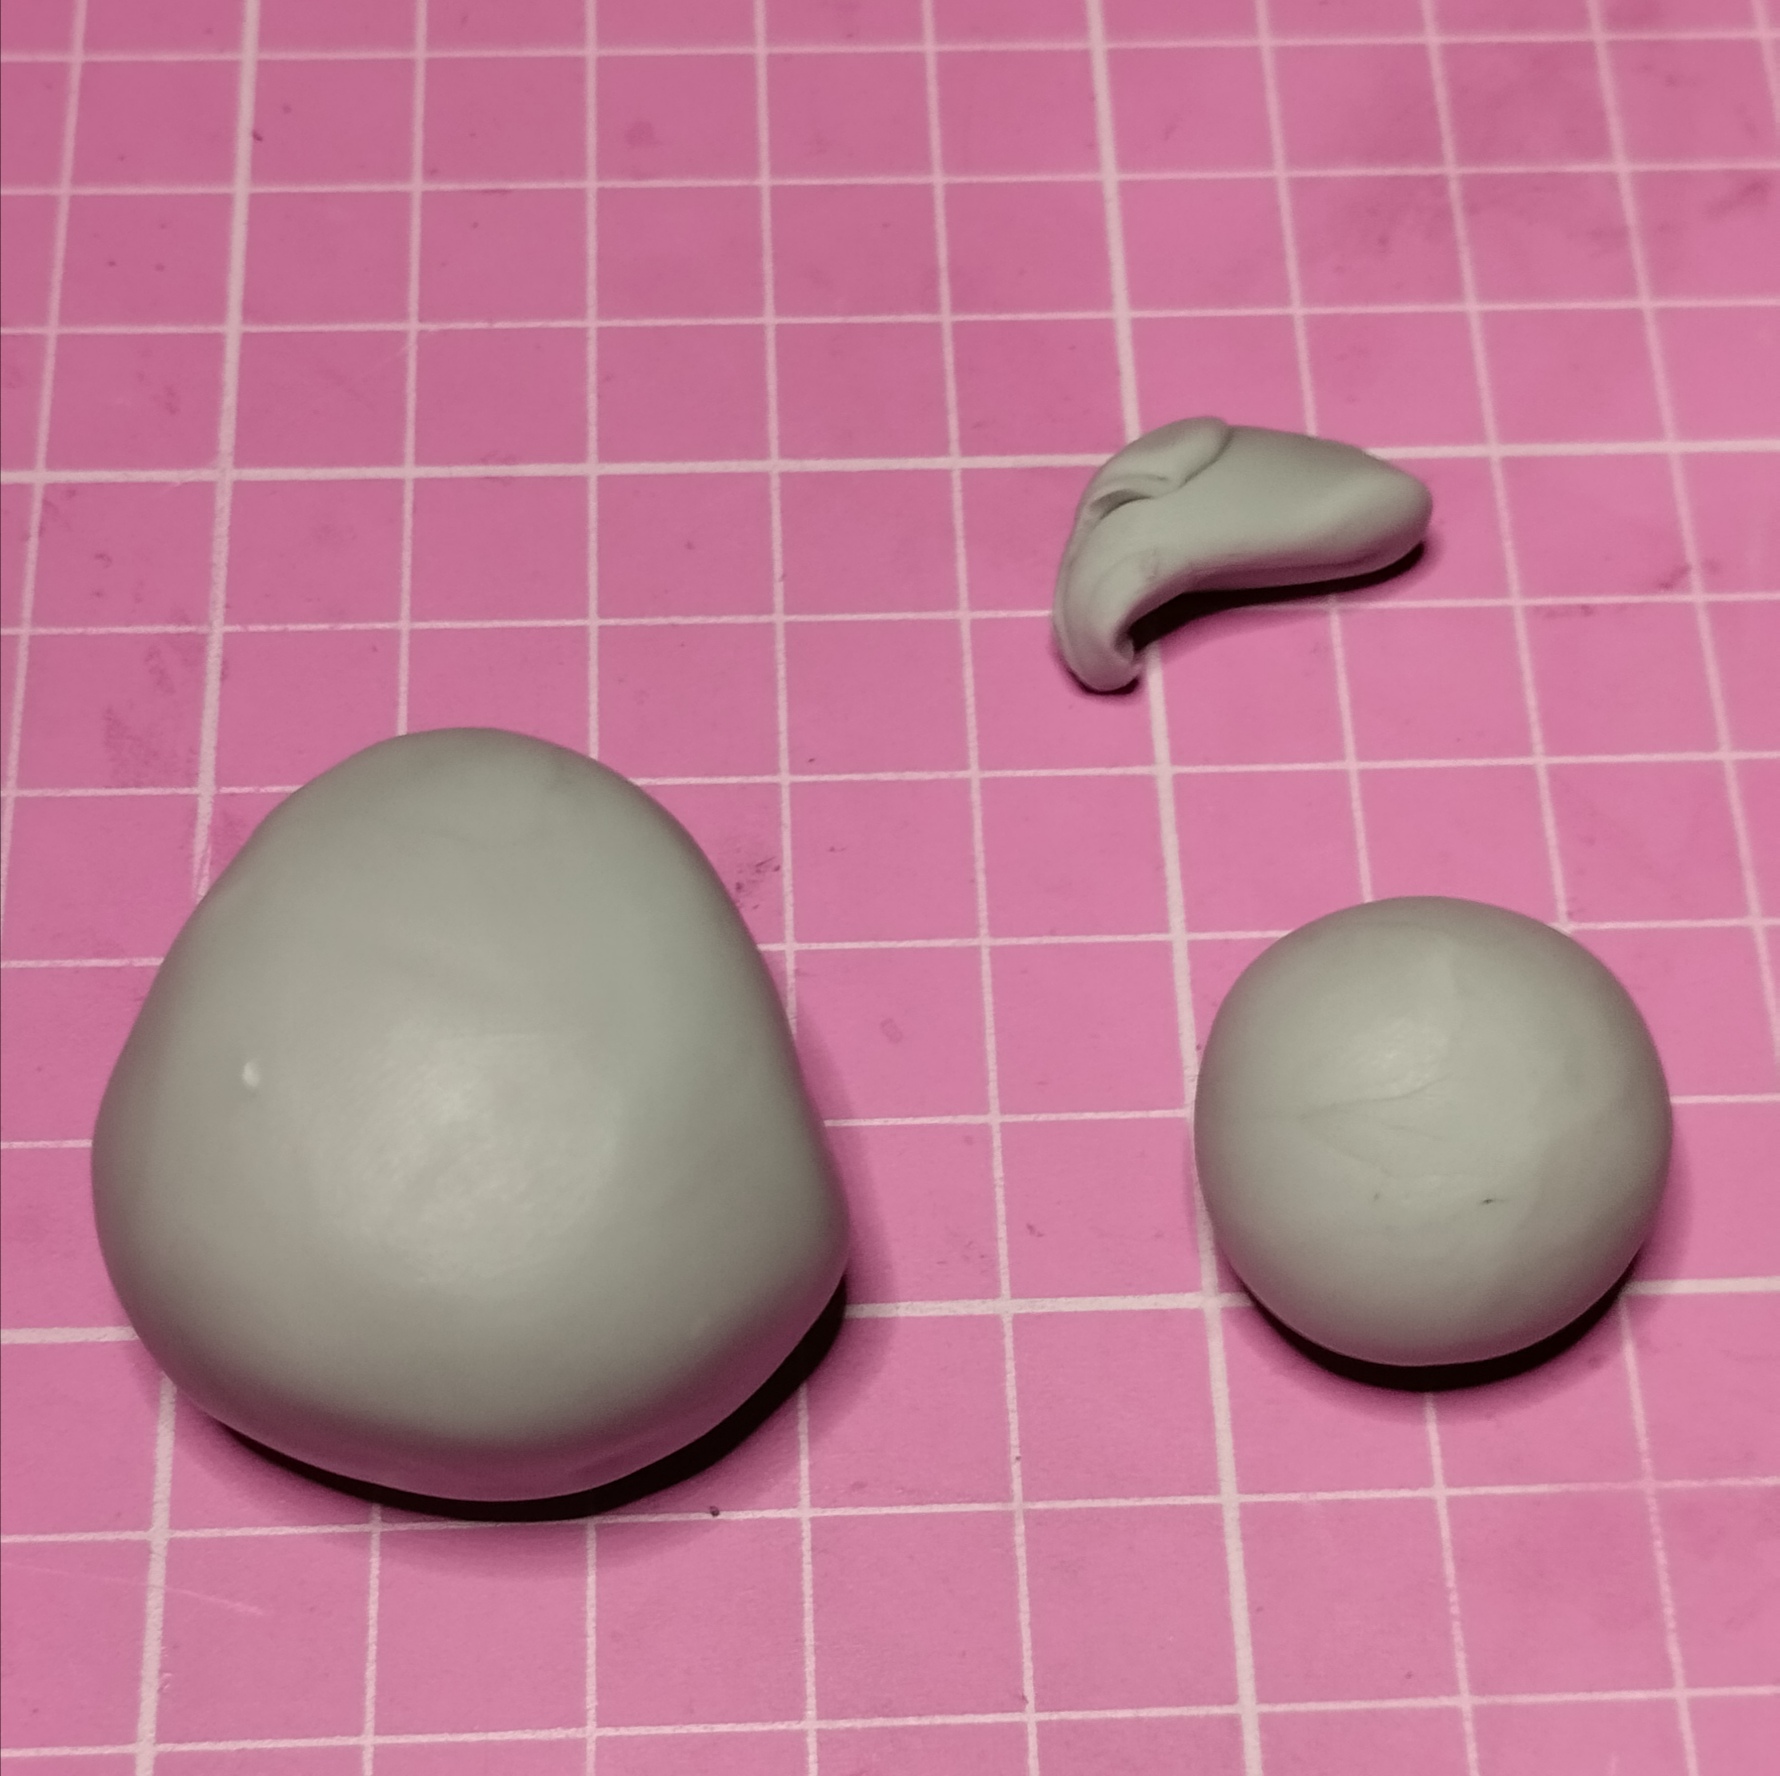
Una vez lograda la masa, esta la dividirenos en tres partes, una parte sería la cabeza, los brazos y el cuerpo.
Empezáremos cubriendo el papel de metal. Y que quede con la forma que se muestra en la imagen. También haremos una bolita que sería su cabecita. Y el pedacito de porcelana gris que sobró se guarda para luego ocupar.
Once the mass is achieved, we divide it into three parts, one part would be the head, the hands and the body. We will start by covering the metal foil. And that it remains with the shape shown in the image. We will also make a little ball that would be its head. And the little piece of gray porcelain that is left over is saved to be used later.
|
|
|

|
|
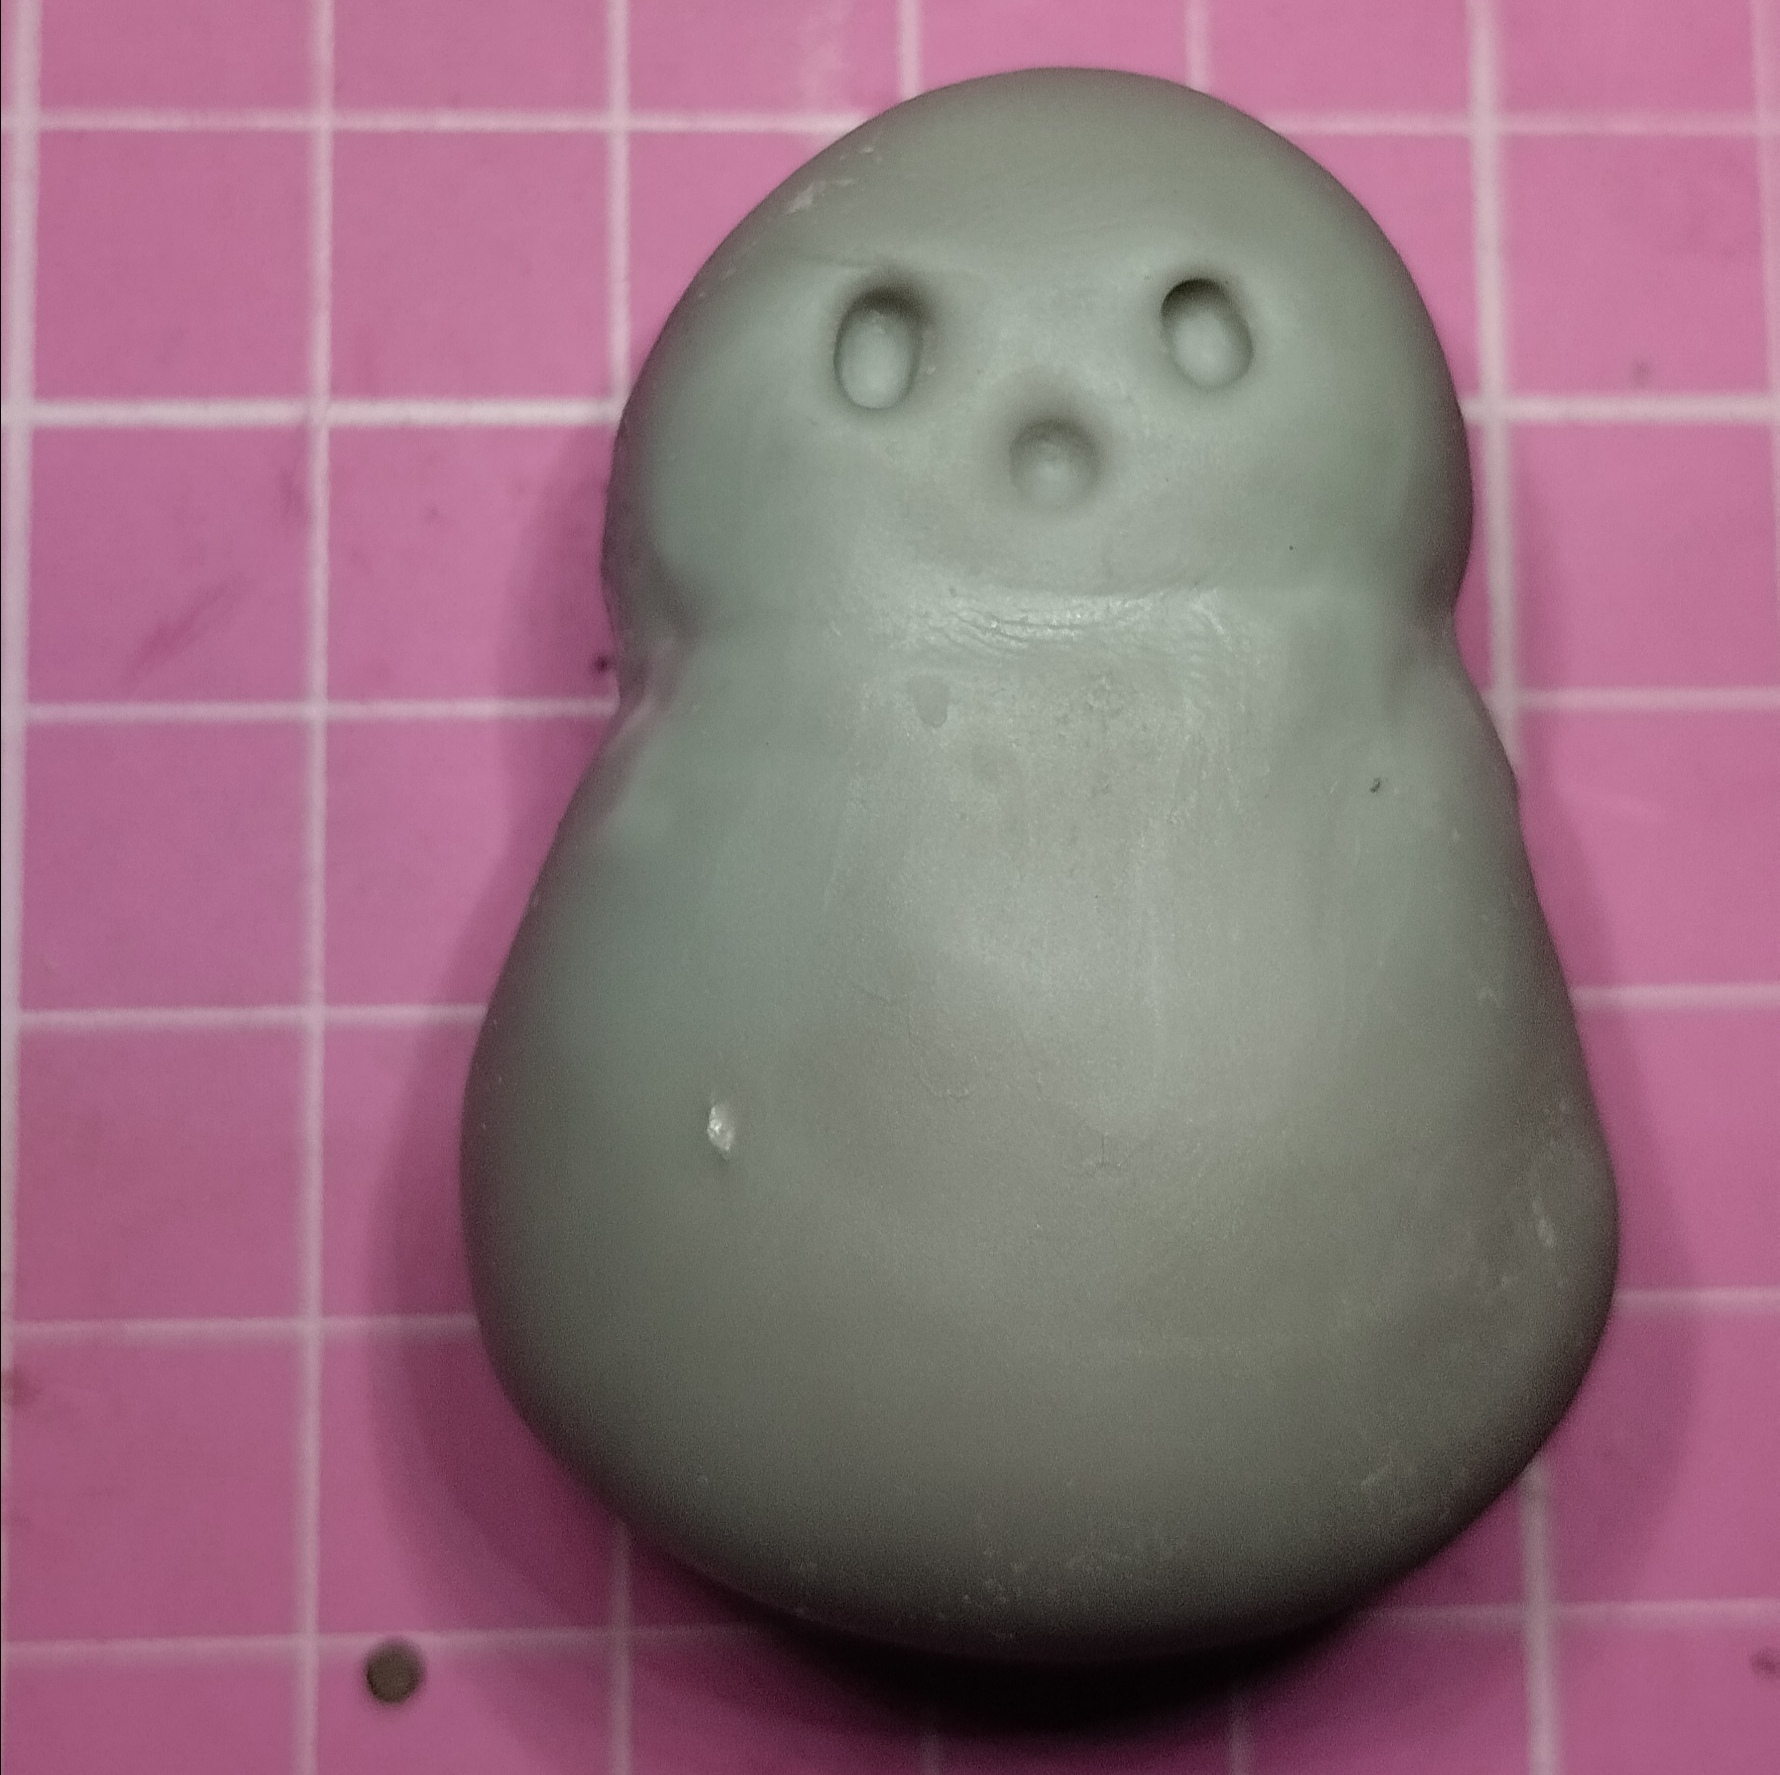
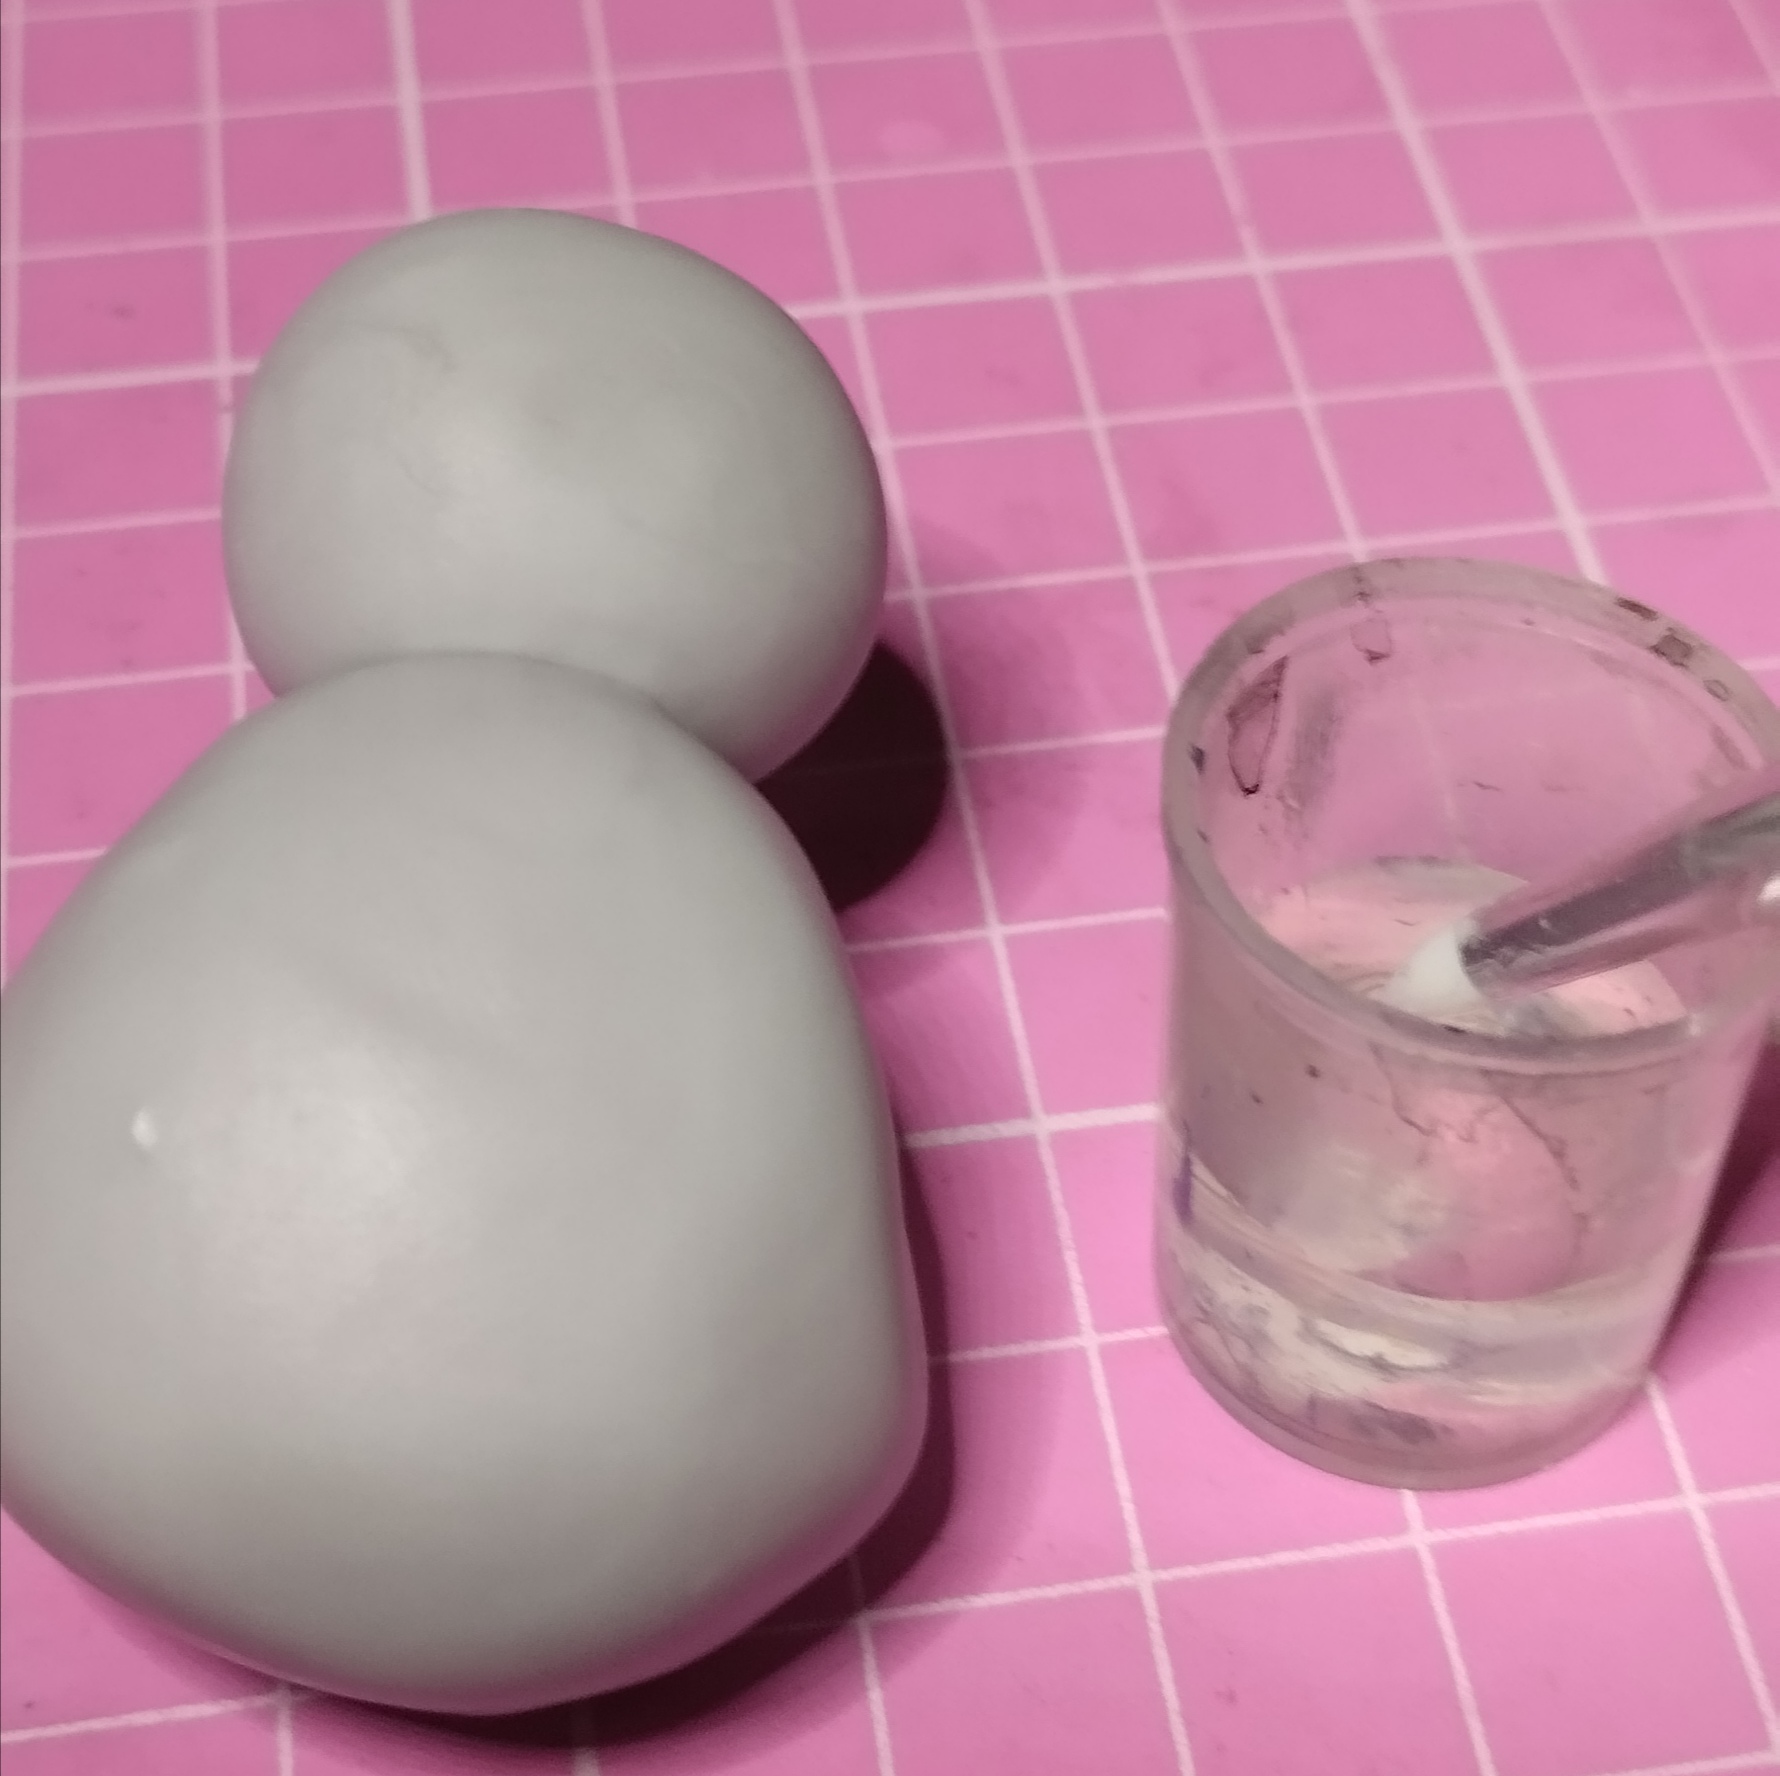
Ahora nos toca unir la cabeza con el cuerpo, esto se hace juntando las partes y con el pincel de goma más agua lentamente vamos pasando por encima hasta que se unan debe quedar un cuello mas grueso aprovechamos que la masa esta blanda aún y hacemos dos agujeros que seran sus ojitos y también hacemos la naricita. Dejamos secar y ya quedo pegado ☺️
Now we have to join the head with the body, this is done by putting the parts together and with the rubber brush plus water we slowly pat them on top until they join together, there should be a thicker neck. We take advantage of the fact that the dough is still soft and we make two holes. They will be his little eyes and we will also make the little nose. We let it dry and it was stuck ☺️
|
|
|
|
|
|
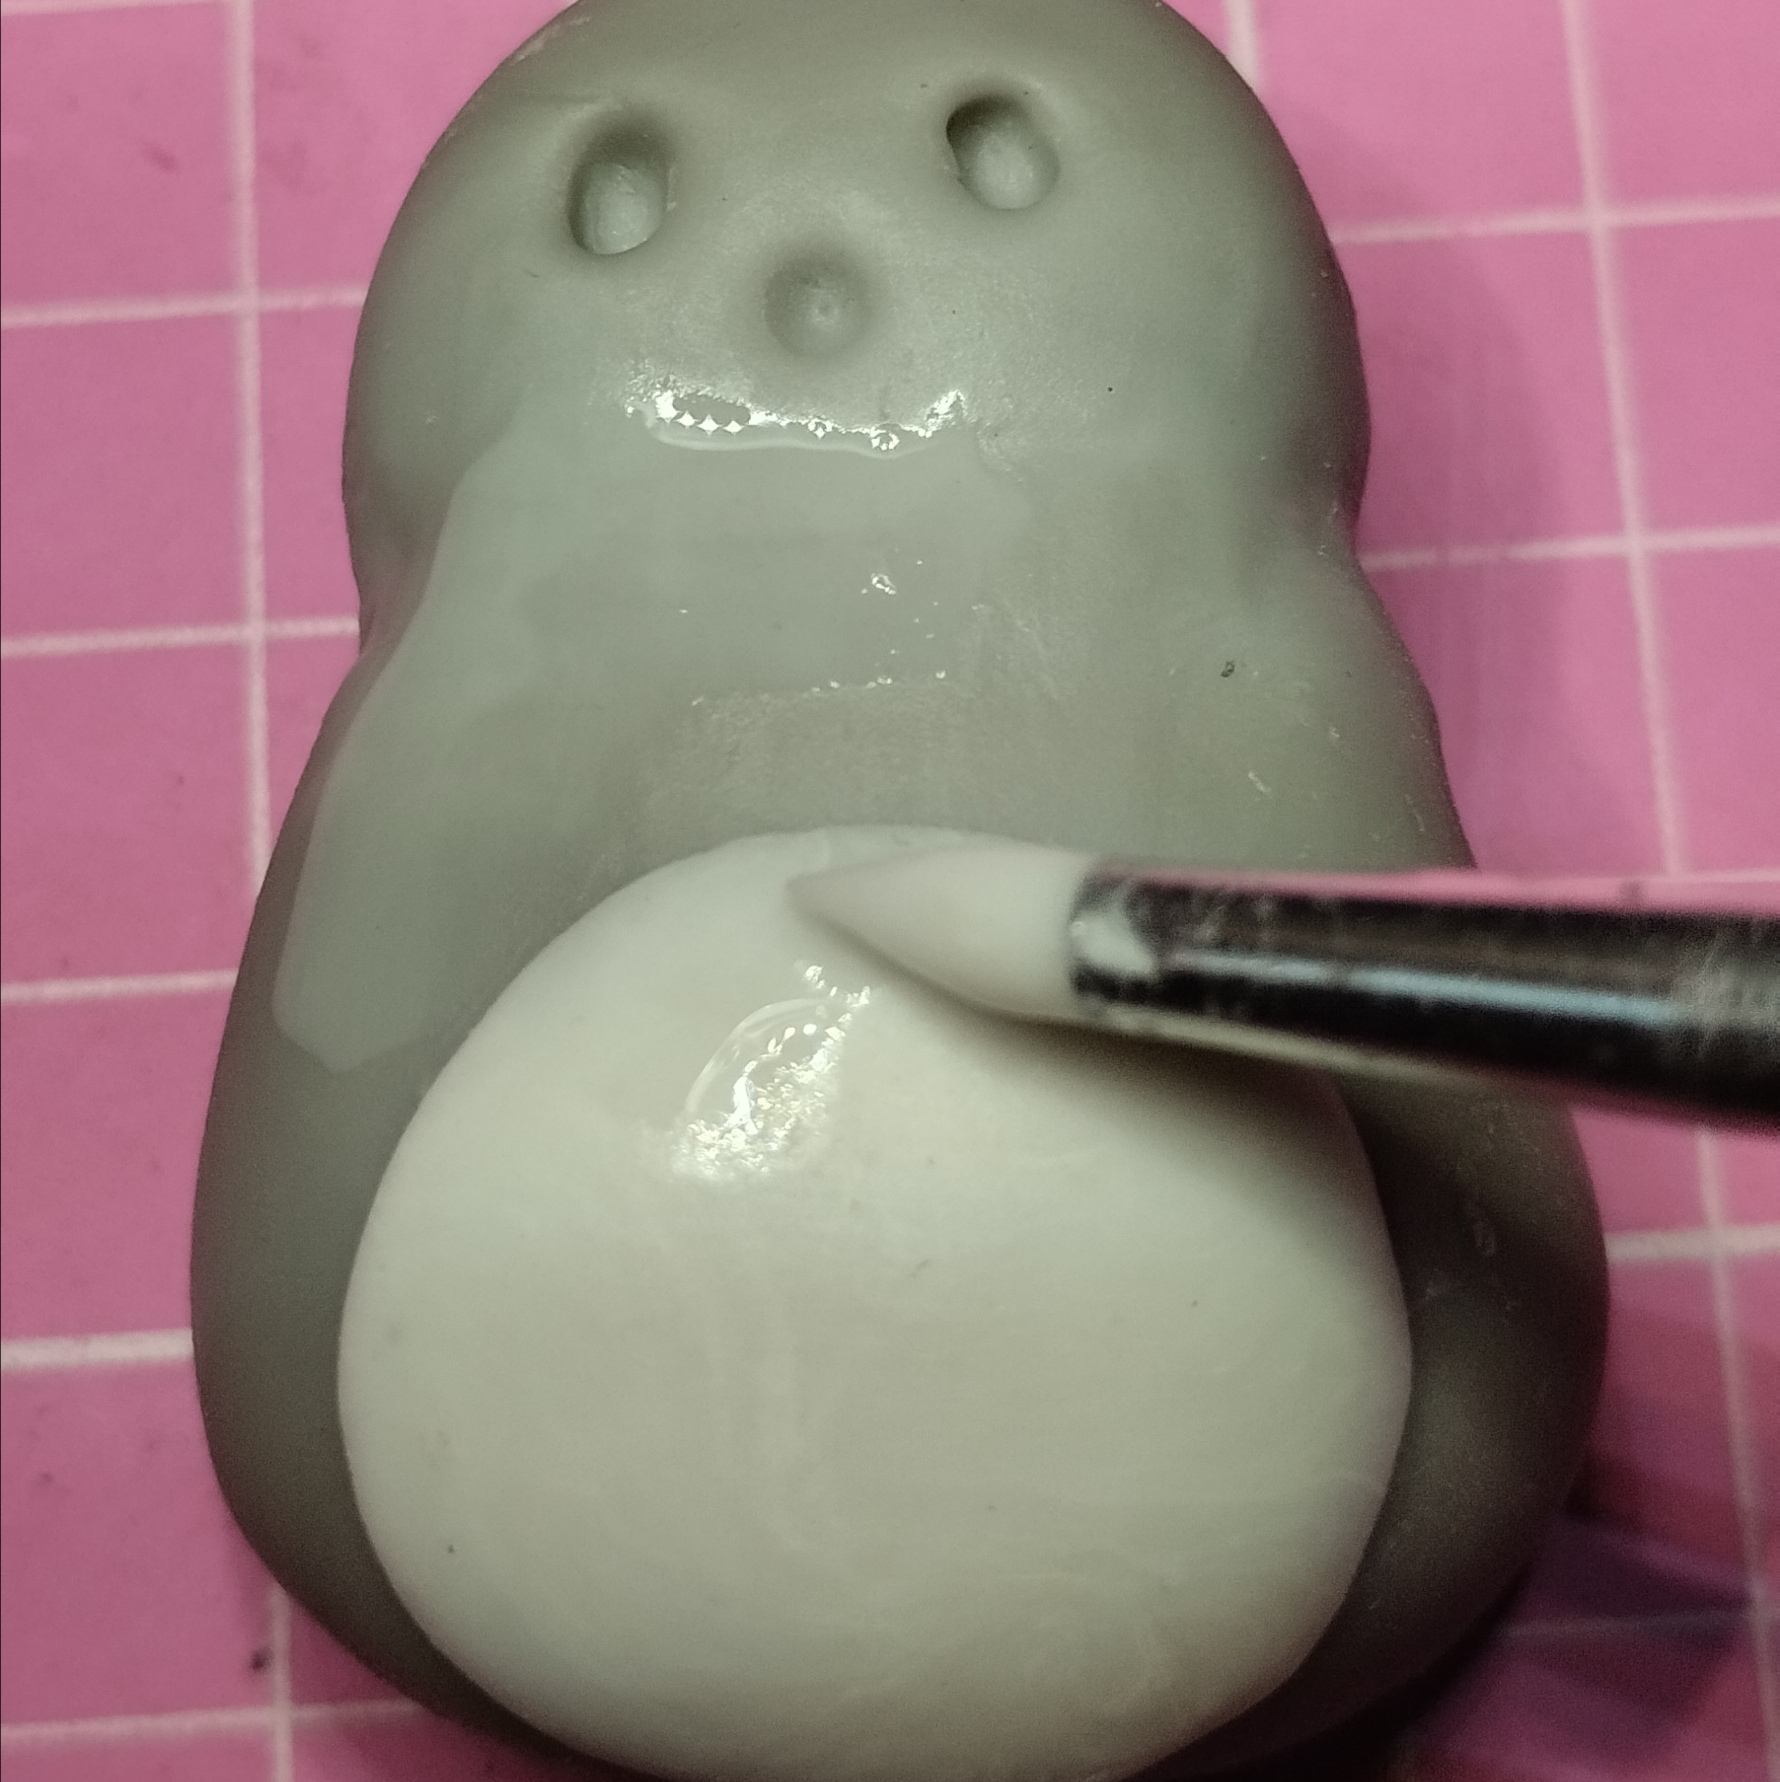

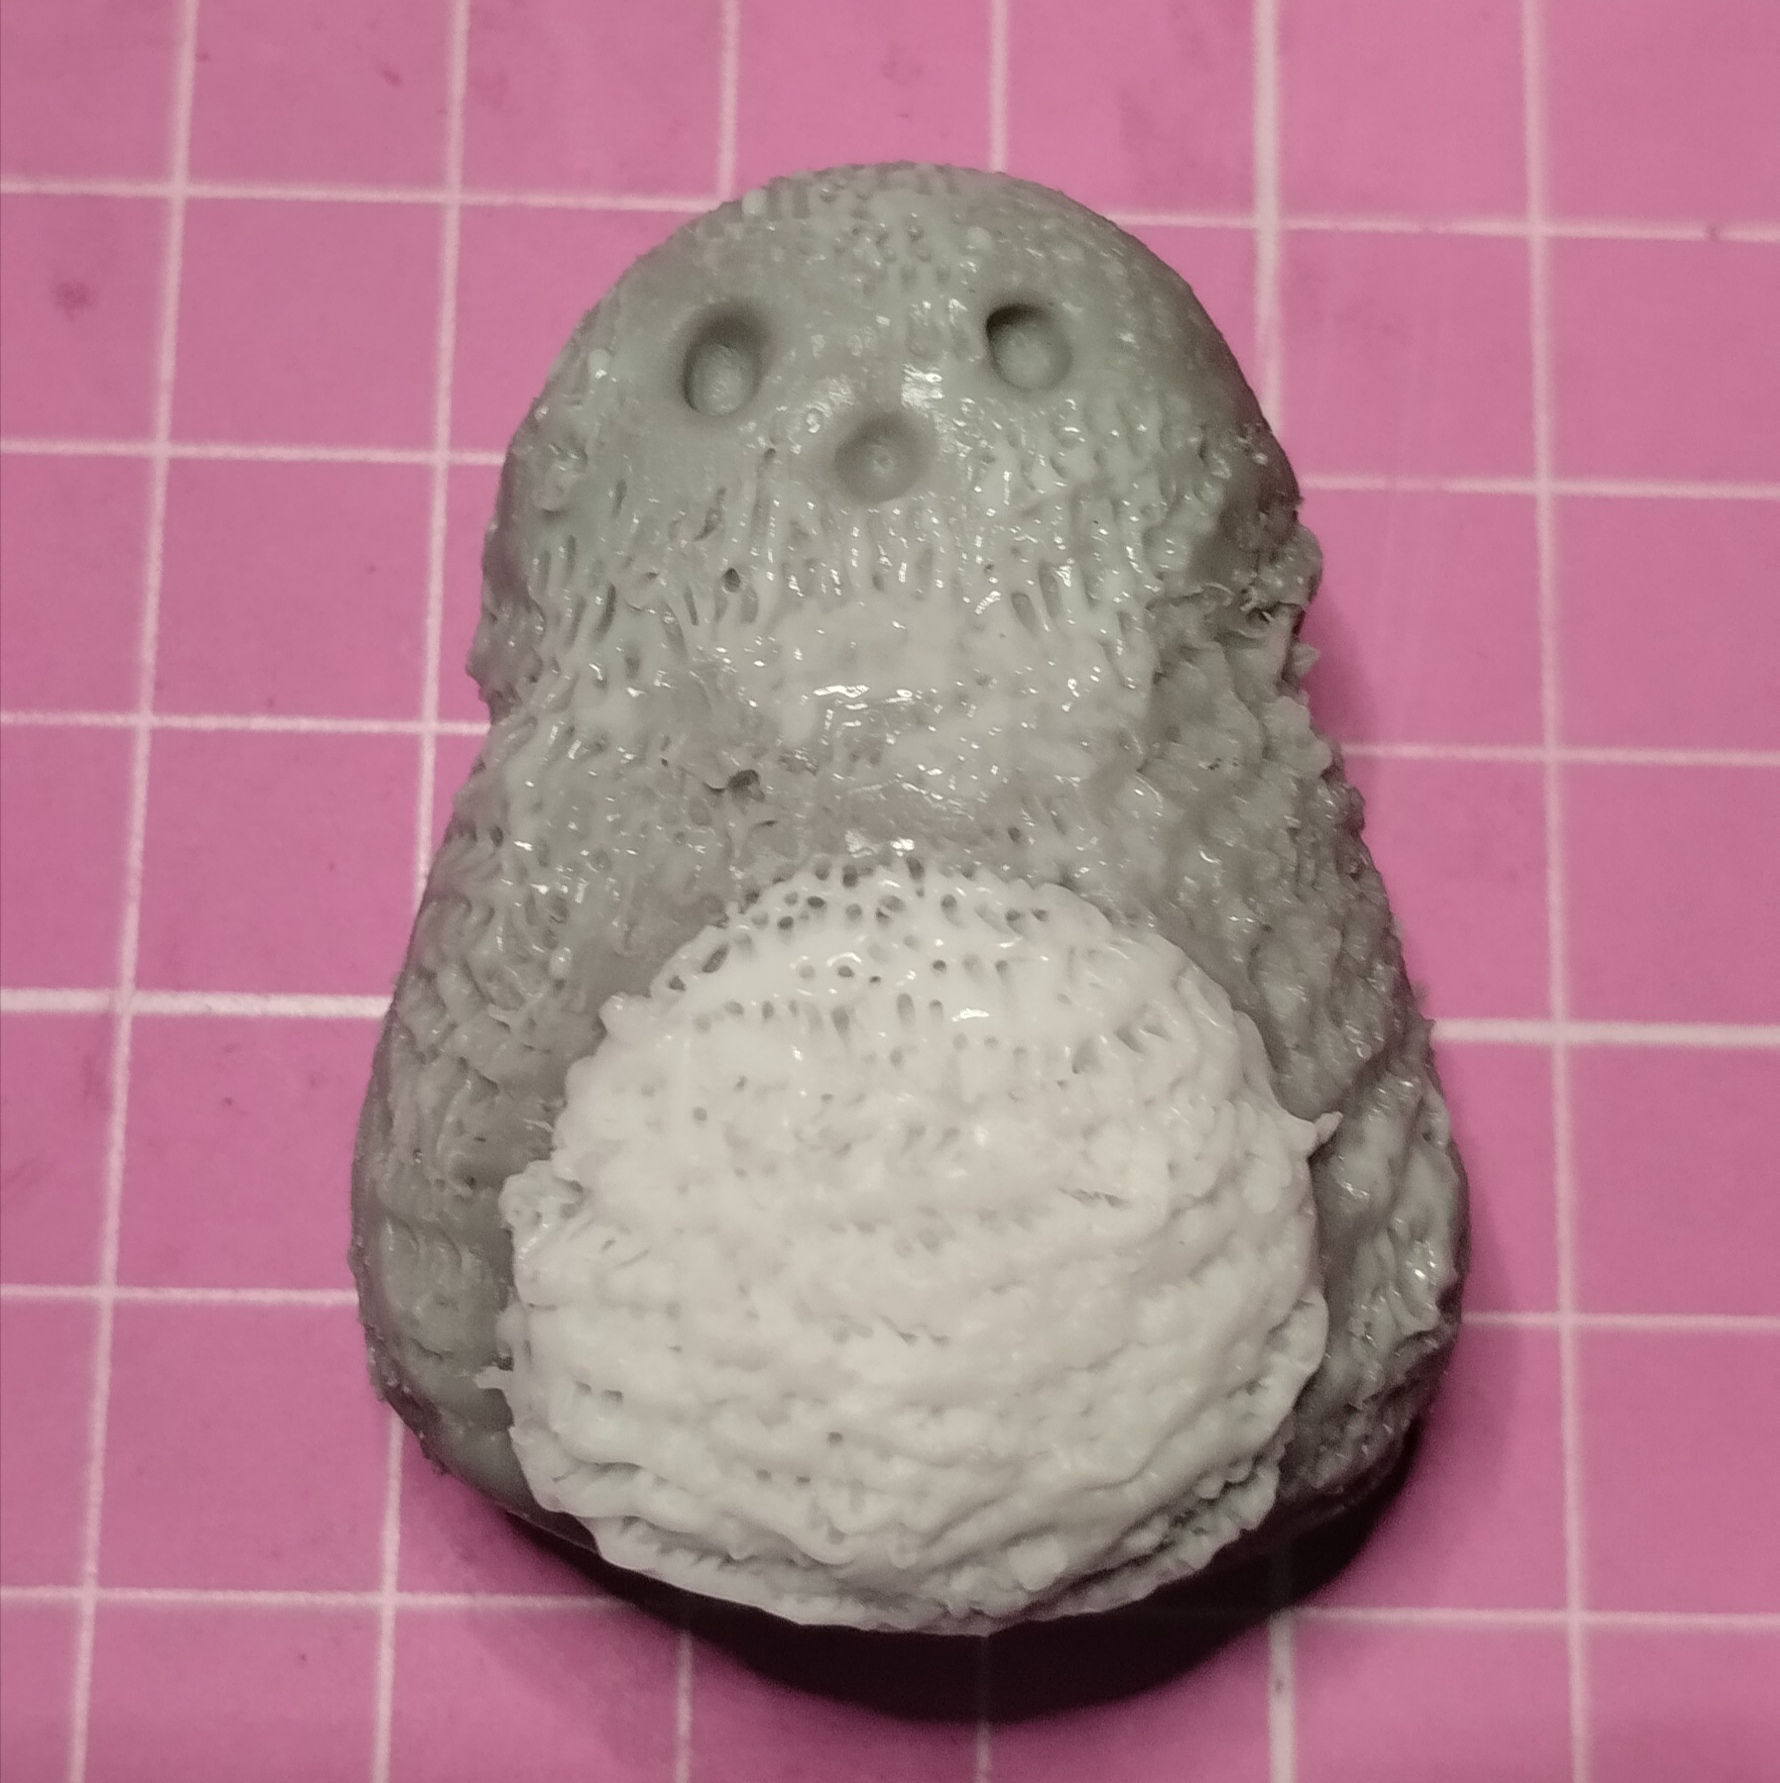
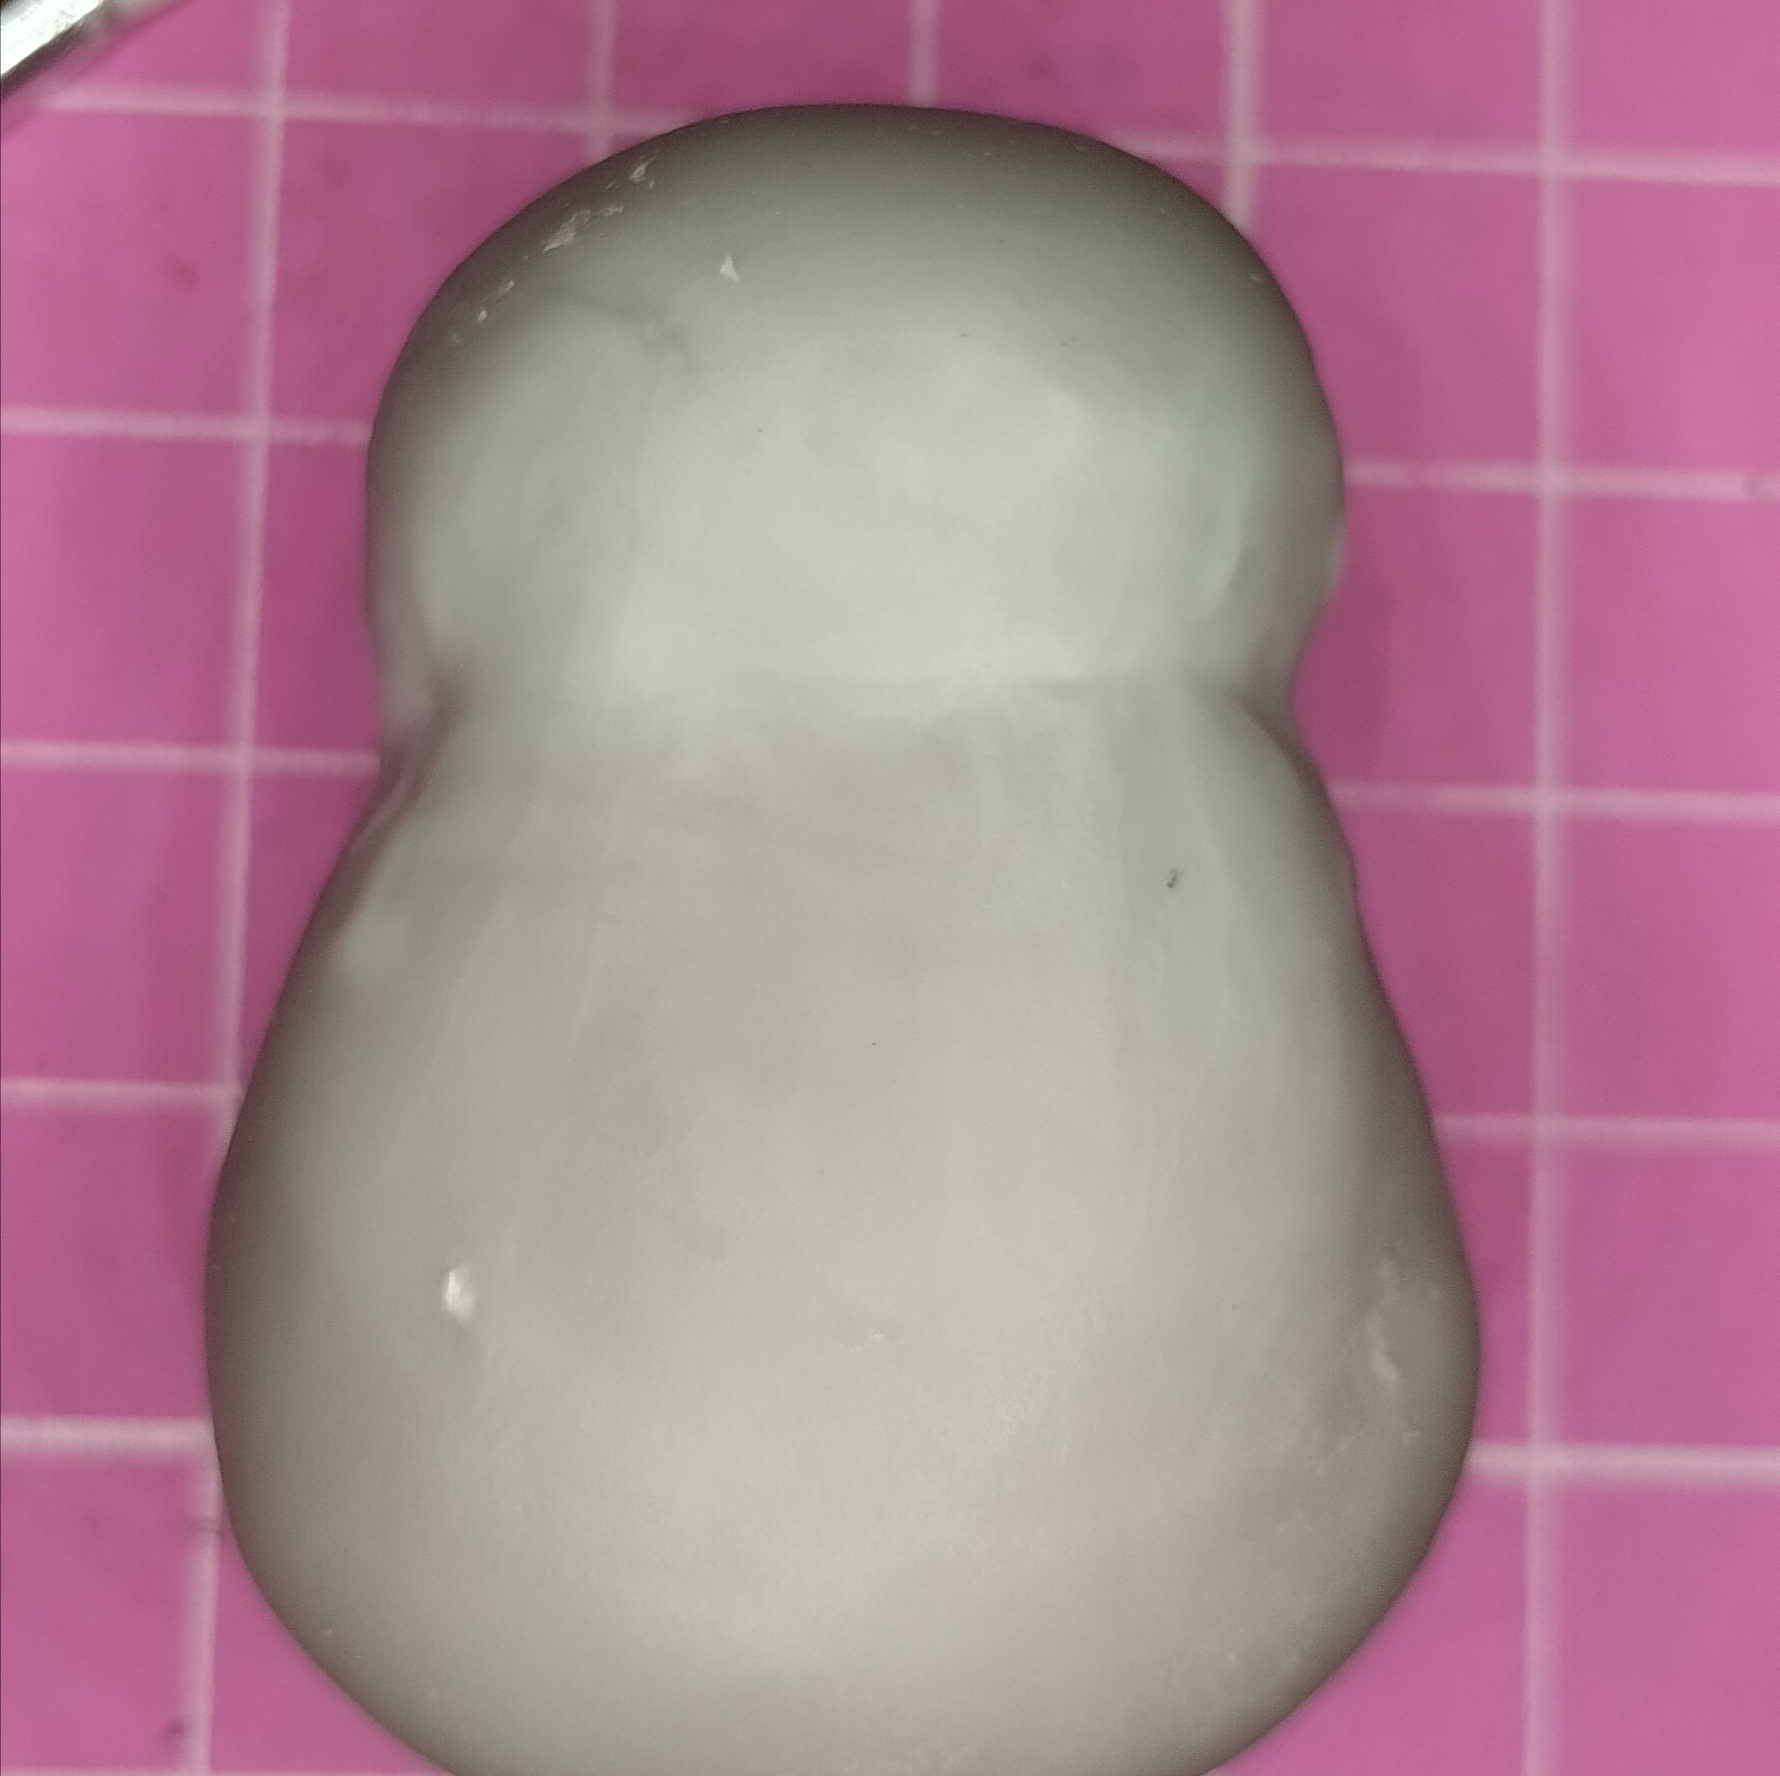
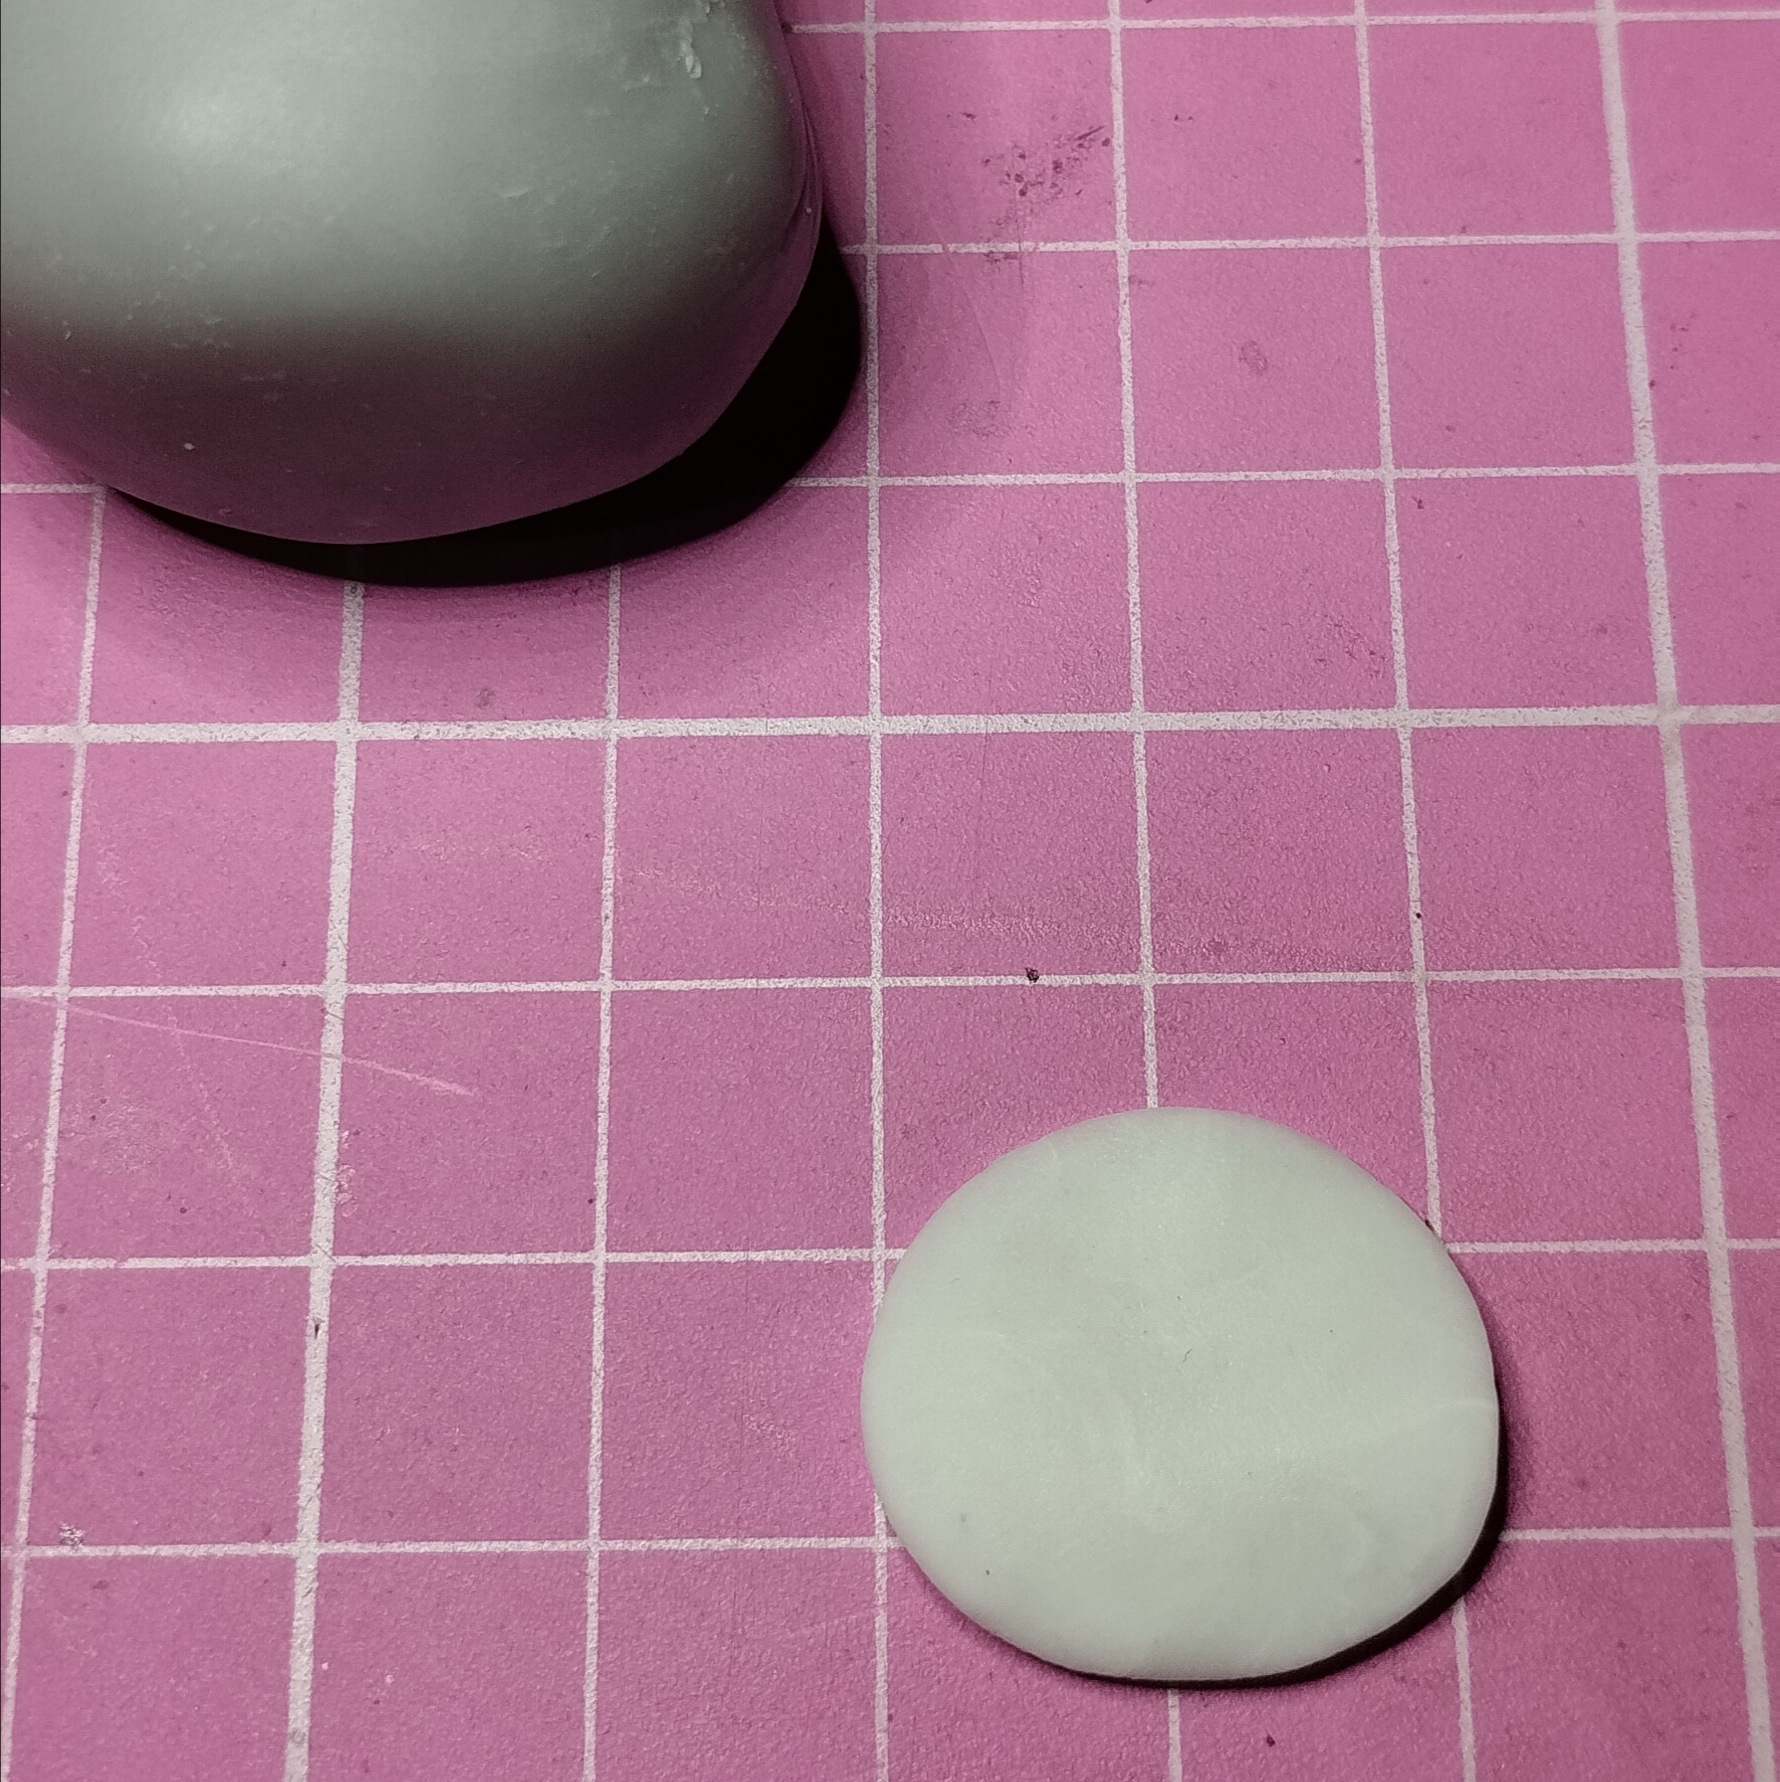
Ahora tomamos un poco de porcelana blanca hacemos una bolita y aplastamos se la ponemos en la pancita de la chinchilla, pegamos con agua, apretamos con el pincel y con una aguja o cualquier herramienta que tenga punta empiezas a rasgar la porcelana esto le dara una textura de pelaje. Se debe hacer por todo el cuerpo.
Now we take some white porcelain, we make a ball and we flatten it, we put it on the belly of the vizcacha, we glue it with water, we press it with the brush and with a needle or any tool that has a point, you start to tear the porcelain, this will give it a texture. of fur. It should be done all over the body.
|
|
|
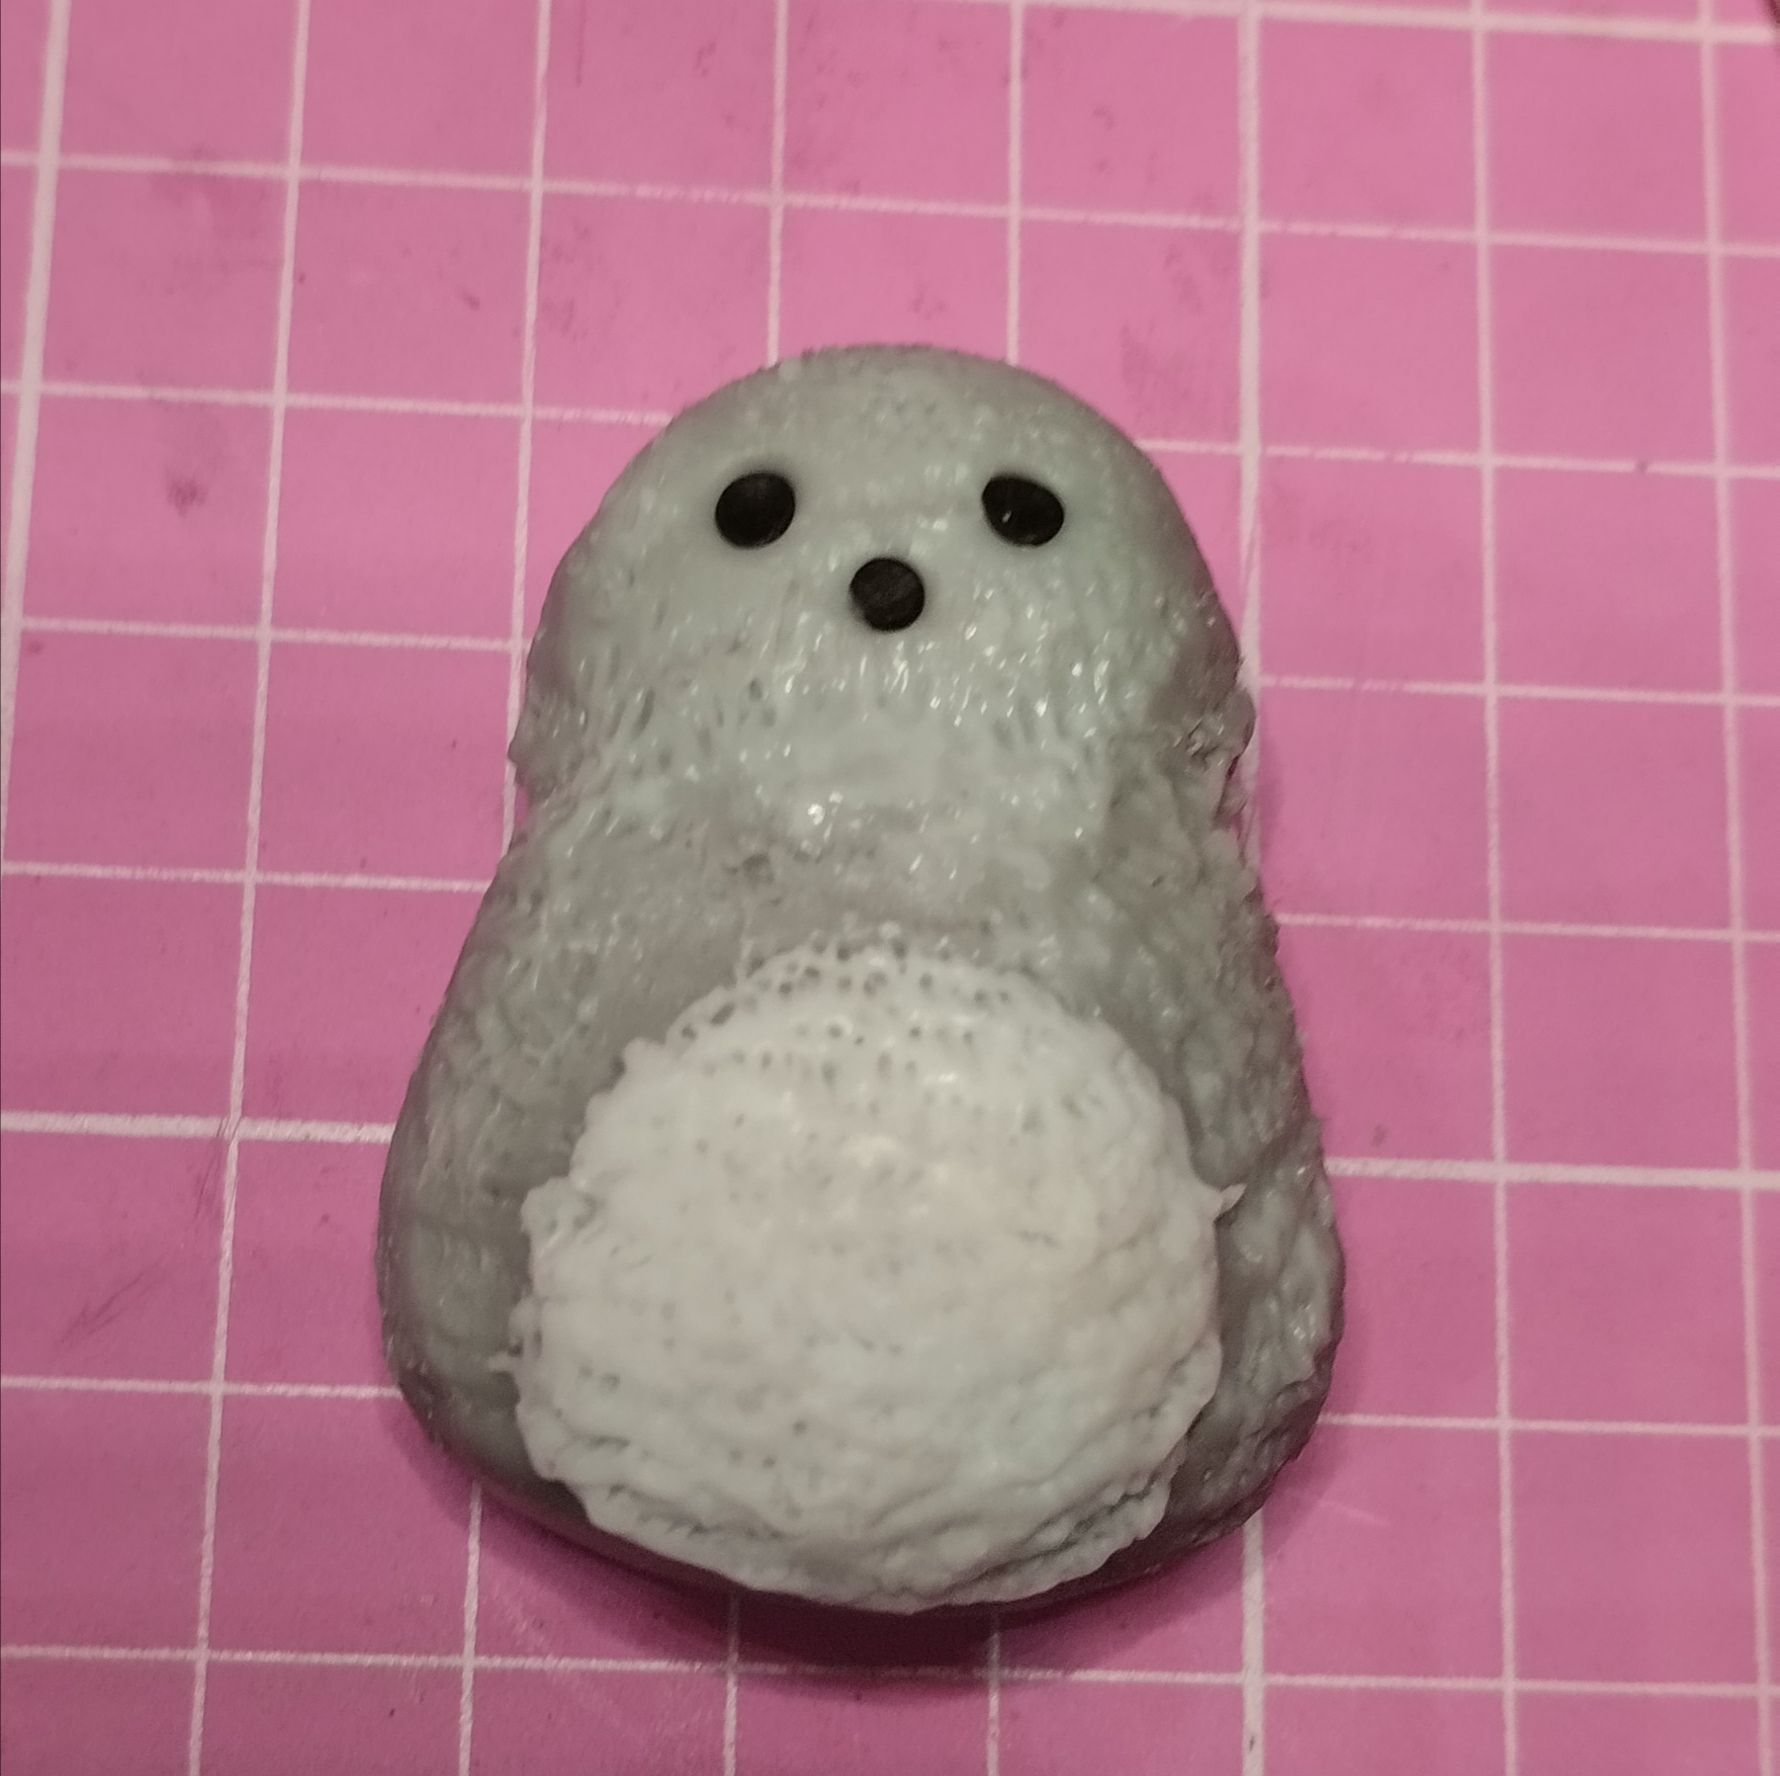

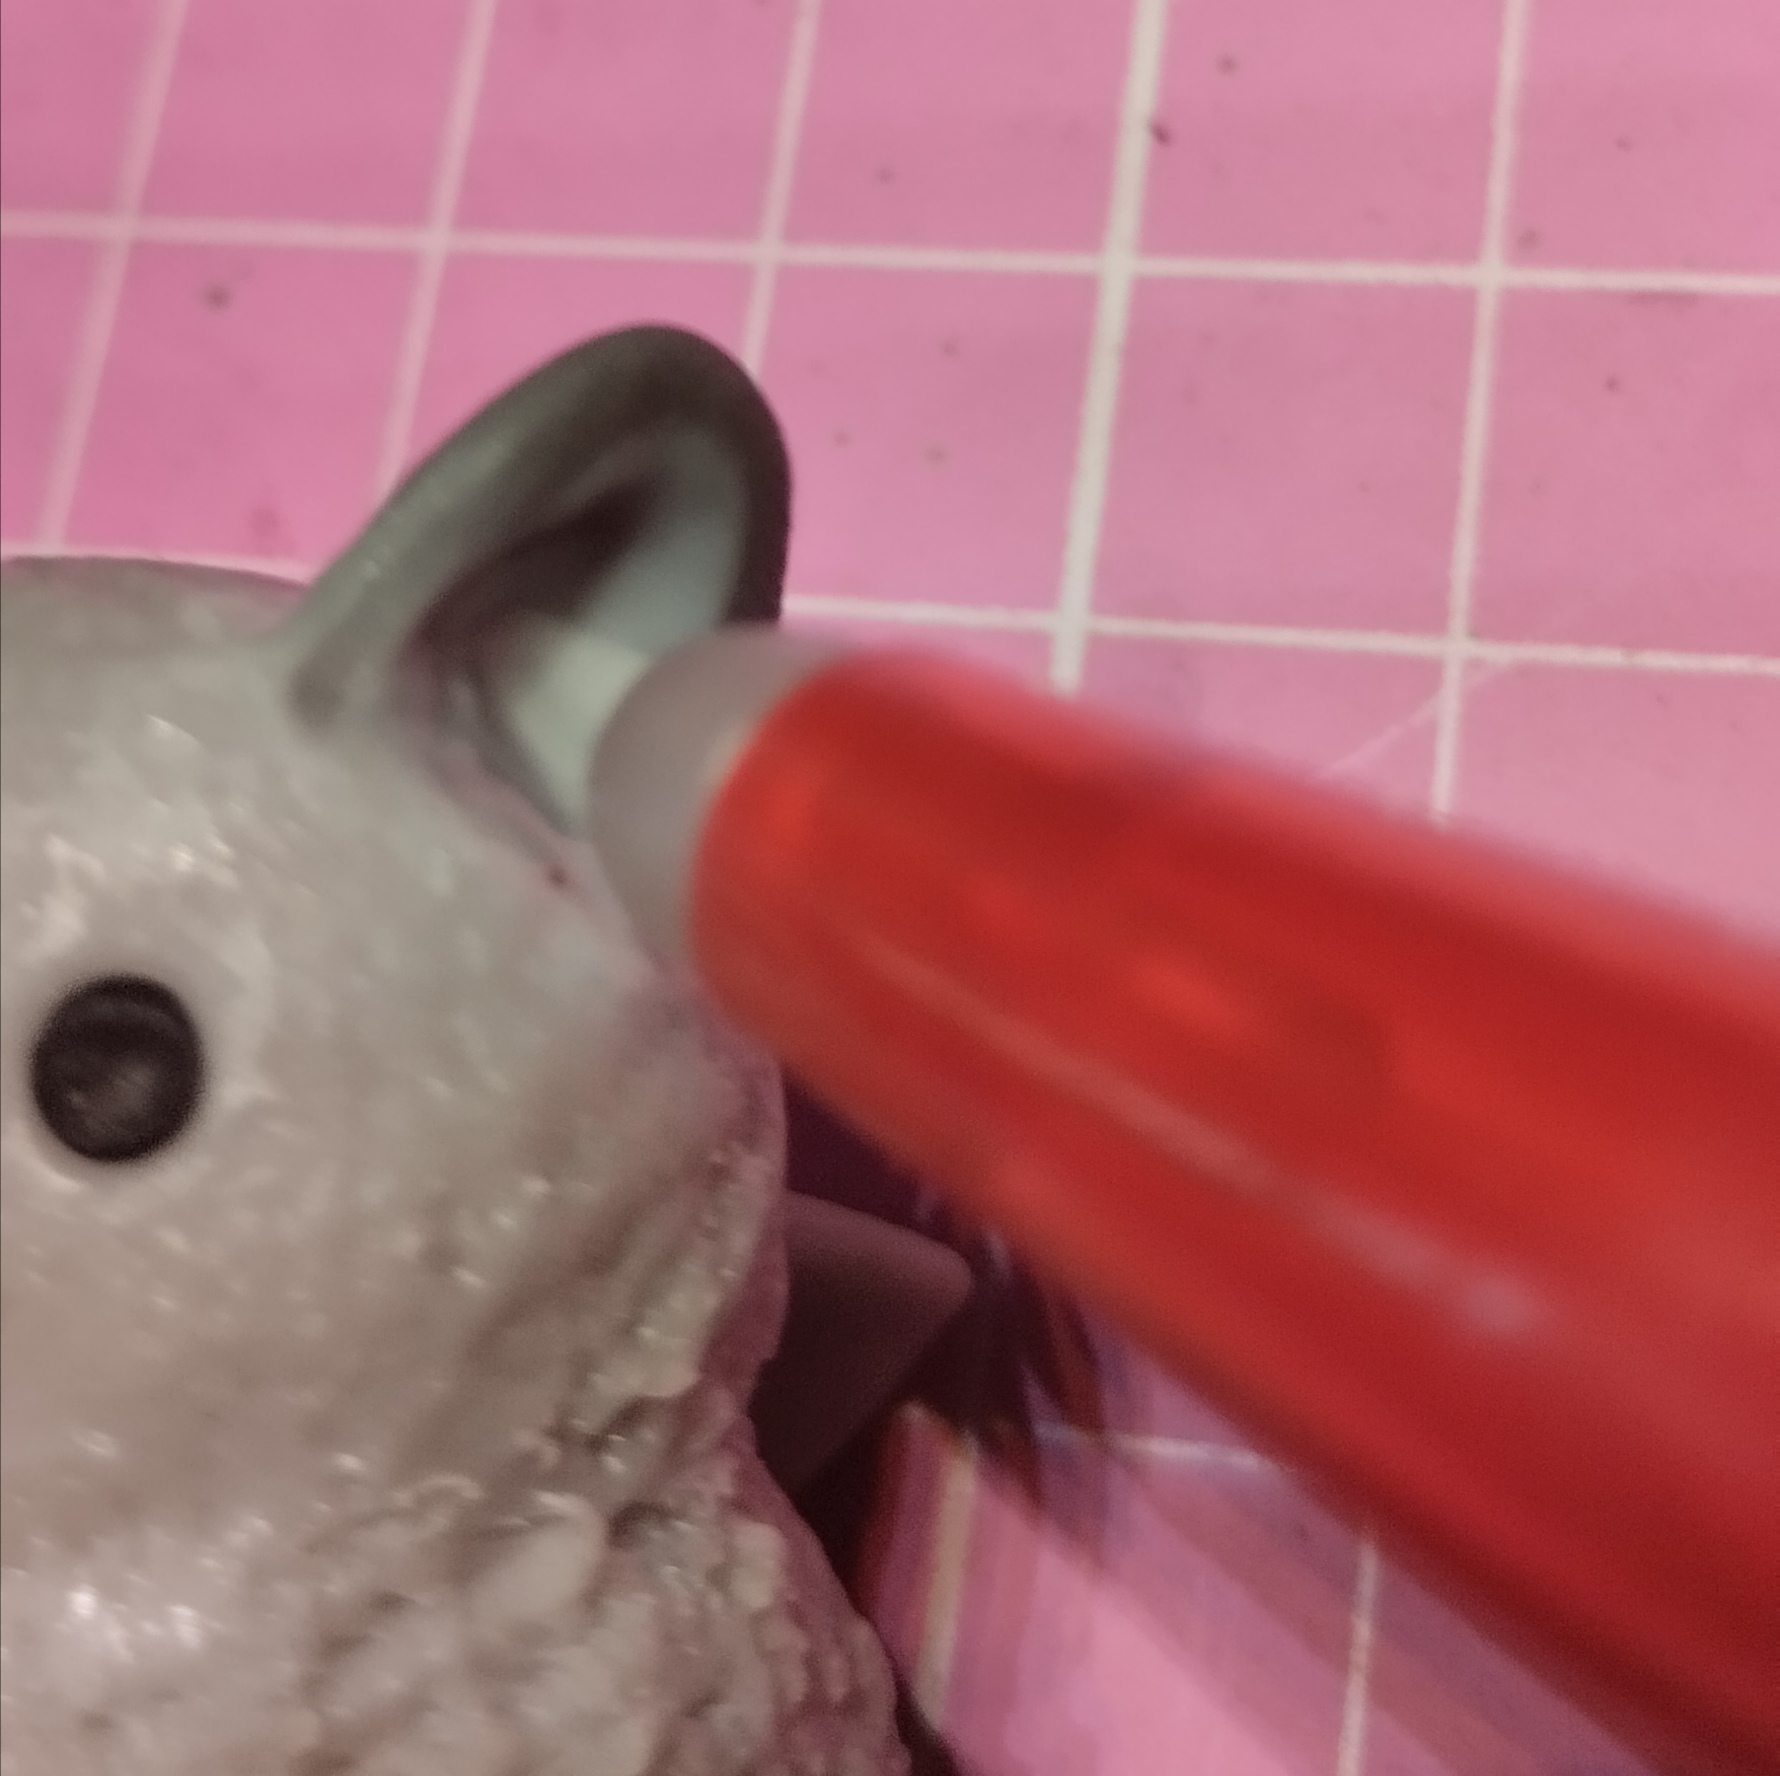
Continuamos con los ojitos con porcelana negra hacemos tres circulos y pegamos con agua en los orificios ya hechos.
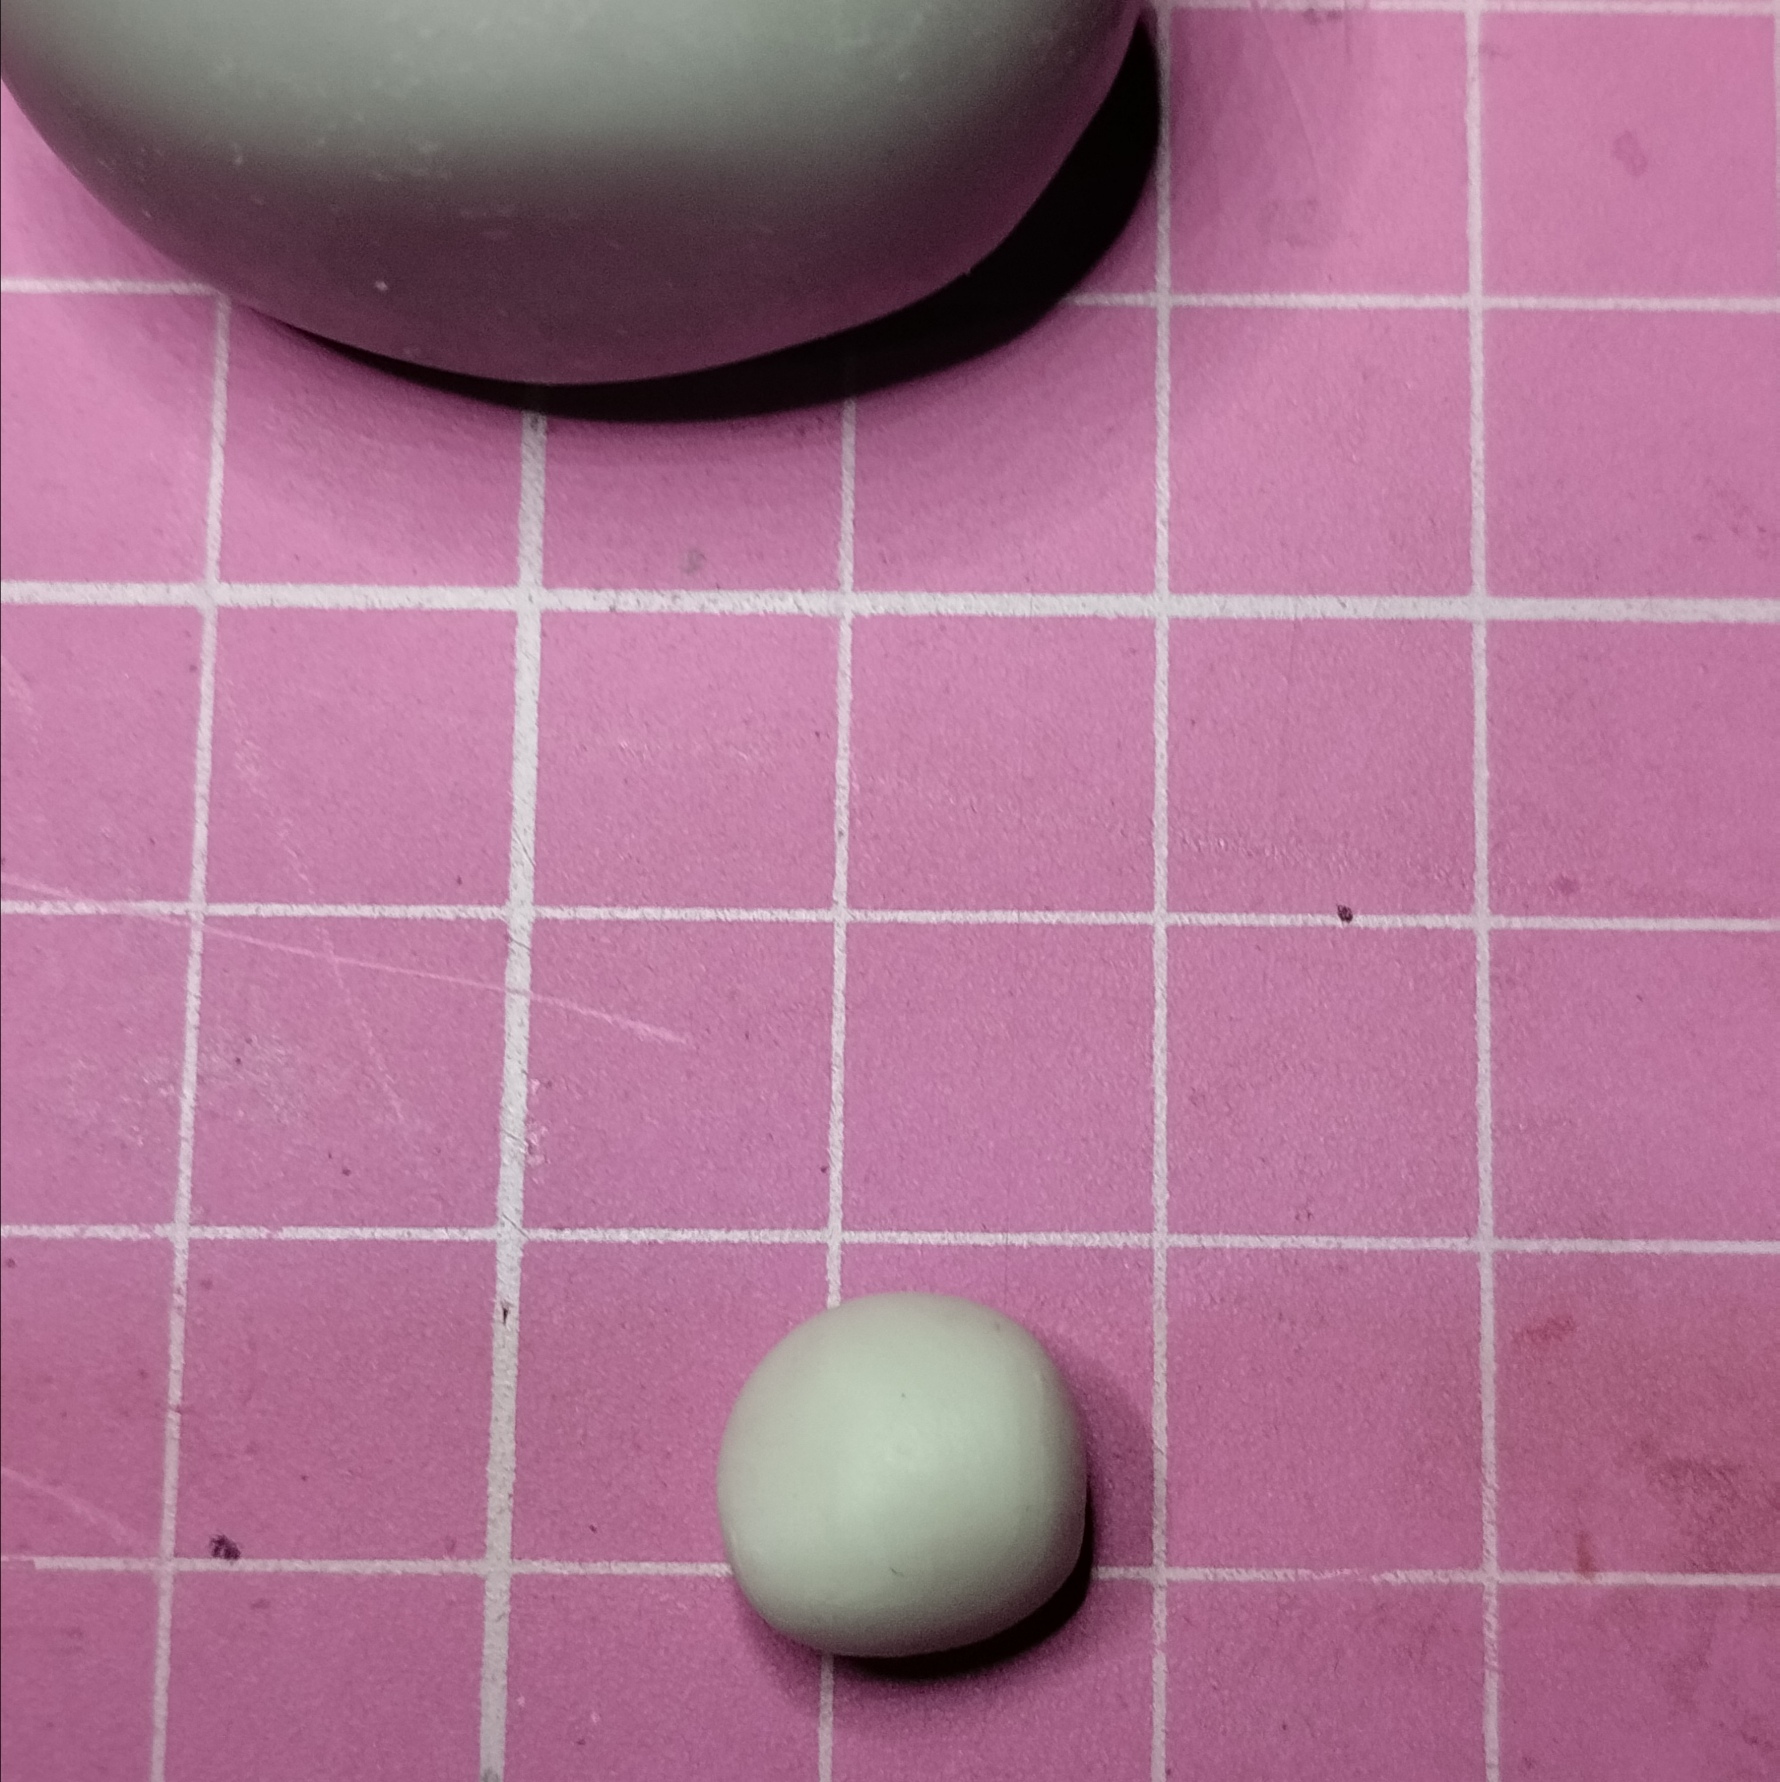
Recuerda que nos sobro un pedacito de porcelana gris, formaremos dos figuras con forma de gotas y la aplastaremos un poco. este lo usaremos para hacer sus bracitos. Pegamos con agua y damos textura.
We continue with the eyes with black porcelain, we make three circles and glue them with water in the holes already made. Remember that we have a small piece of gray porcelain left over, we will form two figures in the shape of drops and we will crush it a little. We will use this to make his little arms. We paste with water and give texture.
|
|
|
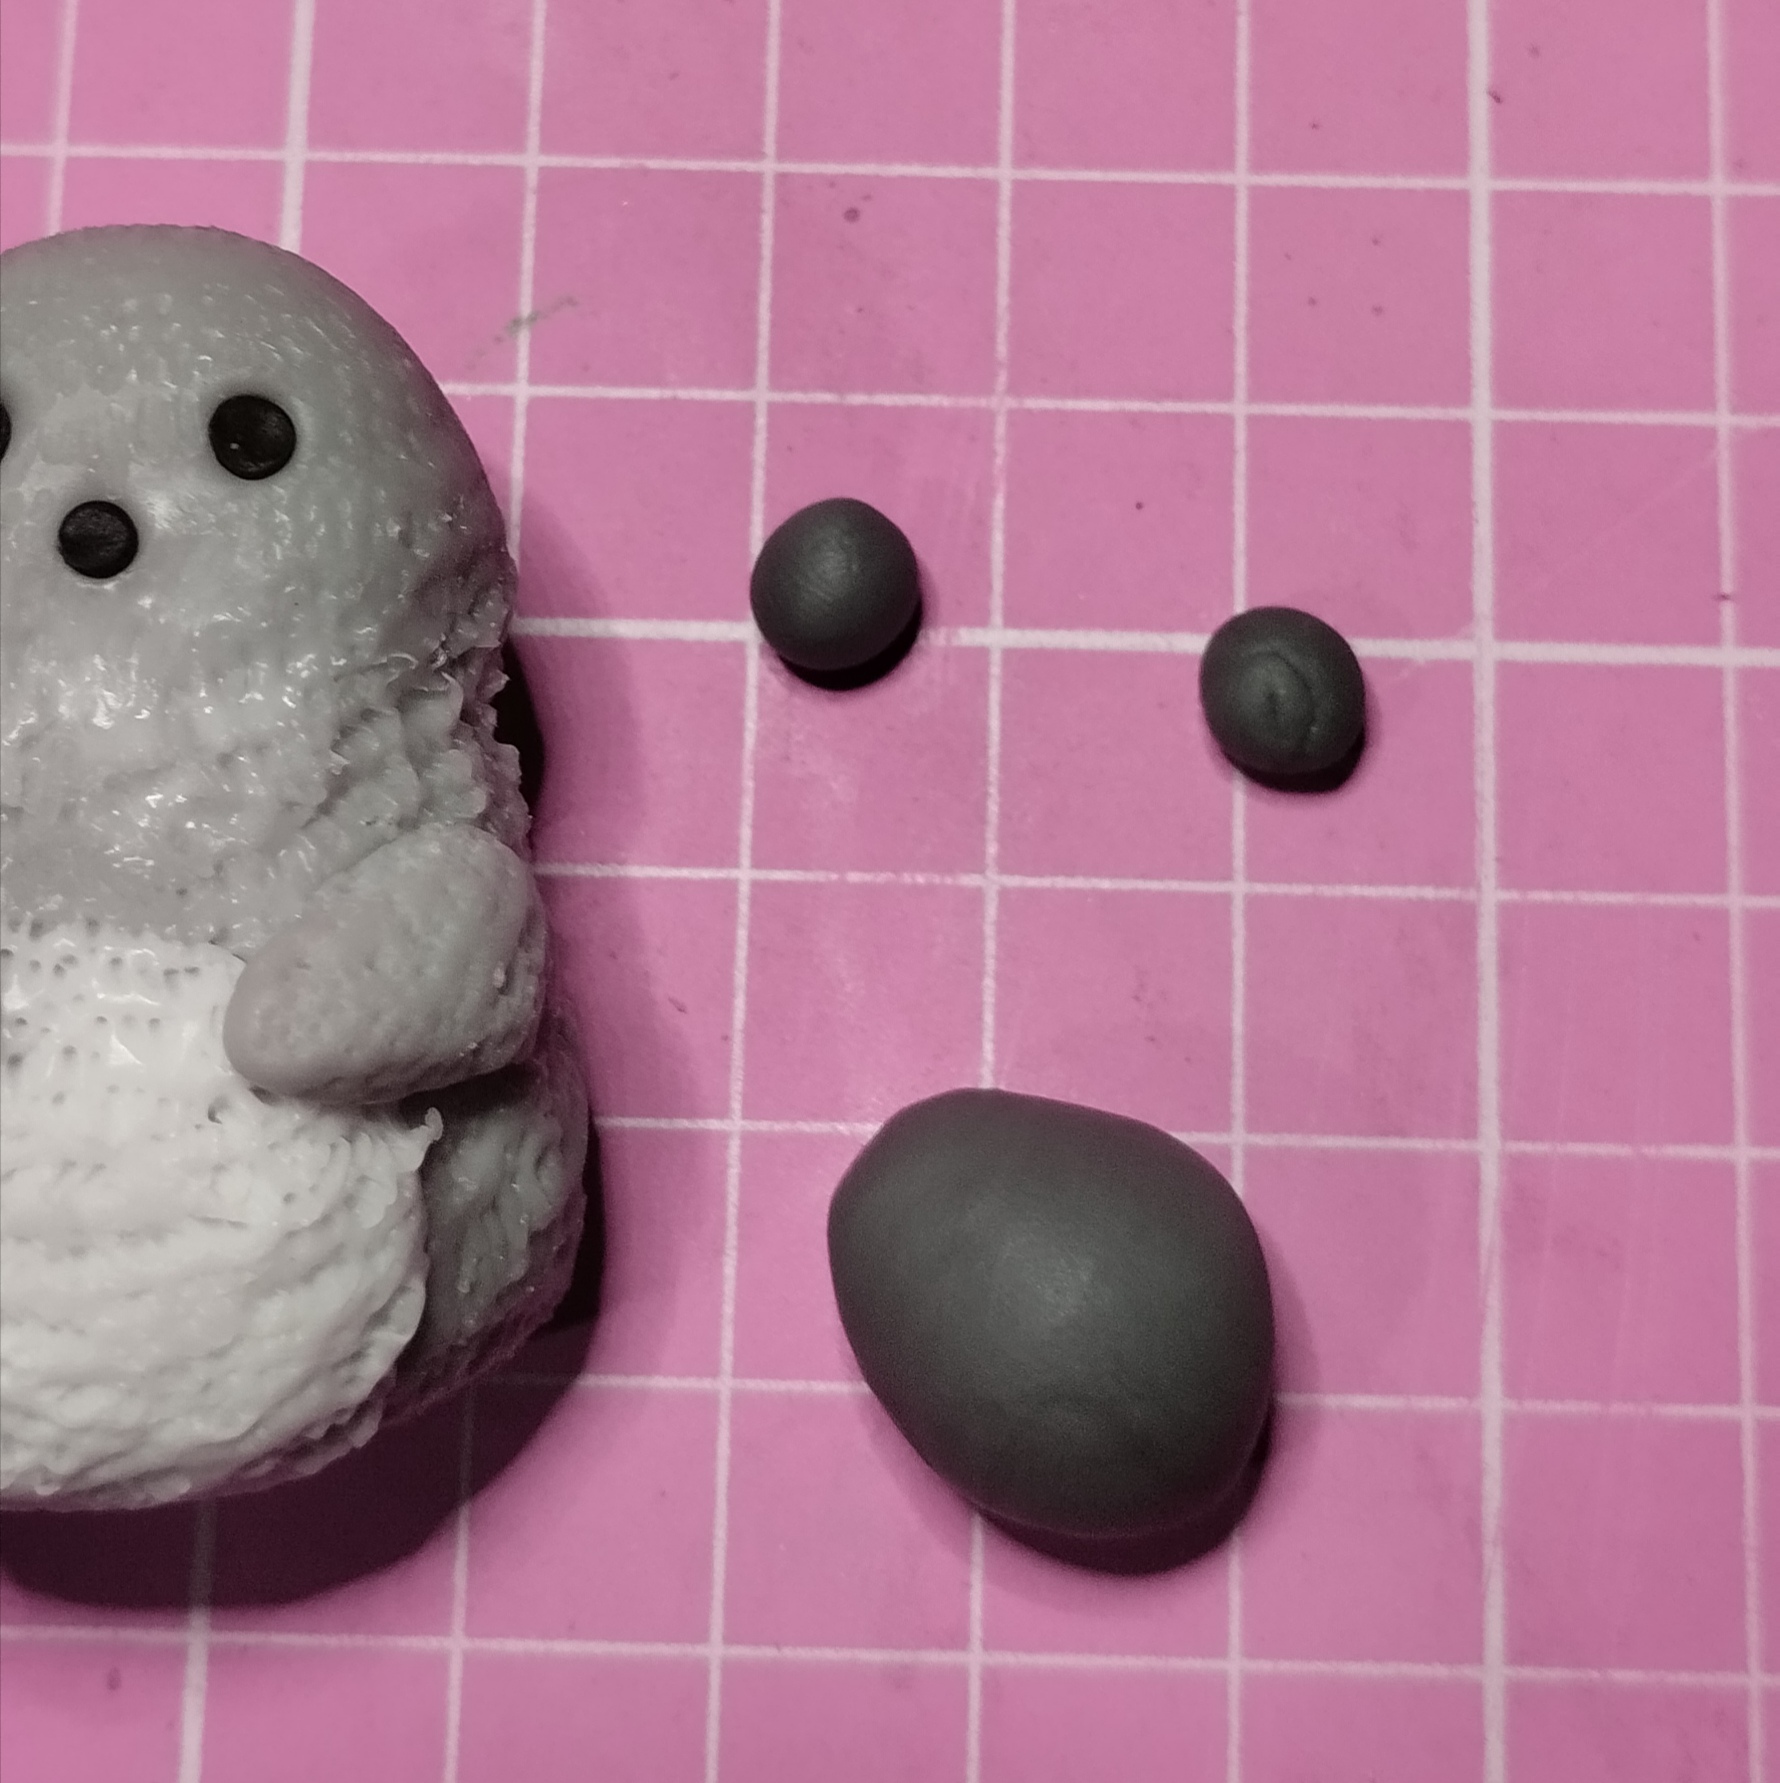
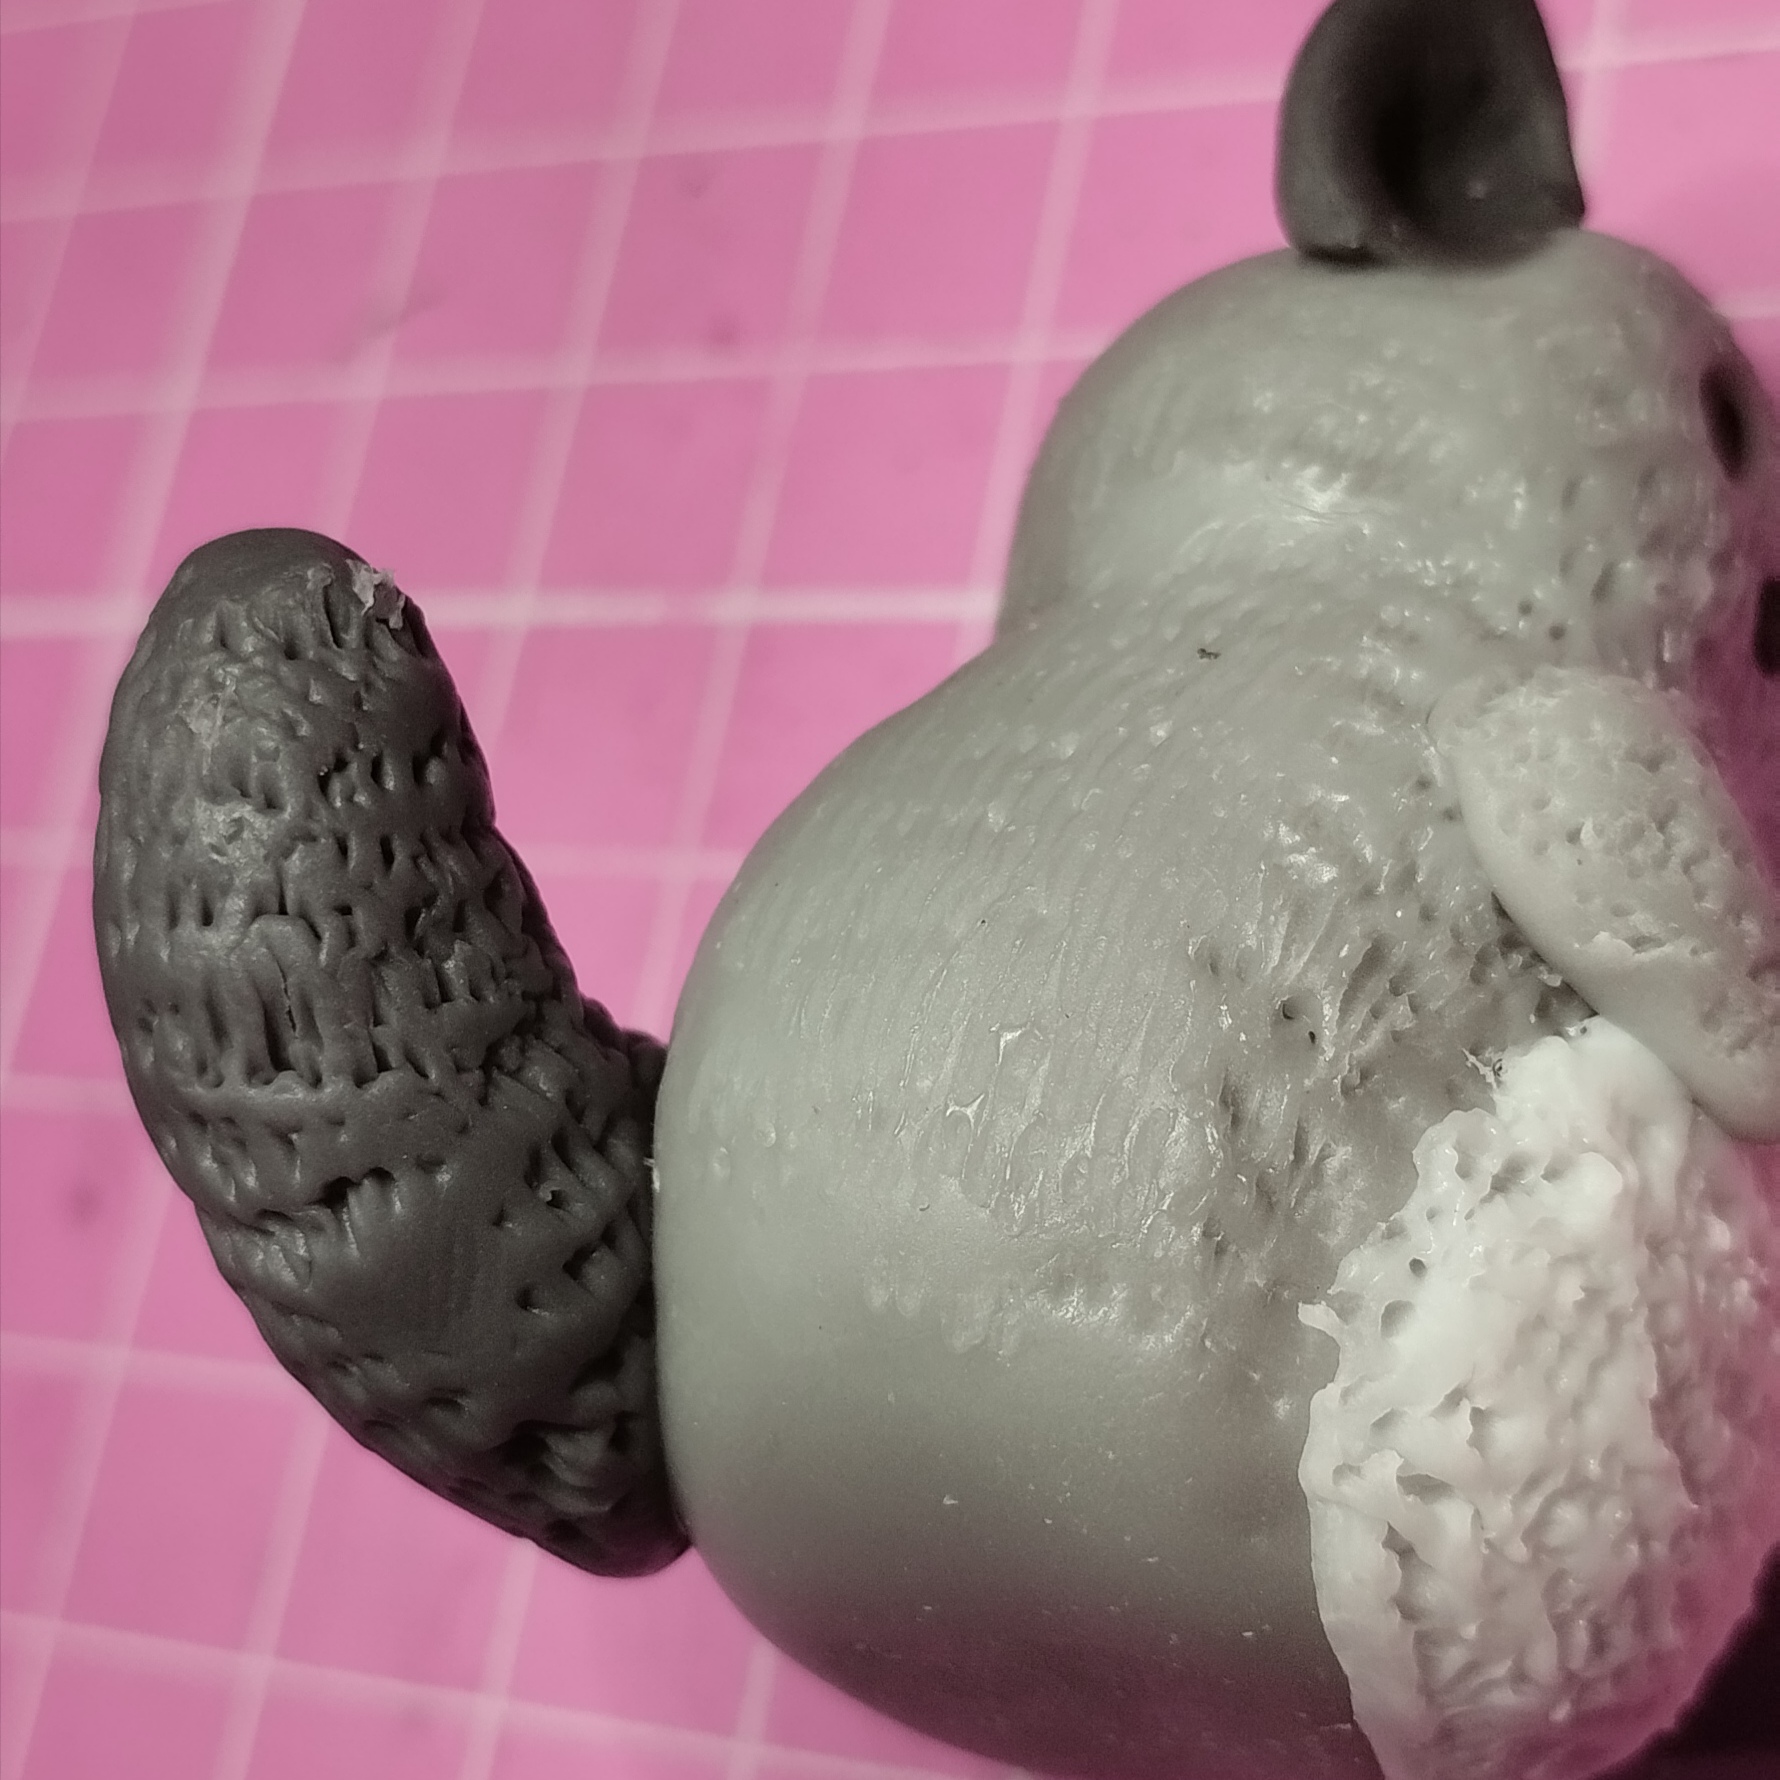
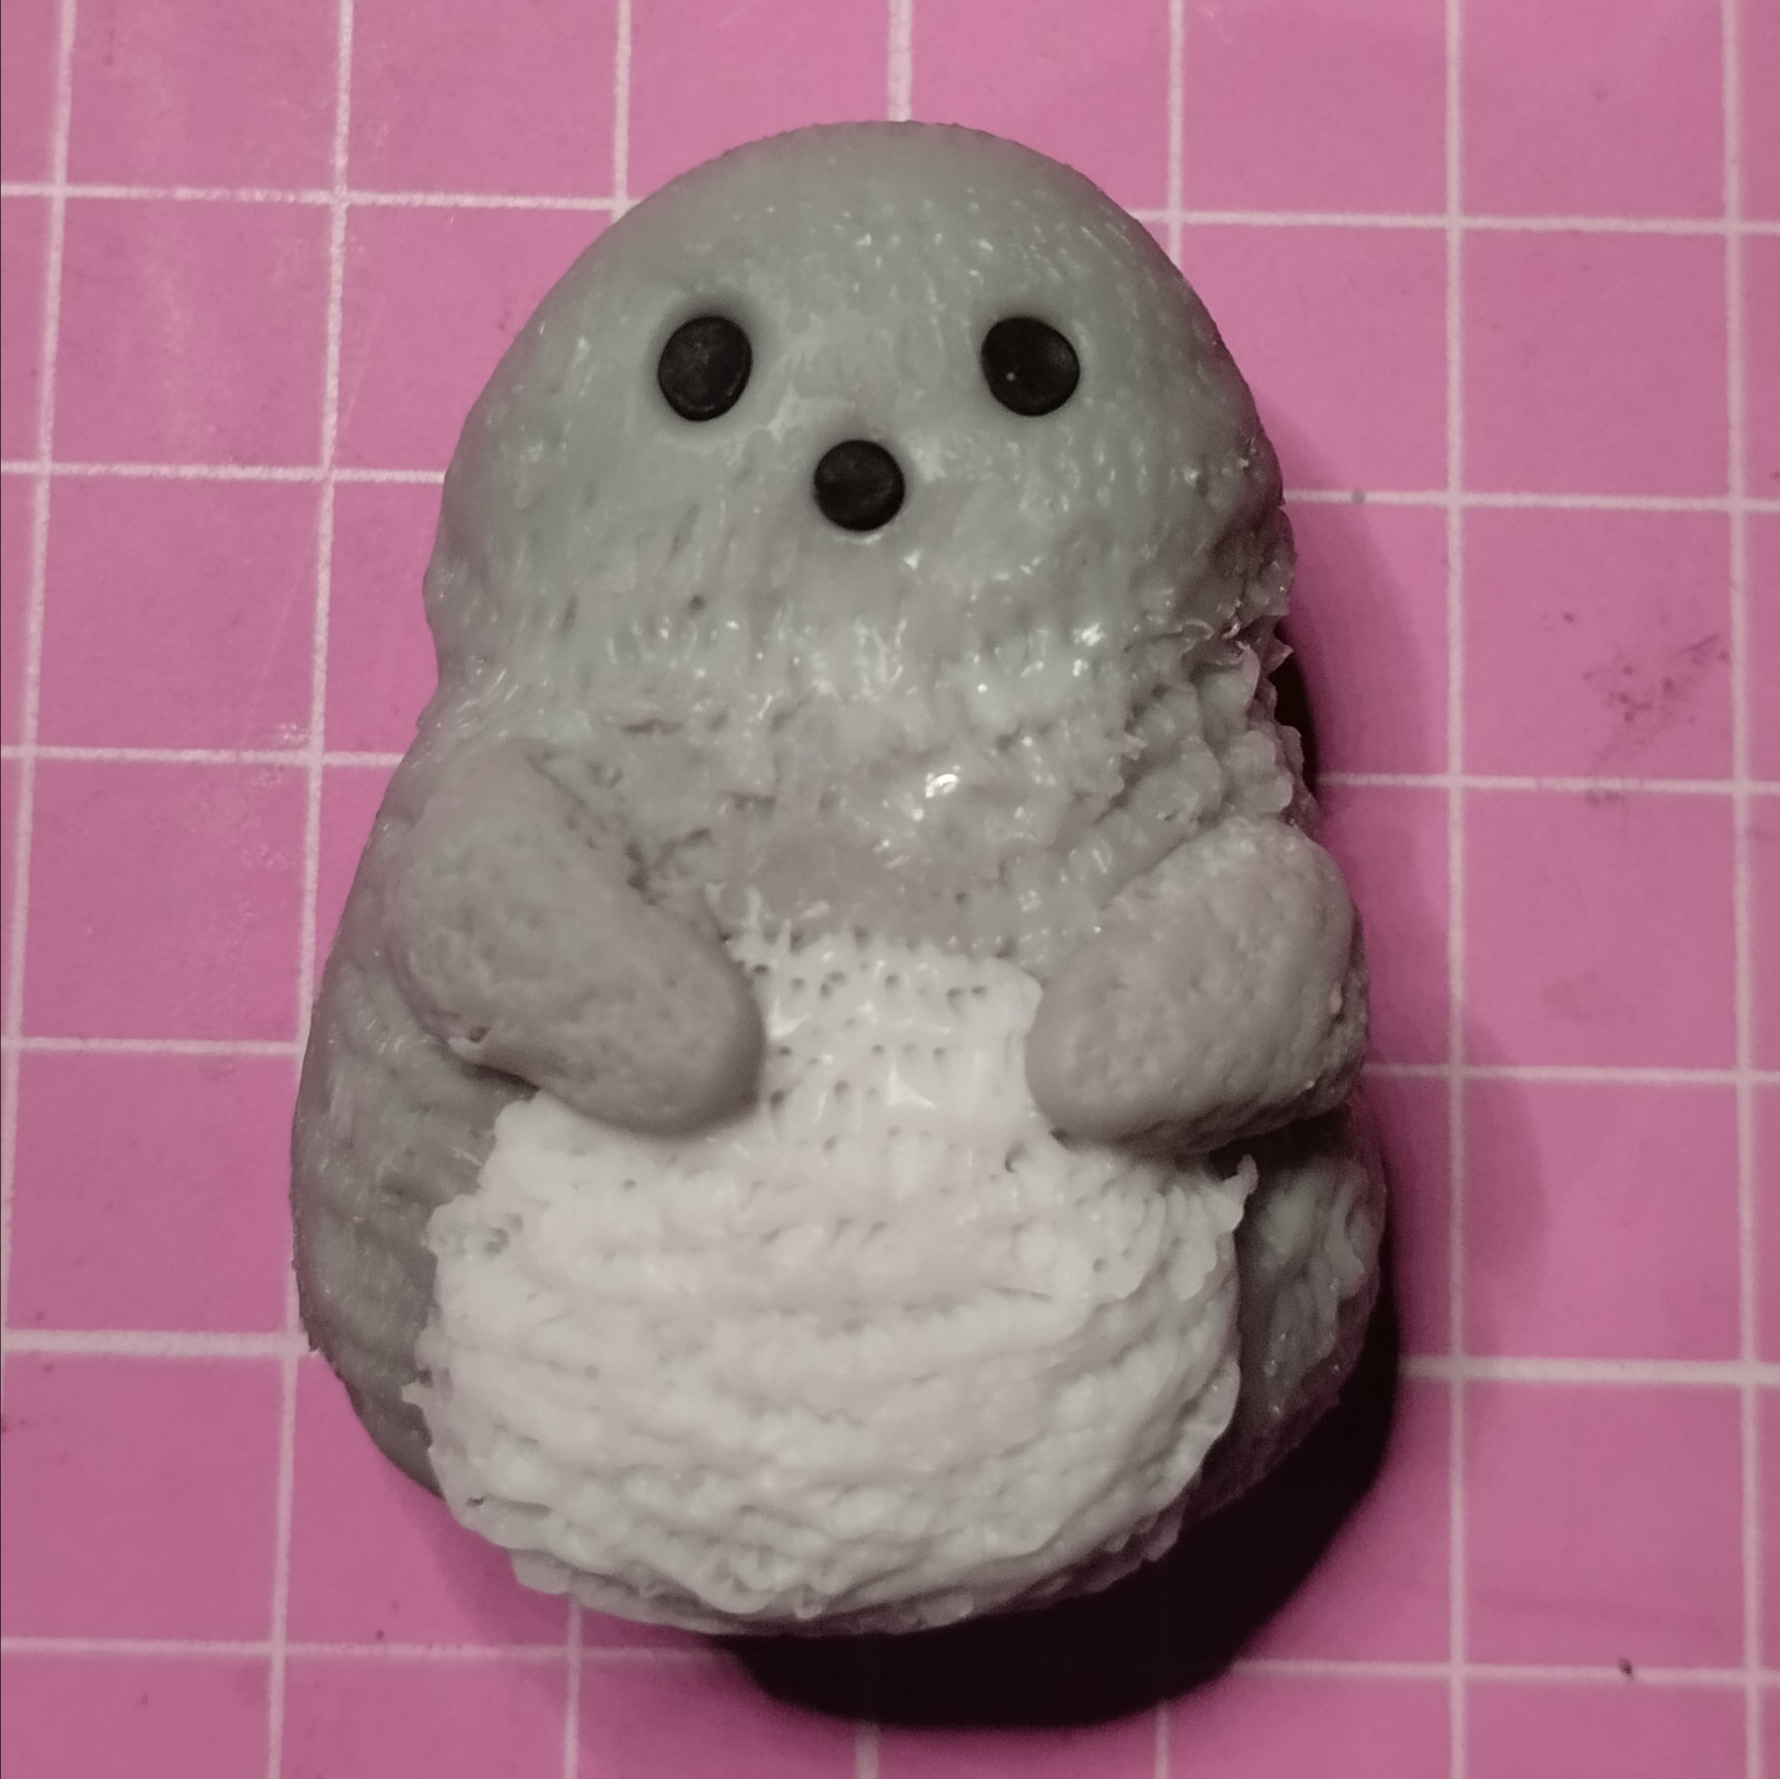
Nuevamente sacamos un pedazo de porcelana y teñimos con negro para que quede un tono gris oscuro. Lo dividimos en 3 partes dos de estas deben ser del mismo tamaño ya que serán las orejas y uno más grande será la cola. Empezamos aplastando las bolitas y damos forma de orejitas aplastamos en medio y pegamos a la cabeza.
Nos toca la cola hacemos una forma cilíndrica y doblamos un poco y pegamos y damos textura.
Again we take out a piece of porcelain and dye it with black so that it remains a dark gray tone. We divide it into 3 parts, two of these must be the same size as they will be the ears and a larger one will be the tail. We start by crushing the balls and shape them into little ears, crush them in the middle and glue them to the head. It's our turn to make a cylindrical shape and fold it a little and glue it and give it texture.
|
|
|
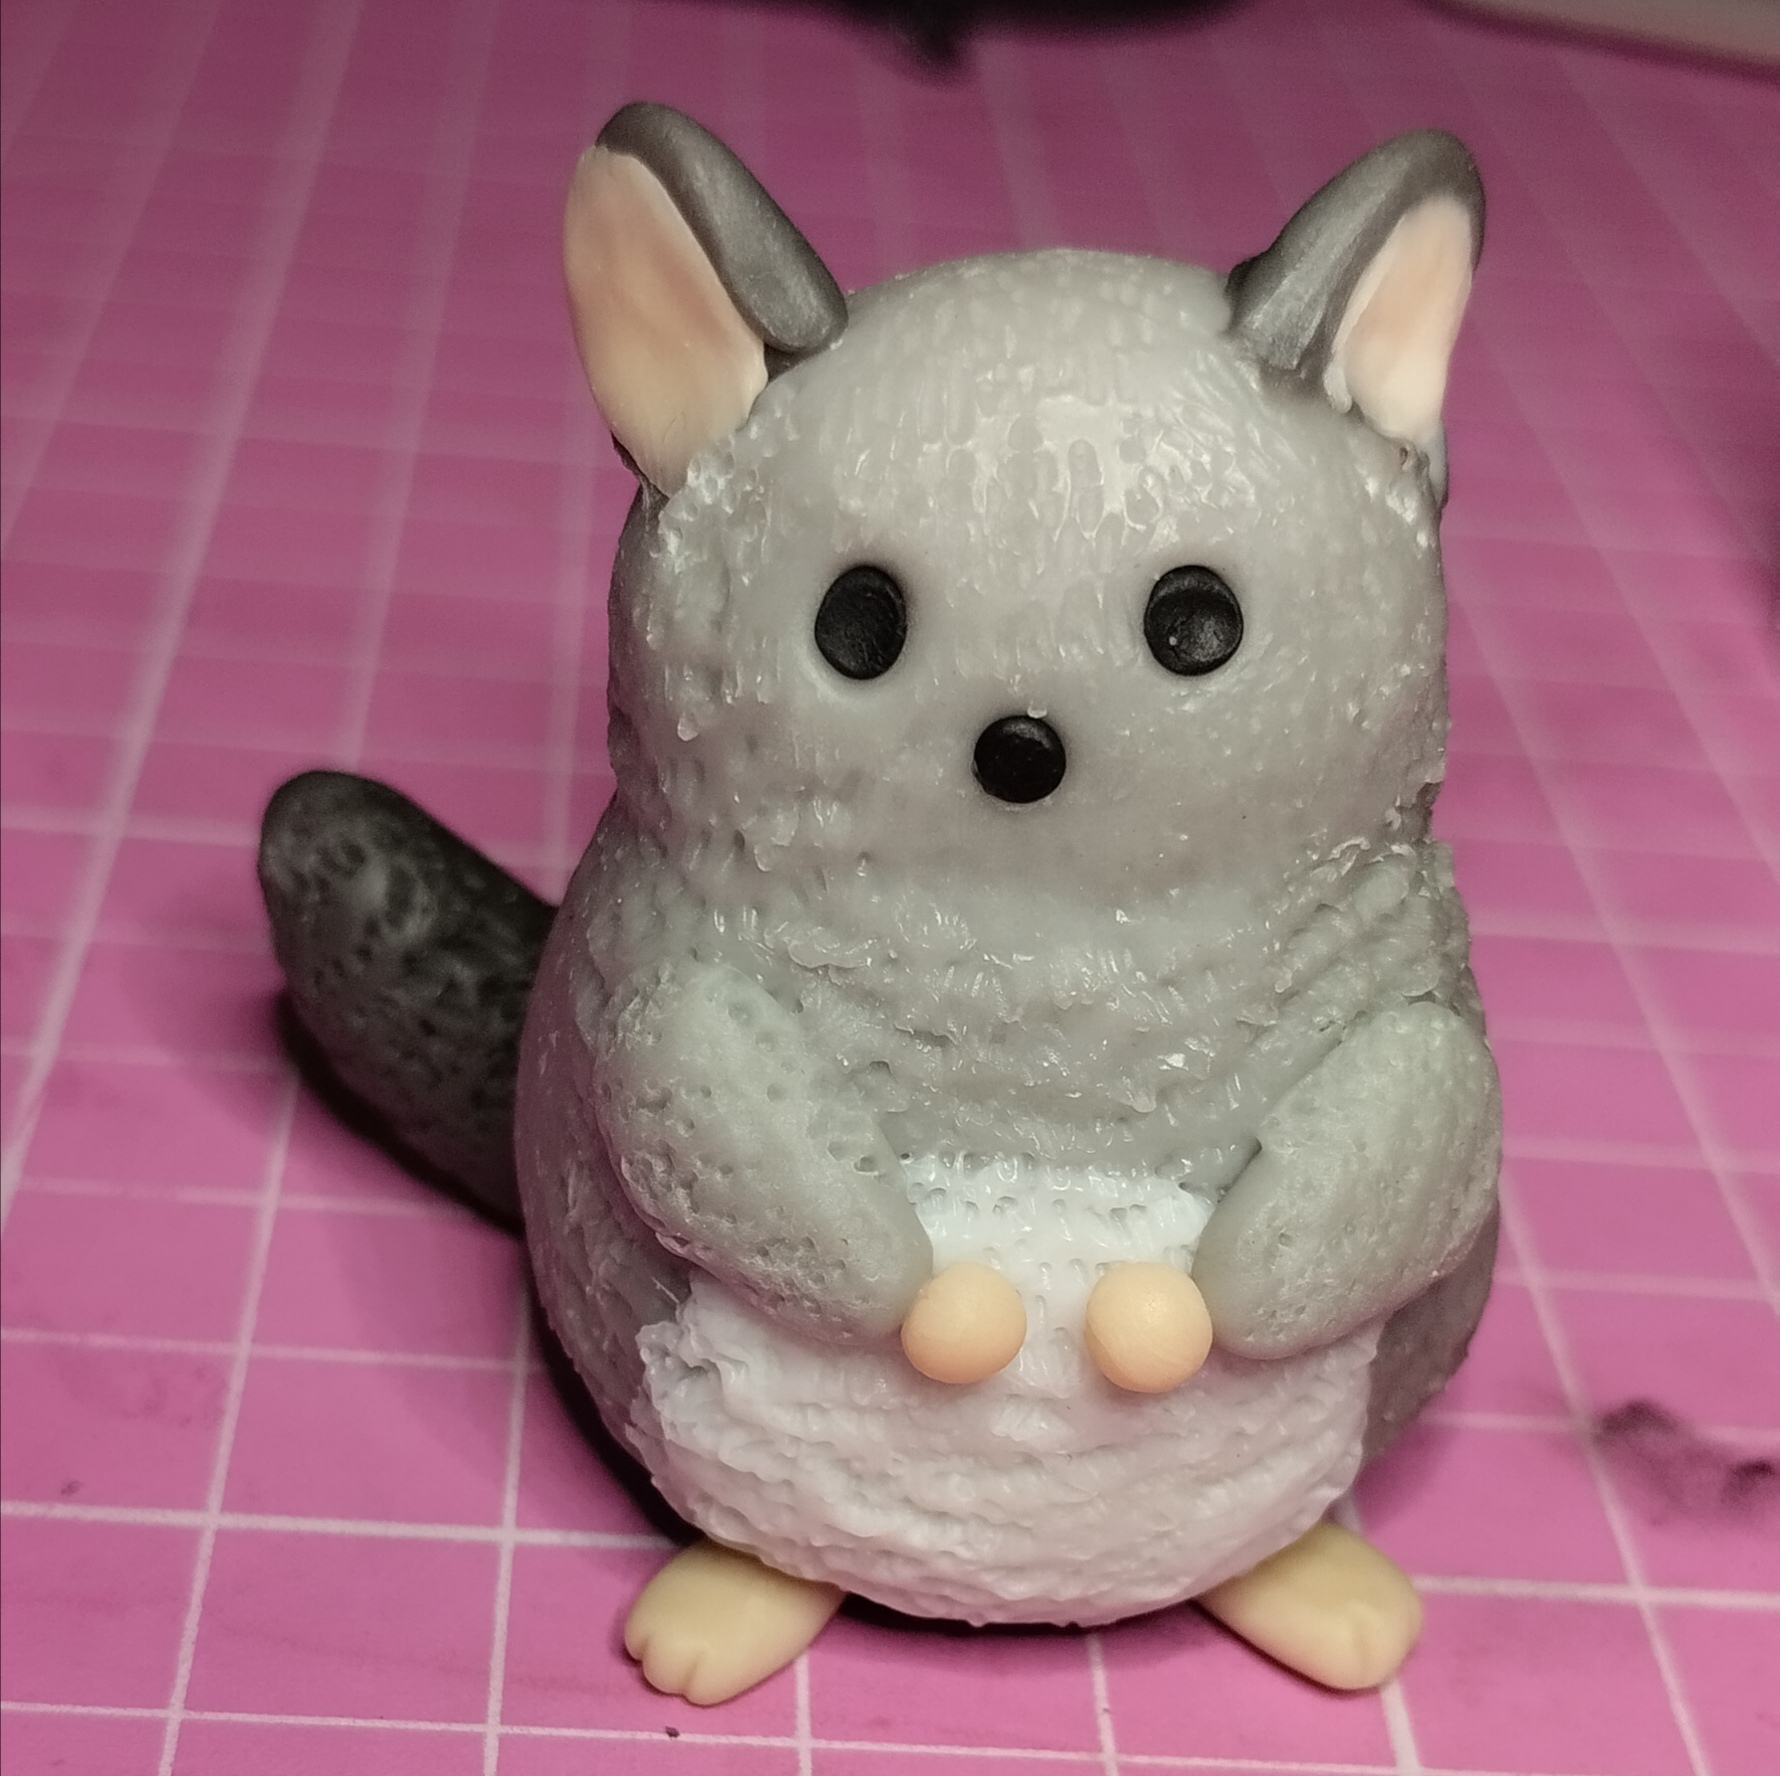
Sacamos un pedazo de porcelana y teñimos con color anaranjado. Separamos en cuatro partes y hacemos las manitos y los pies pegamos con agua y dejamos secar.
También le hacemos una boca con pintura negra.
We take out a piece of porcelain and dye it with orange color. We separate them into four parts and make the little hands and feet, glue them with water and let them dry. We also make a mouth with black paint.
|
|
|
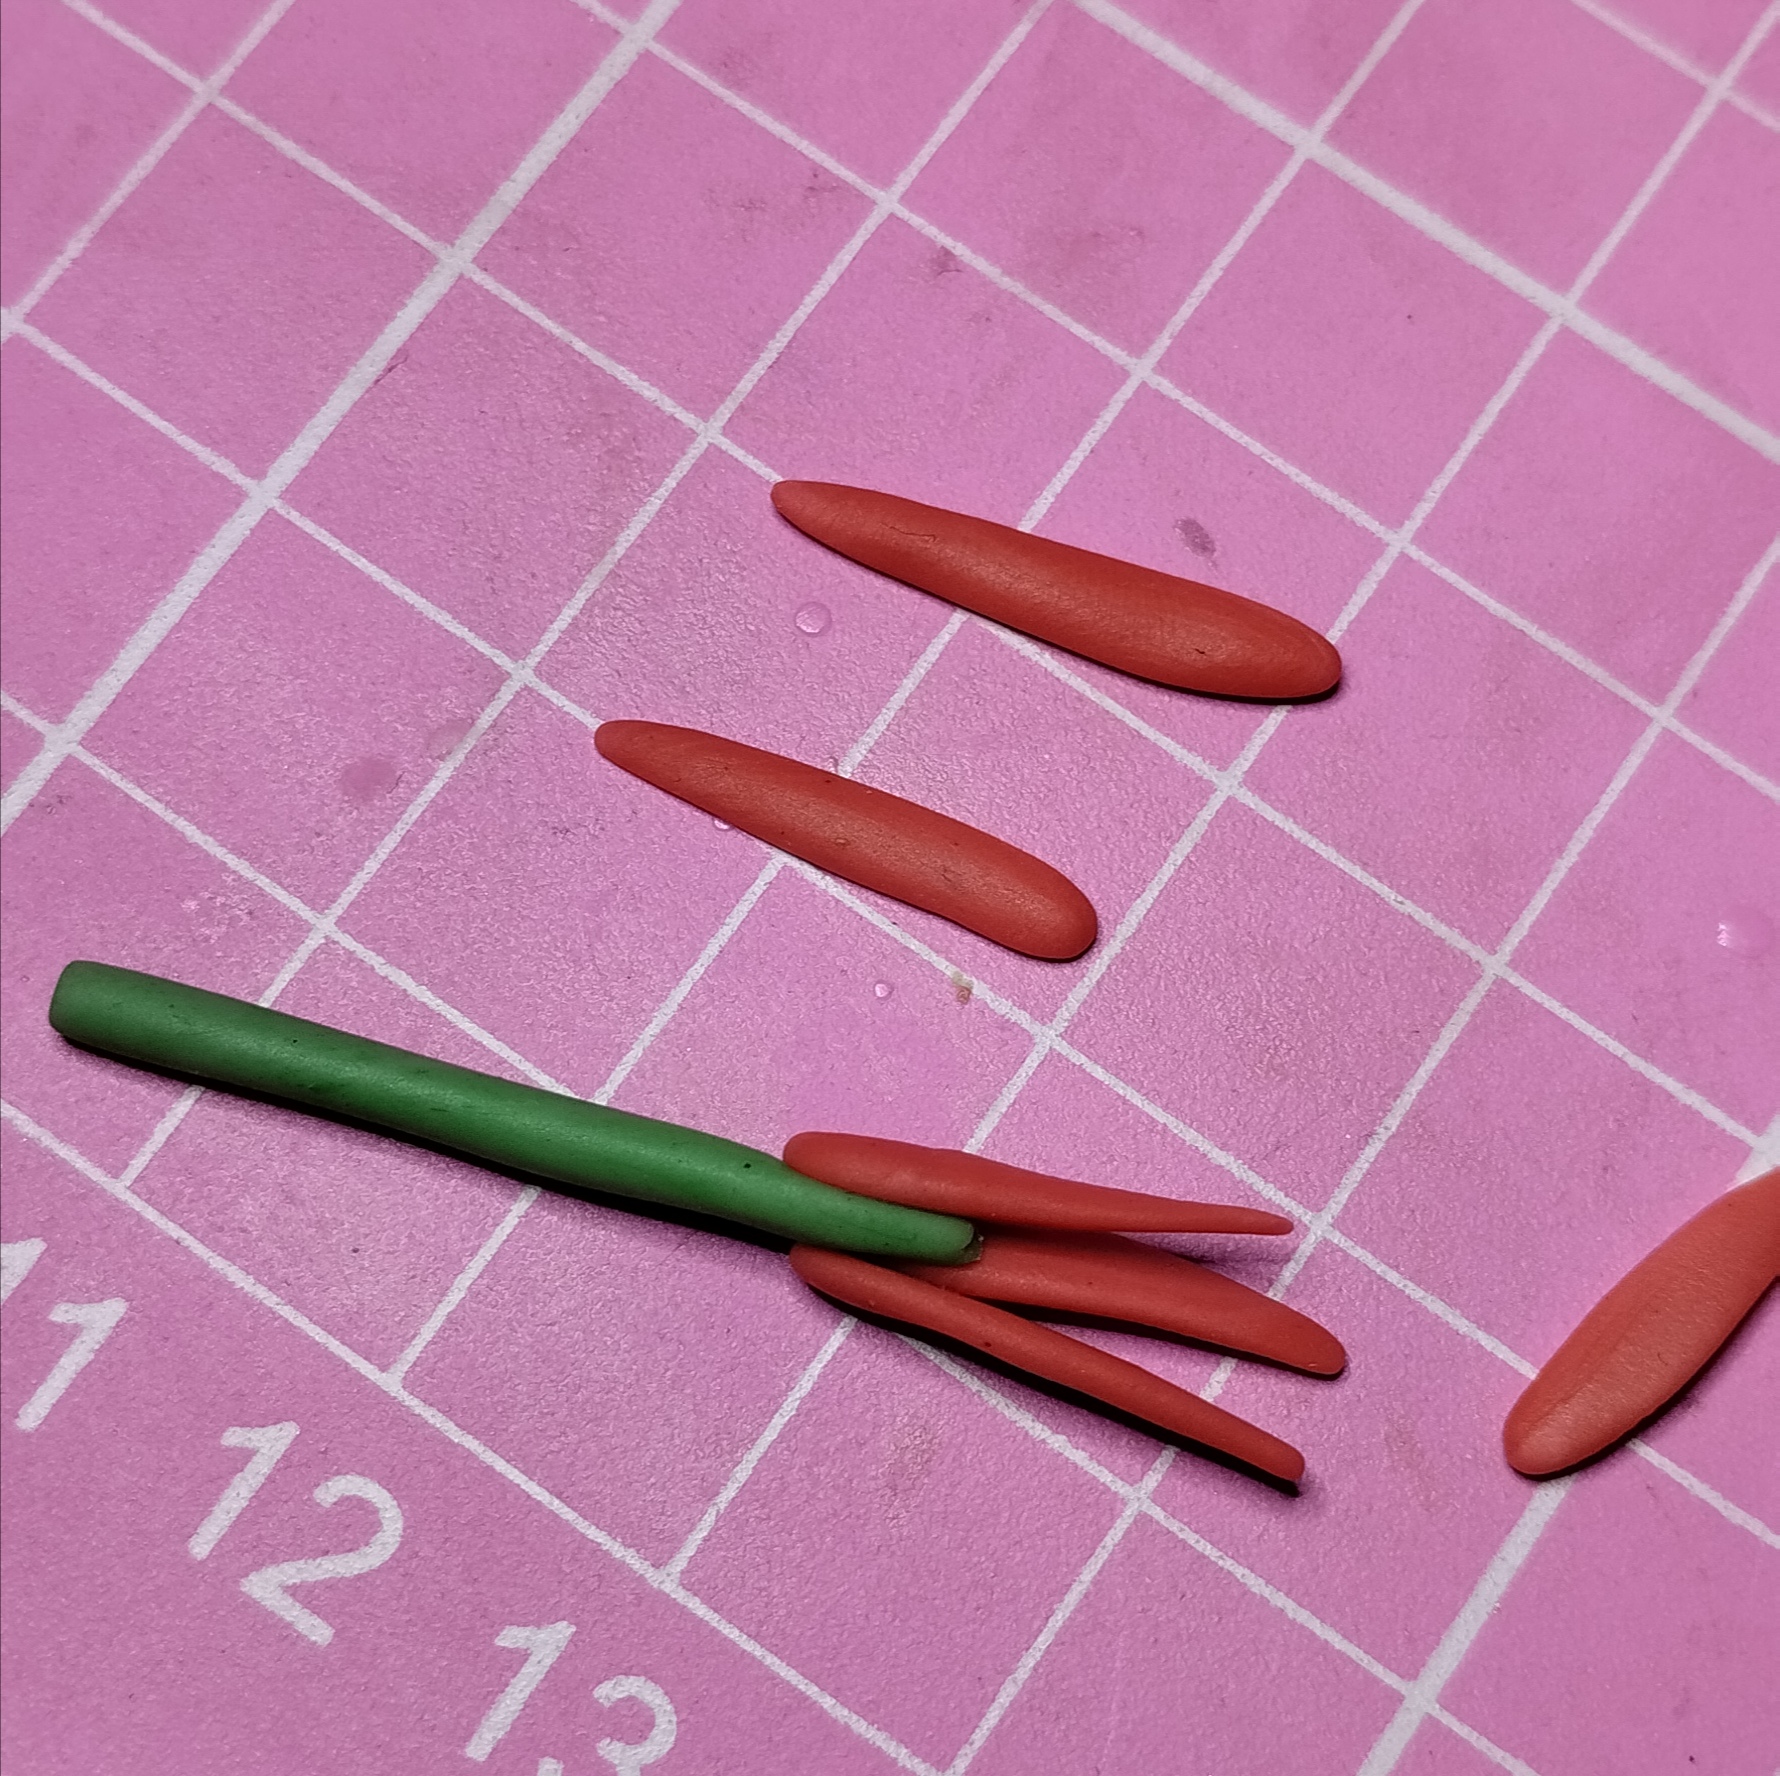
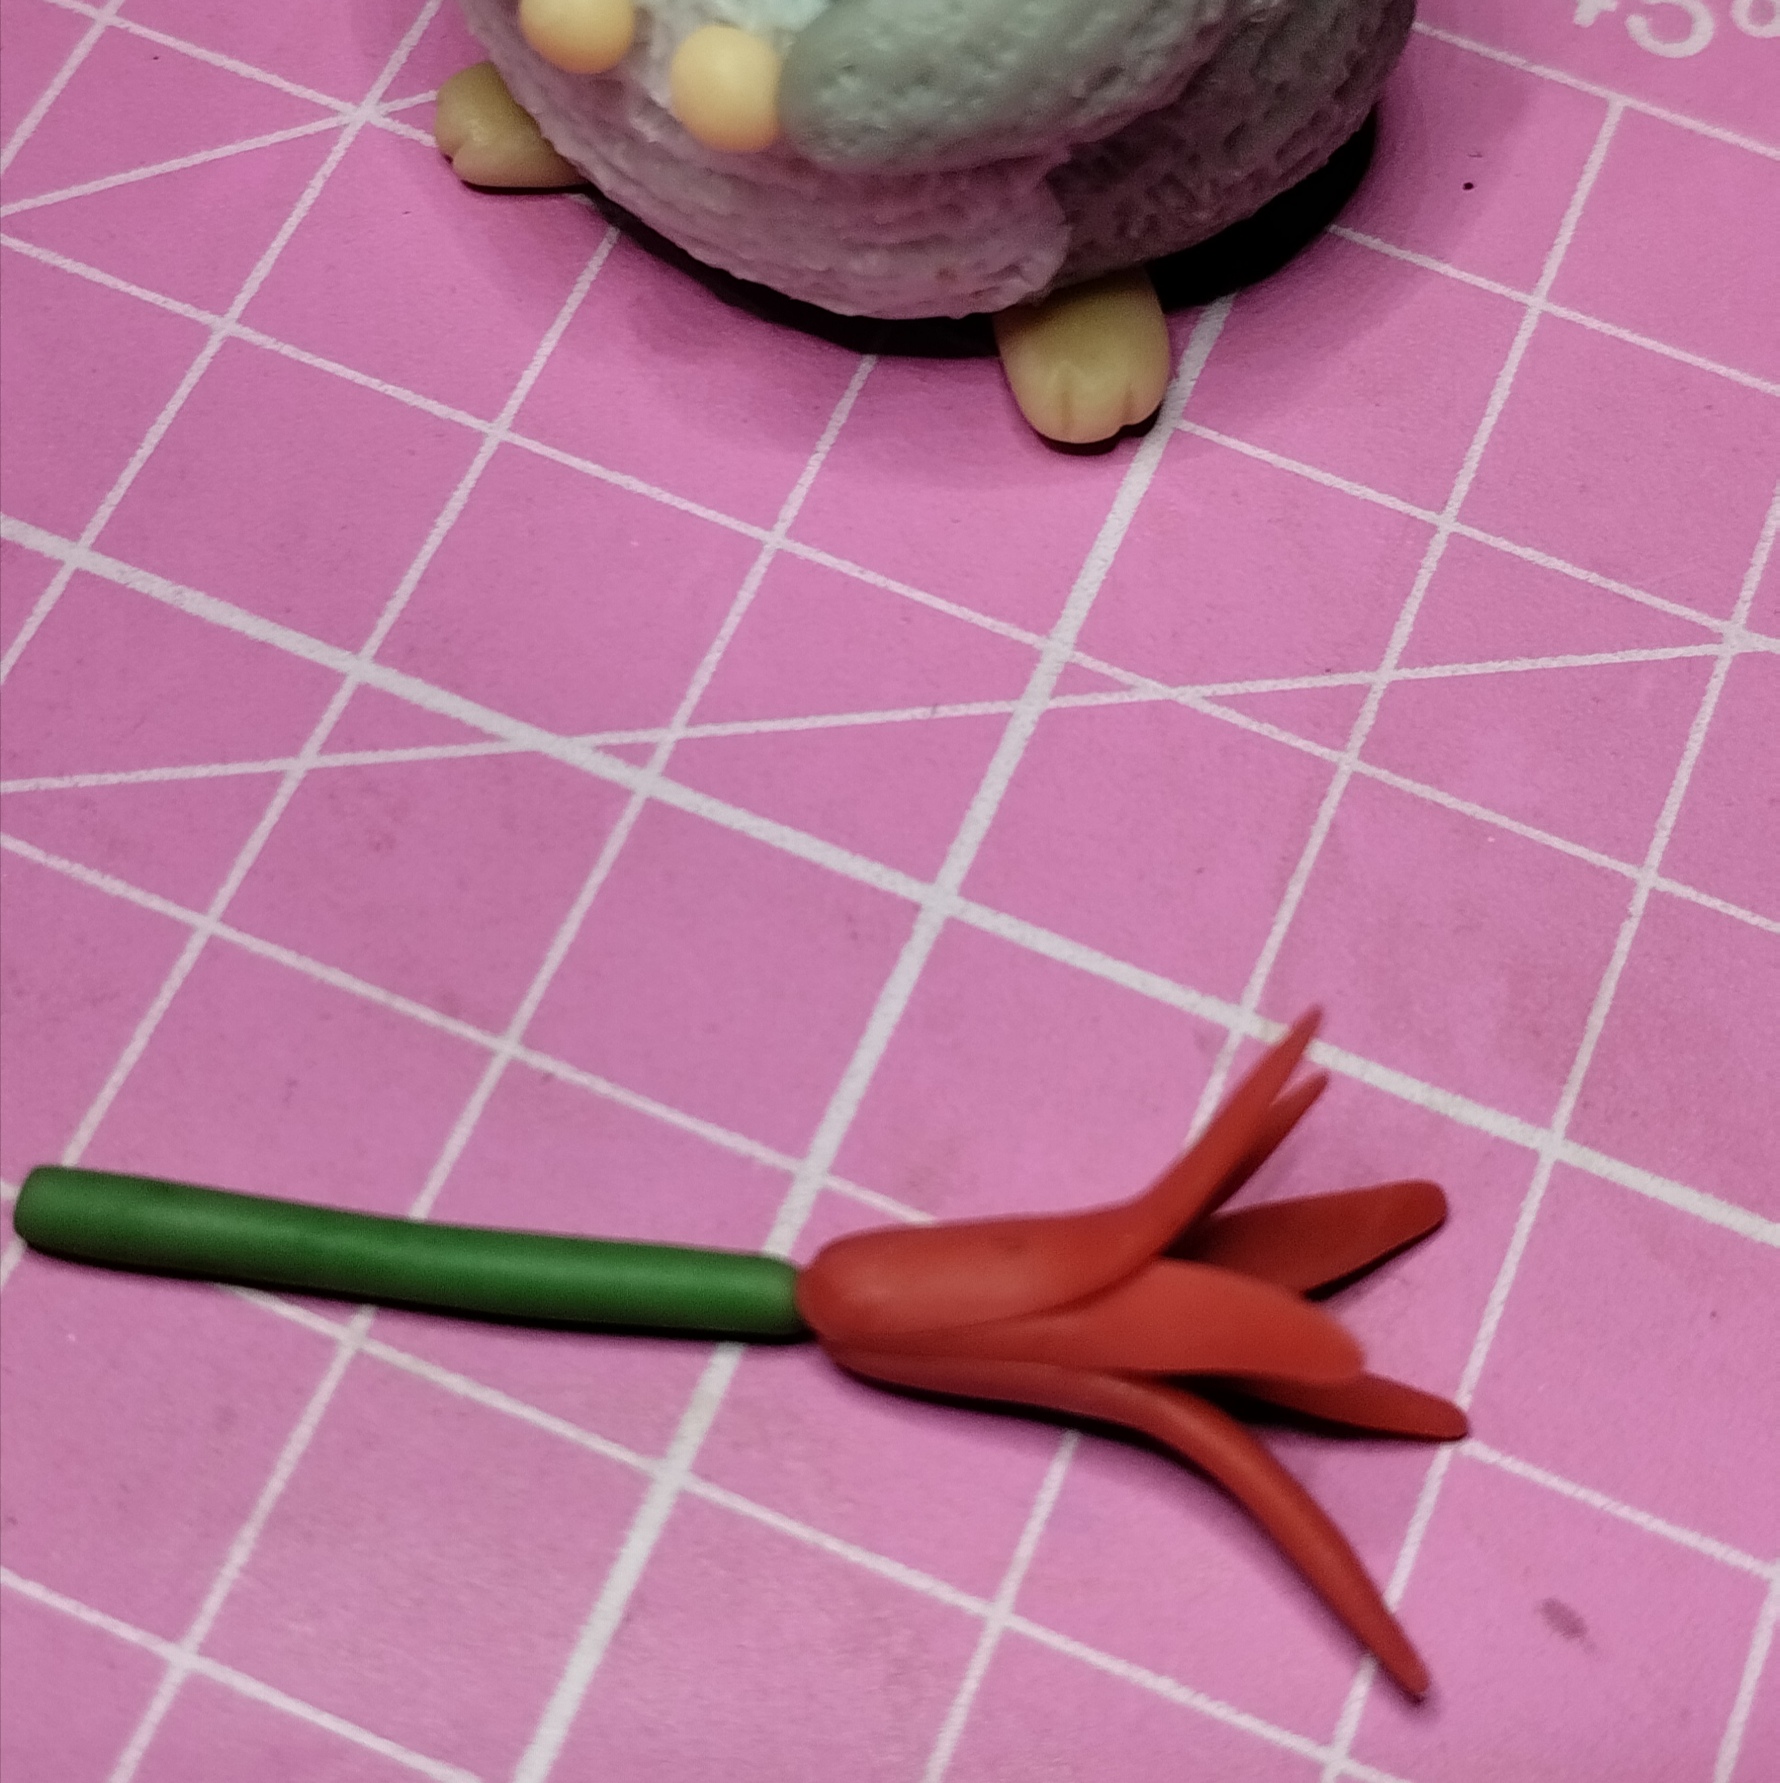
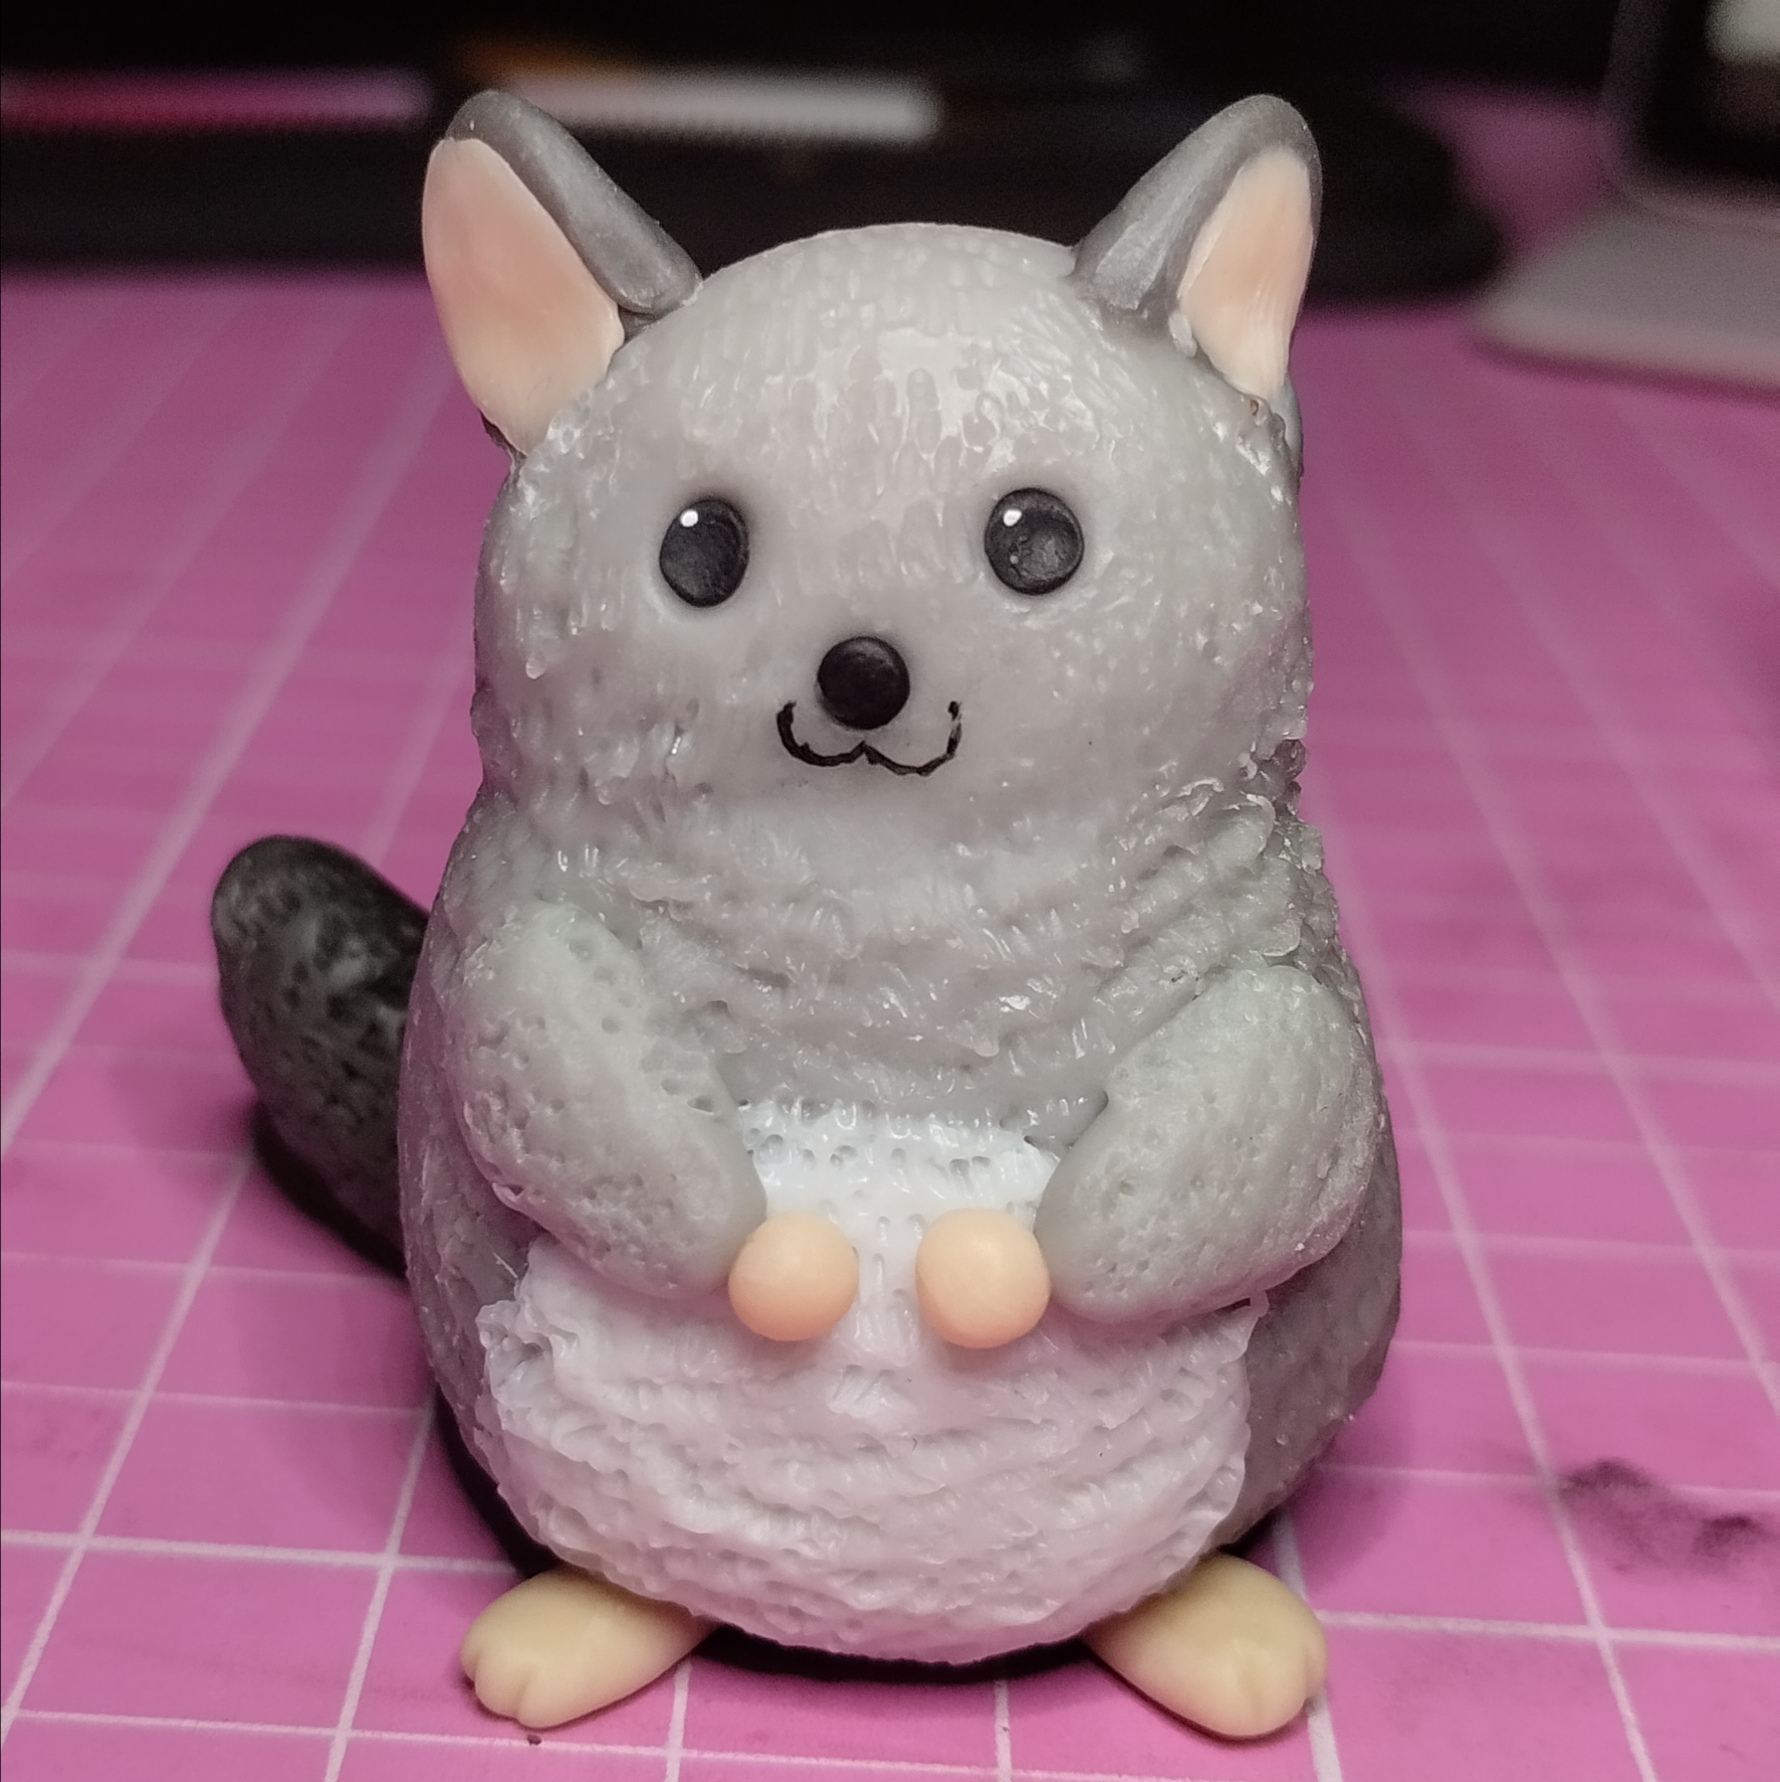
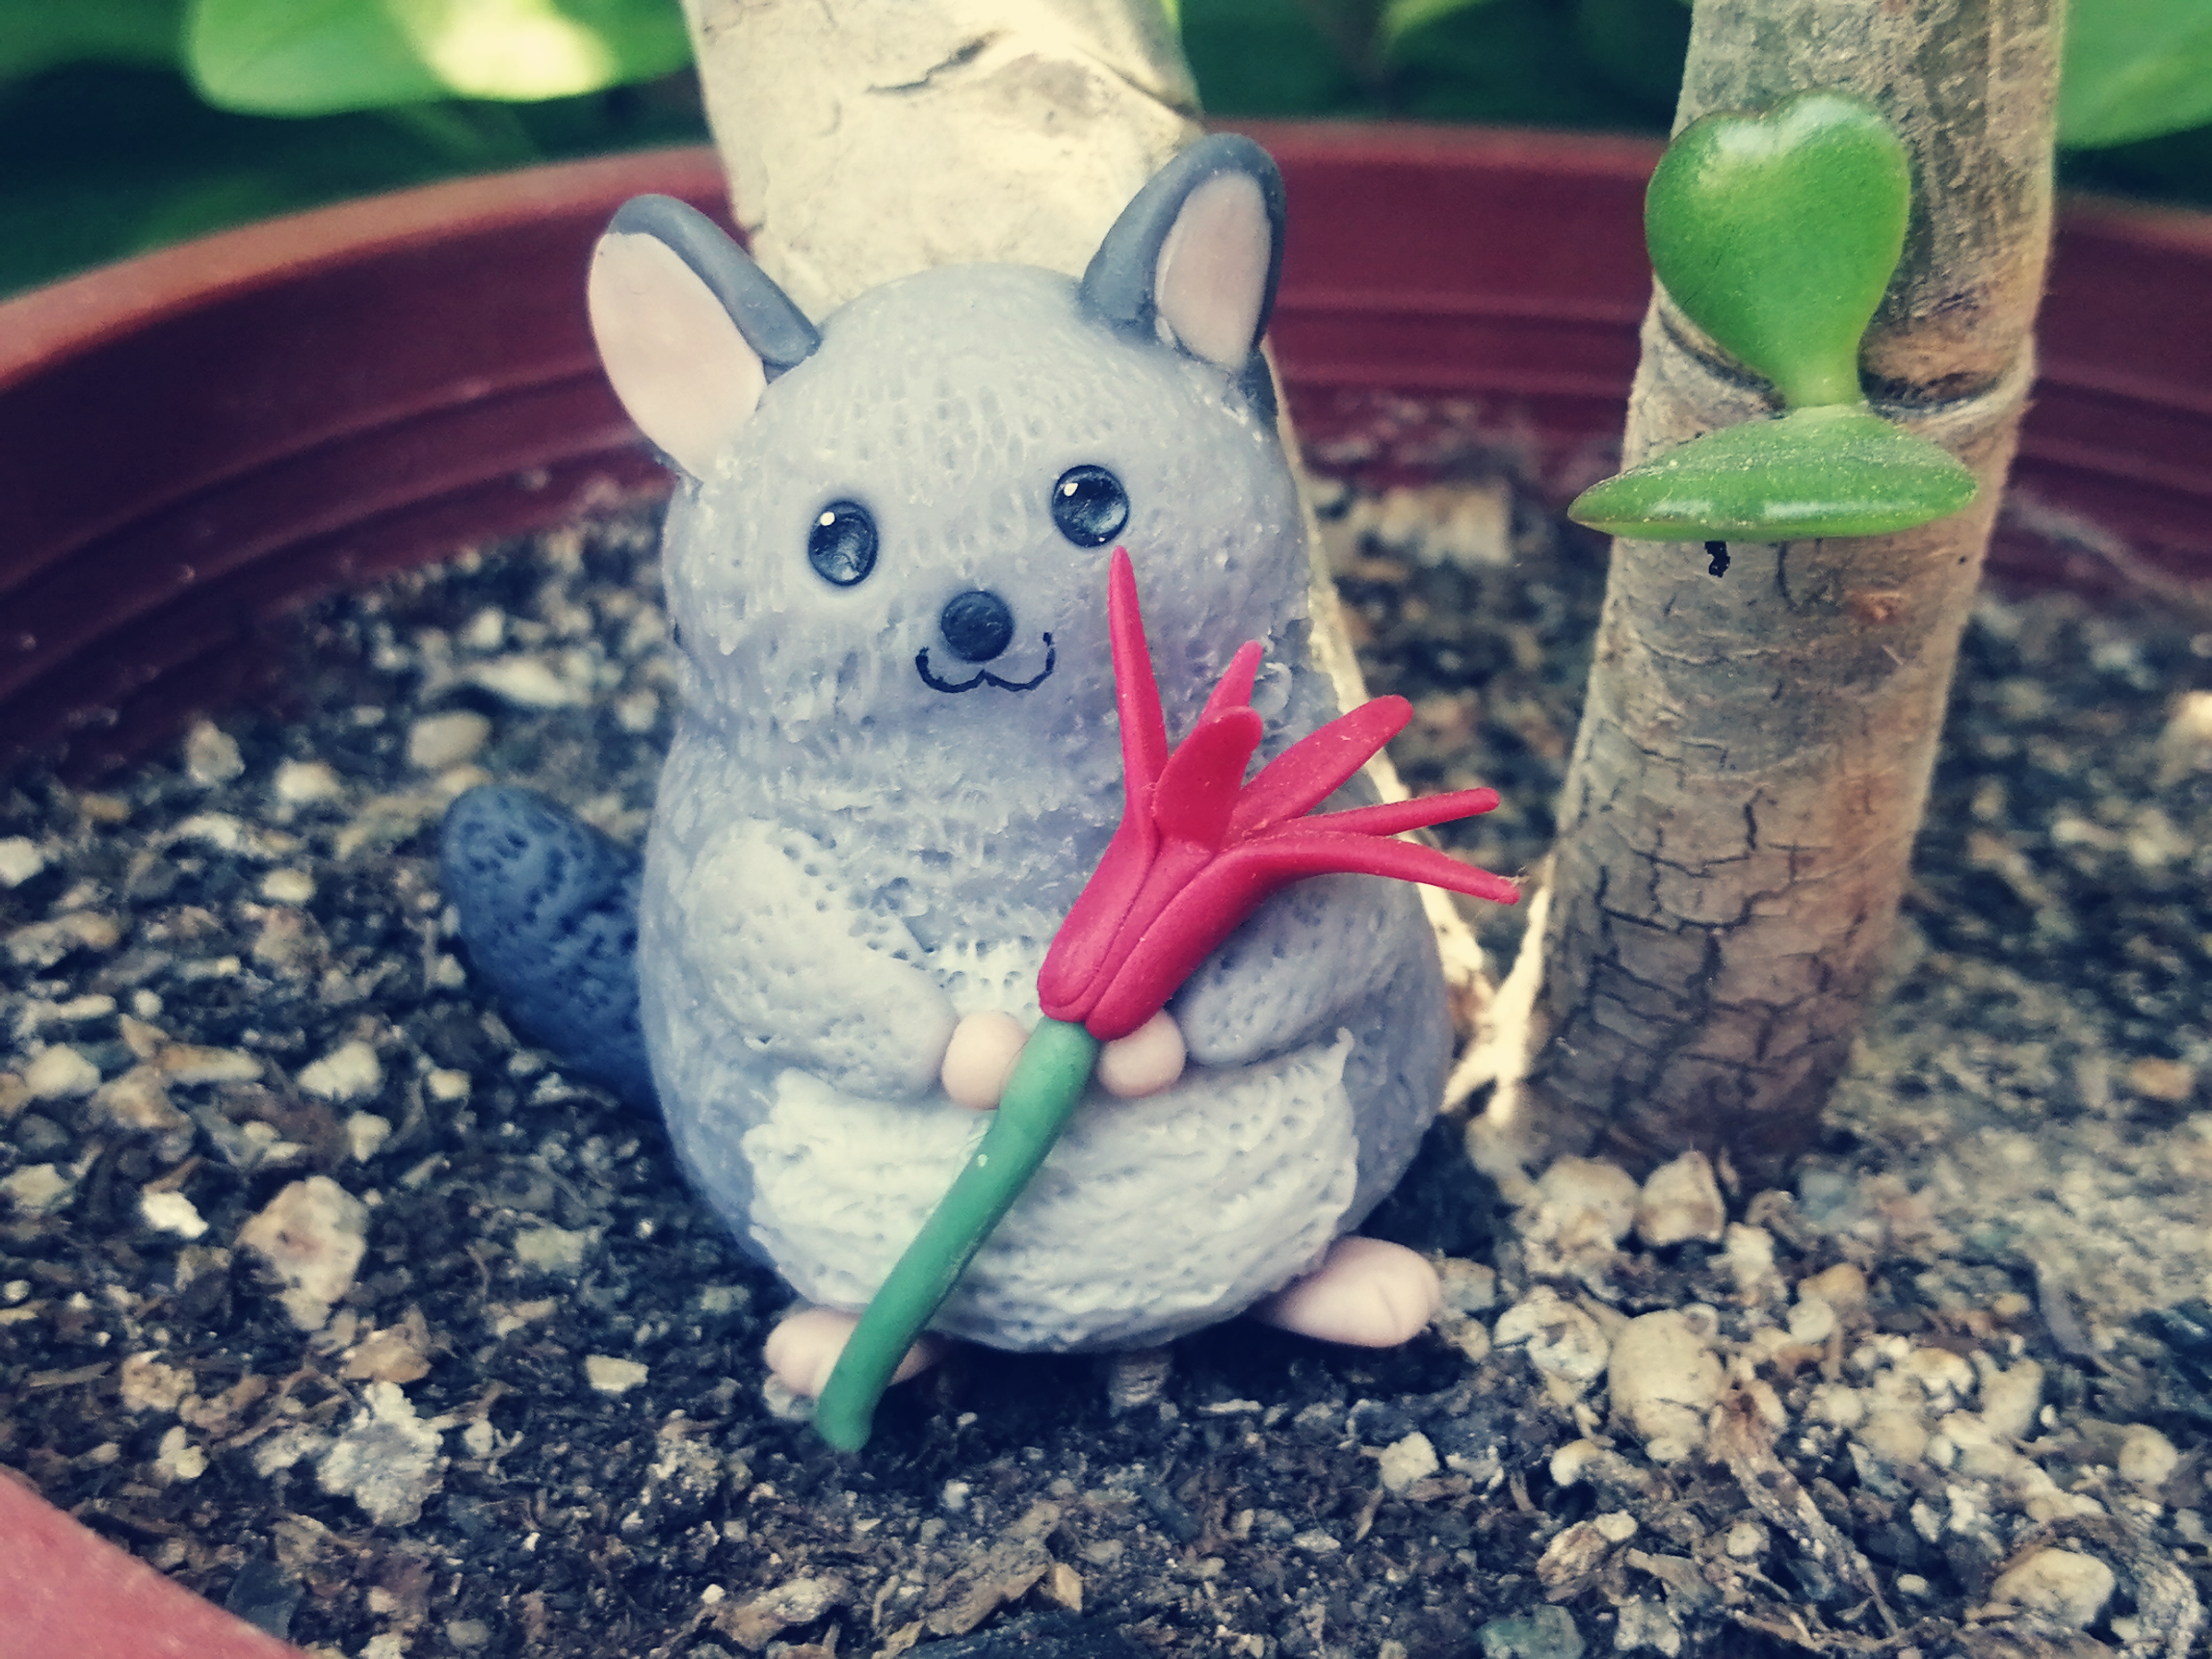
Ahora por último teñimos porcelana en rojo y un pedacito pequeño en verde.
Hacemos 6 pétalos y un palito largo de color verde que será nuestro tallo.
Y lo rodeamos con los petalos. Pegamos con agua y listo nuestra bella chinchilla está lista. 😍 💖
Now finally we dye porcelain in red and a small piece in green. We make 6 petals and a long green stick that will be our stem. And we surround it with petals. We paste with water and voila, our beautiful chinchilla is ready. 😍 💖

**Todas las Imágenes son de mi autoria.
Traducido al inglés con Google traductor.
All images are my own.
Translated into english with google traslator.
Más tierna quedó la chinchilla, no como la mía que hice en crochet, tenía cara de enojada. 😅
Hola @alejandralita me gustó leer tu post y ver todo el proceso, quedó bonito, desconocía lo que era una chinchilla.
Quedó muy linda la chinchilla, debe ser un animal muy parecido a la ardilla, nunca había oído hablar de él.
Ay muero de ternura con las ultimas fotos de la chinchilla en la maceta, no puedo, me mori jajaja es demasiado tierna 😍
Te quedo increible, un hermoso y adorable animalito que nunca vi en persona pero son divina pura ❤️
Muy bien hecho amiga, te felicito 😊
¡¡¡Buen trabajo!!! Gracias por publicar tu excelente contenido en Hive Diy.
Tu comunidad artesana ahora es testigo

Looks adorable!! 😍
Vota por HIVEDIY como Witness en el siguiente Link:
https://vote.hive.uno/@hivediy