Hola amigos de Hive, hoy les presento un paso a paso, de ¿Cómo dibujar el rostro de un felino(a)?. Al momento de dibujar artísticamente, es recomendable conocer técnicas y reglas en el dibujo artístico, por eso debemos conocer las características, que conlleva su diseño.
Hello friends of Hive, today I present you a step by step, how to draw the face of a feline. At the moment of drawing artistically, it is advisable to know techniques and rules in the artistic drawing, for that reason we must know the characteristics, which entails its design.
Para realizar buenos dibujos es recomendable tener el material adecuado para resaltar y disfrutar de un buen arte y, podamos conseguir excelentes resultados.¿Qué materiales de dibujo hay que elegir para comenzar? ¿Qué lápiz? ¿Qué goma? ¿Cómo hacer un difuminado? ¿Con un lápiz o con carboncillo? Seguro que te surgen estas preguntas si estás empezando a aprender a dibujar. Después, cada artista desarrolla sus propias técnicas de dibujo y sabe cuáles son sus lápices favoritos.
To make good drawings it is advisable to have the right material to highlight and enjoy a good art and, we can achieve excellent results.what drawing materials to choose to start with? which pencil? which eraser? how to make a blur? with a pencil or with charcoal? Surely these questions arise if you are just starting to learn to draw. Later, each artist develops his own drawing techniques and knows what his favorite pencils are.
Papel Bond de color blanco.
White Bond paper.
Goma para borrar.
Eraser.
Lápiz de dibujo 2H y 6B.
Drawing pencil 2H and 6B.
Reglas para medir, de 30 cm.
Measuring rulers, 30 cm.
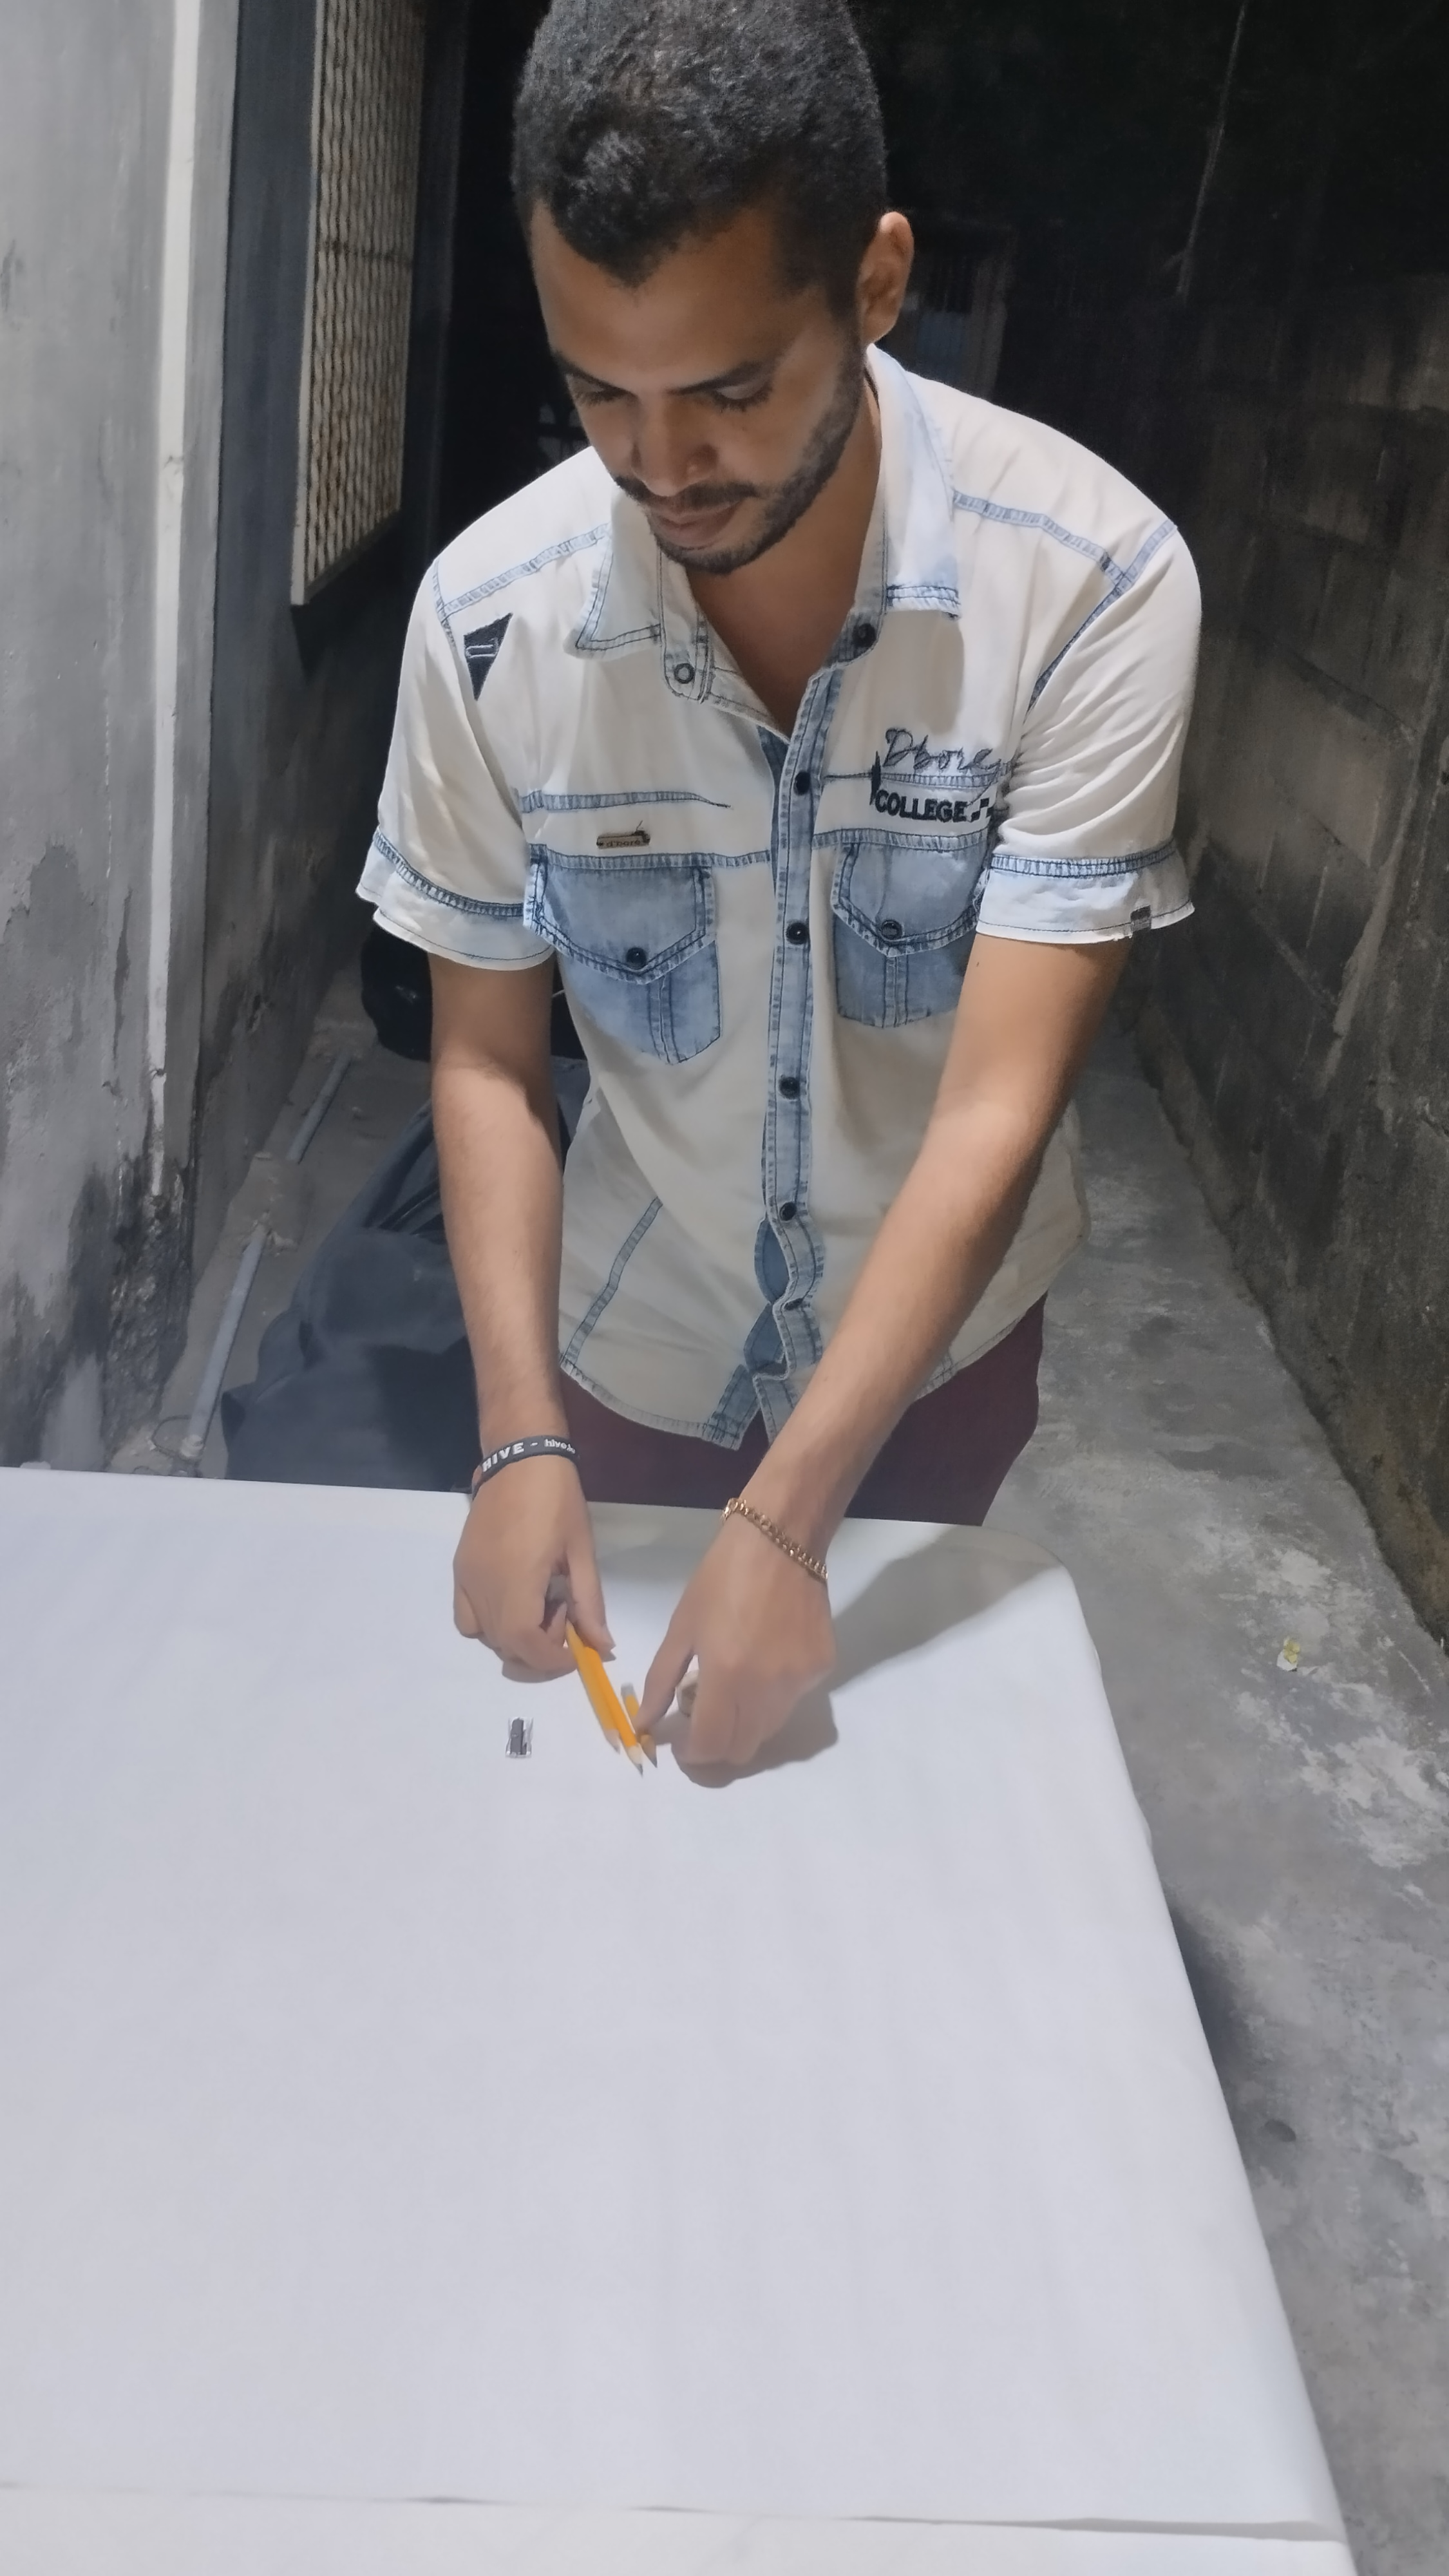
Sacapunta.
Pencil sharpener.
Color amarillo.
Color amarillo
Tizas de colores, amarillo, rojo, negra.
Colored chalk, yellow, red, black.
Marcadores, negro y rojo.
Markers, black and red
Diccionario Larousse año 2004. De allí fue sacado la ilustración del dibujo.
Larousse Dictionary 2004. The illustration of the drawing was taken from there.
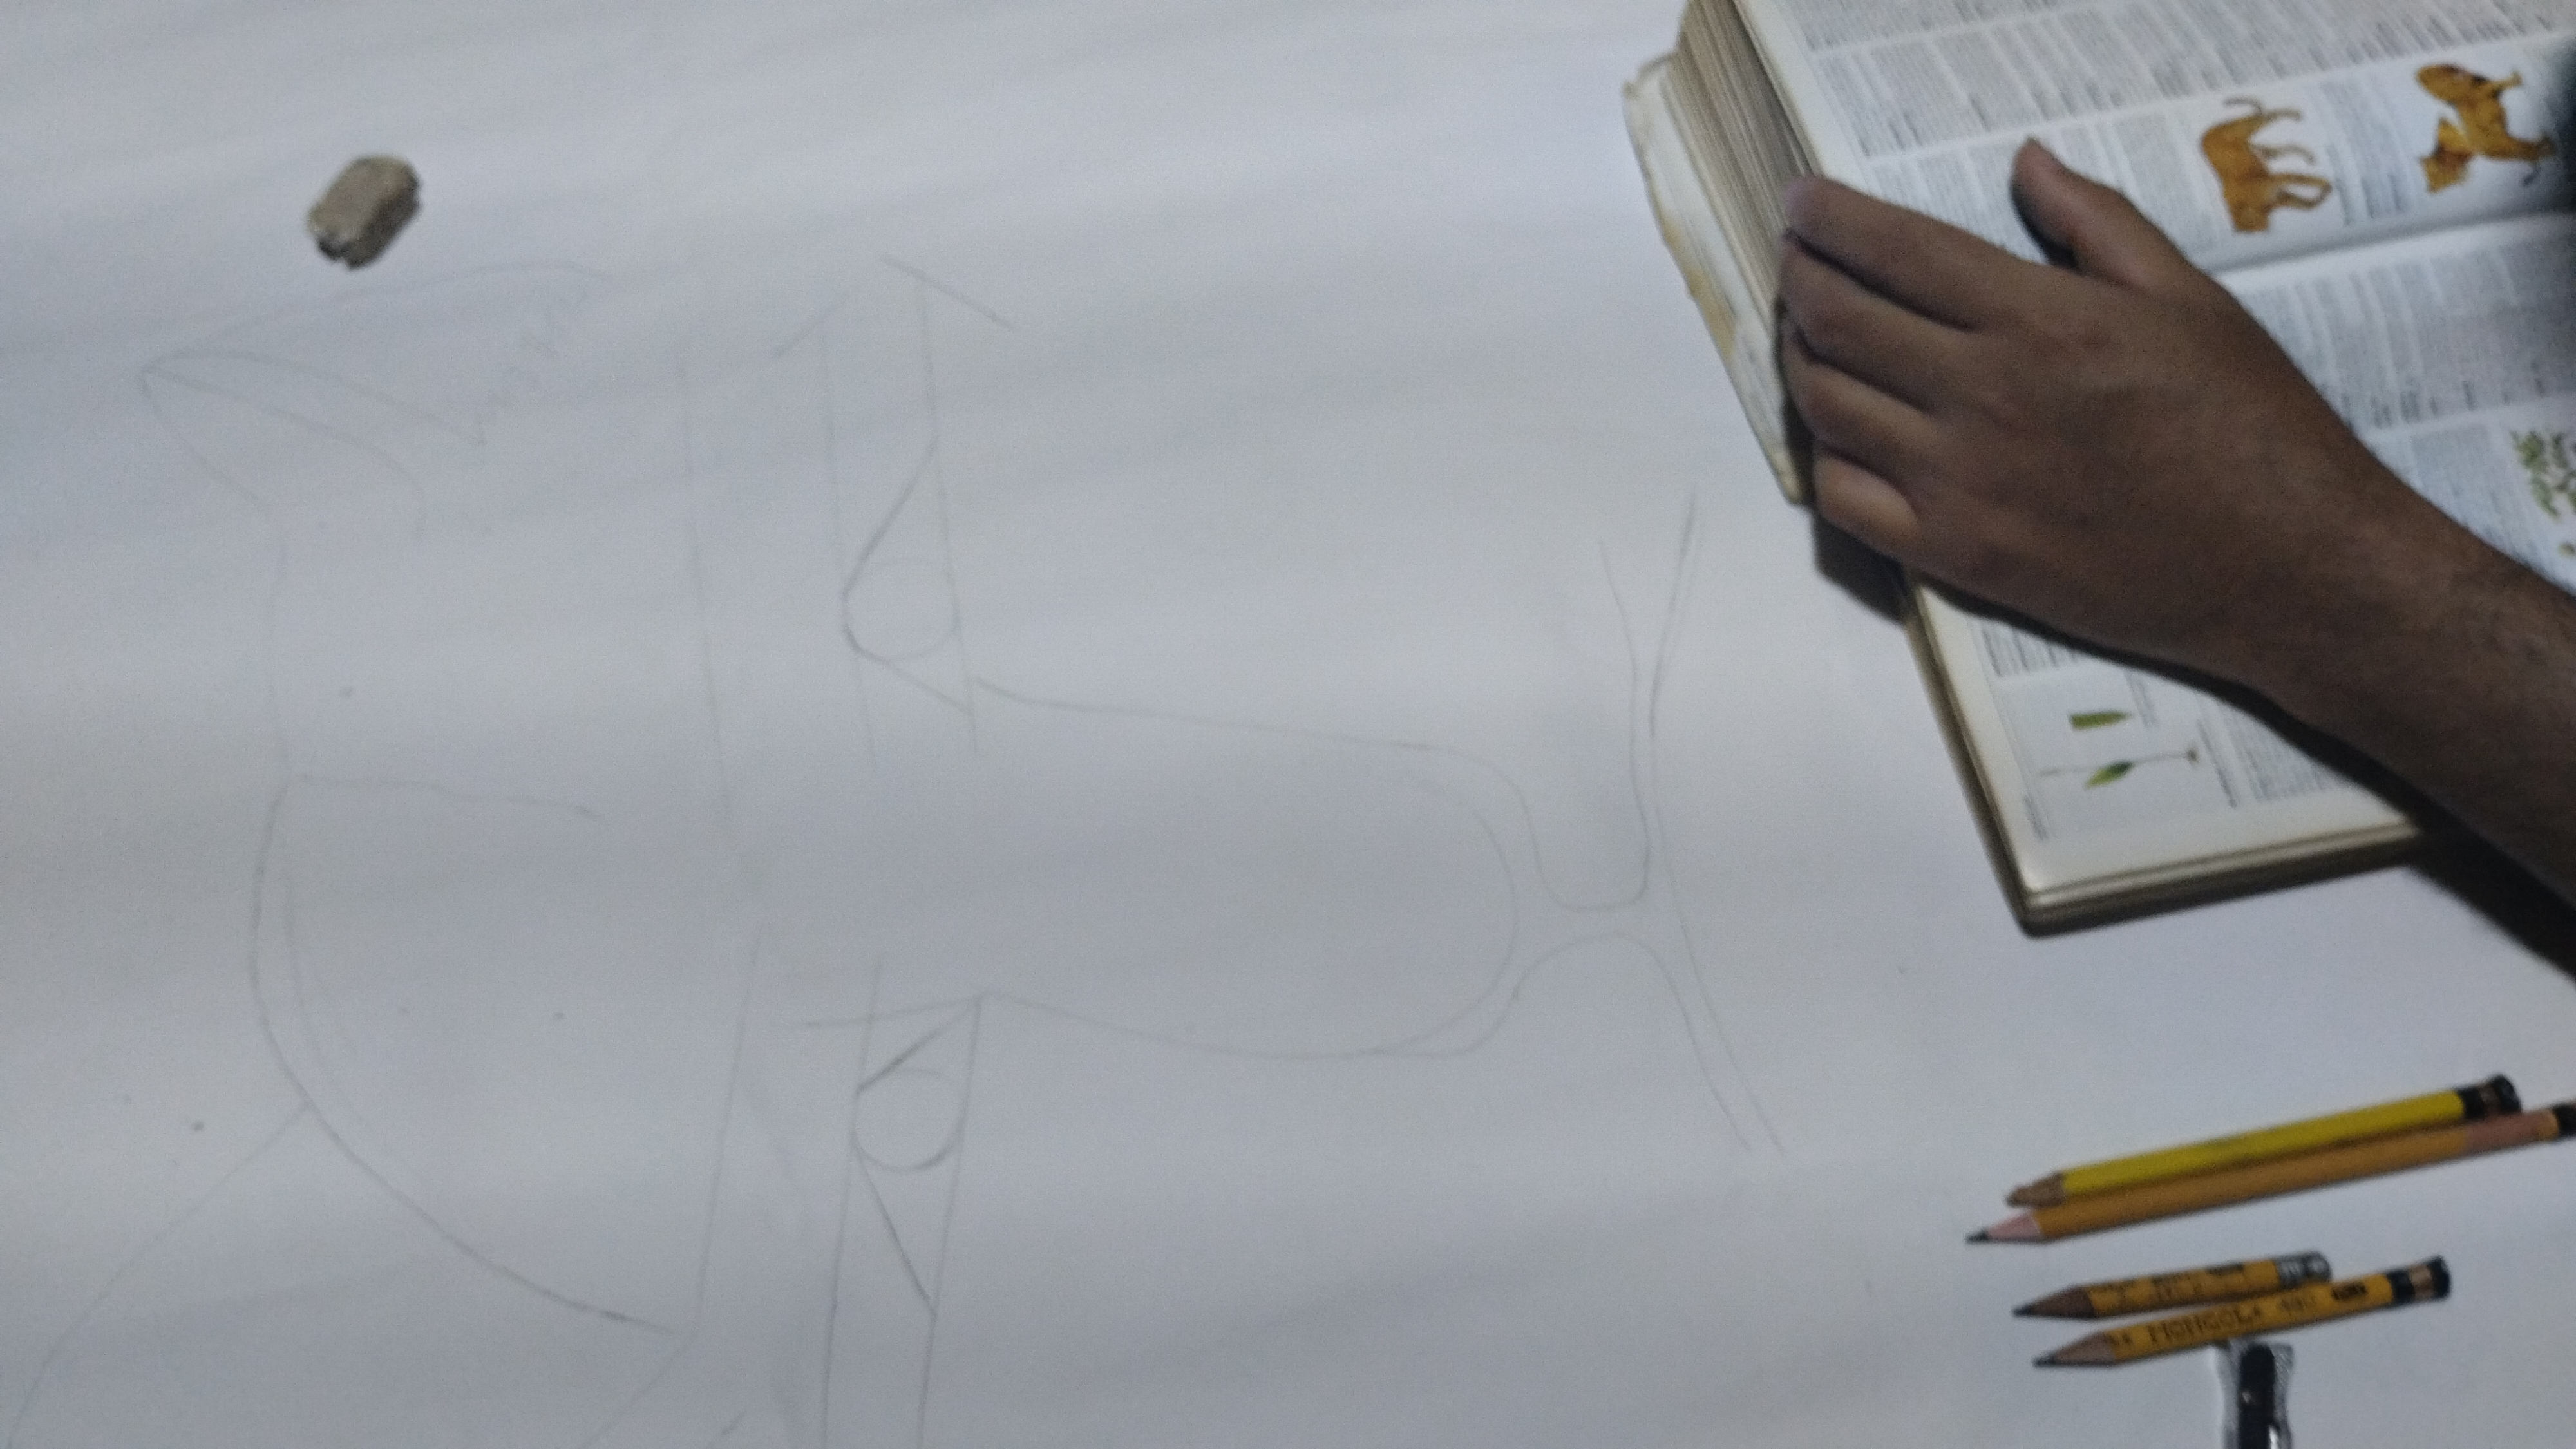
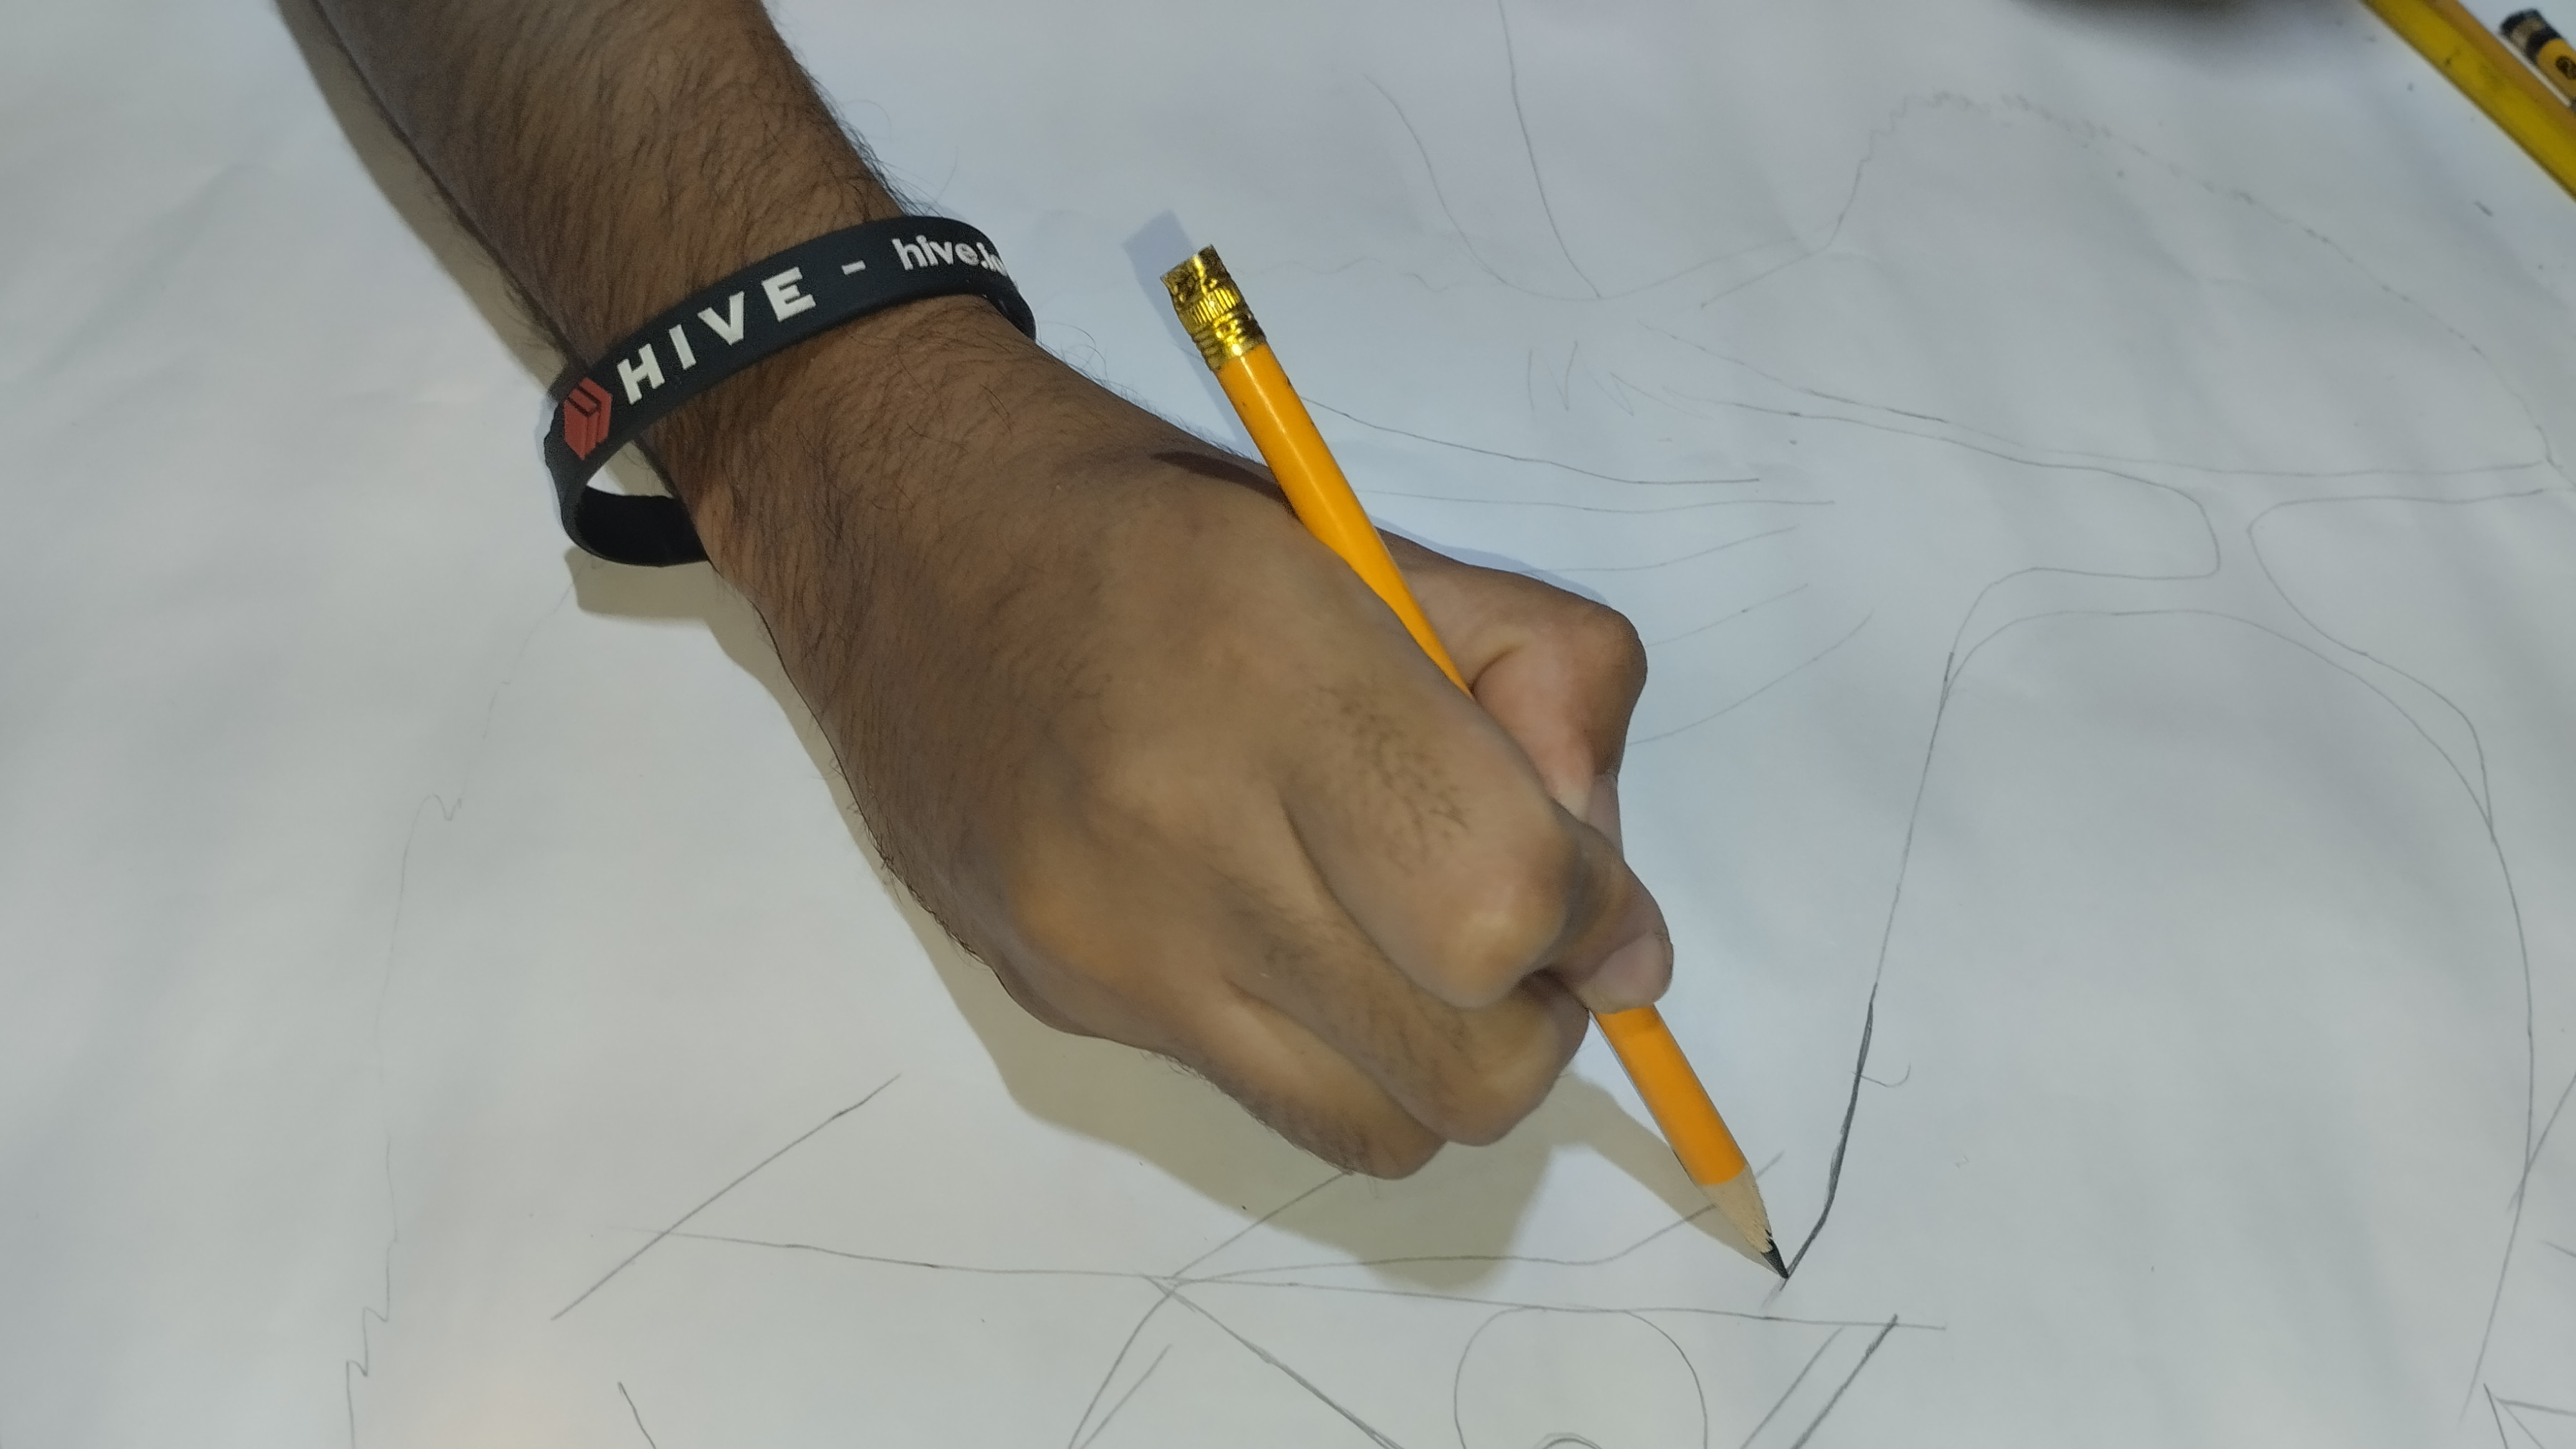
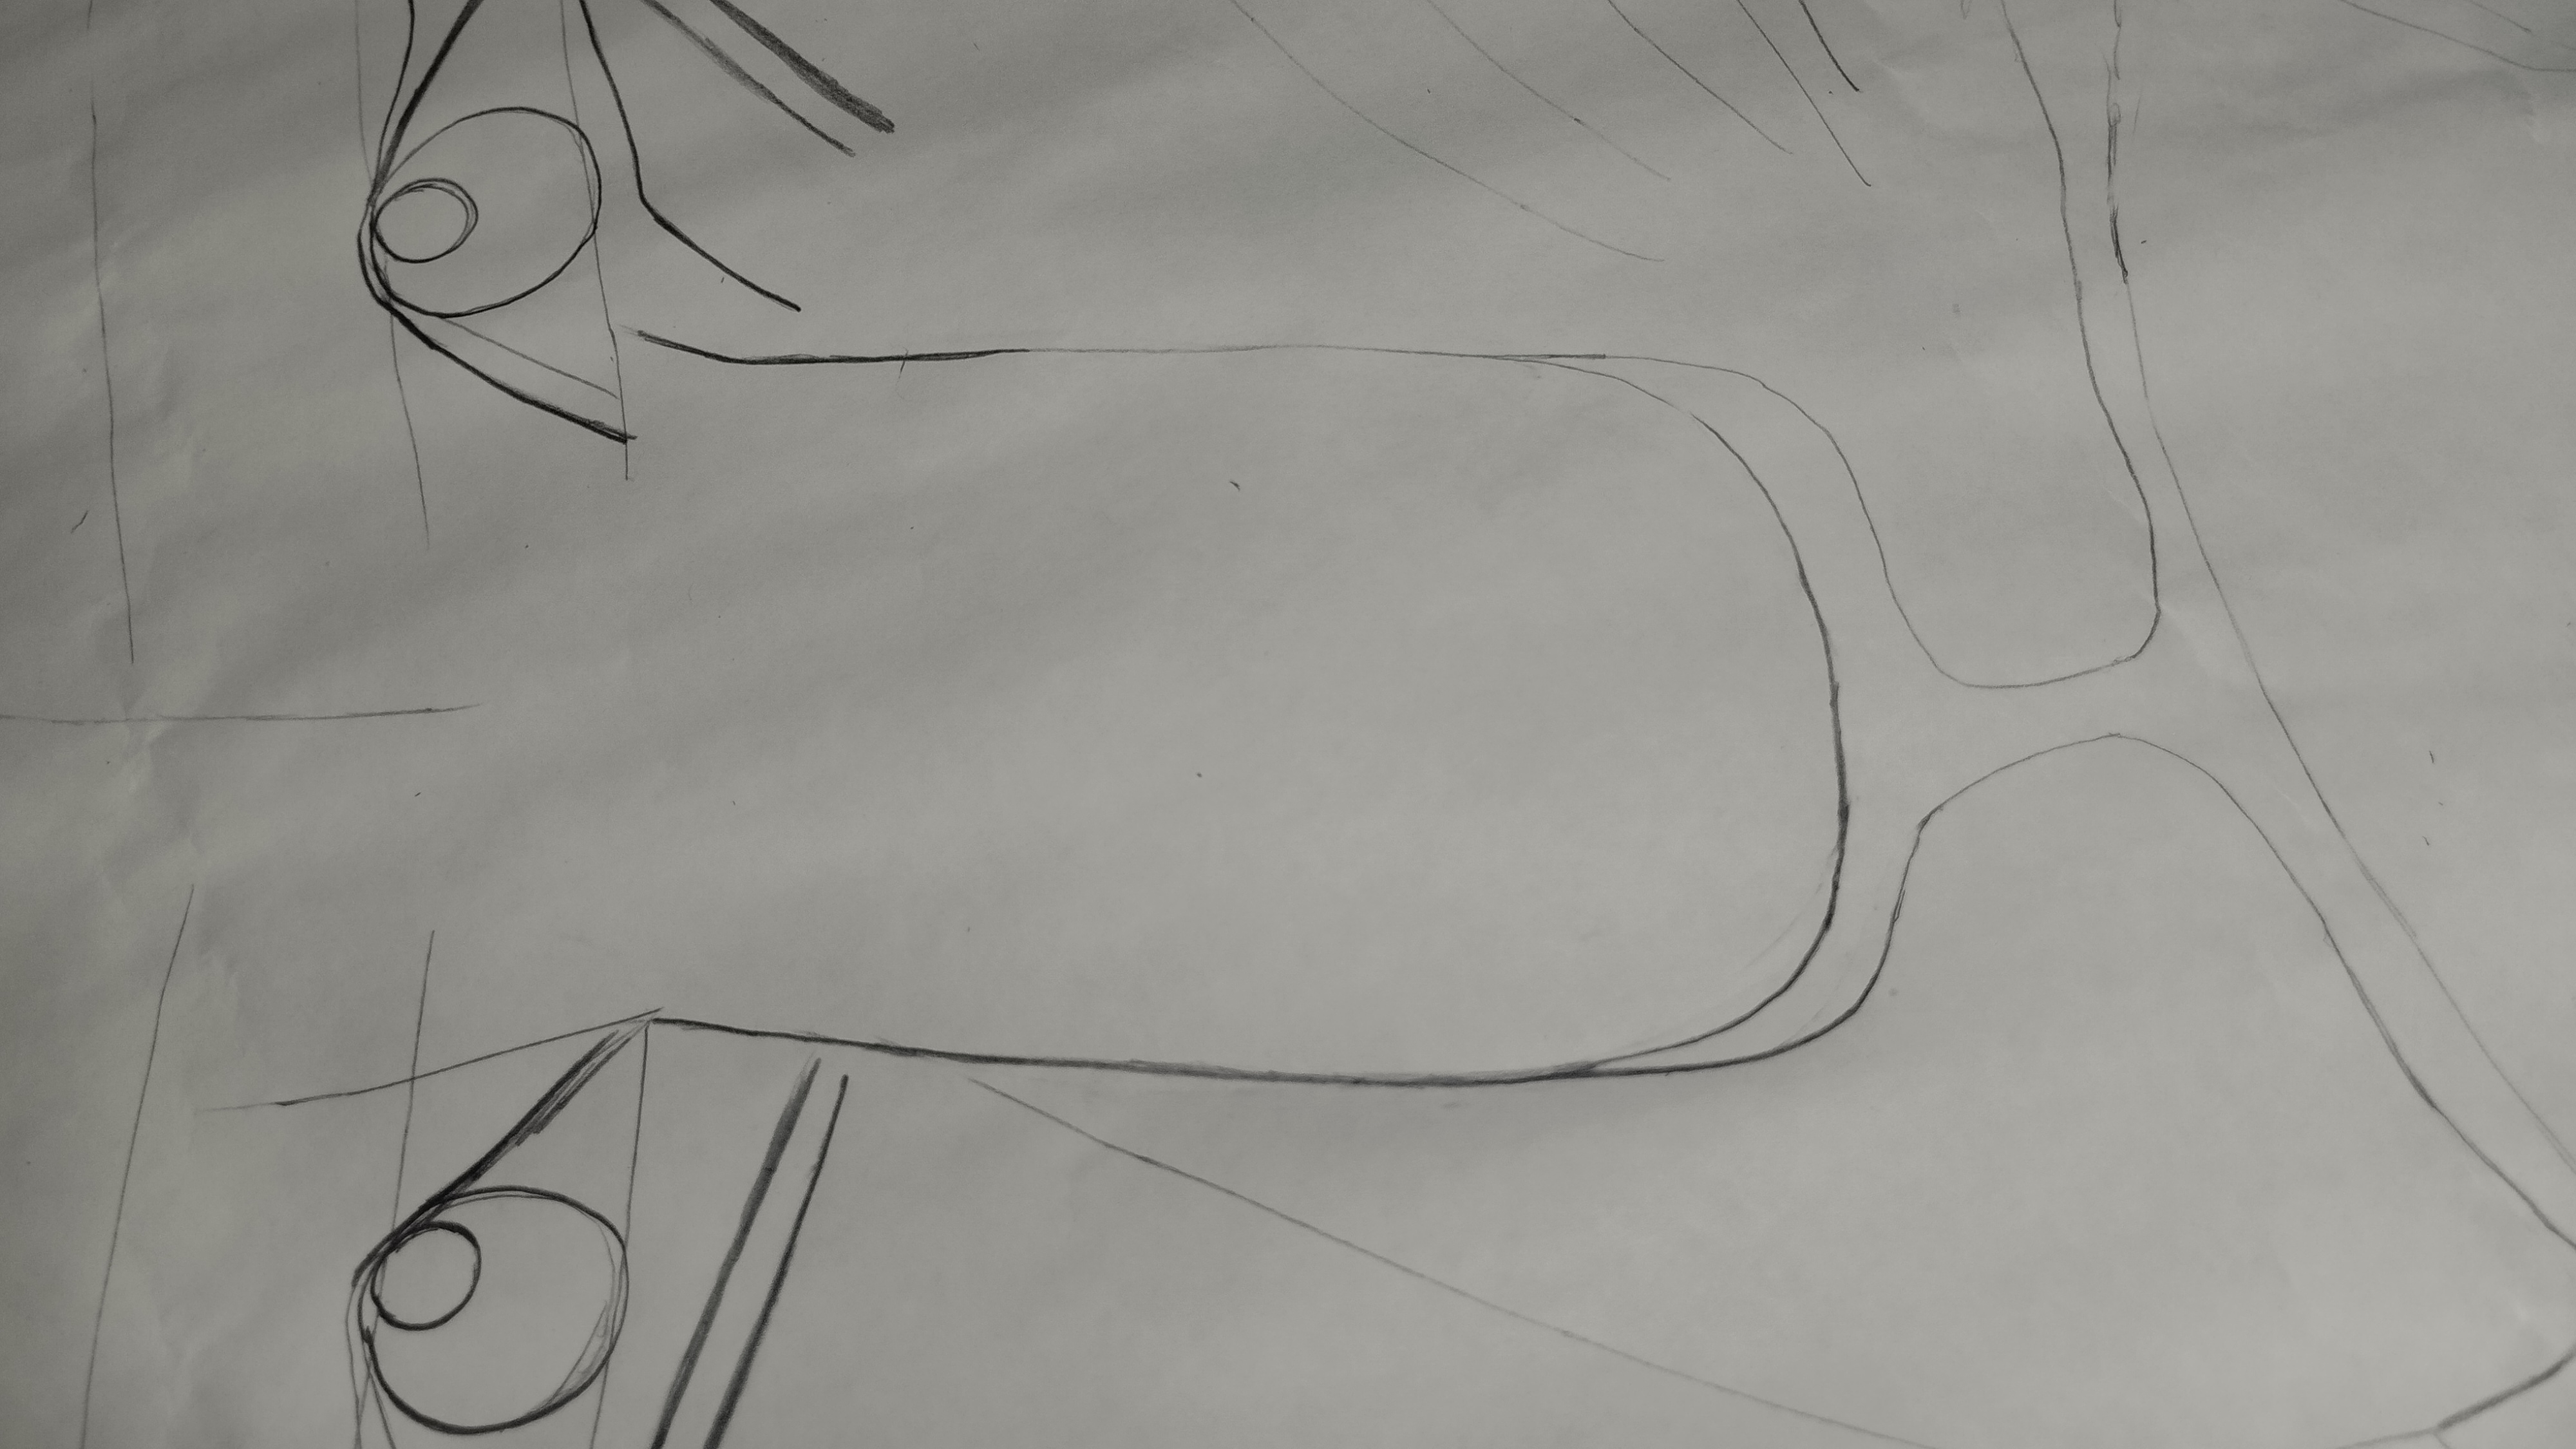
Paso 1°: Se plasma el papel bond blanco, para ir trazando el diseño, que se desea, en este caso el rostro de una "Leona". Se empieza trazando líneas horizontales, rectas e inclinadas que representarán los ojos y, el contorno de la cara, para ir dándole rectitud y armonía al rostro.
Step 1: The white bond paper is shaped to trace the desired design, in this case the face of a "Lioness". Start drawing horizontal, straight and inclined lines that will represent the eyes and the contour of the face, to give straightness and harmony to the face.
Después se trazan líneas mas gruesas que salgan de la cara, las orejas y el dorso.
Thicker lines are then drawn from the face, ears and back.
Tenemos que tener en cuenta el tipo de lápiz con el que se va a dibujar.
We have to take into account the type of pencil with which we are going to draw.
El lápiz de grafito sigue siendo una herramienta importante e indispensable en muchas profesiones. Para los dibujantes, es importante tener varios modelos para dibujar.
The graphite pencil remains an important and indispensable tool in many professions. For draftsmen, it is important to have several models to draw.
Lápiz H: Son lápices de punta dura, llamados secos. Permiten hacer trazados precisos, son muy duraderos, pero los trazos obtenidos carecen de negrura. Su color varía de gris claro a gris medio. El lápiz H se puede borrar fácilmente.
H pencil: These are hard-tipped pencils, called dry pencils. They allow precise strokes, are very durable, but the strokes obtained lack blackness. Their color varies from light gray to medium gray. The H pencil can be easily erased.
Tipo de Lápiz H: 10H, 9H, 8H, 7H, 6H, 5H, 4H, 3H, 2H, H. Cuanto mayor sea el número, más seca será la punta.
Pencil Type H: 10H, 9H, 8H, 7H, 6H, 5H, 4H, 3H, 2H, H. The higher the number, the drier the tip.
Para el diseño se utilizó el 2H.
The 2H was used for the design.
Lápiz B: Es un lápiz grueso con la punta blanda. Este tipo de lápices ofrecen trazos oscuros, pero la mina se desgasta rápidamente. Son difíciles de borrar, por lo que los dibujantes corrigen sus trazos con gomas de miga de pan o de nata.
B pencil: This is a thick pencil with a soft tip. This type of pencils offer dark strokes, but the lead wears out quickly. They are difficult to erase, so draftsmen correct their strokes with breadcrumb or cream erasers.
Tipo de Lápiz B: B,2B, 3B, 4B, 5B, 6B, 7B, 8B, 9B, 10B. Cuanto mayor sea el número, más grasa será la punta.
Pencil Type B: B, 2B, 3B, 4B, 5B, 6B, 7B, 8B, 9B, 10B. The higher the number, the greasier the tip.

No hay reglas al momento de dibujar, cada dibujante tiene sus preferencias, todo depende de la experiencia y la innovación de cada persona. La ventaja del lápiz B, es que puedes trabajar fácilmente los trazos en el dibujo. En función de la inclinación del lápiz y la fuerza ejercida sobre la mina, se obtendrá trazos más o menos grandes y más o menos oscuros. Con un lápiz tipo B, puedes obtener tonos de gris hasta negro. Como los lápices B son difíciles de borrar, se puede utilizar una punta dura, tipo 2H, para realizar un primer boceto. Los lápices H son compatibles con el uso de una goma blanca. Puedes corregir fácilmente los trazos antes de pasar al diseño artístico propiamente dicho. En este caso, hay que elegir un lápiz B más o menos graso dependiendo del acabado deseado.
There are no rules when drawing, every draftsman has his preferences, it all depends on the experience and innovation of each person. The advantage of the B pencil is that you can easily work the strokes in the drawing. Depending on the inclination of the pencil and the force exerted on the lead, you will obtain larger or smaller and darker or darker strokes. With a B pencil, you can obtain shades of gray to black. As B pencils are difficult to erase, you can use a hard tip, type 2H, to make a first sketch. H pencils are compatible with the use of a white eraser. You can easily correct the strokes before moving on to the actual artistic design. In this case, it is necessary to choose a B pencil more or less greasy depending on the desired finish.

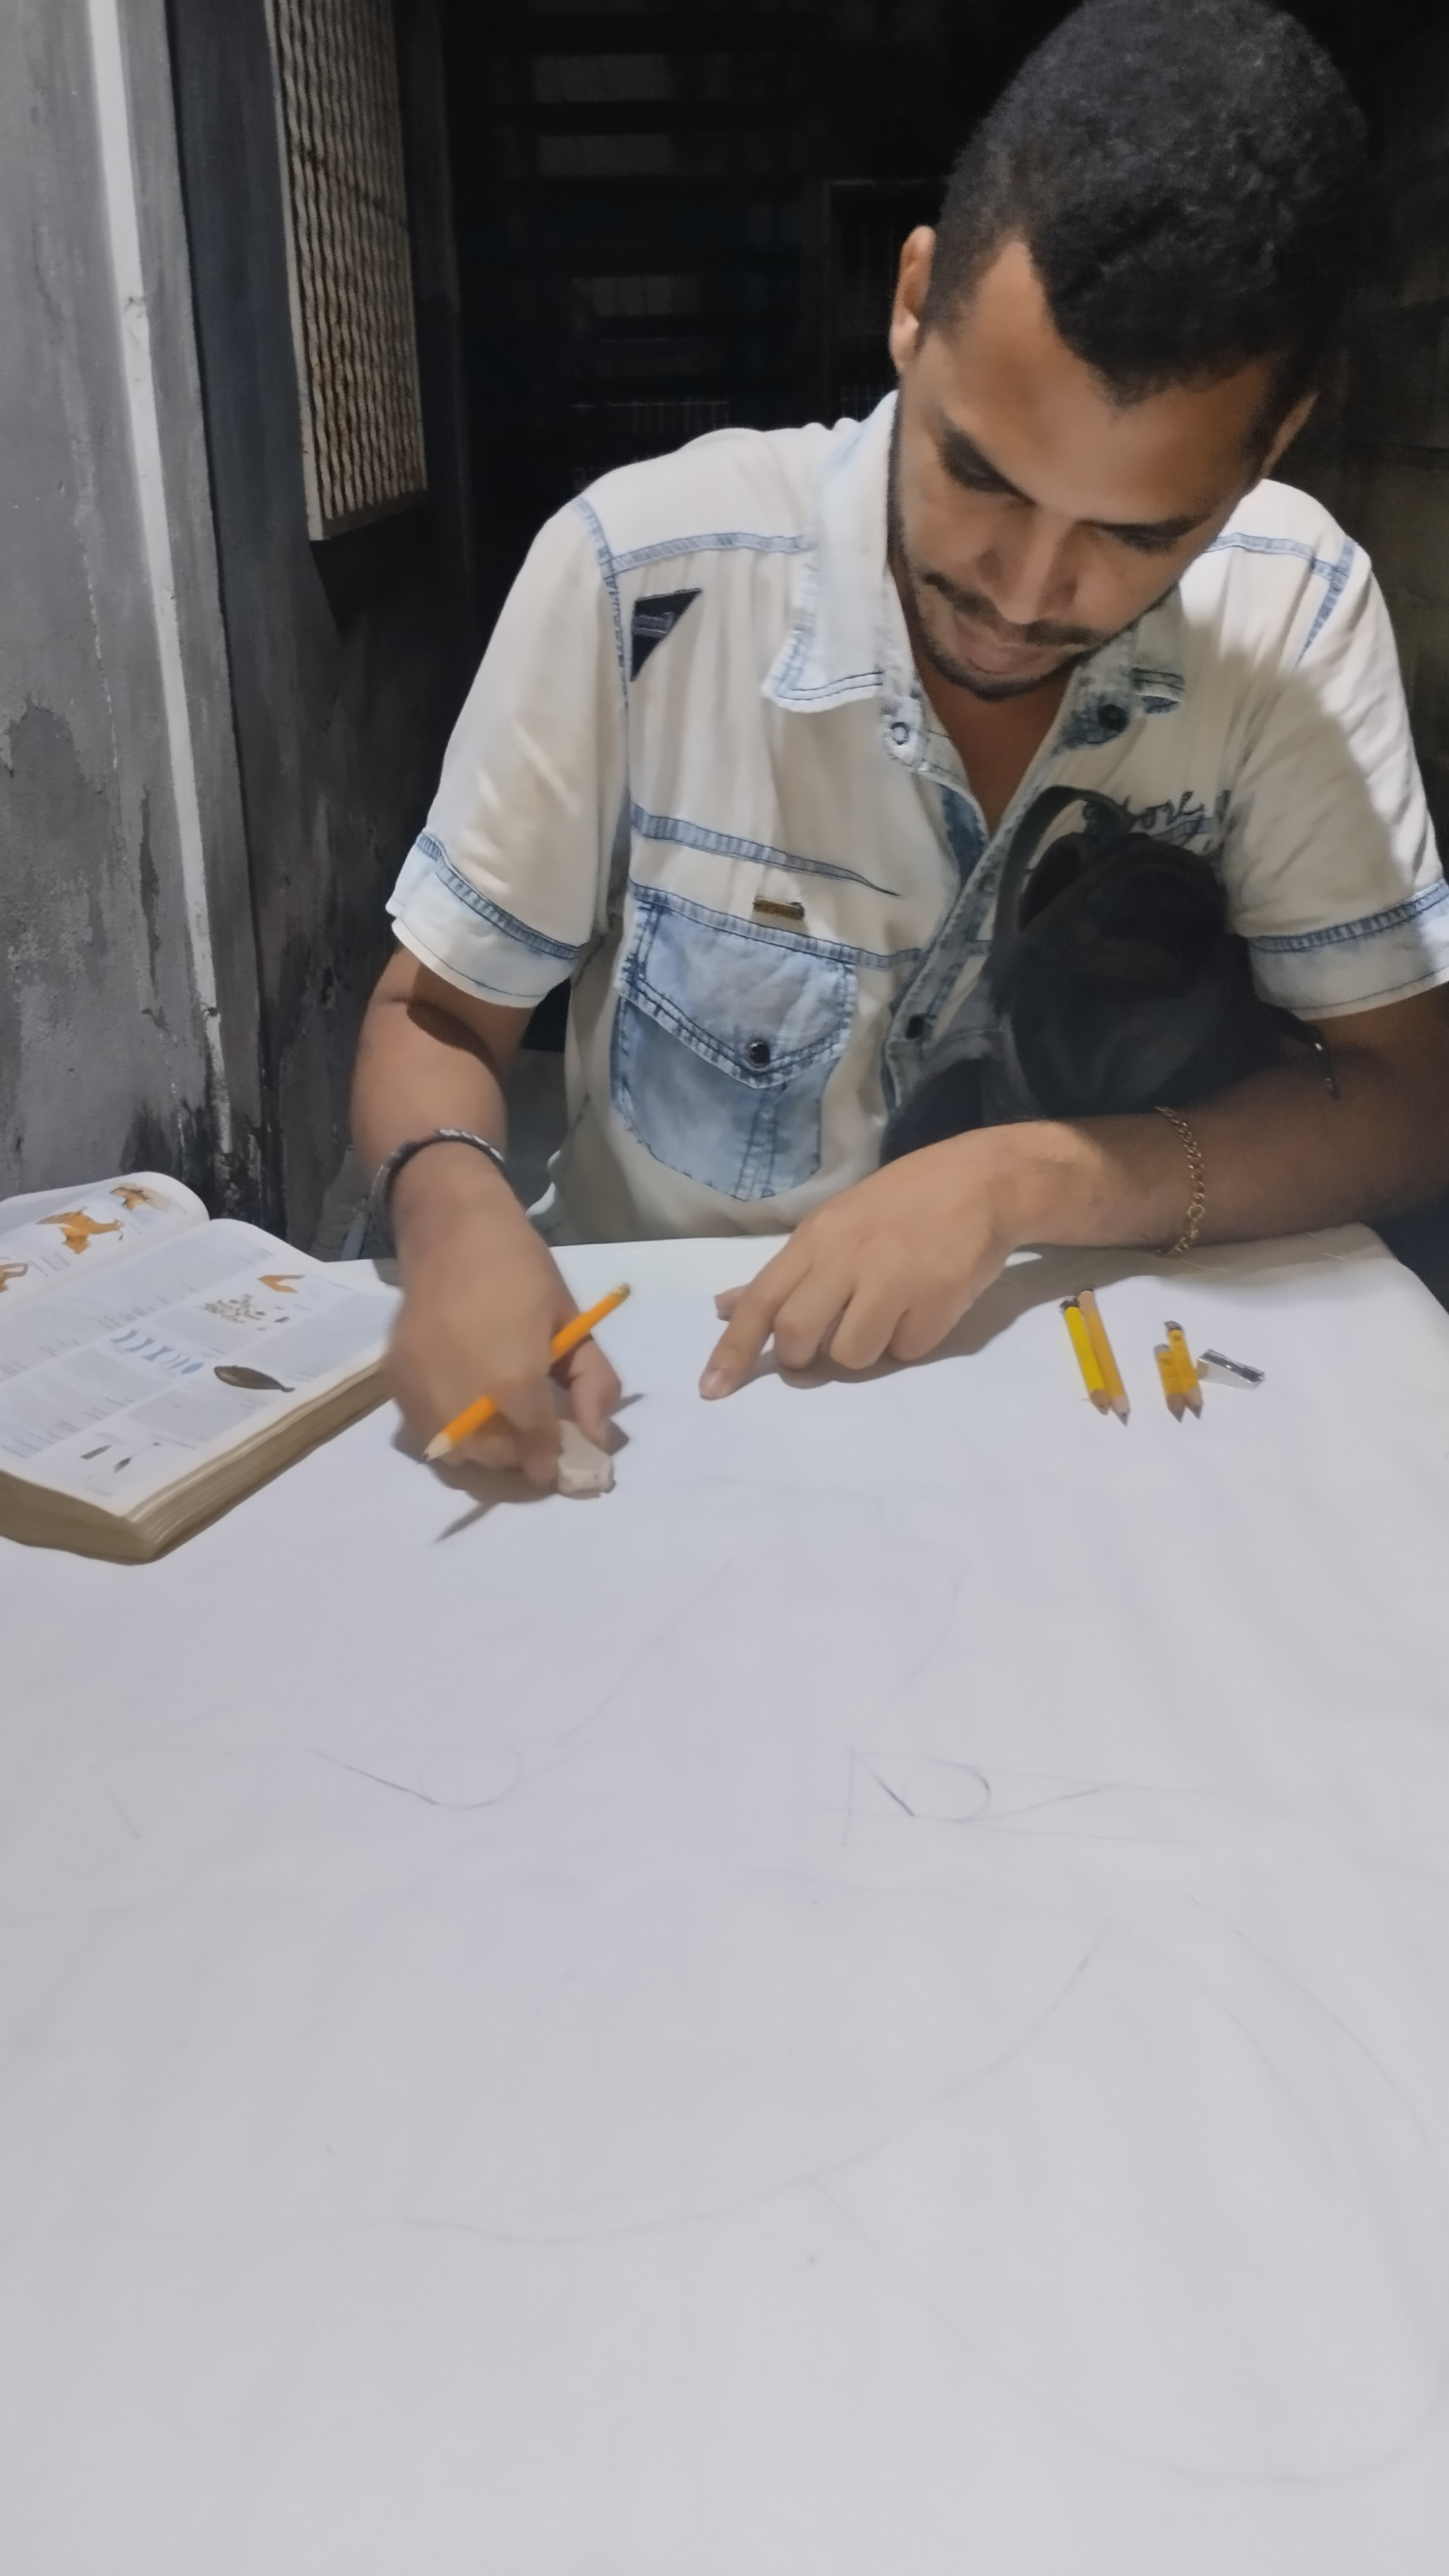
Paso 2°:Es recomendable utilizar los lápices de tipo H, para trazar líneas finas y en la definición de los detalles en el dibujo. Concretamente, se utiliza el 2H para los contornos, la proporción y simetría correcta. Se aconseja utilizar los lápices de tipo B, para hacer sombreados y zonas con color intenso.
Step 2: It is advisable to use the H type pencils for drawing fine lines and defining details in the drawing. Specifically, the 2H is used for contours, proportion and correct symmetry. It is advisable to use B pencils for shading and areas with intense color.
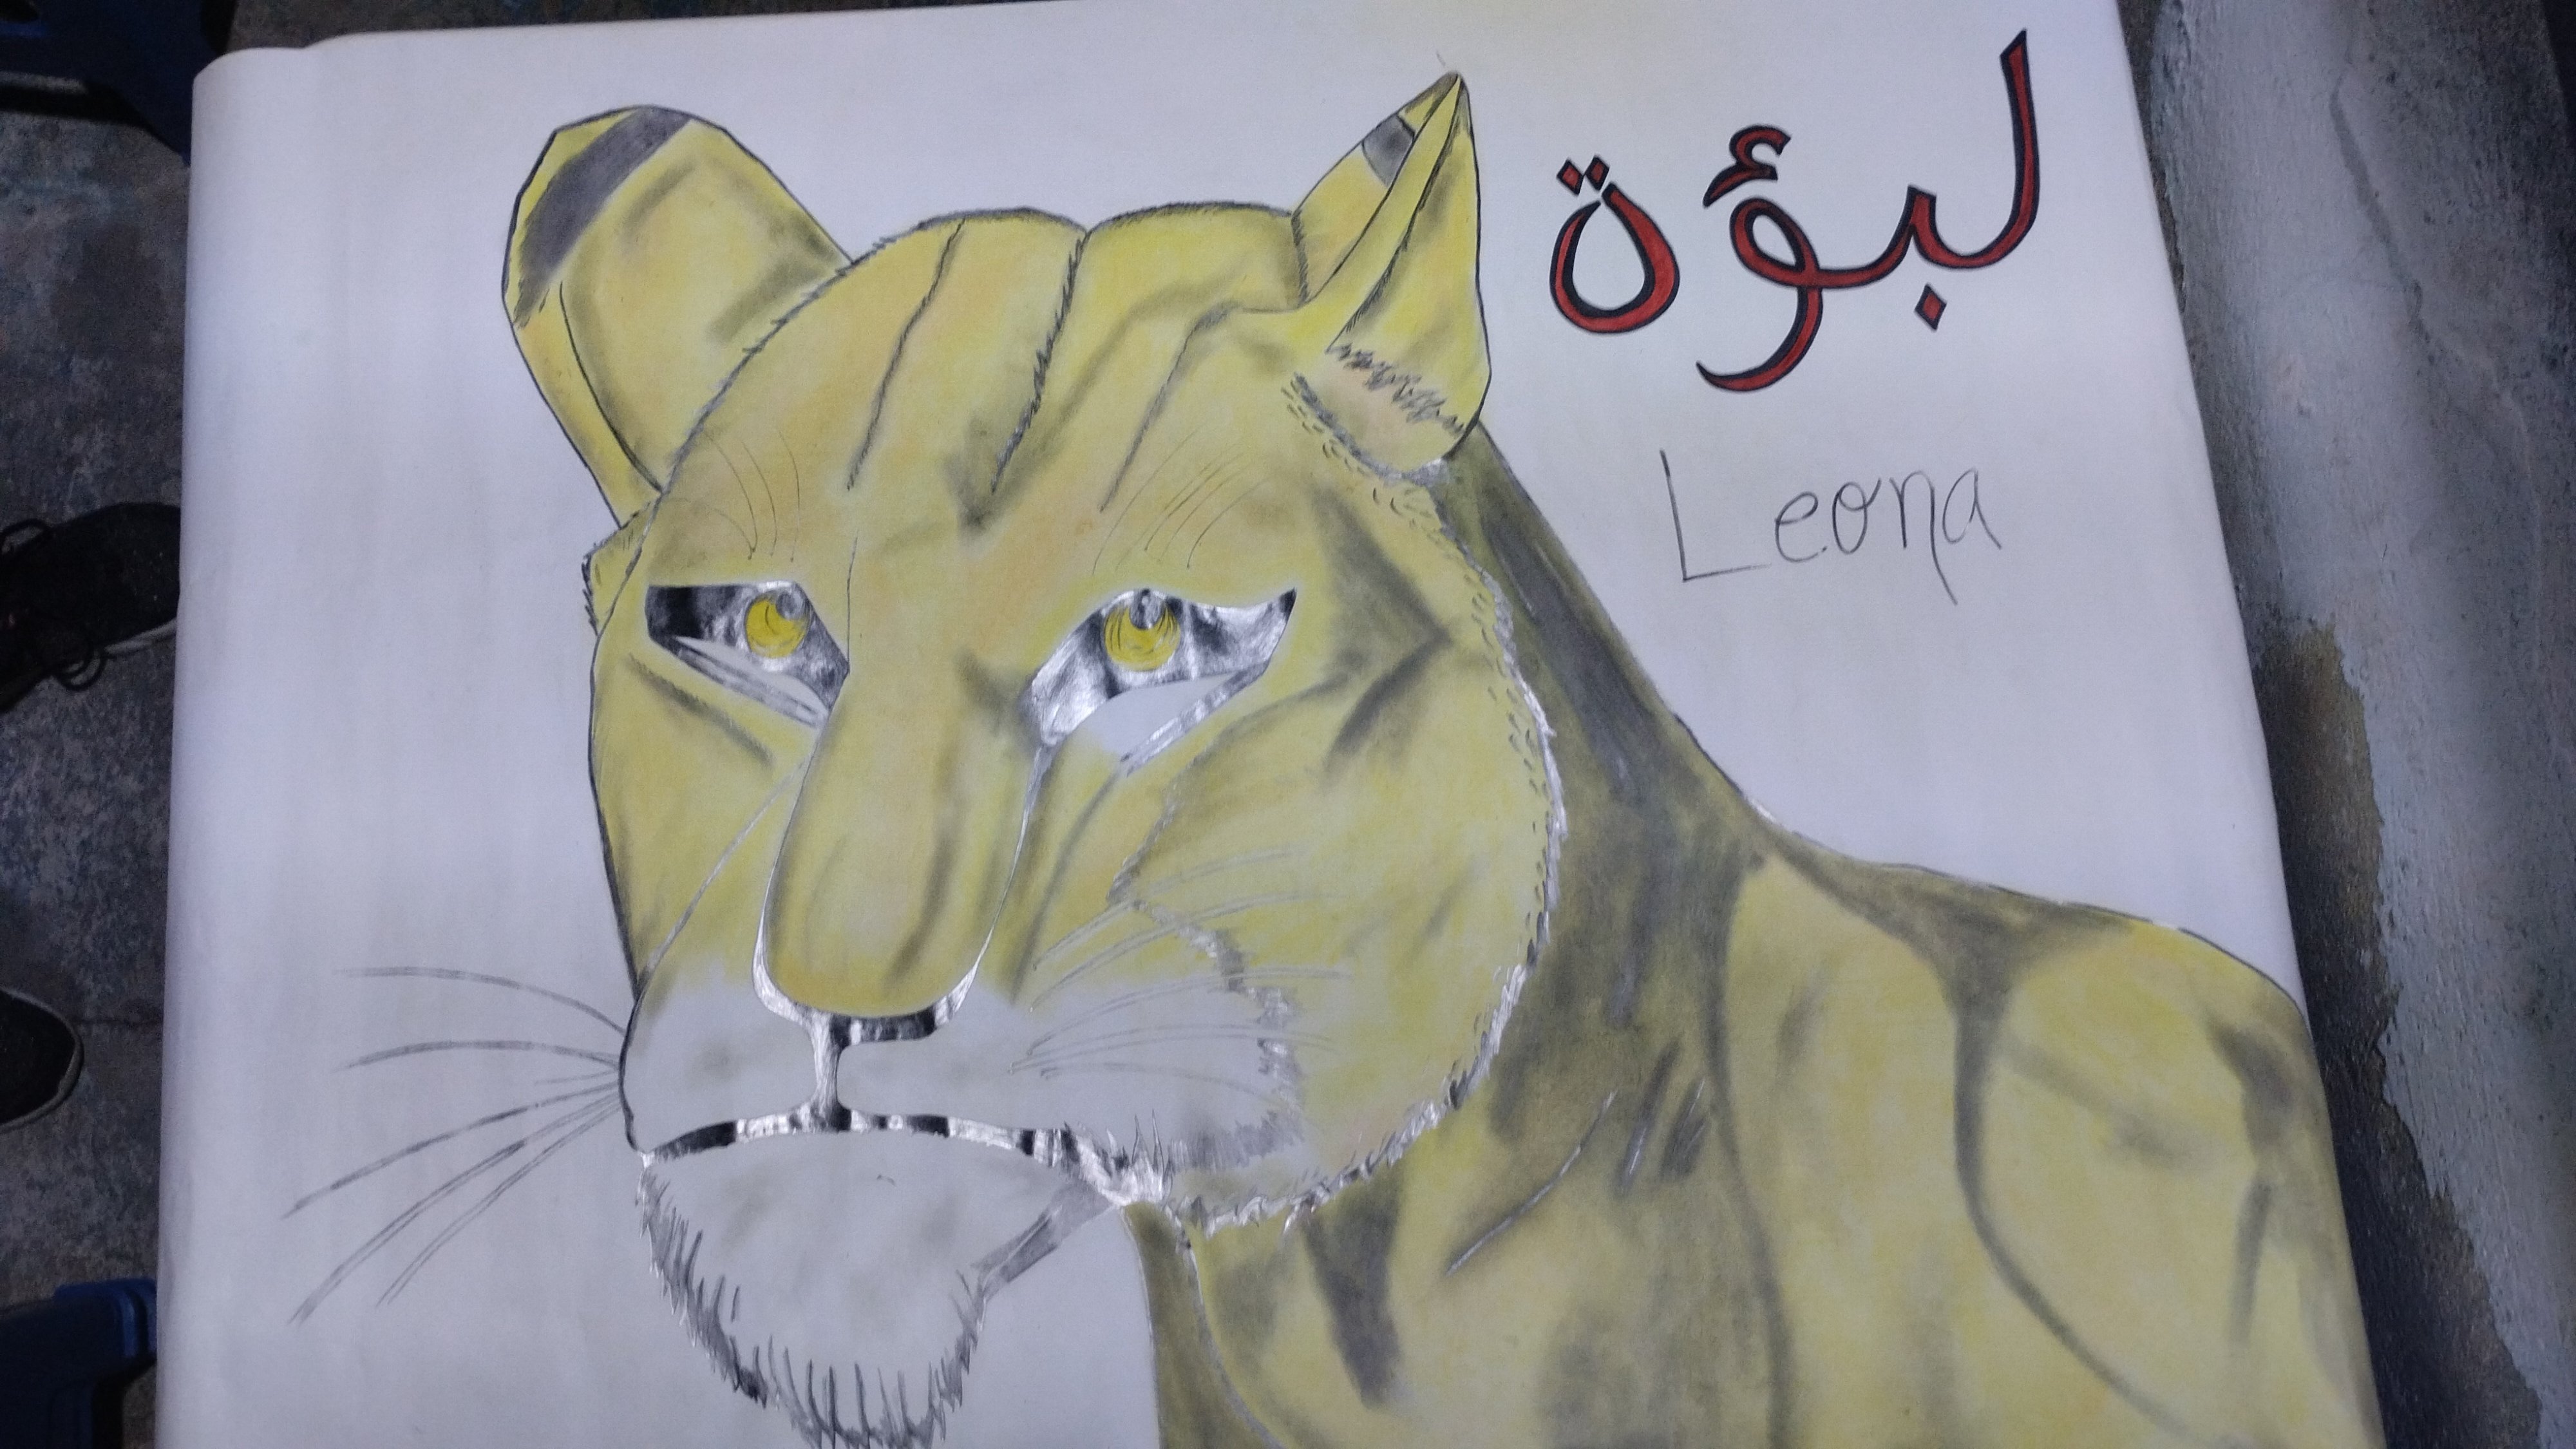
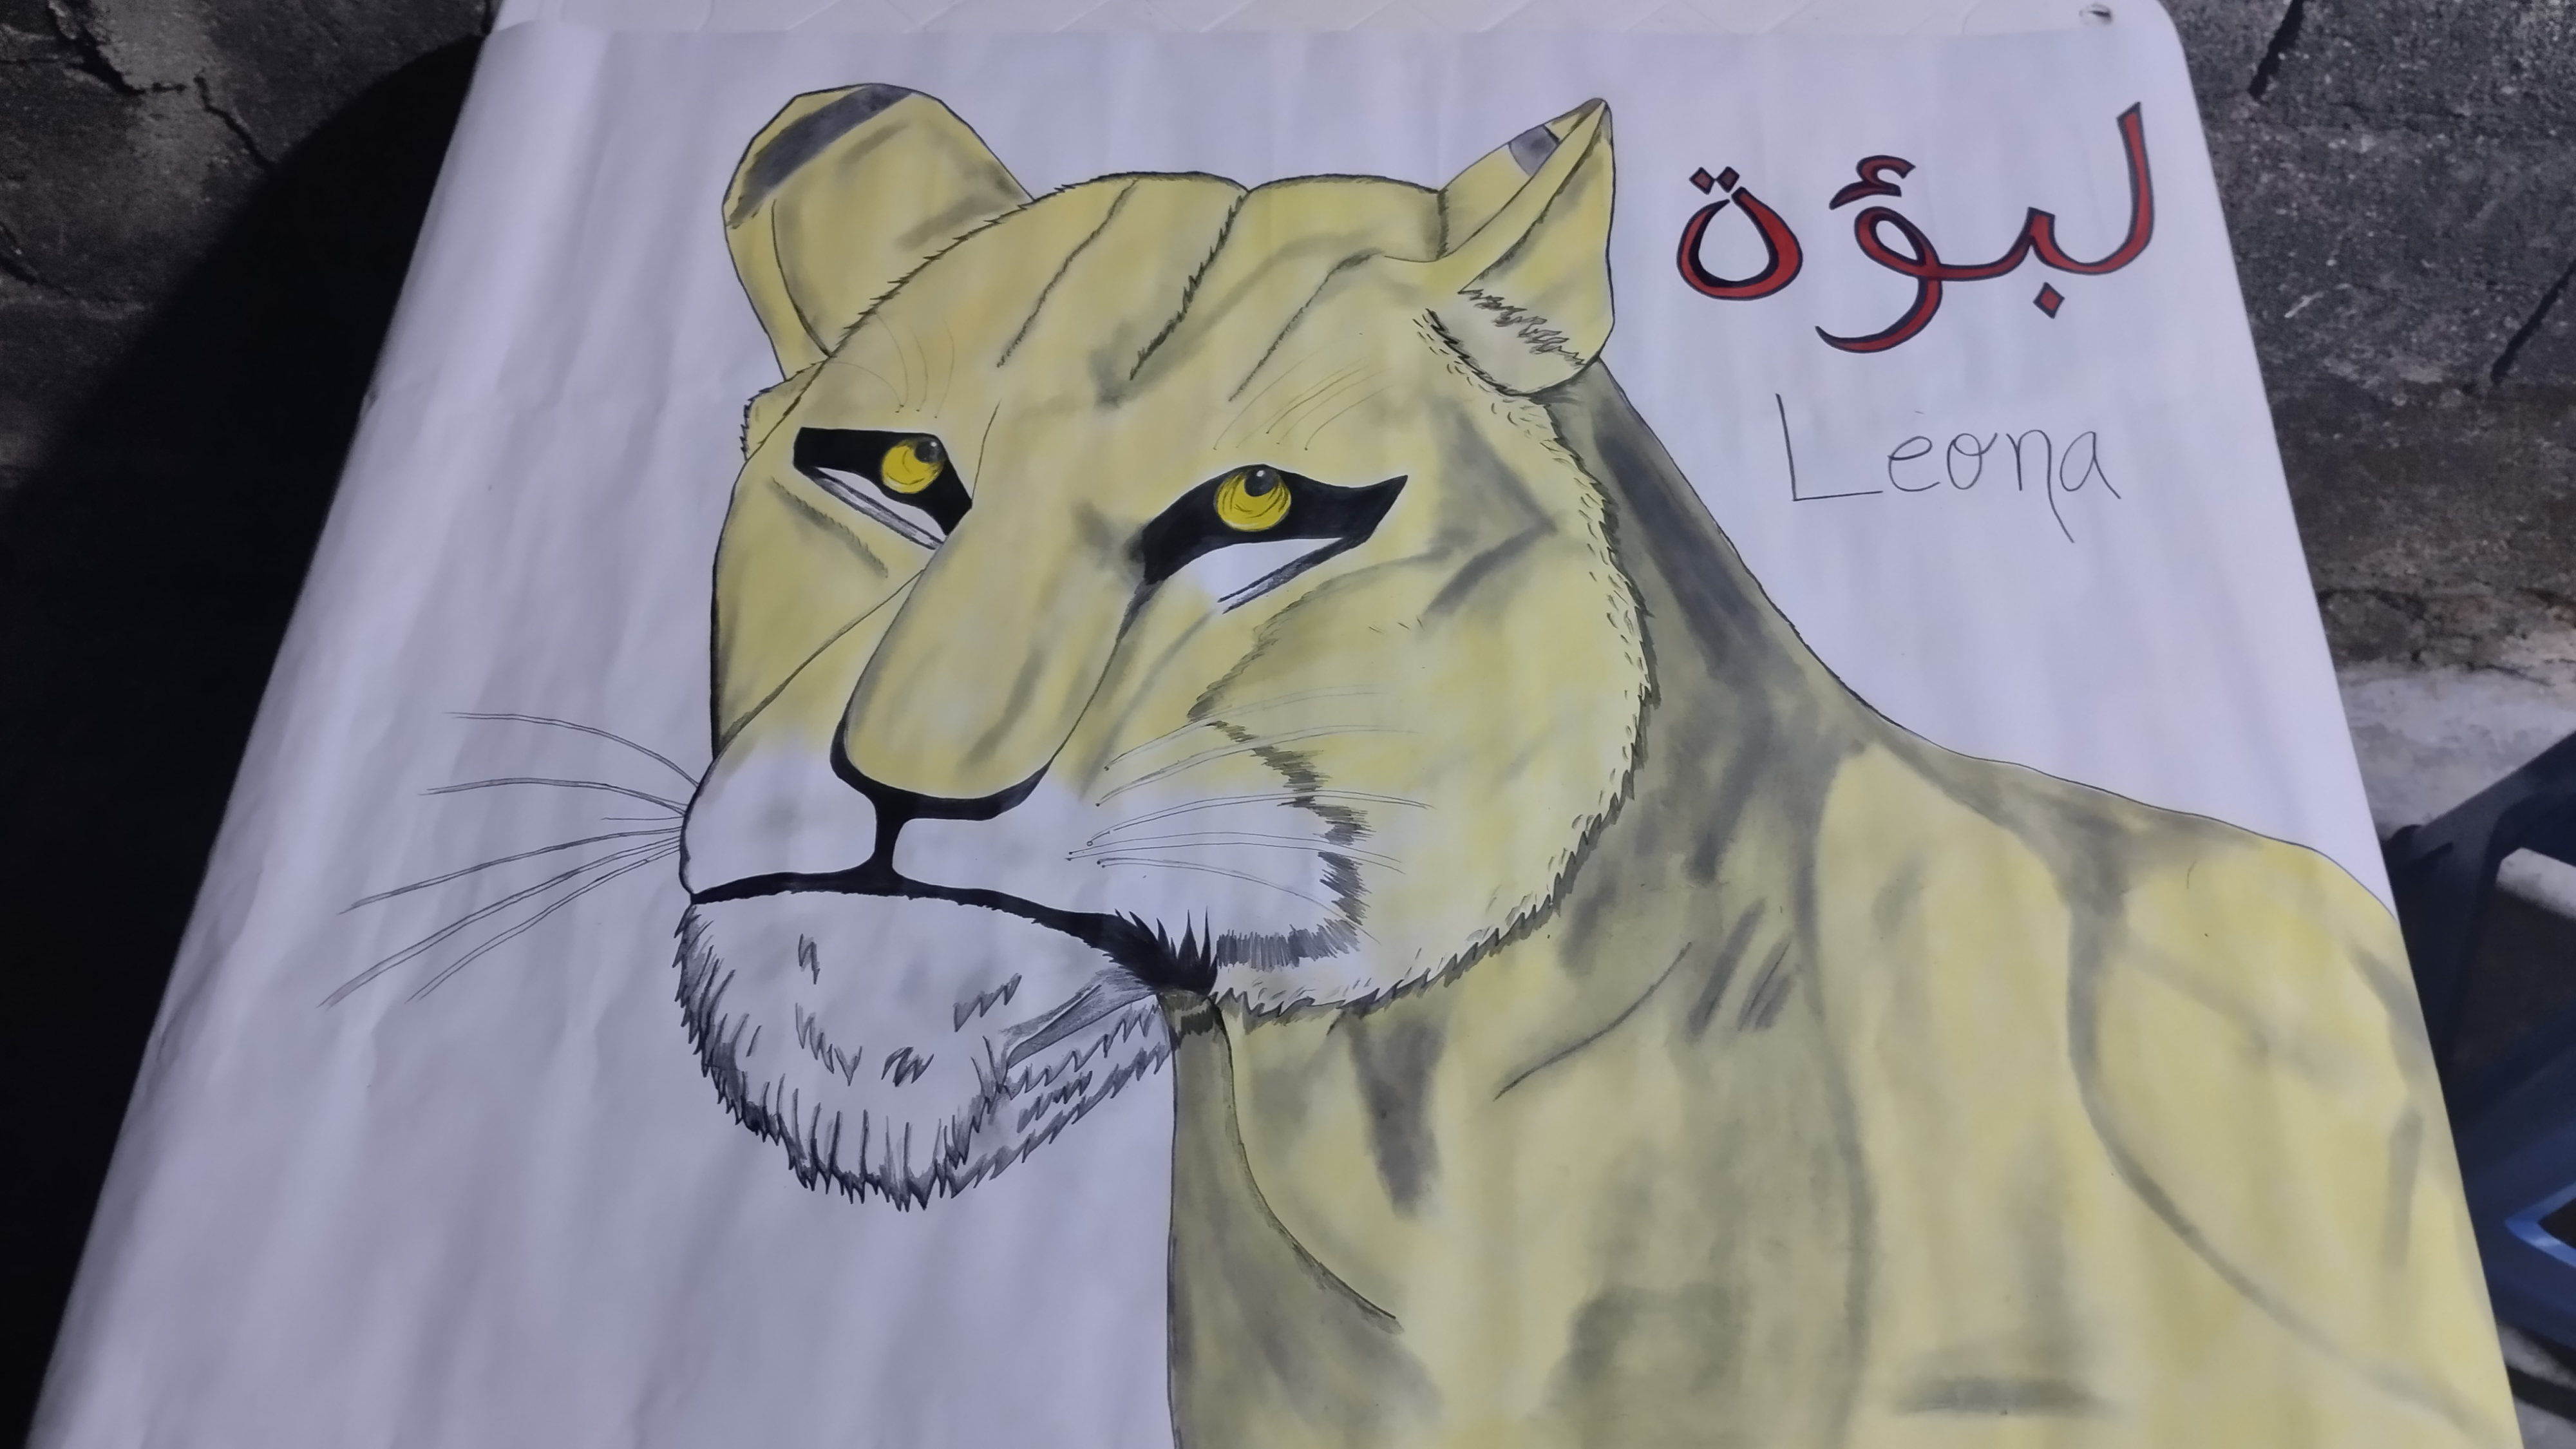
Paso 3°: Después de trazar las líneas en sus diferentes clasificaciones, rectas, inclinadas curvas, se empezó a colorear. Los colores usados fueron el amarillo, para darle la corrección perfecta del pelaje, ya que el amarillo representa "atención", el color rojo se matizo con el amarillo para darle un tono de realismo, y el negro para sombrear contornos extensos. Al momento de colorear los ojos, se hizo de manera minuciosa con un color amarillo y lápiz 6B, para darle intensidad y misterio a la mirada de la "Leona".
Step 3°: After drawing the lines in their different classifications, straight, inclined and curved, the coloring began. The colors used were yellow, to give the perfect correction of the fur, since yellow represents "attention", the red color was shaded with yellow to give a tone of realism, and black to shade extensive contours. At the moment of coloring the eyes, it was done in a meticulous way with a yellow color and pencil 6B, to give intensity and mystery to the look of the "Lioness".
Paso 4°. Luego de haber coloreado, se le trazaron los últimos detalles laterales con el lápiz 6B, para darle un mejor formalismo, luego se identifica con marcadores rojo y negro en idioma árabe "Leona", y en español se escribe con el lápiz 6B.
Step 4°. After coloring, the last lateral details were traced with pencil 6B, to give it a better formalism, then it is identified with red and black markers in Arabic language "Leona", and in Spanish it is written with pencil 6B.

Sin más nada que decir me despido, hasta mi próximo post.
With nothing more to say I will say goodbye, until my next post.
Sin más nada que decir me despido, hasta mi próximo post.
With nothing more to say I will say goodbye, until my next post.