
Resumen
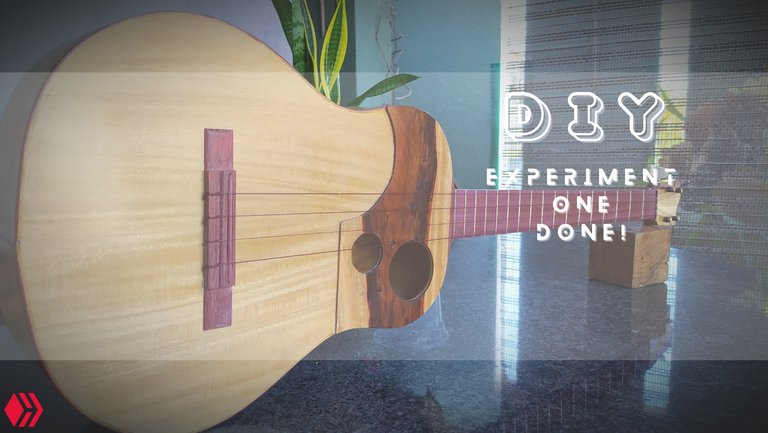
Bienvenidos de vuelta a los miércoles de carpintería. En esta oportunidad, vengo a presentarles los detalles finales del último proyecto del 2022. Me refiero a este instrumento que tenía algo de tiempo estacionado en el taller.
Recap
Welcome back to Woodworking Wednesdays. In this entry, I want to show you the last bits of work on an instrument that spent quite some time in the workshop waiting to be done. I'mm referring to this instrument. It ended up being the last one of 2022.
Lijado
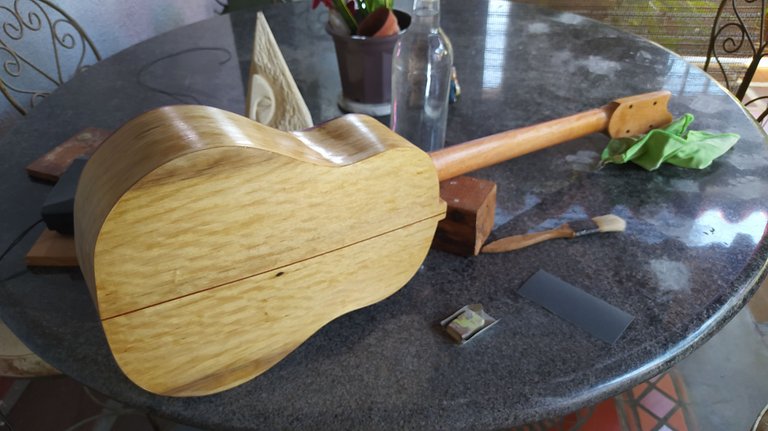
La última vez que vimos este cuatro venezolano, ya tenía el sellador. Ahora, faltaba lijar todas esas capas para emparejar la superficie. Este proceso es muy simple y solo requiere utilizar el tacto y la vista. Todo con el fin de no lijar de más y remover todo el sellador de la madera.
La capa de sellador pareja es necesaria para conseguir un buen acabado. Además, hay que tener cuidado removiendo el residuo del sellador. Un gran truco para hacer esto es pasar un trapo con un poco de thinner, pero tener cuidado de no hacer mucha presión o el sellador podría removerse.
Sanding
Last time we saw this one we were done with the sealant. Now, it was time to sand the layers to make them even. It is a simple task that requires a lot of eye and touch. This is because we don't want to remove all the layers and expose the wood again.
An even coat of sealant is key to having a great finish. We also need to remove any dust from the sanding. A quick trick to do this is using a cloth with some thinner, but don't press too much on the wood ñest
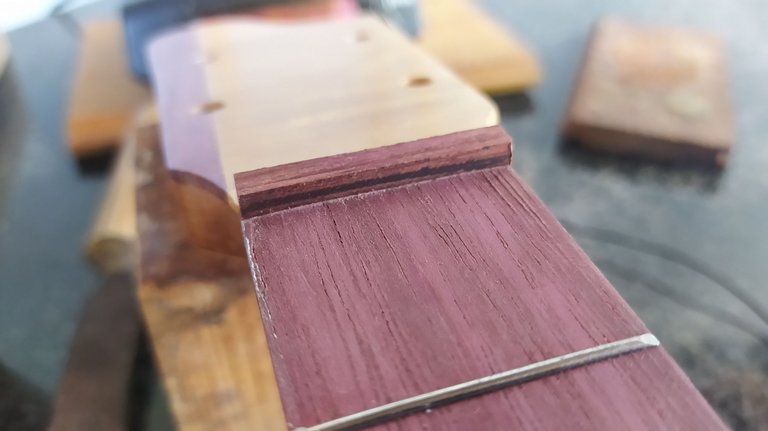
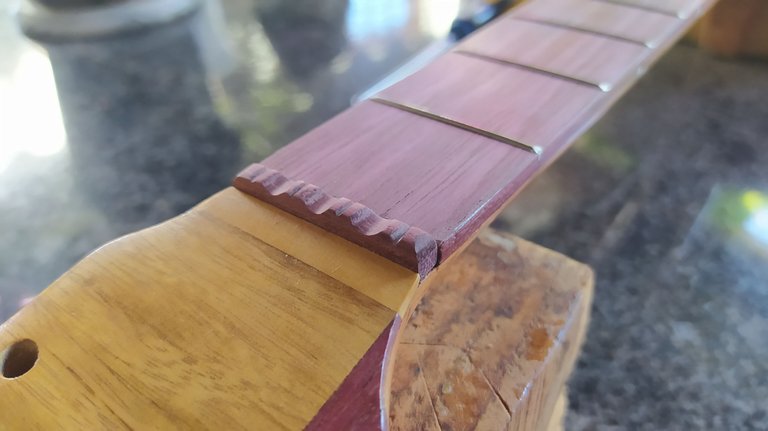
Puente y cejillas
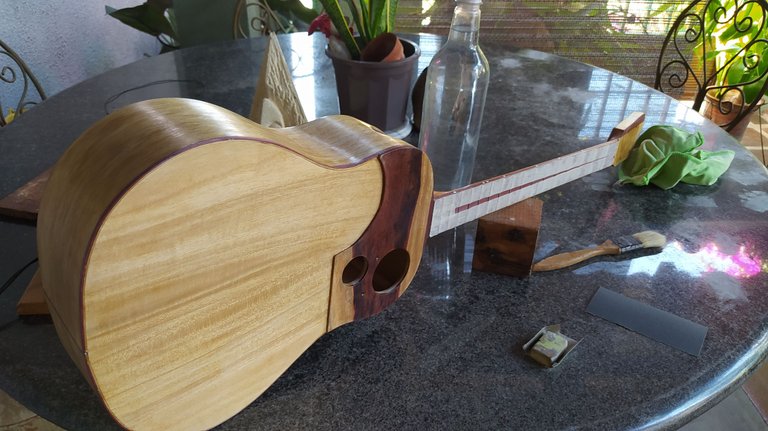
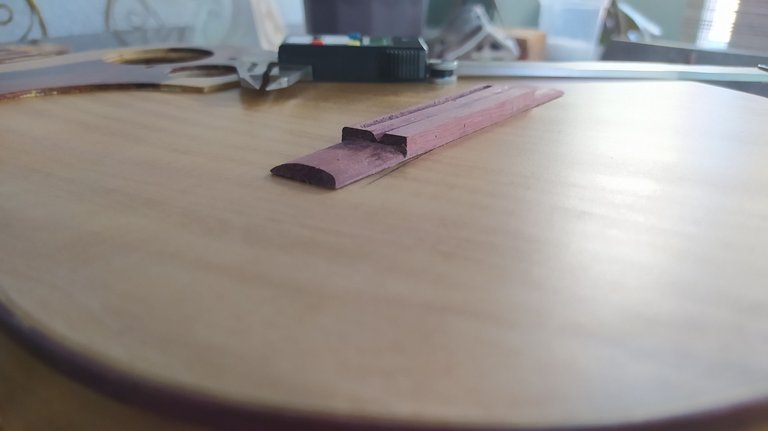
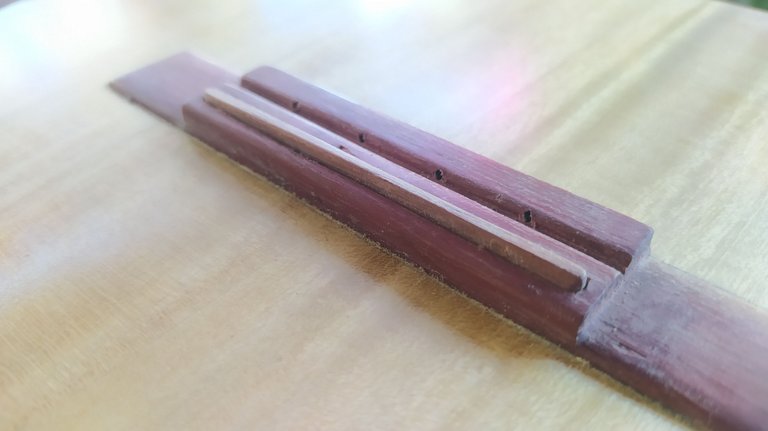
Las últimas piezas en el instrumento van antes de las clavijas y cuerdas. Son las encargadas de mantener la tensión de las cuerdas sobre la tapa armónica y el diapasón. De ellas, el puente en la que requiere más trabajo. Las otras dos son las que determinan el largo de cuerda vibrante (tiro) del instrumento. Suena muy técnico pero solo se refiere a cuánta cuerda vibra. Lo que están hacia las clavijas no se mueve
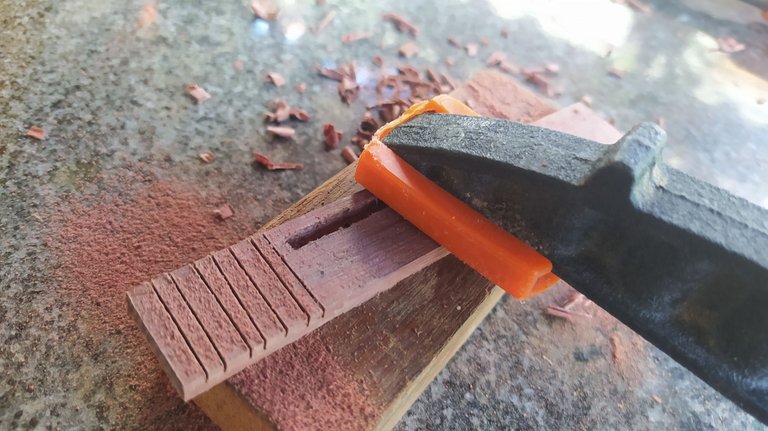
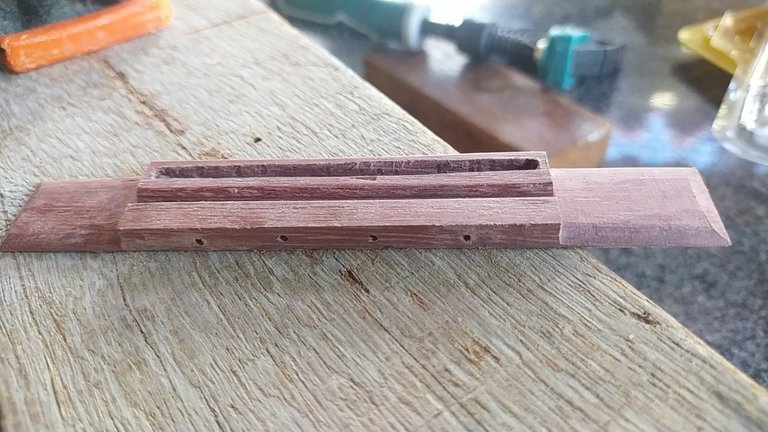
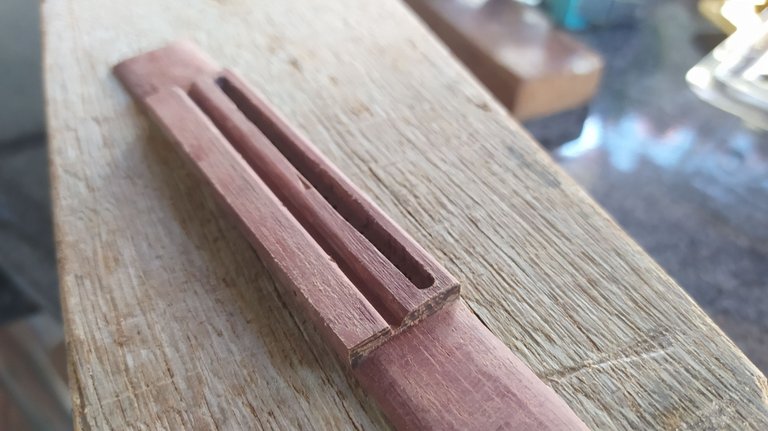
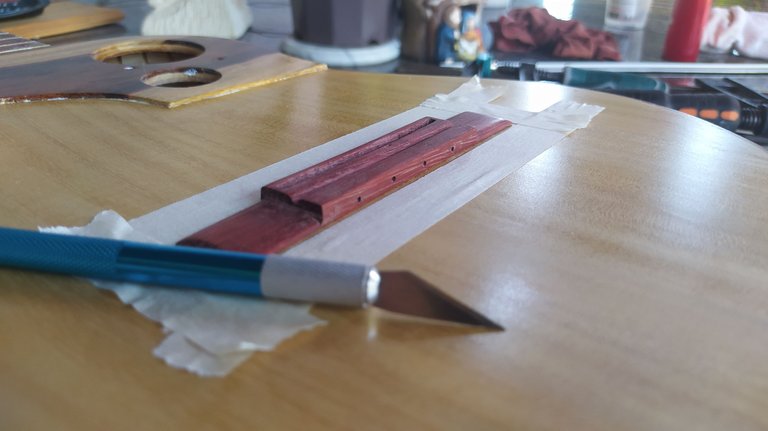
En esta ocasión tuve algo de ayuda para hacer un puente muy bajo y una ranura cerrada para la cejilla. Fue un proceso muy largo pero valió la pena. Estéticamente se ve mucho mejor. Además, tube que hacer dos veces la cejilla superior porque en la primera oportunidad había una vibración muy fea que no permita que el instrumento sonara bien.
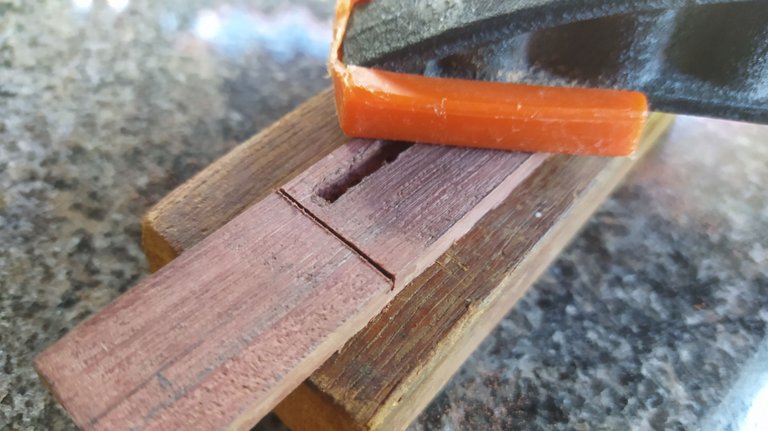
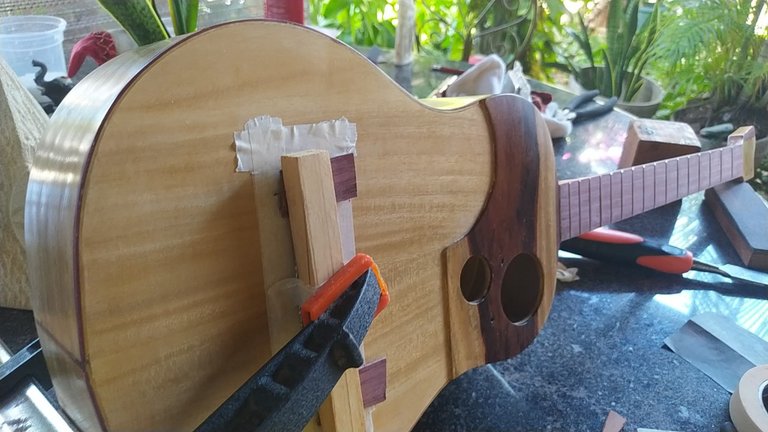
Hay que añadir aquí que pegar el puente es una dosis de adrenalina. Esto es porque hay que remover parte del acabado. Y hay que tener la posición y medidas correctas. No es algo que se pueda arreglar con facilidad.
Bridge, nut and saddle
The last three pieces that go before the tuning machines and strings. These are responsible for the action of the strings. They also limit the length of vibrating string. This means how much of the strings is going to move when played.
This time I had some help to make a very thin bridge. It also has a closed slot for the saddle. I must admit it has a more aesthetical appeal. However, it took a lot of time to have it ready. Also, I had to make the nut twice. The first time, there was a very annoying vibration coming form that piece and that didn't allow the instruments sound to shine.
Also, I gotta point out something. Preparing the are to glue the bridge gives you an adrenaline rush. You need to remove the finish from that area. So, you've got to have surgical precision lest you want to screw the finish on the sound board. It's not an activity for the faint of heart.
 |  |  |  |  |
|---|
 |  |  |  |  |
|---|
 |  |  |
|---|
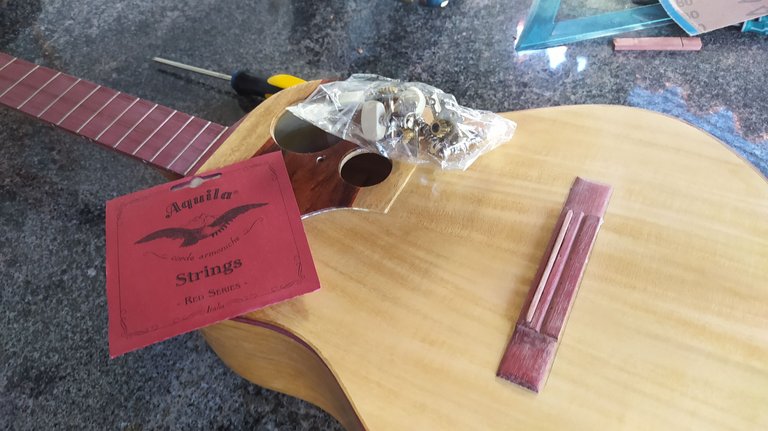
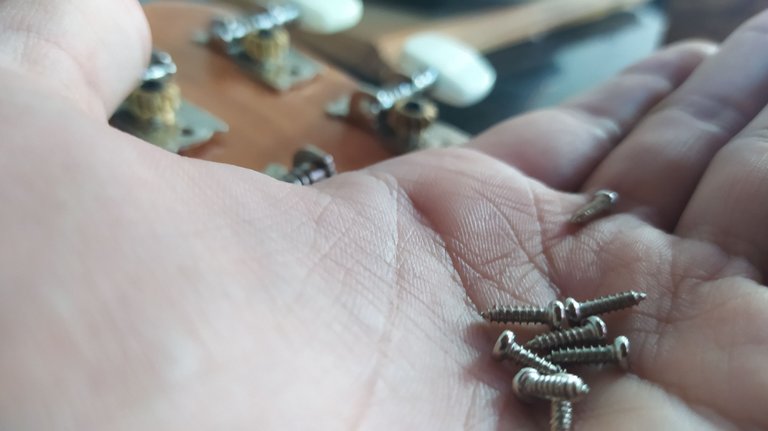
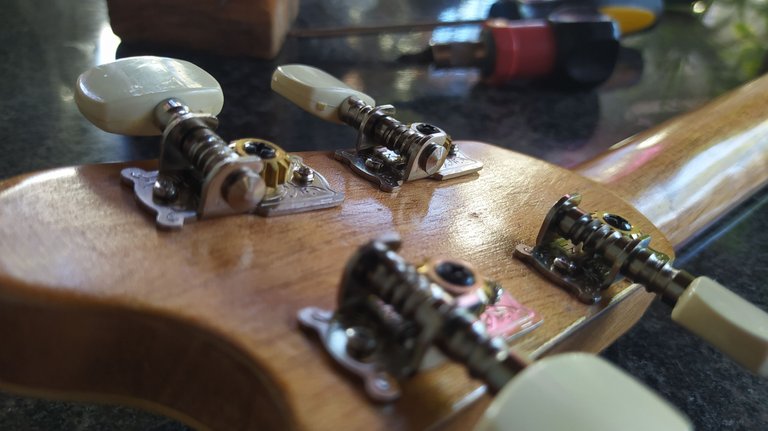
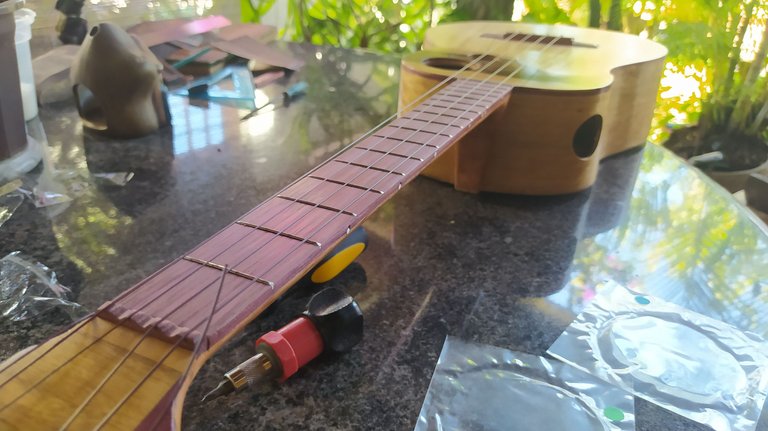
Clavijas y cuerdas
Siempre que se colocan estas, ya sabemos que el instrumento está casi listo. Con todo preparado, solo queda colocar los tornillos para fijas las clavijas y luego sacar las cuerdas del empaque para fijarlas en el puente y tensarlas en las clavijas. Todo para lograr llegar a la afinación. Al principio, el instrumento se va a desfinar mucho. Esto ocurre porque las cuerdas de nylon se estiran hasta llegar a un nivel de elasticidad adecuado para mantener la afinación.
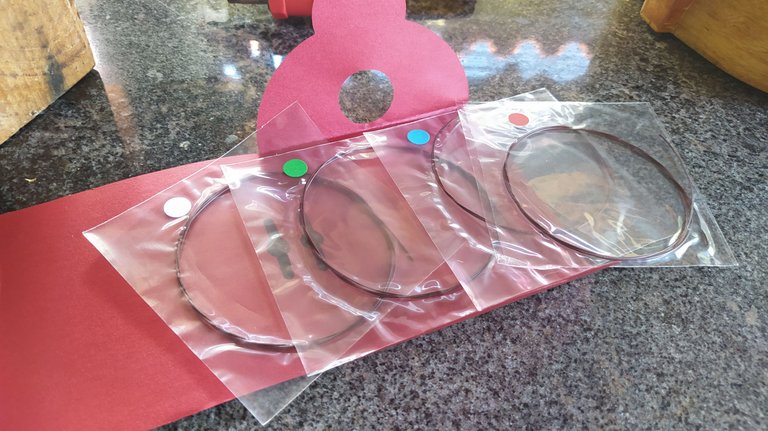
En esta ocasión, estoy usando las cuerdas Aquila "Red Series". No sabía que las cuerdas también eran rojas. Sin embargo, están en la identidad de color del instrumento. Así que le van bien. Además de eso, tiene un sonido muy claro y brillante.
Al colocar las cuerdas tenemos qieydar un tiempo para hacer otros ajustes menores que sean necesarios. Pero con esto podemos dar el proyecto por finalizado.
Tuning machines and strings
We know the project is coming to an end once we start with this part. There's nothing to it. We just need to screw the tuning machines in place. Then, tie the knot for the strings on the bridge, get them over the tuning machines and start turning. These are going to go out of tune quickly on this stage. Nylon strings take some time to adjust to the tension. It will get better over time.
I'm using Aquila's "Red Series" strings. It surprised me that they are red. But it goes well with the whole colour identity of the instrument. They also pack a very bright and crisp sound.
After getting the stings, there may arise the need to make some other adjustments, but we can call it a day and say this project is finally finished!
Últimas palabras
Este ha sido el proyecto más interesante que he completado hasta ahora. Tiene una estética diferente a los cuatros venezolanos tradicionales. Todavia seguimos en la búsqueda de la estética. La prueba de sonido vendrá pronto. Por los momentos, me despido, pero dejo abierta la sección de comentarios para sus dudas o cualquier pregunta.
¡Manténgase creativos y que tengan buen día!
Wrap up
This has been one of the most interesting projects I have finished. The aesthetics differ a lot from Traditional Venezuelan Cuatros. I'm still looking for my aesthetics. The sound test will come soon. I'm out for the day, but the comment section is open for your questions and anything you want to say.
Stay creative and have a great day!
- Fotos/Photos 📷: taken by me (Redmi Note 8)
- Portada/Thumbnail 🖼️: created by me with Canva.
Follow me on Instagram for enquires and commission.
If you'd like to help the workshop grow, you can make a donation here. You can find me at discord as bertrayo#1763
The rewards earned on this comment will go directly to the people( @bertrayo ) sharing the post on Twitter as long as they are registered with @poshtoken. Sign up at https://hiveposh.com.
Thank you for sharing this post on HIVE!
Your content got selected by our fellow curator ashikstd & you just received a little thank you upvote from us for your great work! Your post will be featured in one of our recurring compilations which are aiming to offer you a stage to widen your audience within the DIY scene of Hive. Stay creative & HIVE ON!
Please vote for our hive witness <3
Thanks a lot for your support! ✨
Todo un proceso hermoso, casi un hijo. Me encayla forma distinta que presenta. Estoy segura que luego de que las cuerdas estiren su sonido será increíble. 🥰✨🤗
Cada vez que hago uno me siento como Gepetto armando a Pinocho. Me imagino que es lo mismo.
Lo que le falta es rosca para dar con el sonido ideal. Gracias por pasar y tus palabras, querida Zully. 🥰✨
Interesting design. Had not seen it. Does it sound different? Better? Louder?
It has great sound. That only means design doesn't matter on an instrument.
Cool. I thought the sound came a certain way only if the hole was in the same place, same size, etc.
The size of the sound hole matters. That's why there 3. 2 are on the front and there's one on the side.
Interesante diseño el de este cuatro.
Ha sido todo un proceso hasta su finalización, me encanta el resultado final.
¡Saludos!
Muchas gracias. También le tengo que agradecer al pana que me ayudó con el diseño. Sin duda el proyecto más interesante hasta ahora.
Qué bonito trabajo el que realizas amigo, te felicito, yo lo veo bien, habrá que probar como suena jiji, saludos.
Suena bien. Hoy grabé la prueba de sonido, pero eso daba para su propia post.
Wow that looks amazing! I would be very worried about putting the frets in exactly the right place... A very mathematical formula really!
It's all about practice. And I'm not a machine so there's always some compensation on the bridge.
Holaaaa! Feliz año! seria interesante escuchar su sonido dado a que se que el orificio repercute en la caja sonora. Me ha super encantado el modelo, nunca había visto uno igual <3
!Hola, Feliz Año Nuevo! ✨
El sonido está balanceado por un monitor en un costado. Ya tengo la prueba de sonido grabada y bueno, suena de más de bien. Por to la estaré subiendo.
Saludos. ✨
Wowww me encanta el resultado final, hiciste un gran trabajo, sos un artista y artesano, ambas cosas, espero se diga igual ahí jaja. Gracias Andrés!!❤️
Ja, ja, ja, ja. Básicamente eso lo resume. Gracias por comentar. ✨
A ver cuando esta listo el taller con la otra cuenta jaja
¿El taller? No será pronto. Aquella cuenta es la billetera del taller. 🤣
jajaja me estas confundiendo, así no se puede jajaja
🤣
🤣
Wow this is amazing. I love your skill
Thanks a lot! ✨
Me gusta mucho este post amigo. Te felicito está quedando súper genial. Espero el vídeo para
El video se viene hoy. Ya lo edité y solo me falta terminar unas cosas para subirlo.
Que bueno @bertrayo, no me lo perderé. Me gusta tocar también el cuatro, lamentablemente ahorita no tengo. Pronto compraré uno.
Excelente. Bueno por aquí estamos a la orden con los temas de construcción de instrumentos. Aceptamos pagos en cryptoa.
Sería excelente. Te voy a ubicar en discord y conversamos acerca de eso. Te parece? Si me interesa.
Está bien, por allá te espero.