

We are back for the last entry in the series of making the Box Drum. It's been blast to share all the process and having your feedback, but everything that has a beginning has an end. So, sit back and enjoy as we go through the final steps to complete this instrument.
Let's dive in!
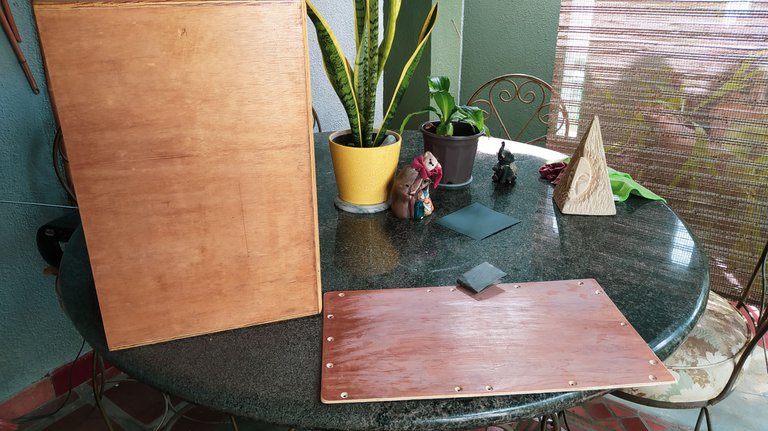
Sand it!

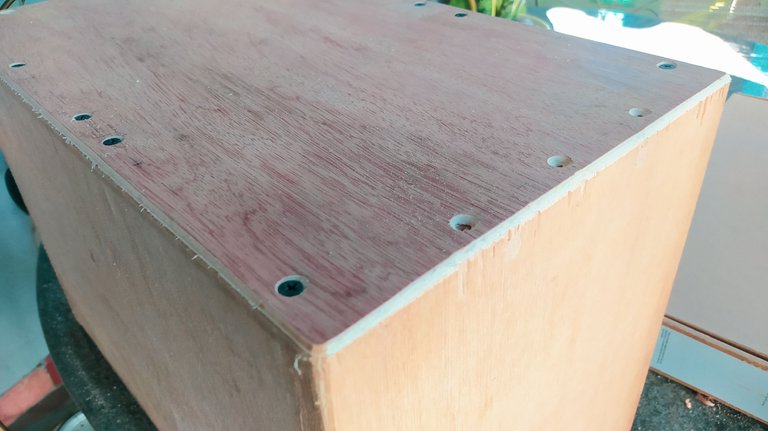


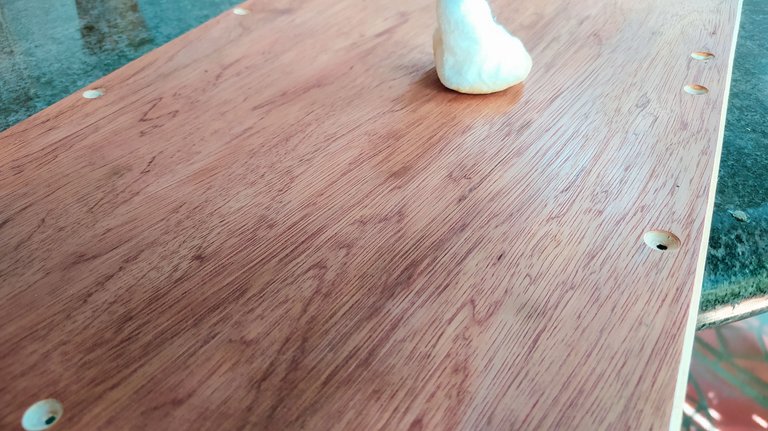
There's always a lot of sanding involved in making anything that implies wood. This is not the exception. So, we go with our usual coarse grits to the fine ones. This way we have a smooth surface to apply the finish and have a good looking Box Drum. And since we are doing the whole instrument, we can leave the sound board on for now.
In this step, we also go head and make a bevel on the sound board with our router. This wood it will look smoother since it doesn't have the same grain of the rest of the Box.
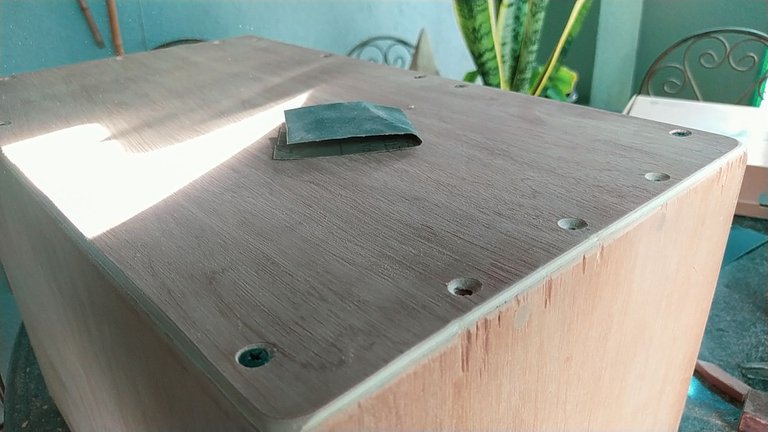
Seal it!

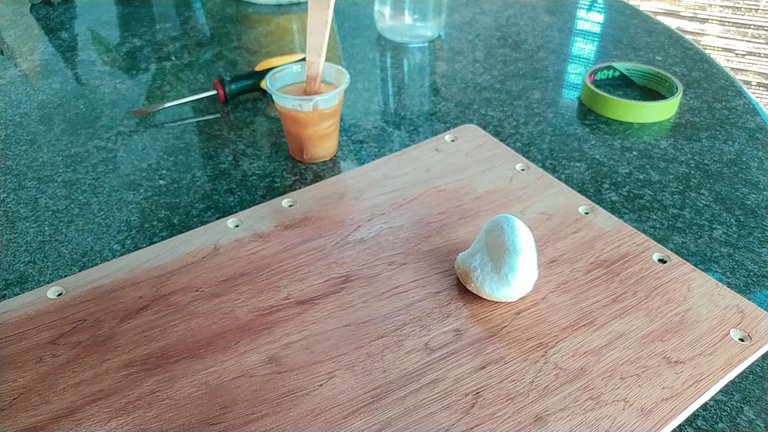


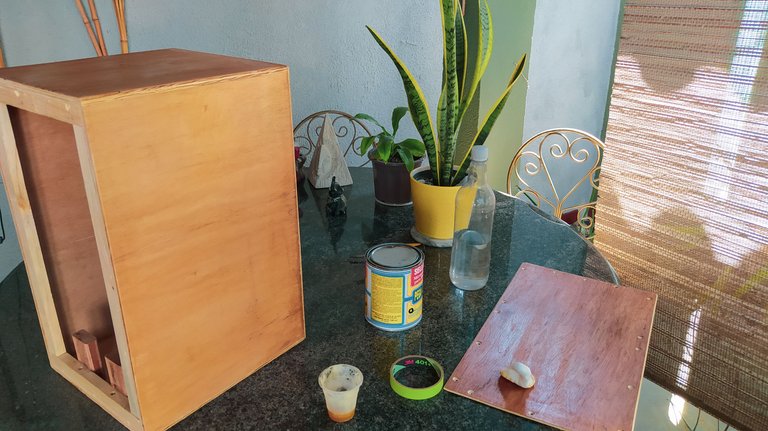


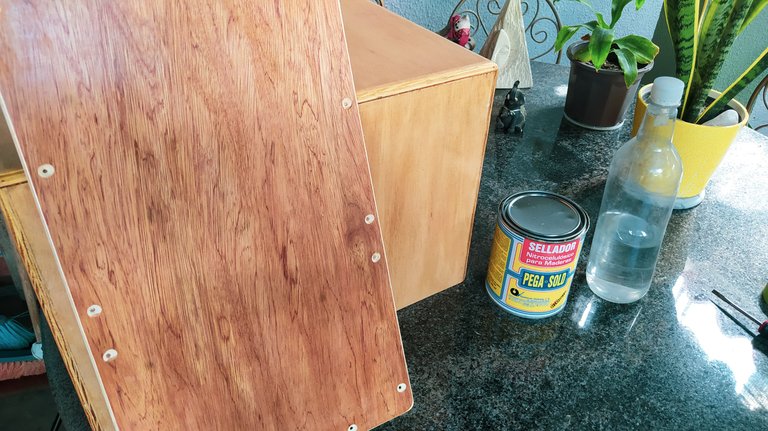
After we are done with the first round of sanding, we can move to the grain filling. For this project, it's only about using sealant. The idea is to have a functional instrument as a sort of sample project. We can make prettier ones once the commissions begin. So, we mix sealant and thinner with a ration of 1:3. That way we have a thin mix that will dry faster.
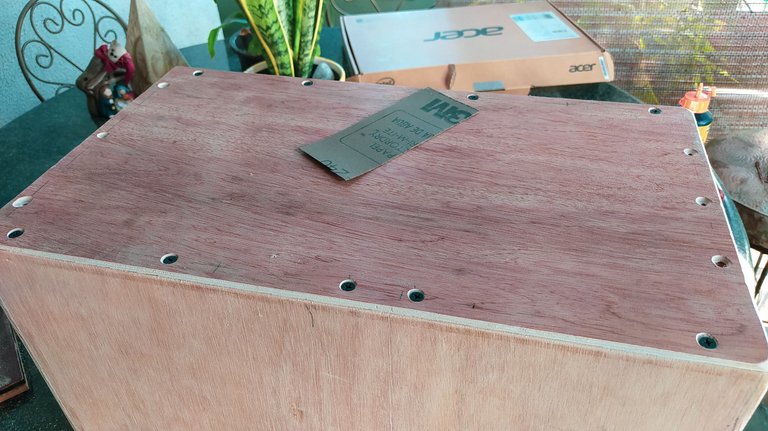
We prepare a piece of cotton to stat applying this all over the Box Drum, one face at a time. Since the process might create some adhesion, we have to remove the sound board and applying the sealant to it off the Drum. We let each coat dry before applying the next one. After we have applied the last one and let it dry, we sand the whole Drum and sound board until it is smooth to the touch. To remove any reside of white dust, we can use a cloth with some thinner. That way the dust will dissolve and become part of the finish.
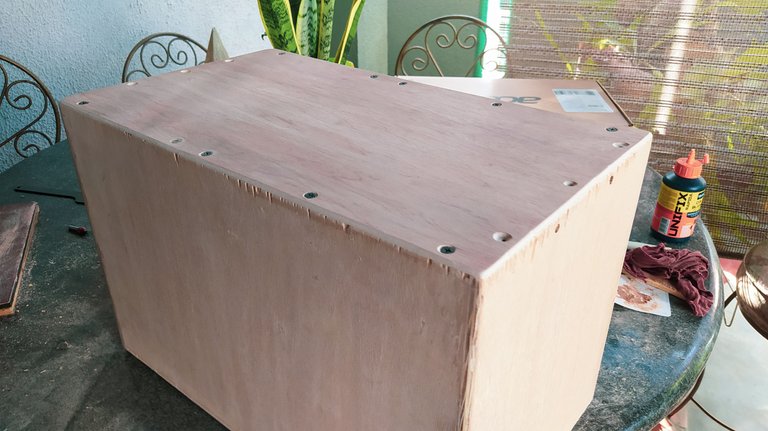
Miscellaneous
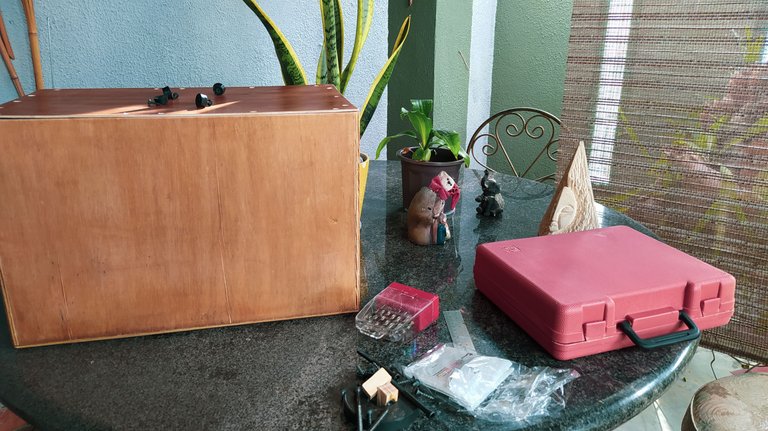


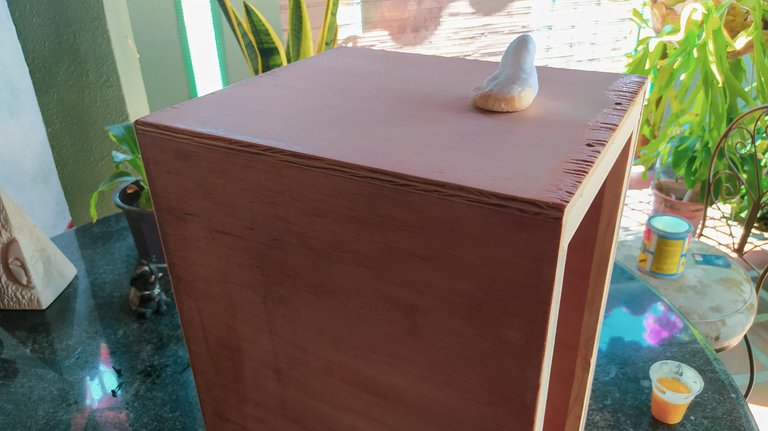
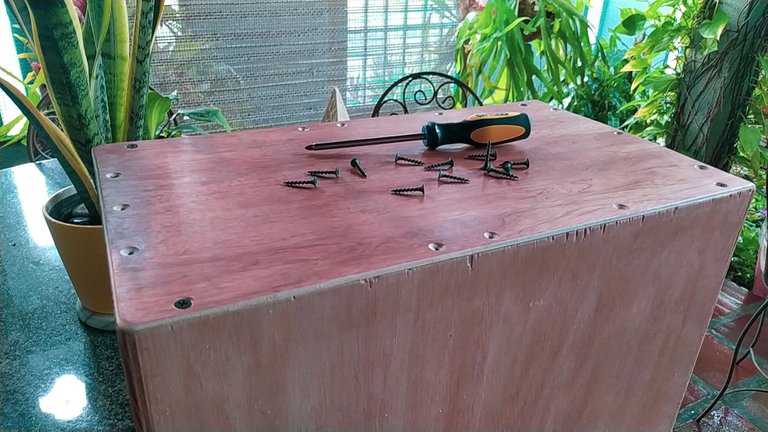
Before going with the strings, we'll walk the extra mile and set some rubber legs for the Box Drum. That way the wood won't be in contact with the floor. Also, since we need to sand everything and the color will come out as opaque, we need to apply an extra coat of protection in the for of teak oil. That will give it the final coloration.
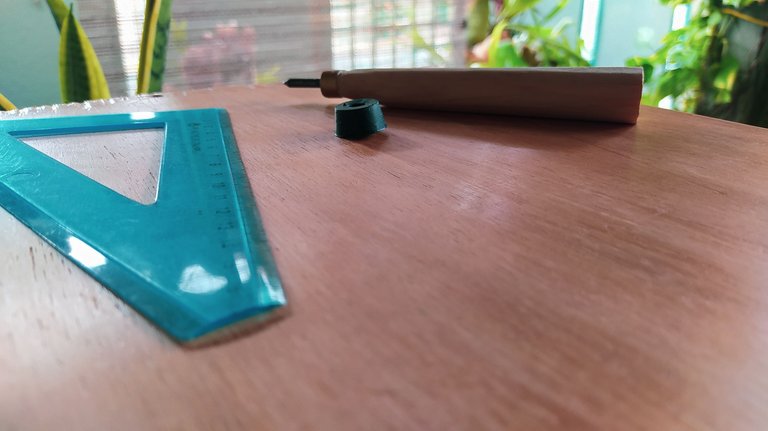
And even before that, we need to get the logo on the sound board. These are very simple steps, but it's always good to personalize your instruments to make them stand out from the rest.
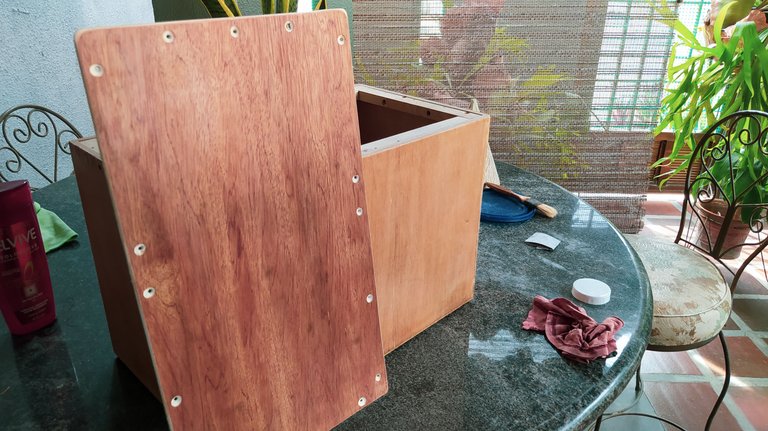
Strings on!

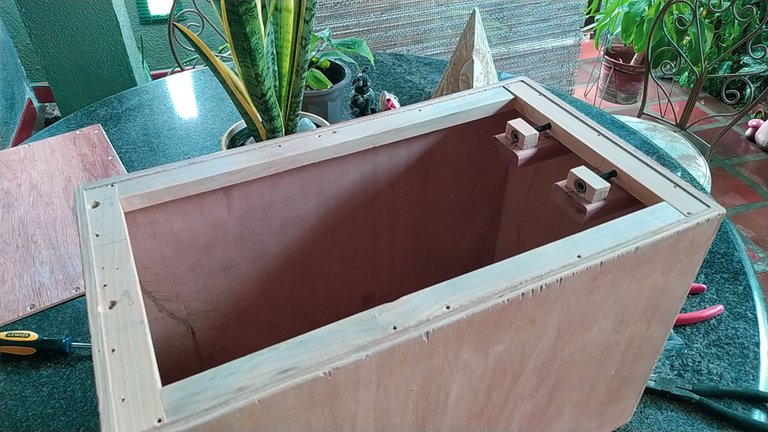


On the final step, we mount the strings to the frame and tuning system. With this, we have the snare effect whenever we play the sound board. Also, with the screws we installed previously, we have a way to tune this up in the way we want. If we don't want any snare, we have tighten the screws so the strings don't vibrate much. If we want more, we just need to loosen the screws. Having set this up, we mount the sound board and have a finished instrument.
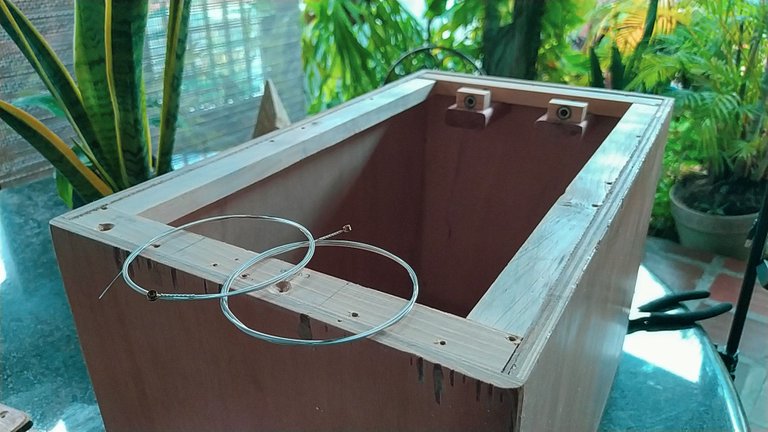
In case you're wondering how the strings look like, here's a photo to illustrate:

And thus we have finished building a Flamenco Box Drum. I hope you have enjoyed the process. It was a very interesting build and it is now part of the instruments in sale in the workshop. Thanks for reading the entries up to this one. Leave your comments if you have any questions or just want to say hi. I'd be more than happy to reply. See you on the next build!
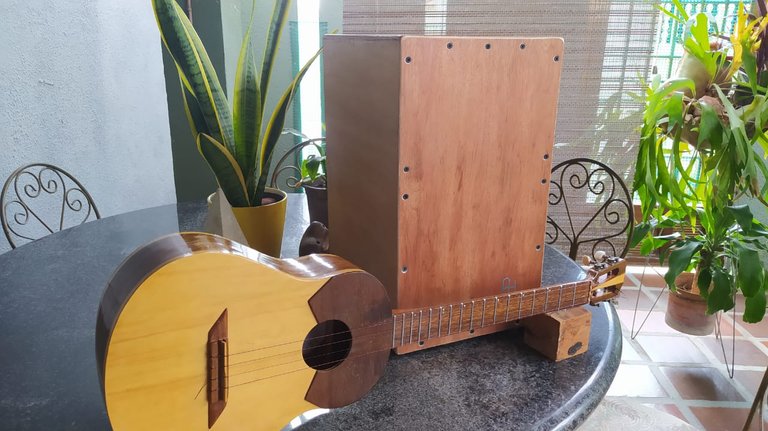
Another instrument joins the family
Listo para la acción
Estamos de regreso para la última parte en la serie de la fabricación de este Cajón Flamenco. Ha sido un proceso muy interesante y tener su feedback ha ayudado a mantener los ánimos altos para lograr esto. Pero cada cosa con un inicio tiene un final. Así que relájense y disfruten del resto del proceso.
¡Vamos allá!
¡A lijar!
Siempre que se hace un proyecto en madera podemos estar seguros de que habrá un montón de lijado en el proceso. Esta no es la excepción. Así que usamos la misma progresión de proyectos anteriores. Vamos del grano más grueso al más fino. Así nos aseguramos de tener una superficie más pareja para que el acabado del cajón quedé muy bien. Y cómo estamos lijando todo el instrumento, podemos dejar la tapa colocada por ahora.
En este paso, también nos aseguraremos de crear un bisel en la tapa. Esto no tiene ninguna función más allá de lo estético ya que esta pieza no tiene el mismo tipo de veta que el resto del cajón.
¡Séllalo!
Después de acabar con la primera tanda de lijado, podemos ir al sellado de la madera. Para este proyecto, solo emplearemos sellador de madera. La idea es tener un instrumento funcional sin tomarse el tiempo de aplicar un acabado más profundo. Después de todo, este es un cajón para muestra. Ya podremos hacer unos más elaborados en el futuro cuando comiencen los pedidos. Así preparemos una mezcla de sellador y tinner a razón de 1:3. Así tendremos una mezcla delgada y de secado rápido.
Utilizamenos una mota de algodón para aplicar el sellador por todo el cajón, una cara a la vez. Como este proceso puede crear algo de adhesión entre las superficies quen no están pegadas, tenemos que retirar la tapa del cajón y sellarla aparte. Dejamos secar cada mano de sellador antes de aplicar la siguiente, Luego de haber aplicado la última, dejamos secar y comenzamos a lijar nuevamente para emparejar el sellador hasta que tengamos una superficie lisa al tacto. Removemos el polvo residuo del sellador. Para asegurarnos que no quede nada de polvo, después de sacudir, podemos aplicar un poco de thinner con un trapo. Esto hará que el polvo que quede sobre la superficie se disuelva dentro del acabado.
Detalles
Antes de colocar las cuerdas, tenemos algunos detalles que completar. Primero, aplicar aceite de teca al cajón para completar el acabado y darle un color más natural. Además, esto añade una capa de protección extra contra la humedad. Segundo, colocarle unas patas de goma para que no descase sobre el suele y se dañe la madera de la parte inferior del instrumento.
Pero la parte más importante antes de las primeras cosas en la lista es colocar el logo de la marca. Siempre es importante identificar nuestro trabajo. Es una tarjeta de presentación y nos hace resaltar entre el resto de los instrumentos.
¡Cuerdas listas!
El último paso antes de colocar la tapa otra vez es fijas las cuerdas al marco y al sistema de afinación. Con esto, tendremos el efecto de redoblante cuando toquemos el cajón. Además, gracias a los tornillos del sistema de afinación, podremos ajustar este efecto como querramos. Si queremos menos redoblante, podemos tensar las cuerdas, Si queremos más de este efecto, solo tenemos que soltar. Y luego de colocar la tapa nuevamente, tenemos un instrumento completo.
Si se preguntan cómo se ven las cuerdas por dentro, aquí las tienen:
Y así terminamos este proyecto del Cajón Flamenco. Espero que hayan disfrutado de todo el proceso. Fue muy interesante adentrarse en el proceso de construcción de este instrumento de percusión. Ahora es parte de los instrumentos disponibles en el taller. Gracias por leer estas publicaciones y las anteriores. Déjame un comentario sobre el proyecto a cualquier duda que tengas. Con gusto responderé todos los comentarios. ¡Nos veremos en el próximo proyecto!
Otro instrumento se una a la familia
Fotos/Photos 📷: taken by me (Redmi Note 8)
Portada/Thumbnail, Sepradores/Text Dividers 🖼️: by me, created with Canva.
Edición/Editing 🎬: by me, made with Adobe Photoshop Lightroom.

Follow me on Instagram for enquires and commission.
If you'd like to help the workshop grow, you can make a donation here. You can find me at discord as bertrayo#1763
Pues, si ha sido un proceso entretenido, el que lleve cuerdas en la parte interna, (ya lo había comentado antes) es algo que me llamo la atención, creo que entiendo el motivo para eso. Pero visto desde fuera, como no se podía ver, en el instrumento terminado es algo que no se puede notar.
Ha sido un proceso muy interesante, seguir el progreso es algo que entretiene.
Mucha suerte para usted amigo.
Sí, yo había visto cajones con chirriadores de redoblante, pero ya sabía que llevaban cuerdas porque siempre ando viendo videos de instrumentos por youtube. Por fuera no se vería, pero si se ve hacia adentro desde la boca del instrumento, se van a notar las cuerdas.
Me alegra que haya sido de su agrado. Saludos.
Guao, mi felicitaciones y admiración para usted, que hermoso y gran trabajo, nunca había observado la elaboración de algún instrumento, es increíble, gracias por compartir.
Muchas gracias por leer y por tus palabras. Siempre es un gusto venir a compartir un poco de mi trabajo por estos lares.
This post has been manually curated by @bhattg from Indiaunited community. Join us on our Discord Server.
Do you know that you can earn a passive income by delegating to @indiaunited. We share more than 100 % of the curation rewards with the delegators in the form of IUC tokens. HP delegators and IUC token holders also get upto 20% additional vote weight.
Here are some handy links for delegations: 100HP, 250HP, 500HP, 1000HP.
100% of the rewards from this comment goes to the curator for their manual curation efforts. Please encourage the curator @bhattg by upvoting this comment and support the community by voting the posts made by @indiaunited.
Muy buen trabajo Andrés, muy bueno, me gustaron mucho las partes de los detalles y las cuerdas. Todo me gustó, pero eso más! Y el resultado final es maravilloso.
Debo destacar la frase que elegiste al comienzo, me encanta!
Abrazo Andrés!😀
Oye, es que no me acuerdo por qué me salió la frase buscando algo y dije que la tenía que colocar.
Es un montón de trabajo, pero es como 3 veces más fácil que hacer un cordófono. Así que ojalá me salgan un montón de encargos.
Así va a ser Andrés, así será mucho trabajo vendrá!!
🤣🤣🤣🤣🤣🤣🤣🤣🤣🤣
🤣🤣🤣🤣🤣
Congratulations @bertrayo! You have completed the following achievement on the Hive blockchain And have been rewarded with New badge(s)
Your next target is to reach 750 posts.
You can view your badges on your board and compare yourself to others in the Ranking
If you no longer want to receive notifications, reply to this comment with the word
STOPTo support your work, I also upvoted your post!
Check out our last posts: