
If Spanish isn't your first language, scroll down for the English version or click here
¡Es miércoles! Eso significa que es día de una nueva edición de Miércoles de Carpintería. El día de hoy es el comienzo de un proyecto nuevo. Es el primer cuatro de la serie aniversario. Este será un proyecto que llevará más tiempo de lo usual y saldrá a la venta en diciembre de este año. Todo en conmemoración del tercer aniversario del taller.
¿Listos? ¡Vamos allá!
Tapa Armónica
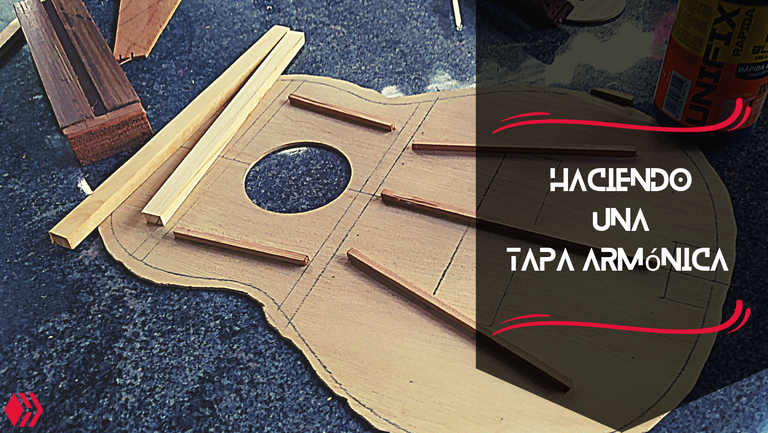
En esta ocasión nos centraremos en parte del trabajo sobre la tapa armónica, el corazón de un instrumento de cuerda pulsada.
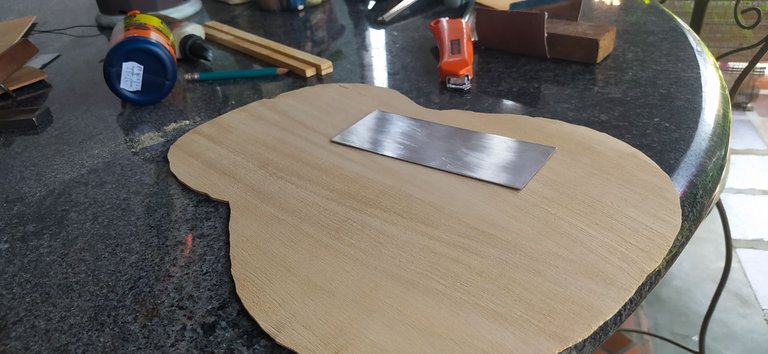
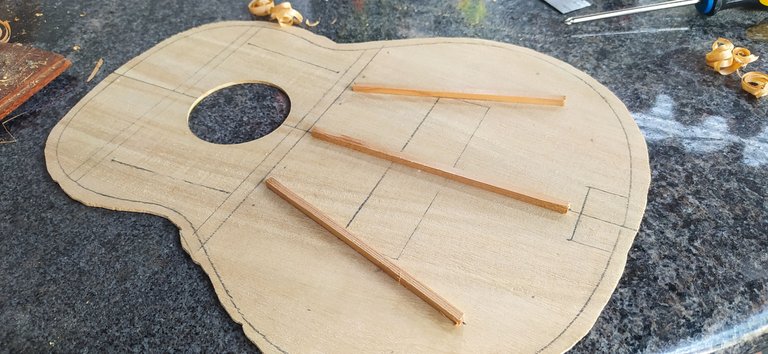
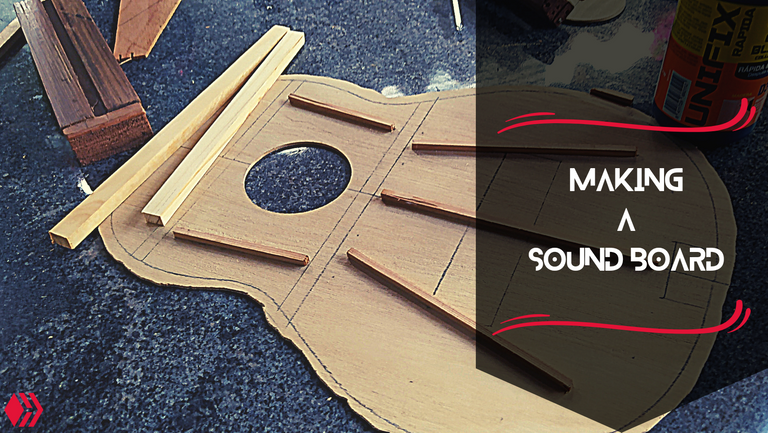
Esta es la última tapa de Melina (Gmelina arborea) disponible por los momentos y después de algunos experimentos con esta madera, es la indicada para el sonido que quiero lograr. La pieza ya se encuentra cortada a casi toda su forma. Solo faltan los detalles internos y el corte de la boca del instrumento.
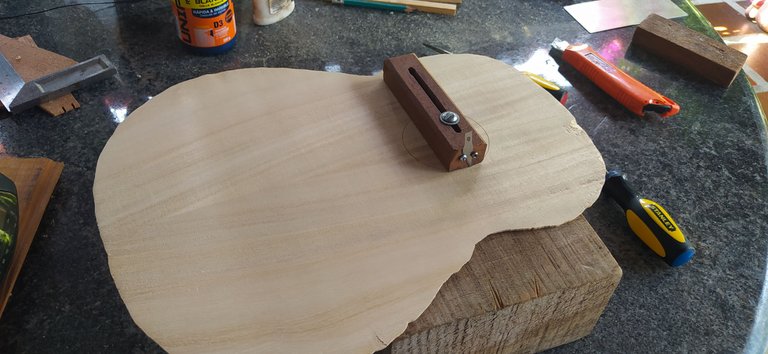
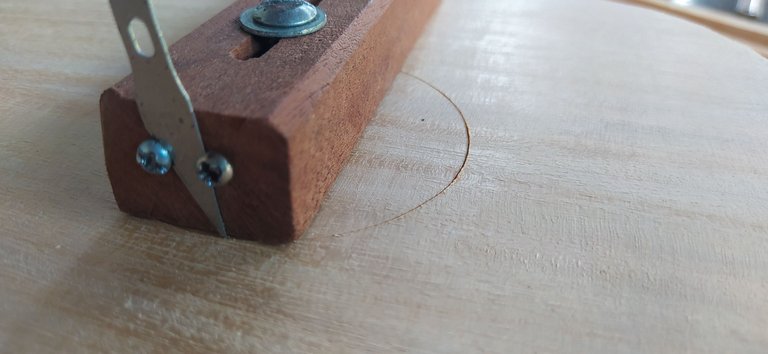
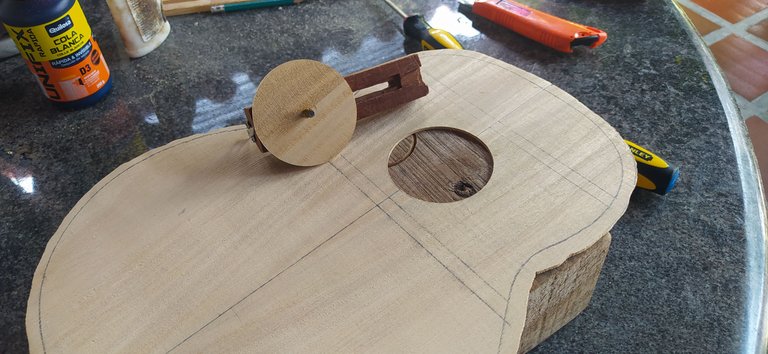
Para esto último, hacemos un agujero en el centro de la pieza a la altura marcada por el dibujo interno. Luego, utilizamos el cortador de círculos para sacar está parte. Este compás funciona a un espesor fijo. Así que para lograr sacar está pieza circular, es necesario darle la vuelta a la pieza para completar el corte.
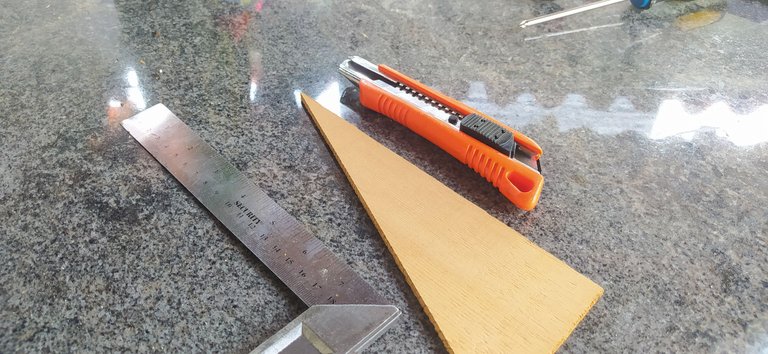
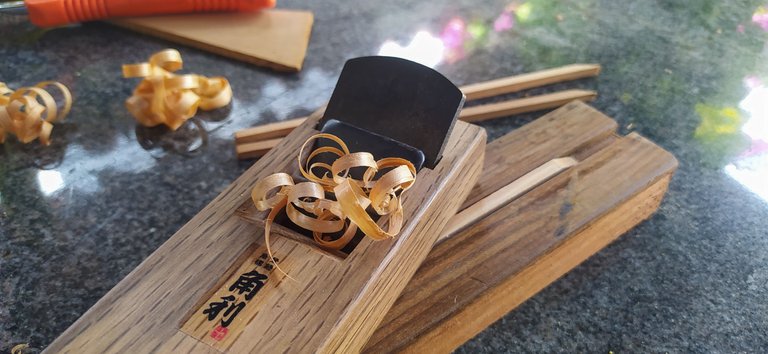
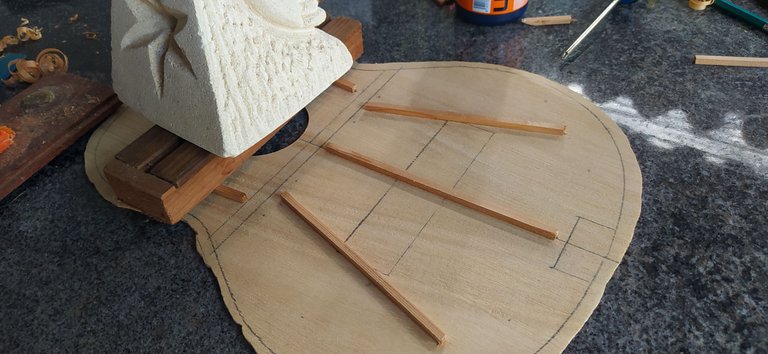
Luego de terminar esto podemos proceder a cortar las piezas para el abanico de la tapa. Como es un proyecto más elaborado, necesitamos un sonido un poco más equilibrado. Para esto, 3 barras bastarán de refuerzo. Estás varetas nos permiten controlar la vibración que producirán las cuerdas sobre la madera. La calibración de las mismas nos determinará que tanto permitiremos que una zona de la tapa armónica vibre. Esto será parte de la próxima publicación al respecto.
En esta ocasión, estoy usando unas piezas de cedro rojo canadiense (thuja plicata). Una madera bastante liviana y con unas cualidades tímbricas excelentes. Aprovechar el material de sobre en el taller es una de las mejores cosas que se puede hacer. Al menos, así no se pierden trozos de madera que no podrían ser utilizados en proyectos más grandes.
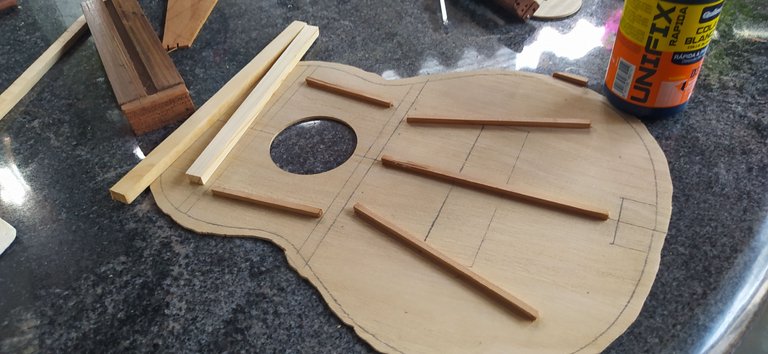
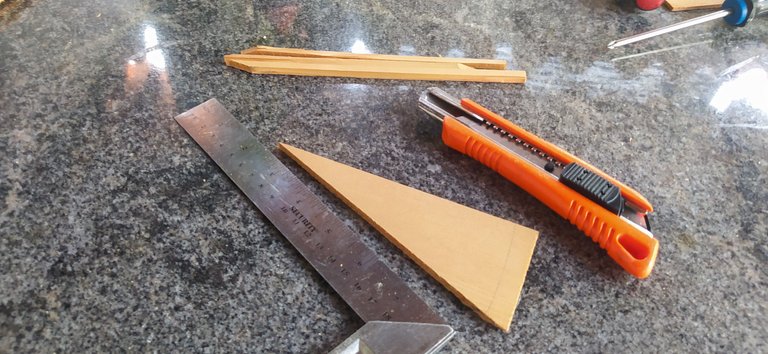
Al terminar de pegar el abanico, procedemos a seleccionar unas piezas para las barras o bancos. Estos limitan el área de vibrante y darán la estabilidad necesaria para que la tapa soporte la tensión de las cuerdas.
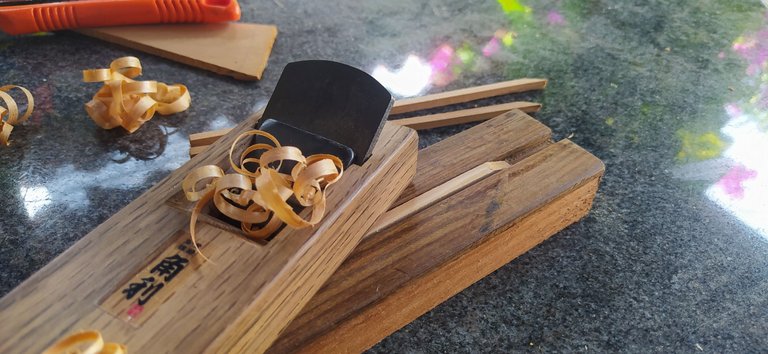
Con estas piezas listas, estamos a la espera de calibrar el abanico para lograr el sonido deseado. Una vez se hayamos hecho esto, podemos proceder a colocar los bancos y luego labrarlos. Muchas partes de este proyecto ya se encuentran listas. Fondos, mástil, aros, todas piezas que se han ido trabajando y cuyas descripciones están en publicaciones del año pasado.
Una vez que la tapa armónica este terminada, les mostraré el resto de las piezas para que vean la belleza de instrumento que va a ser este.
Me despido por ahora. Gracias por visitar. Nos leemos en los comentarios.
Making a Sound Board
It's Wednesday! That means it's time for a new entry in Woodworking Wednesdays. Today, we start a new project. It's the first Venezuelan Cuatro of the Anniversary Series of the workshop. This one will go on sale on December on the date of the workshop's third anniversary. So it will take a long time to complete it.
Ready? Let's go!
Sound Board
This time our focus will be on the sound board, the heart of a plucked-strings instrument.
This is my last sound board of this white wood, known as Melina (Gmelina arborea) in Spanish, available in the workshop for the moment. As I have used it in other previously projects and the results have been great, it is the perfect choice for this one. For now, we are missing the reinforcements and the sound hole.
To do this, we make a hole in the middle of the board at the height where the sound hole should be placed. Then, we use a circle cutter to take out this part of the piece. This cutter only works down to a certain depth. To remove the circle, we need to flip the sound board and cut on the other side.
Now, we can proceed to the struts. As this is an elaborate project, it will need a different quality of sound. That's when the fan design comes in handy. By using 3 struts as reinforcements, we can change the sound production of the sound board. The reason behind this is a regulation of the vibrations produced by the strings. This last process is called voicing and it will be part of the next entry of this project.
For this struts, we are using some pieces of Red Cedar (thuja plicata). This wood is fairly light and has great sound qualities. These pieces are leftovers of other projects. A good workshop always takes advantage of every piece of woody that can't be used in bigger projects.
Once the fan is placed, we can select the pieces for the bars. This limit the vibrating area of the sound board and bring structural stability to the whole piece.
Having all this ready, we are waiting to voice the sound board and achieve the desired timbre. Once this is done, we can place the bars and shape them. The rest of the pieces for this project have already been worked during last year.
Once the sound board is done, I'll show you the rest of the woods that I'll be using for this build. It's going to be a beauty!
It's time to say goodbye, for now. Thanks for stopping by. Be seeing you in the comments section!
Fotos/Photos 📷: taken by me (Redmi Note 8)
Portada/Thumbnail 🖼️: by me, created with Canva.
Edición/Editing 🎬: by me, made with Adobe Photoshop Lightroom.
Follow me on Instagram for enquires and commission.
If you'd like to help the workshop grow, you can make a donation here. You can find me at discord as bertrayo#1763
~~~ embed:1633467992376737793 twitter metadata:MTM4MDIyMzc4NTMyMDc4Nzk3Nnx8aHR0cHM6Ly90d2l0dGVyLmNvbS8xMzgwMjIzNzg1MzIwNzg3OTc2L3N0YXR1cy8xNjMzNDY3OTkyMzc2NzM3NzkzfA== ~~~
The rewards earned on this comment will go directly to the people( @bertrayo, @lauramica ) sharing the post on Twitter as long as they are registered with @poshtoken. Sign up at https://hiveposh.com.
Thank you for sharing this post on HIVE!
Your content got selected by our fellow curator stevenson7 & you just received a little thank you upvote from us for your great work! Your post will be featured in one of our recurring compilations which are aiming to offer you a stage to widen your audience within the DIY scene of Hive. Stay creative & HIVE ON!
Please vote for our hive witness <3
que gran trabajo hermano.
Que buen trabajo Andrés me encanta el paso a paso, los videos también pero las fotos son especiales. Que más decir de tu gran trabajo, una maravilla!🤗
Gracias, Amonet. Igual las sesiones de trabajo me dan para hacer ambas cosas. Entonces, le saco provecho a hacer dos o tres publicaciones con ese contenido.
Shhhh eso lo se jajaja pero me gusta todo jaja
😂
🤣🤣🤣
Que emocionante debe ser crear un instrumento desde cero, me imagino que los haces a todos con gran cariño. Me gustan todos estos tipos de trabajos artesanales porque es interesante saber como se hacen las cosas. Gracias por compartir tu trabajo Andrés 😃.
Gracias por pasar por aquí, Laura. Generalmente, es un trabajo muy relajante y divertido. Si han habido ocasiones en que el trabajo se ha vuelto un estrés, pero no es lo normal.
Le pongo cariño porque me siento como si estuviera cultivando plantas y otras cosas. Y por ahí se van los instrumentos. Ya hay algunos en otros países.
Ese cuatro se ve espectacular, esperando que salga entonces esa colección de cuatros. Soy fan de tu trabajo vale, muchos éxitos.
Muchas gracias. Vamos a ver qué tal le va a esta serie anual de instrumentos.
Grandioso trabajo artesanal que haces elaborando tus cuatros amigo @bertrayo. Admirable. Mi esposo es carpintero y se lo que es trabajar con madera, pero lo tuyo es aun mas especial, elaborar un objeto musical requiere un esfuerzo, un talento especial y tu lo tienes. Un abrazo y que sigan los éxitos... 💕
Muchas gracias. Bueno, la carpintería es la base de todas los trabajos en madera. Las especializaciones no existirían son ella. Por aquí vamos haciendo lo que se puede.
Así es cariño. Todo es especial, cada quien tiene su talento. Abrazos...
Claro que sí. Le mando un abrazo. ✨
amigo usted es todo un artista, ese trabajo va a quedar asombroso. Que tengas mucho éxito!
Muchas gracias. 😁