Hola, hola mi querida comunidad de @Hivediy un abrazo a todos.
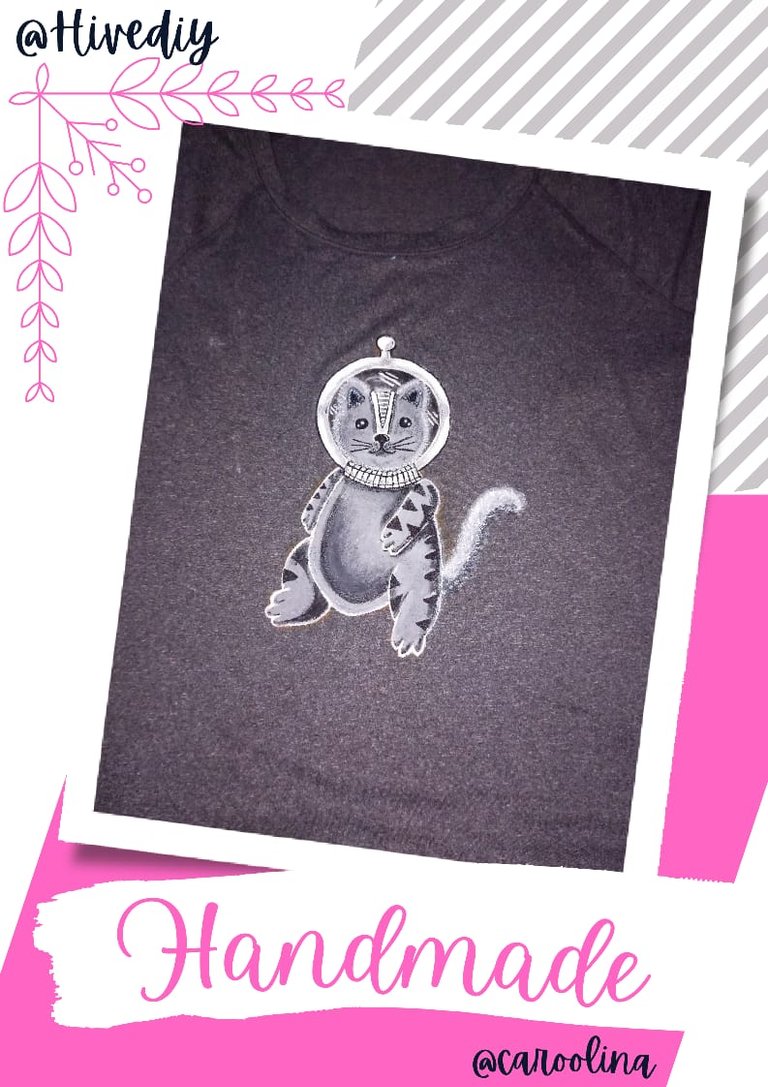
Hoy les traigo este diseño en una camisa gris de un gato que tengo tatuado en el brazo y quise hacerlo en una de mis franelas también.
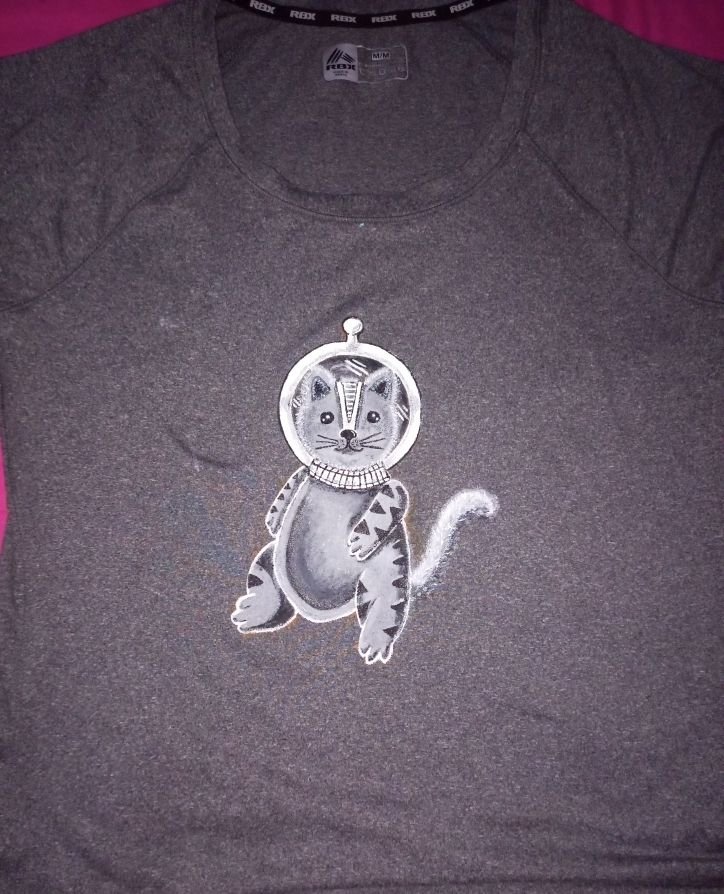
Es un gatito astronauta que me hice en honor a mi luna hace un año ya y aquí les muestro el paso a paso.
Hello, hello my dear community of @Hivediy a hug to all.
Today I bring you this design on a gray shirt of a cat that I have tattooed on my arm and I wanted to do it on one of my flannels too.
It's an astronaut kitty that I did in honor of my moon a year ago and here I show you the step by step.

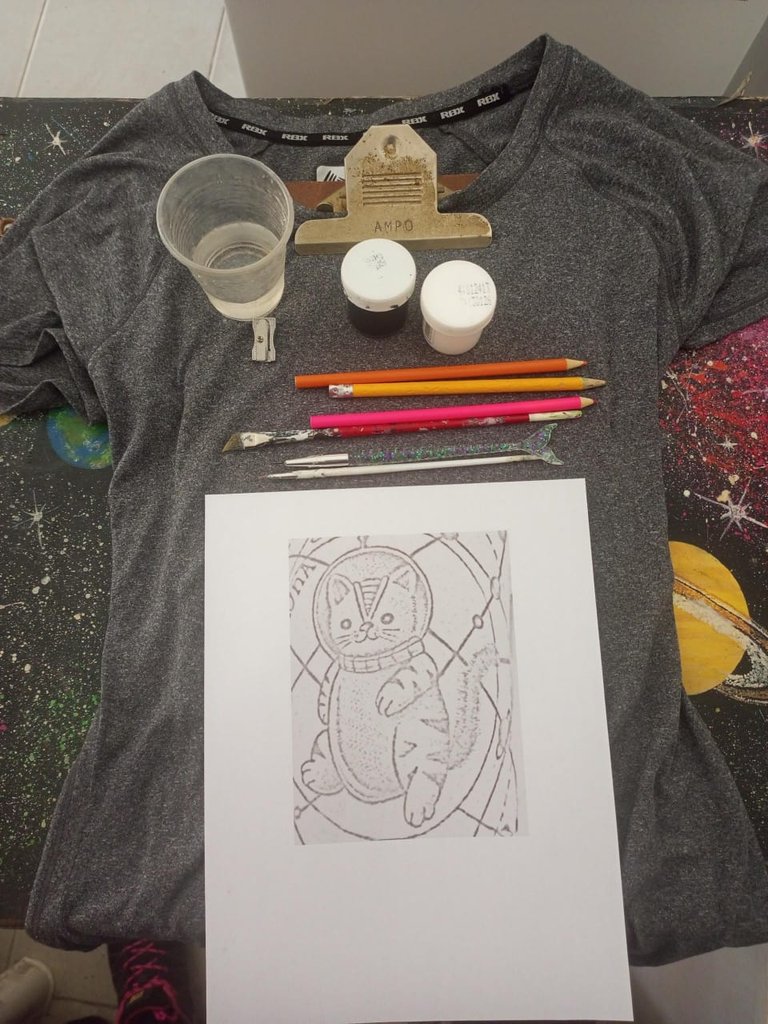
Materiales utilizados:
-LAPIZ.
-CREYON.
-FRANELA GRIS.
-PINTURA DE TELA.
-PINCELES.
-SACAPUNTA.
-IMPRESIÓN DEL DIBUJO A REALIZAR.
-SACAPUNTA.
-VASO CON AGUA.
-cartón.
Materials used:
-PENCIL.
-CREYON.
-GREY PRAYER.
-CREYON.
-PINCELLES.
-SACAPPOINT.
-PRINTING OF THE DRAWING TO BE MADE.
-SACAPUNTA.
-GLASS WITH WATER.
-CARDBOARD.
PASO1.
Estiramos la franela bien y le colocamos el cartón entre la franela y la madera del soporte donde me afinco.
STEP1.
Stretch the flannel well and place the cardboard between the flannel and the wood of the support where I am anchoring.

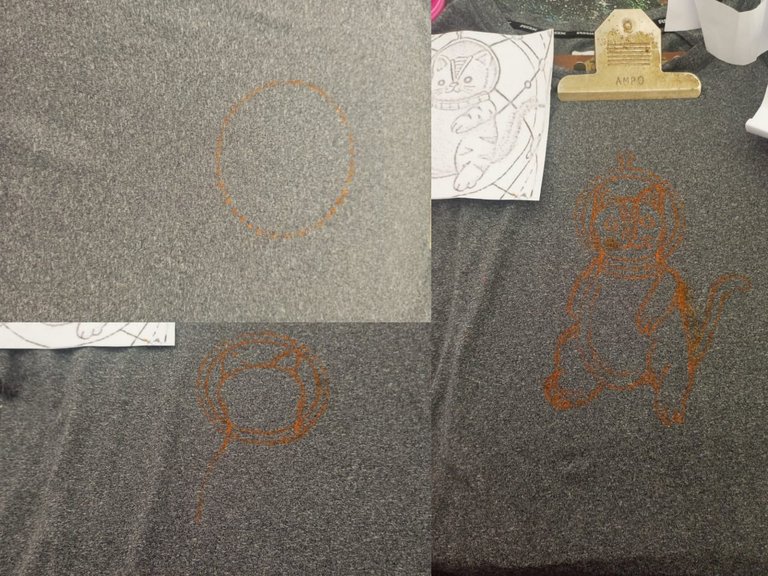
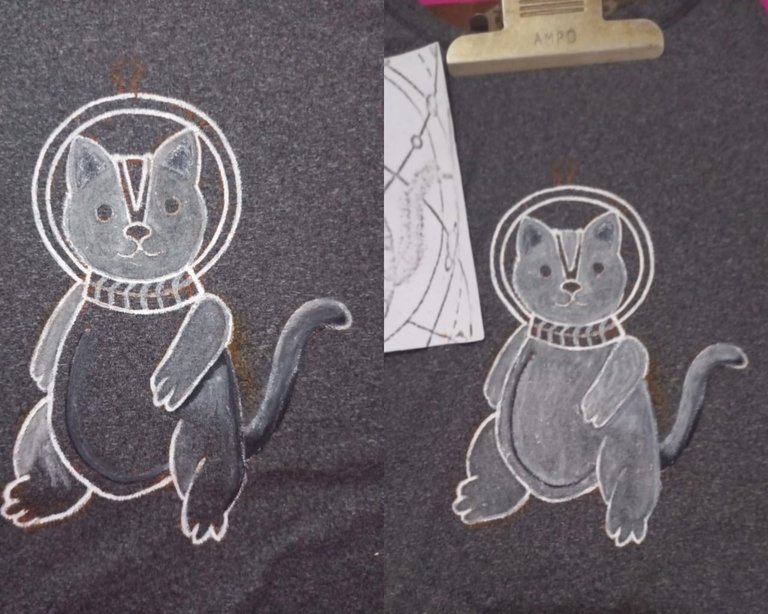
PASO2.
Empezamos a realizar el dibujo en la franela, yo lo hago a mano alzada, trato de que me quede lo más parecido posible, pero bueno no soy profesional, así que hago lo mejor que puedo.
STEP2.
We begin to make the drawing on the flannel, I do it freehand, I try to make it as close as possible, but well I'm not a professional, so I do the best I can.
PASO3.
Delineamos luego el contorno del dibujo con el blanco, le damos la primera mano, esperamos que seque y luego le damos la segunda para que se vea más oscuro y podamos trabajar mejor.
STEP3.
Then outline the outline of the drawing with white, apply the first coat, wait for it to dry and then apply the second coat so that it looks darker and we can work better.
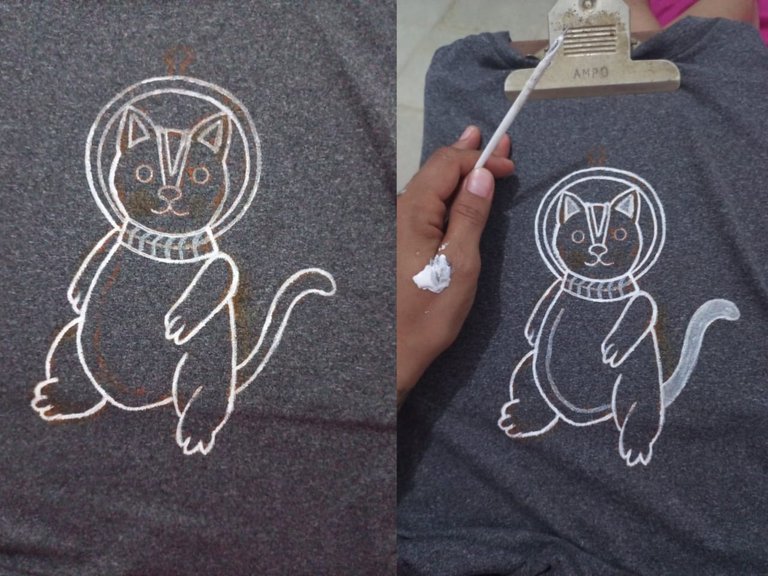
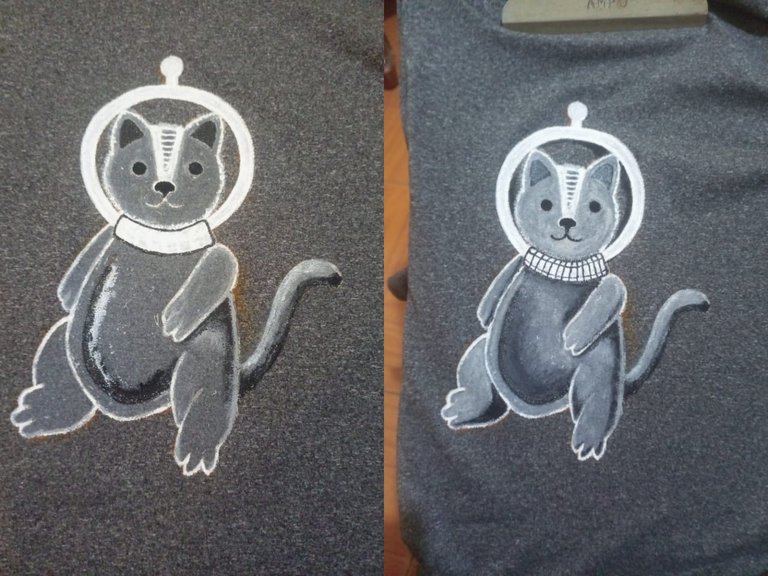
PASO4.
Empezamos a darle la primera capa de pintura a todo el cuerpo del dibujo, es muy importante esperar que seque bien, porque se pone muy clarito igual si le colocamos las dos manos de pintura aun estando húmedo.
STEP 4.
We begin to give the first coat of paint to the whole body of the drawing, it is very important to wait that it dries well, because it becomes very clear even if we put the two coats of paint even being wet.
PASO5.
Pasamos a darle las manos de pintura ahora a lo que será su casco de blanco, a este le damos tres capas de pintura con su debido proceso de que seque bien, dándole las rayitas de la parte de abajo del casco.
STEP5.
We pass to give the coats of paint now to what will be his white helmet, to this we give three coats of paint with its due process that dries well, giving him the stripes of the bottom of the helmet.
PASO6.
En la cola del gatico, empezamos a darle un toque con el color negro en la parte de abajo, para darle un poco de profundidad, luego degradamos del negro al blanco, dándole un toque de gris en el medio hasta llevarlo al blanco en la parte de arriba hasta obtener el resultado querido.
STEP6.
In the tail of the kitten, we begin to give a touch with the black color at the bottom, to give it a little depth, then we degrade from black to white, giving a touch of gray in the middle to take it to the white at the top until we get the desired result.
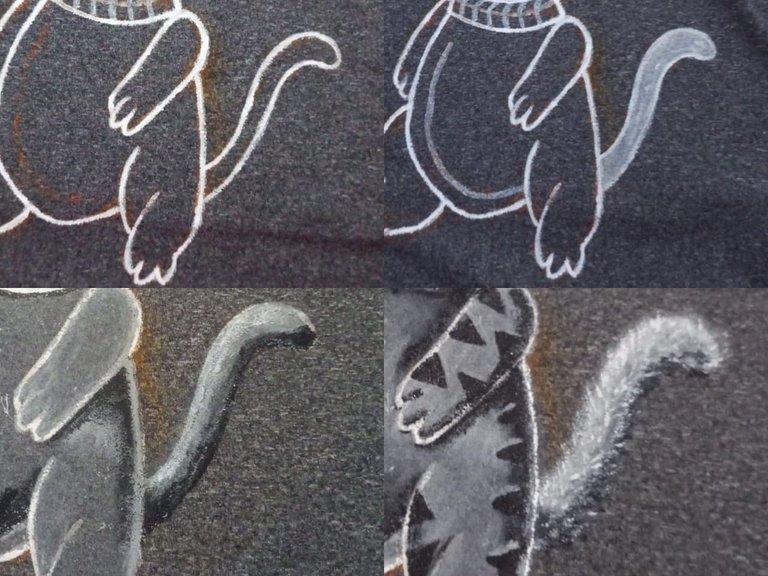
PASO7.
Empezamos ahora hacer los detalles del cuerpo, que son las rayas negras como atigradas, los bigotes y la sombra de las orejitas.
STEP 7.
We begin now to make the details of the body, which are the black stripes like tabby, the whiskers and the shadow of the little ears.
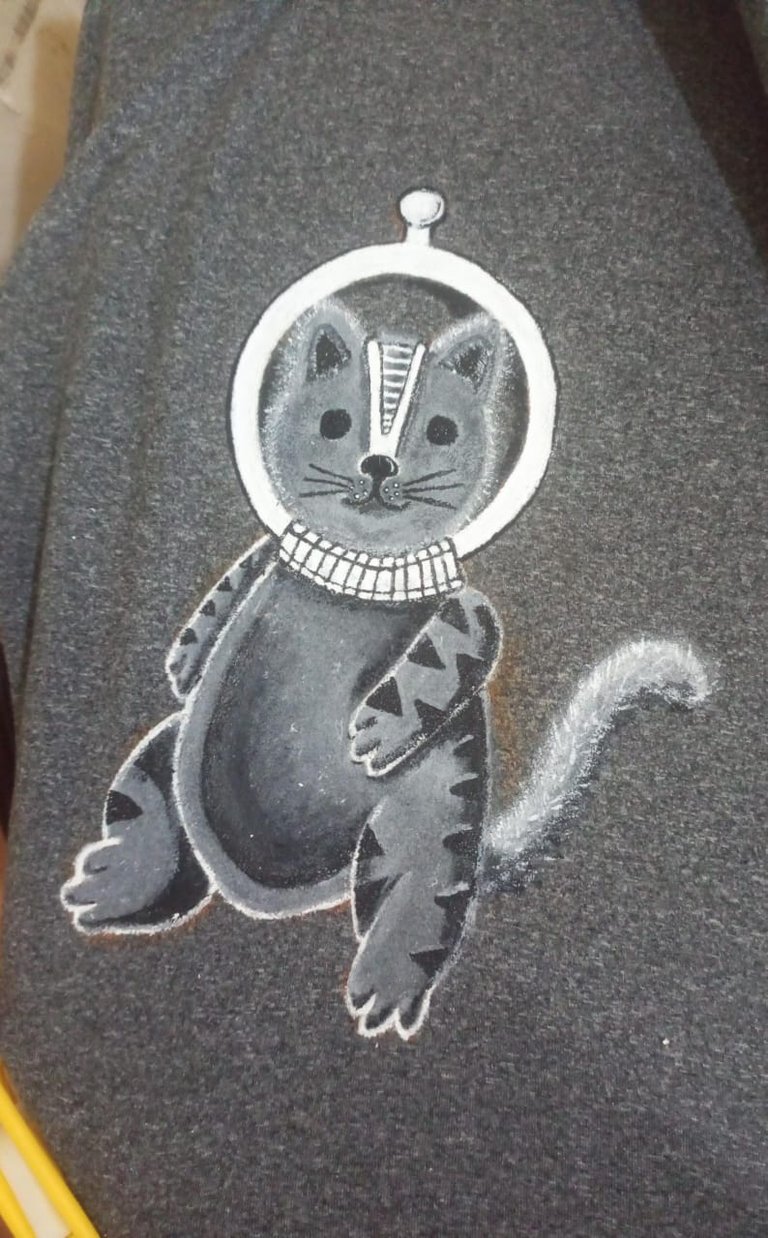
PASO8.
Terminamos dándole los detalles de luz y sombra en todo el cuerpo, cabeza y casco, y no podemos olvidar darle unos pequeños destellos en los ojos para que se vea más lindo, y listo, terminamos nuestra franela pintada a mano.
STEP 8.
We finish giving the details of light and shadow throughout the body, head and helmet, and we can not forget to give a little sparkle in the eyes to make it look cuter, and ready, we finished our hand-painted flannel.

Que genial que logres hacer este tipo de diseñs en una camisa, me encantaria tener esa habilidad para hacerle yo mis dibujos a mis remeras jaja
Es muy bonito el gato astronauta y te quedo espectacular, felicitaciones por ese talento 😊
Muchas gracias @elbuhito, claro que sí puedes, solo debes hacer una prueba en una ramera vieja para que practiques con un diseño pequeño y veas cómo te va saliendo y listo. Intentalo.🤗
Esta encantador. Eres muy hábil con la pintura. Felicidades, eso es un don, poder hacer esos detalles para las franelas y que sean únicas. Bendiciones.
Gracias @belkysmargarita, Amén. Al principio me dió un poco de miedo, pero ya voy poco a poco dominando la técnica, me falta el paso de hacer diseños con colores 🤭
Seguro lo dominas pronto, bendiciones y mis mejores deseos contigo.