

[Esp]
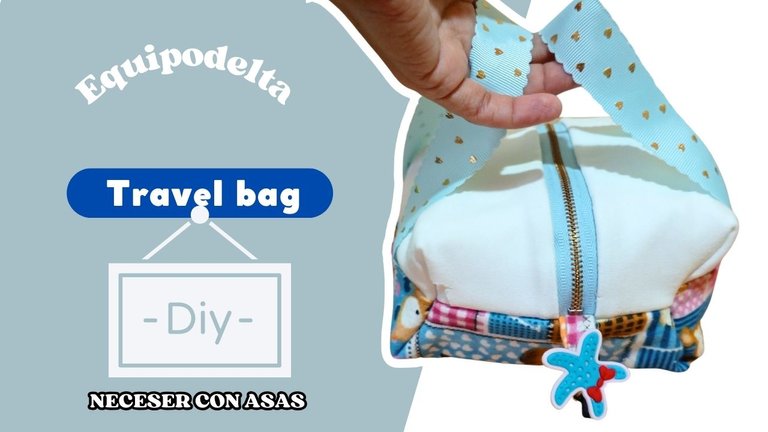
Saludos gente bonita. Una de las cosas buenas que les comentaba en una publicación pasada sobre la compra por error de telas es que tengo mucho qué cortar 😄, la tela es gruesa y no es un blanco muy puro pero tampoco es beige, combina con muchas cosas.
En base a esto, me aventuré en hacer un neceser mucho más grande, con asas para su agarre y que tuviera dos tonos de tela.
Anteriormente había comprado un cierre de 20 Centímetros de color azul y recordé que tengo una tela infantil de algodón que tiene motivos azules, quedaría perfecto.
Adicional a ello, usé siempre material reciclado, telas que me quedan de otros proyectos, decoraciones y la cinta que coloqué que tiene unos lindos corazoncitos dorados, le hace un buen juego.
Espero les guste, ahora te muestro en el paso a paso, cómo lo hice.
English version
Greetings beautiful people. One of the good things I told you in a past post about buying fabrics by mistake is that I have a lot to cut 😄, the fabric is thick and it's not a very pure white but it's not beige either, it combines with many things.
Based on this, I ventured into making a much larger toiletry bag, with handles for grip and had two shades of fabric.
I had previously bought a 20 Centimeter zipper in blue and I remembered that I have a cotton fabric for children that has blue motifs, it would be perfect.
In addition to this, I always used recycled material, fabrics that I have left from other projects, decorations and the ribbon that I placed that has some cute little golden hearts, it makes a good match.
I hope you like it, now I show you in the step by step, how I did it.

Materiales / materials
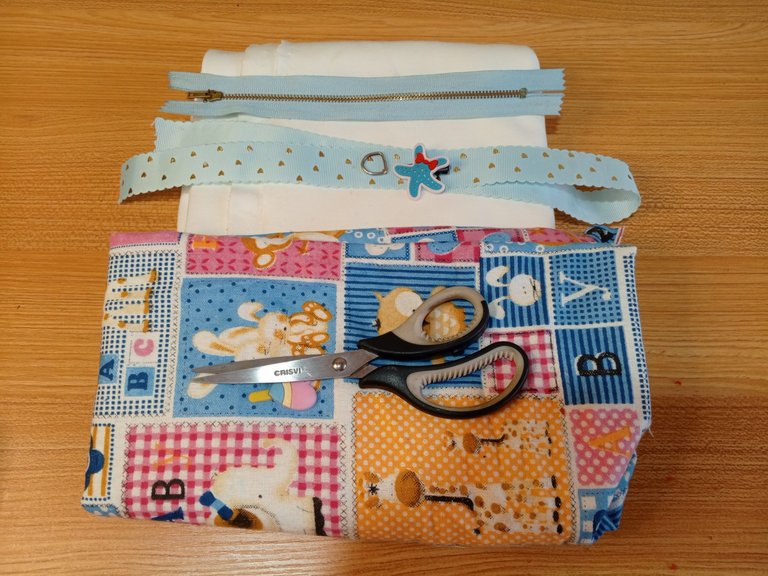
| Spanish | English |
|---|---|
| Maquina de coser | Sewing machine |
| Tijera, aguja, hilo | Scissors, needle, thread |
| Tela unicolor, surtido español y tela estampada de algodón. | Unicolor fabric, Spanish assortment and printed cotton fabric. |
| Cierre 20 Cm | Zipper 20 Cm |
| Apliques y cintas para decorar. | Appliques and ribbons for decoration. |
Paso a paso / Step by Step
Step 1️⃣/ Paso 1️⃣
 |  | |
 |  |
[Esp]
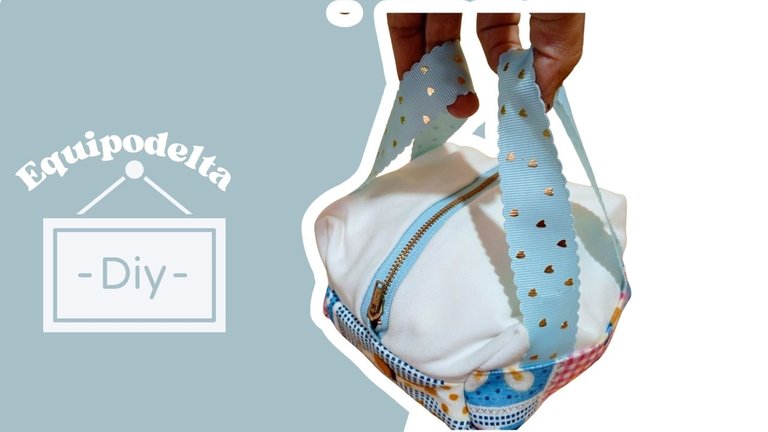
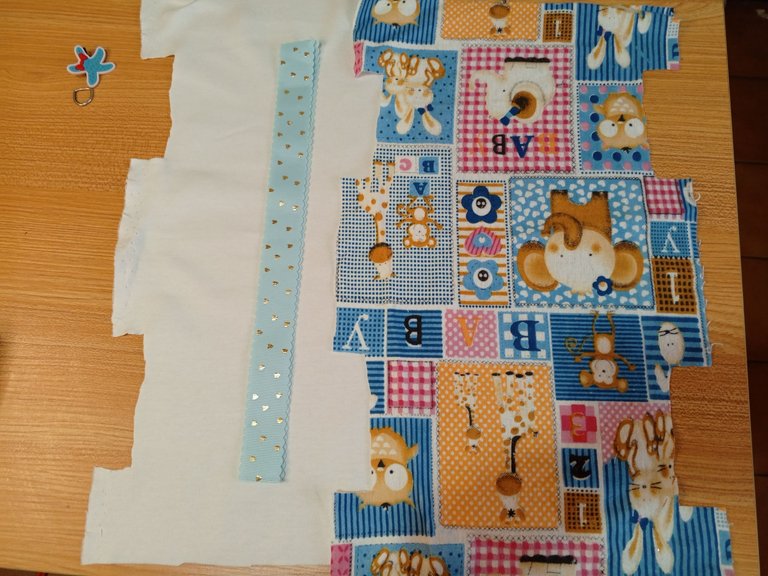
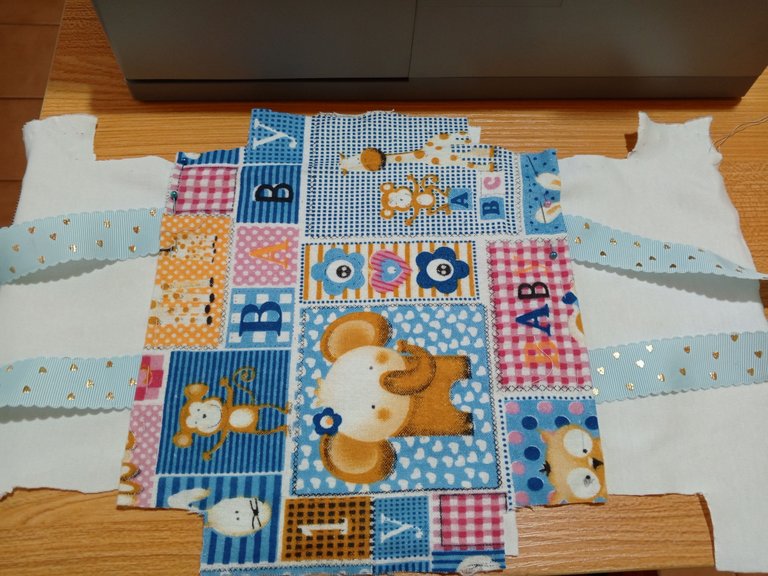
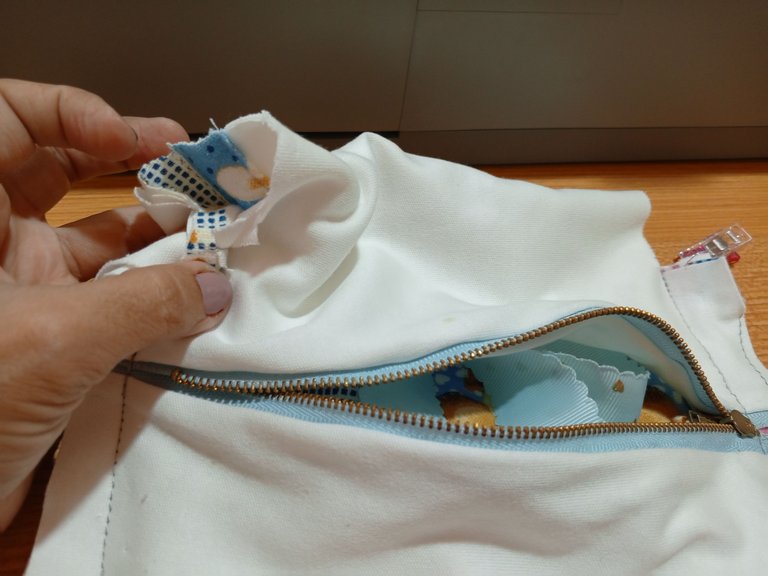
El corte de este bolsito es en H.
Toma dos rectángulos de 20 centímetros de la tela unicolor (el largo del cierre) por 50 centímetros de largo, una por una recórtalas dobladas por la mitad en forma de H.
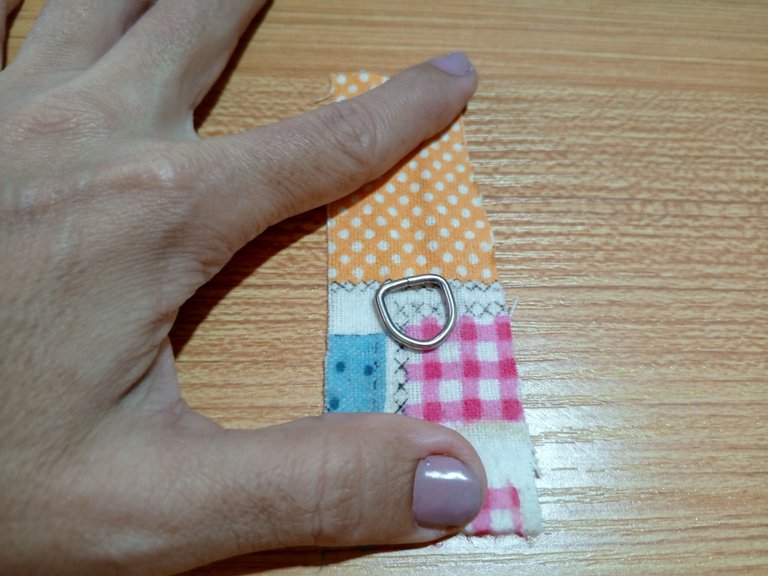
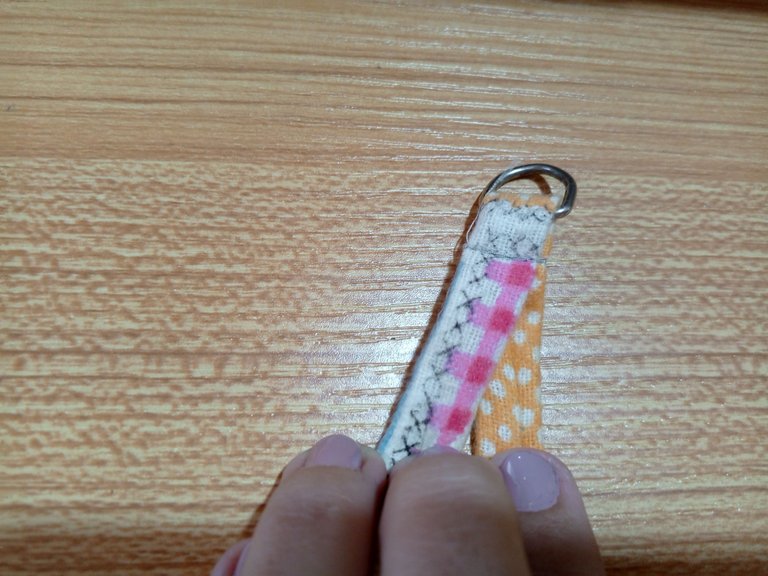
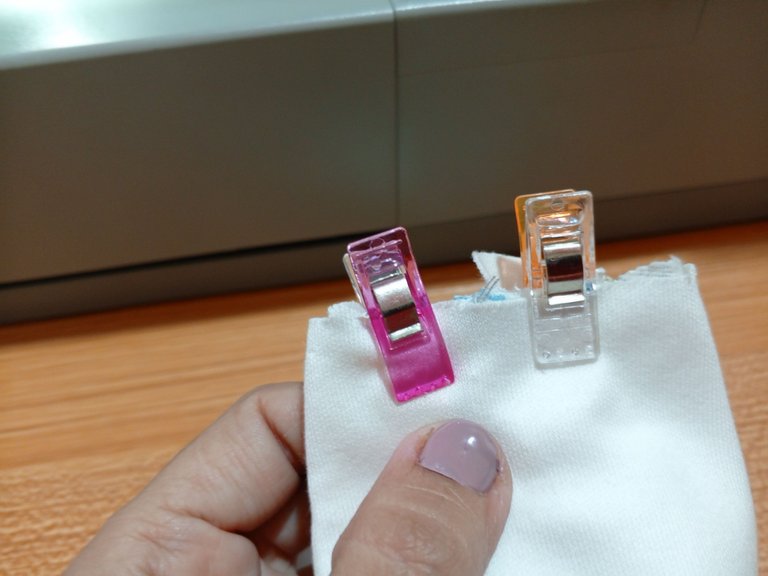
Corta un pequeño rectángulo del tamaño del aro de decoración, cose y voltea, luego introdúcelo en el aro y cose para que no se mueva o suelte.
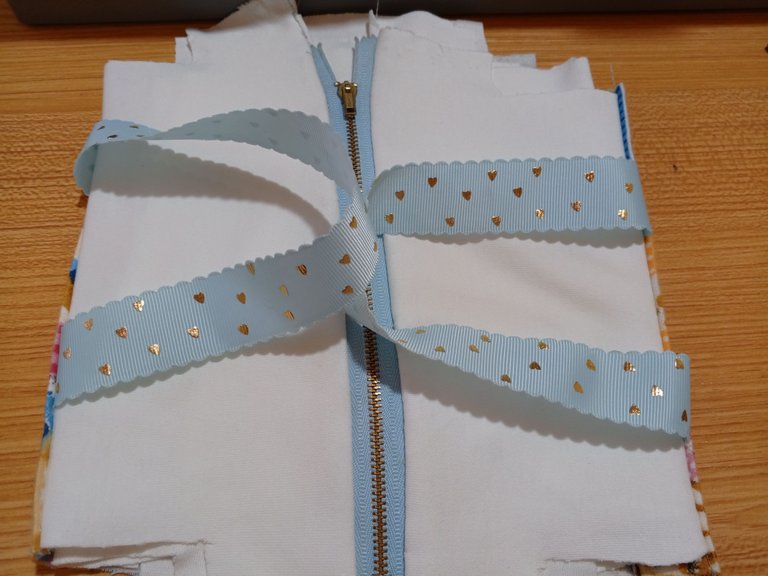
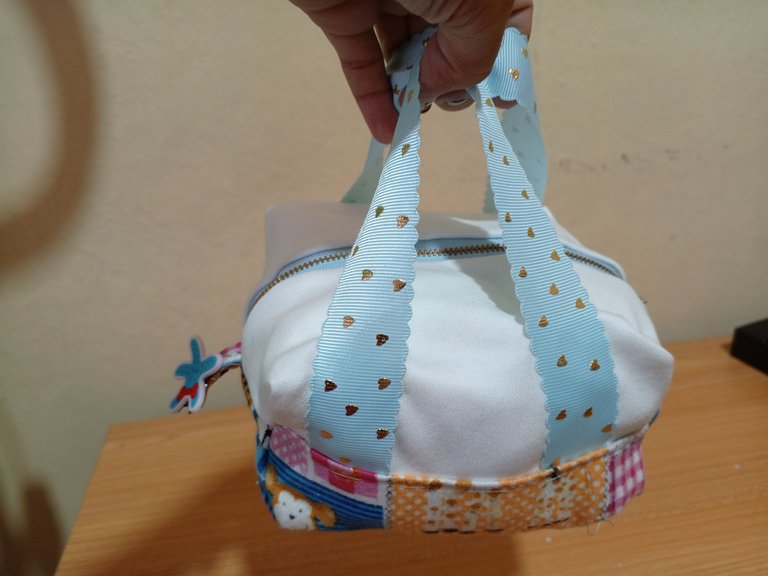
Coloca la tela estampada sobre la tela unicolor, revisa el alto que quieras del bolso, recorta el excedente y cose con una recta, antes de eso, procura colocar las cintas que funcionarán como asas de los lados. Puedes ayudarte con alfileres para que no se rueden.
English version
The cut of this bag is H-shaped.
Take two 20 centimeter rectangles of the unicolor fabric (the length of the zipper) by 50 centimeters long, one by one cut them in half in an H shape.
Cut a small rectangle the size of the decoration hoop, sew and turn it over, then insert it into the hoop and sew so that it does not move or come loose.
Place the printed fabric over the unicolor fabric, check the height you want the bag to be, trim the excess and sew with a straight stitch, before that, try to place the ribbons that will work as handles on the sides. You can help yourself with pins so that they do not roll.
Step 2️⃣/ paso 2️⃣
 |  | |
 |  |
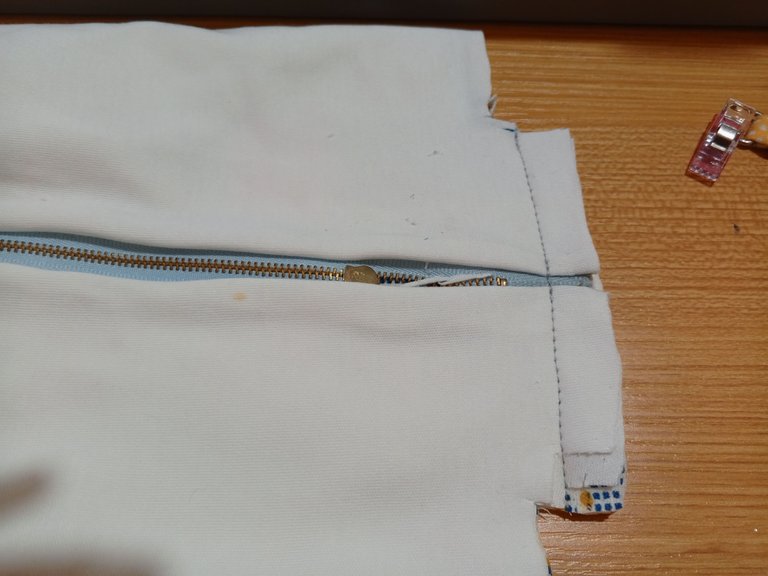
[Esp]
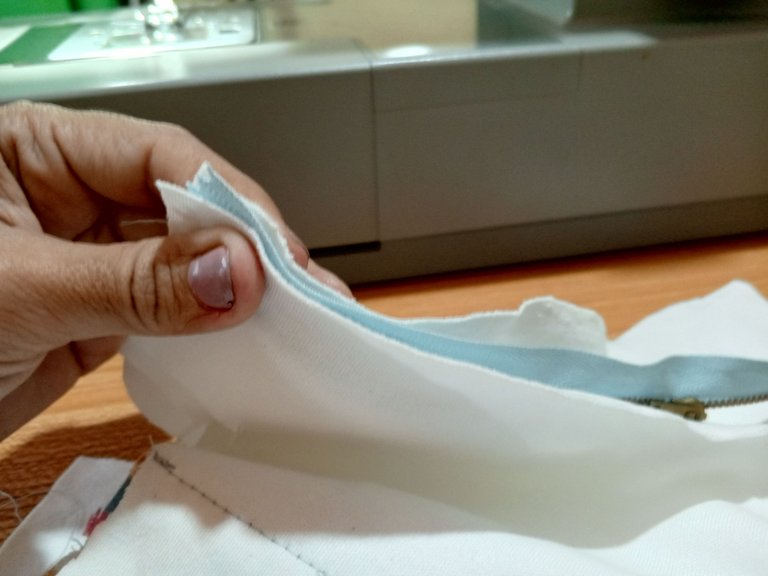
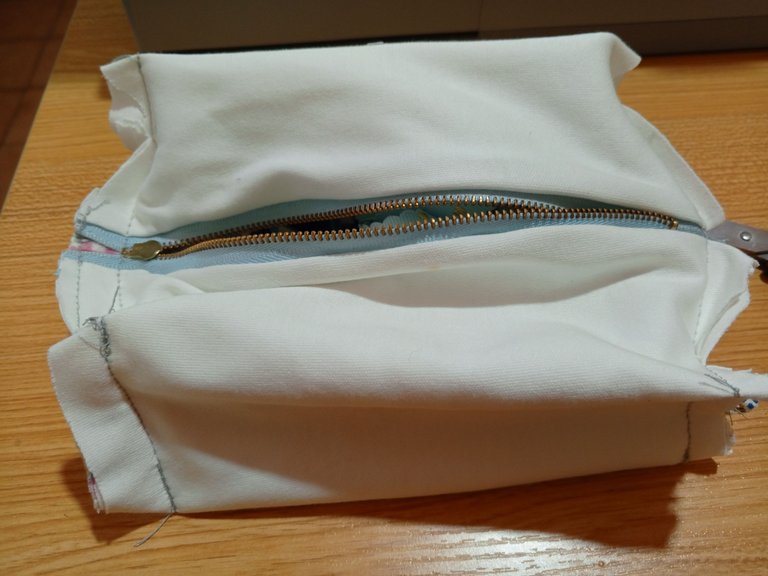
Luego de coser la tela estampada sobre la tela unicolor junto con las asas, toma el cierre y cose por el derecho de la tela de forro con la tela de la parte de afuera, puedes ver la imagen 2 como referencia.
Ahora voltea la tela para coser el otro lado del cierre, repitiendo el paso anterior.
English version
After sewing the printed fabric on the one-color fabric together with the handles, take the zipper and sew on the right side of the lining fabric with the fabric on the outside, see image 2 for reference.
Now turn the fabric over to sew the other side of the zipper, repeating the previous step.
Step 3️⃣/ paso 3️⃣
 |  | |
 |  |
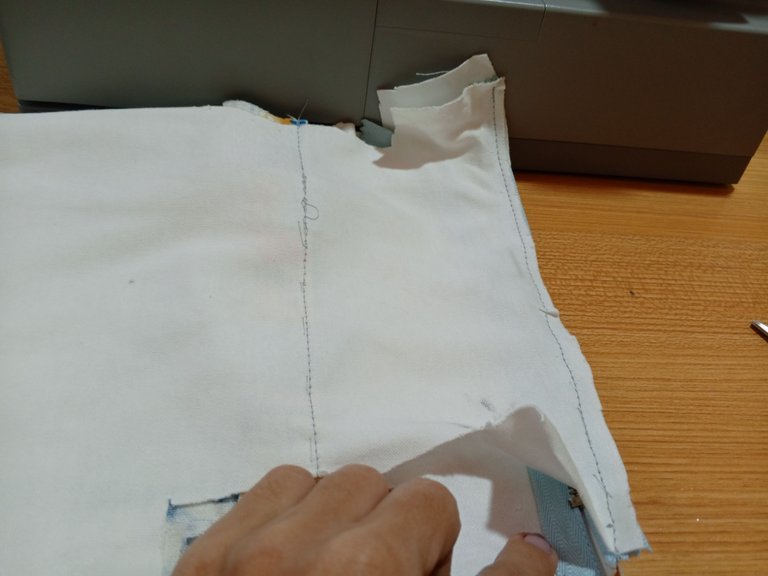
[Esp]
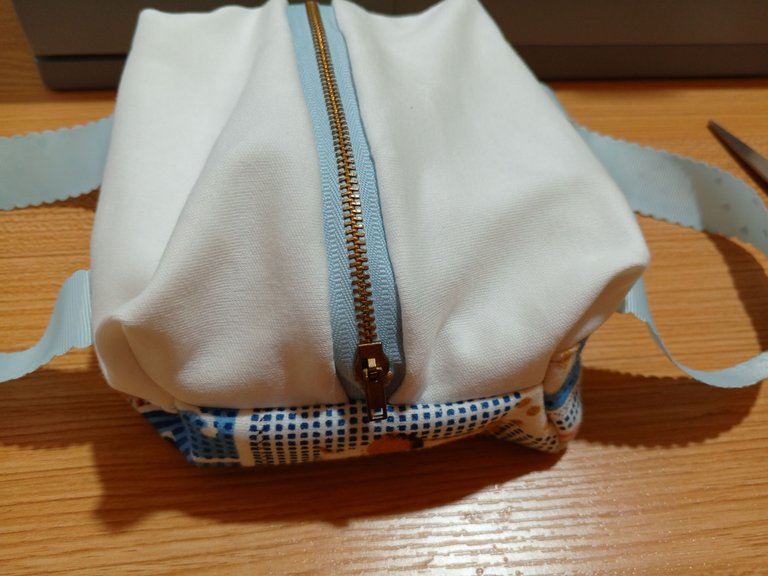
Voltea la pieza derecho con derecho, cose por los laterales, antes de cerrar una de las puntas no olvides colocar la tela que cosiste con la argolla previamente.
Luego de coser, volteé la pieza para ver cómo se veía y si había algún error que corregir, afortunadamente todo iba bien.
Es hora de cerrar el bolso completamente. Abre el cierre y dobla cada esquina en diagonal como indica las imágenes.
English version
Turn the piece right side out, sew along the sides, before closing one of the ends don't forget to place the fabric that you sewed with the ring previously.
After sewing, I flipped the piece over to see how it looked and if there were any mistakes to correct, fortunately everything was fine.
Now it's time to close the bag completely. Open the zipper and fold each corner diagonally as indicated in the pictures.
Step 4️⃣/ paso 4️⃣
 |  | |
 |  |
[Esp]
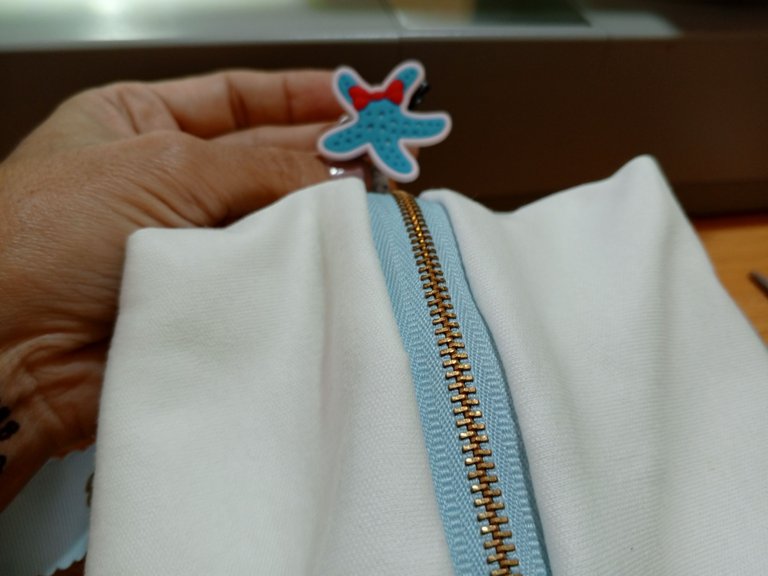
Cose las esquinas y corta la tela sobrante.
Voltea el bolso.
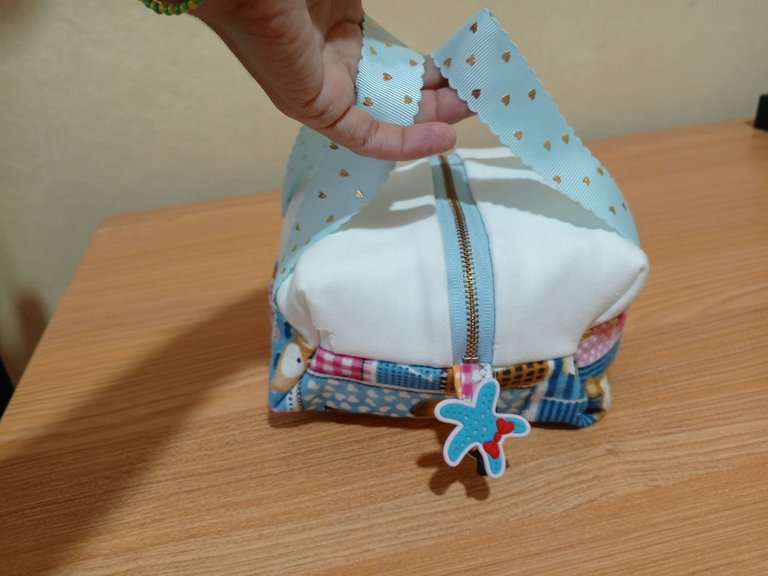
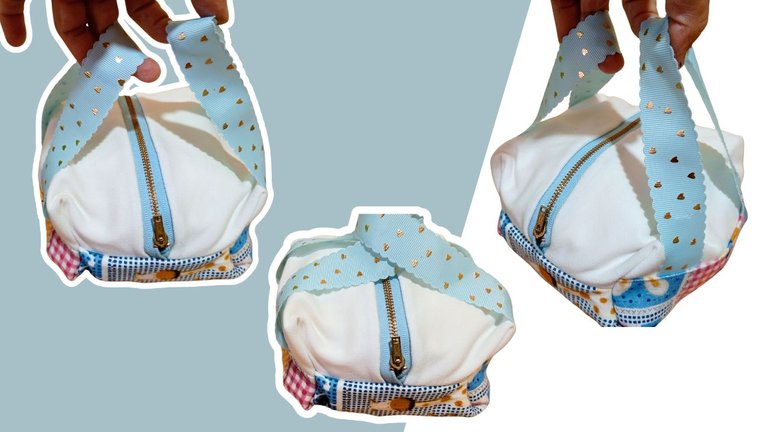
Coloca la decoración.
Nuestro neceser está listo.
Disfruté mucho de hacer este proyecto y estoy feliz porque es grande, es espacioso y puedo meter más cositas, además de cómodo para llevar porque tiene asas y las cintas lo hacen ver muy tierno.
Espero les guste.
English version
Sew the corners and cut the excess fabric.
Turn the bag over.
Place the decoration.
Our toiletry bag is ready.
I really enjoyed making this project and I'm happy because it's big, it's spacious and I can put more things in it, plus it's comfortable to carry because it has handles and the ribbons make it look very cute.
I hope you like it.
Créditos / Credits


👇Support the Hive DIY community as a witness 👇


This post has been manually curated by @steemflow from Indiaunited community. Join us on our Discord Server.
Do you know that you can earn a passive income by delegating to @indiaunited. We share more than 100 % of the curation rewards with the delegators in the form of IUC tokens. HP delegators and IUC token holders also get upto 20% additional vote weight.
Here are some handy links for delegations: 100HP, 250HP, 500HP, 1000HP.
100% of the rewards from this comment goes to the curator for their manual curation efforts. Please encourage the curator @steemflow by upvoting this comment and support the community by voting the posts made by @indiaunited.
Thanks for you support
Hello dear friend @equipodelta good morning
It's good that you are already using the fabric that you shared the other day as a result of the seller's mistake, and what a beautiful way you have combined it, the toiletry bag turned out beautifully
I take this opportunity to wish you a wonderful day.
Hello dear Jlufer, that's a lot of fabric, hahahaha! I don't know what I'll do with so much but I'll think of something.
Hola se ve muy bonita y tierna tu creación. La tela estampada se ve muy llamativa
Hola Virgilio me alegra que te guste, este neceser es más grande y me caben mas cositas cuando salgo por ahí.
Si compraste tela por error, nada es un error, todo es por algo y helo aqui jaja
Me encanta el estampado, todo el resultado final quedo de lujo ❤️
Hola querido buhito, bueno es que el error no fue tanto mío sino que la vendedora andaba como apurada y no esperó que le dijera cual tela quería, jajaja, me dio cosita con ella y bueno, compré ese montón de tela adicional.
Que preciosa loncherita, me gustaron mucho las telas
Hola Lismar, me alegra que te guste, ambas telas son bastante gruesas, con este calor me estoy pensando si hago una blusa o no, por lo caliente creo que solo la usaría en invierno y aquí en este lugar casi no llueve.
Quedó muy hermoso, un neceser es bastante útil y al poder llevar varias cosas nos salva la vida más de una vez ja,ja, ja.
¡Saludos y un gran abrazo!💜✨
Hola Stefania, ya le metí un montón de cositas, jajajaja ando muy mona con mi nuevo neceser.
Ainssss niomio amiga @equipodelta, pero que cosita tan preciosa, cada vez haces cosas mas hermosas, Tiene unas manitas bendecidas para el arte. Dios te las bendiga de manera infinita, Quiero uno de esos me enamore...
Abrazos...
!DIY
!LADY
!PIZZA
!LUV
!HUG
View or trade
LOHtokens.@dayadam, you successfully shared 0.1000 LOH with @equipodelta and you earned 0.1000 LOH as tips. (1/3 calls)
Use !LADY command to share LOH! More details available in this post.
equipodelta, dayadam sent you LUV. 🙂 (1/1) tools | trade | connect | wiki | daily
Made with LUV by crrdlx.
También soy tu fan querida amiga. Qué el universo te colme en plenitud, muchas bendiciones para ti.
Tan bella. Amén mi hermosa 💖
$PIZZA slices delivered:
@dayadam(1/5) tipped @equipodelta
You can query your personal balance by
!DIYSTATSAmiga, te quedó muy linda!
Gracias por compartir tan bonito trabajo,
Saludos
Me alegra que te guste querida!
Congratulations, your post has been curated by @dsc-r2cornell. You can use the tag #R2cornell. Also, find us on Discord
Felicitaciones, su publicación ha sido votada por @ dsc-r2cornell. Puedes usar el tag #R2cornell. También, nos puedes encontrar en Discord