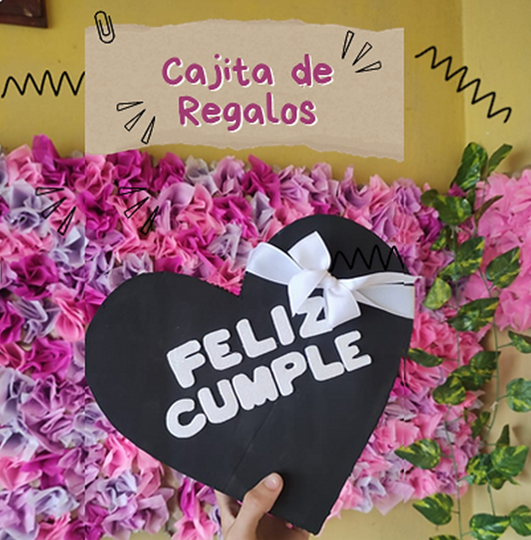
Les saludo, mis amigos amantes de las manualidades, espero que se encuentren bien, hoy les traigo paso a paso, como realizar una hermosa caja de regalo en forma de corazón.
I greet you, my friends who love crafts, I hope you are well, today I bring you step by step, how to make a beautiful gift box in the shape of a heart.
Son muchas las cosas que podemos hacer reutilizando materiales, que muchas veces descartamos, a mí me encantan las manualidades, siempre hago cosas, para mí misma, pero esta cajita la hice para una amiga; Hace unos días, le hice un arreglo a mi cuñada, por su cumpleaños, Ángela, lo vio en mi estado, le gustó mucho y quiso que yo hiciera este corazón para regalársela a su novio el 09 de febrero, día de su cumpleaños, primero dude en hacerla, pero me convenció y accedí ayudarla, al fin de cuentas, ya que es un diseño que tiene pocas piezas, lo que permite que sea sencilla de hacer.
There are many things we can do by reusing materials that we often discard, I love crafts, I always make things for myself, but I made this little box for a friend; A few days ago, I made an arrangement for my sister-in-law, for her birthday, Angela, saw it in my state, she liked it very much and wanted me to make this heart to give it to her boyfriend on February 9, her birthday, first I hesitated to make it, but she convinced me and I agreed to help her, after all, since it is a design that has few pieces, which allows it to be simple to make.
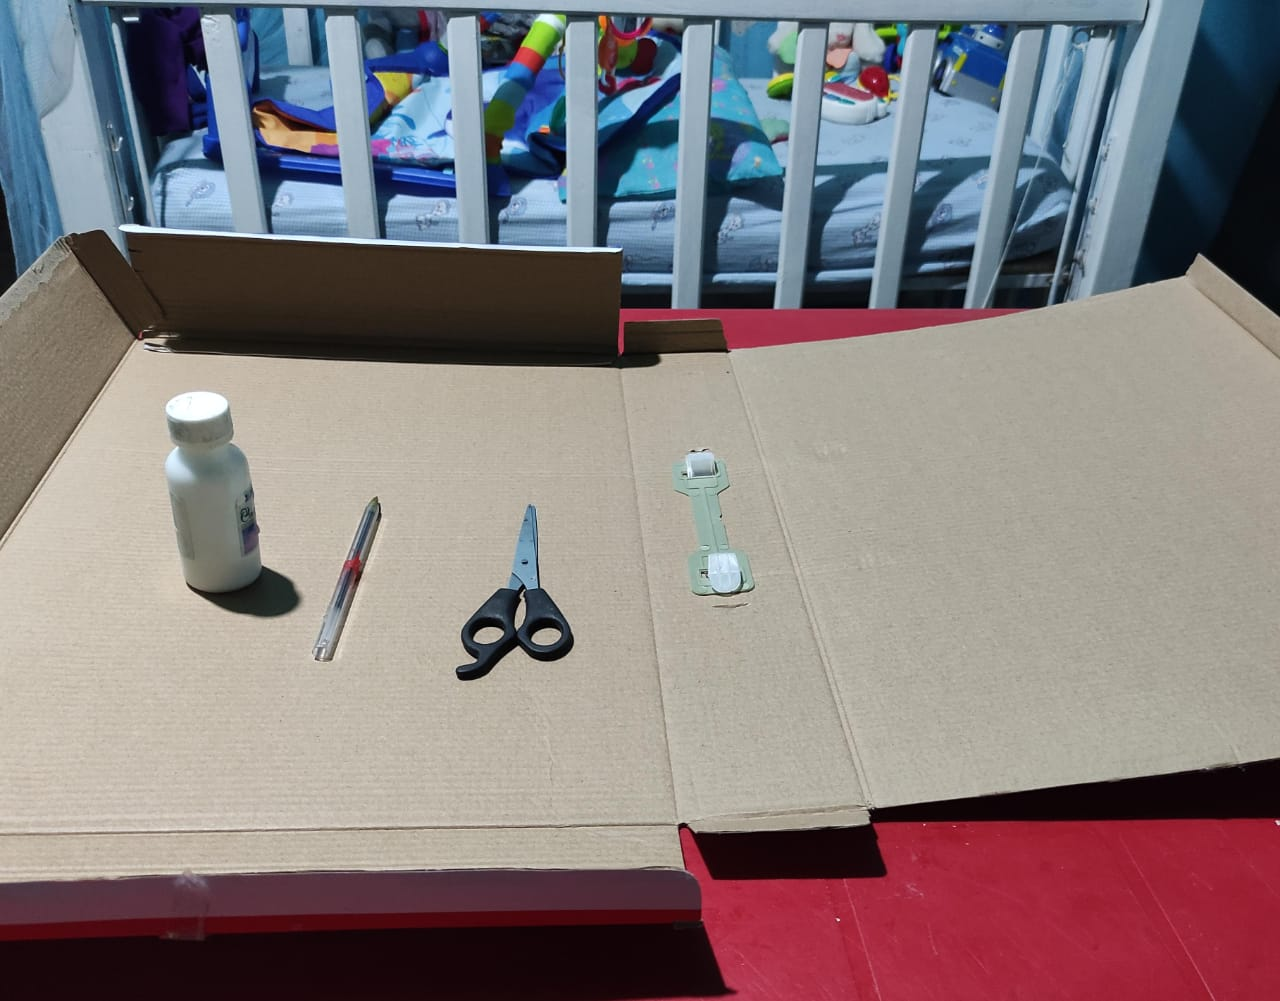
Esta es una cajita muy sencilla de hacer, como les mencione antes y solo necesitamos una caja de cartón, papel bond, foami, pintura al frio, un pincel y unas tijeras.
This is a very simple box to make, as I mentioned before and we only need a cardboard box, bond paper, foami, cold paint, a brush and scissors.
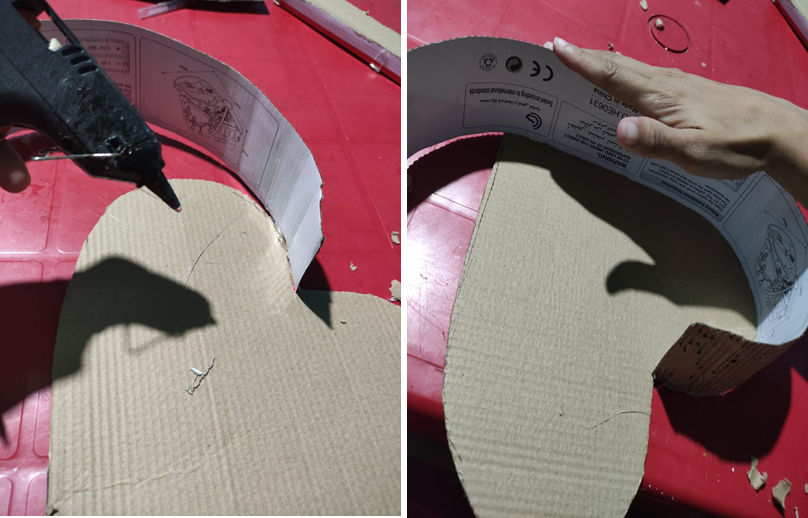
Lo primero que hice fue dibujar sobre el carton, 2 corazones para hacer la tapa inferior y superior de la cajita, luego las recorte.
The first thing I did was to draw on the cardboard, 2 hearts to make the top and bottom lid of the box, then cut them out.

El siguiente paso fue cortar 1 tira larga del cartón, luego las desarme, quitando una de las capas del cartón, con la intención de dejarlo delgado, entonces tome una de las tiras y la pegue por toda la orilla de uno de los corazones.
The next step was to cut 1 long strips of cardboard, then disassemble them, removing one of the layers of cardboard, with the intention of leaving it thin, then, take it and glue it around the edge of one of the hearts.

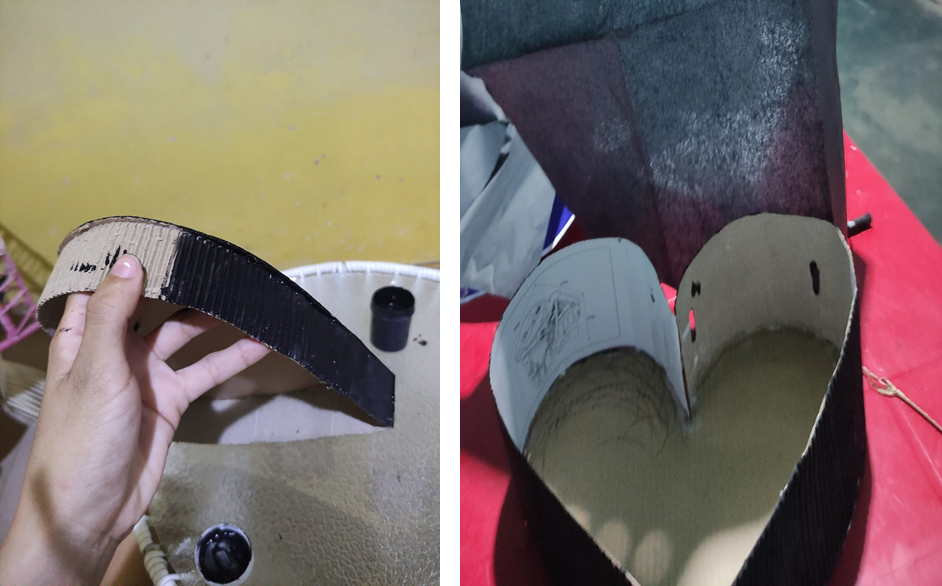
Con la parte más delgada de la tira, repeti el procedimiento para formar la tapa de la caja.
With the thinner part of the strip, repeat the procedure to form the lid of the box.
Despues de armar las dos caras de la caja, lo siguiente fue pintarlas con pintura al frio negra, este color lo escogio mi amiga, porque es el preferido de gustavo.
After assembling the two sides of the box, the next step was to paint them with black cold paint, this color was chosen by my friend, because it is gustavo's favorite color.
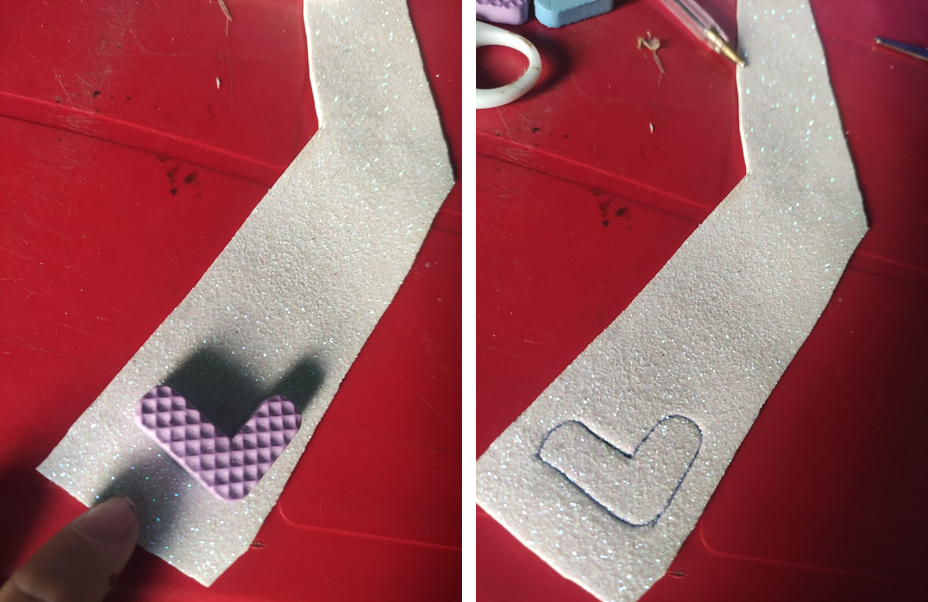
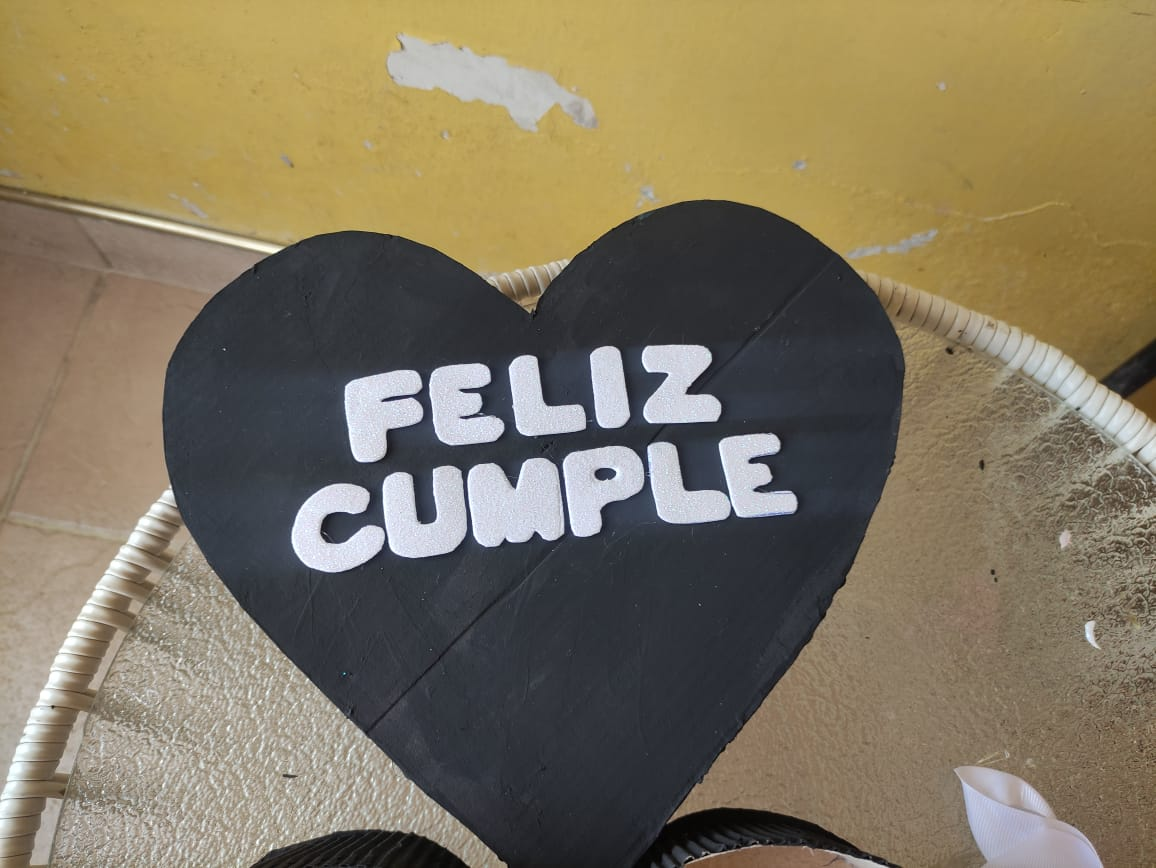
Lista la cajita, dibuje en foami blanco las letras para formar la palabra Feliz Cumpleaños, usualmente hago esto a mano alzada, pero esta vez lo hice con un molde, pues queria que me quedaran casi perfectas, luego las recorte y las pegue en la tapa de la caja.
Ready the box, I drew in white foami the letters to form the word Happy Birthday, usually I do this freehand, but this time I did it with a mold, because I wanted them to be almost perfect, then I cut them out and glued them on the lid of the box.
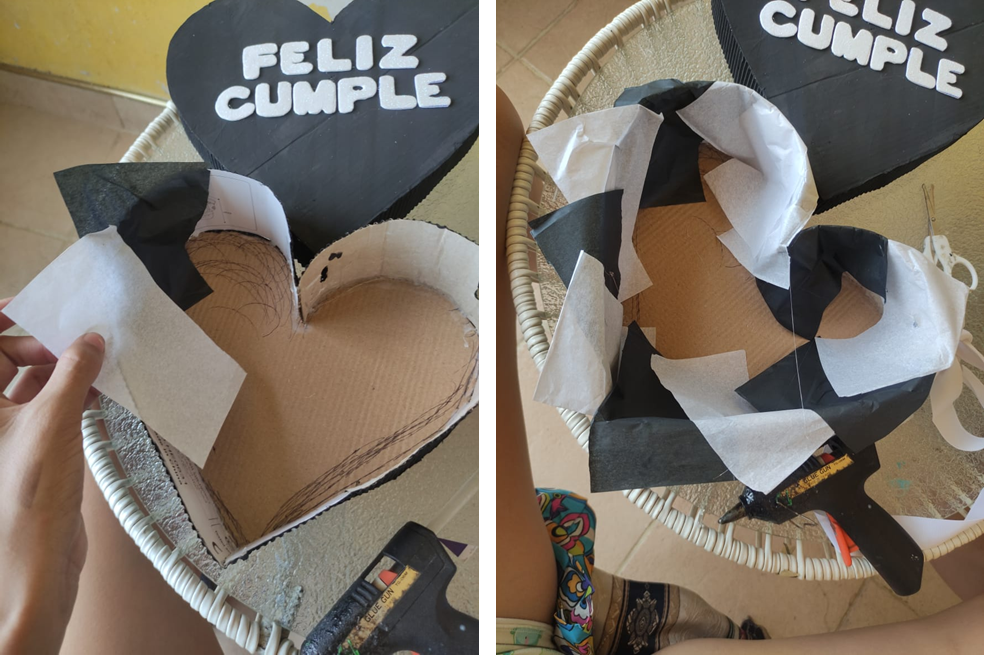
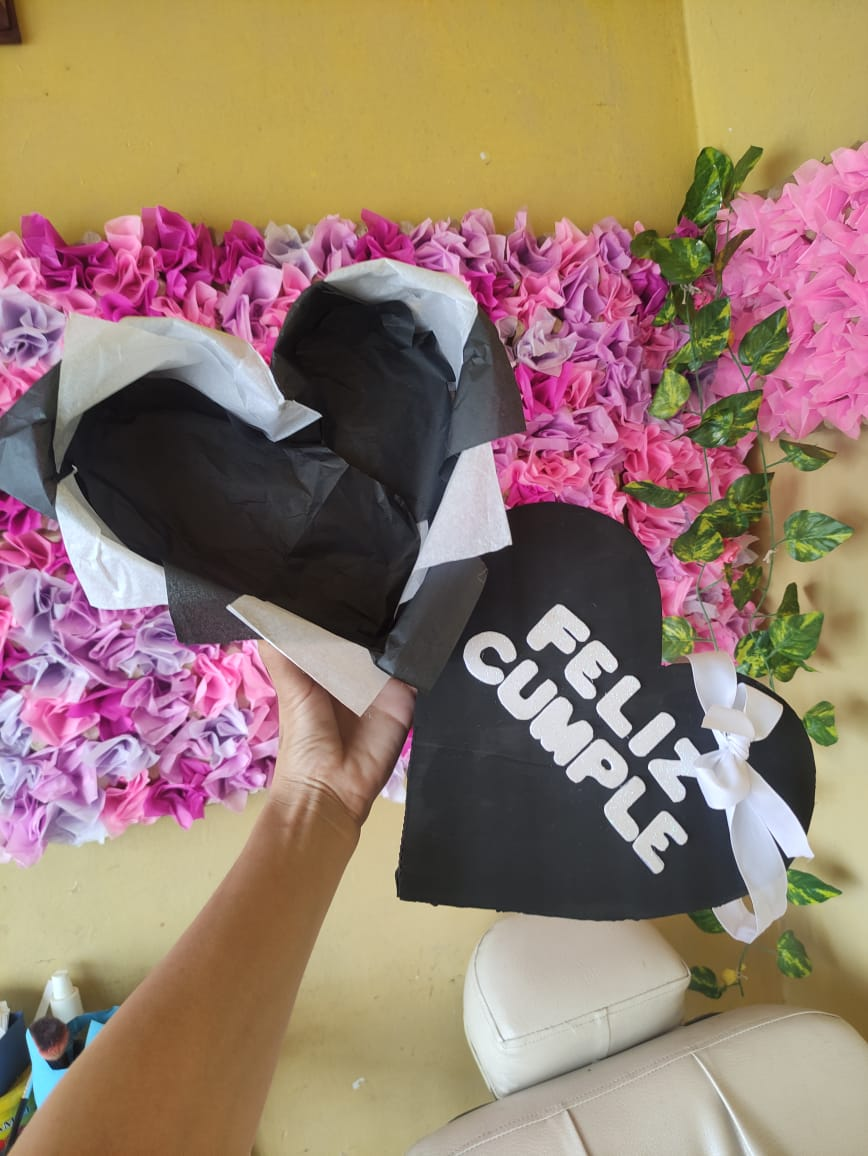
Recorte trozos de papel seda, negro y blanco y forre el interior de la cajita, para que se viera mejor, no sabia lo que mi amiga iba a colocar allí adentro, pero forrada se vería mejor.
I cut out pieces of tissue paper, black and white, and lined the inside of the box, so it would look better, I didn't know what my friend was going to put inside, but lined it would look better.
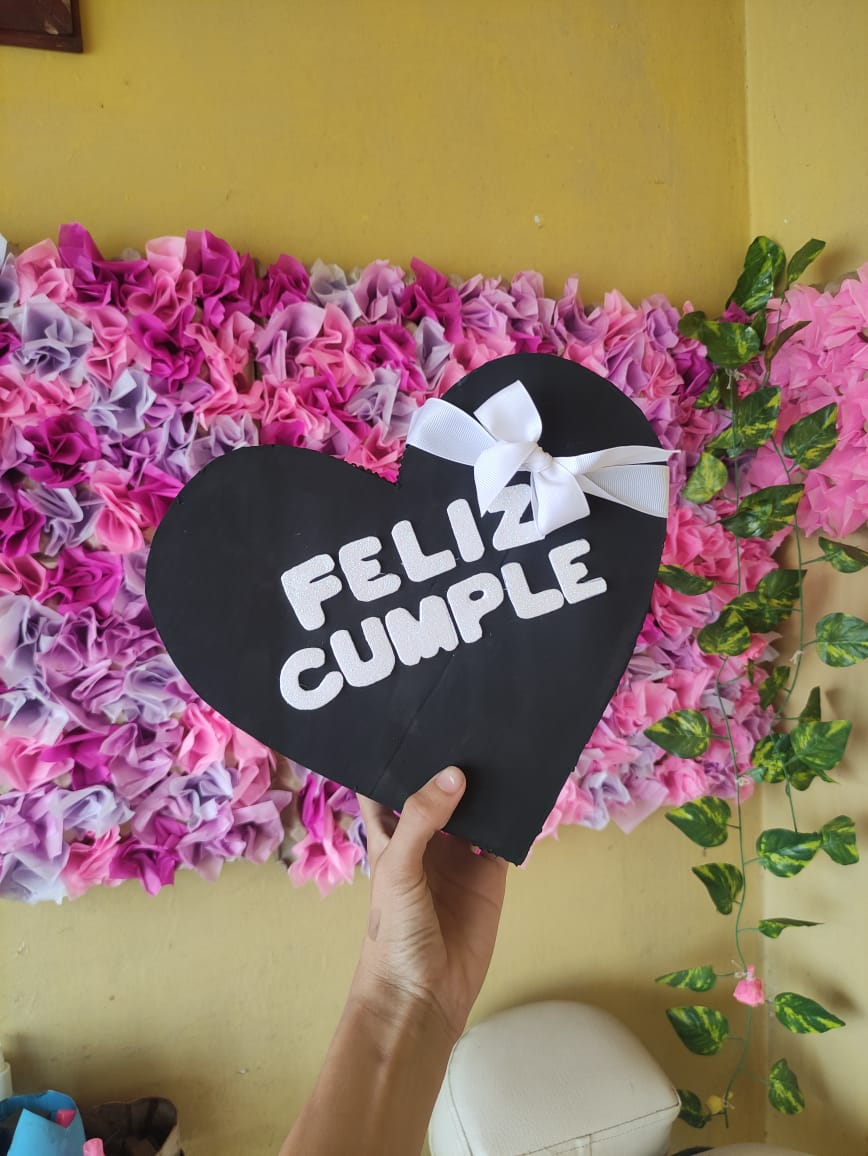
Para finalizar le hice un lazo blanco, pensé primero colocarlo en la esquina izquierda, pero lo coloque en la derecha, que me pareció quedaba mejor.
To finish I made a white ribbon, I thought first to place it on the left corner, but I placed it on the right corner, which I thought looked better.
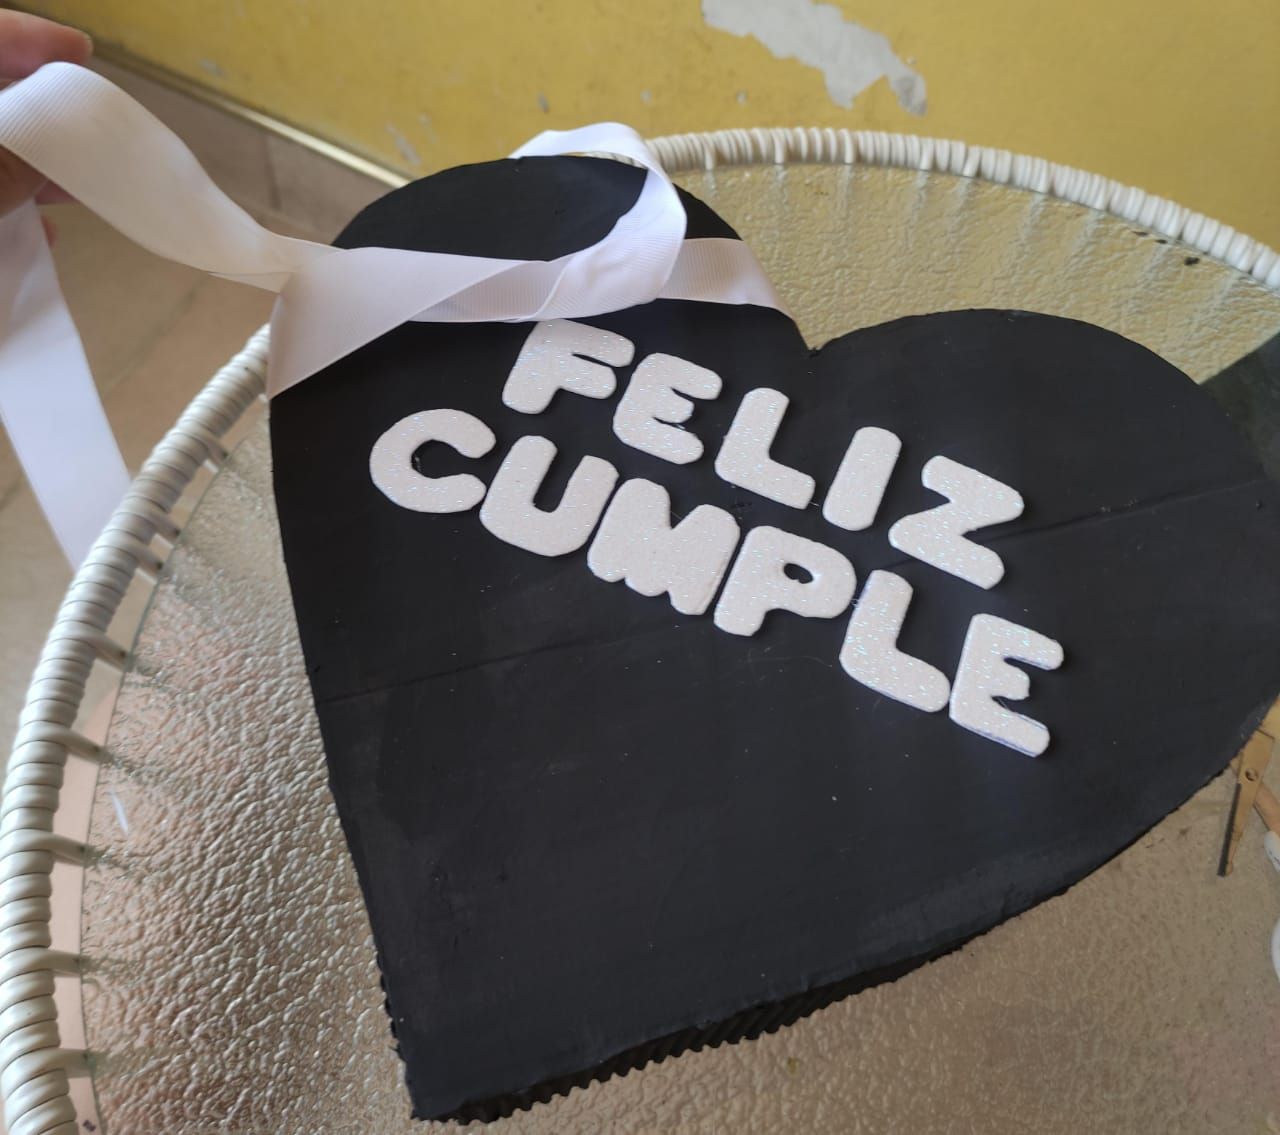
This is how the box turned out, my friend was very pleased with my work, I hope you like it:
Eso es todo amigos, agradezco el tiempo, que se tomaron para visitar, mi publicación.
That's all folks, That's all folks, I appreciate the time you took to visit my publication.
La imagen de portada fue elaborada en Canva, las demás fotografías, fueron tomadas con mi Telefono Tecno Spark GO6.
The cover image was made in Canva, the rest of the pictures were taken with my Telefono Tecno Spark GO6.
Translated with www.DeepL.com/Translator (free version)
You can query your personal balance by
!DIYSTATSGracias 🤗
Está muy linda la caja, pese a que es negra me encantó el color ya que me inclino por el.
También está genial para los que desean dar detalles en el venidero día del amor y la amistad.
Bonito trabajo y un buen paso a paso 🖤
!DIY
Gracias, no me gustaba mucho la idea de que fuera negra, mi amiga la quería de ese color, pero me encantó el resultado, saludos🤗
Quedo hermosa esta cajita amiga, está perfecta ya que se acerca el día del amor y la amistad y es una excelente idea para dar obsequios, gracias por compartir, saludos 🥰
Hola amiga gracias 🤗 Estoy pensando en hacer algunas, para venderlas por el día de San Valentín, saludos!