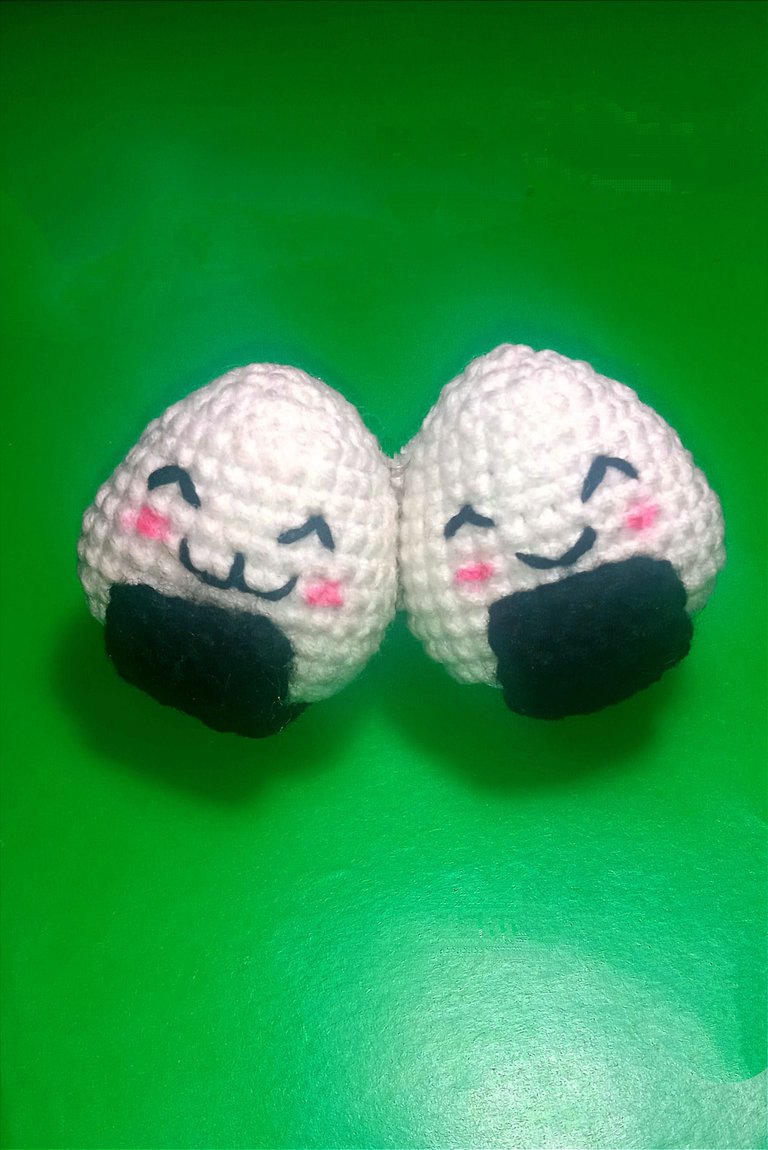
Cuando uno se dedica a la creación de amigurumis, a menudo termina acumulando pequeños restos de hilo que parecen insuficientes para emprender un nuevo proyecto grande. Sin embargo, he descubierto una manera adorable y creativa de utilizar estos excedentes. Recientemente, con estas pequeñas sobras, decidí hacer un onigiri kawaii, ese simpático arroz envuelto en alga típico de la gastronomía japonesa, pero en su versión más tierna y amigable. El resultado fue un pequeño amigurumi encantador, perfecto para llaveros o como un pequeño regalo. Este proyecto no solo me permitió reducir el desperdicio de material, sino que también añadió un toque de alegría y originalidad a mi colección. Compartir estos pequeños proyectos puede inspirar a otros a ver el valor en cada trozo de hilo, transformando lo que podría considerarse desecho en algo lleno de encanto y carácter.
When you're into creating amigurumis, you often end up with little leftover yarns that seem too meager to start a new large project. However, I've found a delightful and creative way to use up these remnants. Recently, with these small scraps, I decided to make a kawaii onigiri, that cute rice ball wrapped in seaweed typical of Japanese cuisine, but in its most endearing, friendly version. The outcome was a charming little amigurumi, perfect for keychains or as a tiny gift. This project not only allowed me to reduce waste but also added a touch of joy and originality to my collection. Sharing these little projects can inspire others to see the value in every bit of yarn, transforming what might be considered waste into something full of charm and character.
Materiales / Materials
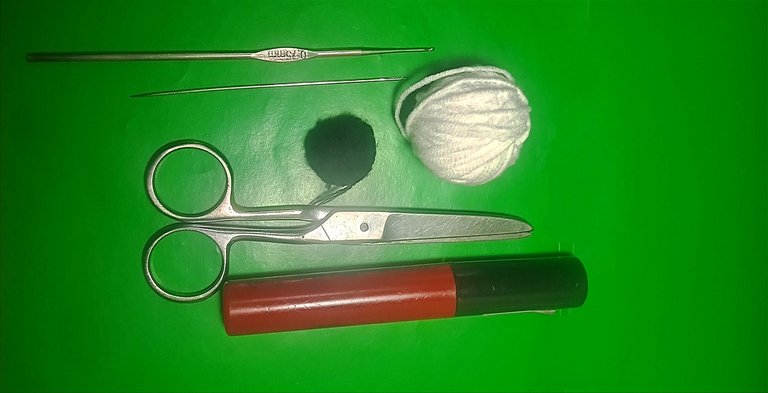
- Restos de hilo color blanco
- Restos de hilo color negro
- Crochet de 0.75 mm
- algodón sintético
- Tijeras
- aguja
- Colorete para las mejillas
- White yarn scraps
- Black yarn scraps
- 0.75 mm crochet hook
- Synthetic cotton
- Scissors
- Needle
- Blush for the cheeks
Elaboración / Elaboration
Cuerpo del Onigiri / Onigiri Body
|
|
|

|

|
|
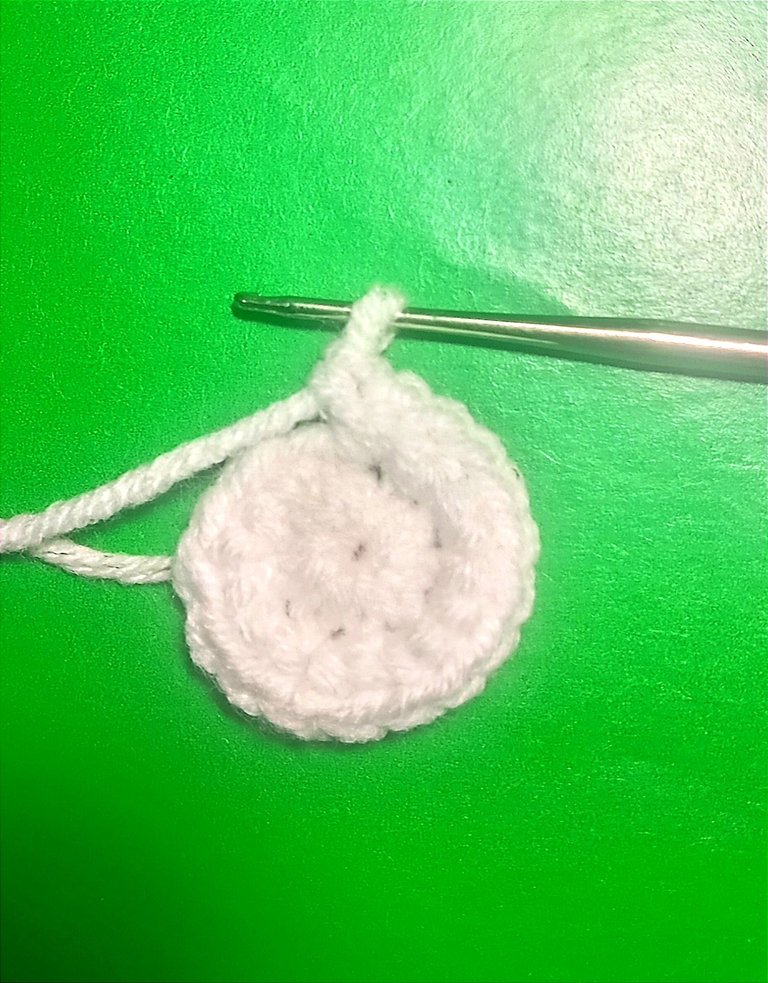
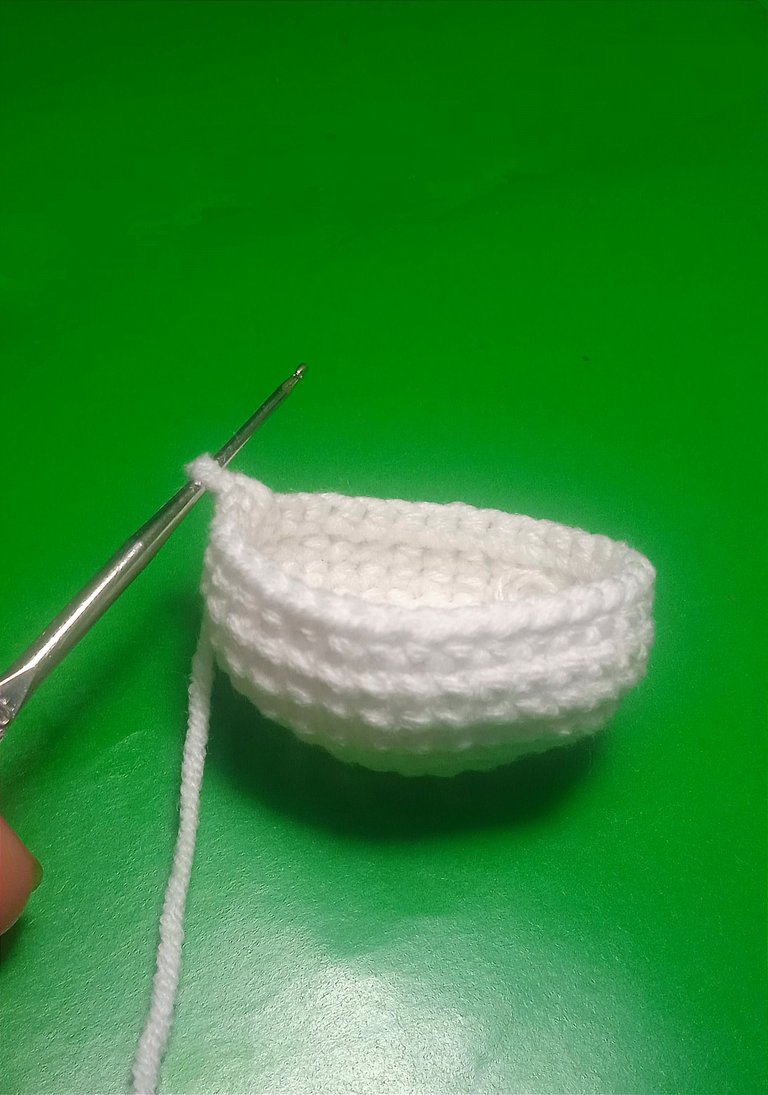
Con el hilo de color blanco tejí el siguiente patrón:
Vuelta 1: Hice anillo mágico de 9 puntos bajos
Vuelta 2: Solo Aumentos. Total de puntos 18.
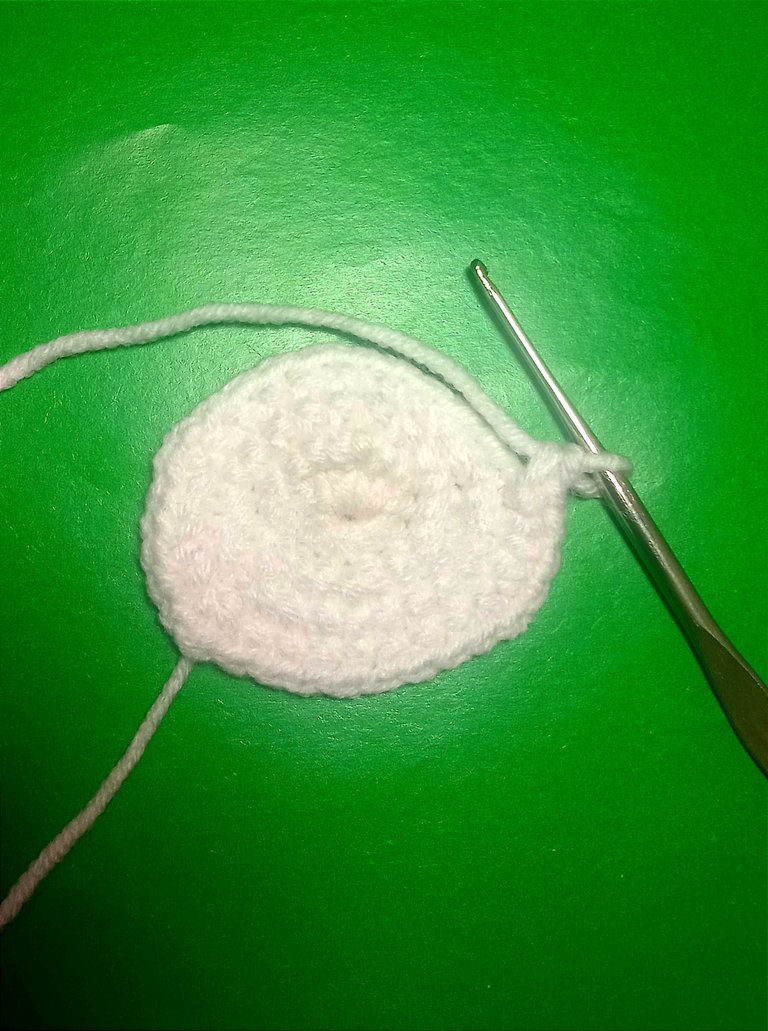
Vuelta 3: 1 aumento, 6 puntos bajos, 3 aumentos, 6 puntos bajos, 2 aumentos. Total de puntos 24.
Vuelta 4: 2 aumentos, 8 puntos bajos, 4 aumentos, 8 puntos bajos, 2 aumentos. Total de puntos 32.
Vuelta 5 a 8: Hacer 4 vueltas de solo puntos bajos. Total de puntos 32.
Vuelta 9: 1 disminución, 14 puntos bajos, 1 disminución, 14 puntos bajos. Total de puntos 30.
Vuelta 10: 1 disminución, 13 puntos bajos, 1 disminución, 13 puntos bajos. Total de puntos 28.
Vuelta 11: 1 disminución, 12 puntos bajos, 1 disminución, 12 puntos bajos. Total de puntos 26.
Vuelta 12: 1 disminución, 11 puntos bajos, 1 disminución, 11 puntos bajos. Total de puntos 24.
Vuelta 13: 1 disminución, 10 puntos bajos, 1 disminución, 10 puntos bajos. Total de puntos 22.
Vuelta 14: 1 disminución, 9 puntos bajos, 1 disminución, 9 puntos bajos. Total de puntos 20
Vuelta 15: 10 disminuciones. Total de puntos 10
Vuelta 16: 5 disminuciones. Total de puntos 5.
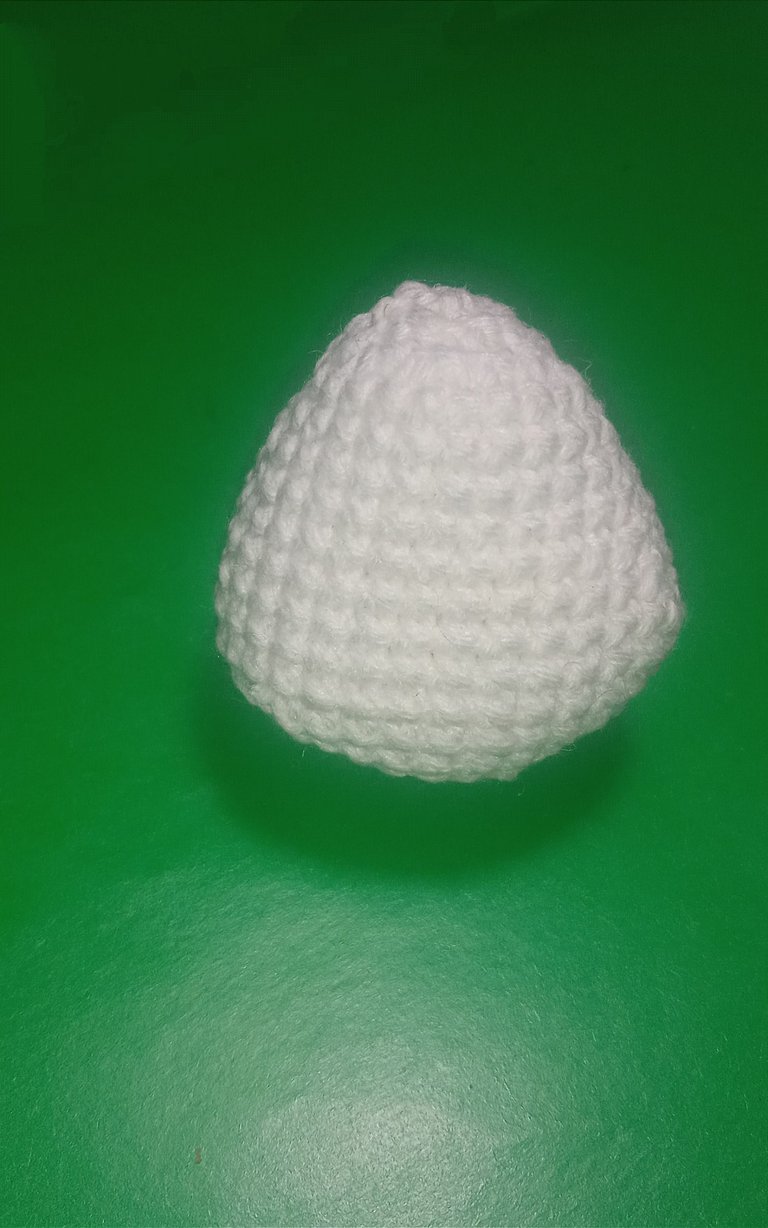
Finalización:
- Corté el hilo, dejando una cola larga.
- Rellene el amigurumi con el algodón sintético.
- Usé la aguja lanera para cerrar el hueco, pasando el hilo a través de los últimos puntos, solo por la hebra delantera y apretando para cerrar.
With the white yarn, I knitted the following pattern:
Round 1: I made a magic ring with 9 single crochets.
Round 2: Increases only. Total stitches: 18.
Round 3: 1 increase, 6 single crochets, 3 increases, 6 single crochets, 2 increases. Total stitches: 24.
Round 4: 2 increases, 8 single crochets, 4 increases, 8 single crochets, 2 increases. Total stitches: 32.
Round 5 to 8: Work 4 rounds of single crochets only. Total stitches: 32 each round.
Round 9: 1 decrease, 14 single crochets, 1 decrease, 14 single crochets. Total stitches: 30.
Round 10: 1 decrease, 13 single crochets, 1 decrease, 13 single crochets. Total stitches: 28.
Round 11: 1 decrease, 12 single crochets, 1 decrease, 12 single crochets. Total stitches: 26.
Round 12: 1 decrease, 11 single crochets, 1 decrease, 11 single crochets. Total stitches: 24.
Round 13: 1 decrease, 10 single crochets, 1 decrease, 10 single crochets. Total stitches: 22.
Round 14: 1 decrease, 9 single crochets, 1 decrease, 9 single crochets. Total stitches: 20.
Round 15: 10 decreases. Total stitches: 10.
Round 16: 5 decreases. Total stitches: 5.
Finishing:
- I cut the yarn, leaving a long tail.
- I filled the amigurumi with synthetic cotton.
- I used the tapestry needle to close the gap, threading the yarn through the front loops of the last stitches and pulling tight to close.
Alga Nori / Nori Seaweed
|
|
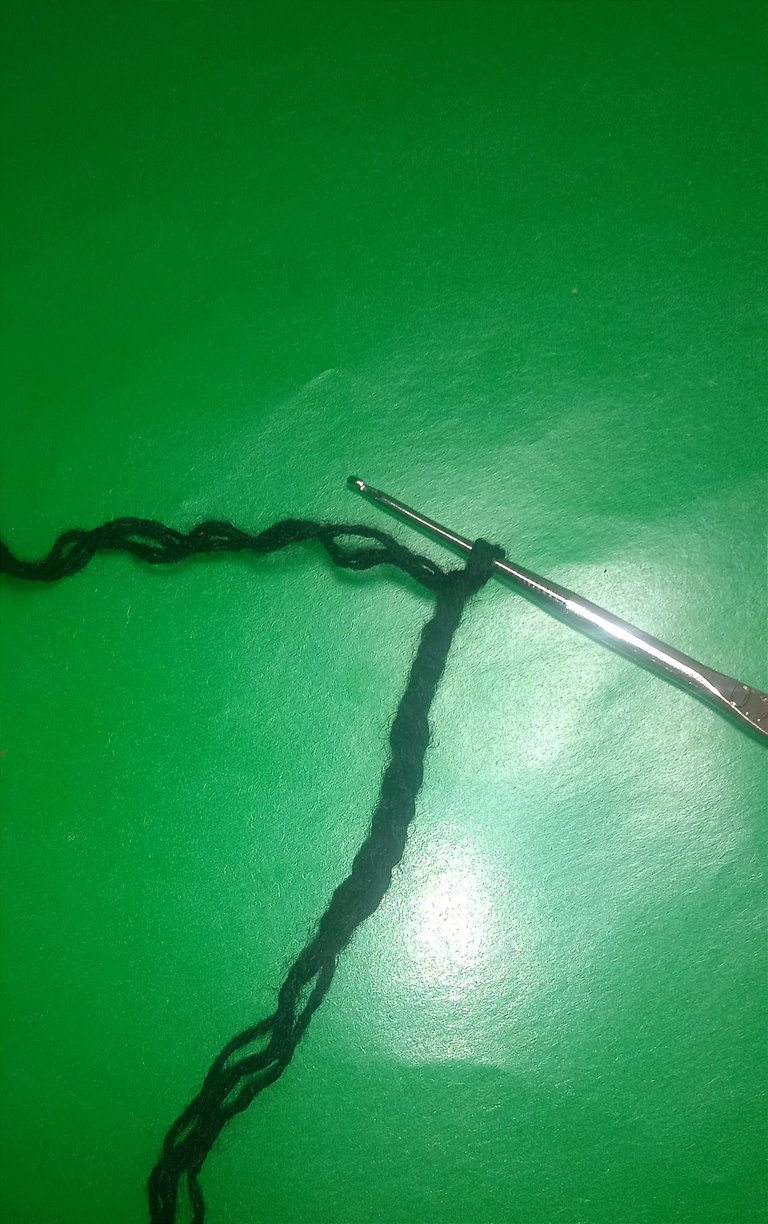
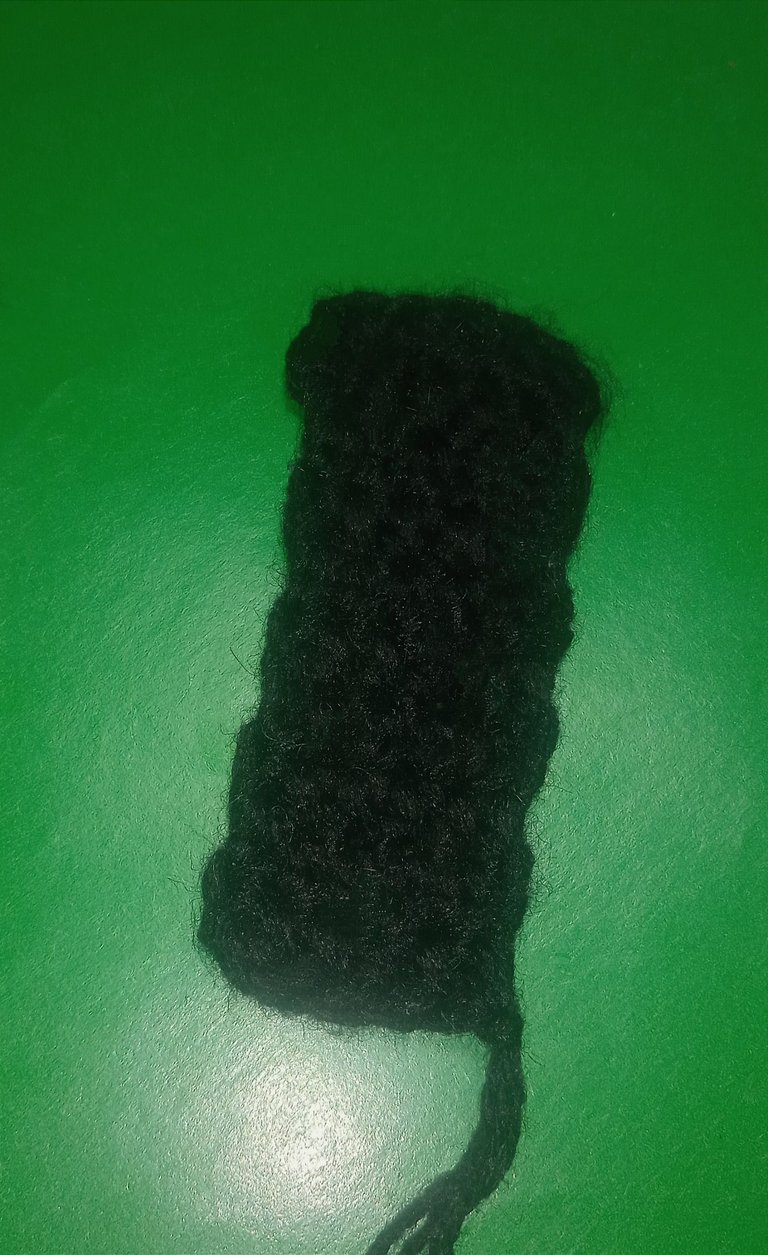
Con el hilo de color negro realicé lo siguiente:
Tejí 6 cadenas, sobre las cuales trabajé medios puntos altos. Al finalizar la primera vuelta, hice una cadena adicional, giré la labor y continué tejiendo medios puntos altos. Repetí este proceso hasta alcanzar el largo deseado.
With the black yarn, I did the following:
I crocheted 6 chains, on which I worked half double crochets. At the end of the first row, I made an additional chain, turned the work, and continued crocheting half double crochets. I repeated this process until I reached the desired length.
Resultado/Result

|
|
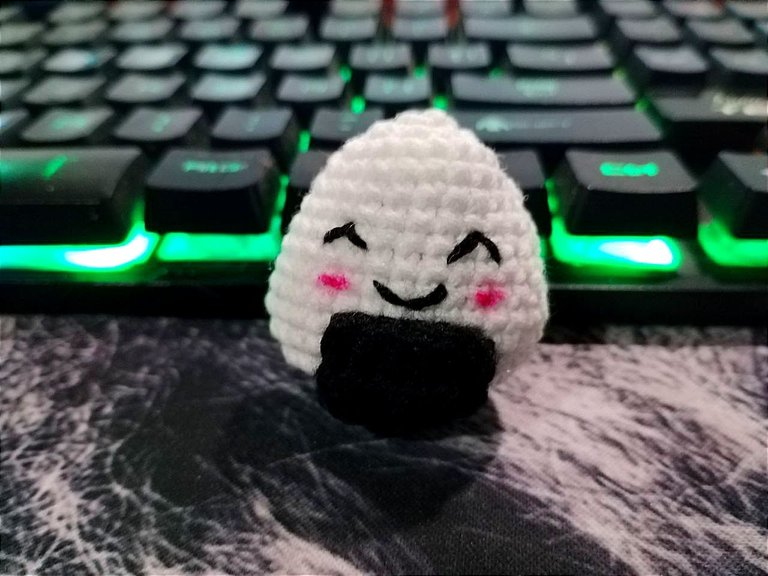
Para completar mi proyecto de amigurumi onigiri, dediqué especial atención a los detalles finales que realmente le darían vida. Cuidadosamente, bordé los ojos y la boca del onigiri para darle expresión y carácter. Además, para acentuar su encanto kawaii, apliqué un poco de colorete en las mejillas, logrando un toque de dulzura y simpatía en su apariencia. Este pequeño detalle de color hace que el onigiri no solo se vea más atractivo, sino también increíblemente tierno. El resultado final es un amigurumi que no solo muestra mi habilidad en crochet, sino que también expresa creatividad y alegría. ¡Realmente se ve adorable (^ω^)!
To complete my onigiri amigurumi project, I paid special attention to the final details that would really bring it to life. I carefully embroidered the eyes and mouth of the onigiri to give it expression and character. Additionally, to enhance its kawaii charm, I applied a little blush to the cheeks, achieving a touch of sweetness and friendliness in its appearance. This small detail of color not only makes the onigiri look more appealing but also incredibly tender. The final result is an amigurumi that not only showcases my crochet skills but also expresses creativity and joy. It looks absolutely adorable (^ω^)!
Que lindo te quedo, me encanta el aspecto del Onigiri y hecho con esta tecnica resulta muy adorable 😍
Te felicito por tu creacion ❤️
Le agradezco su comentario, así dan más deseos de crear. 🤗
Esta muy lindo, realmente es algo muy original y hermoso de ver. Sin duda es una idea genial para usar los hilos restantes. Mi hija amaría tener uno de estos. Bendiciones.
¡¡Hola!!
Quedan muy tiernos estos amigurumis, y además se pueden hacer con diferentes caritas.
Saludos 😊