Heeeyho Readers! I'm way too excited to share this!
Two days ago, I posted about a mod added to a classic Swiss Army pocket-knife (SAK, for short). However, after adding those beautiful handmade wooden scales (side handles), I sat thinking about a very important detail: the Victorinox emblem was missing. It cannot be a real SAK without the Swiss cross. Can it? Truth to be told... I had no idea how to make the emblem other than a vague idea of using brass to contrast a yellowish color against the dark wood. {scratches brain}.
Inserting a cross into the already finished scales is out of reach. I'm not willing to risk the previous job and no carving tools are in my disposal. First idea involves a simple handmade brass cross glued onto the scale. Sure, an insert would look awesome, more or less like the original aluminum cross/shield Victorinox uses. At the same time I'm digesting all the ideas, knowing I don't have any raw materials to work on causes another digestive unrest — that's anxiety right there. {sigh} To the box of odds we go.
By the time I found the possible material to make the cross, rain fell and stopped, the coffee cooled and the dogs began to bark asking for their five o'clock meal. That's how long it took scavenging through trinkets from the box.
Can you guess?
Well, if you read the title... so let's start with the finished result and go backwards. Spoiler, spoiler, spoiler! Sorry, way too excited. This is by far the most delicate piece in my "portfolio" of crazy projects. I've had the pleasure of making awesome, intricate, and precise pieces of machinery as a mechanical technician/engineer, but making this sort of handmade art is another game (at least for me).
The thinking process evolves as we tackle a problem. Since I don't have a brass plate to cut a cross from, the best option is to look for anything brass-made around the house. Closest found is an empty (obviously) .38 cartridge case. Brass used in cartridges is malleable enough to mold, bend, file, cut, sand, etc.
Making a mess
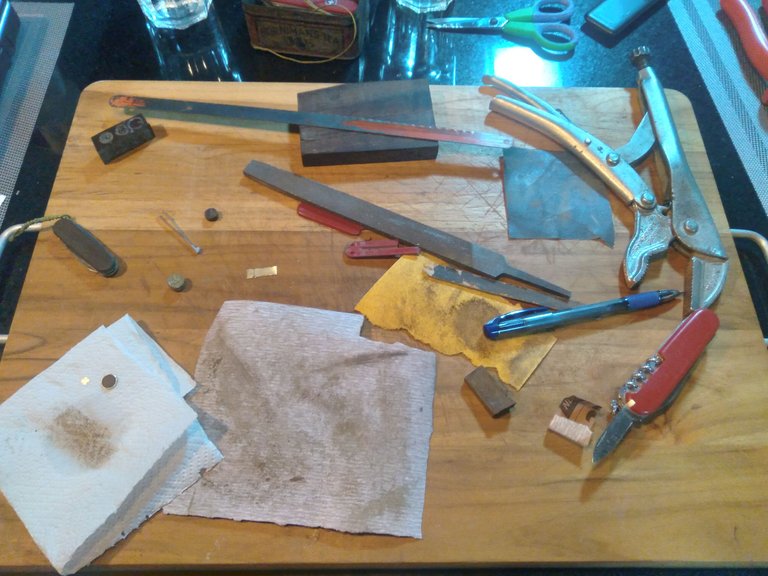
Cutting the cartridge axially to make a ring and, then, opening said ring into a square plate yields the perfect base material. After battling with the scissors I manage to cut the teeniest of the teeny crosses. I could simply glue the cross onto the wooden scale, but the idea of something built-in still bugged me.
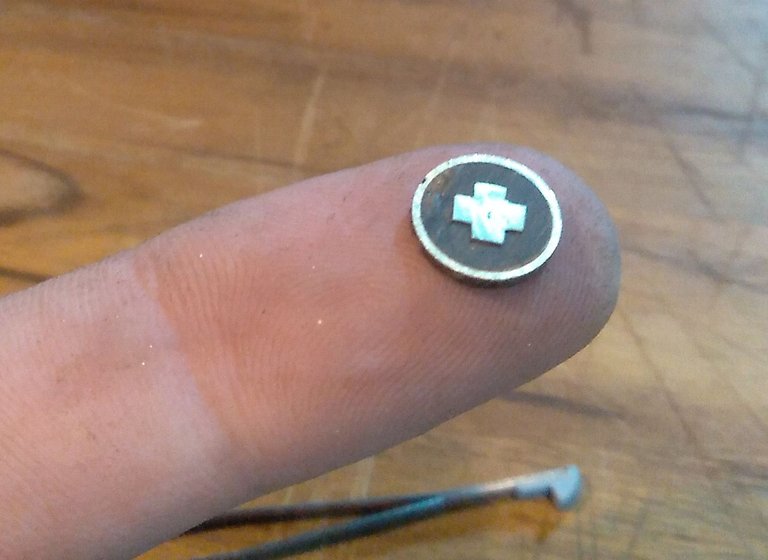
What else can be made to create something more intricate? I contemplated cutting the shield, but failed miserably {laughs}. Perhaps a cup of coffee brings new ideas. Well... I can't cut a shield, but perhaps a ring around the cross would look cool. I already have the round cartridge after all, so it only takes another slice of brass.
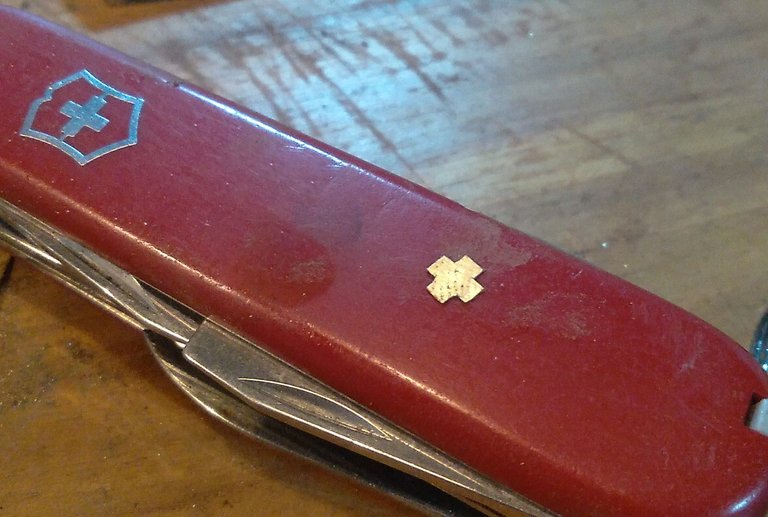
An idea leads to another. Next up came a round wooden insert to press into the ring to create some sort of button. The cross goes glued on the button and there we have it.
It's about shaping from now on, moving from rough to fine sandpaper. Making it thinner, more delicate, adding a round fillet. The thinner the better. Super glue dries extremely fast, making me glue the cross out of alignment; fixed after removing with hot water.
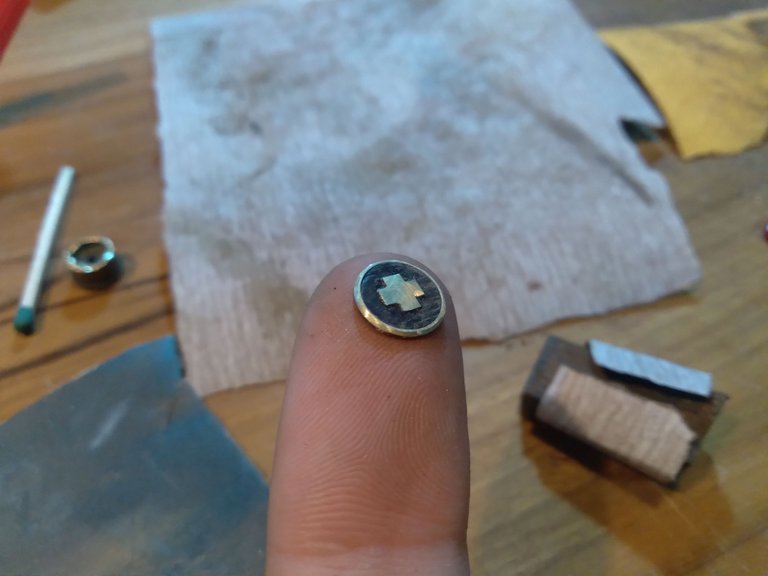
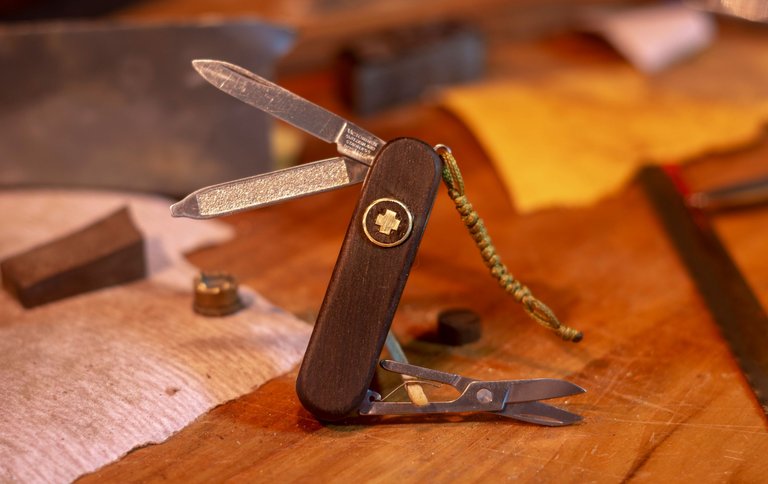
The end result isn't exactly how I first envisioned the project, but turned out pretty awesome nonetheless. The brass matched the dark wood so beautifully. Looks vintage. It has some little imperfections, although those accentuate the handmade aspect of the build.
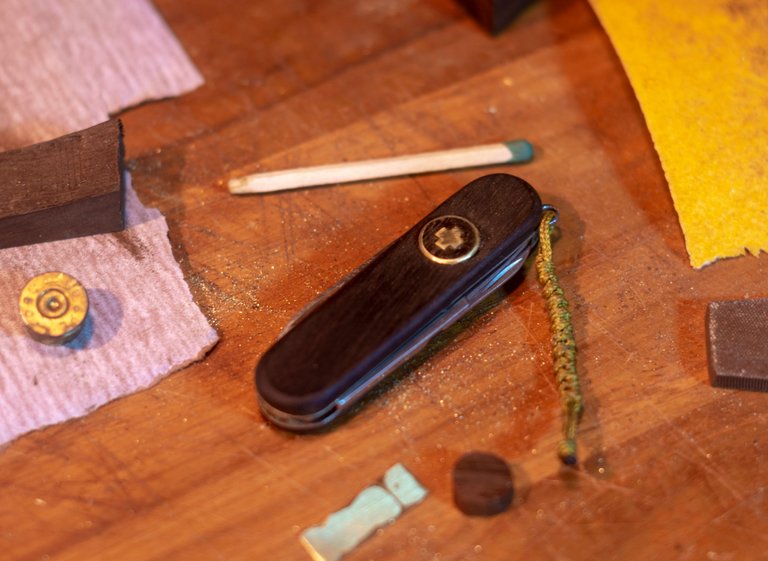
Now I can close the case. The little SAK is complete with the Swiss cross added to the scale. Do you agree it missed this simple, yet important detail? Like a cherry on the cake. You can bet little Vic won't become a keychain ever again.
Also, I won't bother you with another pocket-knife post so soon lies.
Until next time
Peace.
If you enjoyed this post consider leaving your upvote for a hot coffee.
Find me on Twitter: https://twitter.com/mrprofessor_
~Love ya all,
Disclaimer: The author of this post is a convict broke backpacker, who has travelled more than 10.000 km hitchhiking and more than 5.000 km cycling. Following him may cause severe problems of wanderlust and inquietud. You've been warned.

It is a jewel, a piece of history, I have never seen another one of those knives since the 80's, I think it is a beautiful relic, that you restored it even better, I could see your previous publication, the step by step was great. I loved to see the process of how you elaborated the final detail, I am very happy that you were satisfied with just leaving it simple but you took it to the next level, thanks for sharing with us.
If you would like to support Hive DIY as a witness you can do it in this link or through your wallet in the witness section.
@sagarkothari88 vote
Thank you! Indeed these SA knifes are so good in quality that many people collect them with the same love as collecting watches or anything of value. Now I want to make more xDDD
@stortebeker this is what I mentioned in the comment about the detail
This little home-made Swiss Cross emblem looks fantastic! There is no more a comparison with the original, as this leaves it way behind in the dust. I just love how you used a cartridge case to get the actual brass! Awesome job! And yes, please do post about more pocket knife projects, especially if they upgrade the original piece like this one.
I have no idea how I came up with the idea. I swear to God no drugs are involved.
🤣