Heeeyho Readers! Can't get enough pocket-knives!
Life never gets boring when we find something cool to pass the time, especially as progress inspires harder challenges, which, then, triggers those juicy hormones {feels good}. Once I got into leather work and remember spending every-single-day creating leather key chains. Unfortunately, at such a young age (about 12 y/o), I ended up dropping the hobby. Anyways. What matters, though, is the healthy experimentation.
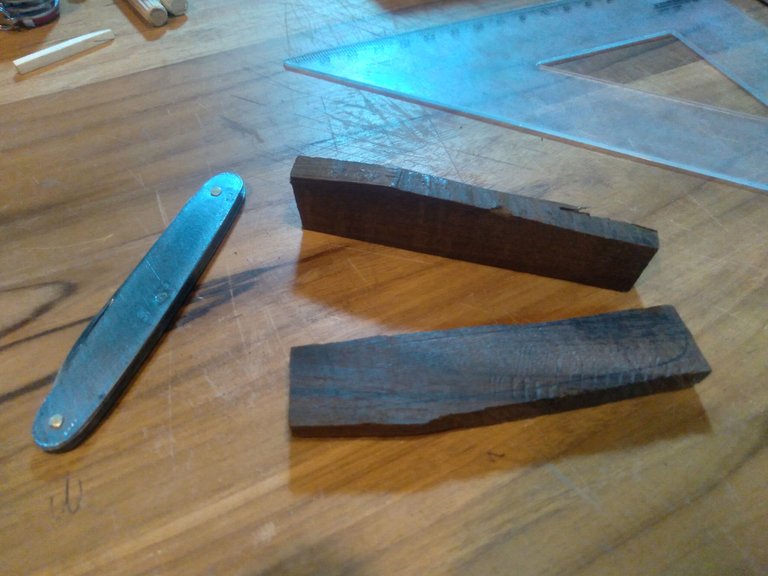
The previous pocket-knife build was a success. I still had a piece of the same wood and another old forgotten knife to fix, so I went for a second round. How the little knife came to my collection is a mystery. I know for sure that it was my grandpa's (mom's dad, whom I never met). Perhaps grandma gave it to me? Not sure. It's not an expensive knife like the Victorinox. The opposite, actually. The single-bladed knife is a classic Brazilian-made Tramontina. Apparently, Tramontina used to sell promotional pocket-knives outside their OEM stuff. Can I restore it back to life?
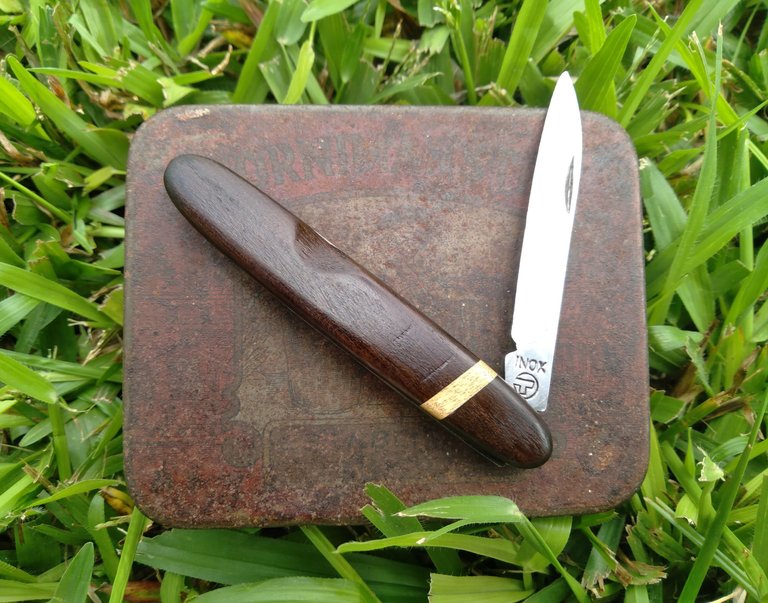
The small 80-ish milimeter blade is made of stainless steel, hence the reading inox on the blade; the engraved T is from Tramontina. The blade is pretty well-preserved, without signs of sharpening wear. All the rest, on the other hand, looks nasty.
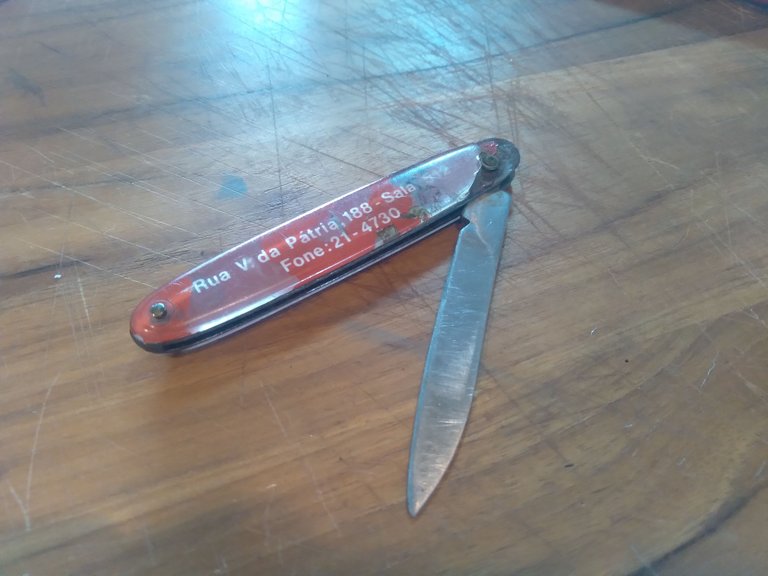
The inscriptions on the handle are the address and telephone of a late horlogerie that's no longer in business it appears. The idea here is to replace the broken handles for handmade wooden ones.
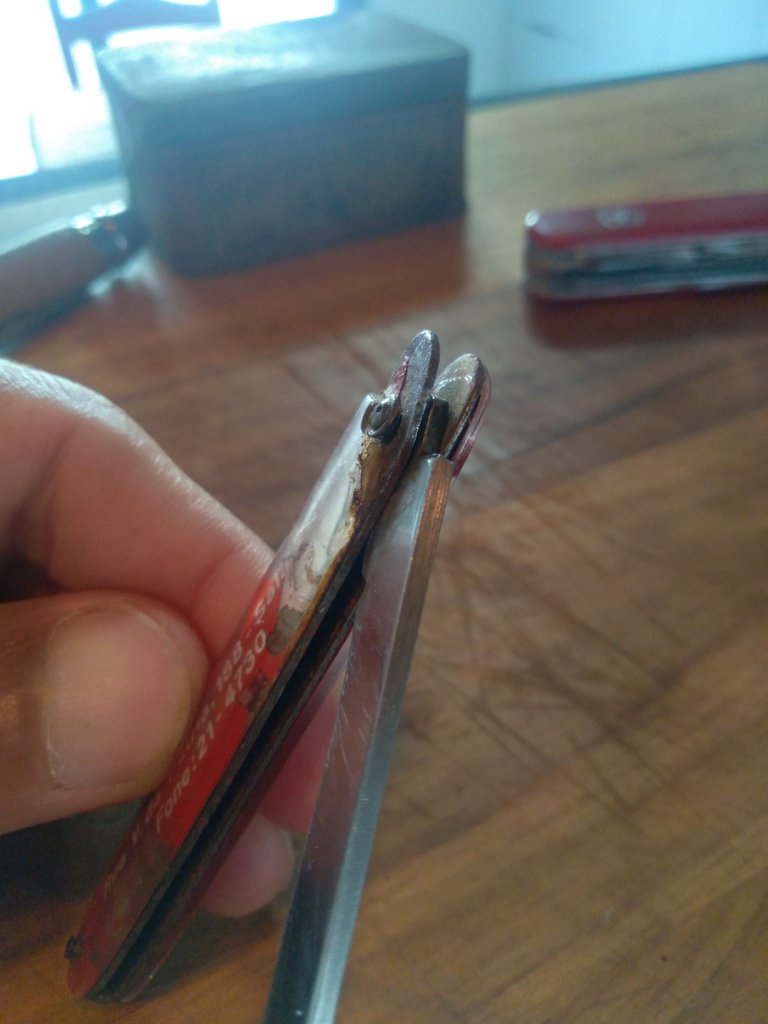
The brass rivets have worn out, making the blade all wobbly. On top of that, the 'chassis' is also bent at the tip and has a lot of surface rust, which kinda jams the spring. A pocket-knife's spring is what keeps the blade shut in place. Do you recall that characteristic click when folding a pocket-knife blade? That signs a healthy spring. Mine doesn't click, nor keeps the blade shut anymore. The only way to find out is to remove the rivets to disassemble the whole thing.
Readers will have to pardon me, but I forgot to photograph the cleaning process. I use a bunch of cleaning methods, always going after different solutions when the previous doesn't work. It generally starts with soap and a toothbrush to remove gunk, dust, etc. For surface rust the best approach is a wire brush/wheel — works wonders, without hurting the surface. The bent parts of the chassis went back into shape with a pair of pliers. Then, any dents on the edges were filed down using a thin file. Note below the before and after cleaning.

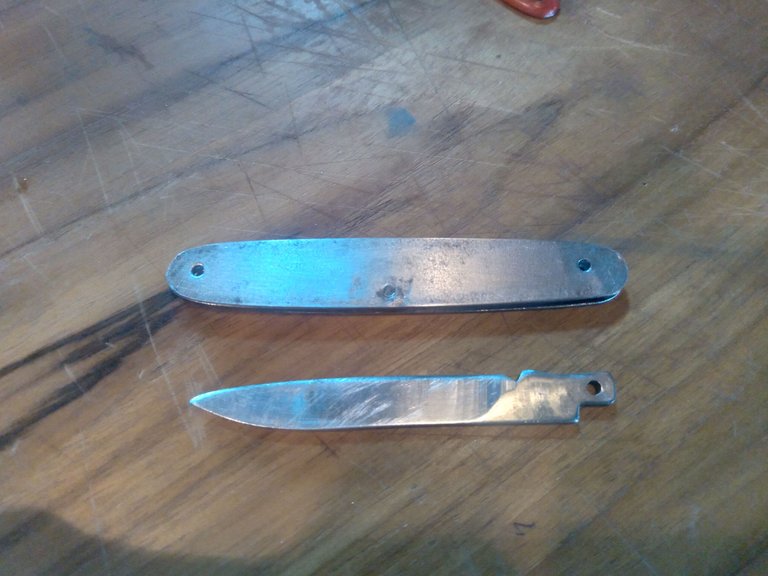
I had to cut the original rivets to re-assemble the knife. I plan to hide the rivets under the handles, as opposed to have them going through the sides. The spring began to work perfectly after cleaning everything. Now that the knife itself is restored, I can start to make the scales.
This is the same wood shown in the previous post, but for this build I wanted to add a small detail using light wood. Couldn't go crazy with the marquetry because I lack proper tools. Just a simple detail is enough. I opted for a transversal inlay. The thickness of my file is just about right, making it easier to carve.
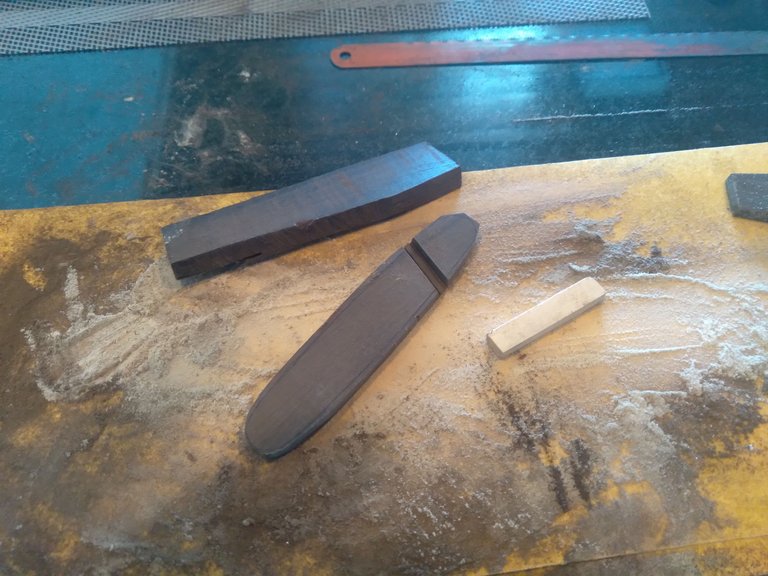
Manually shaping such a dense piece of wood is a lot of work. Talk about hours sanding. And a lot of patience. Moving in small increments is key. And there are two sides to work on! Dear God.
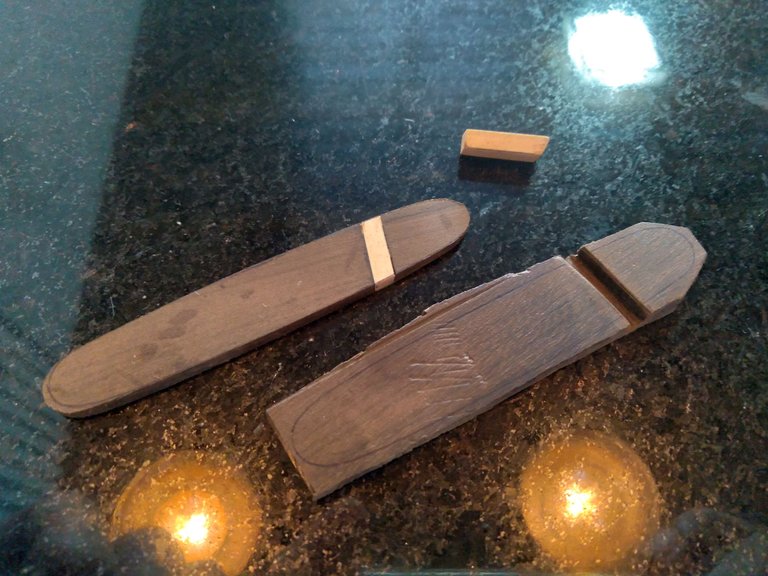
Above you can see the tiny inlays I made from a piece of light wood. Apparently, epoxy glue is best for this kind of work, but I had none other than super glue. It works as long as no torsion is applied. My bathroom door handle is super-glued in place for ages, so it might work.
The final touch follows the same principles as shown in the previous post: carefully filing the edges to create a nice smooth fillet that gives form to the handles. I also carved a detail near the nail nick.
The handles are silky smooth after progressing through the 360, 800 and 1200 grit sandpapers. I glued them in place and prepared for the finish.
The trick
I used olive oil to finish my Victorinox on the previous post. Looks beautiful and all, but I still wanted to try a high gloss touch. After scooping the web, I found a trick using cianocrylate (super glue).
It consists of rubbing super glue onto the surface using a piece of paper towel. Think of thin layers. A drop of glue on the paper towel, two layers were enough. The result is a high gloss, nearly vitrified kind of finish. Lastly, I polished the surface with steel wool plus furniture polish.
Final Result
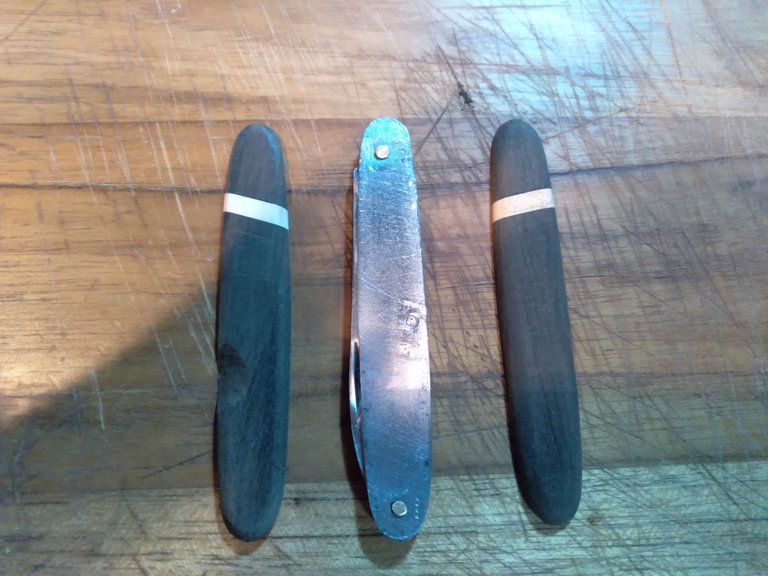
One little drop of machine oil on the rivet made the blade fold smooth like butter. The blade did require sharpening, which was resolved using a sharpening stone. What else can I say? For such a cheap-ass pocket knife, it turned out fantastic. Unique, to say the least. It cuts well, folds nicely, spring remains strong, and the handles look awesome. Definitely usable.
Not sure if readers are as excited as I'm in pocket knifes. Are you? I'm seriously thinking about making some unique knifes featuring the Hive logo to sell for Hive. Do you like the idea? Let me know in the comments.
Peace.
If you enjoyed this post consider leaving your upvote for a hot coffee.
Find me on Twitter: https://twitter.com/mrprofessor_
~Love ya all,
Disclaimer: The author of this post is a convict broke backpacker, who has travelled more than 10.000 km hitchhiking and more than 5.000 km cycling. Following him may cause severe problems of wanderlust and inquietud. You've been warned.

Saludos amigo me parece una buena idea como que le diste nueva vida a esa navaja que fue desechada ahora parece nueva
It looks a lot better after you recreated the handle. I also !LUV the idea of you making hive knives. I know that @travelingcrafters man might like to have one.
mrprofessor, wanderingmoon sent you LUV. 🙂 (1/1) tools | trade | connect | daily
Made with LUV by crrdlx.
Ohhh yeah! Biggest issue would be mailing costs ☹️ the last time I checked it was absurdly expensive to send anything out of Brazil
Congrats, the outcome looks great and congrats for having the patience and time as well :)
Heyhey I generally don't have much patience, but it's getting better the more I exercise 🤣🤣
Thanks or the kind comment
@mrprofessor this work is done by my father as well.😃
It's a job of much dedication and some experience, I loved the result, restorations are always cause for emotion and especially when they belonged to a loved one, it's an object worth preserving, it looks like new thanks for sharing your great work.
Awesome, does he restore stuff? He should have a hive blog to share his work!