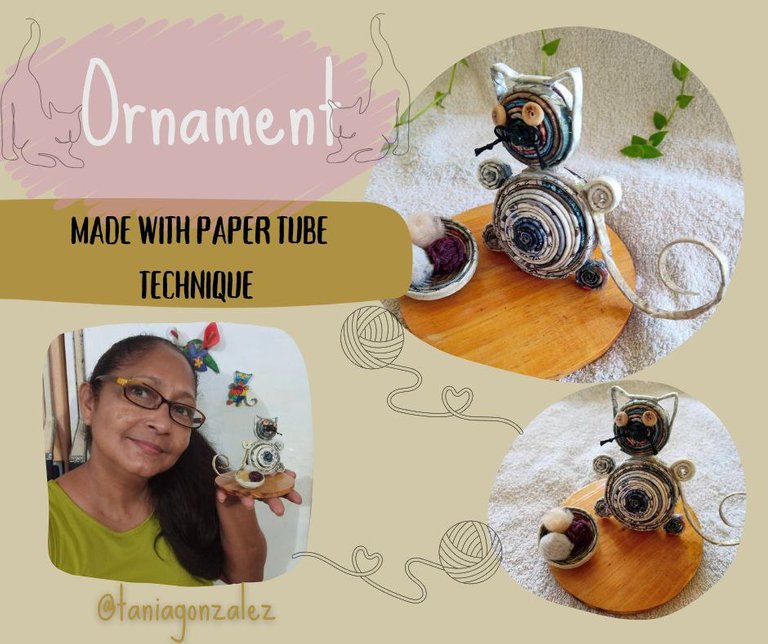
Greetings to everyone in this creative #hivediy community. I'm here with you today to share a craft I made with the paper tube technique. It's been two months since I started working with this technique, which has served me very well, not only because of the beautiful things you can create, but also because it's very relaxing to make the little tubes. Next, I will show you the materials I used to make the craft and step by step how I was elaborating it.
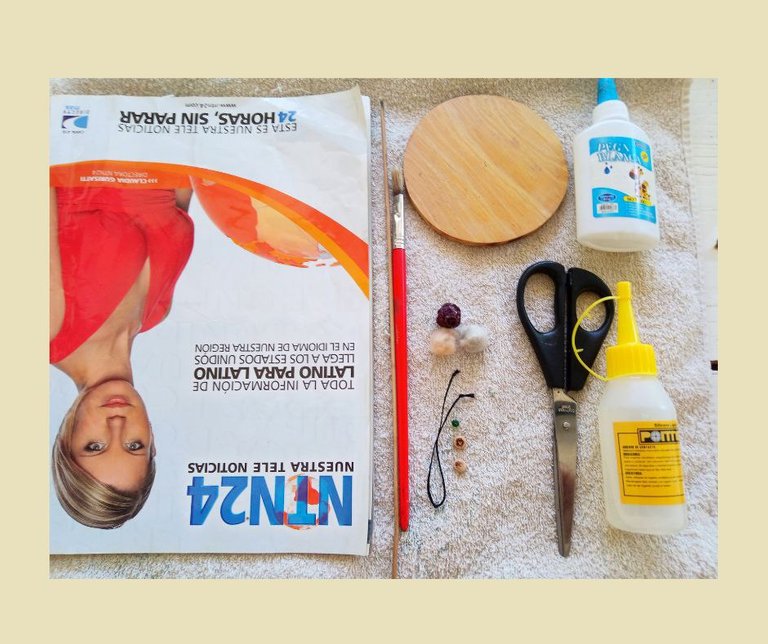
Materials:
Magazine
white glue
Waxed thread
A dark green bead
Two wooden beads
wooden circle
Scissors
Varnish
Un saludo para todos en esta creativa comunidad de #hivediy. Estoy hoy aquí con ustedes para compartir una manualidad que elaboré con la técnica de tubos de papel. Hace dos meses que comencé a trabajar con esta técnica, que me ha servido mucho, no solo por las hermosas cosas que puedes crear, sino también porque es muy relajante hacer los tubitos. A continuación, les mostraré los materiales que utilicé para hacer la manualidad y paso a paso cómo la fui elaborando.
Materiales:
Revista
cola blanca
Hilo encerado
Una cuenta verde oscura
Dos cuentas de madera
círculo de madera
Tijera
Barniz
The first thing I do is to cut the magazine sheet into three equal parts. I begin to roll it with the help of the skewer stick until I have the tube ready, applying a little silicone at the end so that it does not unravel.
Lo primero que hago es cortar la hoja de revista en tres partes iguales. Comienzo a enrollar con ayuda del palillo de brocheta hasta tener elaborado el tubo, aplicándole un poco de silicón al final para que no se deshaga.
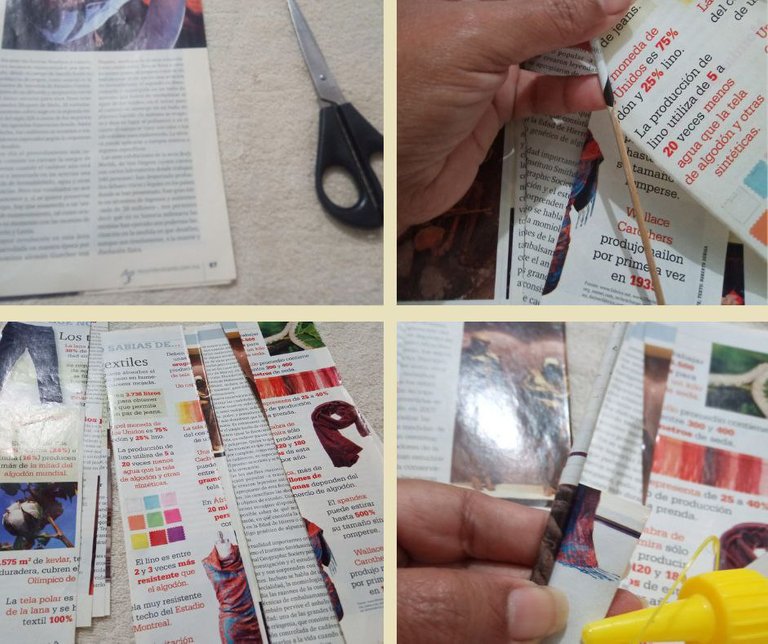
Having the sticks finished, I roll them with the help of the pencil to make it easier to manipulate them when rolling them by hand.
Teniendo los palillos terminados, los enrollo con ayuda del lápiz para que sea más fácil manipularlos a la hora de enrollarlos con la mano.
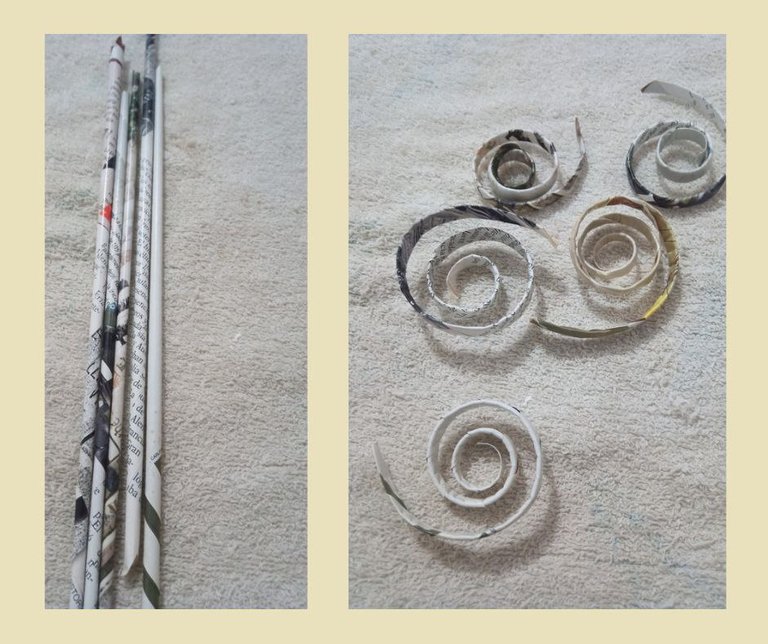
With my hand, I begin to make the rolls.
Con la mano, comienzo a hacer los rollos.
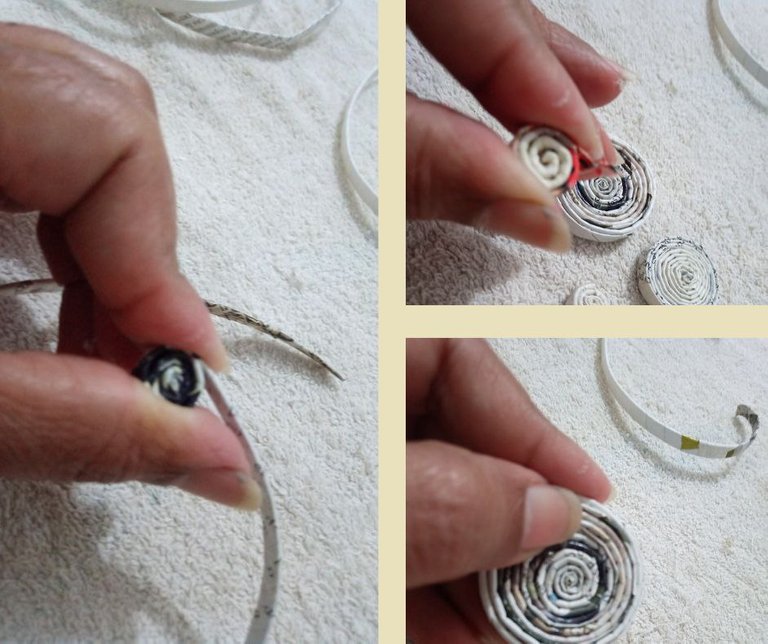
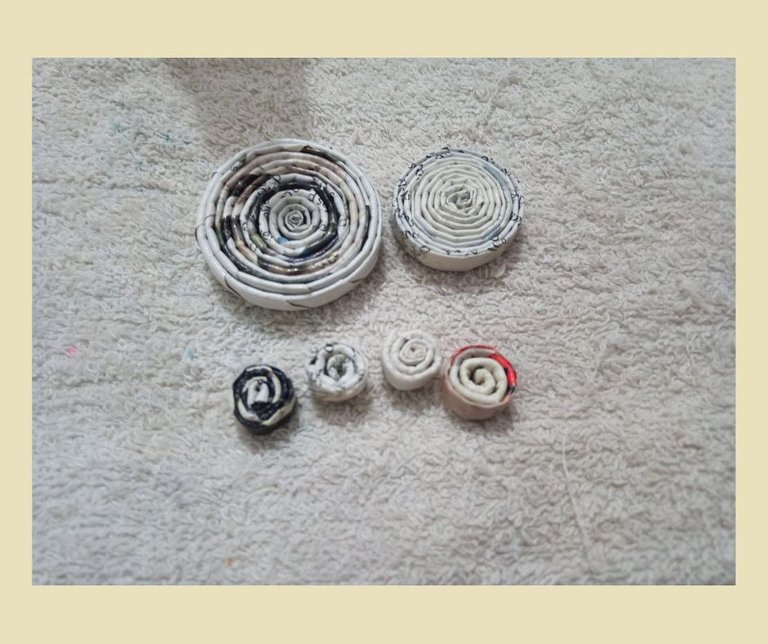
Each time I finish a roll with the desired size, I put a little liquid silicone on the end so that they do not unravel. I repeat this operation until I have all the desired rolls for my craft.
Cada vez que termino un rollo con el tamaño deseado, le pongo un poco de silicón líquido en el final para que no se deshagan. Repito esta operación hasta tener todos los rollos deseados para mi manualidad.
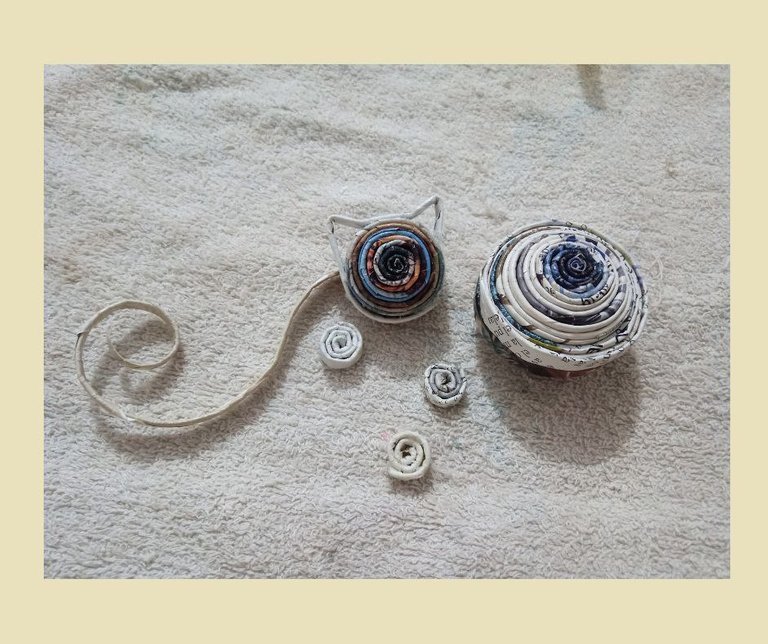
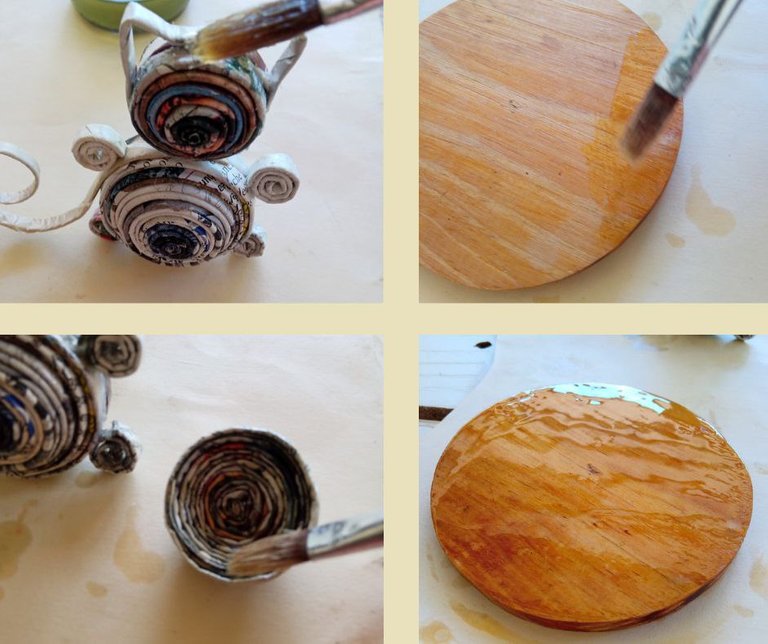
I shape the rolls with my fingers, sinking them slightly until they form a basket shape.
Paso a darle forma a los rollos con los dedos, hundiéndolos levemente hasta formar como una cesta.
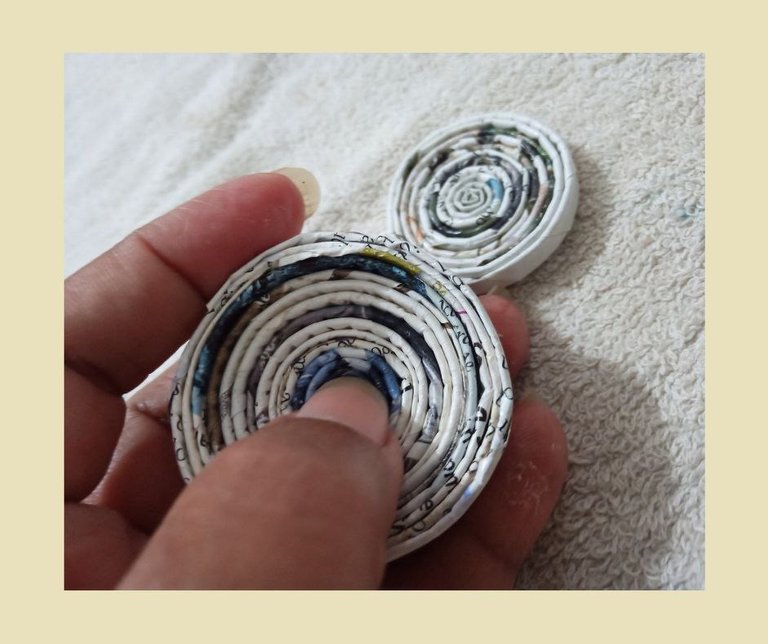
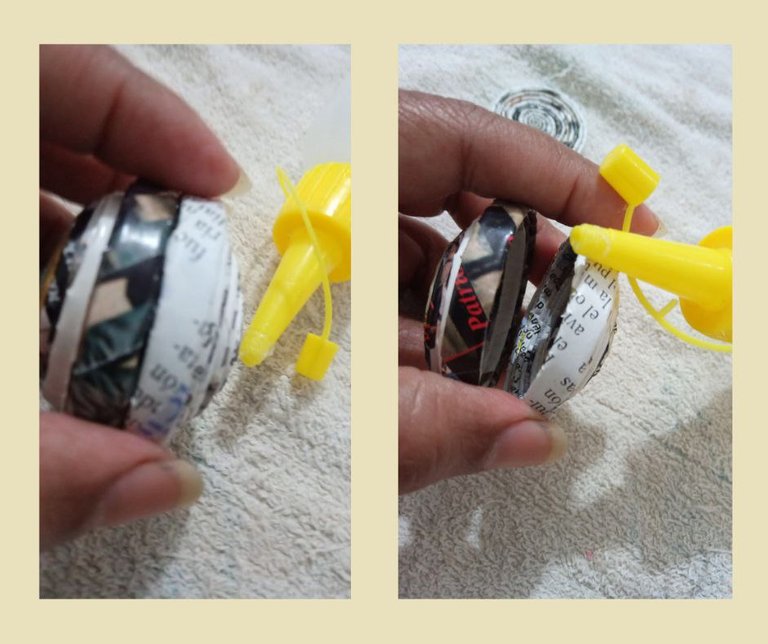
I join them together and glue them with the help of silicone, leaving almost formed what would be the head and the body.
Los uno y pego con ayuda del silicón, dejando casi formada lo que sería la cabeza y el cuerpo.
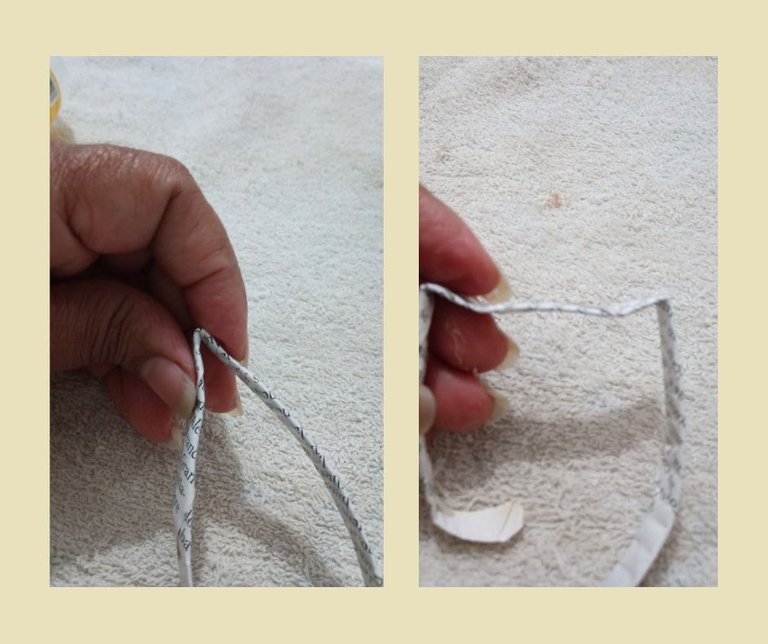
With one of the tubes, I start making the ears of the cat, shaping them with my hands in a uniform way so that the ears are as good as possible.
Con uno de los tubos, comienzo a hacer las orejas del gato, dándoles forma con las manos de forma uniforme para que las orejas queden lo mejor posible.
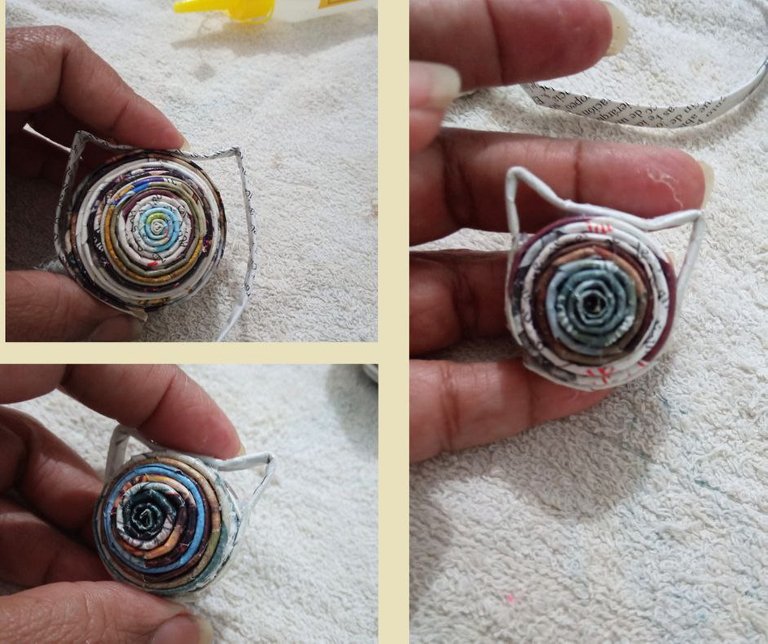
I glue the ears to the smaller glued rolls, which are the ones that form the head.
Paso a pegar las orejas a los rollos pegados más pequeños, que son los que forman la cabeza.
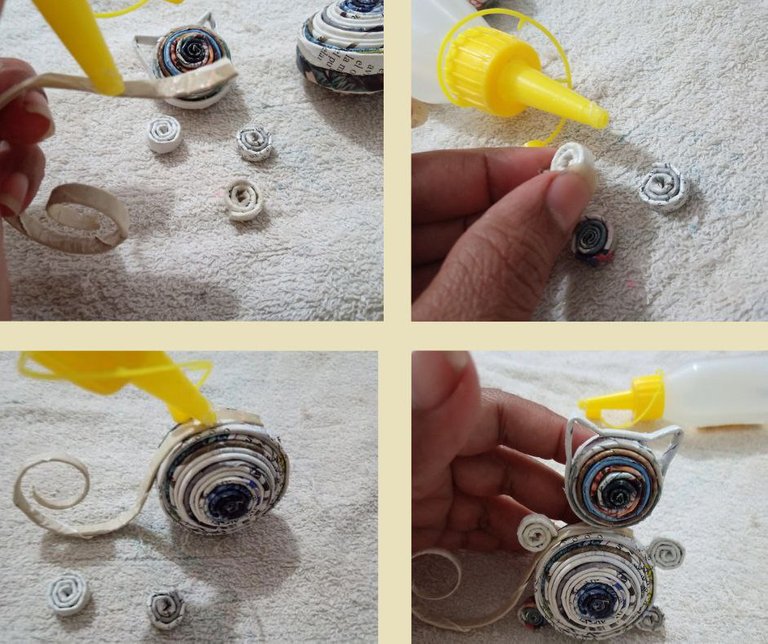
Now that all the pieces are ready, I will proceed to assemble the cat completely. I start gluing the tail of the cat, then I glue the legs and finally the head.
Teniendo ya todas las piezas listas, paso a armar completamente el gato. Comienzo pegando la cola del gato, después pego las patas y por último la cabeza.
I will apply the varnish to the whole cat, to the basket that I will also place next to it and to the wooden circle where I will glue the whole ornament.
Paso a aplicar el barniz a todo el gato, a la cesta que también colocaré a su lado y al círculo de madera donde voy a pegar todo el adorno en su conjunto.
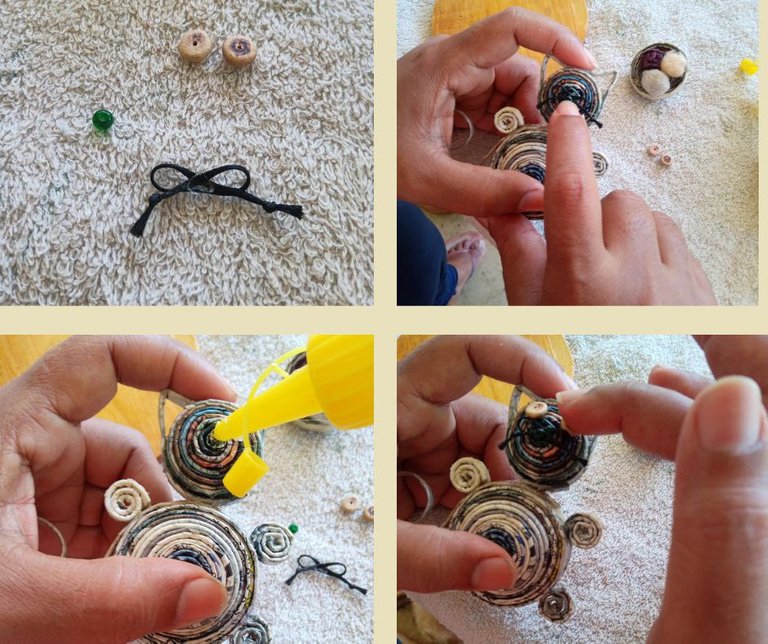
With the waxed thread, I make a loop that I glue to the cat as a moustache with the liquid silicone. Then, I glue the green bead as the snout and the wooden beads as eyes. As you can see, the cat is ready. I now place the three balls of yarn in the basket.
Con el hilo encerado, hago un lazo que se lo pego al gato como bigote con el silicón líquido. Luego, pego la cuenta verde como hocico y las cuentas de madera como ojos. Como pueden ver, ya tengo listo el gato. Paso a colocar las tres bolitas de estambre en la cesta.
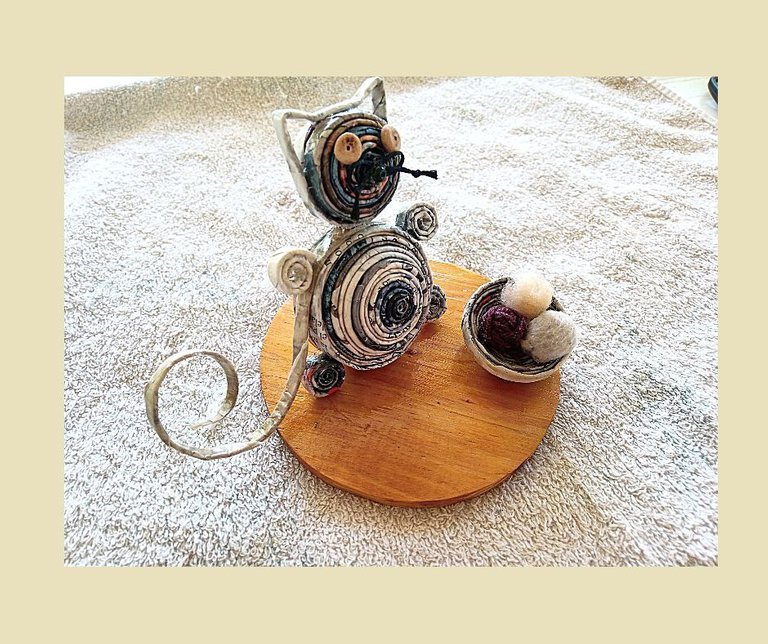
With the liquid silicone, I glue each of the pieces on the wooden circle and here you can see how this beautiful ornament turned out.
Con el silicón líquido, pego cada una de las piezas en el círculo de madera y aquí ven cómo ha quedado este bello adorno.

Dear friends, I hope you liked this craft. I wish you an excellent evening.
Bye!
Queridos amigos, espero que les haya gustado esta manualidad. Les deseo una excelente noche.
¡Chao!

The photos were taken with a Bison X10 Pro
DeepeL was used
Photos was made with Canvas
Congratulations @taniagonzalez! You have completed the following achievement on the Hive blockchain And have been rewarded with New badge(s)
Your next target is to reach 900 posts.
You can view your badges on your board and compare yourself to others in the Ranking
If you no longer want to receive notifications, reply to this comment with the word
STOPTo support your work, I also upvoted your post!
Check out our last posts:
Thank you 🌹🌷🌷🌼🌺🌻💐🌸💮🏵️☘️
Stay focused @taniagonzalez! You're making great progress towards your Hive goals.
This post has been manually curated by @steemflow from Indiaunited community. Join us on our Discord Server.
Do you know that you can earn a passive income by delegating to @indiaunited. We share more than 100 % of the curation rewards with the delegators in the form of IUC tokens. HP delegators and IUC token holders also get upto 20% additional vote weight.
Here are some handy links for delegations: 100HP, 250HP, 500HP, 1000HP.
100% of the rewards from this comment goes to the curator for their manual curation efforts. Please encourage the curator @steemflow by upvoting this comment and support the community by voting the posts made by @indiaunited.
Thanks for the support 🌹🌷🌷🌼🌺🌻💐🌸💮🌸💮🌸💮🏵️☘️
Que bonito adorno confeccionado con tubitos de papel , me encanta como despliegas toda tu creatividad con esta técnica , te quedó genial! 👋❤️
Y que relajante es crear con esta técnica mi hermana @lileisabel . Gracias, me alegro que te guste este trabajo 🌹🌷🌻🪷🌺💐🪻🌸💮🏵️☘️.
Ayyy por Dios pero que belleza. me enamore. Es una técnica tal cual como el quilling pero con tubos de papel, hace la pieza mas gruesa aun. Seguro que debo intentarlo. Qué tengas un hermoso día @taniagonzalez 🐱
!DIY
Gracias querida @dayadam , te invito a que lo pruebes, es muy relajante trabajar esta técnica, yo me enamoré de ella, feliz día 🌹🌷🌼🌺🌺🌻💐🌸💮💮🏵️☘️
Que lindo te quedo, super tierno y decorativo para el hogar o para regalar a un amante de los michis jeje me encanto tu manualidad y quedo aun mas tienro con las bolas de estambre en miniatura, gracias por el tutorial ❤️
Me alegra saber @elbuhito que te ha gustado esta manualida, he disfrutado mucho elaborándola, gracias por visitar mi post, feliz día 🌹🌷🌼🌺🌻💐🌸💮🌸💮🏵️☘️.
wow great craft, it really looks beautiful. thanks for sharing.
Thanks for the support 🌹🌷🌷🌼🌺🌻💐🌸💮🌸💮🌸💮🏵️☘️
You can query your personal balance by
!DIYSTATSThanks for the support 🌹🌷🌷🌼🌺🌻💐🌸💮🌸💮🌸💮🏵️☘️
Quedo hermoso, con ese tutorial creo q será fácil intentar hacer una réplica aunque claro que como el original no creo q nos quede jjj, me encantó todo el proceso y por supuesto el resultado final . Saludos
Me alegra saber que te ha gustado @ricardoeloy , dale una oportunidad, verás que es una técnica muy relajante, feliz noche 🌹🌷🏵️💮🌼🌺🪷🌻💐🪻🌸☘️.
Que lindo tu trabajo con material reciclable, me encantó, ahora tengo otra idea de como reciclar papel, gracias por compartirlo.
Saludos.