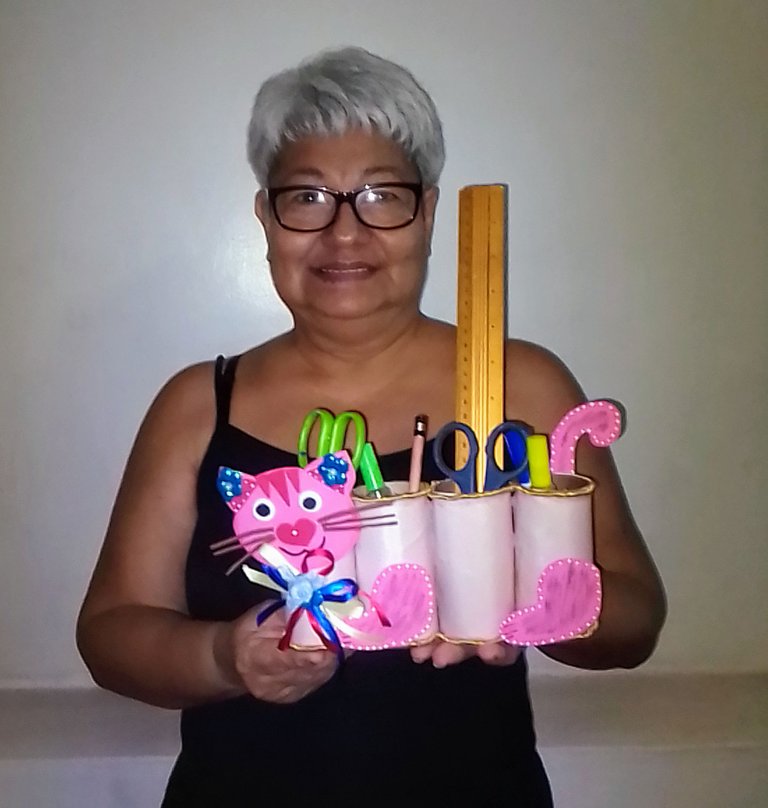
Mi selfie con mi creación terminada
My selfie with my finished creation.
Greetings to all the friends of this community, it is a pleasure to bring you again another of my creations made by my little hands. May God continue to give me wisdom and a lot of creativity to show you all.
Es con material de reciclaje y con foami ya verán el paso a paso como se realiza, este hermoso organizador para escritorio en forma de Gatita.
It is with recycling material and foami and you will see the step by step how to make this beautiful organizer for desktop in the shape of Kitty.
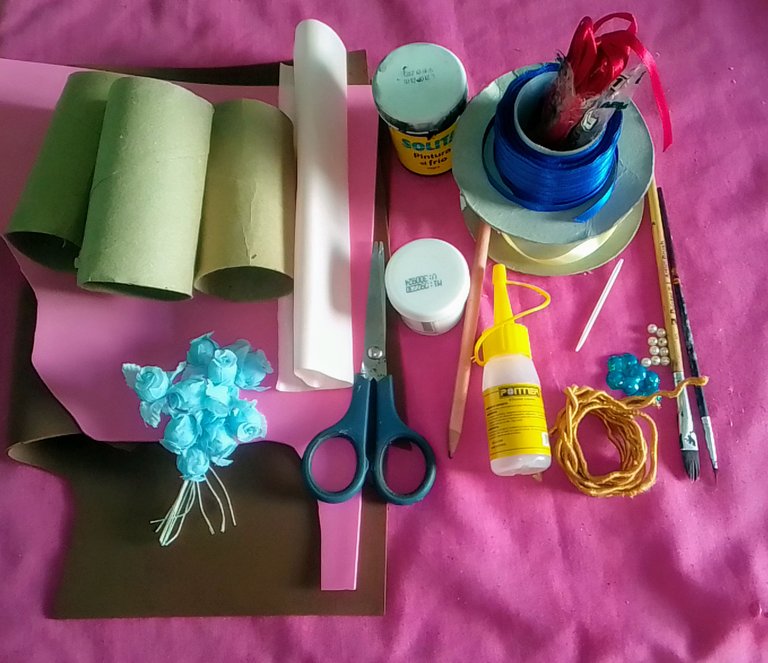
MATERIALES QUE SE UTILIZAN
MATERIALS TO BE USED
- 4 tubo de papel higiénico
- Foami el color de tu preferencia
- Florecita para decorar
- Tijera
- Pega líquida de silicón
- Lápiz
- Pintura al frío
- Cintas bebé
- Perlitas
- Hilo dorado
- Pinceles
- Palito de diente
- Cinta ancha rosadita.
- Pistola de silicón.
- Regla.
- 4 toilet paper tubes
- Foami in the color of your choice
- Little flower to decorate
- Scissors
- Liquid silicone glue
- Pencil
- Cold paint
- Baby ribbons
- Beads
- Gold thread
- Brushes
- Toothpick
- Wide pink ribbon.
- Silicone gun.
- Ruler.
PROCEDIMIENTO:
PROCEDURE:
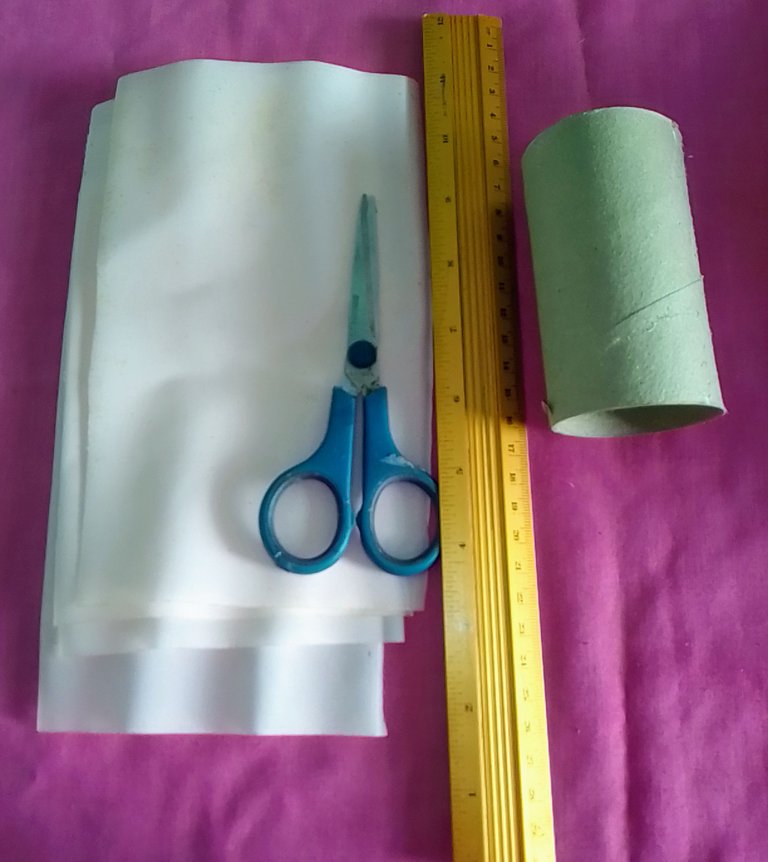
STEP 1
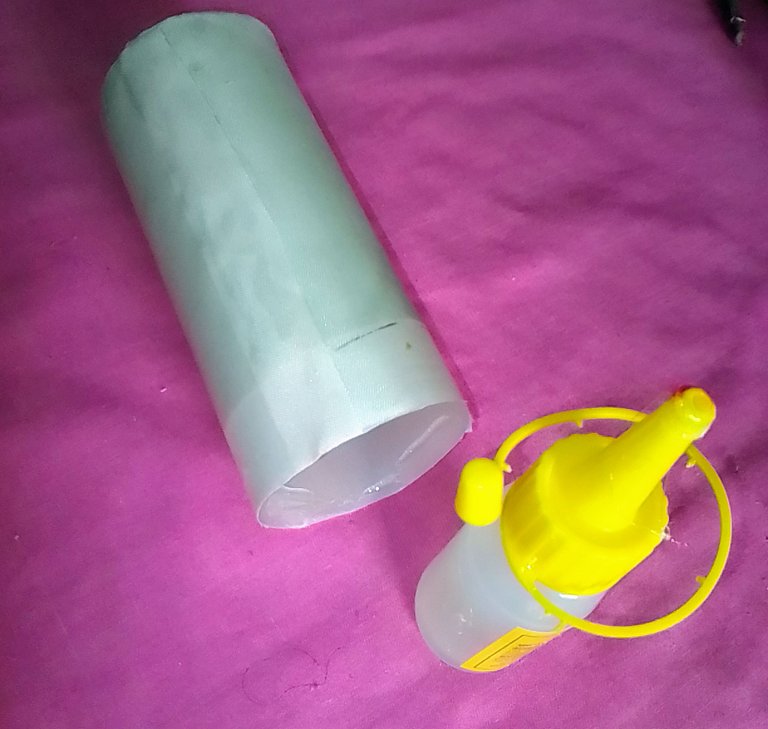
Vas a tomar la cinta ancha rosadita y mides 17 centímetros de largo por 11 de ancho yo tomé el tubo de papel higiénico y medí alrededor y con la regla saqué lo que voy a cortar para 4 tubo.
You are going to take the wide pink ribbon and measure 17 centimeters long by 11 centimeters wide. I took the toilet paper tube and measured around it and with the ruler I took out what I am going to cut for 4 tubes.
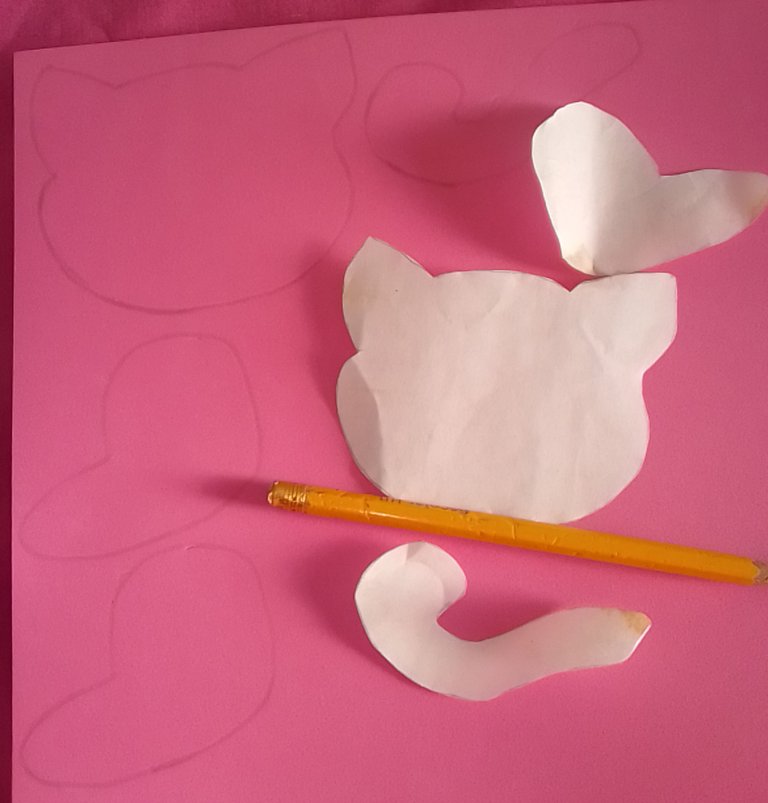
STEP 2
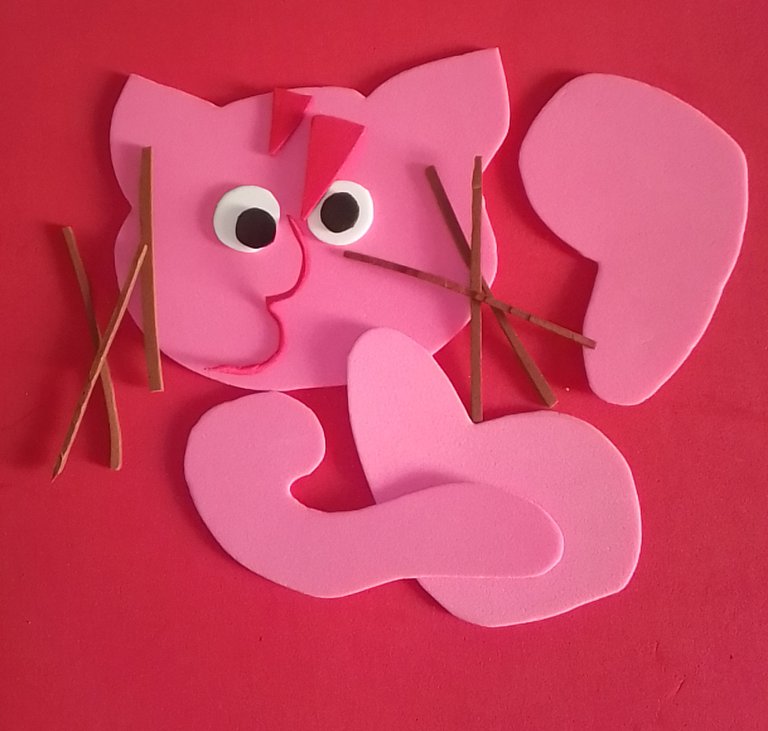
Luego tomé los moldes de la cara, patas y el rabo de la gatita y con el lápiz lo transferí al foami rosado.
Then I took the molds of the kitty's face, paws and tail and with the pencil I transferred it to the pink foami.
STEP 3
Acá los recorté parte de como va ir decorado los bigotes, ojitos, melenita, cara, patas y rabo.
Here I cut out part of how the whiskers, eyes, hair, face, paws and tail will be decorated.
STEP 4
Luego tomó los tubos de papel higiénico y las cintas que recorté anteriormente y empiezo a pegarla todo alrededor del tubo y el sobrante que le queda le agregas pega y lo introduce hacia adentro.
Then he took the toilet paper tubes and the ribbons I cut out earlier and started to glue it all around the tube and the leftovers you add glue and insert it inside.
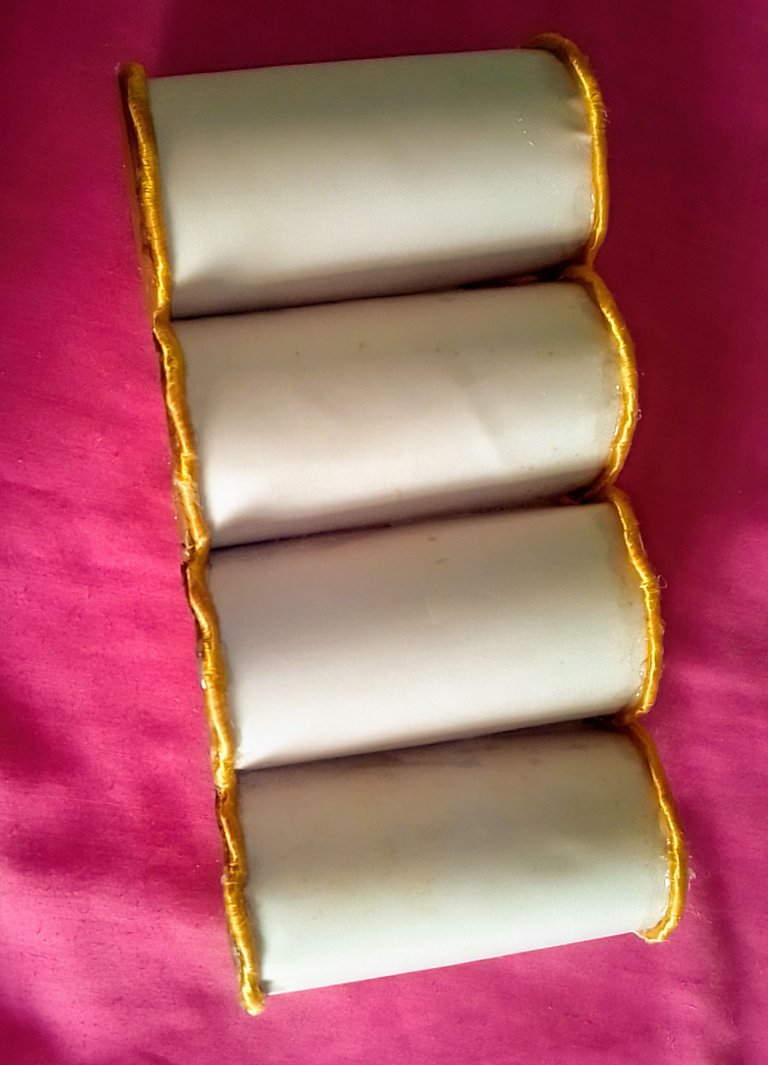
STEP 5
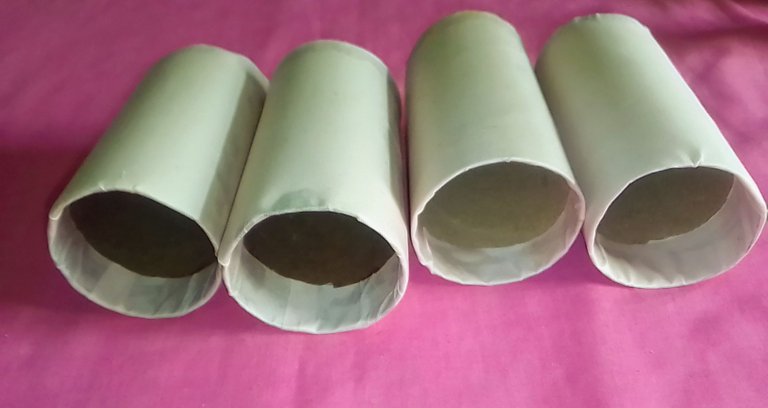
Y asi de esta manera ya están listo pegada la cinta en los 4 tubos de papel higiénico.
The tape is now ready to be glued on the 4 toilet paper tubes.
STEP 6
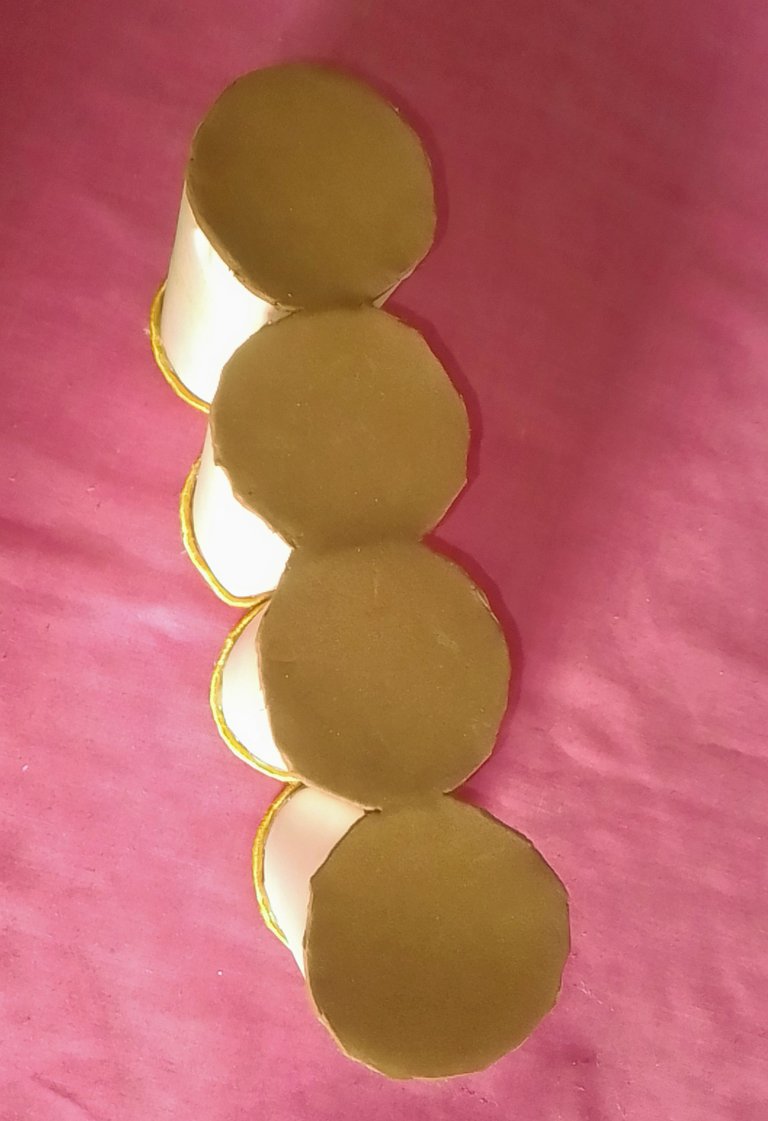
Después con la ayuda de la pistola vas a colocarle este hilo decorativo en la orilla del tubo del papel higiénico y una vez que lo hayas pegado vas a colocar un foami yo escogí el marrón para hacerle la tapita de abajo.
Then with the help of the gun you are going to place this decorative thread on the edge of the toilet paper tube and once you have glued it you are going to place a foami, I chose the brown one to make the bottom cap.
Luego le agrega alrededor del tubo silicón caliente y lo pegas al foami y así vas hacer con los otros y pega tubo con tubo en posición uno al lado del otro.
Then add hot silicone around the tube and glue it to the foami and do the same with the others and glue tube to tube side by side.

STEP 7
Una vez hecho lo anterior vas a recortar el excedente del foami con sumo cuidado te queda de esta manera, que al introducir tus cosas no se te van a salir.
Once you have done the above, you will cut the excess of the foami with great care, so that when you insert your things, they will not come out.
STEP 8
Después ahora vas a decorar con hilo la parte de abajo el mismo procedimiento como lo hiciste arriba y ve que esta quedando diferente.
Now you are going to decorate with thread the bottom part with the same procedure as you did above and see how it looks different.
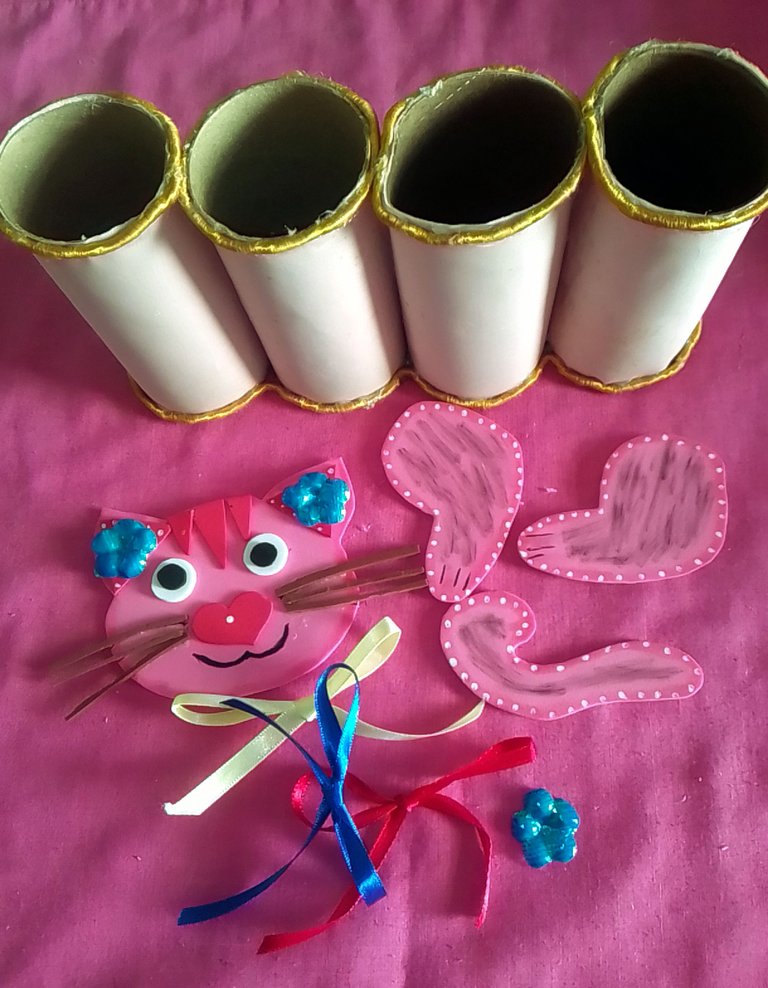
STEP 9
Ya aquí tienes todo listo para ensamblar tu gatita para ponerla hermosa con todos sus accesorios.
Here you have everything ready to assemble your kitty to make her beautiful with all her accessories.
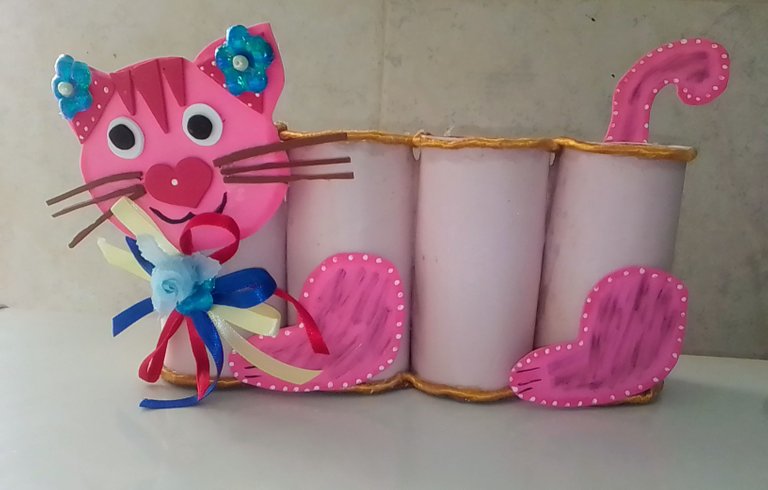
STEP 10
Y tan tan tannnn mira como quedó toda coqueta la Gatita para colocarla en tu escritorio para que organices tus cositas.
And so tan tan tannnn look how cute the kitten is to place on your desk so you can organize your things.
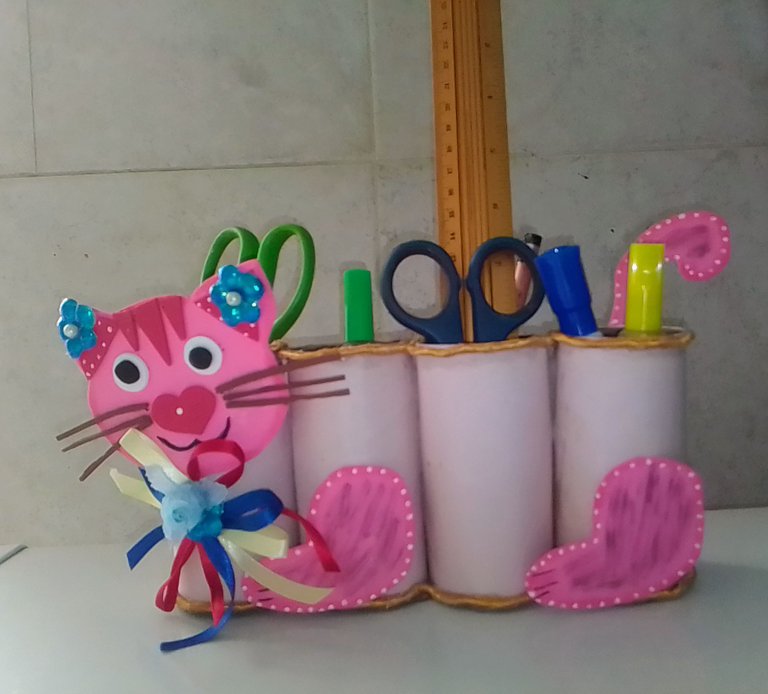
STEP 11
Y mirala ahora ya esta todo organizado lista en el escritorio.
And look at it now it's all organized and ready on the desk.
Así culmino mi creación hecha con material de reciclaje y ahora en adelante ya sabes no tires a la basura los tubos de papel higiénicos ahora los guarda para cuando necesites hacer un actividad ya sea para tu hogar o para cuando a tus hijos del colegio le manden hacer una manualidad, verdad que es útil y así colaboramos con mantener un ambiente más limpio.
This is the culmination of my creation made with recycled material and now you know not to throw away the toilet paper tubes now save them for when you need to do an activity either for your home or for when your children at school will be sent to do a craft, it is useful and so we collaborate with maintaining a cleaner environment.
Gracias por haberme acompañado hasta acá y que te haya gustado.
Thank you for joining me here and for liking it.
Todas las imágenes son tomadas con mi celular LOGICL55B.
Ciudad Bolívar- Venezuela.
Traducido con el DEEPL TRANSLATE.
All images are taken with my LOGICL55B cell phone.
Ciudad Bolivar- Venezuela.
Translated with DEEPL TRANSLATE.
HASTA OTRO ENCUENTRO CREATIVO.
UNTIL ANOTHER CREATIVE MEETING.

This post has been manually curated by @bhattg from Indiaunited community. Join us on our Discord Server.
Do you know that you can earn a passive income by delegating to @indiaunited. We share more than 100 % of the curation rewards with the delegators in the form of IUC tokens. HP delegators and IUC token holders also get upto 20% additional vote weight.
Here are some handy links for delegations: 100HP, 250HP, 500HP, 1000HP.
100% of the rewards from this comment goes to the curator for their manual curation efforts. Please encourage the curator @bhattg by upvoting this comment and support the community by voting the posts made by @indiaunited.
Thank you happy day and success.
!discovery 30
!diy
Dime qué significa eso no entiendo xfa 😜
You can query your personal balance by
!DIYSTATSCongratulations @tibisayq23! You have completed the following achievement on the Hive blockchain And have been rewarded with New badge(s)
Your next target is to reach 100 replies.
You can view your badges on your board and compare yourself to others in the Ranking
If you no longer want to receive notifications, reply to this comment with the word
STOPCheck out our last posts:
Buenas tardes @tibisayq23 espero te encuentre muy bien, estoy de acuerdo contigo Dios siga bendiciendo tus manos para que continúes deleitándonos con tus manualidades, muchas gracias por enseñarnos detalladamente el paso a paso, me encanto el gato y la versatilidad que nos brinda al poder hacer diferentes animalitos dependiendo el gusto de la persona a quien se lo vallamos a regalar.
Gracias amiga y amén muy grata tu visita y me alegro que te haya gustado mi organizador si como tu quieras hacerlo y diseñarlo a tu manera. Saludos y bendiciones feliz noche.