
Near the end of last Summer, while I was still enrolled as a member of a ceramic studio, I came up with the idea to make some holiday ornaments to give as gifts.
The concept would be three bells, similar in size and design, with slight unique differences. Each bell I could present to my top students who have been loyal and motivated over the past year (I teach ballroom dance instruction, fyi).
Forming Clay into Bells

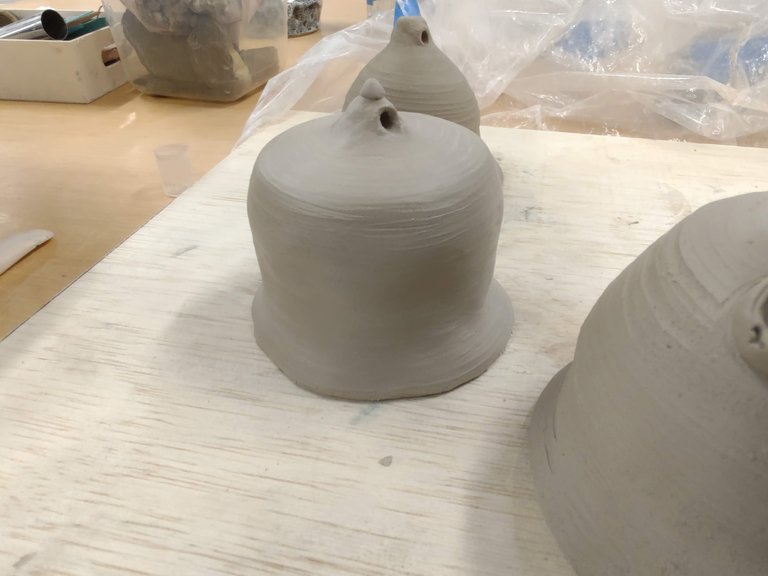
Using pinch technique, initially I hallowed out the form for each, then spun them by hand on a banding wheel. Using either a wooden pallet edge or a carving tool, I was able to smooth the sides and remove bumps and inconsistencies, yet keep a handmade texture.
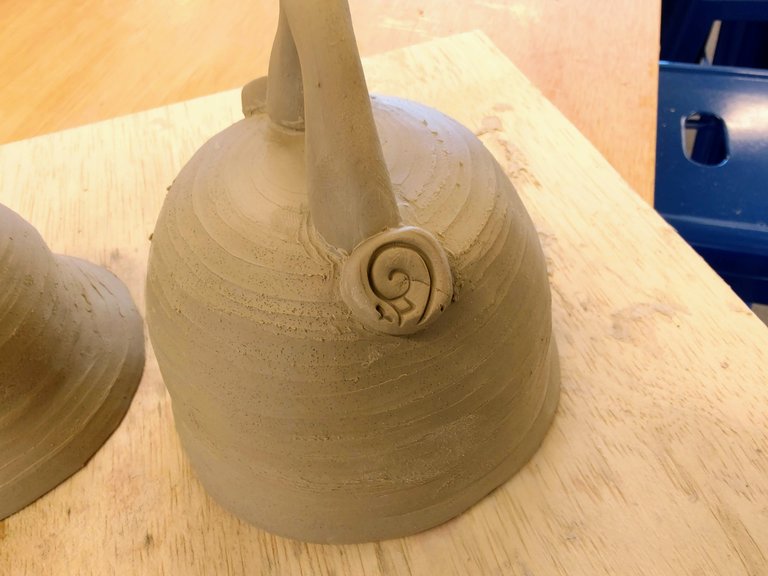
Little finishing details like a handle, hole, and the interior arch to house a bell clapper (later in the final assembly), would ensure that the bells were not only realistic, but functional. Assuming the bell chamber for each is large enough with thin walls, they should resonate with a ring when struck.
The bell with the handle became my favorite design shape. It allowed for an easier grip to ring the bell, and a fuller, deeper tone. The stamped joints make a special accent. It reminds me of the large bells kept inside Chinese temples.
Transferring an Underglaze Design
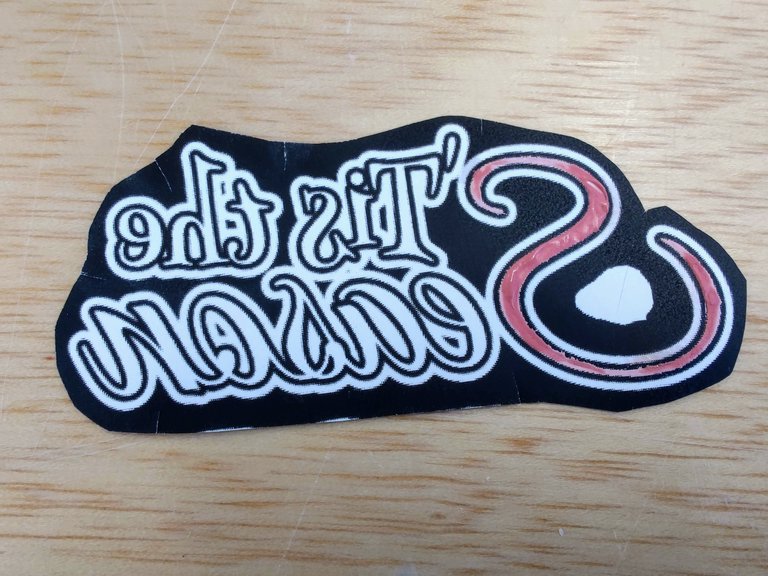
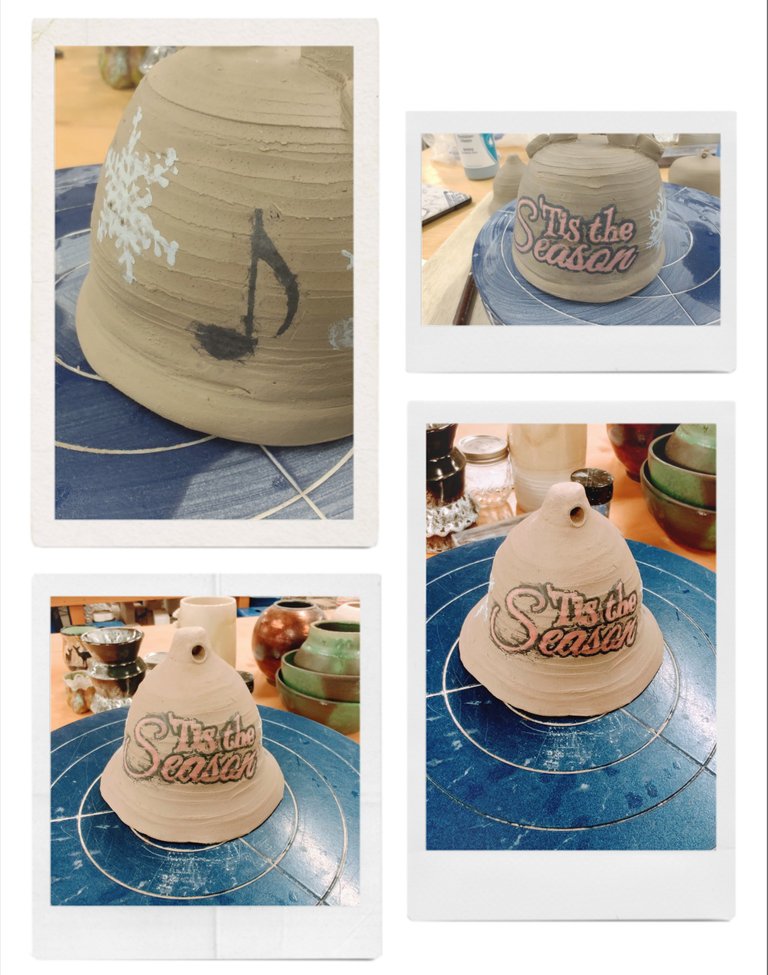
After watching many YouTube videos on how to do underglaze transfers, I developed my own design with some word art.
The trick to the art is to use a laser printer, as the wax ink repels water/glaze/paint. Also transfers have to be printed backwards since a mirror image is what appears when peeled off from the clay.
With my smallest brush, I paint the white areas. Underglaze does not spread color evenly when wet. Three layers of underglaze ensures the best color transfer.

Three coats, with two colors for one bell. By wetting the back of the paper and dampening the clay front, I used a smooth rounded rock to rub all surface of the image onto the bell.
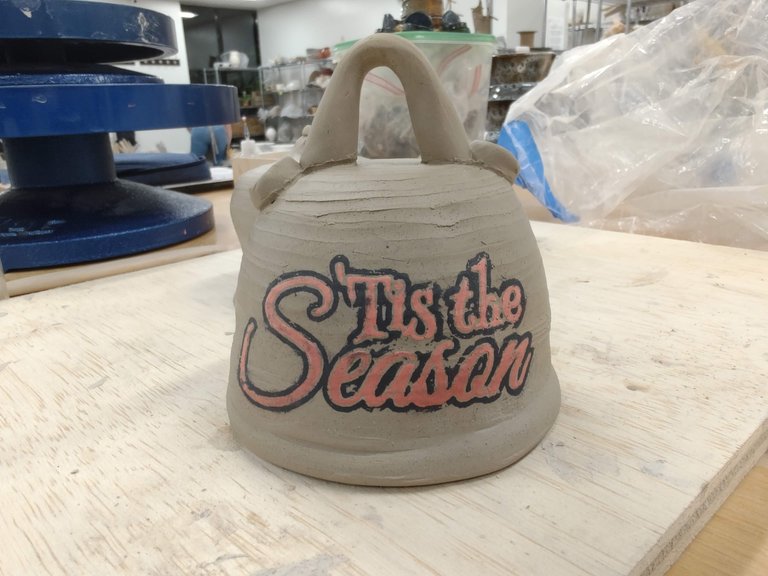
The results are fascinating! The splotchy edges, to me, make it look like an antique logo, like we might see on old 1940's posters. With a little touch up, I freehand painted over any missing portions of letters or borders, yet leaving smaller defects imperfect intentionally.
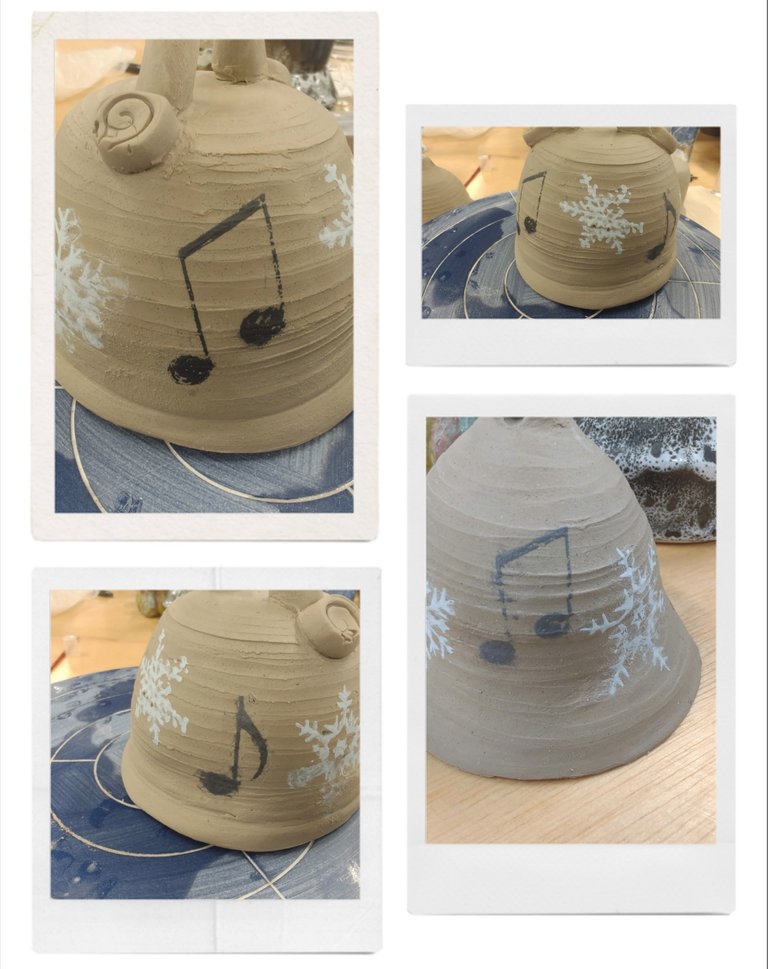
Had to repeat all these transfers, triple coating, two more times for the remaining bells. Then I started painting transfers of snowflakes and music notes to decorate some more. When I was finished my hands felt like they had arthritis and my back was very sore.
Out of the Bisque Kiln
Once the underglazing was finished and the clay became bone dry, they went into the bisque kiln. For two days, I prayed to the kiln gods not to crack the bells under the extreme temperatures.
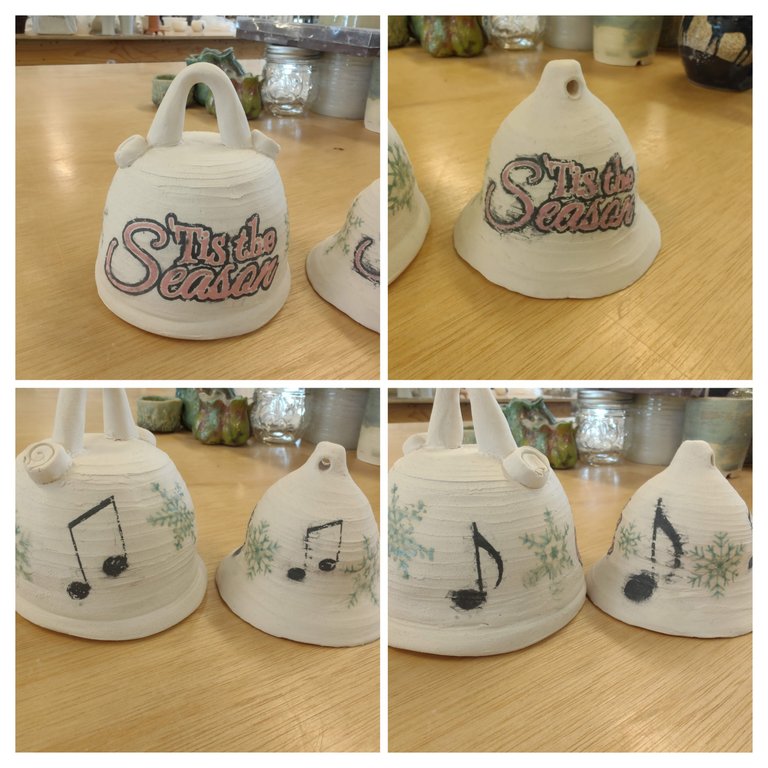
Even in the bisque state, they look quite finished. The ring on these bells are actually very good in this state too. I could have left them the way they are, but I wanted them to have a bit more shine and smoothness that can only be achieved by adding a final glaze coating.
One variable I could not account for was the blue underglaze I chose for the snowflakes turned ocean green. This can happen with high temperature kilns affecting a glaze intended for low fire temperatures. Even if it ends up looking green, I can simply excuse this as a Christmas Green, to match the theme.

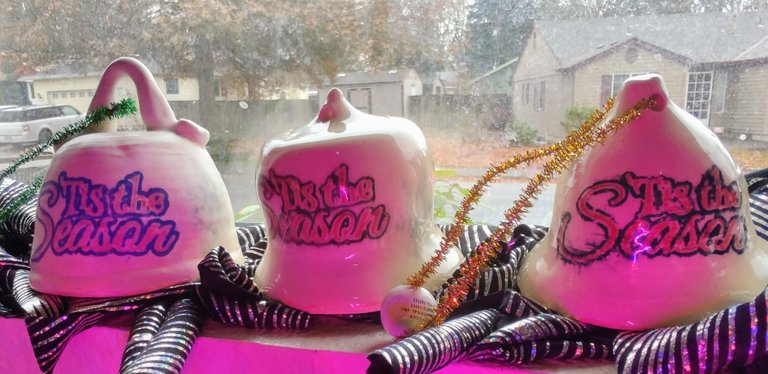
Final Results
For the three bells I had to gamble on three different clear glazes, not knowing how they will react to the underglazes.

The first bell I used a clear glaze called no tears, normally used on white porcelain to make smooth tableware plates and cups.
For me it came out a bit uneven on top, and the stoneware clay turned a bit yellow underneath. It also caused a slight runny effect, blurring and pulling the underglaze image downward a millimeter or so. The colors do end up more vibrant and shiny than it was in bisque state.
The bigger problem is the glaze completely filled in the hole on top, so I had to forego the string loop final decoration.

This bell was coated with a special zinc free clear glaze. It was tricky to get the coating even, and it seemed to melt well into a very clean coat. The glaze stayed stiff in the fire, meaning it did not drip down at all, nor affect the underglaze image underneath. In fact, it greatly enhanced the colors.
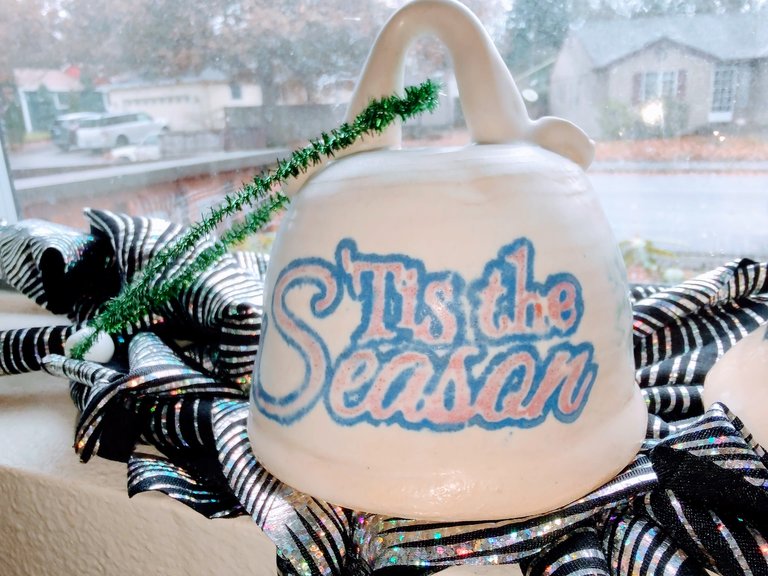
The final bell was treated with a non-glossy matte glaze called eggshell wash. Unexpectedly, it caused chemical reactions with the black underglaze pigment, turning it blue.
Despite the color reaction, it still performed well as a smooth, even coating glaze. I also appreciated this glaze's ability to turn the clay snow white. This glaze coating has such a smooth coating, combined with a ceramic shape that is enticing to touch, makes this one still a worthy finished product.

For the final assembly, pipe cleaner and wooden beads were attached. I also twirled the pipe cleaners around some short wooden dowels, to ensure the clapper pendulums would stay straight when swung.


Each student I sent them one of these bells in a box filled with chocolates and a card to thank them for their individual unique character traits which I value so much. For all the great memories they made over the past year with me, each bell can be a symbol of those times together.

Thank you for sharing this post on HIVE!
Your content got selected by our fellow curator sharminmim & you just received a little thank you upvote from us for your great work! Your post will be featured in one of our recurring compilations which are aiming to offer you a stage to widen your audience within the DIY scene of Hive. Stay creative & HIVE ON!
Please vote for our hive witness <3
How beautiful it looks with a rustic and eye-catching finish.
Wow what a special gift! I agree that the lettering took on a retro look and I think the glaze only enhanced that effect. Fun project 🙂