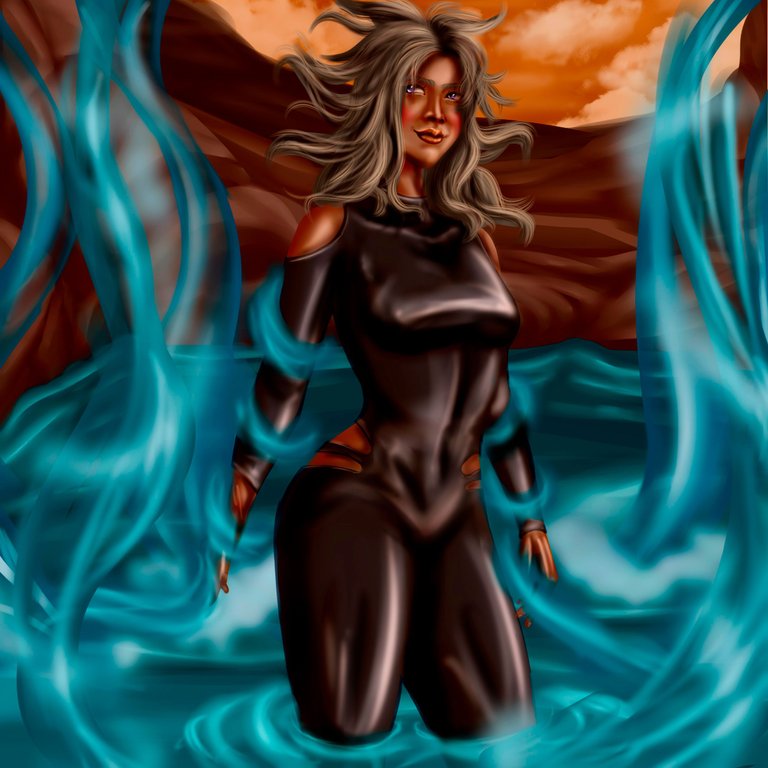
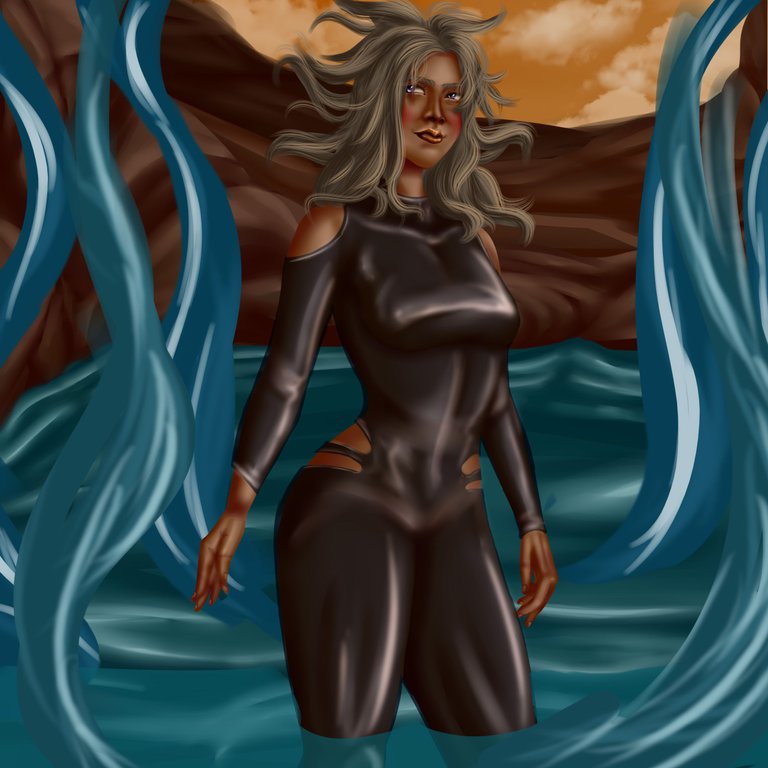
Heyy Happy Friday my dear readers, my name is Manuel and as always I am very happy to share with you a new post for my blog, this week was very productive for me because, although I was very busy with work, even so, I could take time to draw a lot and publish several times here, in fact, this would be my 4th post of the week which I didn't manage to do since 2 or 3 weeks ago and that makes me very happy. This time I wanted to create a drawing related to water, in the past days I had drawn about the fire element and it seemed a good time to invent something about the opposite element which in this case is the water element, and for this I proposed to create (Ardanah); since she was very little Ardanah realized that the waters of rivers and seas interacted differently with her, even in one opportunity after a big tidal wave that hit her small town, mysteriously she was the only survivor, and from that moment they began to call her The Water Maiden:
Heyy Feliz viernes mis queridísimos lectores y lectoras, mi nombre es Manuel y como siempre me encuentro super feliz de compartirles un nuevo post para mi blog, esta semana fue muy productiva para mí ya que, aunque estuve muy copado de trabajo, aun así, pude sacar tiempo para dibujar bastante y publicar varias veces por aquí, de hecho, este sería mi 4to post de la semana lo cual no lograba hacer desde hace 2 o 3 semanas atrás y eso me tiene full contento. En esta ocasión quise crear un dibujo relacionado con el ámbito del agua, en días pasados había dibujado sobre el elemento fuego y ya me parecía buen momento para inventar algo sobre el elemento opuesto que en este caso es el elemento agua, y para esto me propuse crear a (Ardanah); desde muy pequeña Ardanah se dio cuenta de que las aguas de ríos y mares interactuaban de manera diferente con ella, incluso en una oportunidad luego de un gran maremoto que azoto su pequeño pueblo, misteriosamente ella fue la única sobreviviente, y desde ese momento la comenzaron a llamar La Doncella del Agua:
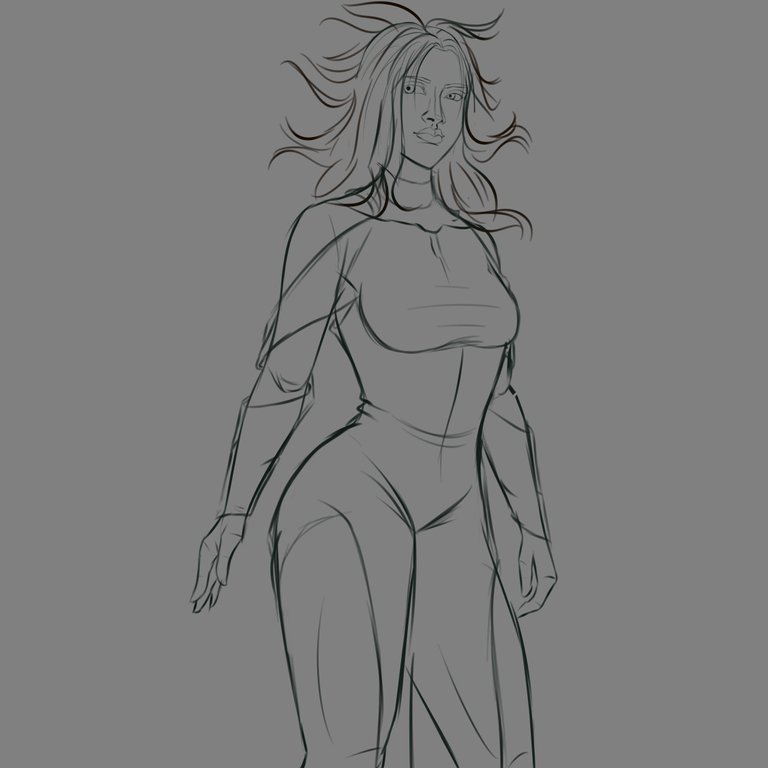
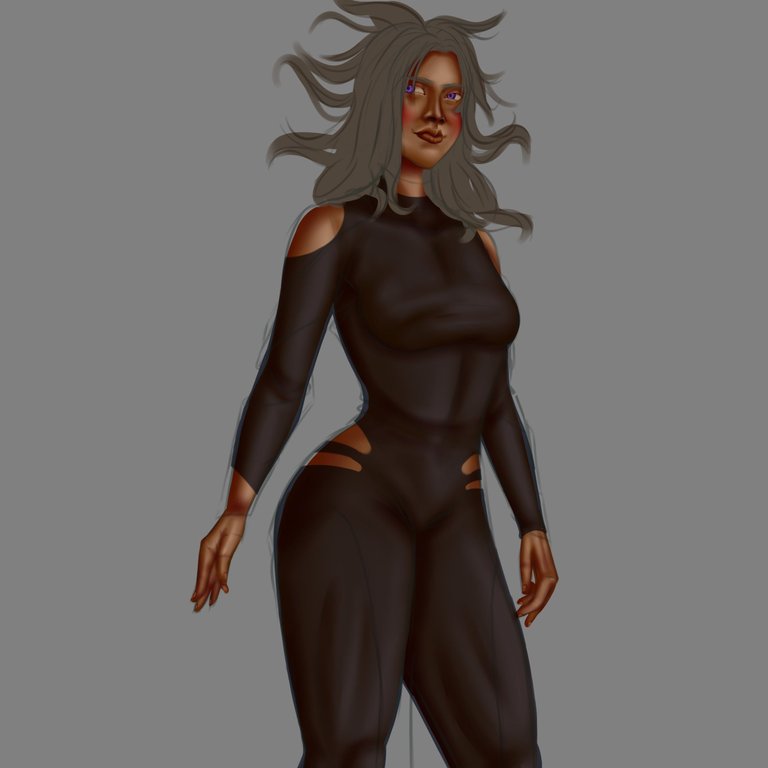
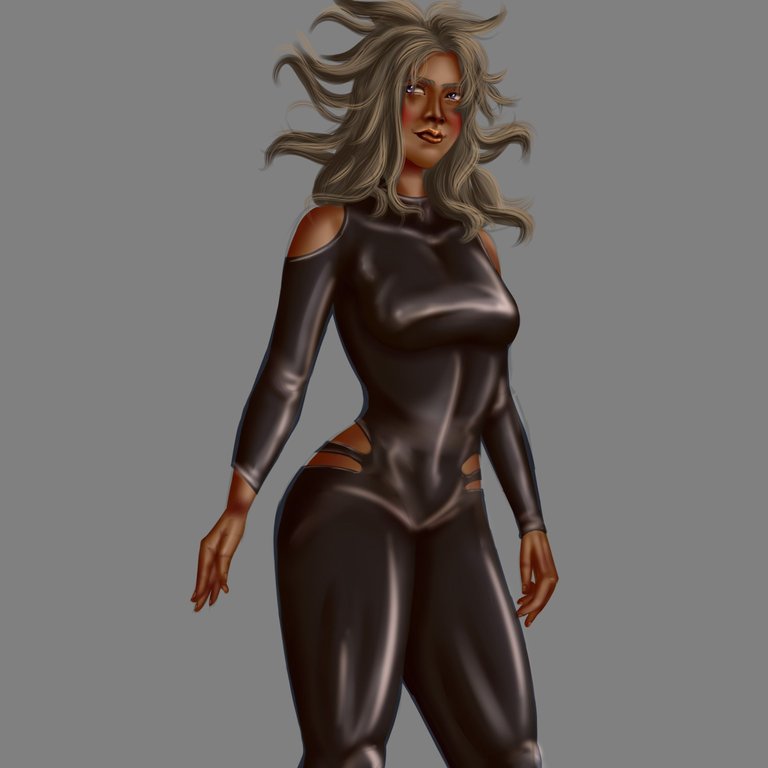
For my main sketch I chose to create her (Ardanah) in a semi-complete body style, I drew her in a pose with her arms slightly open and about to raise her hand and her hair floating in a wavy way as if the energy of the water was emanating from her body; I finished the line art and went to my colour palette to choose the tones that would give life to my character; I chose a range of peach, brown and reddish tones for the skin starting with my scattered tip airbrush. Something important when painting the skin and dividing the layers of the soft and flat strokes, and after having well defined the volumes in the face, arms and others, I proceed to join the layers, soften and leave the shines and shadows in the upper part; later to give a bit of warmth and femininity to the face what I like to do is to take the airbrush with a soft red colour and go giving strokes in the cheeks and nose with the intention of creating a subtle blush.
Para mi boceto principal opte por crear a (Ardanah) en un estilo de cuerpo semi-completo, la dibuje a ella en una pose como de brazos levemente abierto a punto de levantar su mano y con su cabello flotando de manera ondulada como si la energía del agua estuviese emanando de su cuerpo; termine el line art y de una me fui a mi paleta de colores para elegir los tonos que darían vida a mi personaje; elegí una gama de tonos duraznos, marrones y rojizos para la piel iniciando con mi pincel de aerógrafo de punta dispersa. Algo importante a la hora de pintar la piel y dividir las capas de los trazos suaves y los planos, y ya luego de tener bien definidos los volúmenes en la cara brazos y demás ahí si se procede a unir las capas, suavizar y dejar los brillos y sombras en la parte de mas arriba; posteriormente para darle un poco de calidez y feminidad al rostro lo que me gusta hacer el tomar el aerógrafo con un color rojo suave e ir dando brochazos en las mejillas y nariz con la intención de crear un sutil rubor.
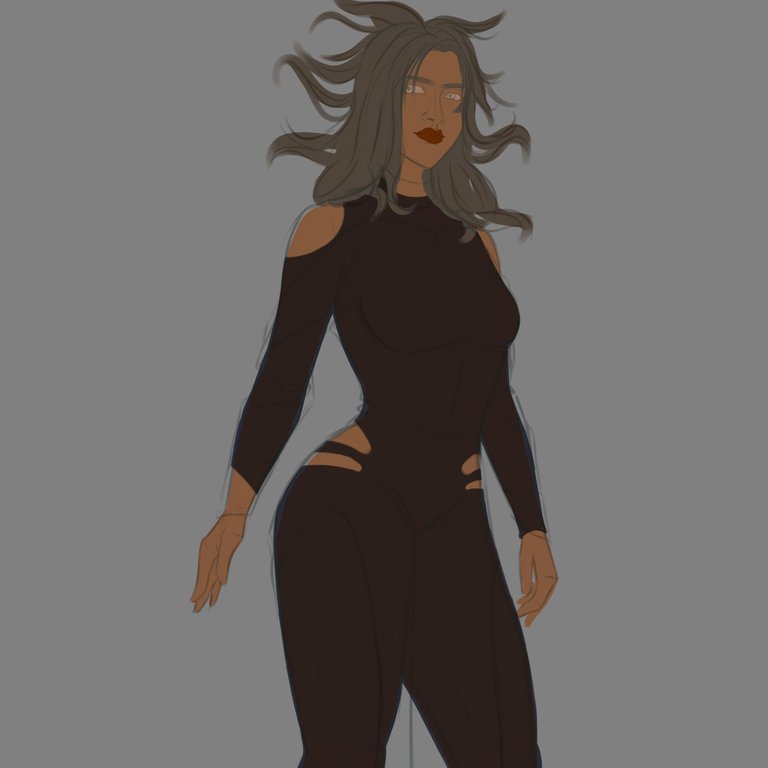

For the eye section I always transition from the skin underneath, and in this case I did it with a light yellowish-brown create the base of the eyes with a bit of circular volume and then move on to creating the iris and pupil, for this I used a few purple and violet tones mixed together leaving a bit of shimmer at the bottom of the iris to highlight them; then for the lips I also like to transition with the skin and in this case I used a brown mixed with a bit of red and painted the lips in a slightly voluptuous way with a lot of shimmer on the edges and the lower lip. In the 3rd step I gave form to the hair, something important here was to give that form like of own life to the hair with the locks in the air, and for this I dedicated myself to create the locks of individual form and to give them the texture one by one; later with a small brush I created very thin locks of a lighter colour for a better volume and realism, besides that I created a layer in mode (bright) to give that effect reflecting produced by the environmental light.
Para el apartado de los ojos siempre hago una transición desde la piel de abajo, y en este caso la hice con un marrón-amarillento claro cree la base de los ojos con un poco de volumen circular y luego pase a la creación del iris y la pupila, para esto use unos cuantos tonos morados y violetas mezclados dejando un poco de brillo en la parte baja del iris para destacarlos; luego para los labios también me gusta hacer transición con la piel y en este caso use un marrón mezclado con un poco de rojo y pinte los labios de una forma levemente voluptuosa con muchos brillos en los bordes y el labio inferior. En el 3er paso di forma al cabello, algo importante aquí era darle esa forma como de vida propia al cabello con los mechones en el aire, y para esto me dedique crear los mechones de forma individual ya darles la textura uno por uno; mas adelante con un pincel pequeño cree mechones muy finos de un color mas claro para un mejor volumen y realismo, además de que cree una capa en modo (bright) para dar ese efecto reflejando producido por la luz ambiental.
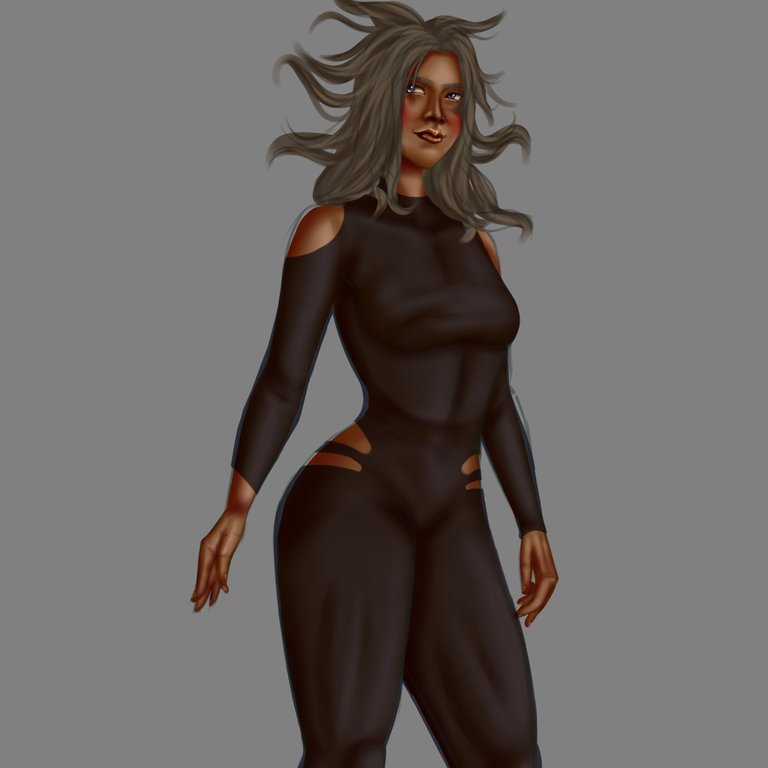
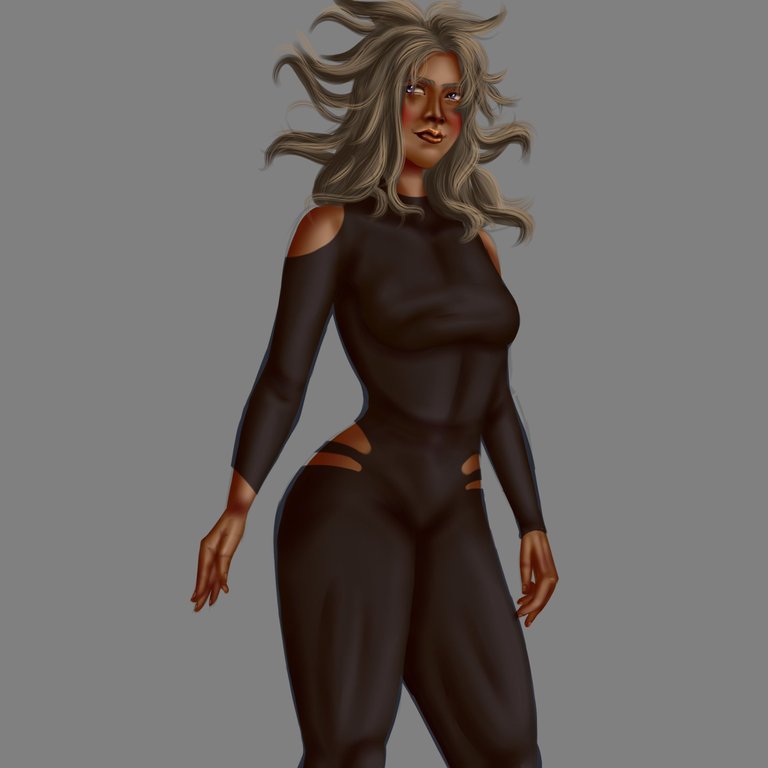
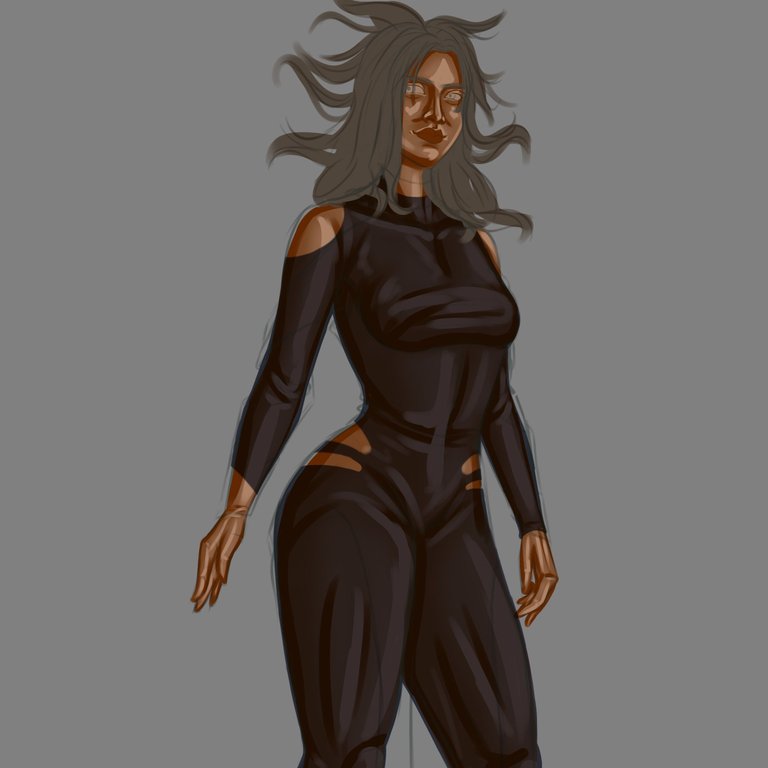
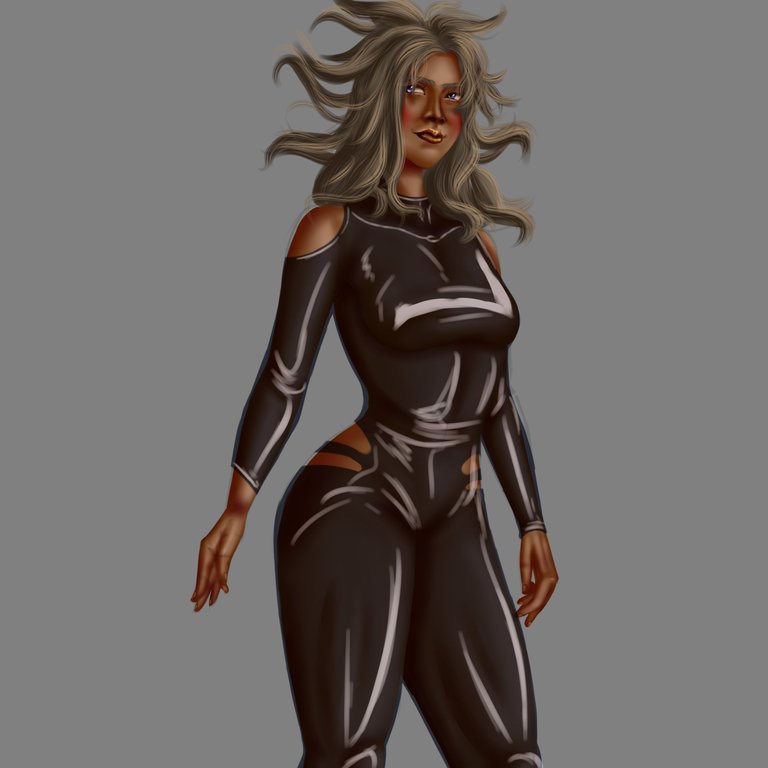
In the 4th step I built the clothes of the character, here I decided to create a quite thin suit very much in the style of the diving suits with several dark brown colours, I created the suit with small openings in the area of the shoulders and waist to give it a cooler and unique appearance; to achieve that semi transparent effect of the suit what I did was to lower the opacity to the layer where I had painted the suit and on this layer I was applying strokes with airbrush to texturize a little the garment and that it didn't look flat. I had planned to leave the suit as it was, but I had the good idea to create another layer applying the (Shine) mode and with the watercolour brush and a not so pure white I created lines of strokes in the areas closer to the light to give the suit a much cooler shiny effect; at the end I blurred the shiny lines and created another layer where I repeated the process, but with even finer lines and so I got the desired result.
En el 4to paso construí lo ropa del personaje, aquí me decidí mas por crear un traje bastante delgado muy al estilo de los trajes de buceo con varios colores marrones oscuros, cree el traje con pequeñas aberturas en la zona de los hombros y cintura para darle una apariencia mas genial y única; para lograr ese efecto semi transparente del traje lo que hice fue bajar la opacidad a la capa donde había pintado el traje y sobre esta capa fui aplicando trazos con aerógrafo para texturizar un poco la prenda y que no se viese plana. Tenía planeada dejar el traje tal cual como estaba, pero se me ocurrió la buena idea de crear una capa mas aplicando el modo (Shine) y con el pincel acuarela y un blanco no tan puro cree líneas de trazos en las zonas mas cercanas a la luz para darle al traje un efecto brillante mucho mas cool; al final difumine las líneas de brillo y cree otra capa mas donde repetí el proceso, pero con líneas aun mas finas y así conseguí el resultado deseado.
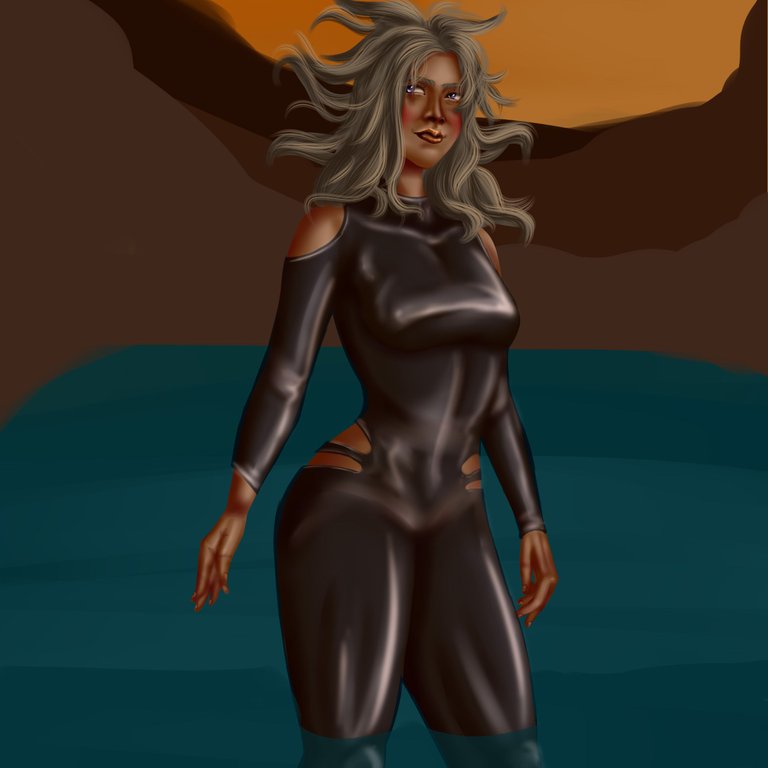
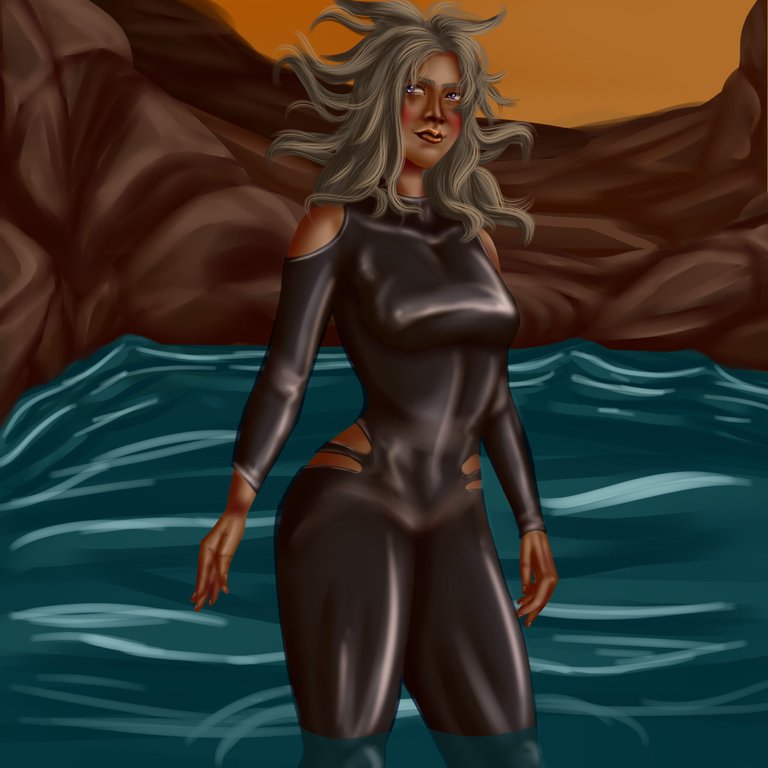
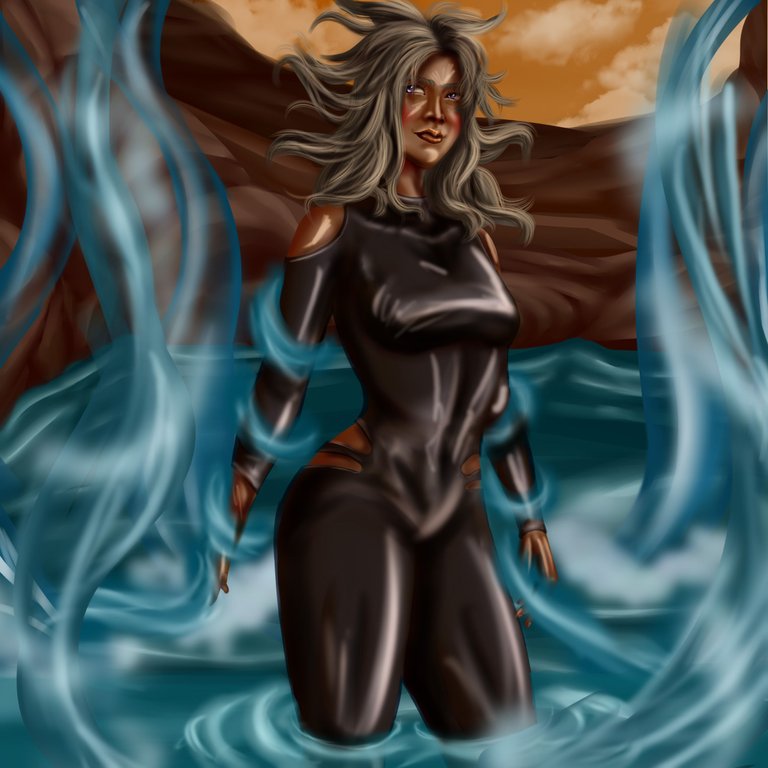
To finish with my illustration I always like to set the works with a good background scenery, in this case I came up with the idea of creating a lake scene where (Ardanah) would be slightly submerged with some mountains or hills in the back part; to create the mountains I used some chocolate brown tones and brushes with rigid edge, I created light and dark strokes together in several layers, and as I created more upper strokes I blurred less and less until I finally got that very realistic rocky texture. In the case of the water I used a navy blue colour for the background and the front part of the canvas, but for the front part I slightly lowered the opacity of the layer to achieve that transparent effect of the water where the submerged legs of (Ardanah) could be seen, then with watercolour and a flat brush I textured a little the effect of the water and created the effect of movement; later I also created big lines of water rising from the lake following a similar process to the previous one, only here I erased a little bit the inside of the water tentacles and painted blue and white lines just inside which I blurred a little bit.
Para culminar con mi ilustración siempre me gusta ambientar las obras con un buen escenario de fondo, en este caso se me ocurrió la idea de crear un escenario de lago donde (Ardanah) estaría levemente sumergida con algunas montañas o colinas en la parte de atrás; para crear las montañas use unos tonos marrones chocolatosos y pinceles con borde rígido, fui creando trazos claros y oscuros juntos en varias capas, y a medida que creaba mas trazos superiores difuminaba cada vez menos hasta por fin conseguir esa textura rocosa muy realista. En el caso del agua use un color azul marino para el fondo y las parte frontal del lienzo, pero para la parte frontal baje levemente la opacidad de la capa para lograr ese efecto transparente del agua donde se viesen las piernas de (Ardanah) sumergidas, luego con acuarela y un pincel plano fui texturizando un poco el efecto del agua y creando el efecto de movimiento; posteriormente cree también grandes líneas de agua elevándose del lago siguiendo un proceso similar al anterior, solo que aquí borre un poco el interior de los tentáculos de agua y pinte líneas azules y blancas justo adentro las cuales difumine un poco.
MATERIALS / MATERIALES
- Sai Paint Tool Program
- Huion inspiroy h610 v2 tablet
- Programa Paint Tool Sai
- Tableta Huion inspiroy h610 v2
Well guys and girls, this has been all for my post today and also for this week, thank you very much to all of you who made it to this part, and I hope you loved the final result a lot. I send you all a big hello and a big hug my people, and I hope to see you again very soon in a next post; happy night and see you next time!😉🖖🏽.
Bueno chicos y chicas, esto ha sido todo por mi post del día de hoy y también por esta semana, muchísimas gracias a todos los que llegaron hasta esta parte, y espero que el resultado final les haya encantado mucho. Les mando un grandísimo saludo a todos y un fuerte abrazo mi gente, y espero volver a vernos muy pronto en un siguiente post; feliz noches y hasta la próxima!😉🖖🏽.
Congratulations @manuel2395! You have completed the following achievement on the Hive blockchain And have been rewarded with New badge(s)
Your next payout target is 9000 HP.
The unit is Hive Power equivalent because post and comment rewards can be split into HP and HBD
You can view your badges on your board and compare yourself to others in the Ranking
If you no longer want to receive notifications, reply to this comment with the word
STOPCheck out our last posts: