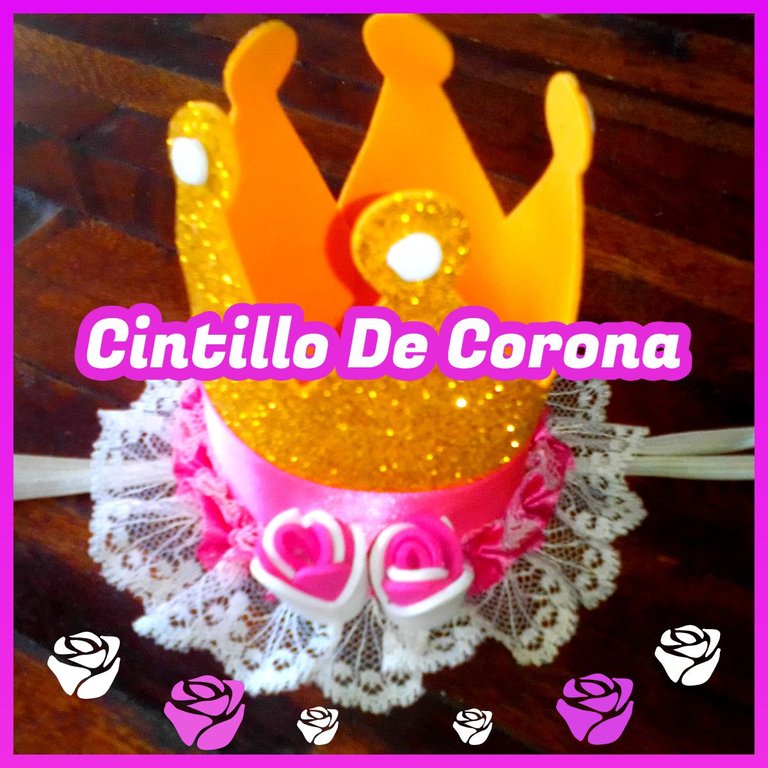
Good morning hive friends, to start this pleasant sunny morning, I will inform you of a new project.
On this new day, I made a headband, which used materials that I had at home, from now on I will show you the steps and its final result through images.
Muy buenos días amigos de hive, para así comenzar esta agradable mañana soleada, les daré conocimiento de un nuevo proyecto.
En este nuevo día, realice un cintillo, la cual utilice materiales que tenía en el hogar, de aquí en adelante les mostraré por medio de imágenes los pasos y su resultado final.
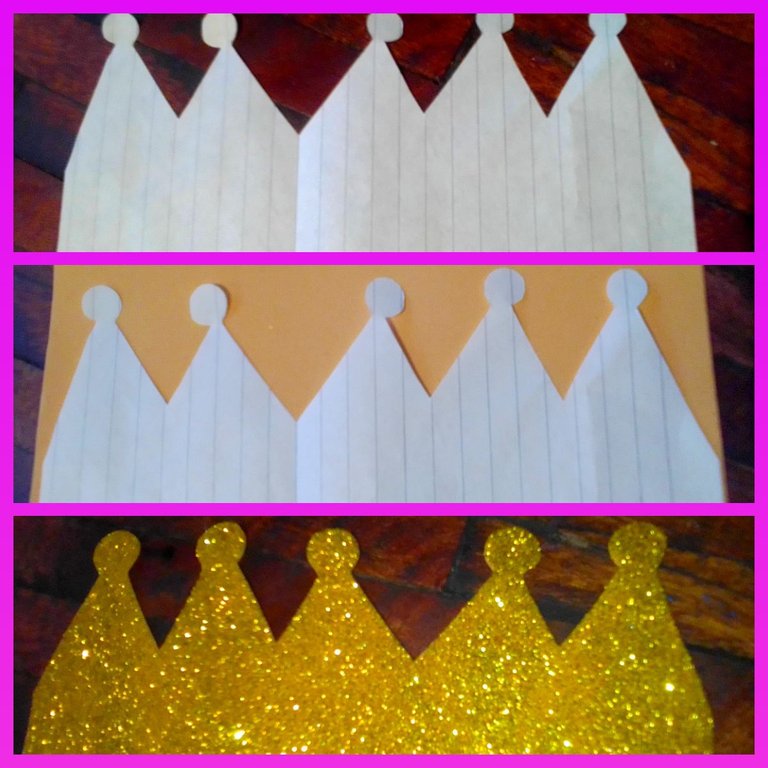
Step 1:
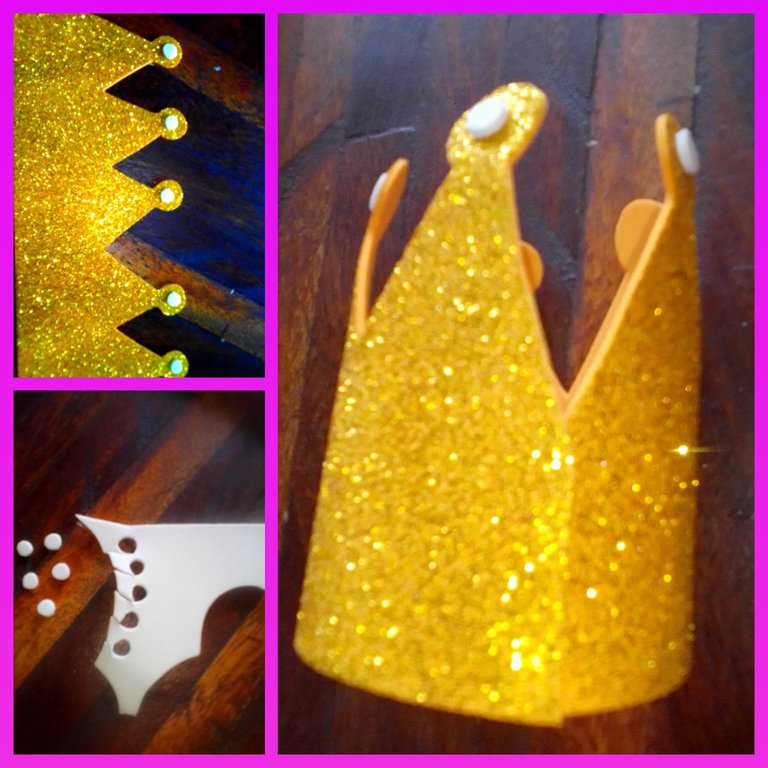
On this occasion, make a crown-shaped pattern on a leaf. When I finished I took the eva foam to mark it on the back and when cutting it will look like this.
Paso 1:
En esta oportunidad, elabore en una hoja un patrón en forma de corona. Al terminar lo llevé la goma eva para así marcarlo por la parte de atrás y al cortar quedará de esta manera.
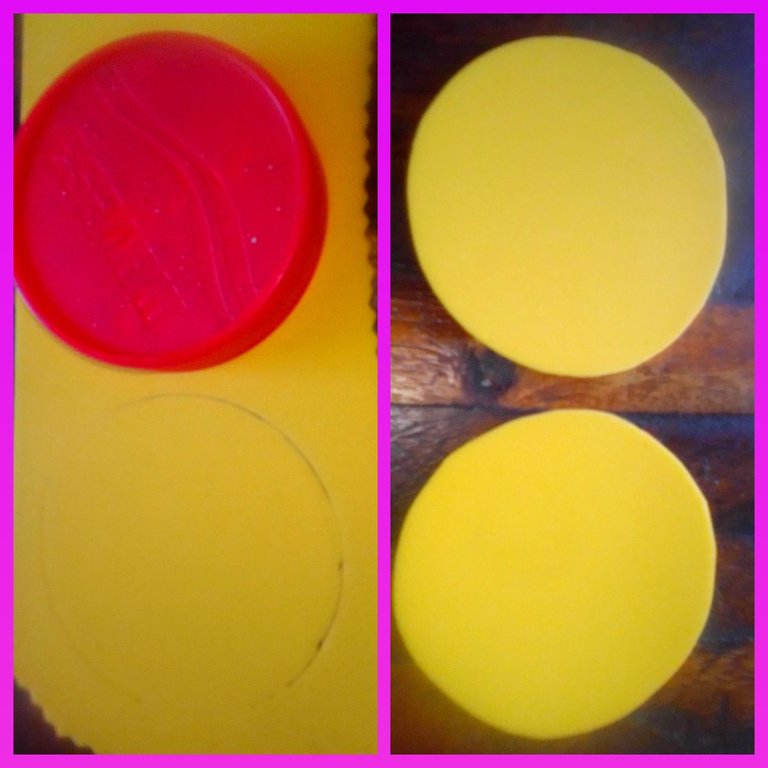
Step 2:
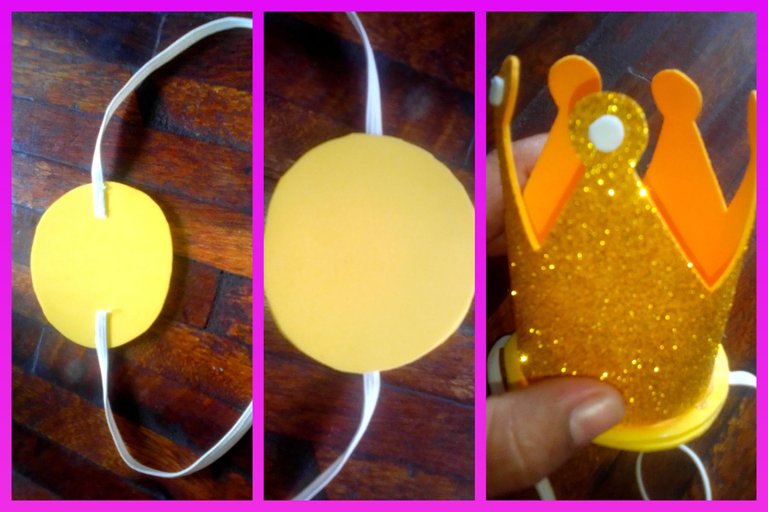
I used a plastic lid to mark and cut 2 circles of the same size.
Paso 2:
Hice utilización de una tapa plástica, para marcar y cortar 2 círculos del mismo tamaño.
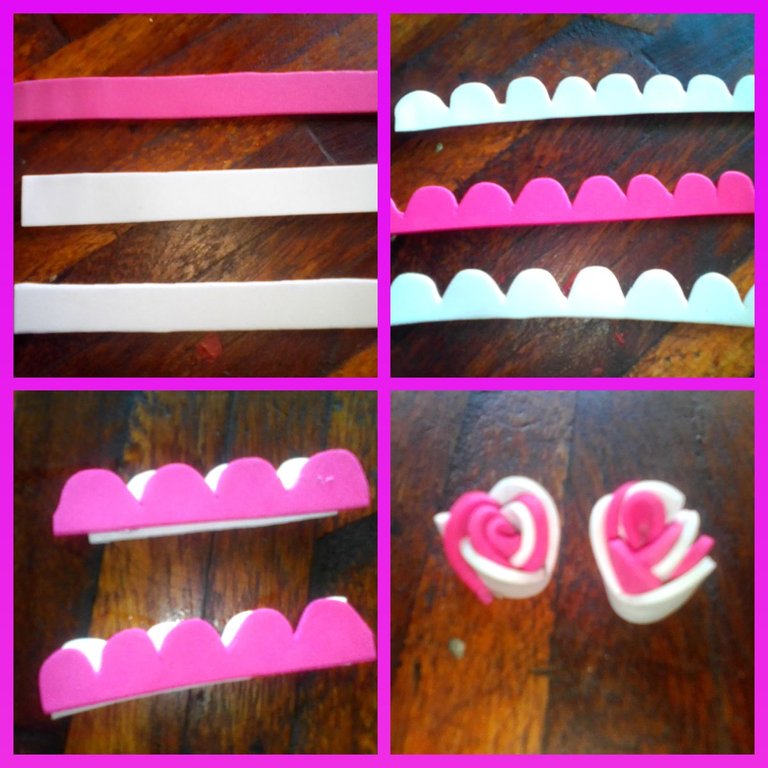
Step 3:
Cut 3 strips, using 2 different colors of eva foam.
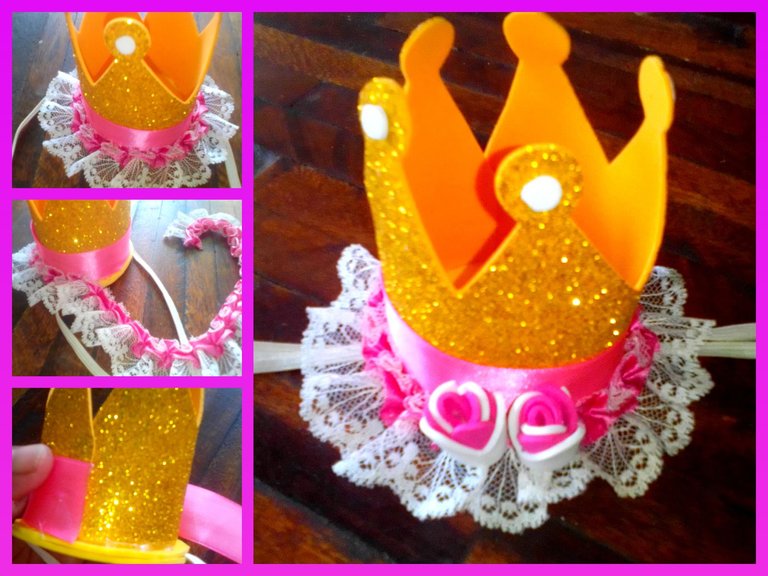
Cut 1 fuchsia and 2 white ones, then cut them in the shape of a mountain, I divided the fuchsia into 2, to stick it on top of the white one, and there I made the 2 roses.
Paso 3:
Corte 3 tiras, haciendo uso de 2 colores diferentes de goma eva.
Corte 1 fucsia y 2 blancas, luego las corte en forma de montaña, la fucsia la dividí en 2, para pegarla encima de la blanca, y allí elabore las 2 rosas.
Step 4:
With a punch, I took out 5 circles from the white eva foam, and glued them on each end of the crown, then joined end to end and glued.
Paso 4:
Con un sacabocados, saque 5 círculos de la goma eva blanco, y los lleve a pegar en cada punta de la corona, luego uní extremo con extremo y pegue.
Use the 2 circles to glue a thin elastic on top of one, and then glue the other to form the thicker base. On top of the base I placed the crown.
Utilice los 2 círculos, para pegar encima de uno, una elástica fina, y luego plasmar el otro, para formar la base más gruesa. Encima de la base coloqué la corona.
FINAL SCORE:
To finish the decoration, use a pink ribbon, gluing it around the entire bottom contour, then place a lace around the entire edge of the base, this is what it looks like, and to conclude the final part, glue the 2 roses that I had made previously. , and that's how I finished, this delicate and beautiful headband, it was very easy for me to do it, as I made the pattern, then I imagined everything in my mind and that's how I made this beautiful headband, until I finished. Well my friends, until here I say goodbye until another day, greetings and blessings.
RESULTADO FINAL:
Para terminar la decoración, emplee una cinta rosada, pegándola por todo el contorno inferior, luego coloque un encaje por todo el orillo de la base, así se viene viendo, y para concluir la parte final, le pegue las 2 rosas que había hecho anteriormente, y así termino, este delicado y hermoso cintillo, se me hizo muy fácil de hacerlo, la cual como elabore el patrón, luego me imagine todo en mi mente y así fui elaborando este precioso cintillo, hasta terminar. Bueno mis amigos hasta aquí me despido hasta otro día, saludos y bendiciones.
Collage making program: Fotojet Link
Translated from google translator Link
Photo editing program: PhotoFiltre 7
Las fotos fueron tomadas desde un Xiaomi Mi A2.
Programa para hacer el collage: Fotojet Enlace
Traducido del traductor de Google Enlace
Programa para editar fotos: PhotoFiltre 7
I say goodbye until another opportunity.
Thanks for your support.
Me despido hasta otra oportunidad.
Gracias por su apoyo.
Copyright @imargasa. All rights reserved.
That is a really cool crown-like headband. Fine work.
Congratulations, your post has been upvoted by @dsc-r2cornell, which is the curating account for @R2cornell's Discord Community.
!giphy great
!DHEDGE
@sagarkothari88 reward 0.05 HP
Via Tenor
💐 🎁 Gift 🎁 💐
Empowering DIYHub
Upvote This Comment
Please 🙇♂️ Support Me Back 🙏 - Vote for me
This post has been selected for upvote from our token accounts by @bhattg! Based on your tags you received upvotes from the following account(s):
- @dhedge.bonus
- @dhedge.neoxag
- @dhedge.waiv
@bhattg has 1 vote calls left today.
Hold 10 or more DHEDGE to unlock daily dividends and gain access to upvote rounds on your posts from @dhedge. Hold 100 or more DHEDGE to unlock thread votes. Calling in our curation accounts currently has a minimum holding requirement of 100 DHEDGE. The more DHEDGE you hold, the higher upvote you can call in. Buy DHEDGE on Tribaldex or earn some daily by joining one of our many delegation pools at app.dhedge.cc.
Muy buen trabajo está hermoso 👑